


RGL
-
Posts
5,388 -
Joined
-
Last visited
Content Type
Profiles
Forums
Gallery
Events
Posts posted by RGL
-
-
They're water based, so you can safely airbrush them
- Eddie, Piet, thibaultron and 1 other
-
 4
4
-
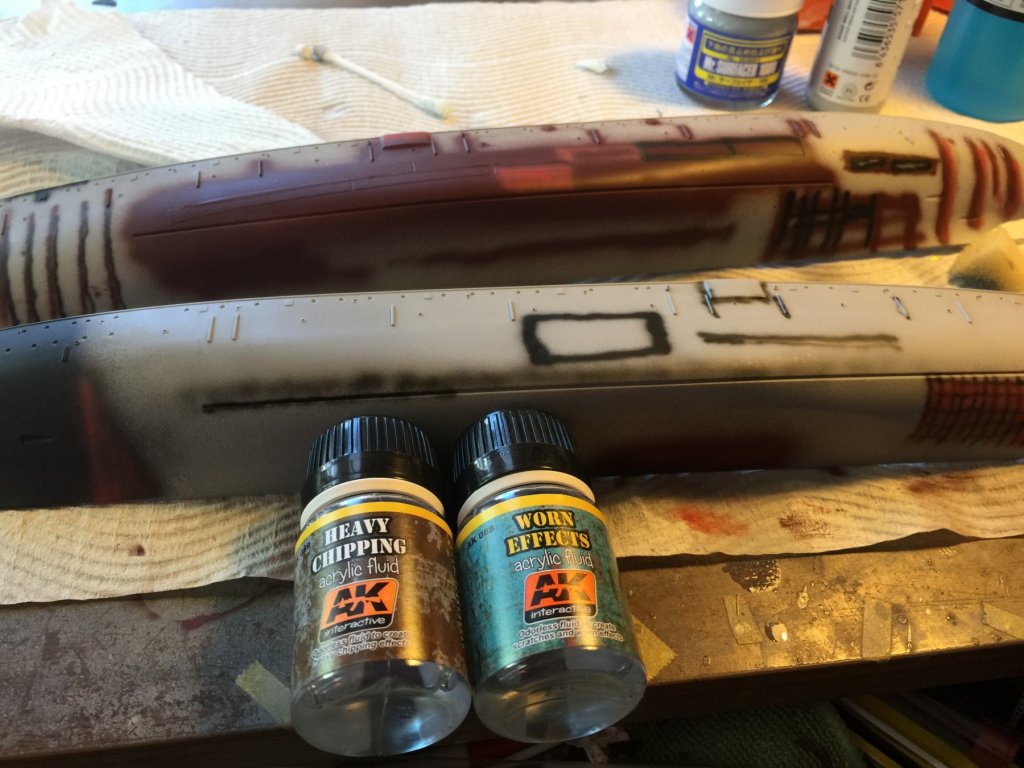
Pre shading V1. My plan is to do up the lower hull firs, using a black red between the ribs at the bow and amidships then overspray a Matt varnish, then paint it over those sections with the chipping and wearing products, then paint it properly like I did on my Yamato, then run away in sections to reveal the damaged sections. Hope it works!
The decks will will have the brown Lino sections that will be modulated before the brass bracing is added.
Looks a mess now now but hopefully there is method to my madness.

-
You'd probably find anything from Ebay coming from China won't matter as they generally don't care about rules.
- Canute, coxswain, thibaultron and 3 others
-
6
-
-
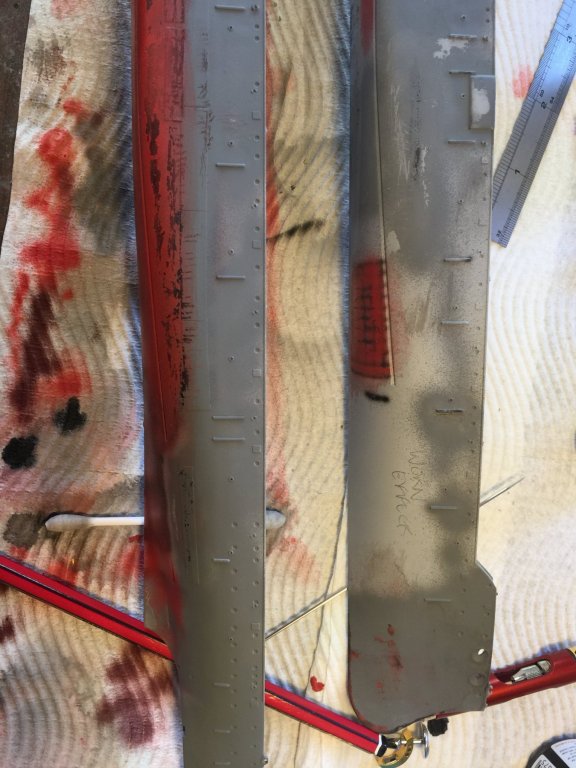
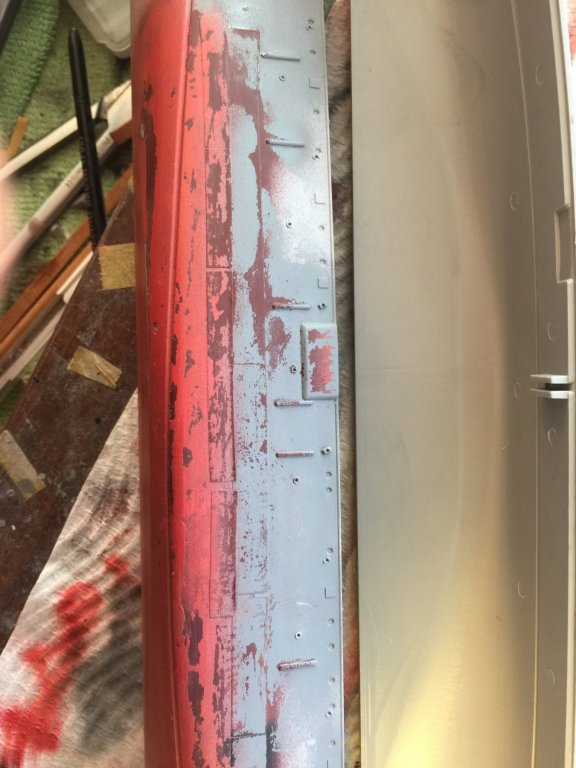
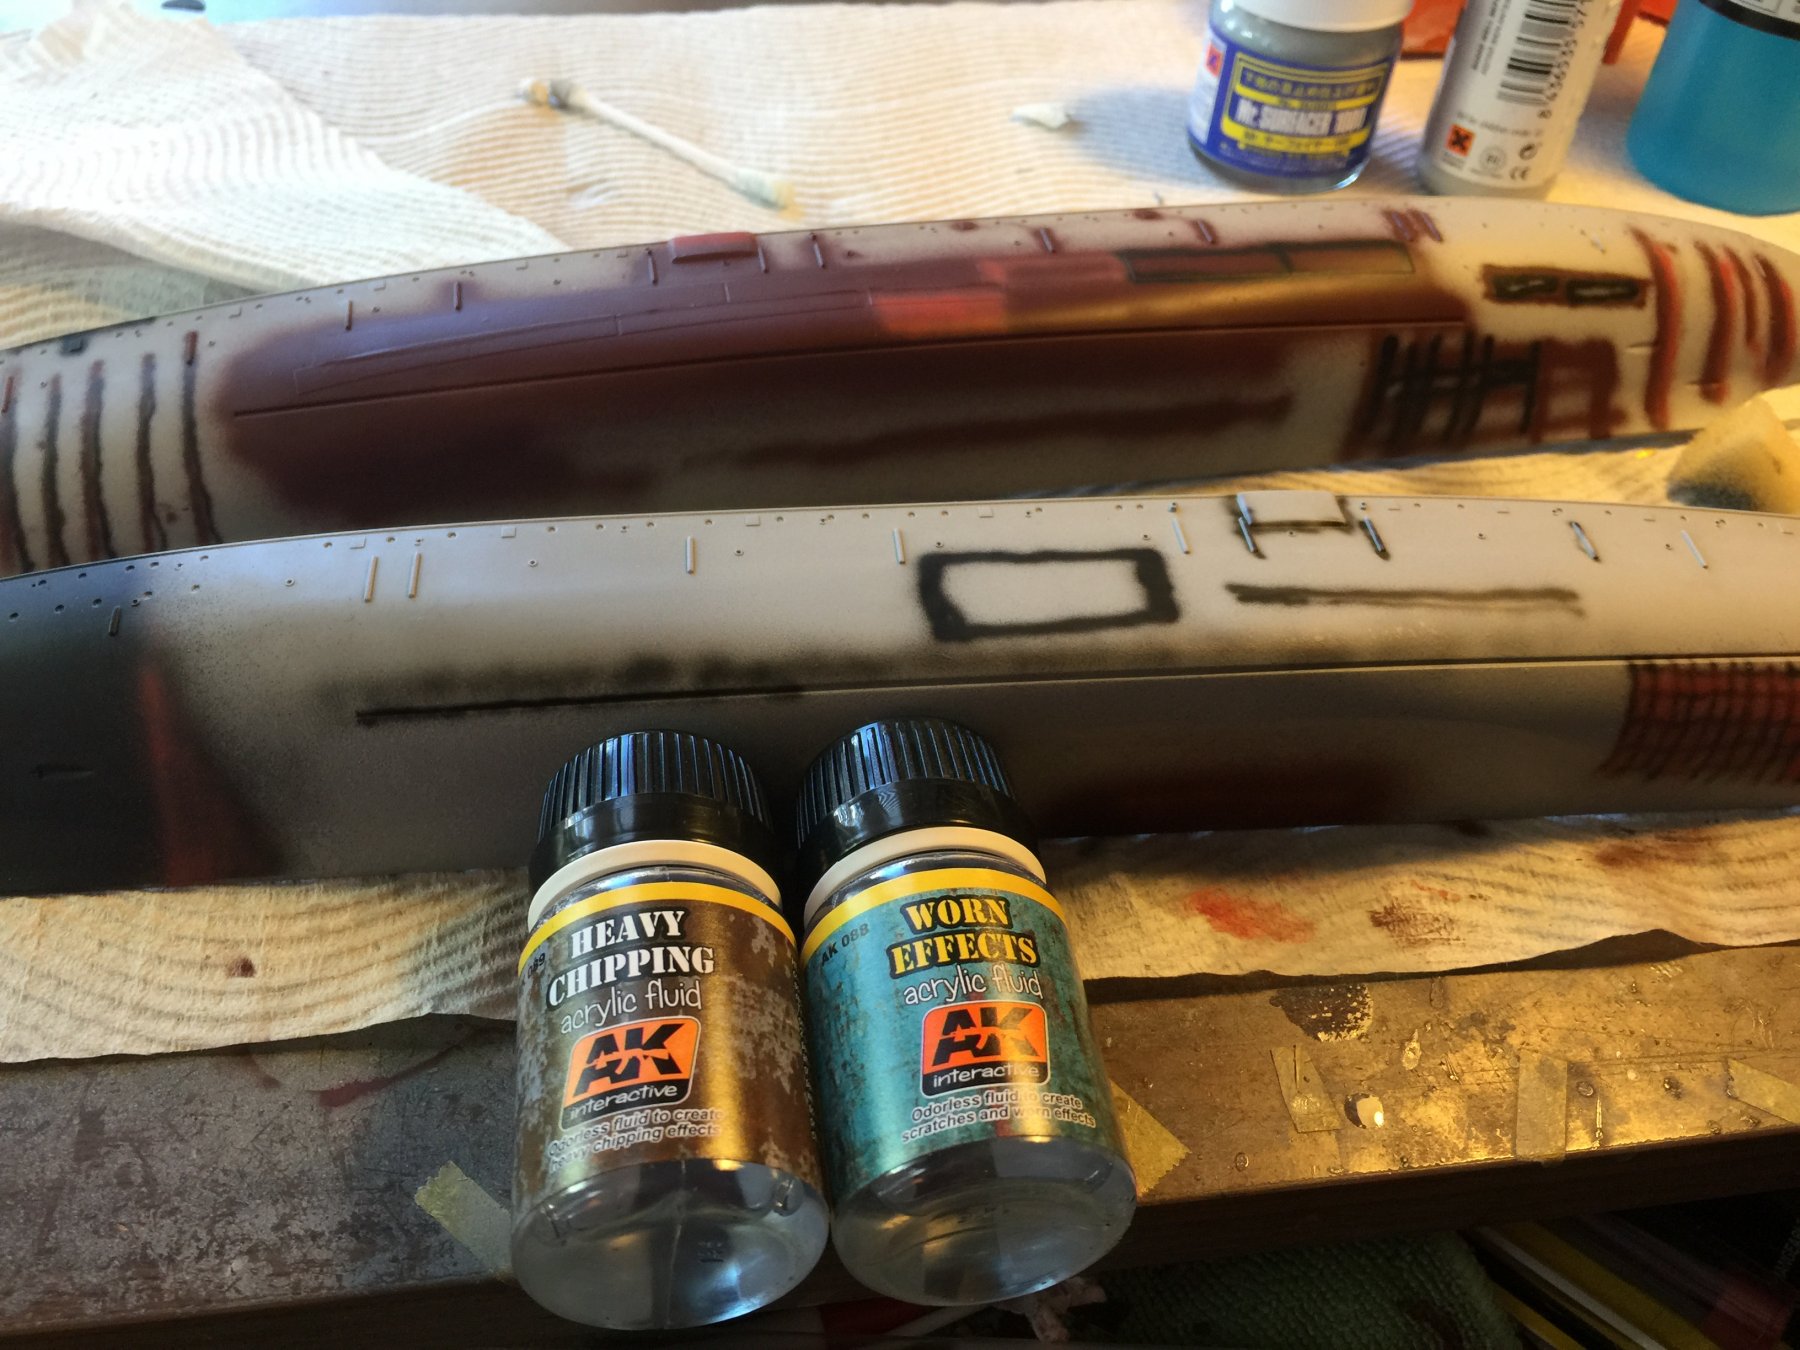
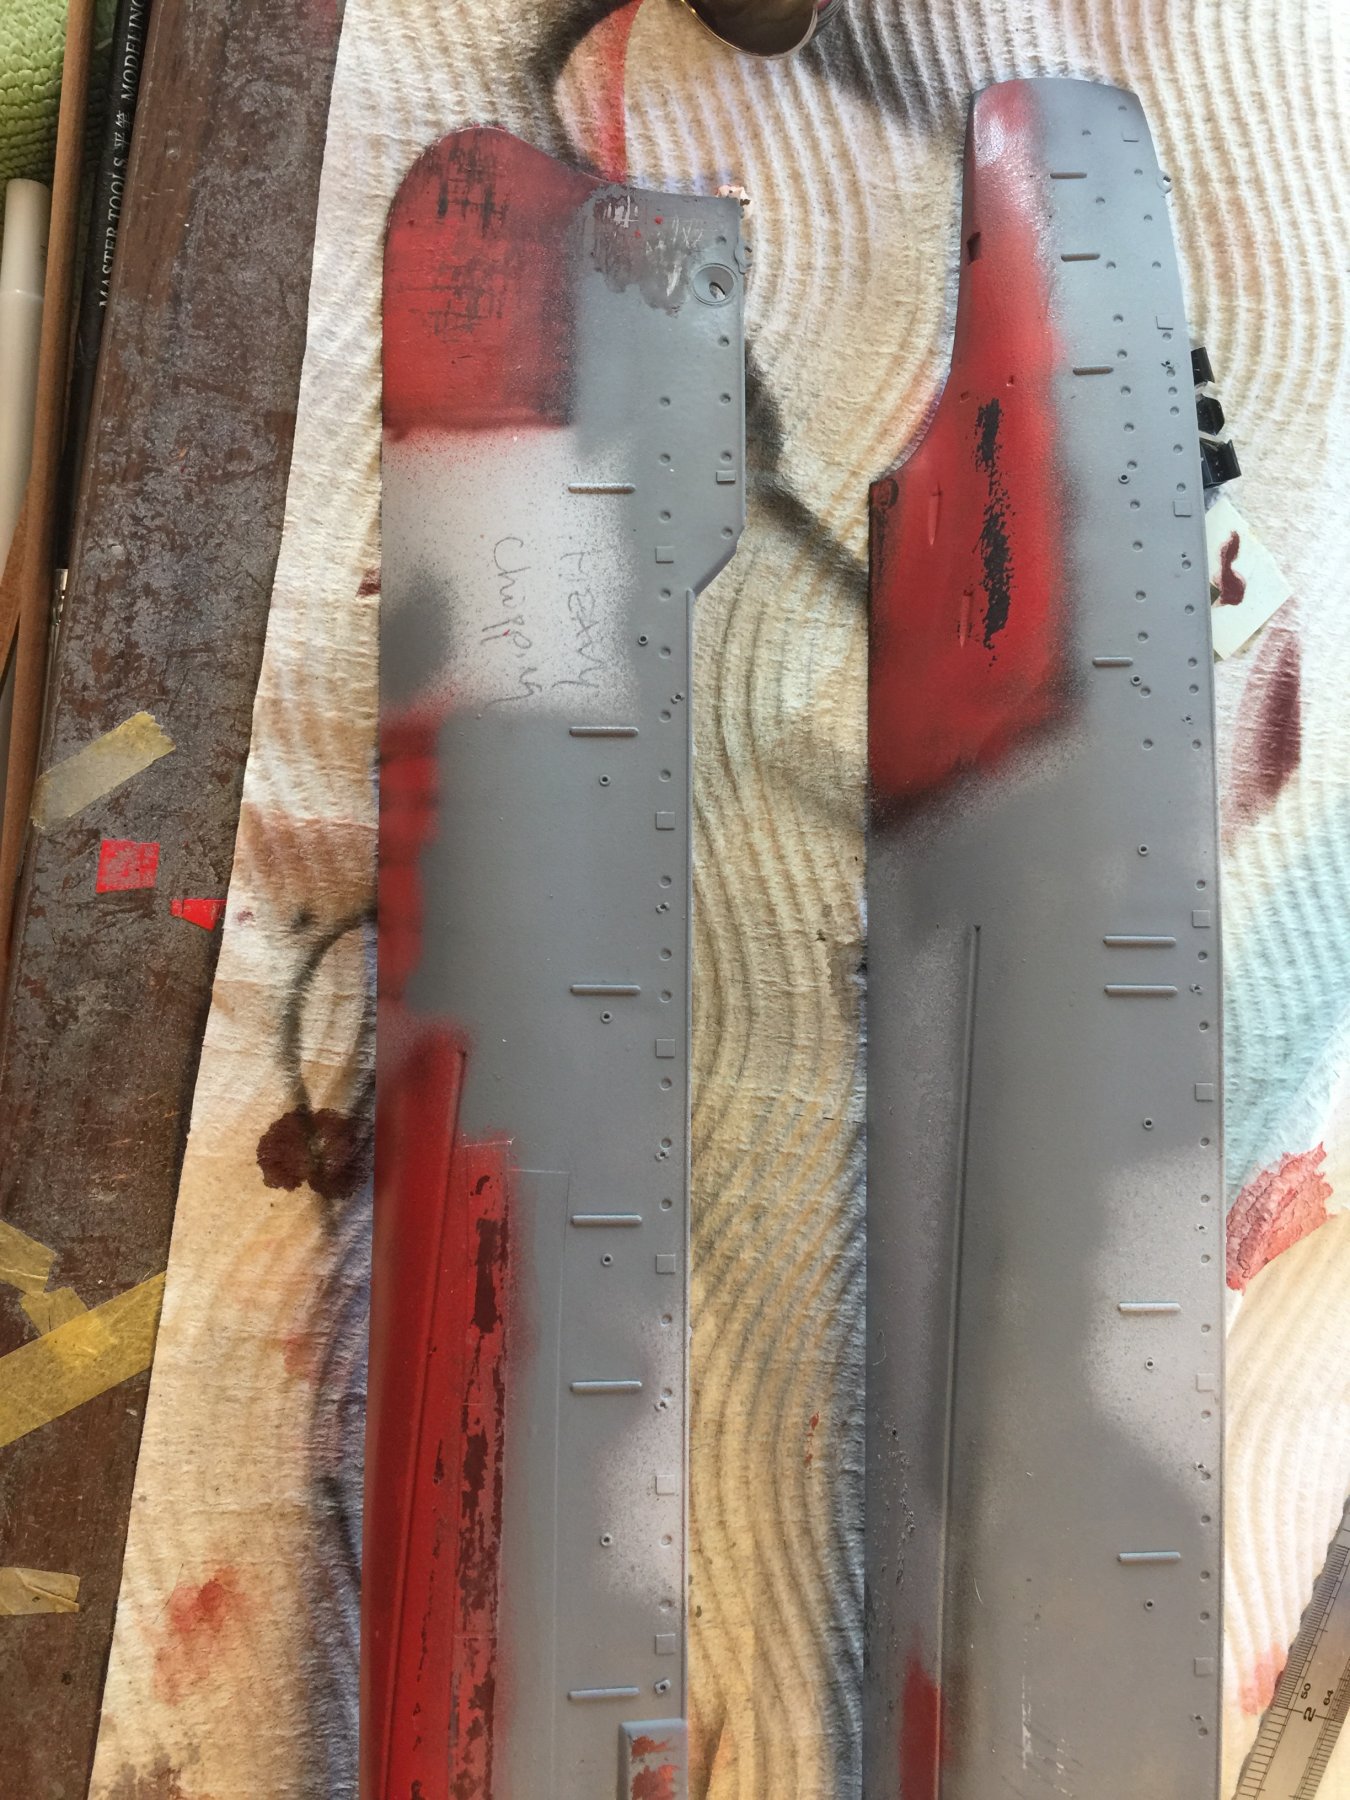
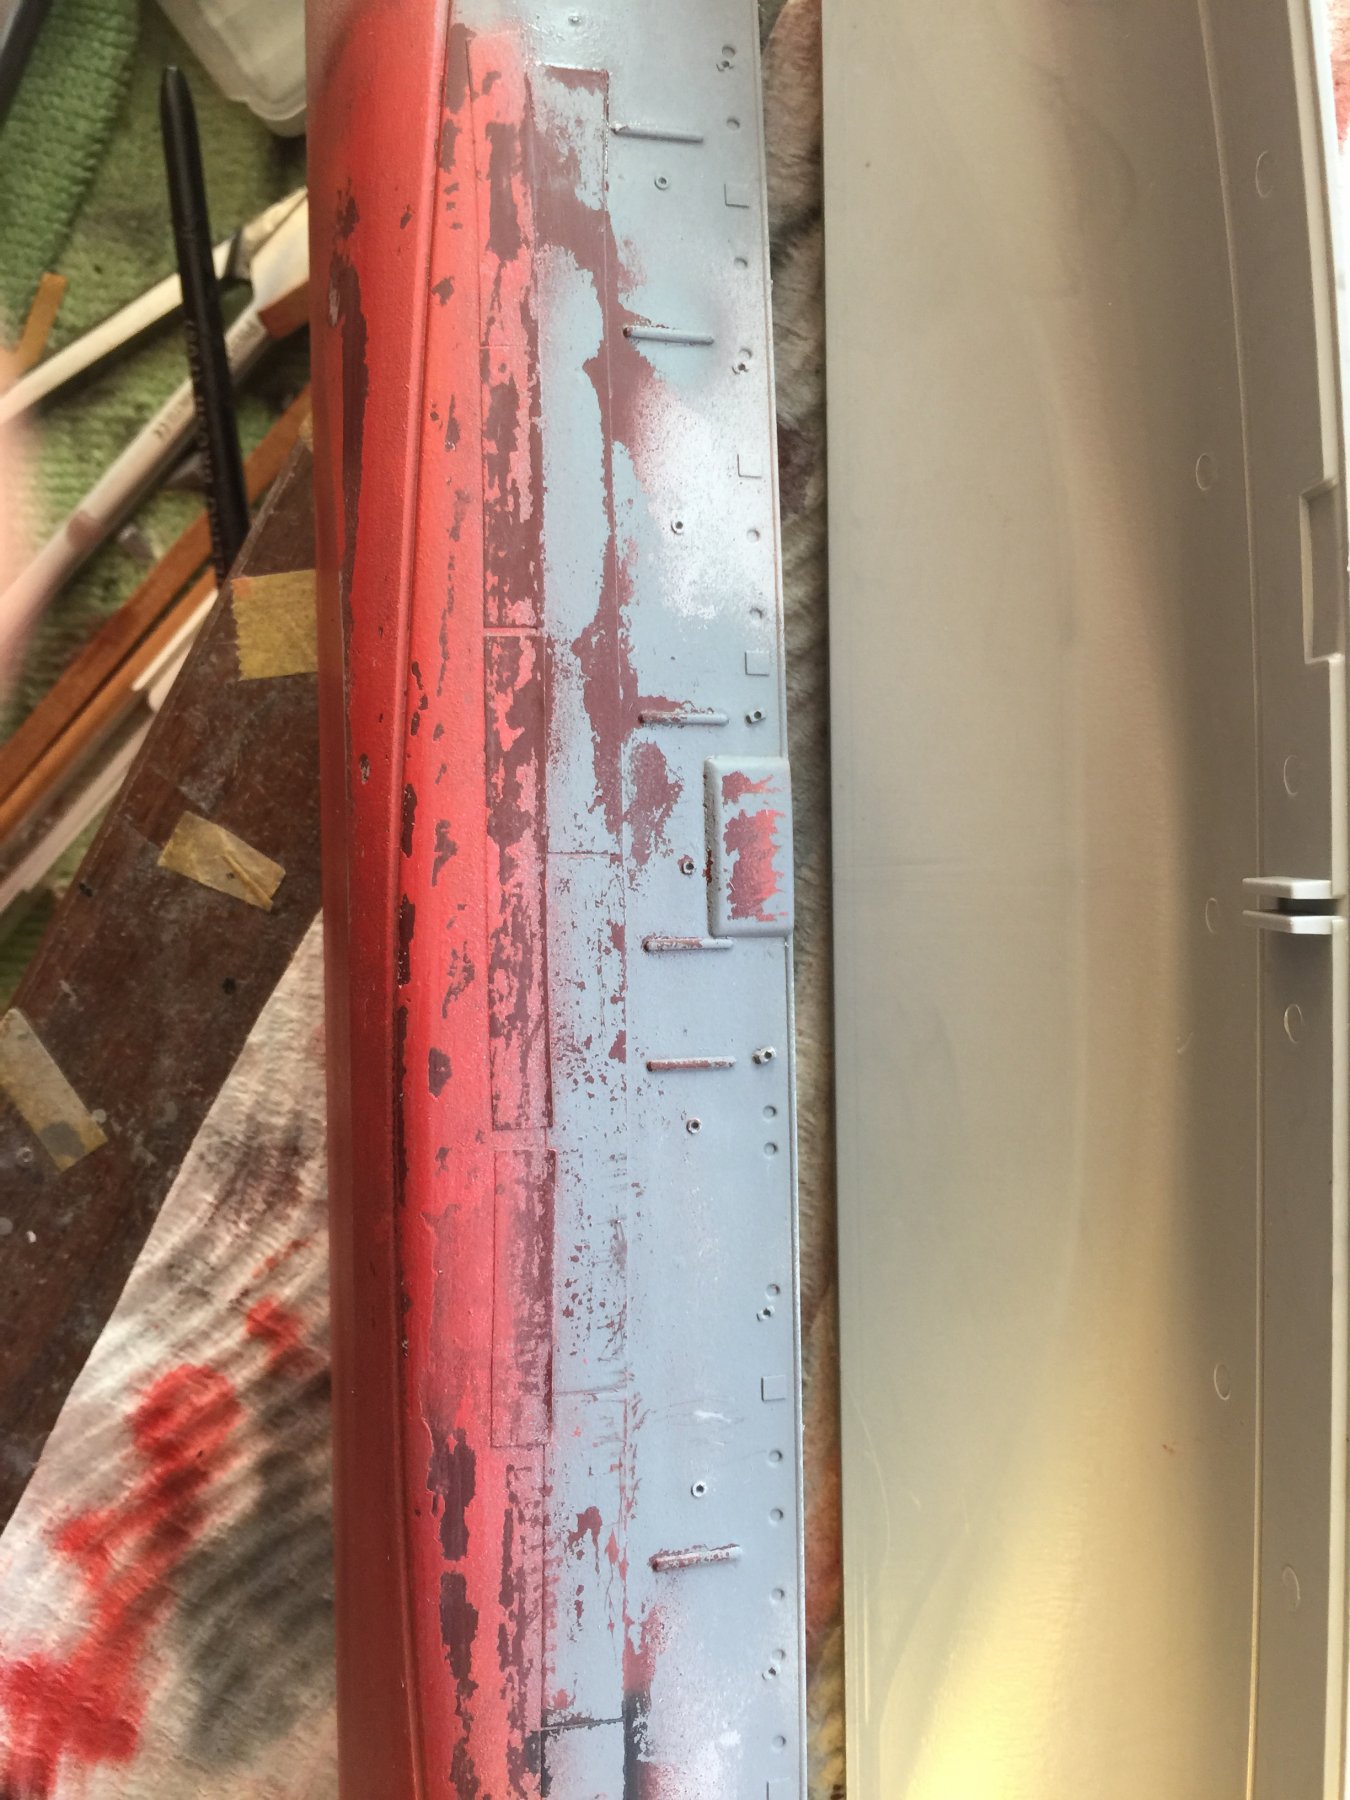
Testing out some new stuff on an old hull, chipping and wearing. I'm thinking if I can do a decent sets of ribs on the hull in black and dark rust, a coat of varnish then some of these fluids, I can beat the hull up pretty well.
I just have to figure if i complete the hull painting completely then wear it back.
This is is a bit severe but I like the effect
I also want to try and add barnacles over the top. Let's see.

- CDW, Canute, popeye the sailor and 11 others
-
14
-
-
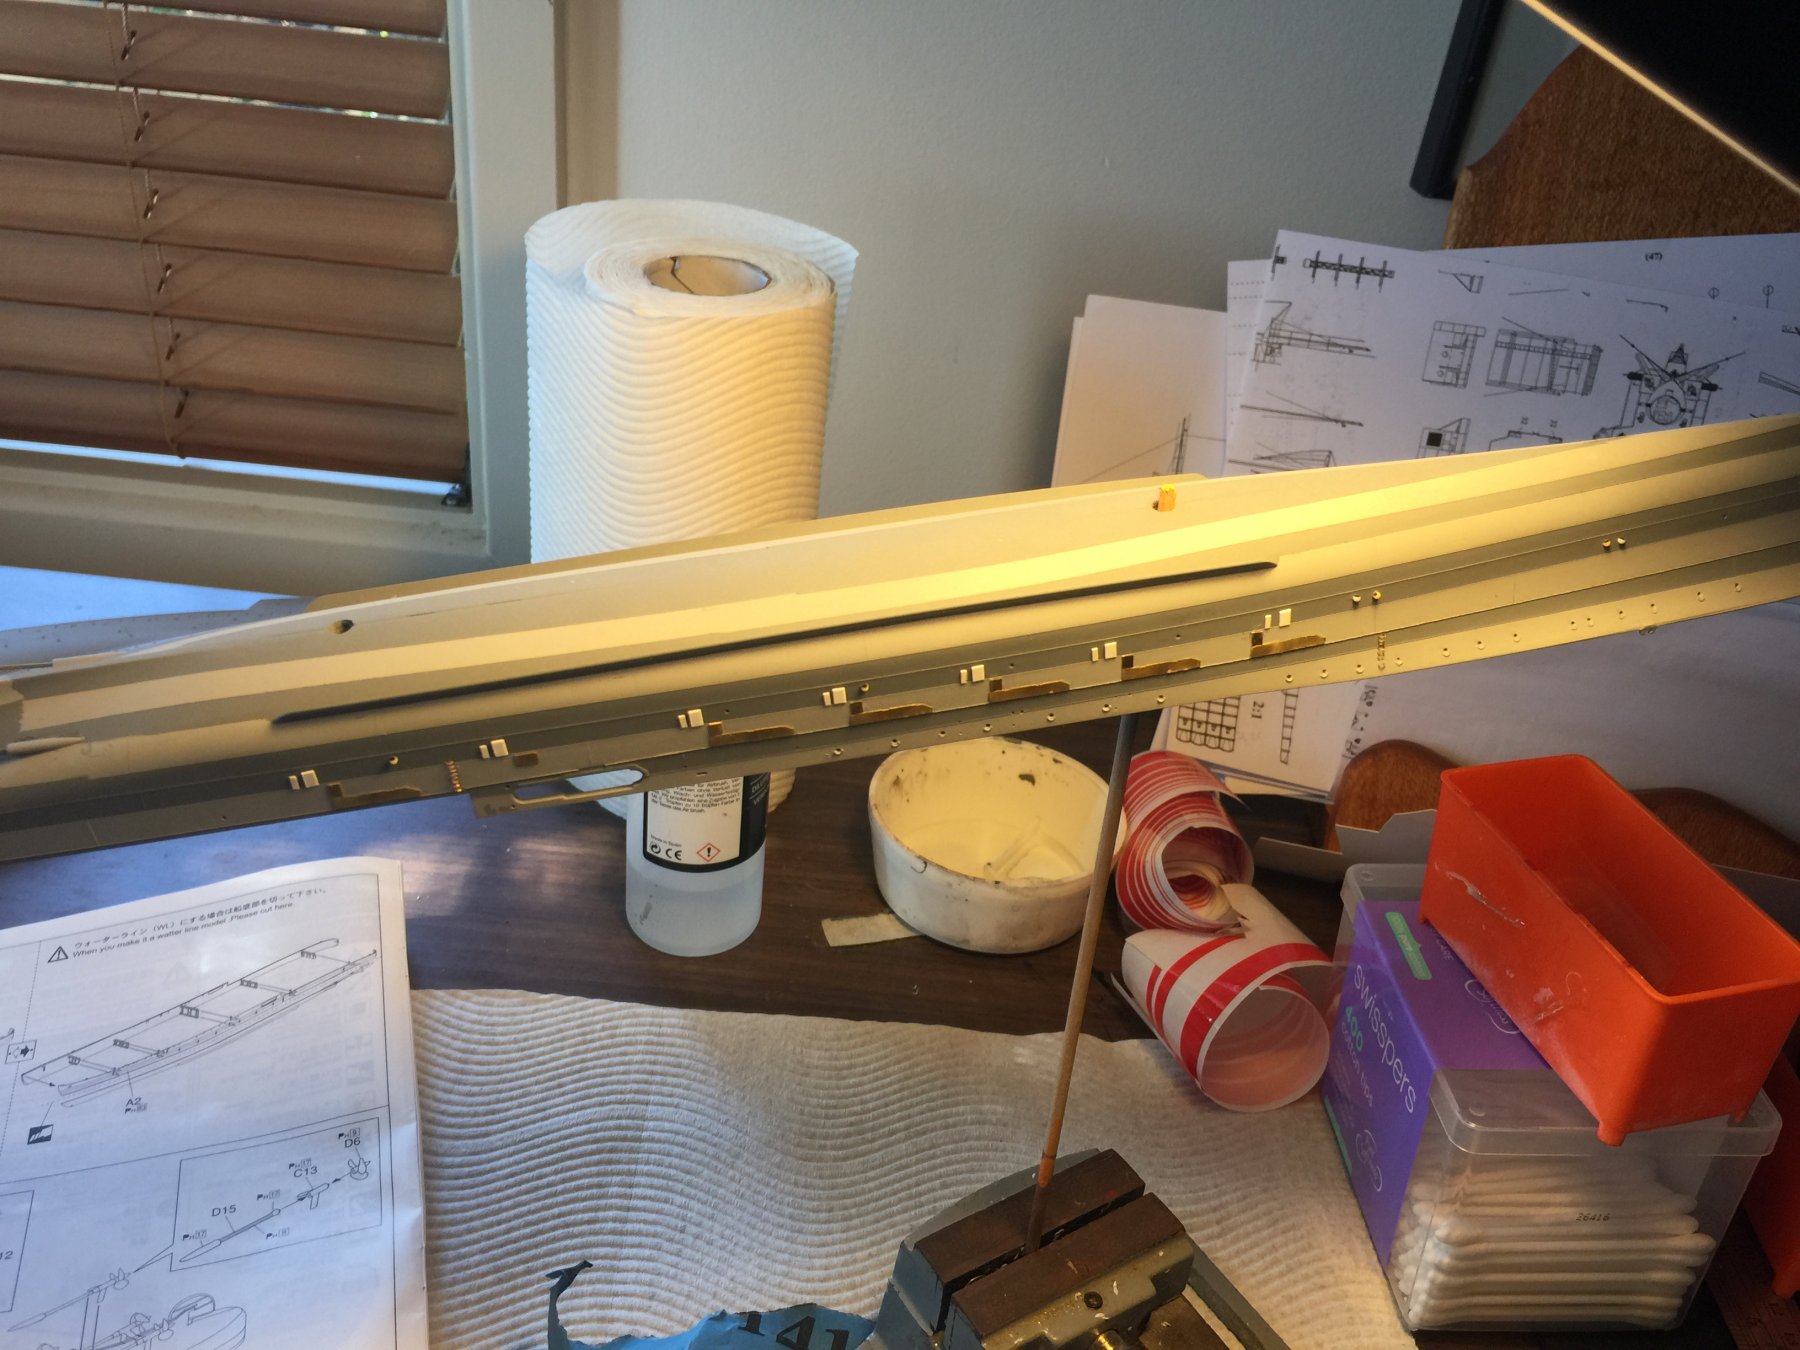
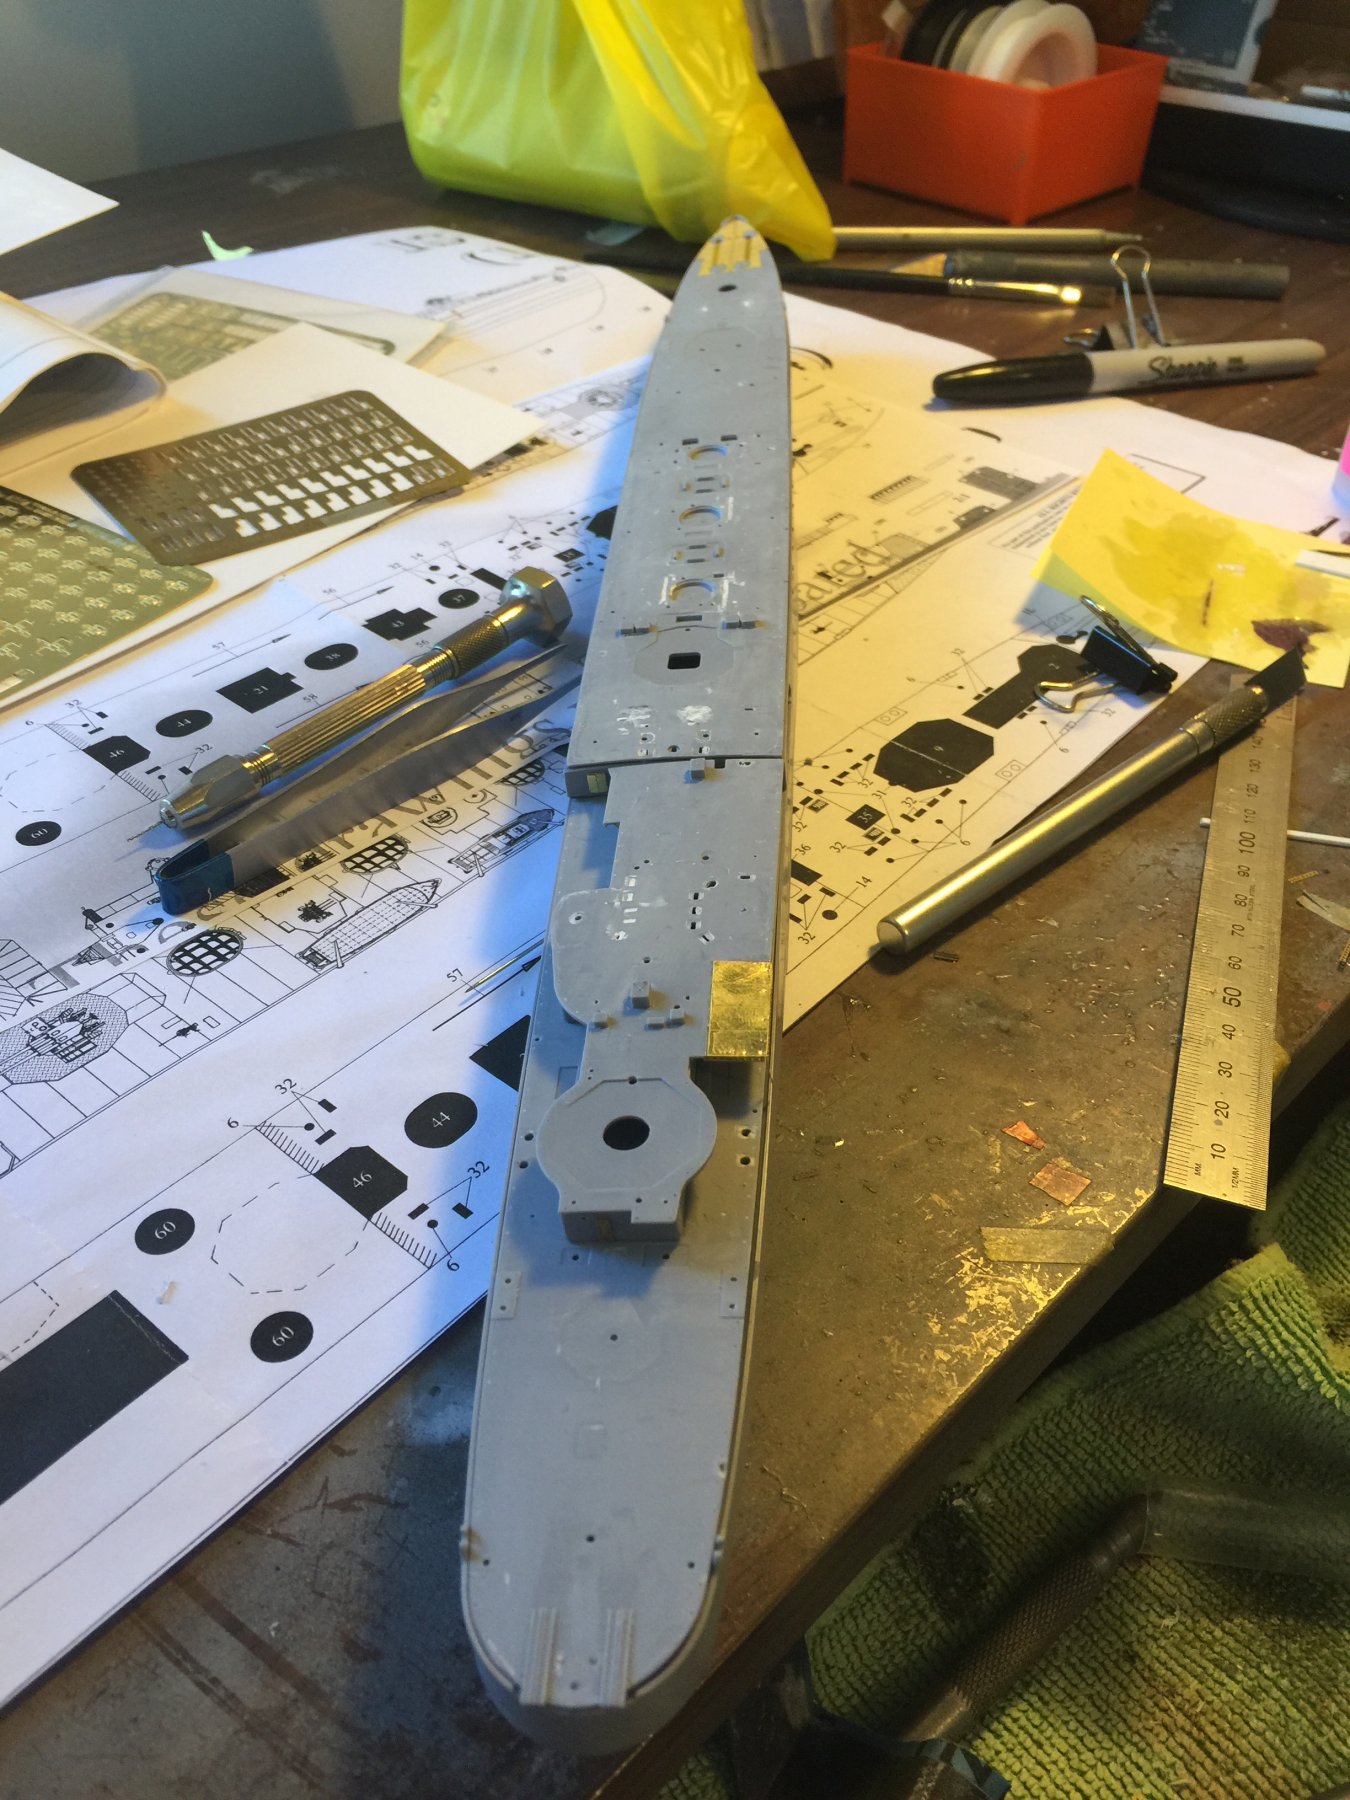
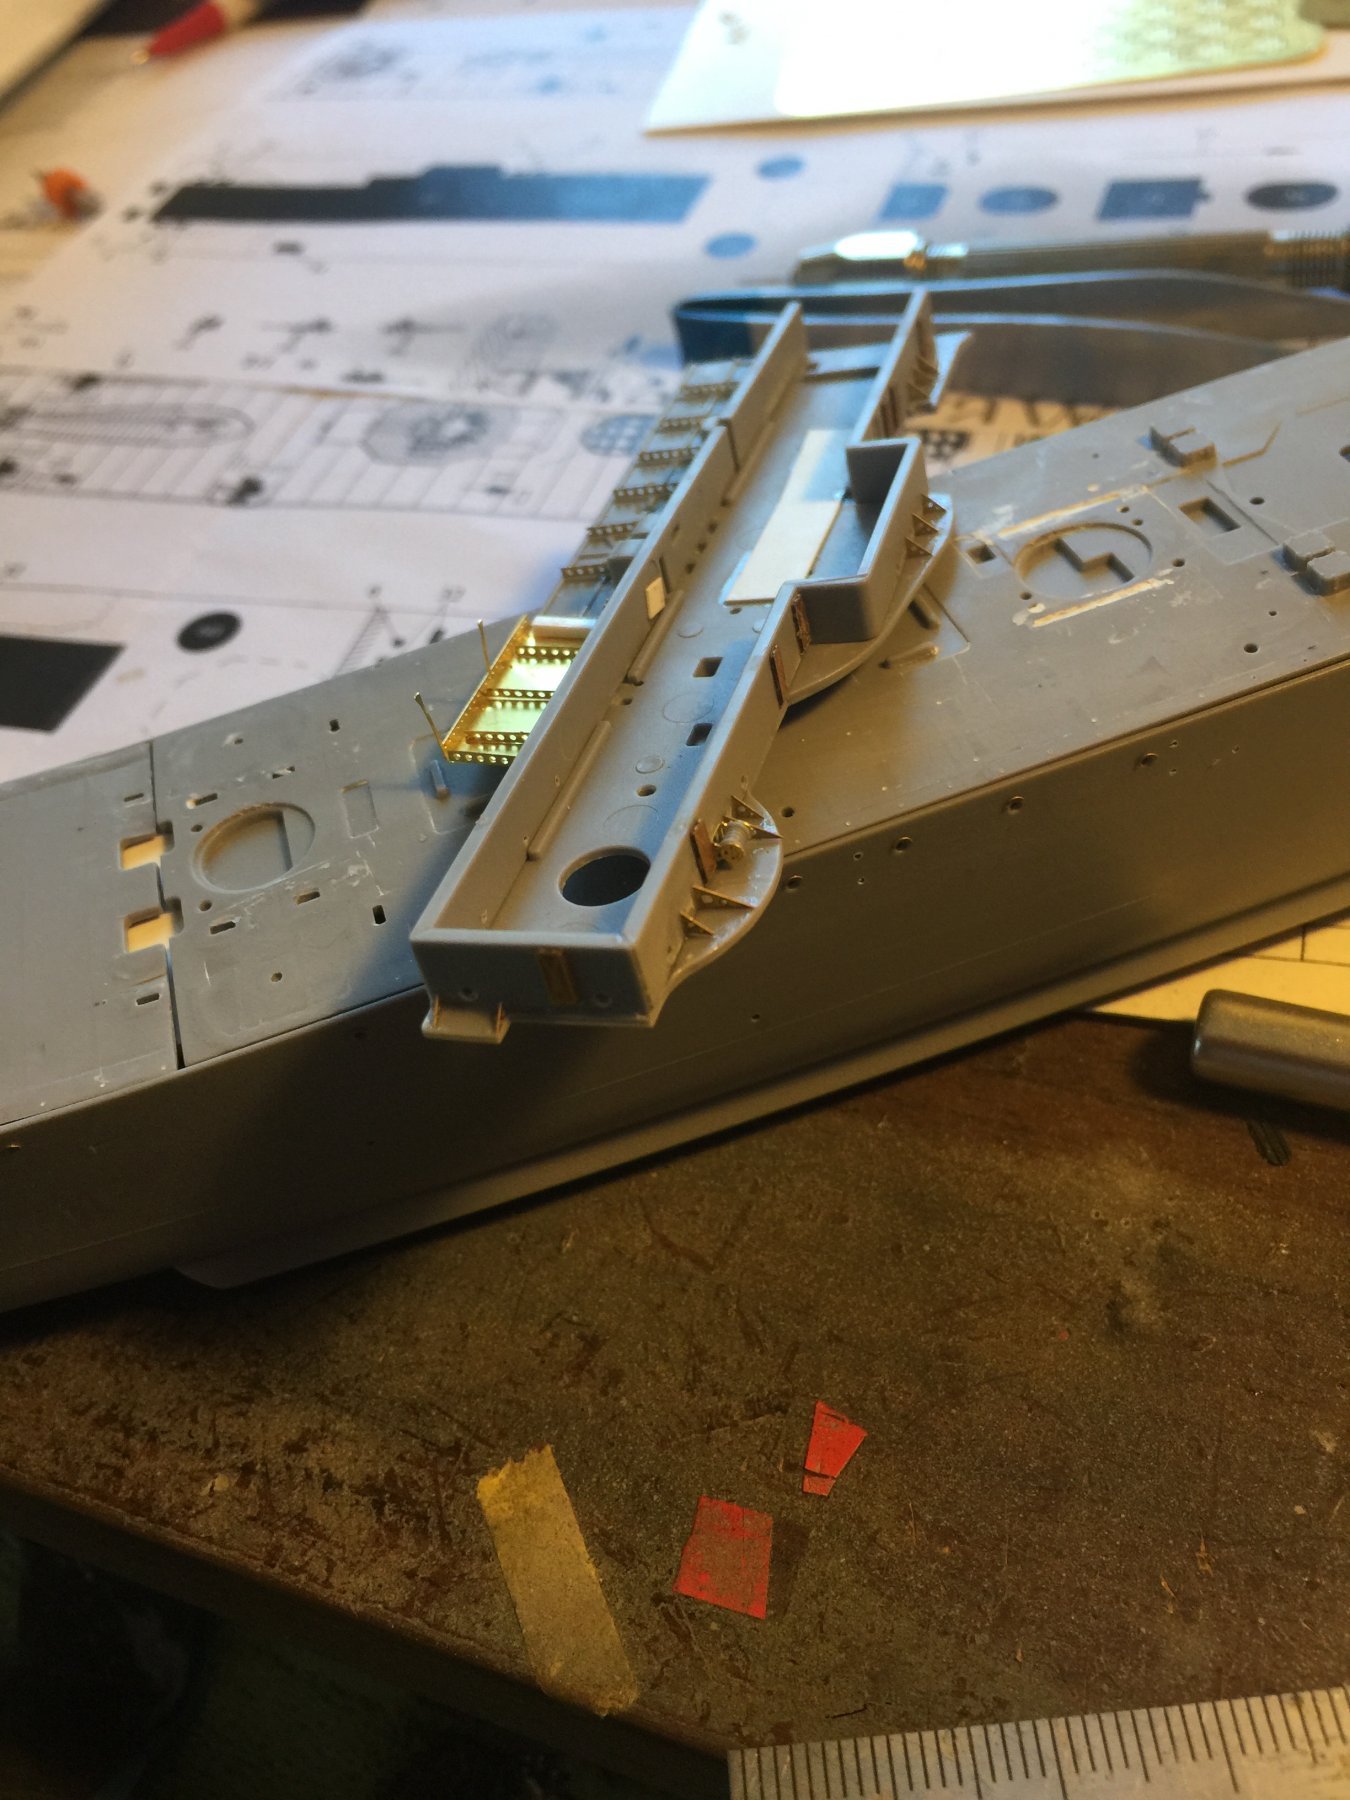
Prop shafts done and the final coat of primer. I cut off the plastic shafts and replaced them with brass rod.
The sea sea steps were filed off and replaced, I've always tried to use North Star steps and it's just hard work to trim and place them, but the idea came to me to use railings from PE, bent over my metal ruler which are easier to handle and look better.
Now I actually have some panel lines to work with preshading etc will be a lot more 3D than making it up.
Before i I get there tho I have to practice some new weathering techniques on a spare hull.

- Ryland Craze, hexnut, Canute and 8 others
-
11
-
It's not the size of your paws, it's the size of the tweezers
- hexnut, popeye the sailor, cog and 2 others
-
5
-
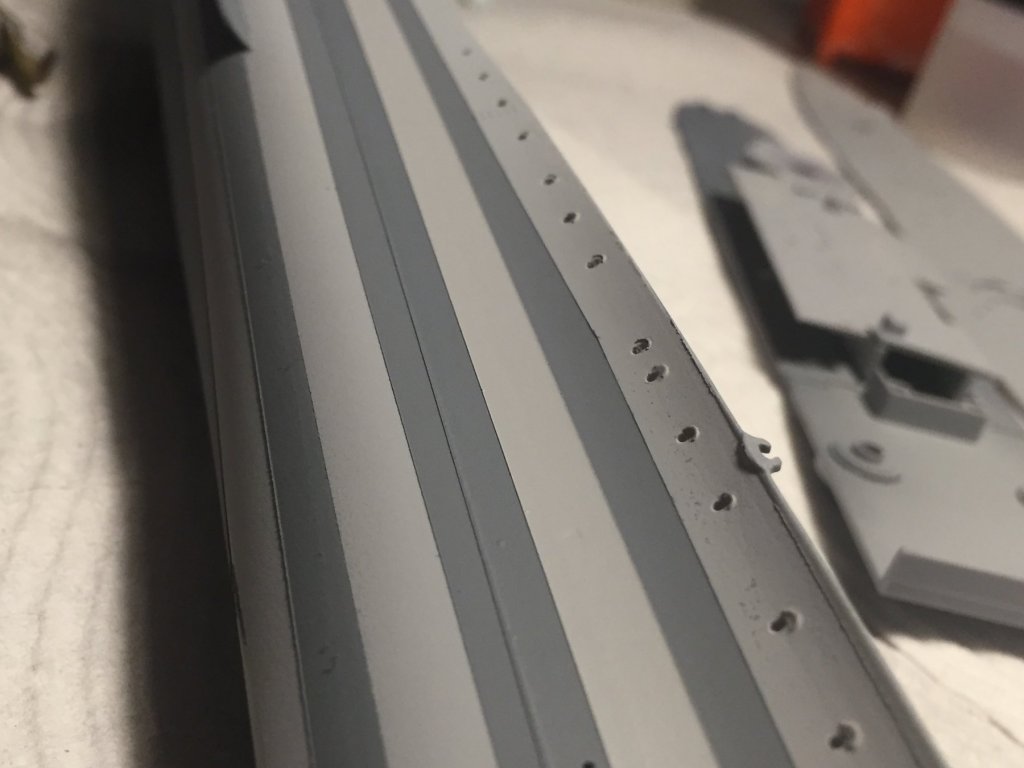
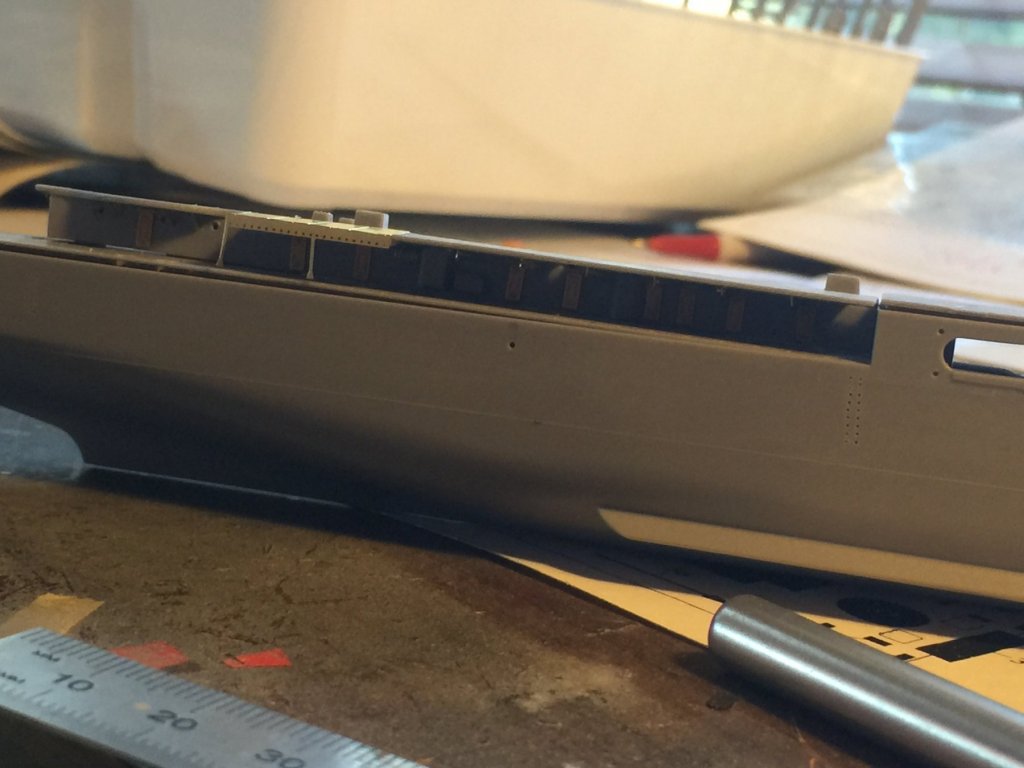
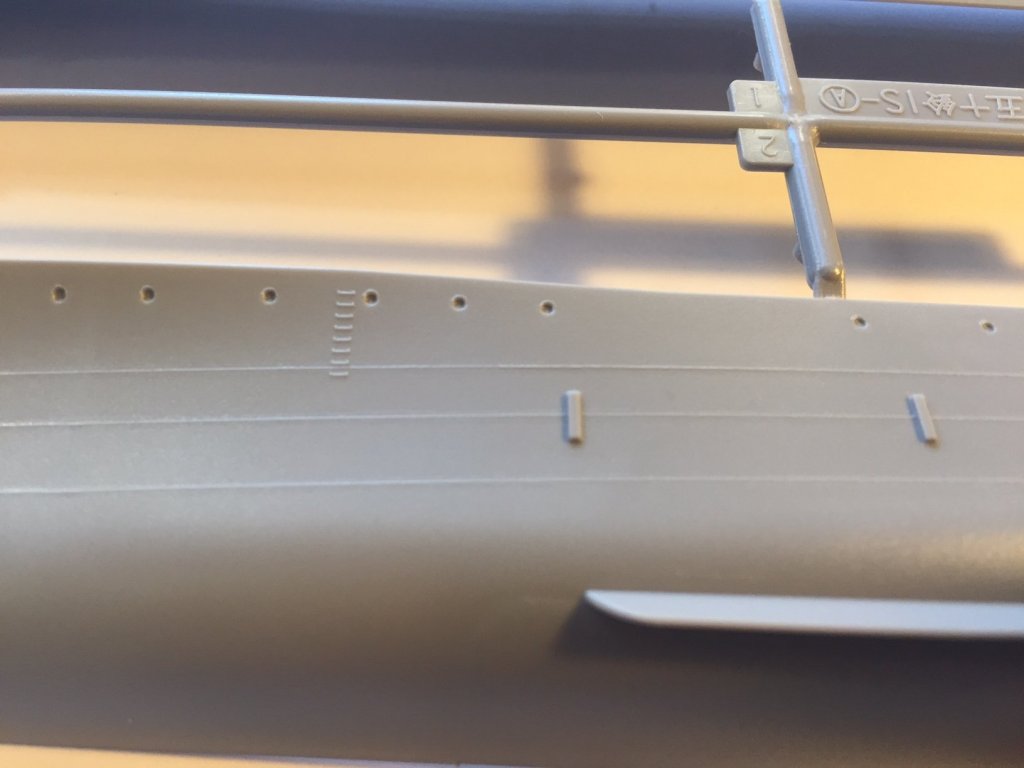
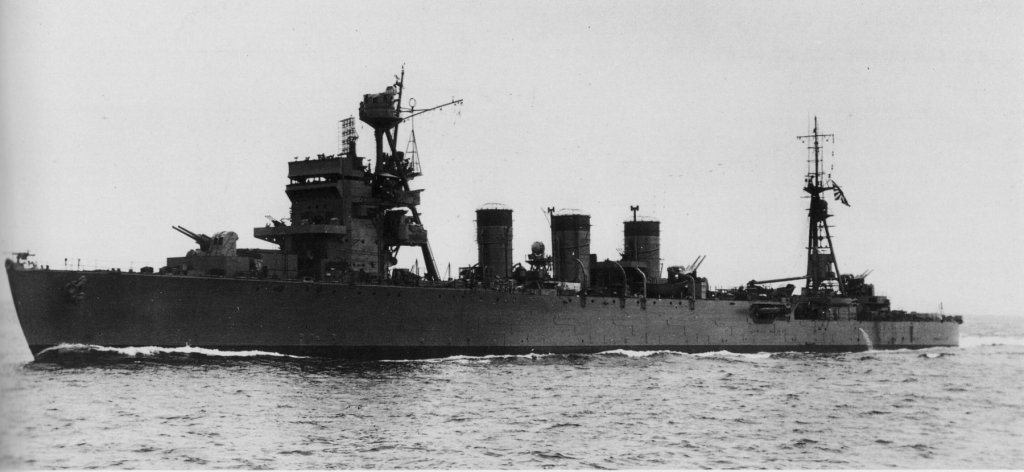
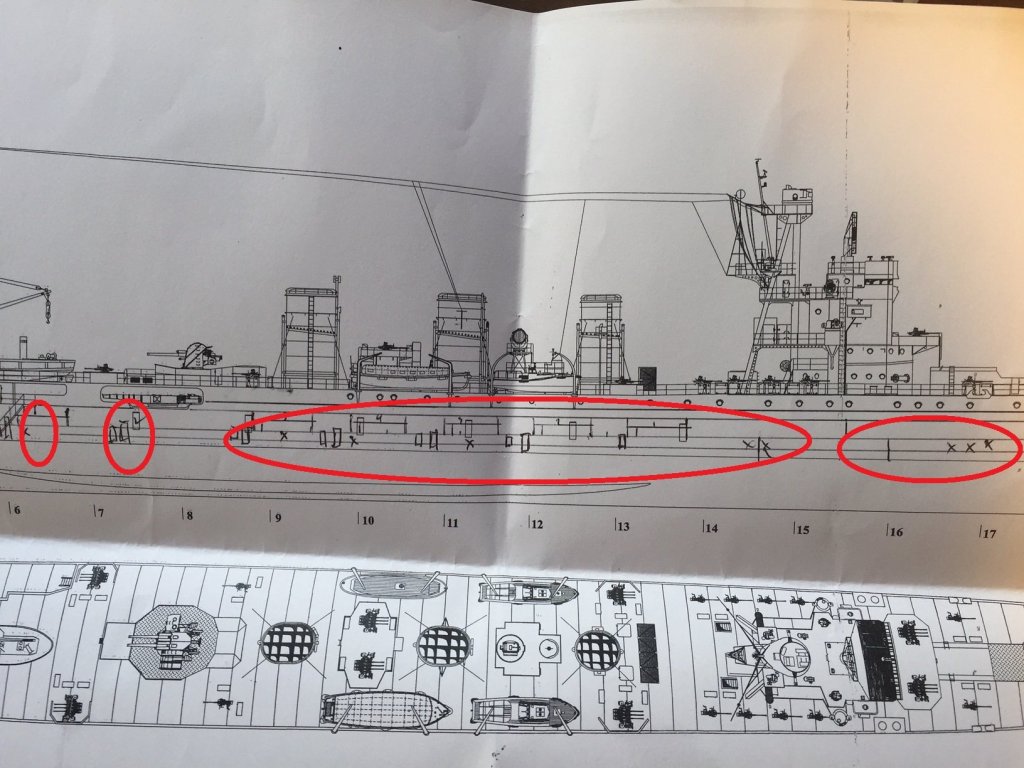
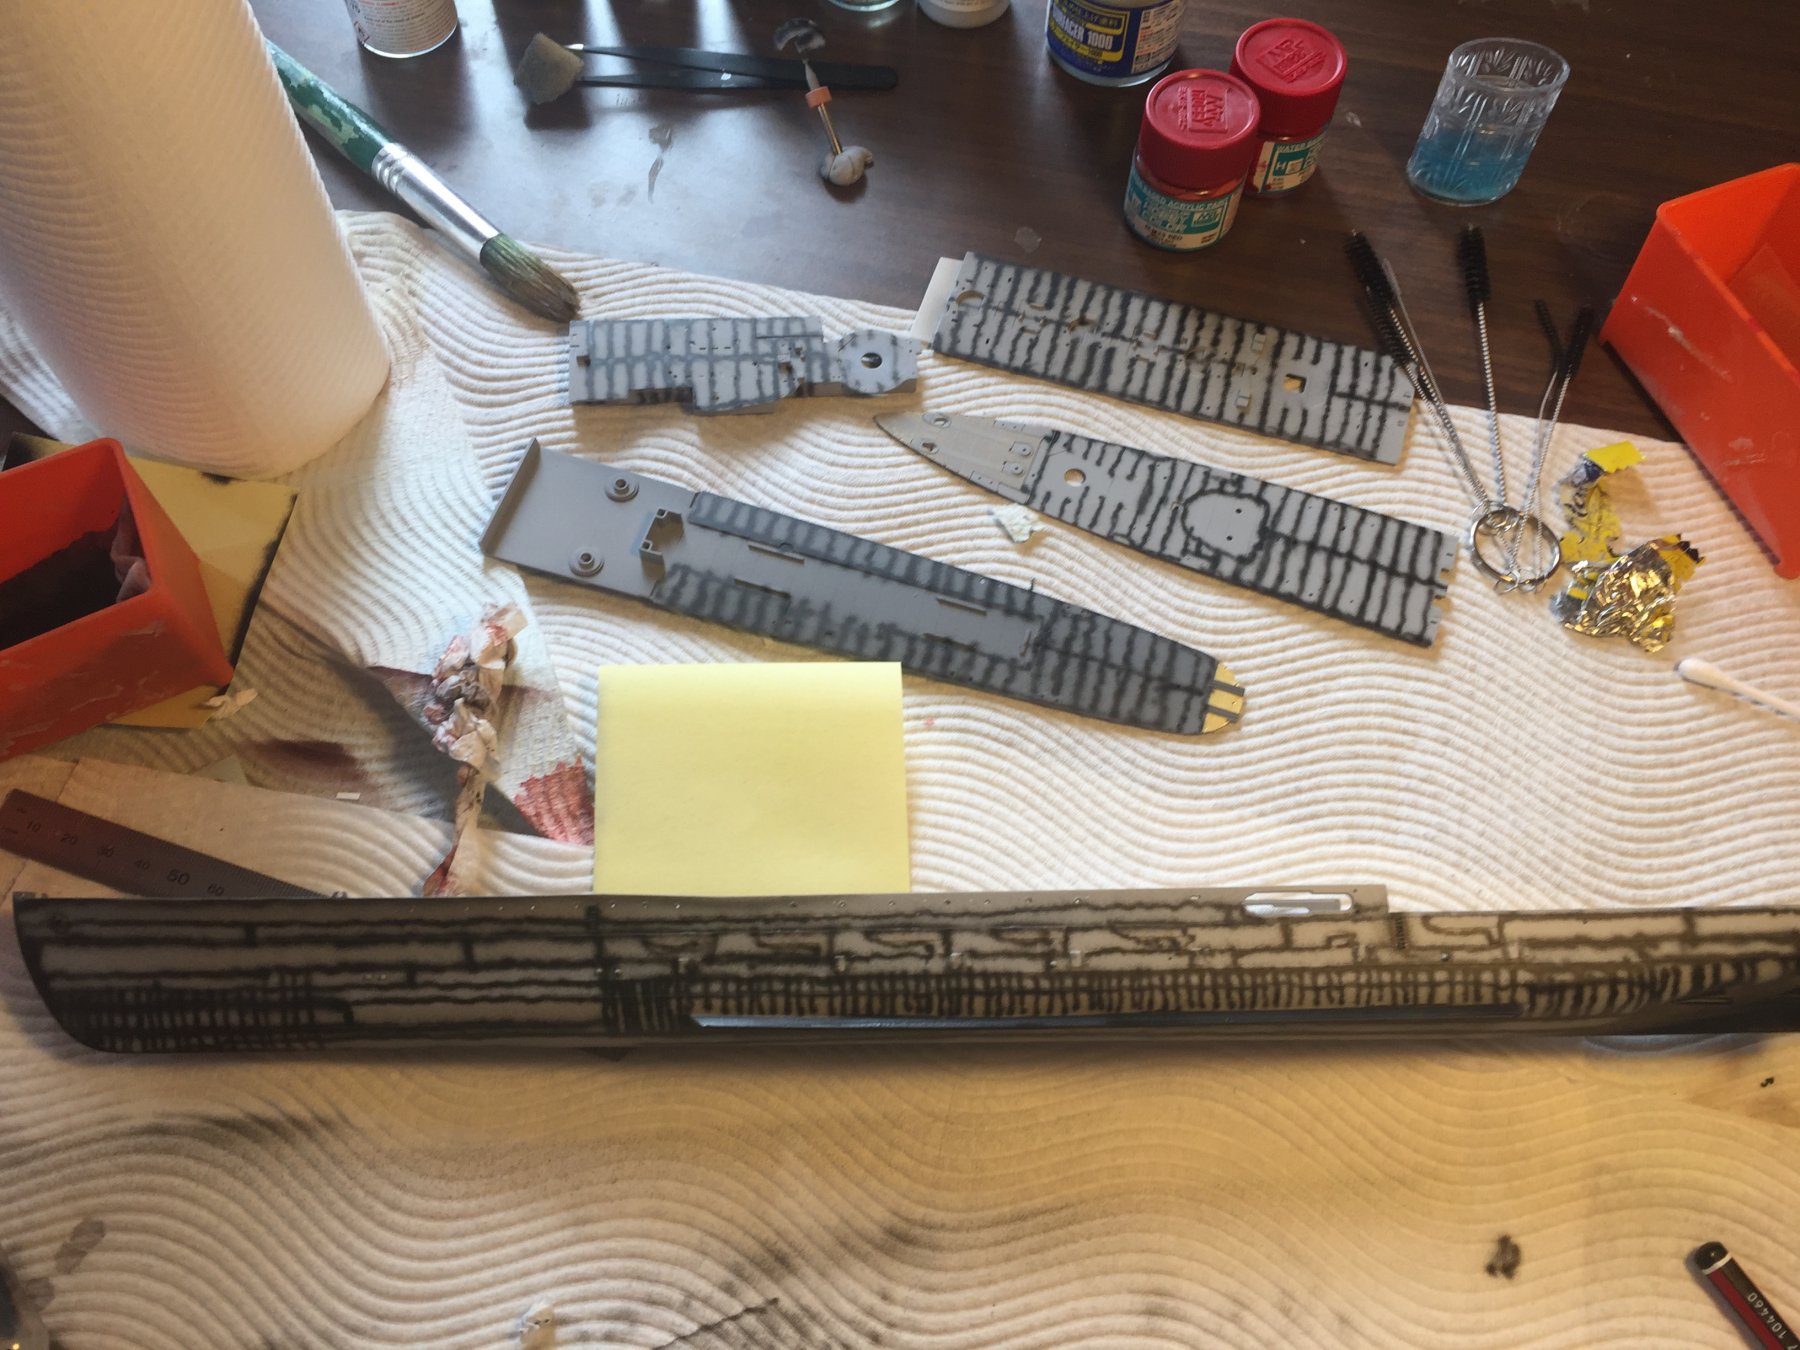
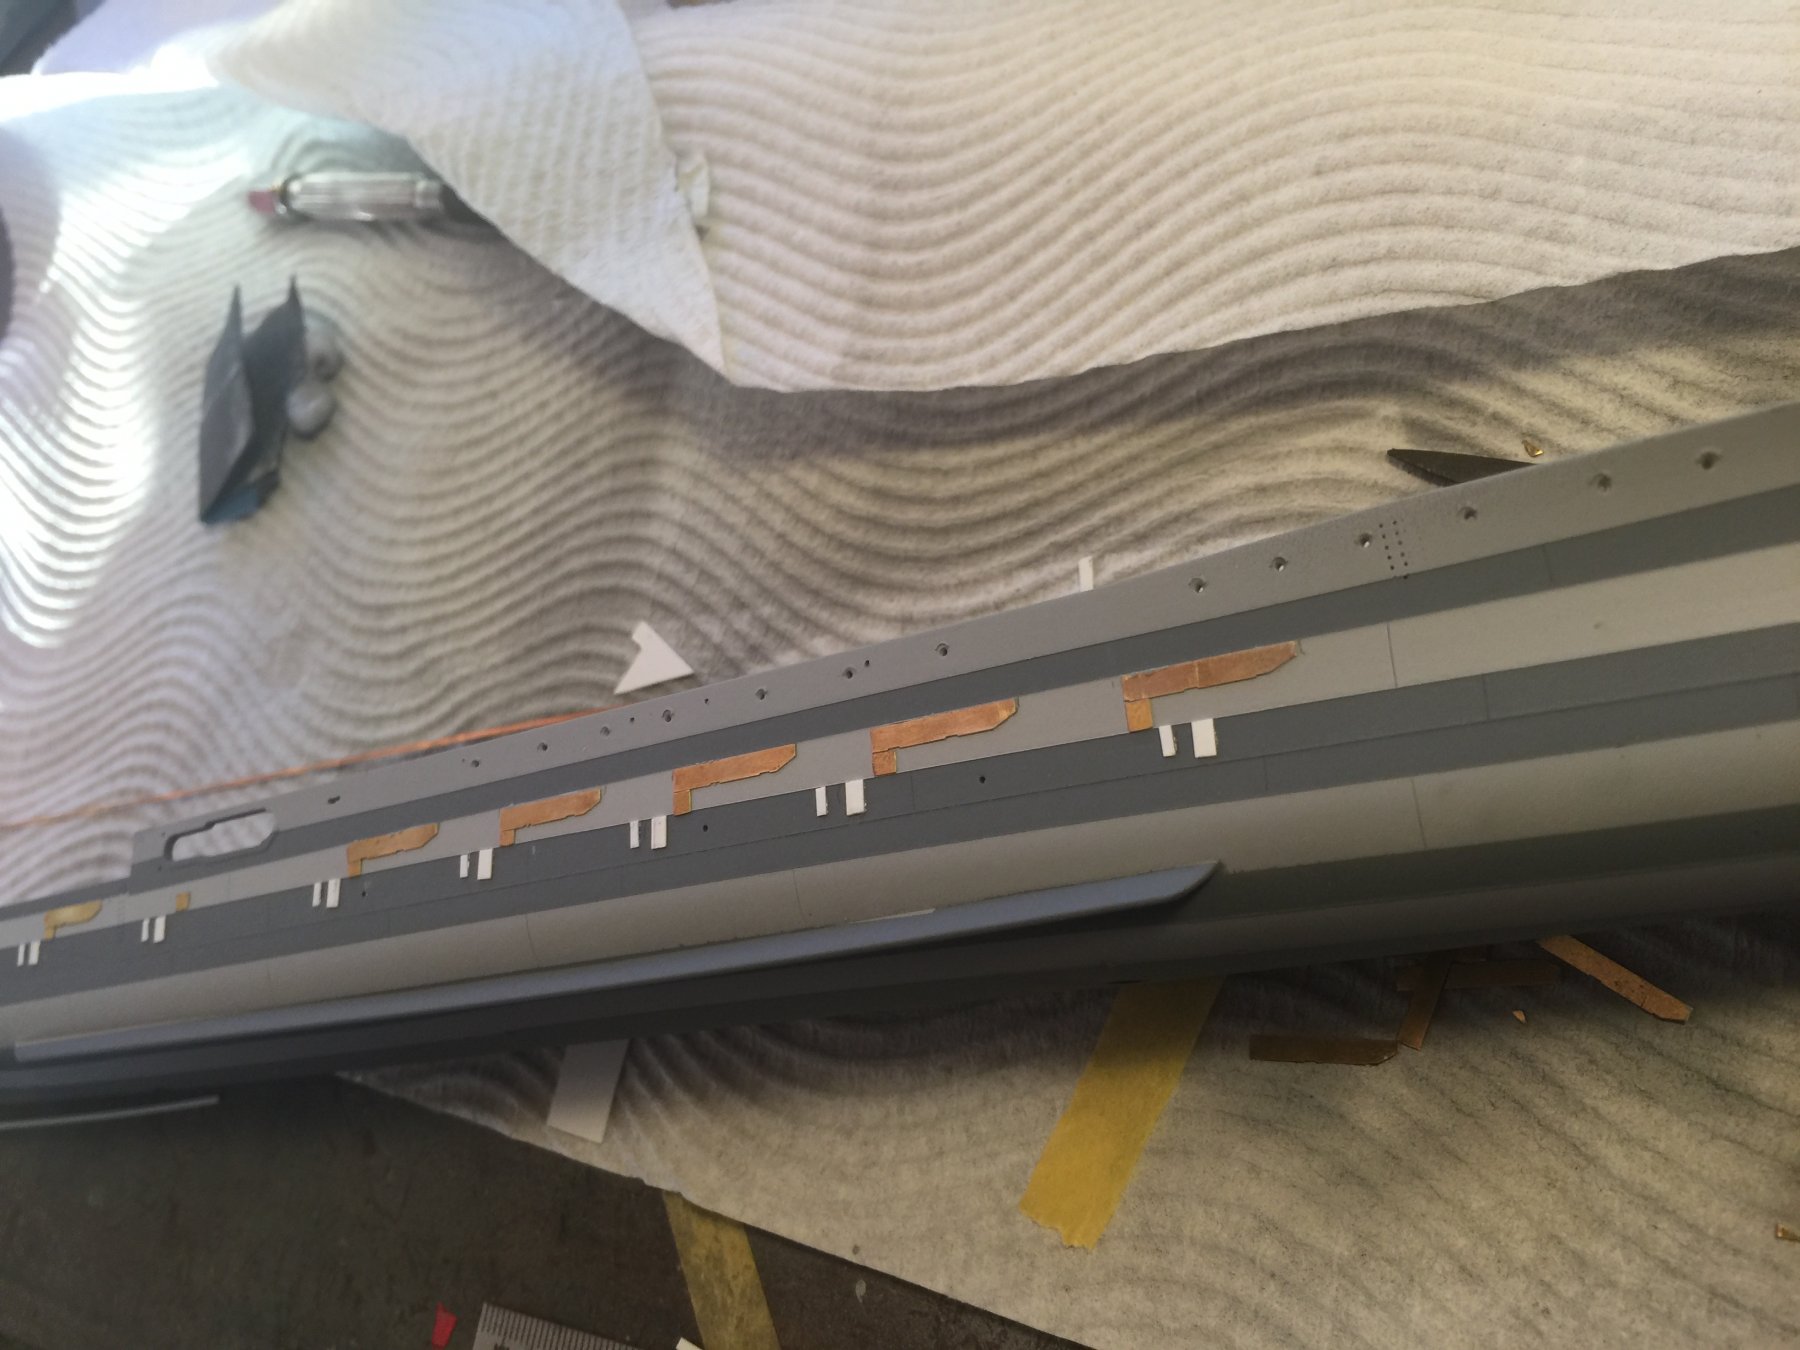
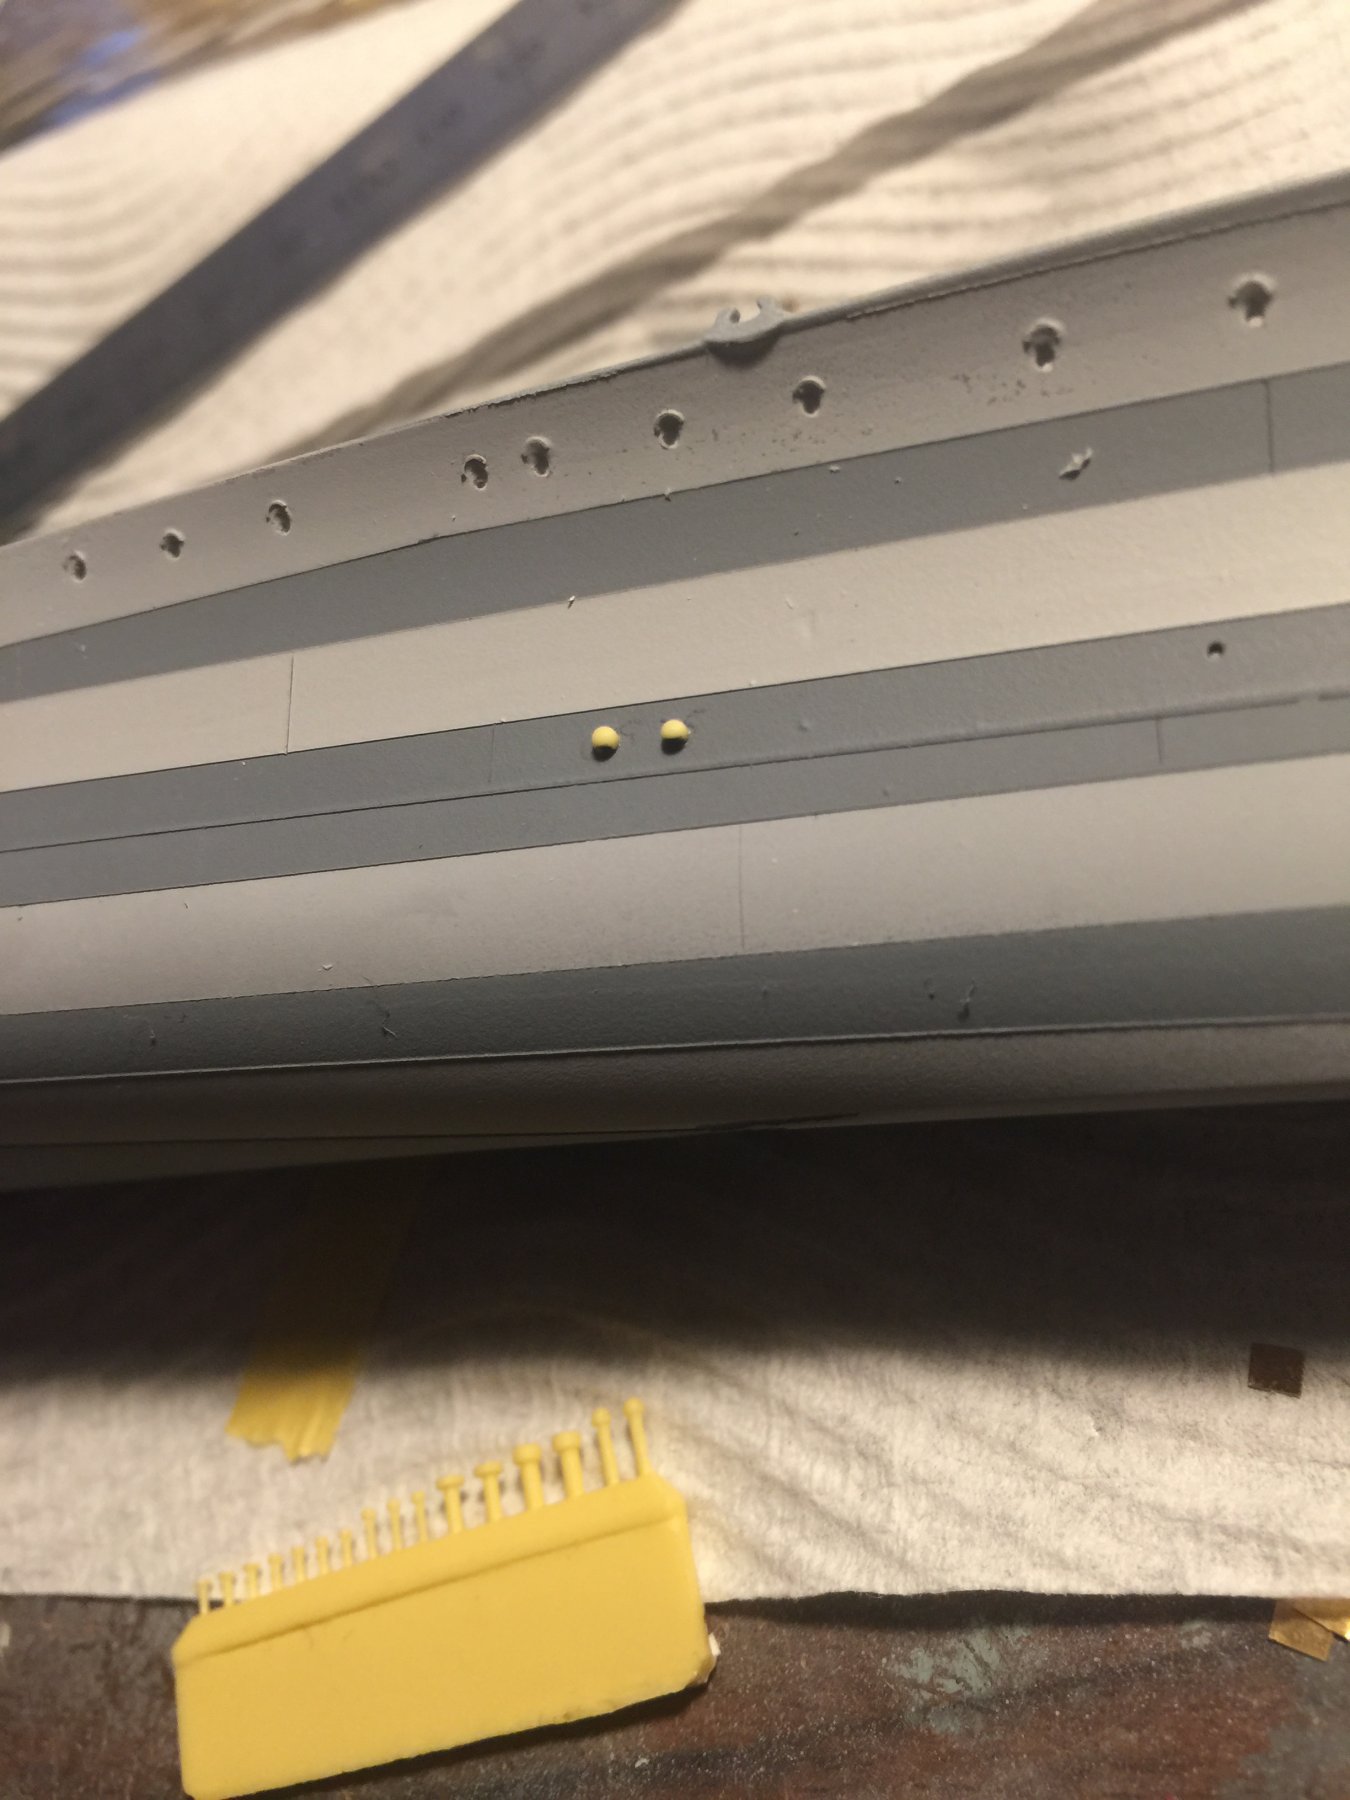
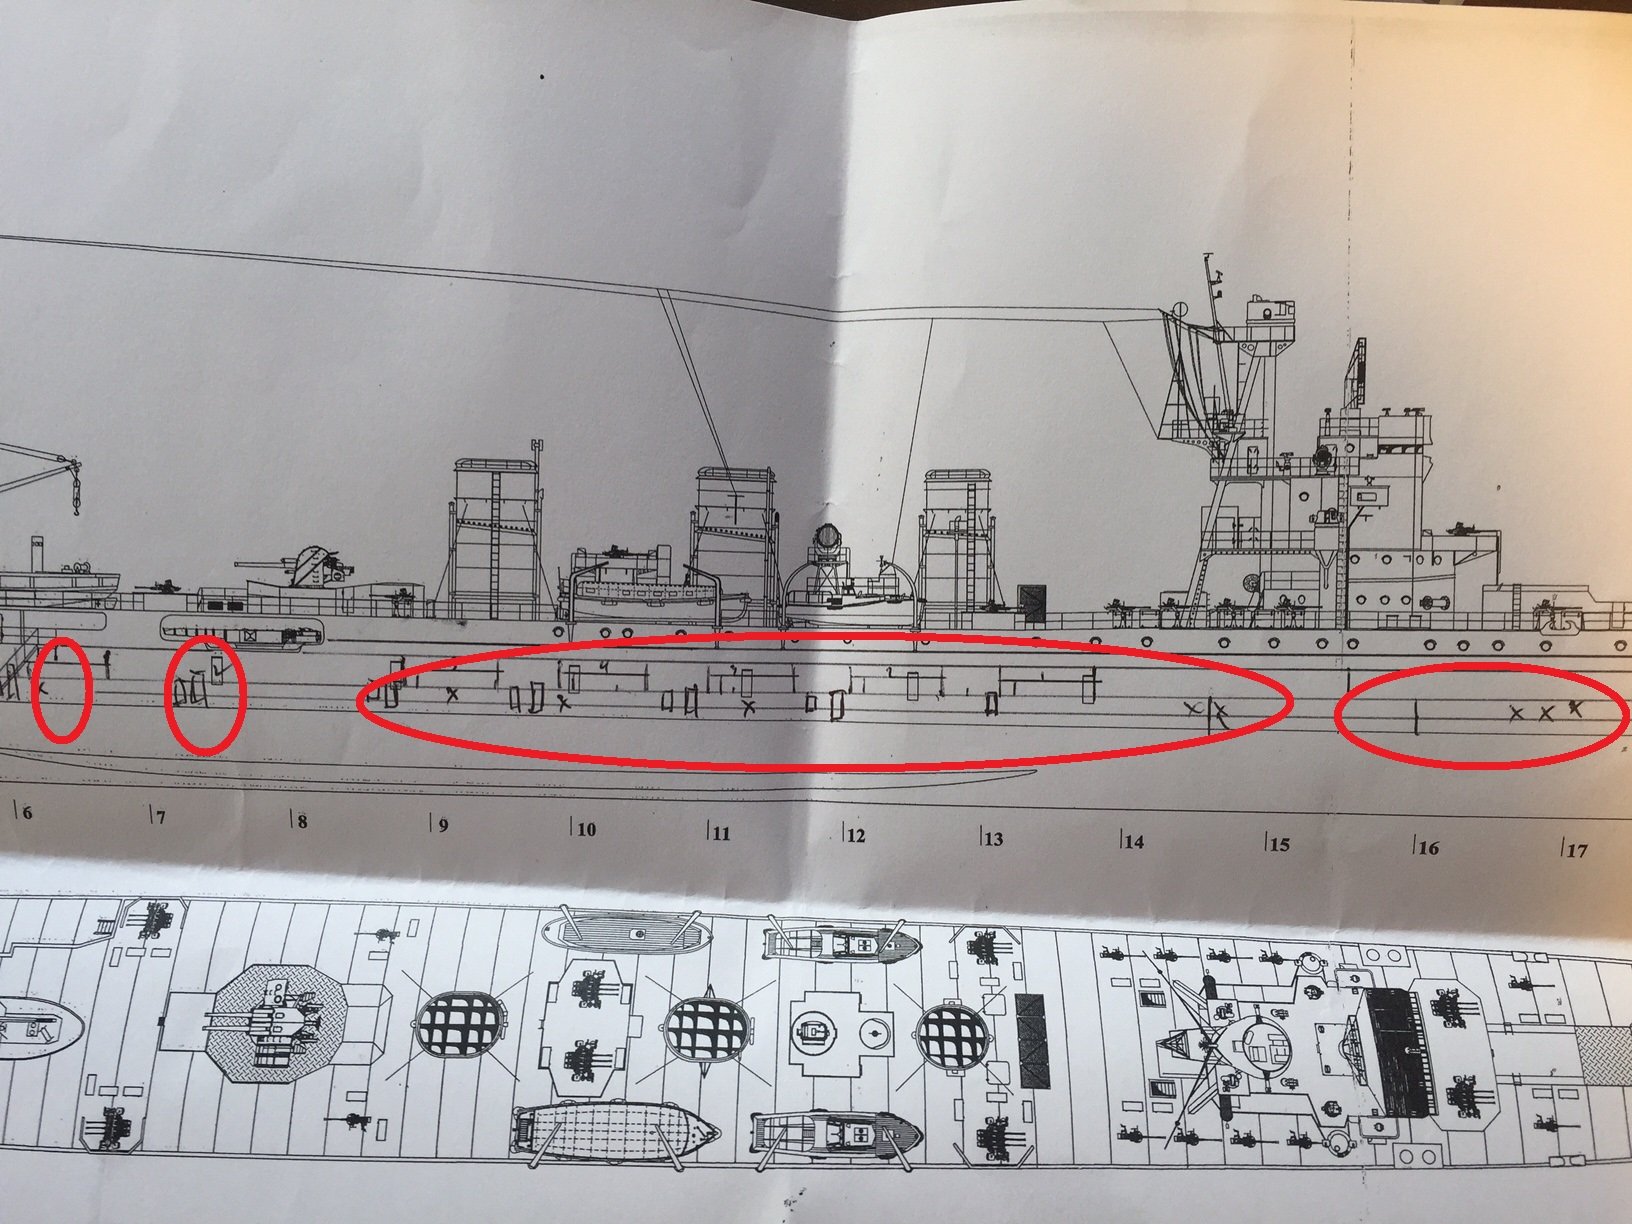
If you zoom in on the second photo, you can see strange rectangular panels on the hull, which have been suggested as strengthening strikes but I'm not convinced. There are also what appear to be longitudinal scuppers beneath them and little bulbous scuppers just above the waterline.
I used offcut PE for the 'strokes' as it is easier to work with and very thin, evergreen strips for scupper pipes and half sanded vents in resin for the waterline scuppers.
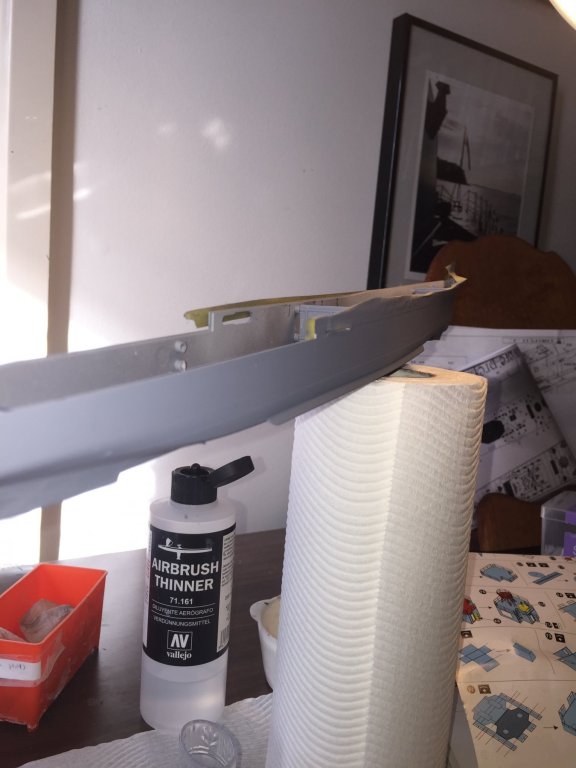
There is is another layer of primer to go yet before pre shading so it won't be so stark. The hull panel lines were easily cut into the multiple layers of primer. The hull ladder rungs to go.


-
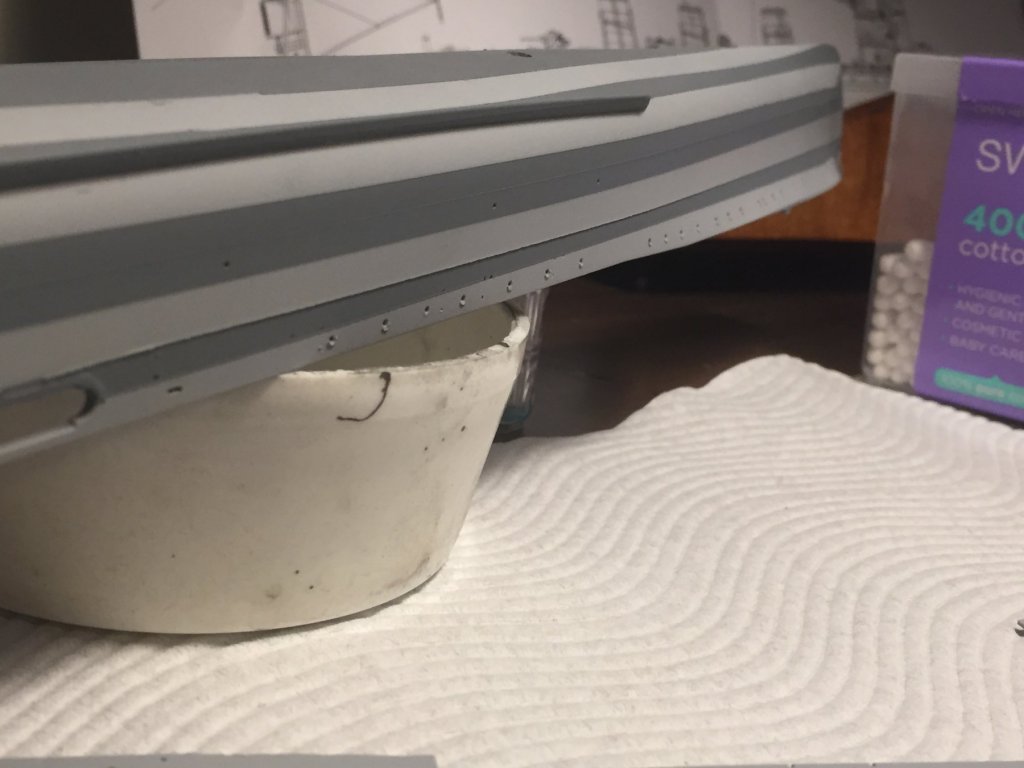
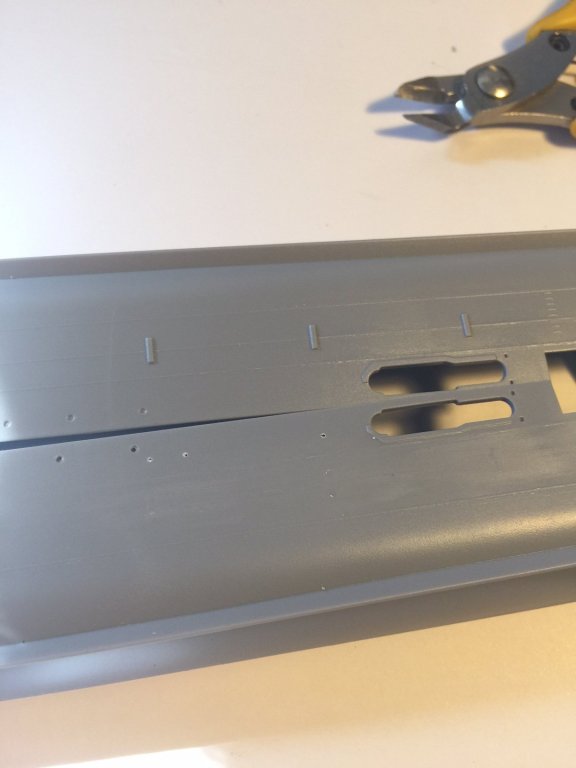
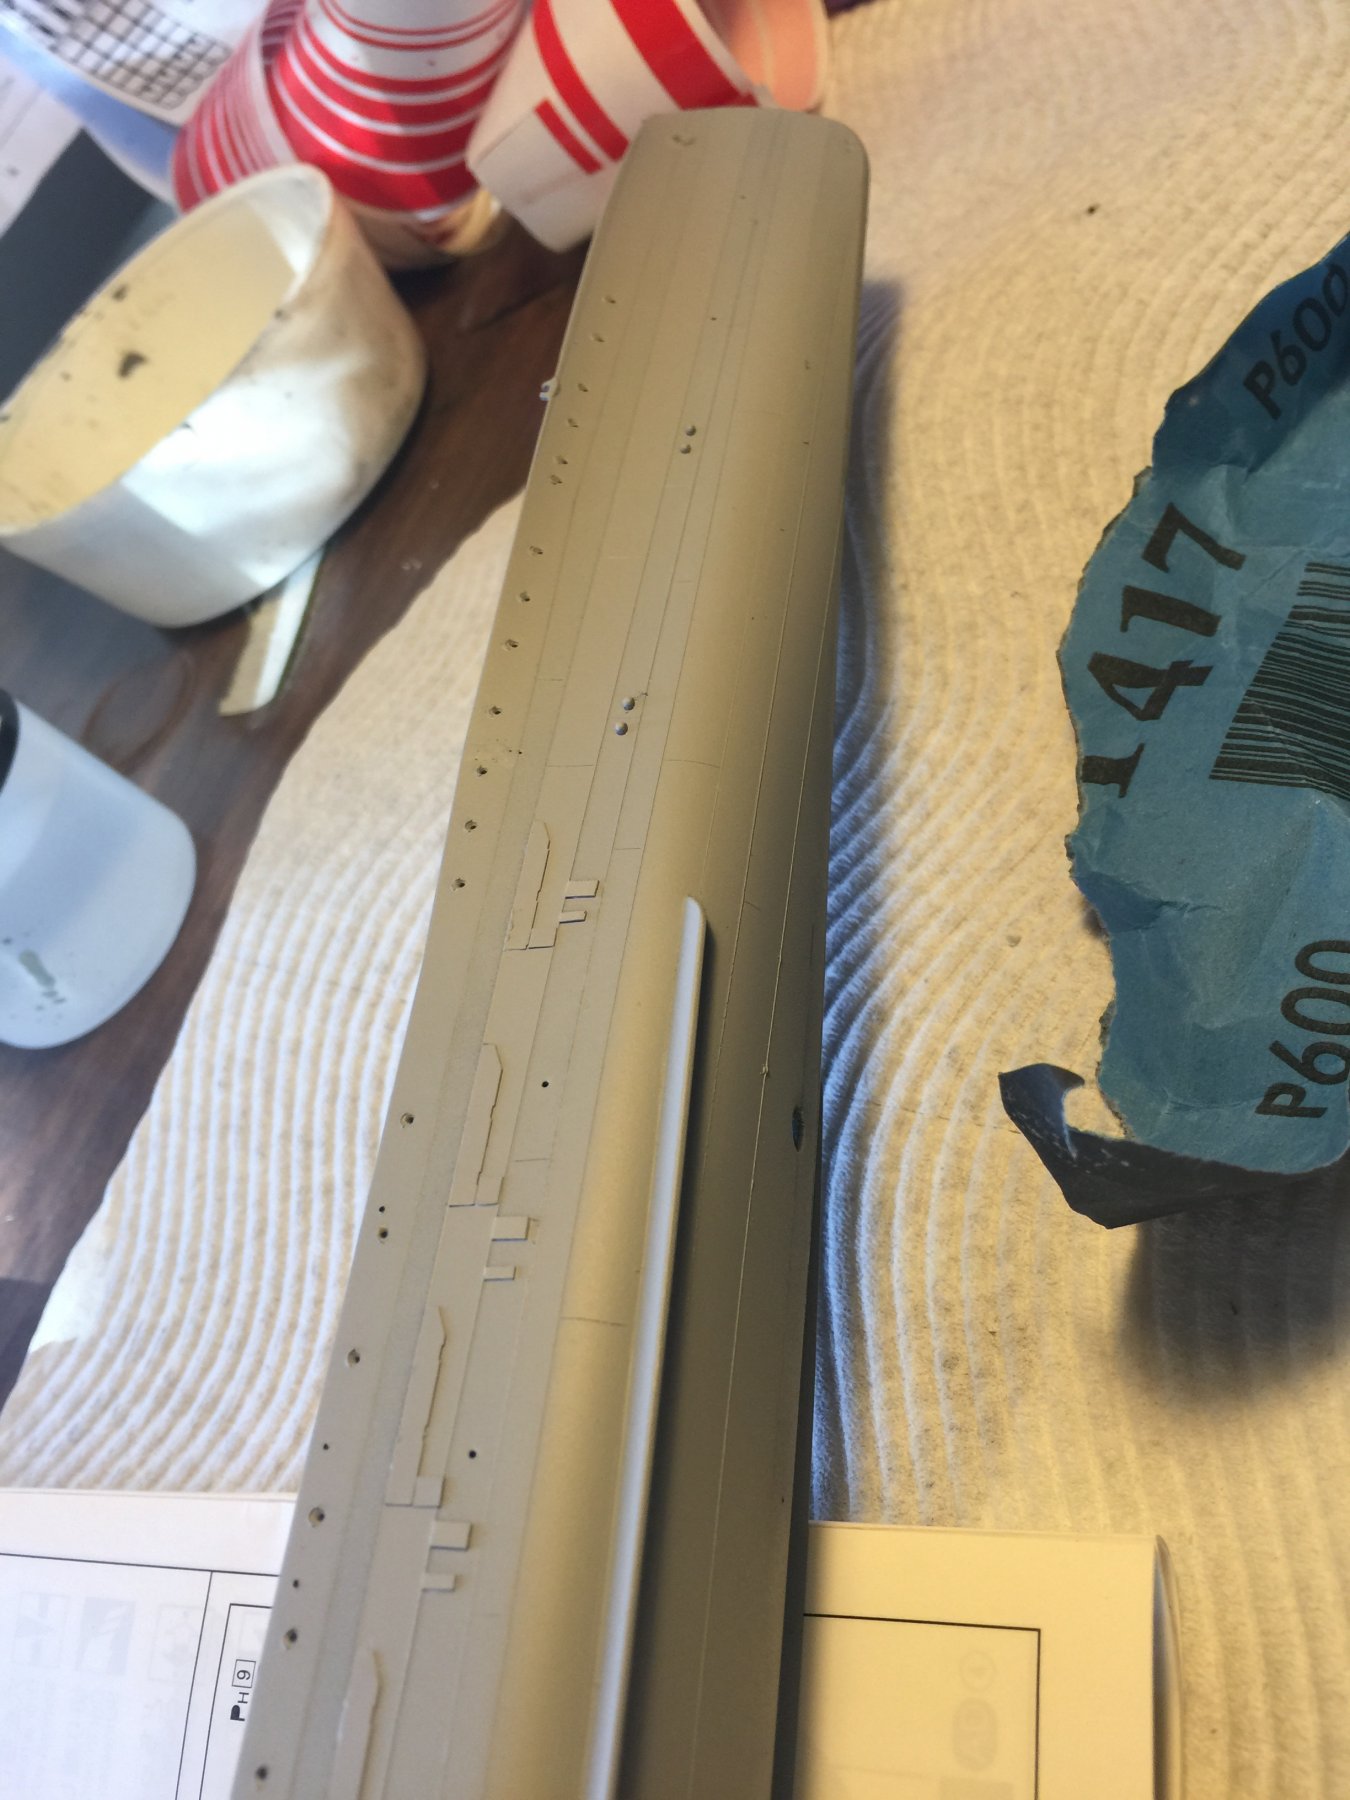
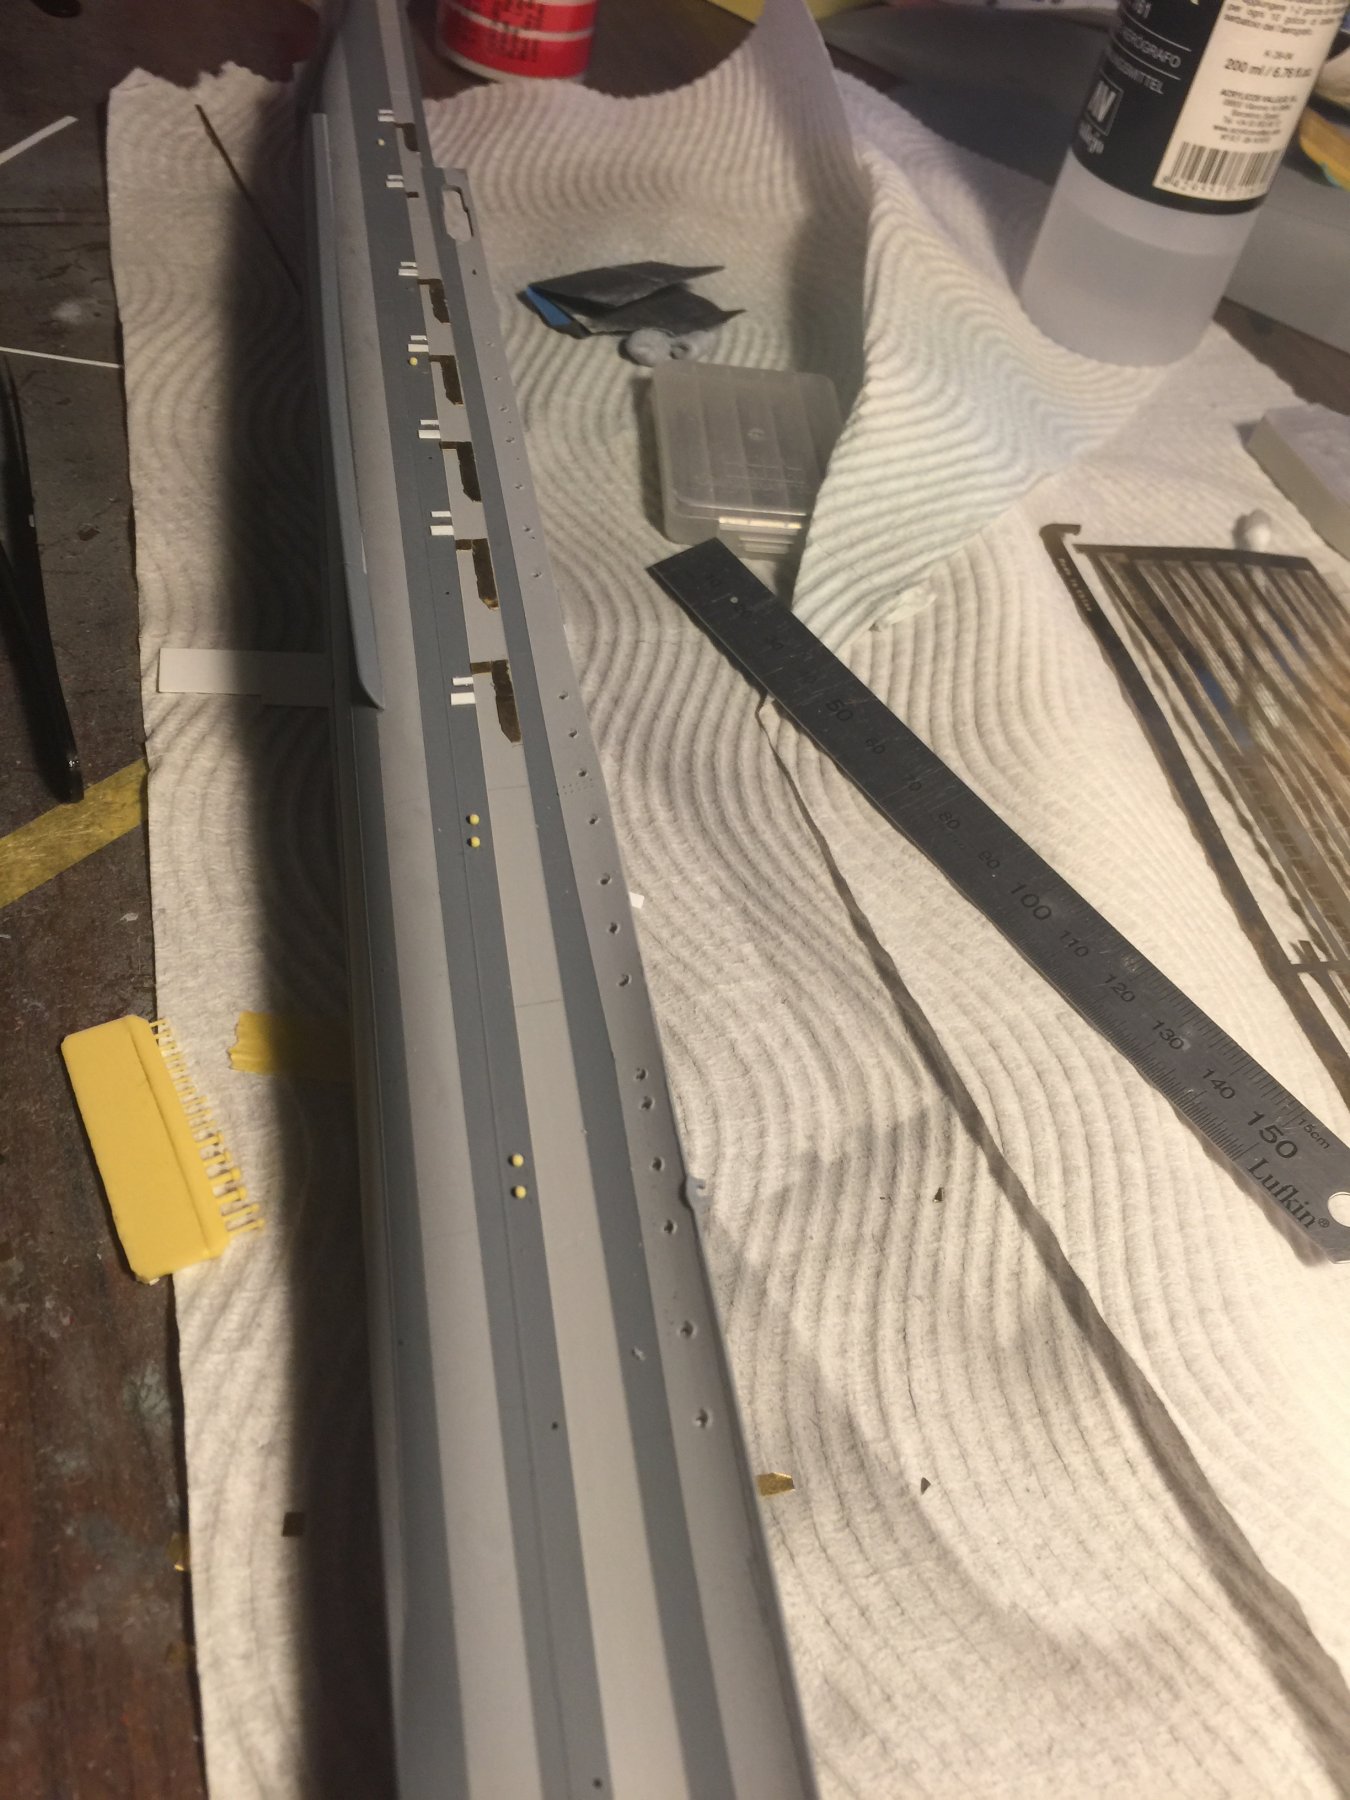
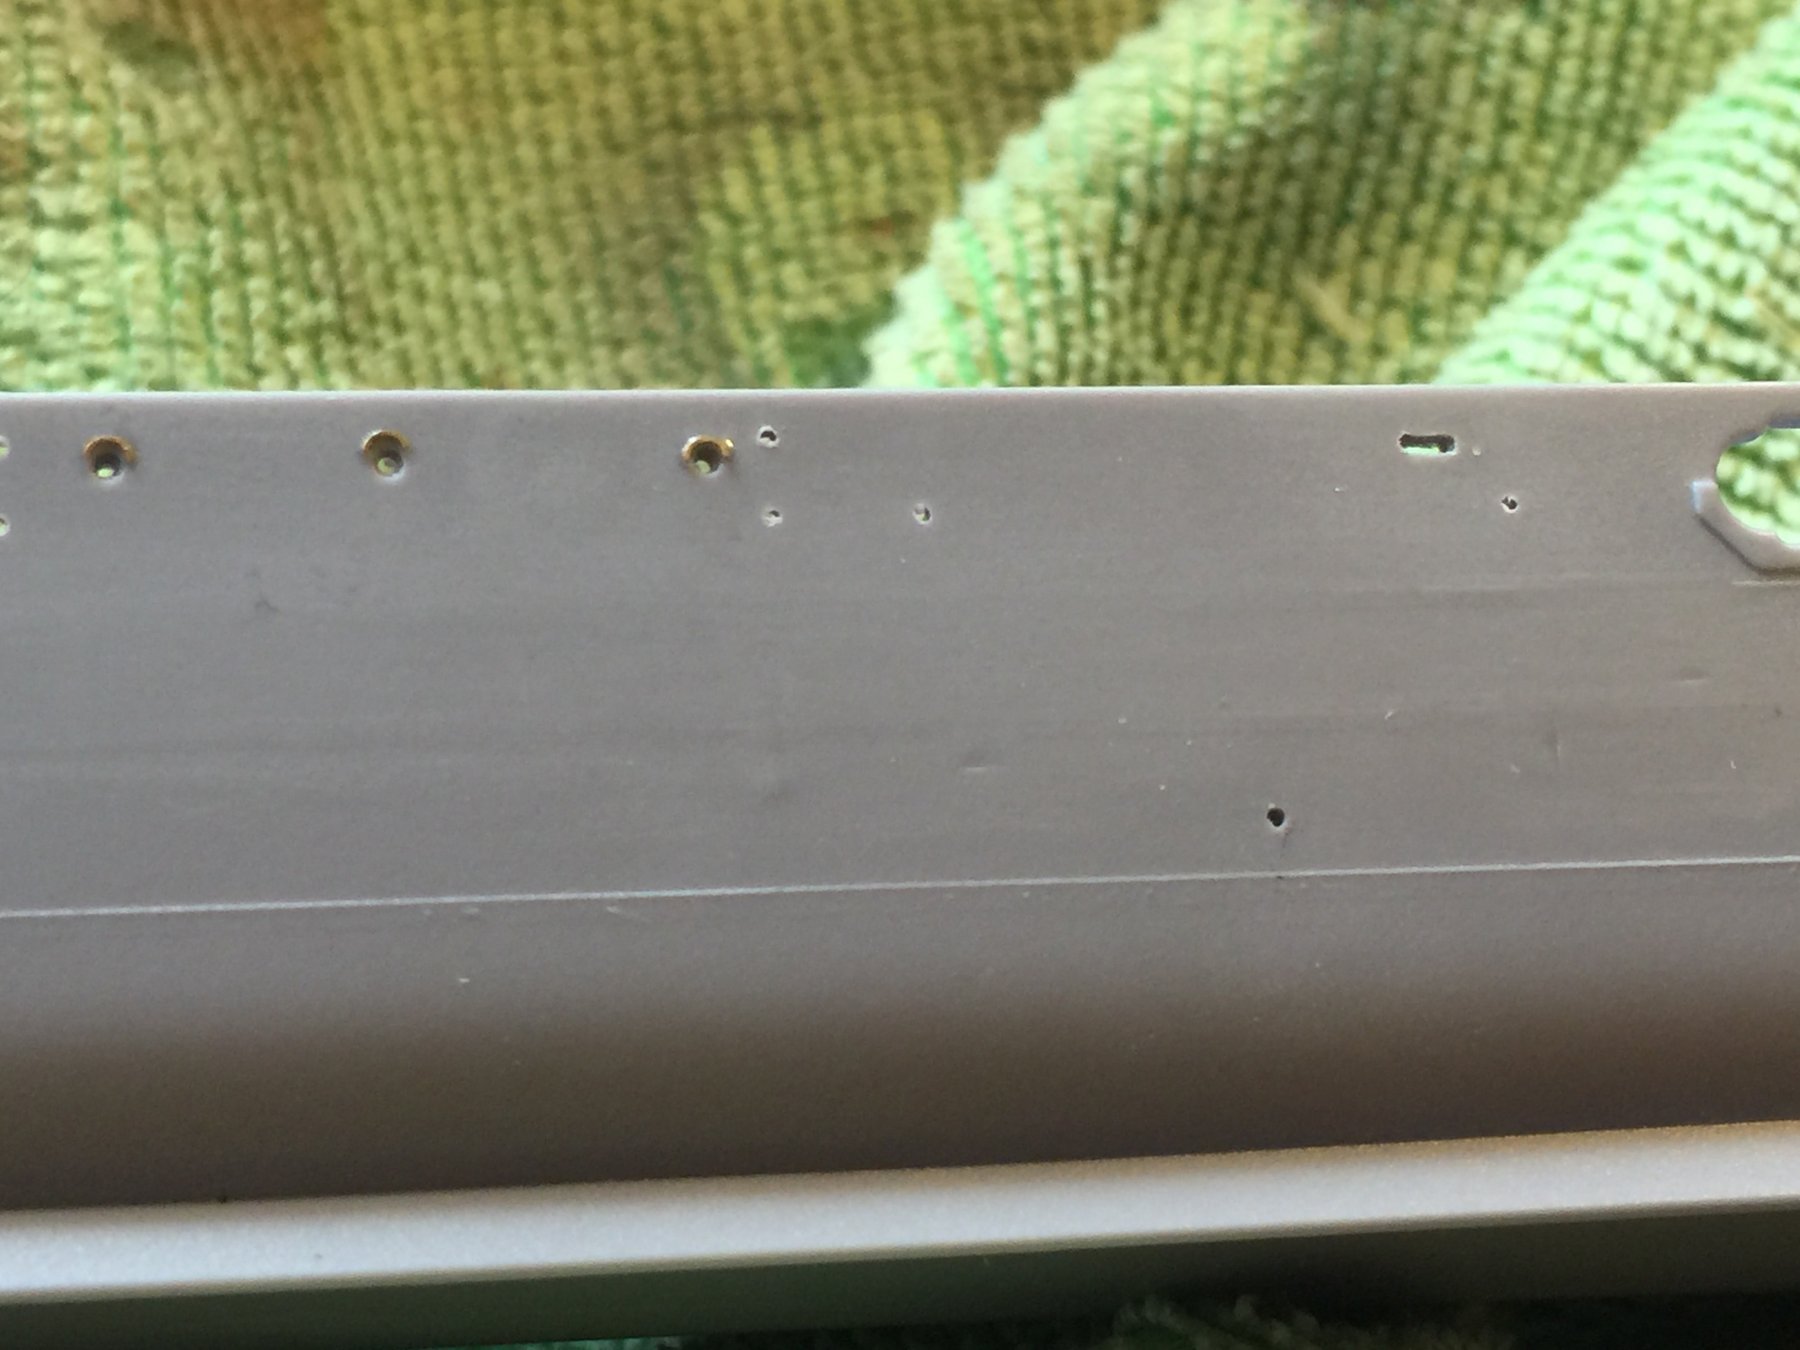
After much masking and multiple coats of rattle can primer, I have replicated the hull plates, which I'm actually quite happy with. They are about .1mm higher than each other which should be correct for scale.
Most kits have scribed or raised seams which is just not accurate. Now I can scribe the individual plates and add the scuppers and the mysterious bits on the side of the hull before another overall coat of primer.
With pre shading to delineate them all I'm hoping it will come up ok in the end before it gets messed up with heavy weathering.

-
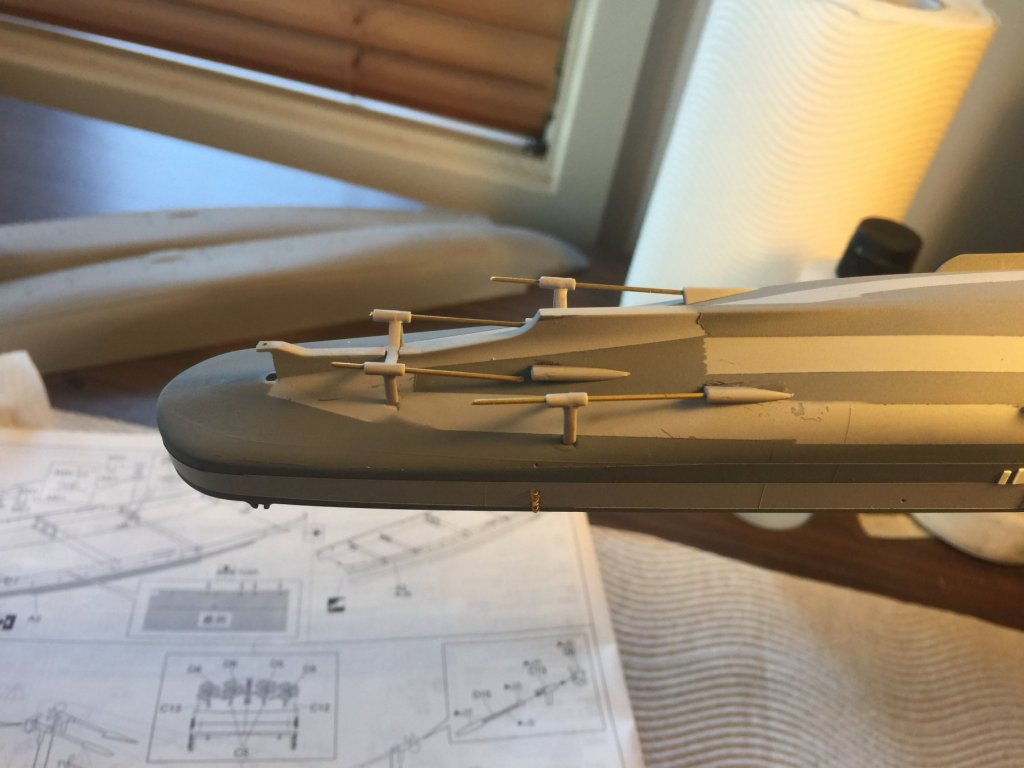
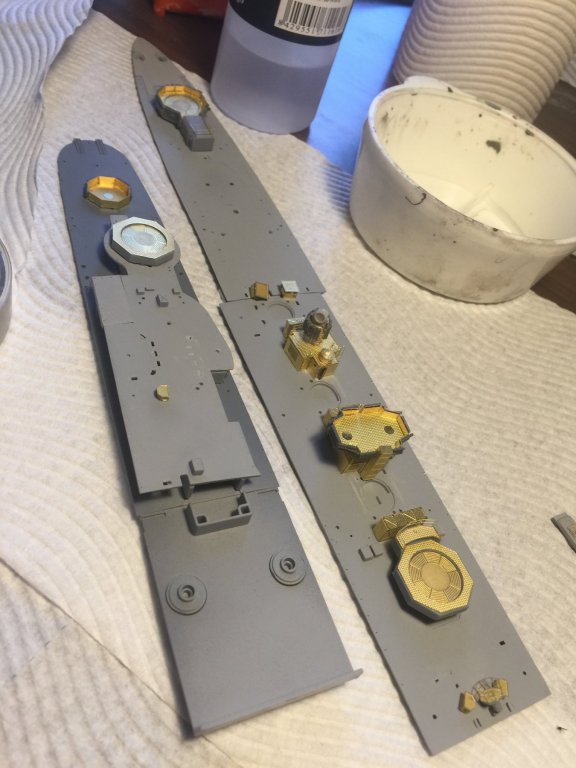
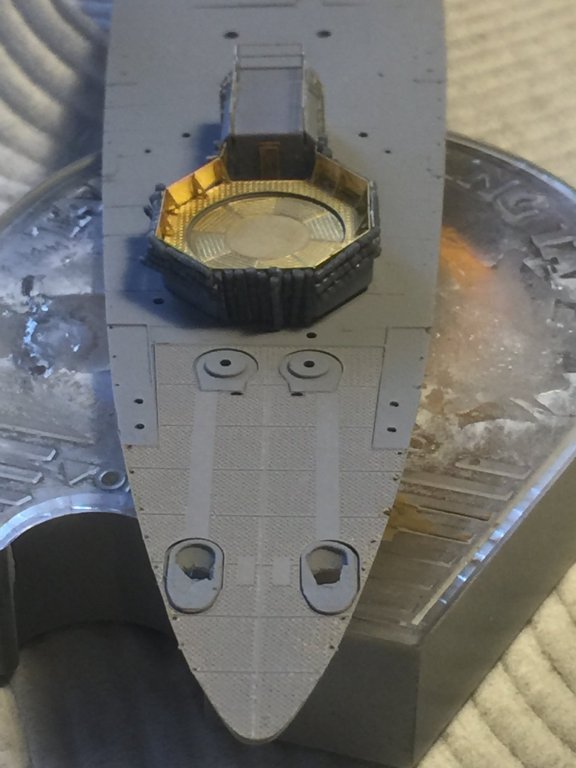
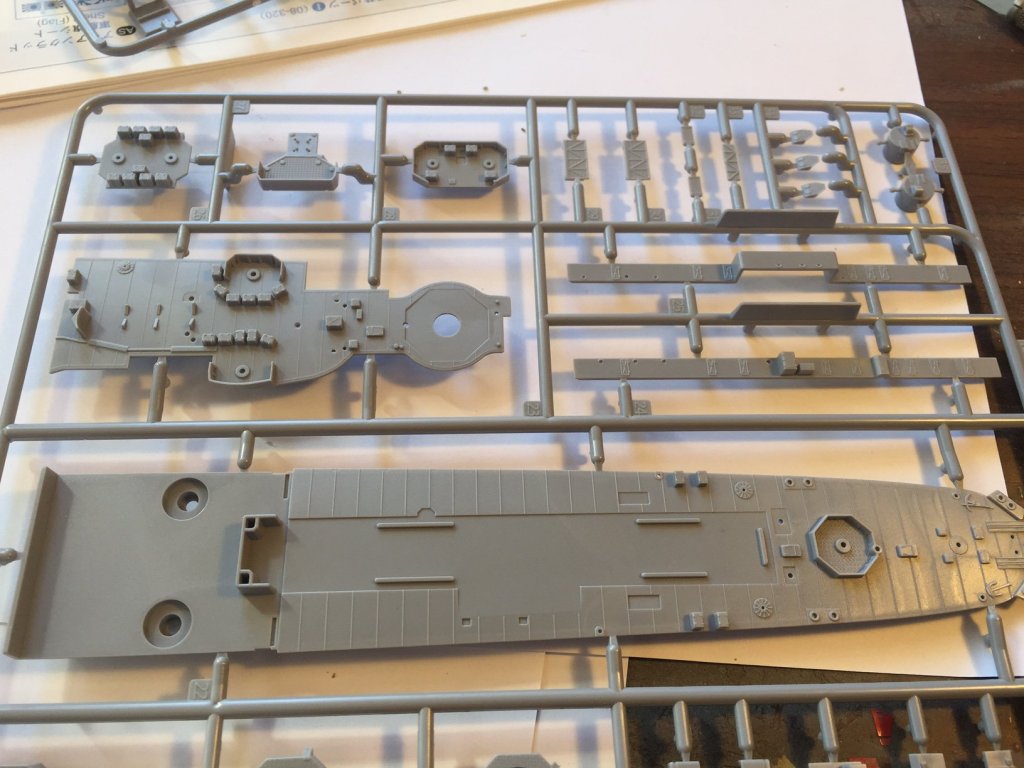
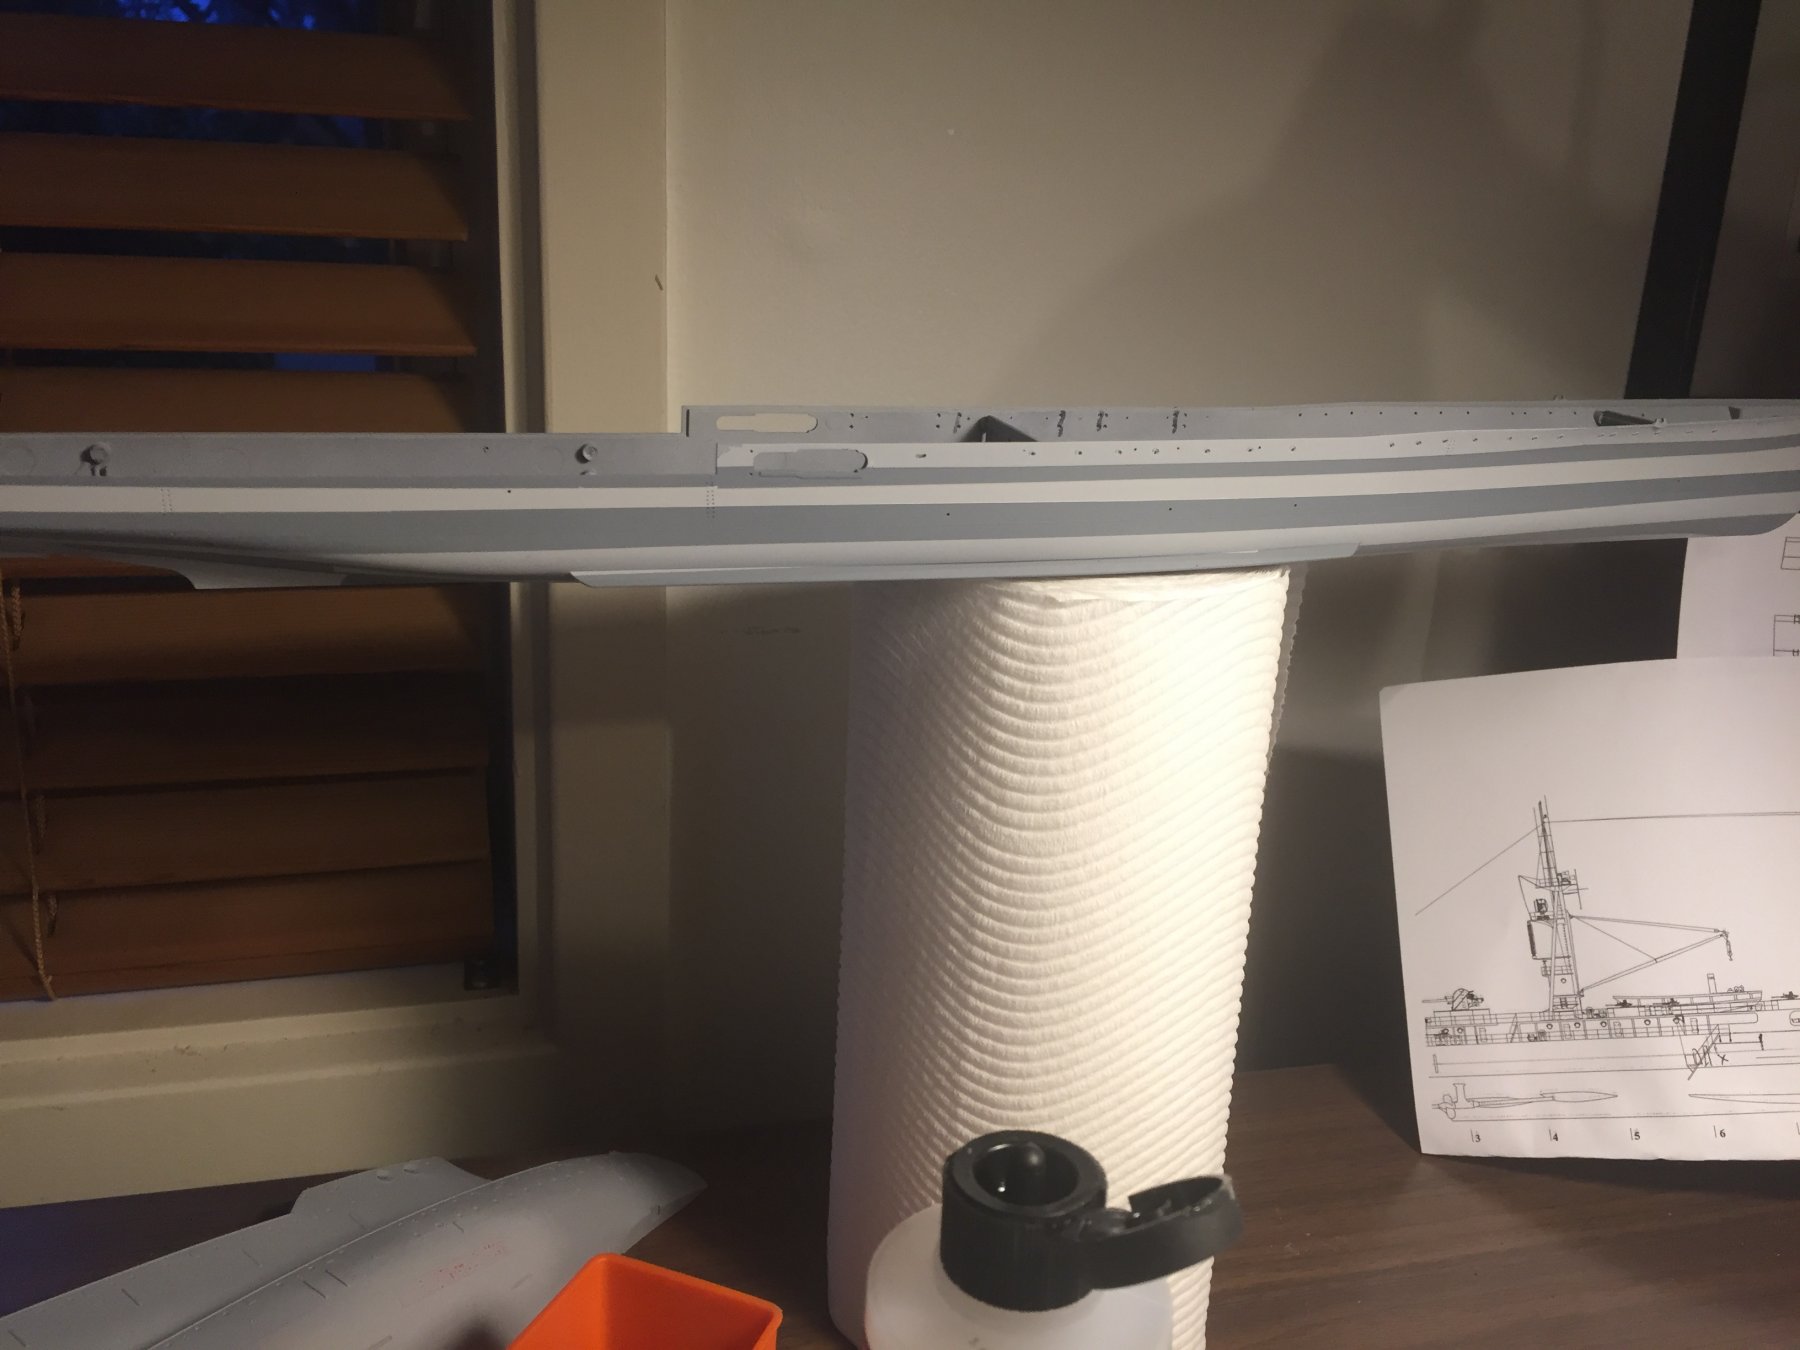
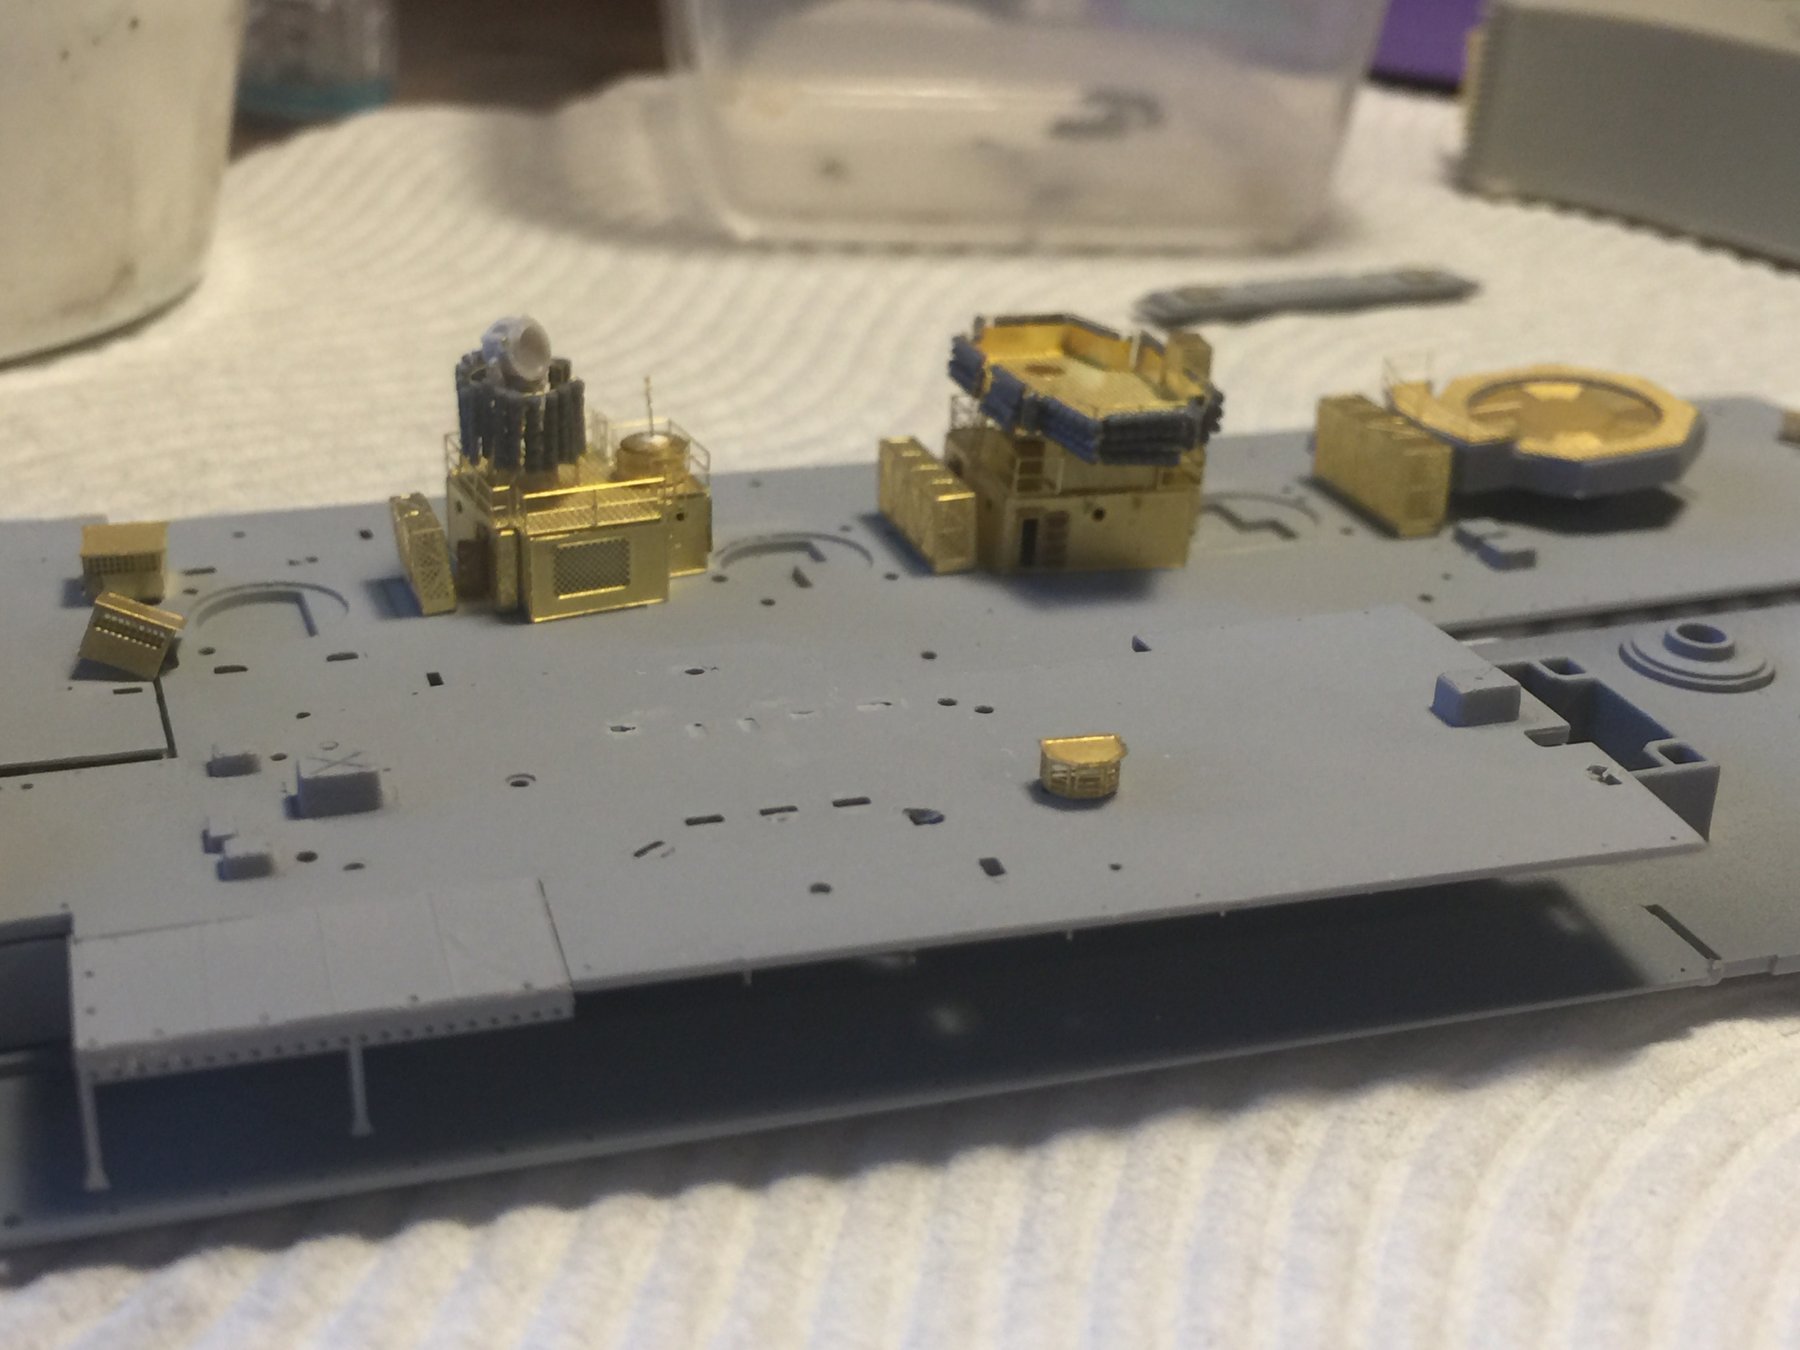
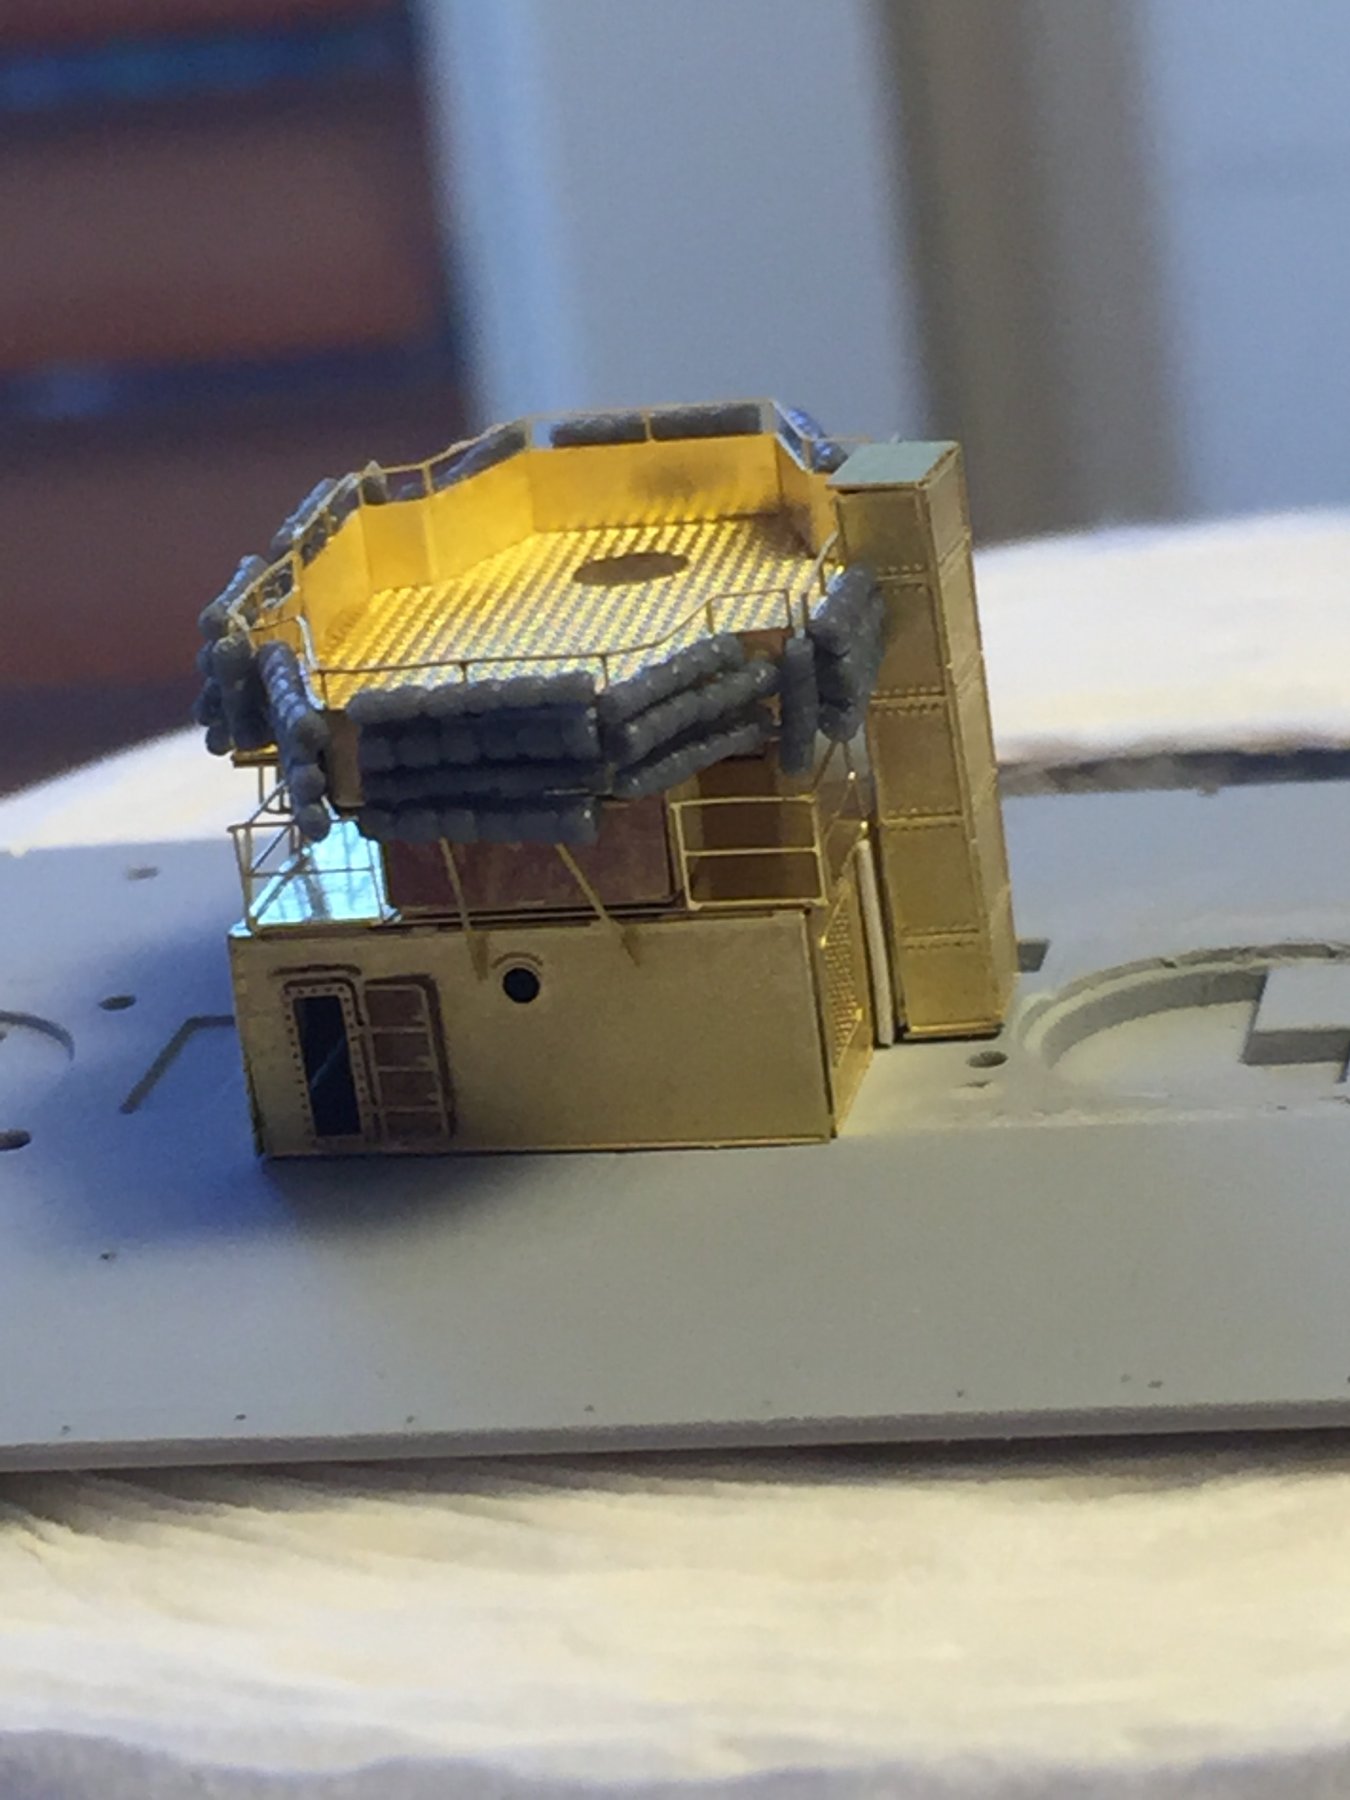
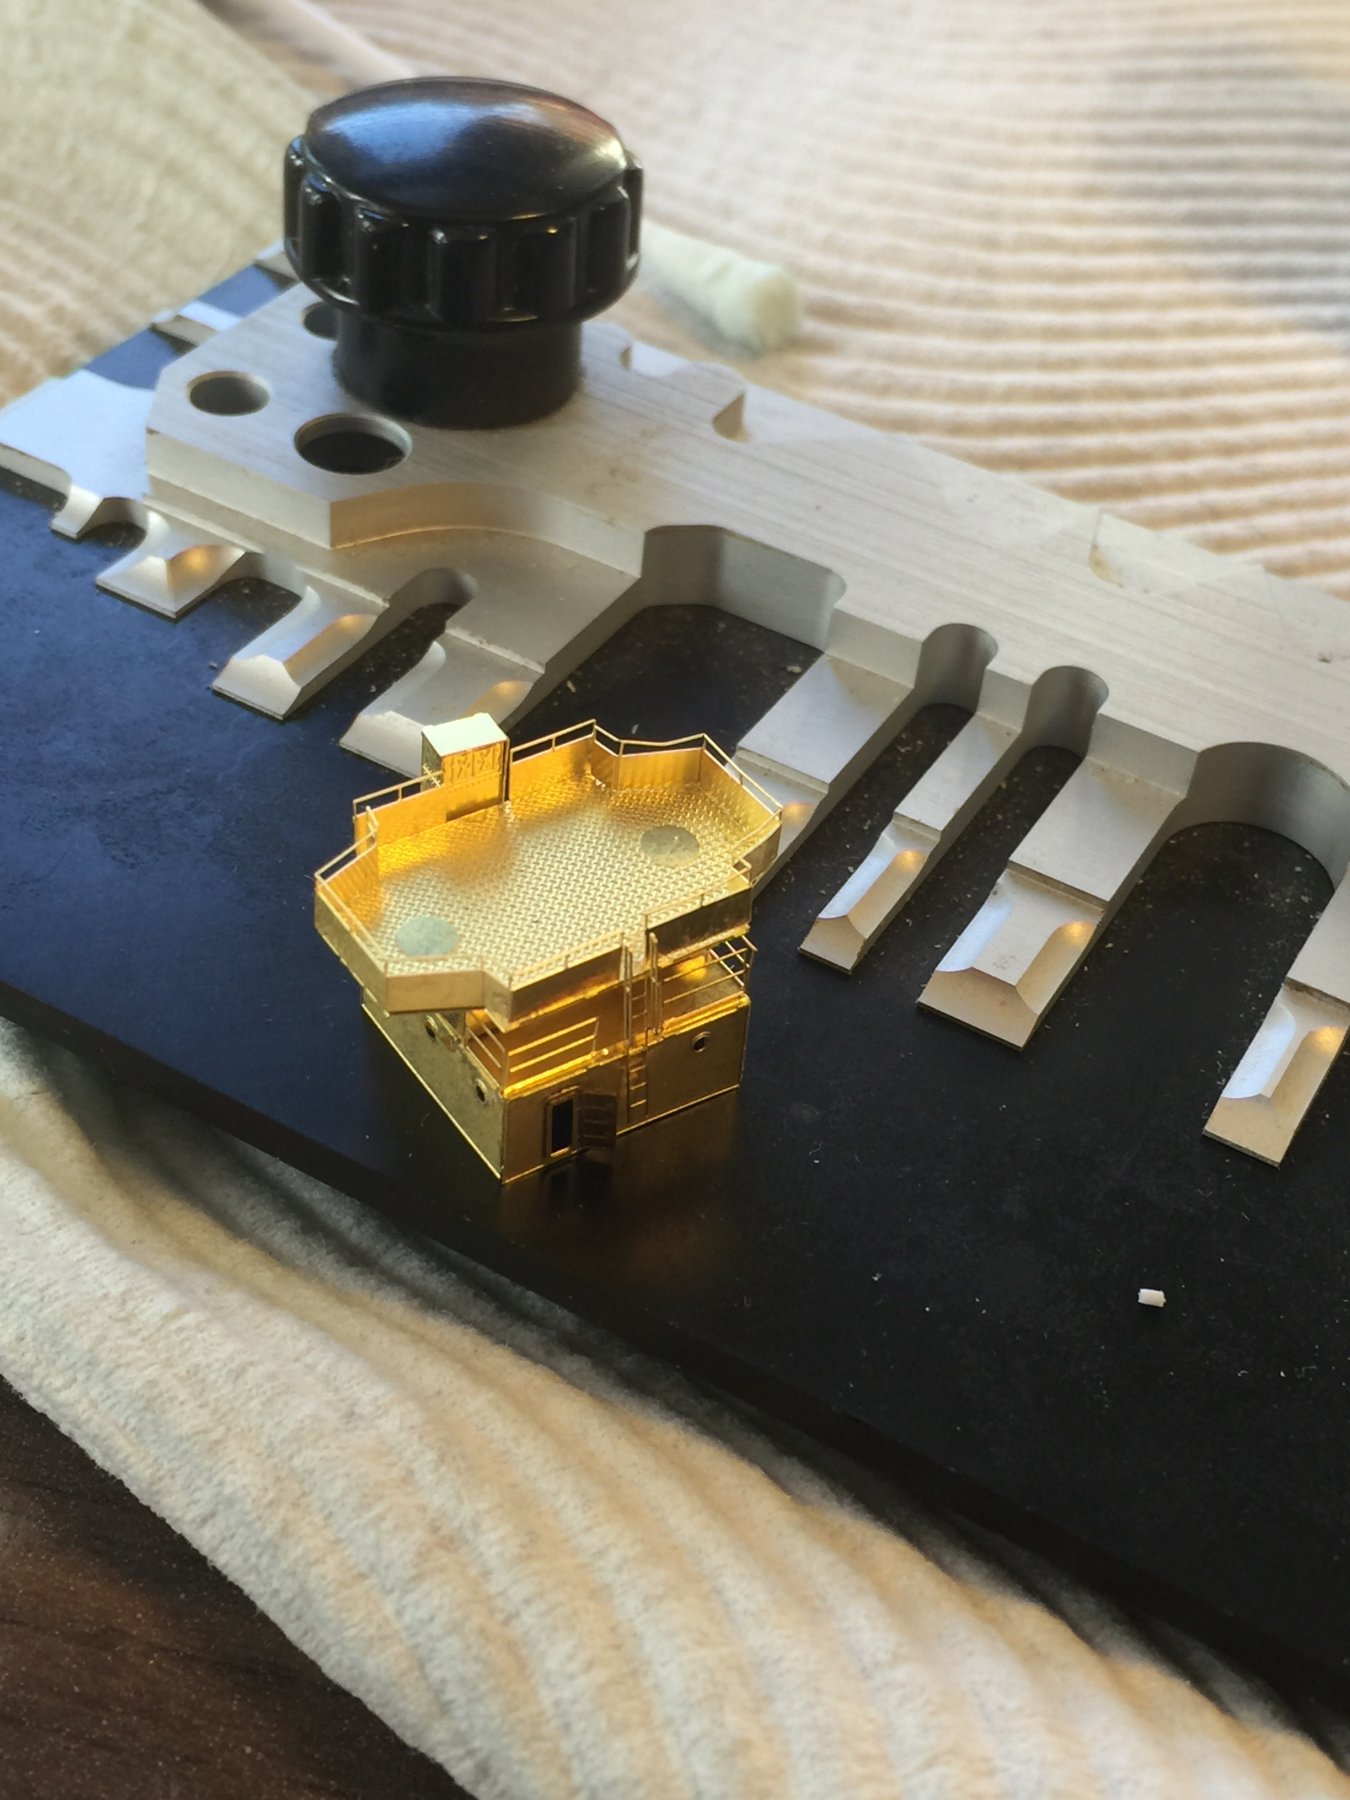
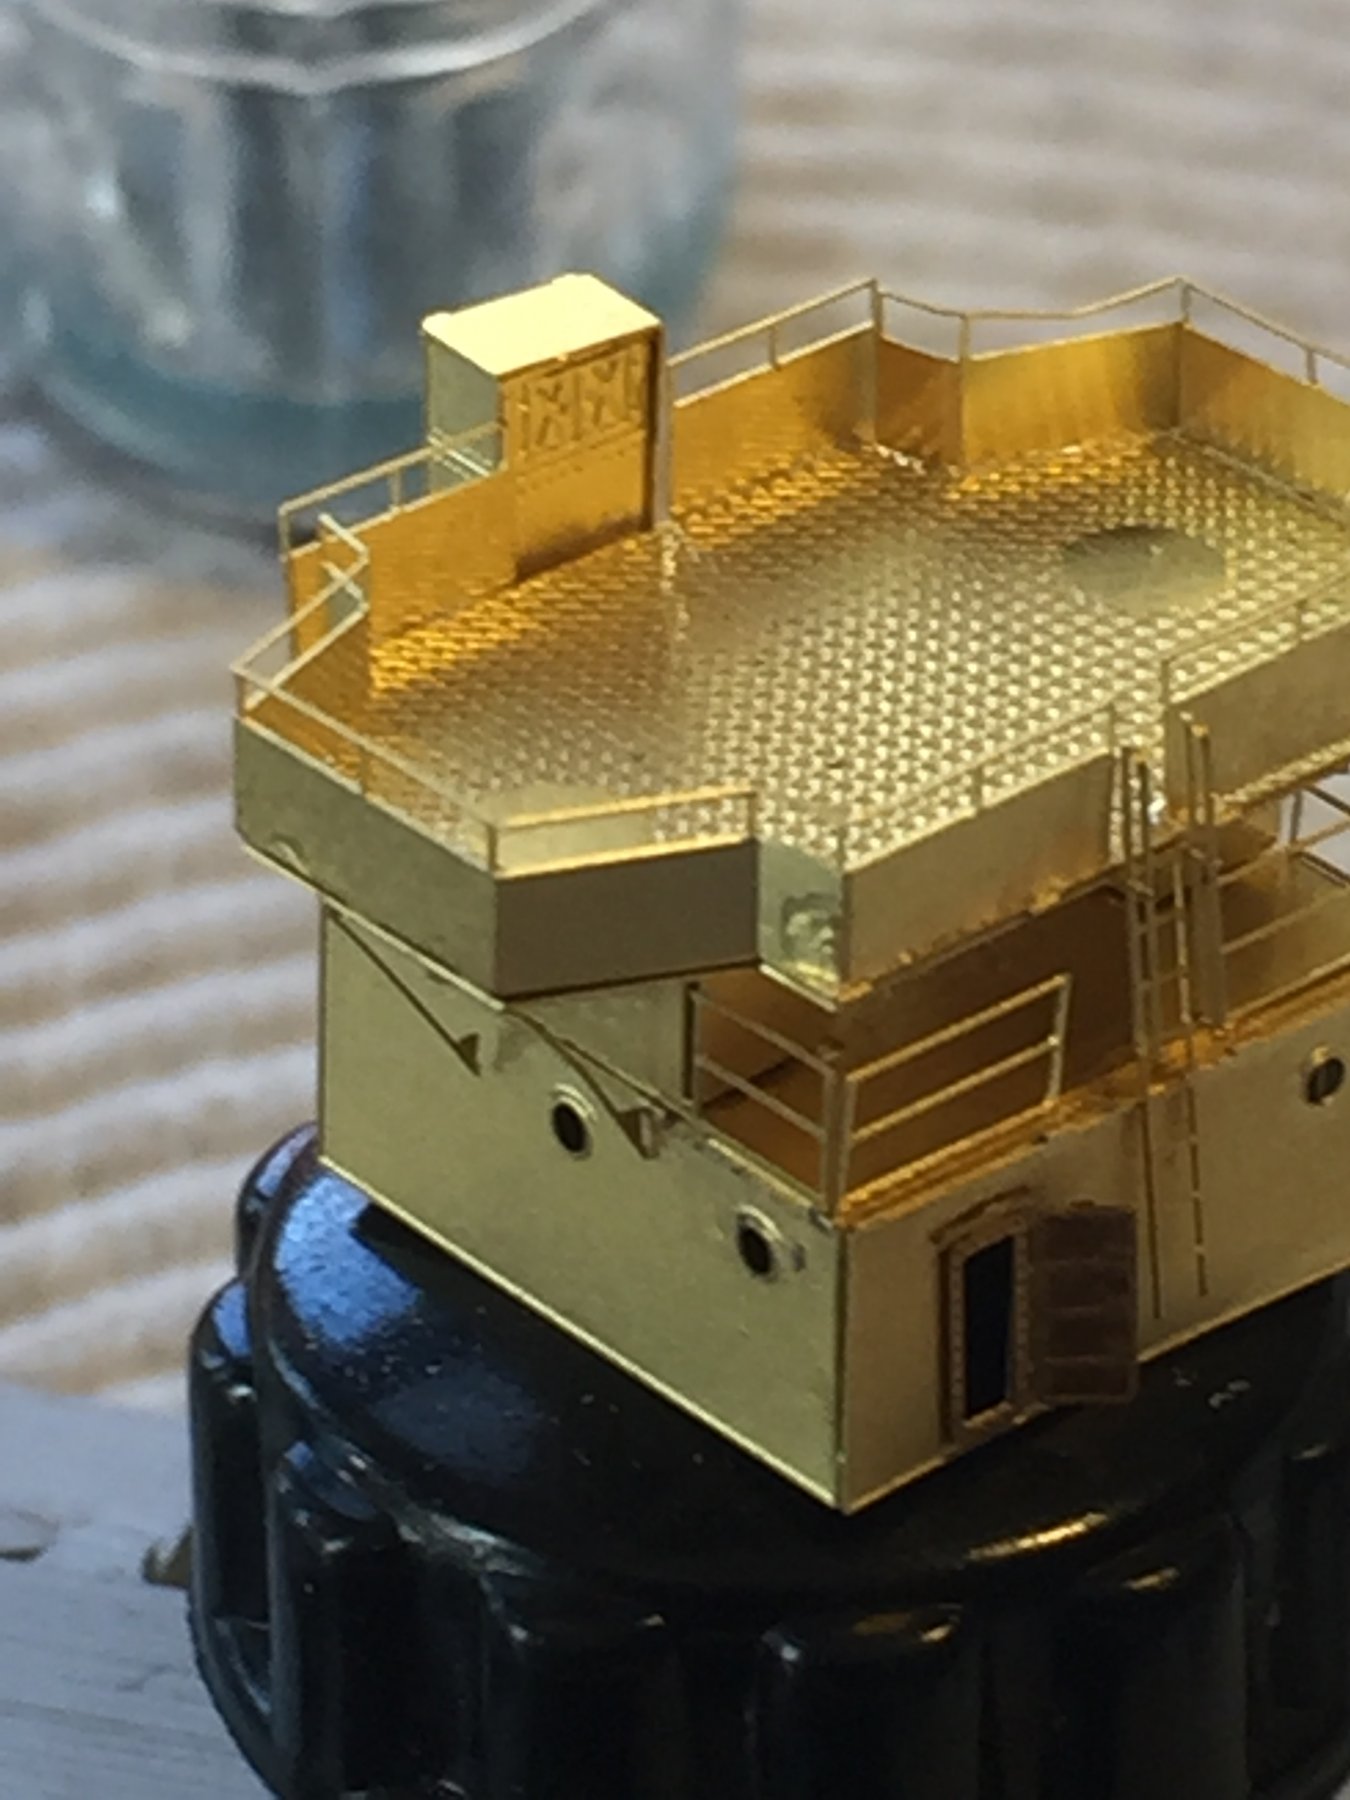
Deck vents, rear 25mm mount done, just the bridge, funnels and rear mast to go.

-
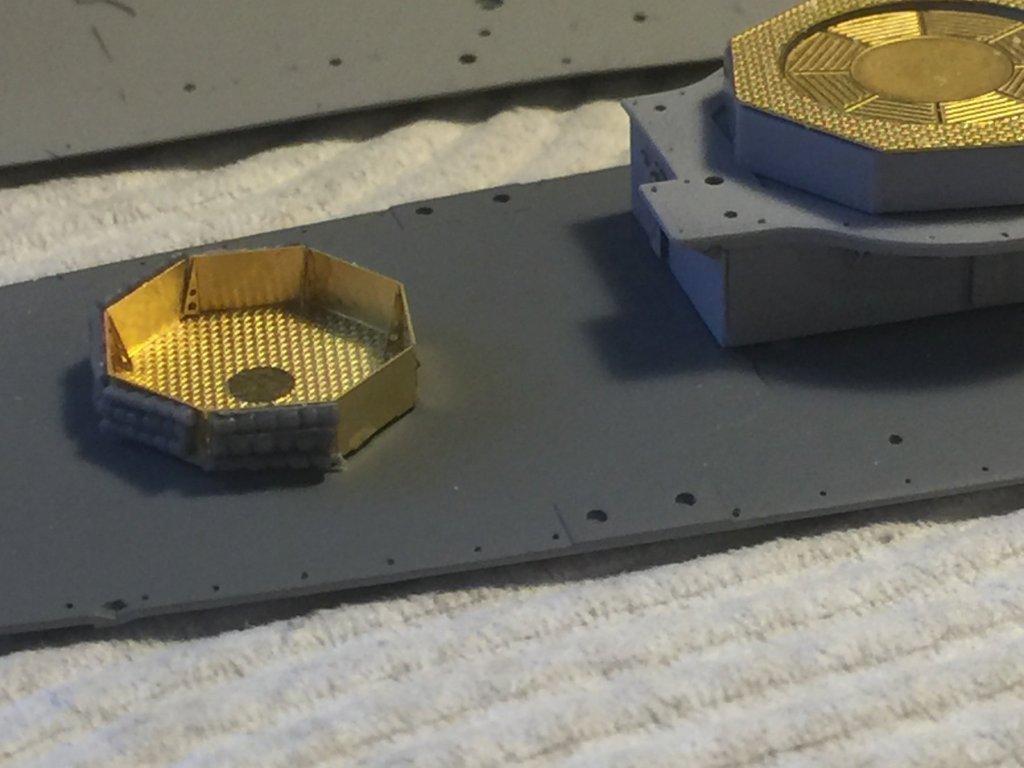
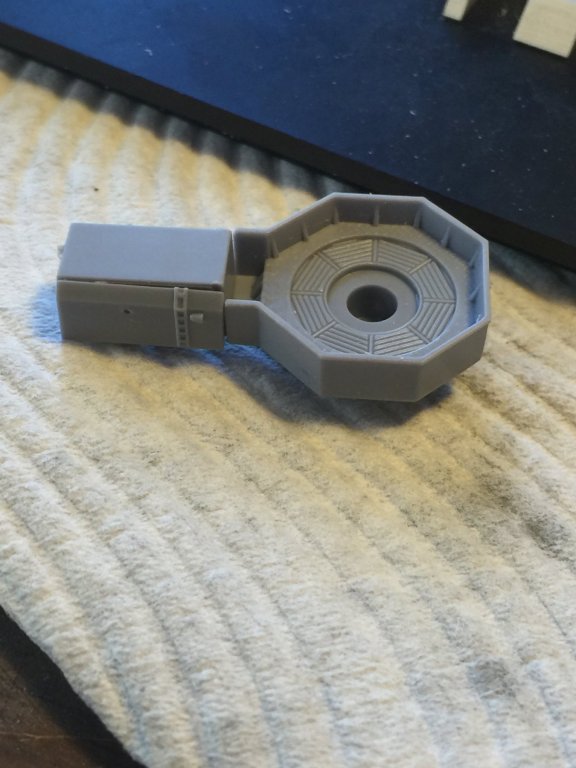
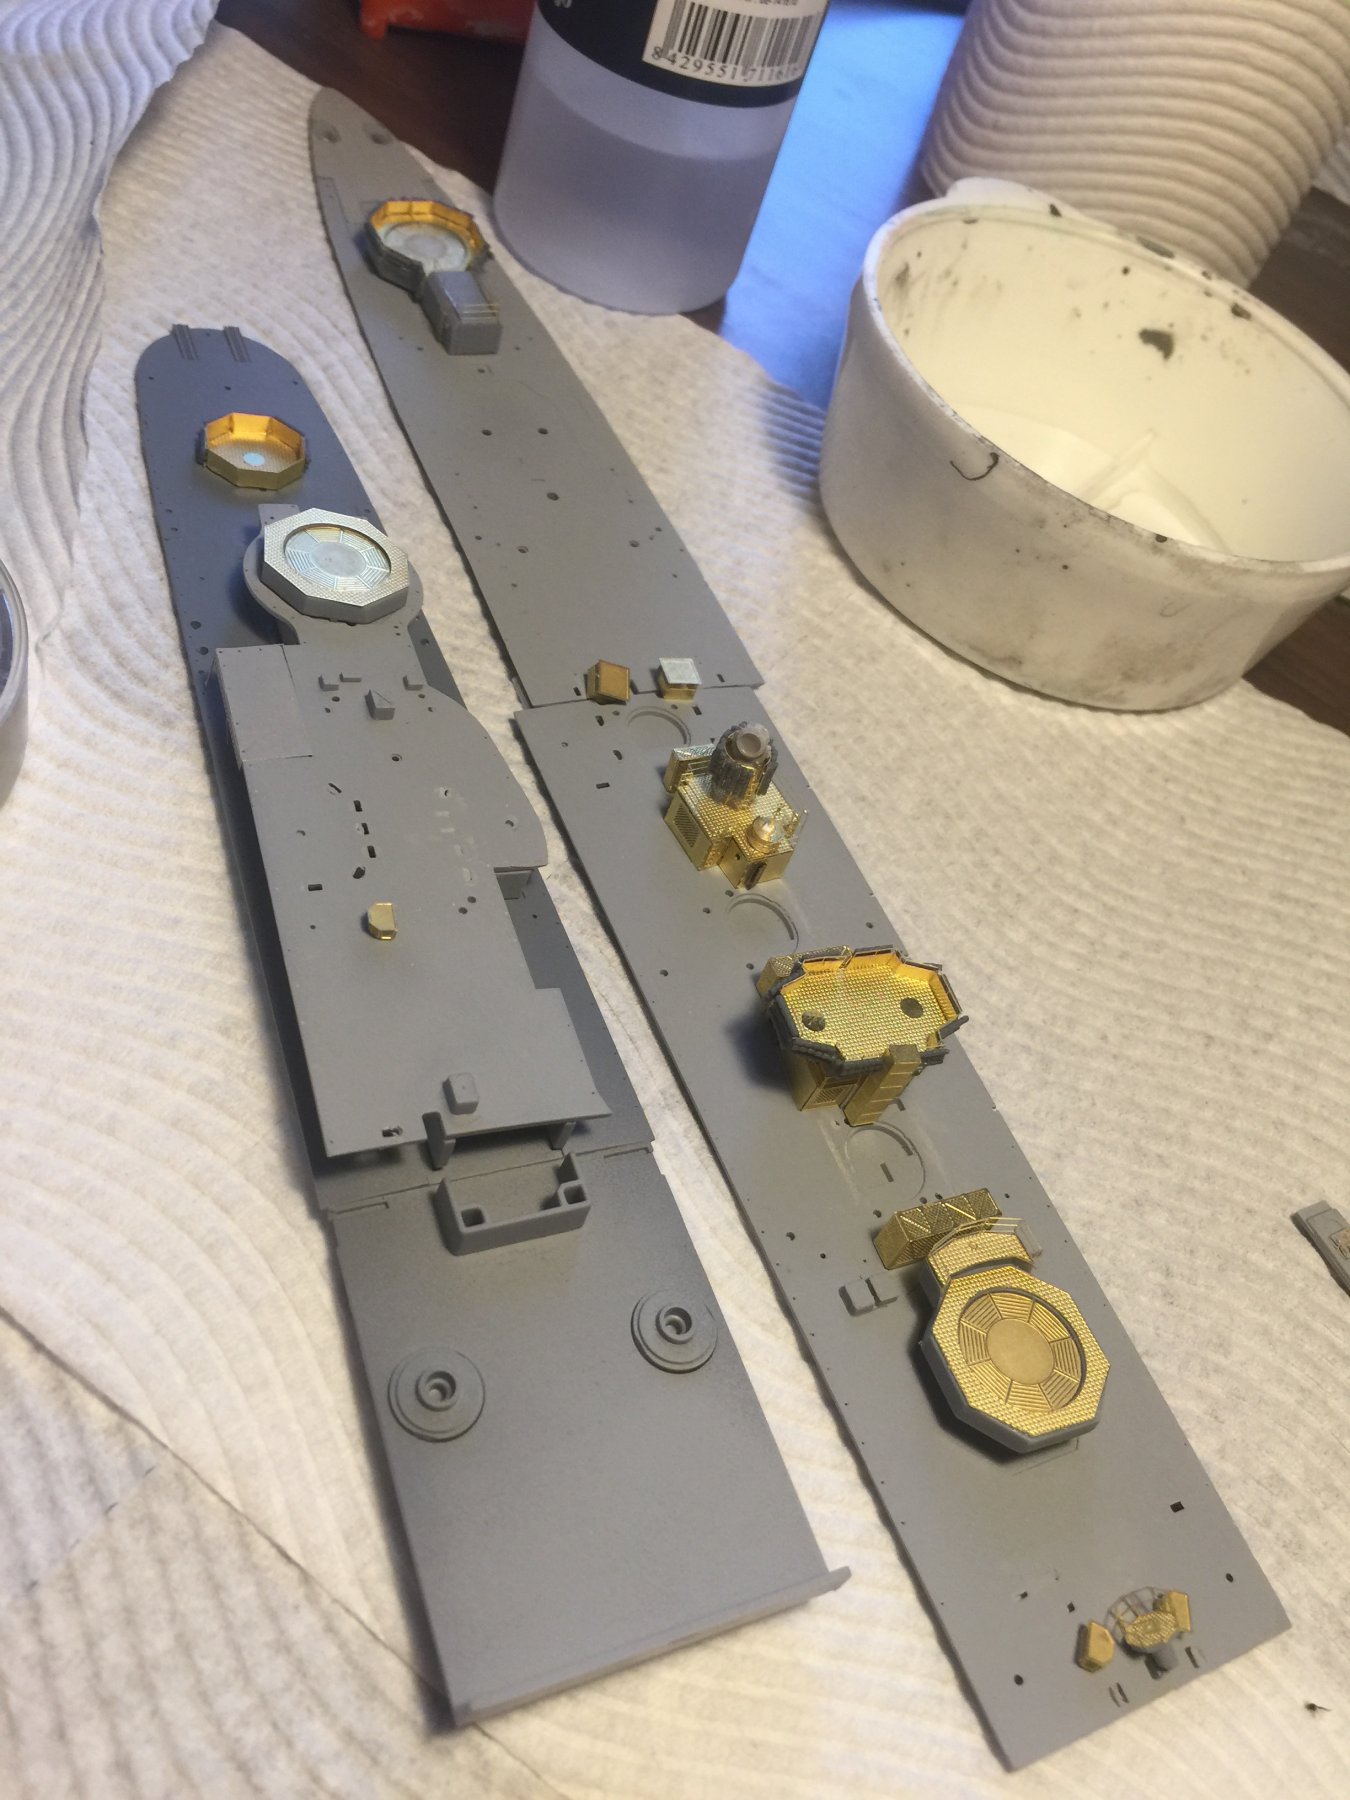
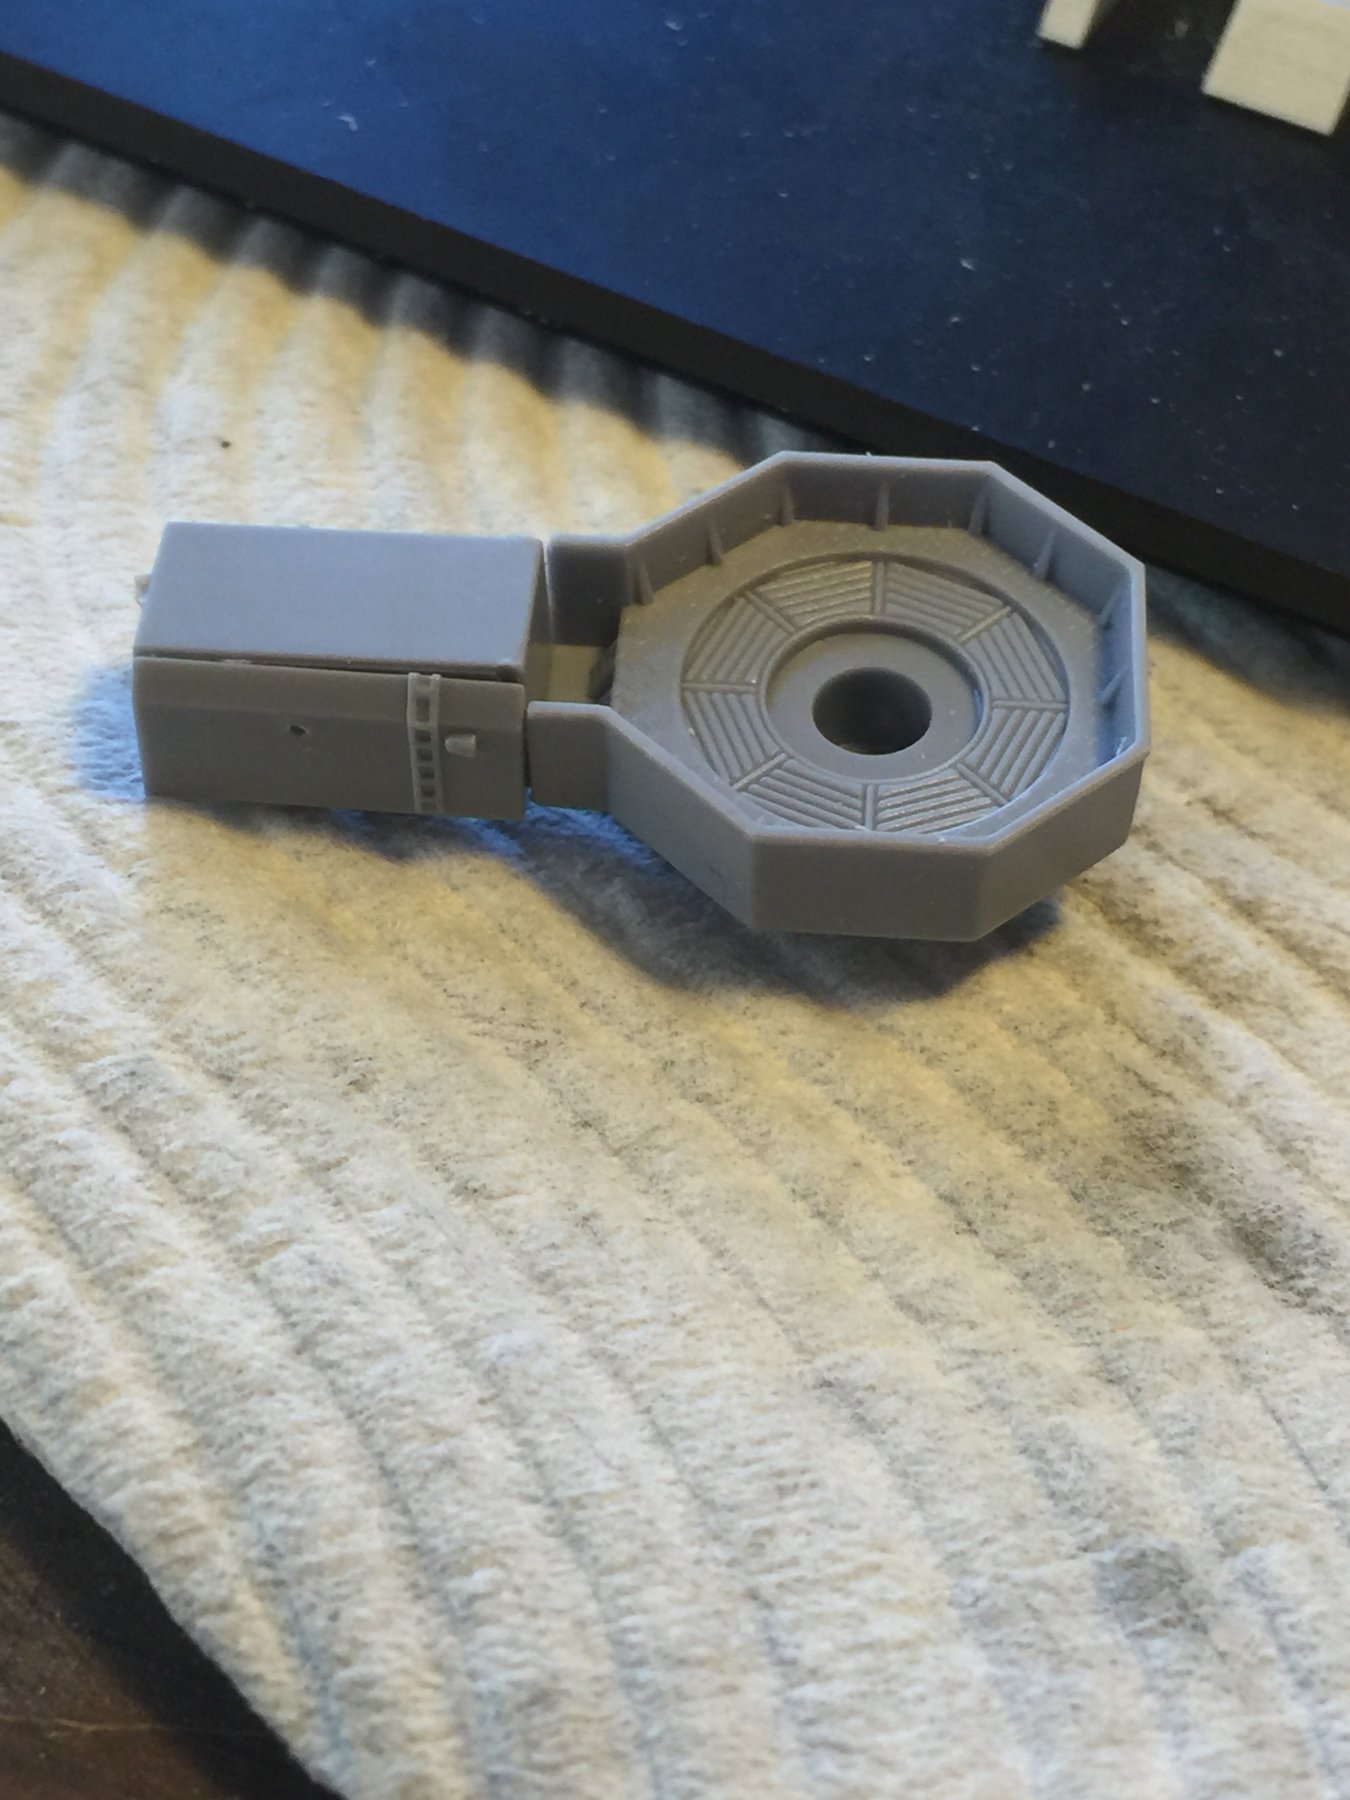
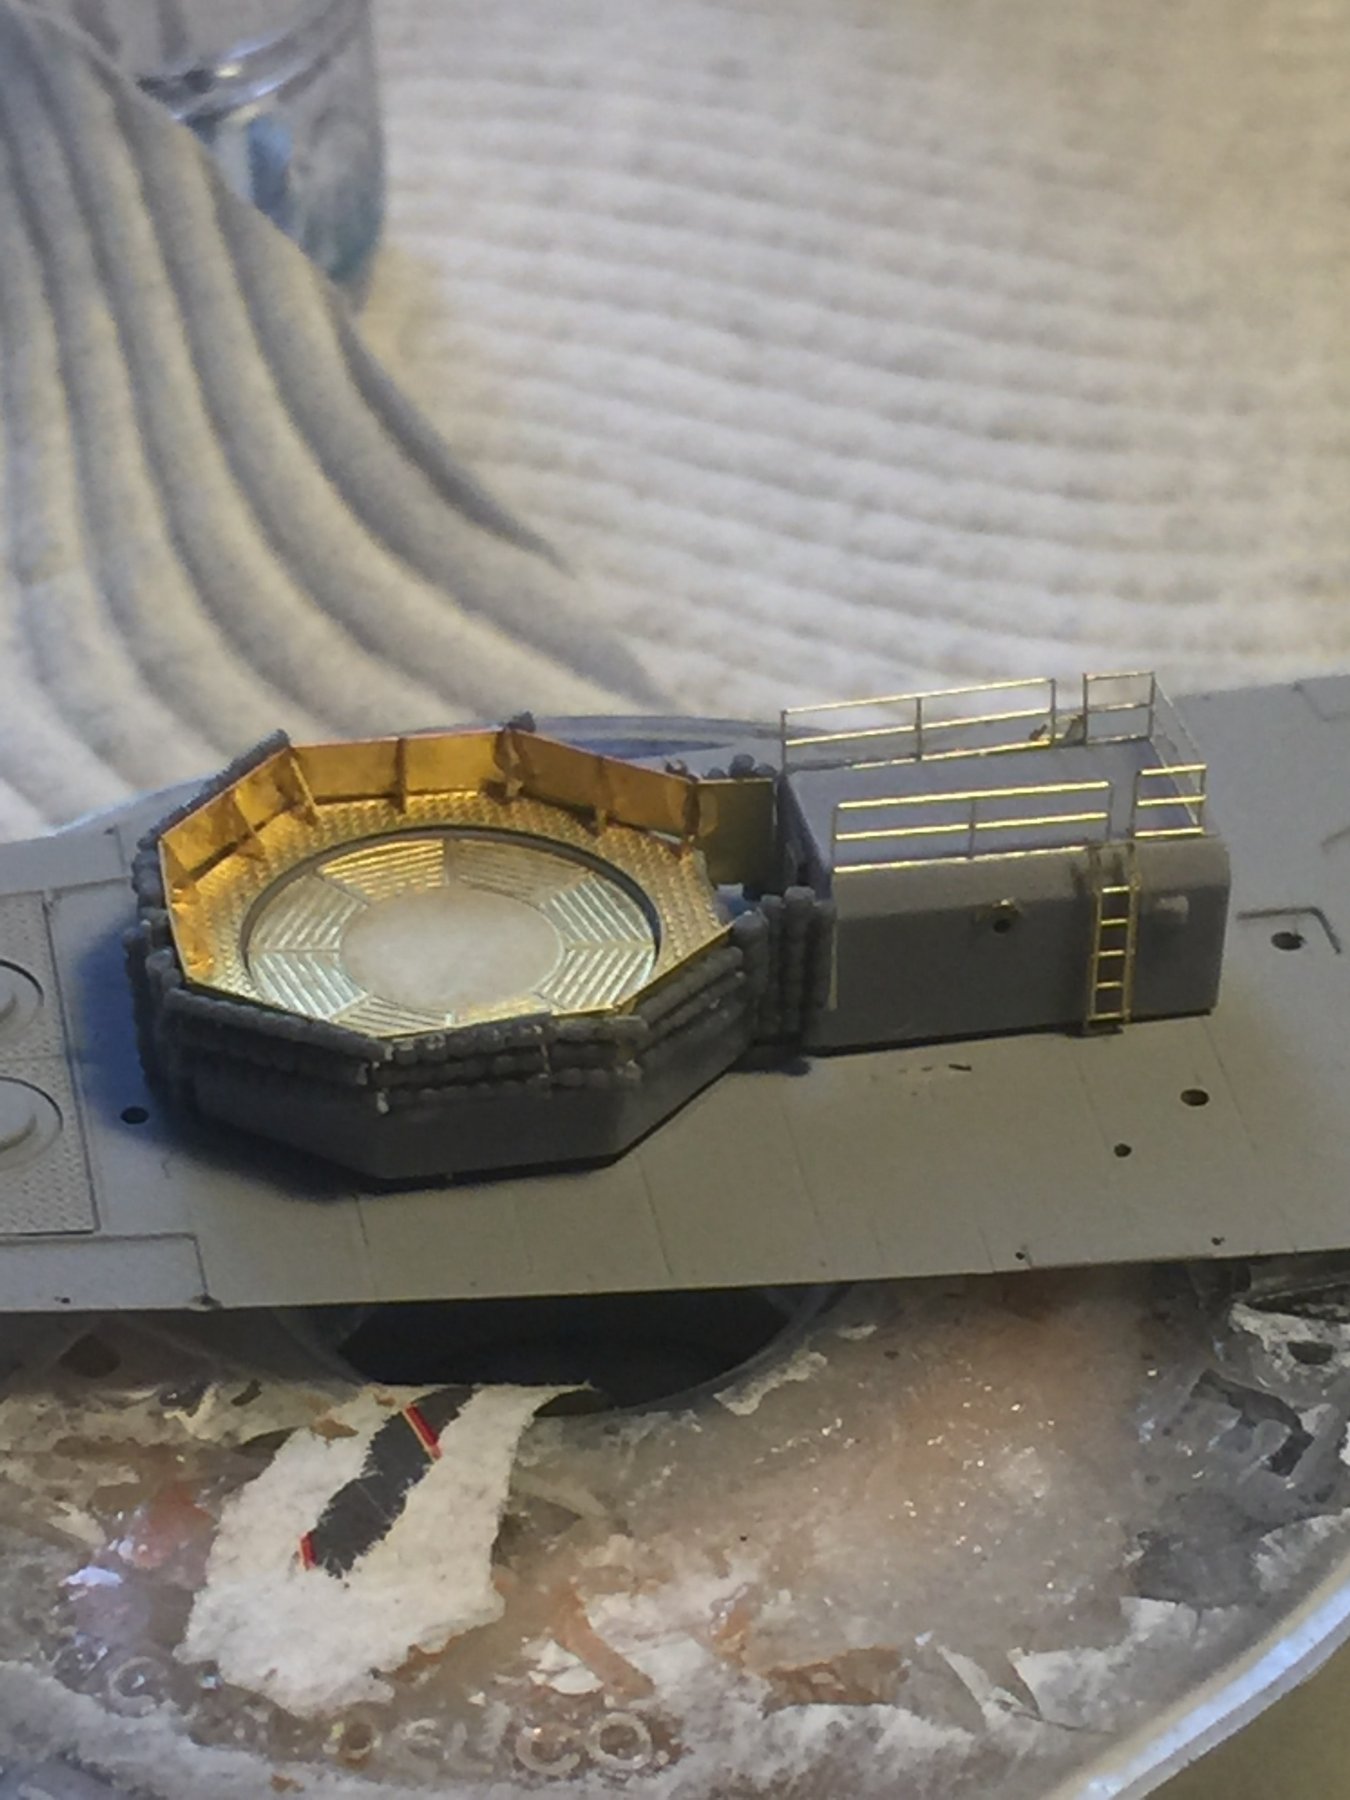
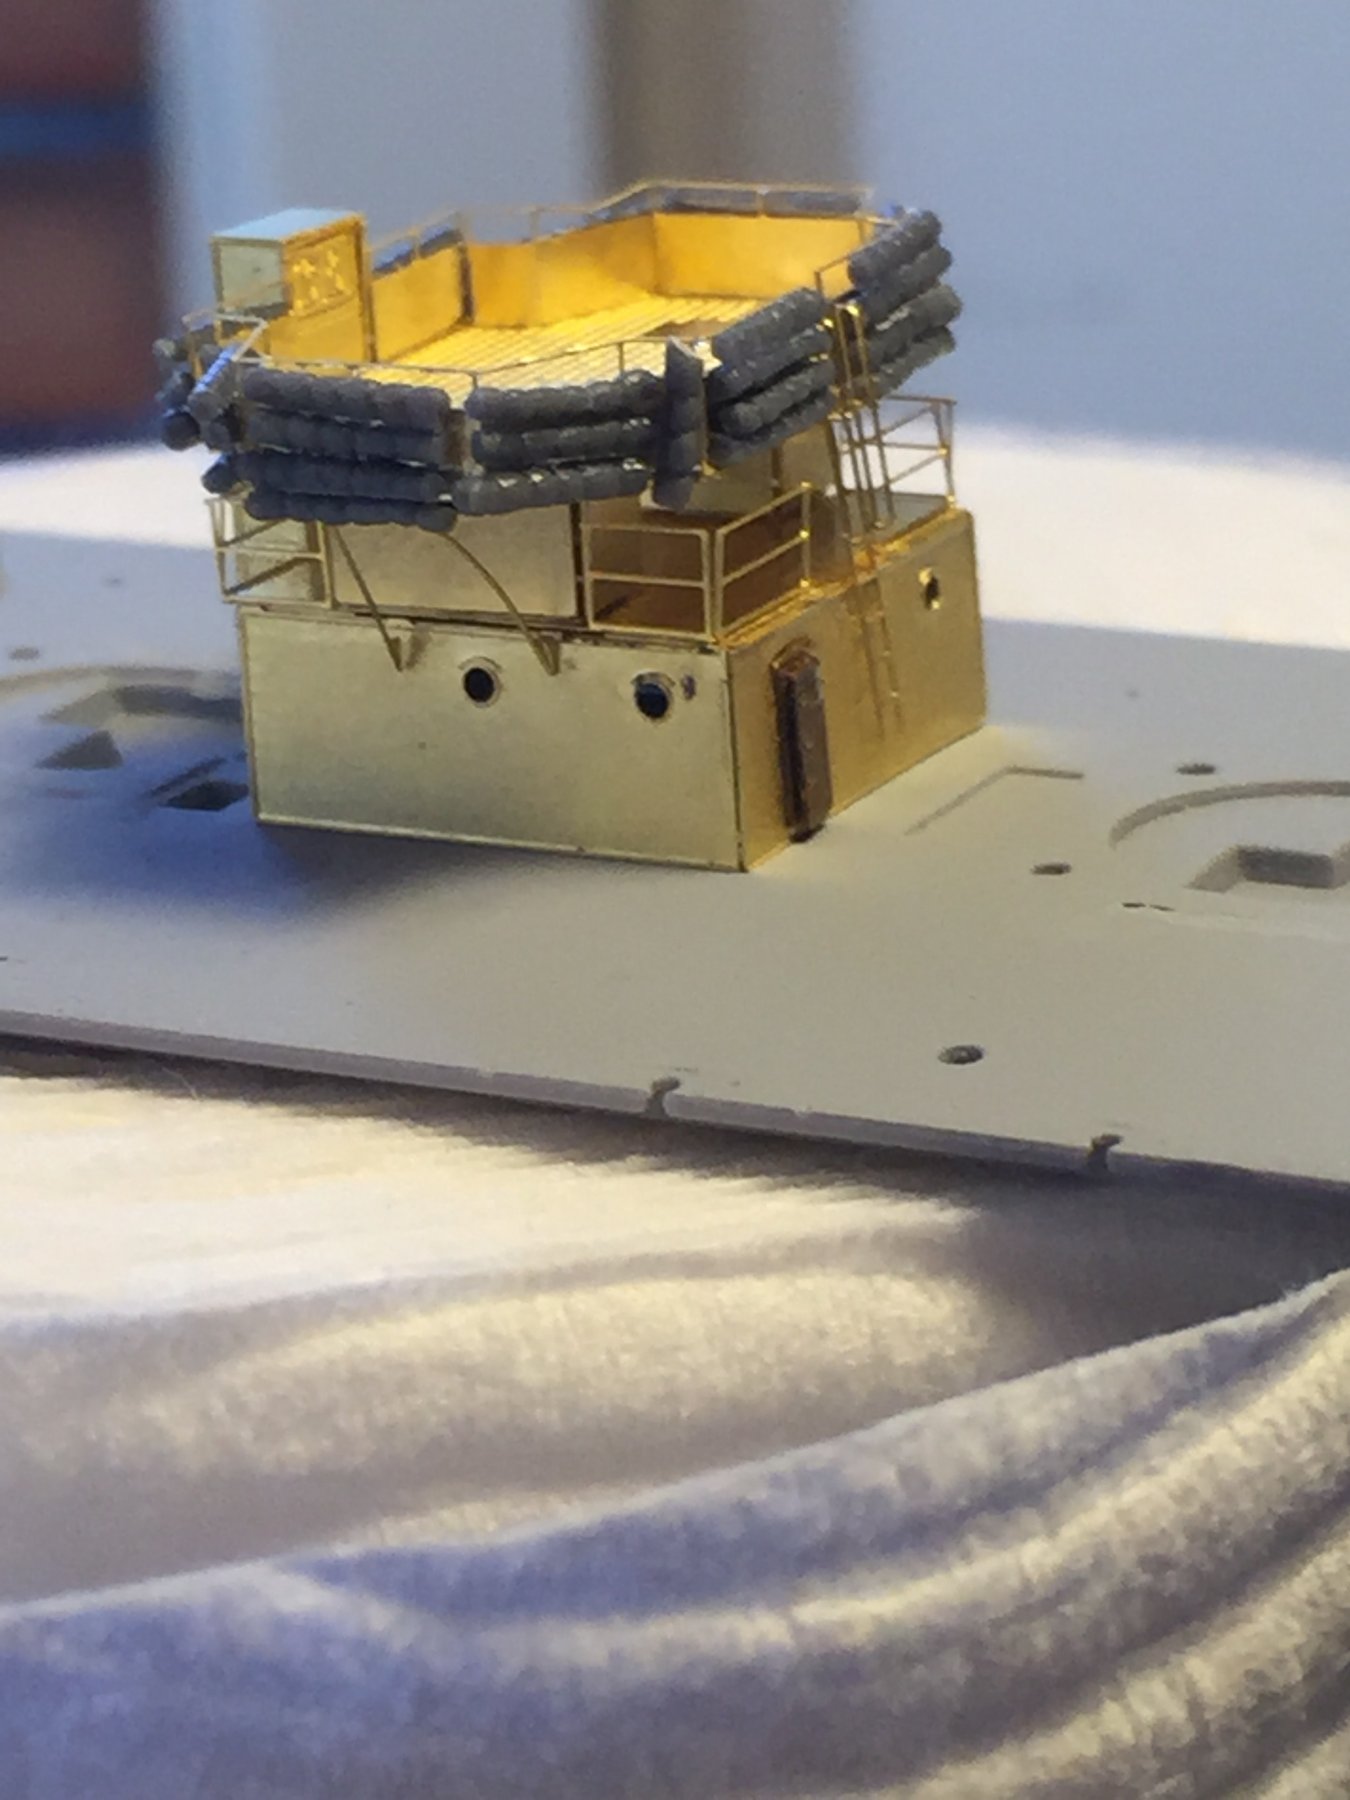
There are three gun mounts for the high altitude AA guns, the forward mount is the trickiest as the PE is out by about .5mm.
The rear mounts are fairly simple and get sandbags.
Did they have them? Who knows, I reckon they'd have wanted as much protection as they could by 1945.


-
-
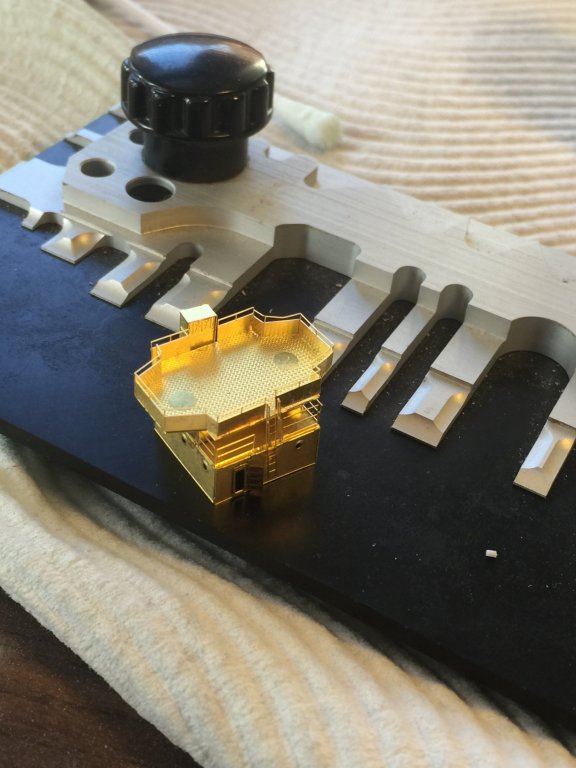
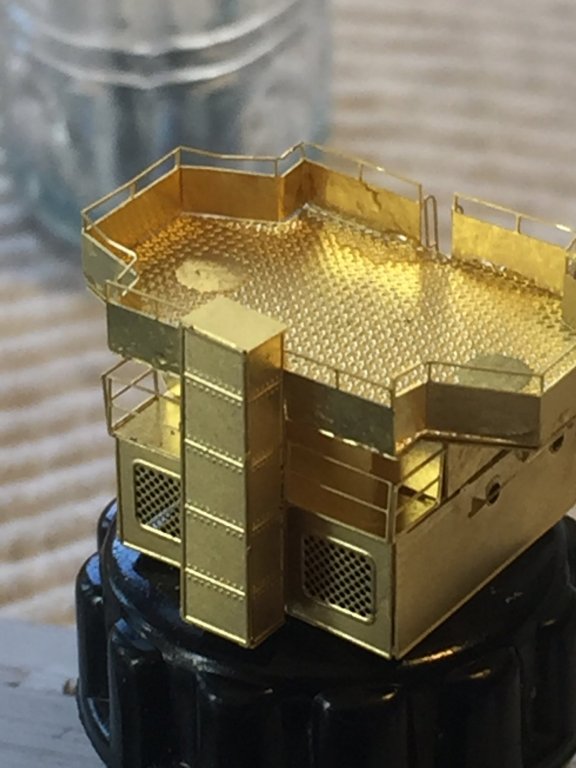
Whilst awaiting the next layer of primer on the hull to finish, I think this is the radio room and the 60cm spotlight on top with sisal protection
- Dubz, WackoWolf, Tallshiptragic and 10 others
-
13
-
Yep, pity there's no panel lines on the hull, more's the challenge
- Canute, popeye the sailor and CDW
-
3
-
-
I have started the primer coats on the hull, I'll try and use masking tape to delineate between the hull armour, so there will be multiple coats.
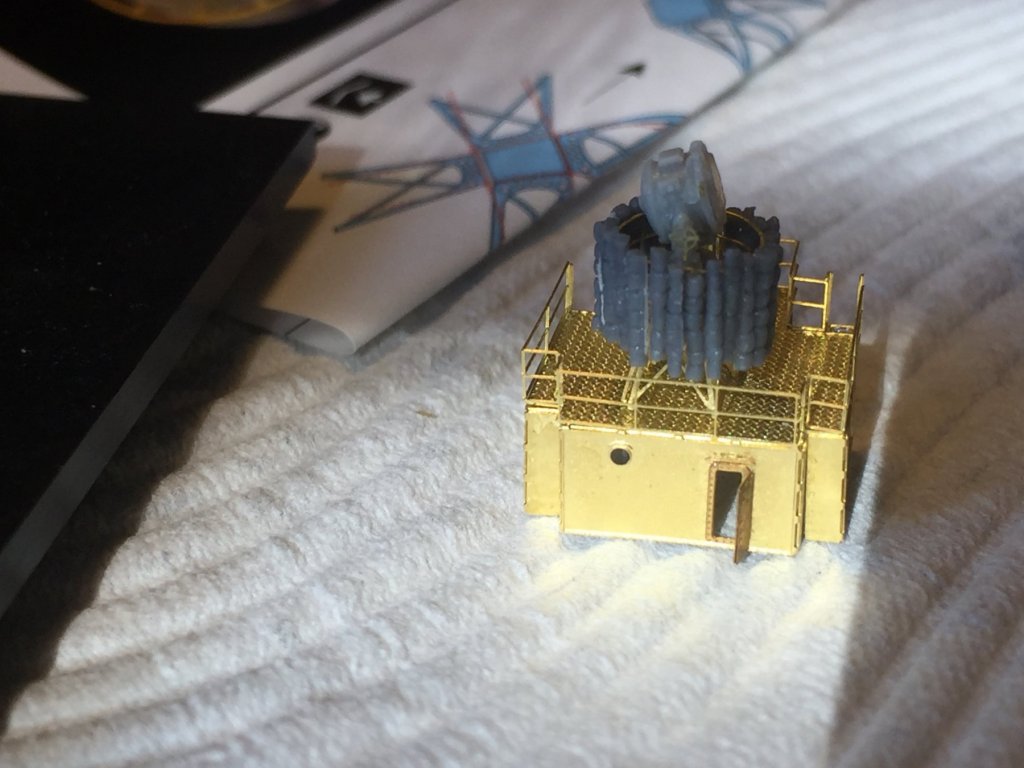
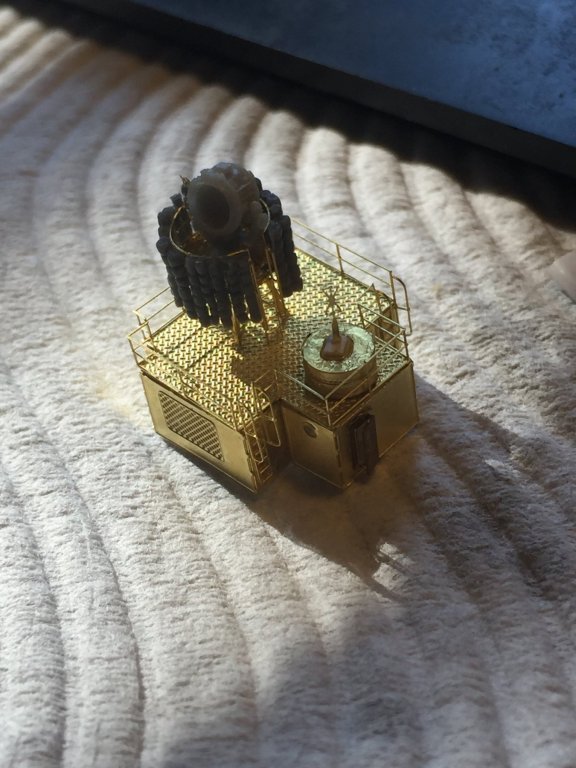
In in the interim I have started up the PE deck assemblies. This Flyhawk set is very nice, but a bit of work to do yet to fill gaps and smother with sisal splinter shields. This is a central ventilation room which will seat 2 triple type 96 25mm AA guns (same pain as the Yamato to build).

- Dubz, Captain Slog, yvesvidal and 10 others
-
13
-
That's a nice piece of work, I know your pain!
- CDW, cog, Old Collingwood and 6 others
-
9
-
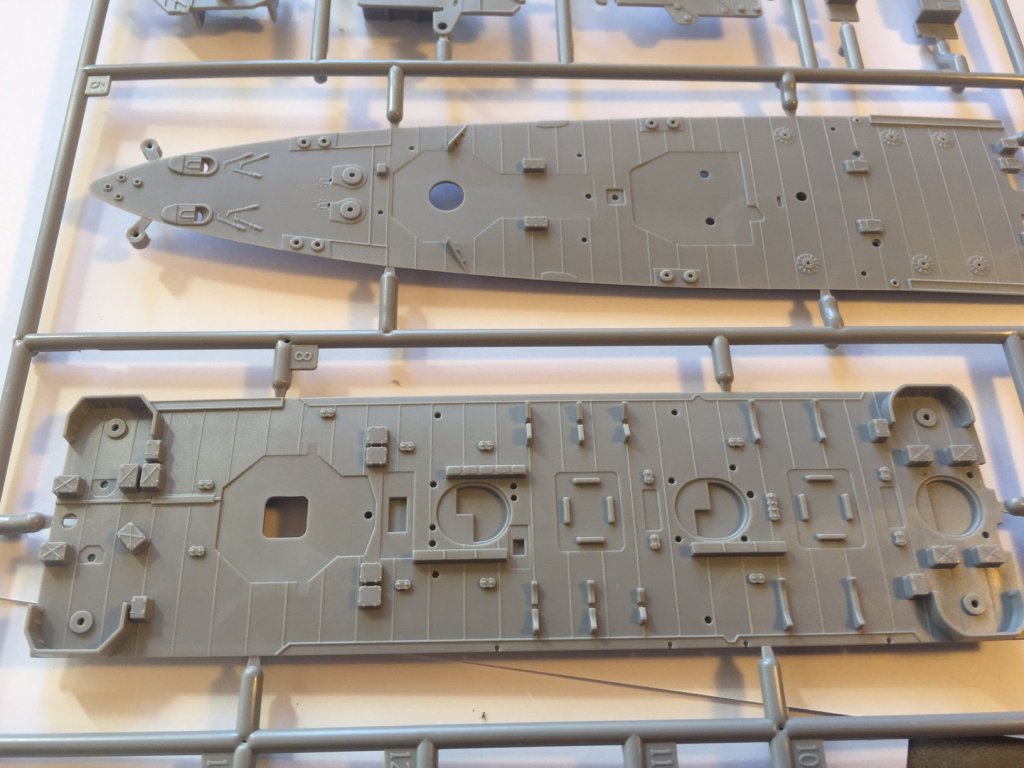
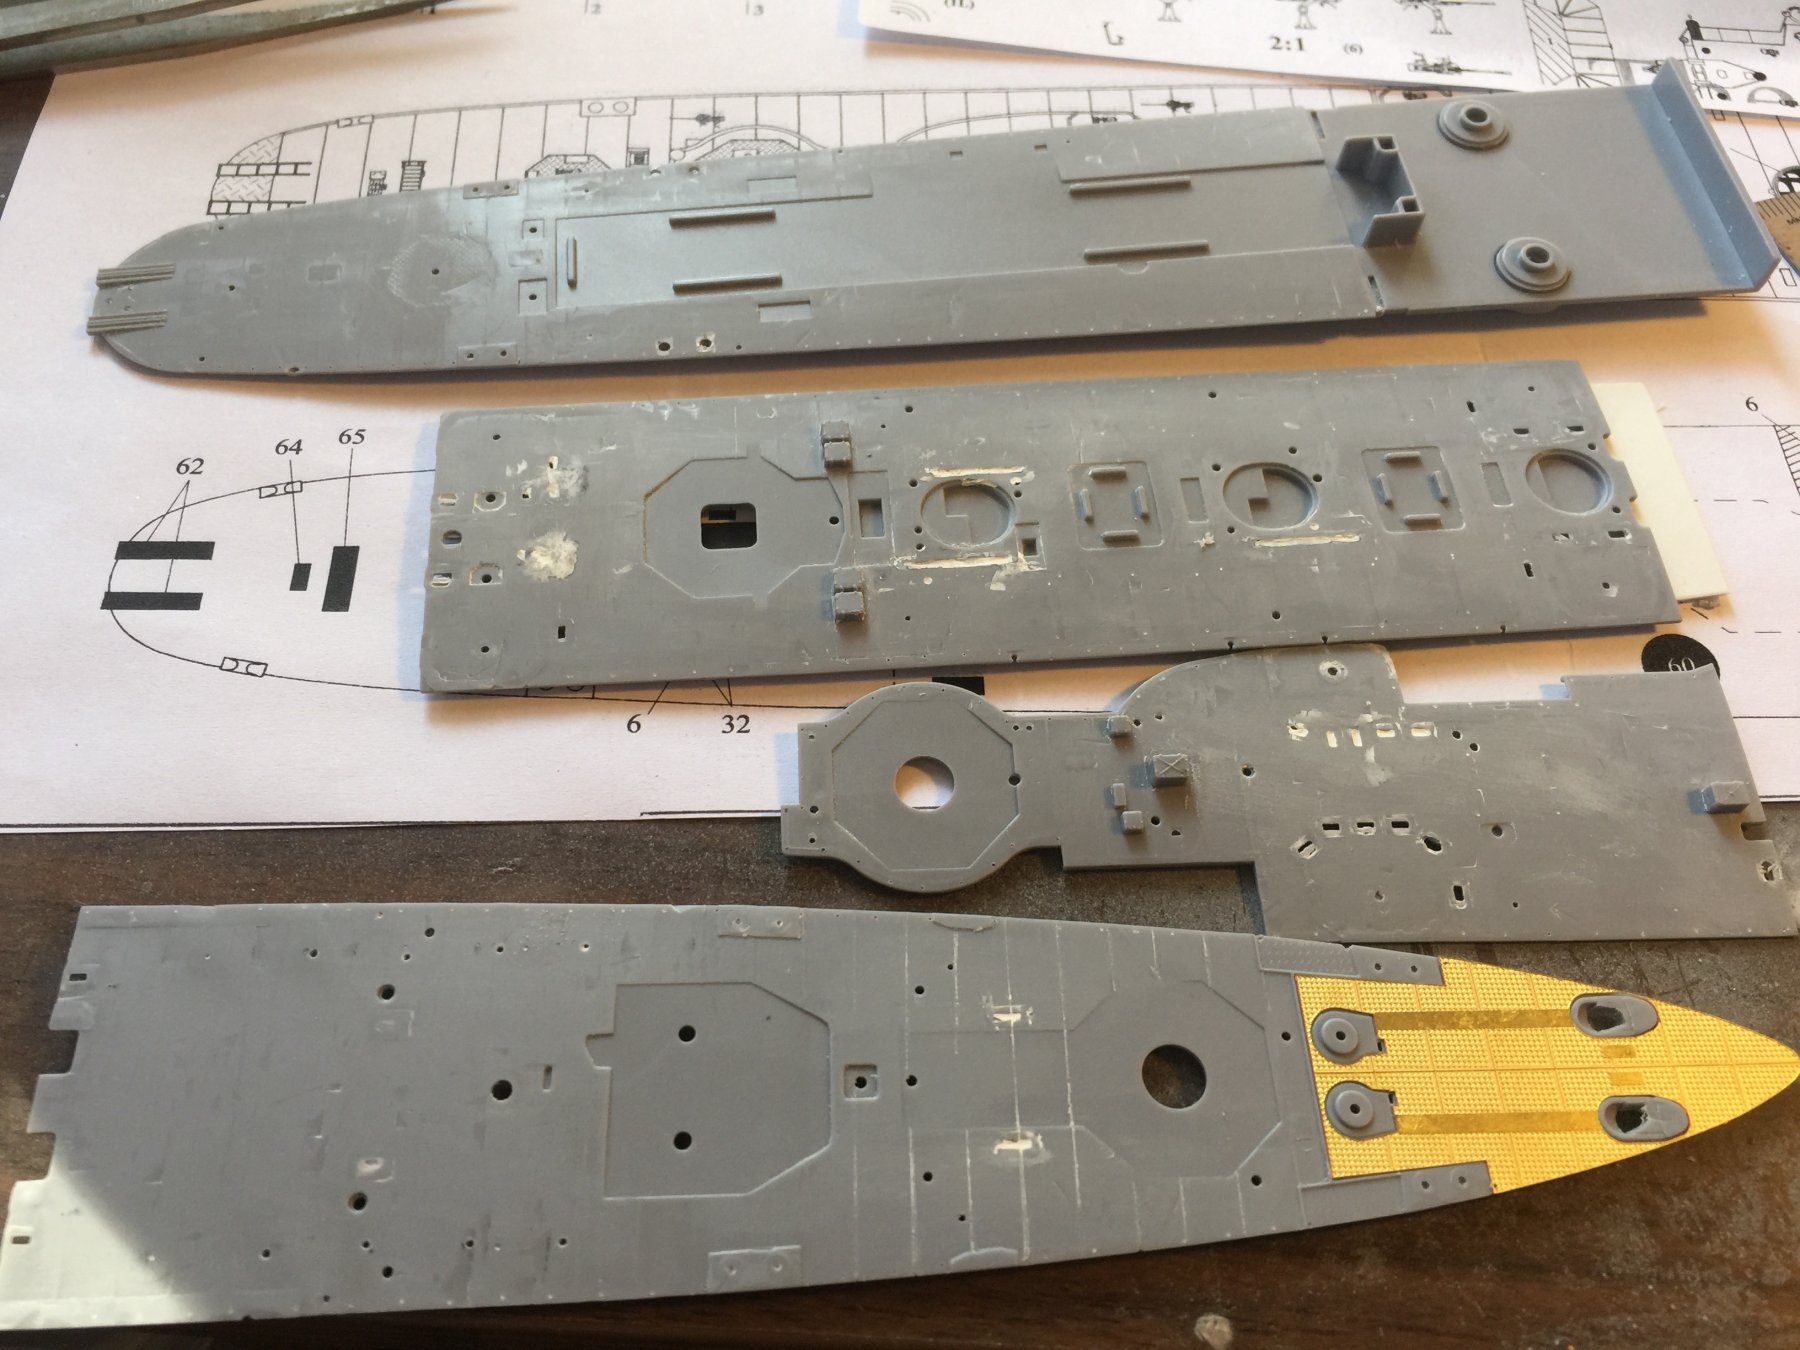
Pretty much destroyed most of the detail popeye, slowly removing and sanding everything back, a couple of indentations to fill where the pumps and cable reels are supposed to go as they are utterly inaccurate.
The rear deck area; I replaced the doors (hatches), added proper cable reels, and some support gussets. The Flyhawk set adds an extension to the top deck to make it like the kit is supposed to be. I won't glue this down yet as I will have to paint it beforehand.
I picked up some rattle can primers yesterday so I can start building up the hull plates, once I can do that up I can add the multitude of side panels that are displayed on the box art and original photo (if anyone knows what they are I'd love to know, open and zoom in on the b/w photo), plus a LOT of scuppers at the waterline.


- Dubz, Captain Slog, coxswain and 9 others
-
12
-
It's good to see a few other plastic modellers here now!
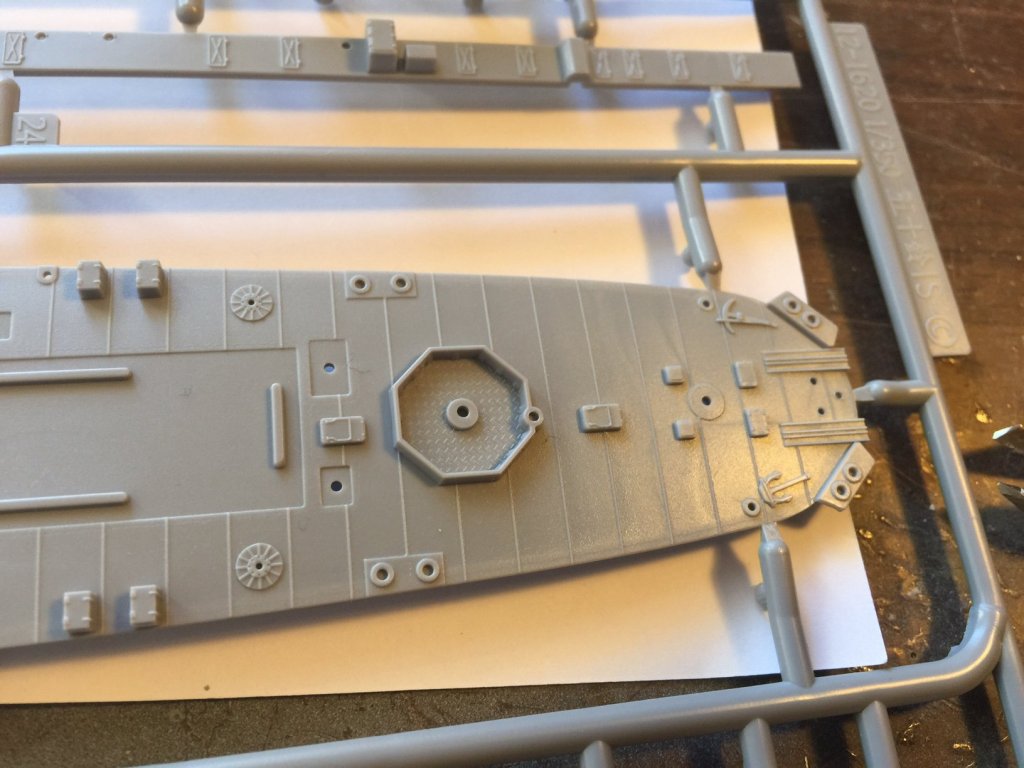
Moving on, I have finally stripped the decks, the top deck comes in three sections which will have substantial gaps between them which will need a fair bit of work. The quad torpedo launchers are supposed to be put in beforehand but it will make painting a continuous deck problematic so I cut the bottom off the so they can be slid in later as the interior will not be visible.
I have also also added the ringols to the portholes and added the manual aiming Port (right hand side near the large opening), which is visible on the photo and in other references for the IJN but not made up in the kit.
My quandry now is, do I add the deck? The hull is going to need plating added and numerous other details and the deck will be linoleum (brownish), requiring a lot of masking to separate the two colours.

-
That worked, well done.
- Canute, Old Collingwood, Eddie and 5 others
-
8
-
I won't bore you with her history as Dr Google can do that, needless to say she was converted into an AA light cruiser. Yes, I may have invested in a bit more aftermarket stuff but I have a lot left over from Yamato.
- Canute and Captain Slog
-
2
-
You can see there is a lot of molded detail, all the stuff on the hull is wrong and the entire deck detail has to go. so far I have stripped the deck completely and sanded the hull back, individual stanchion holes have been drilled as well.
I will have to replace all the deck equipment with something not looking like a plastic blob, make up hull plates, paint and weather it as to it's last day of staying afloat, rusty and beaten, with sandbags, etc and new guns. Nearly every model I have seen on the net does not match the final photo of her, and as hard as you may find this to believe, I think people may have made things up!

- Ryland Craze, cog, hexnut and 8 others
-
11
-
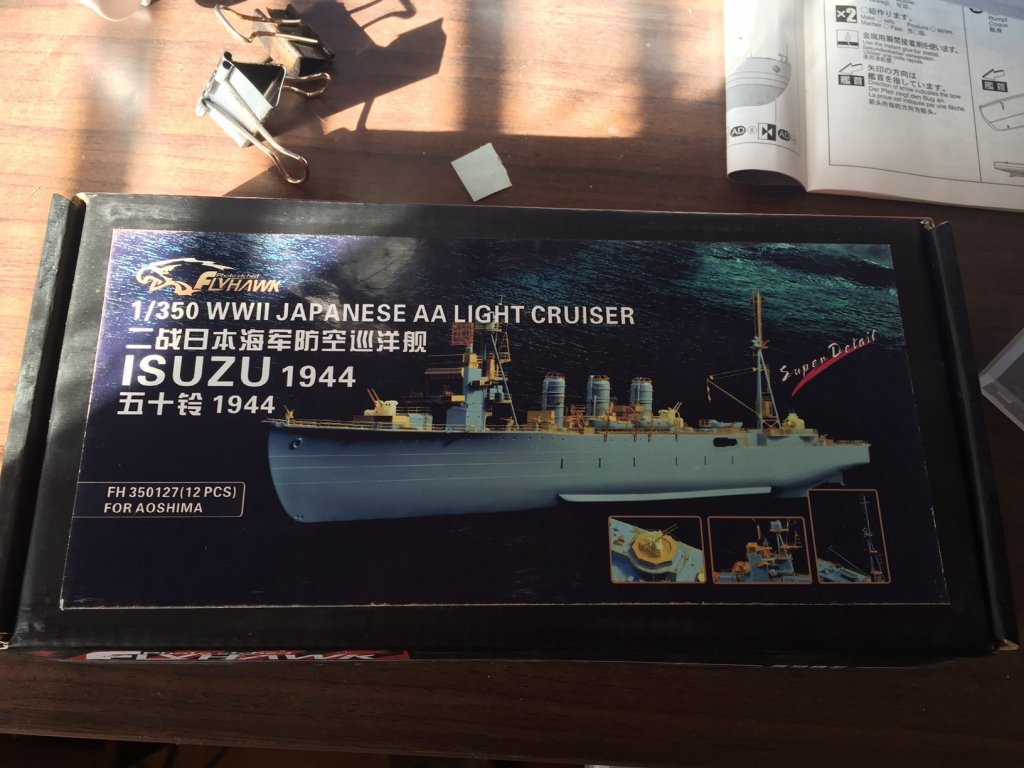
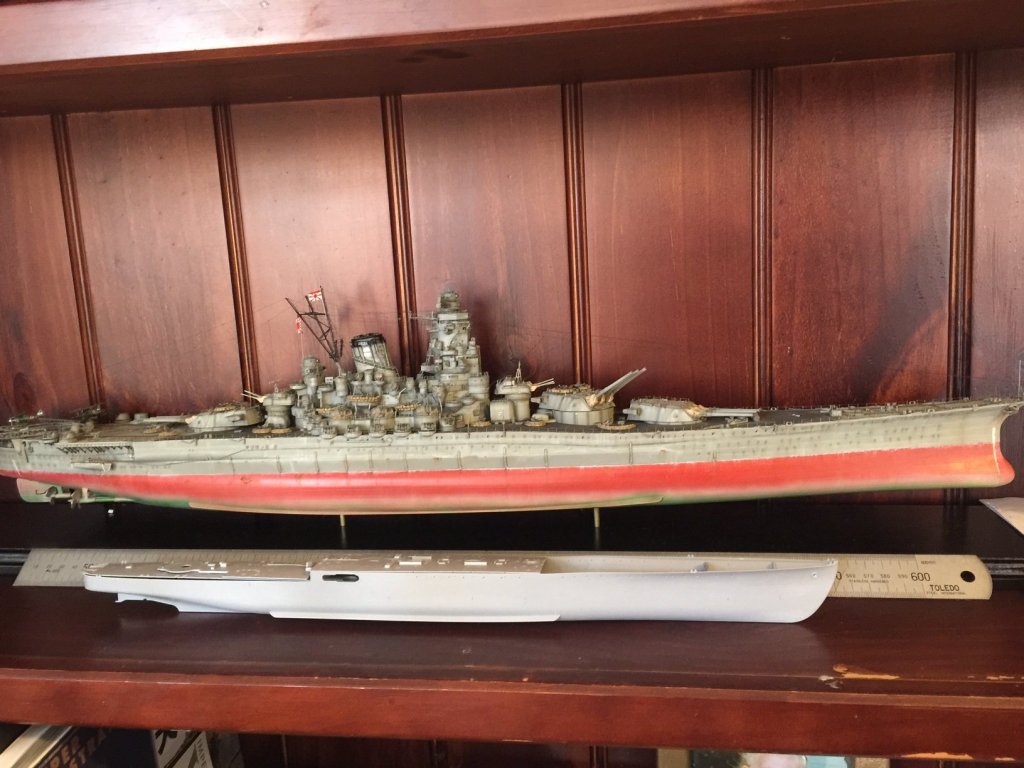
My next project is the IJN Isuzu in 1/350 from Aoshima. Date of sinking, 6 April 1945, the same as the Yamato.

This is a very very bland kit, the box art is based on one photo taken in 1944 after it's last refit, unfortunately Aoshima didn't bother with any of the details on the hull, and there is so little reference materiel available (That I can find in English or any other language) that I have to go off what I can find online.
I got the flyhawk upgrade set and will replace nearly everything on the kit bar the hull and decks. I could not face a long project, as the Yamato was pretty much out of the box, this is going to be a kit bash.
I purchased the Profile Morskie plans which are great for gun placements and details of the structures but no deck details. As you can see I have done up some planning for the hull plates.
Its been a slow start as I've been trying to get my head around hull construction. You can see her compared to Yamato, no where near as complex.
- Ryland Craze, hexnut, CDW and 9 others
-
12


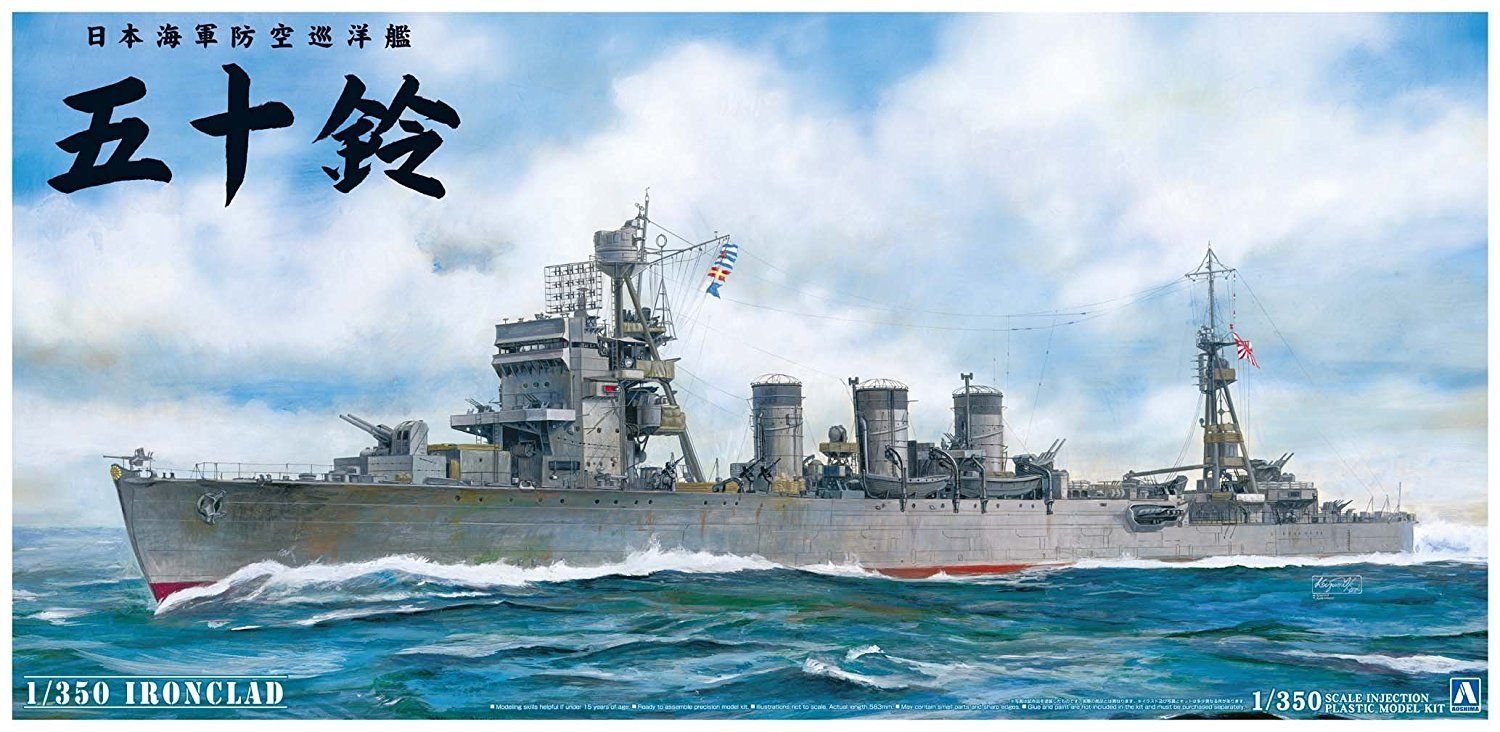


IJN Isuzu 1945 by RGL - FINISHED - Aoshima - 1/350 - PLASTIC - Light Cruiser
in - Kit build logs for subjects built from 1901 - Present Day
Posted
The black red added, note to self, I will never use Vajello in my airbrush again, completely gunked up.
Matt varnish next.