


RGL
-
Posts
5,118 -
Joined
-
Last visited
Content Type
Profiles
Forums
Gallery
Events
Posts posted by RGL
-
-
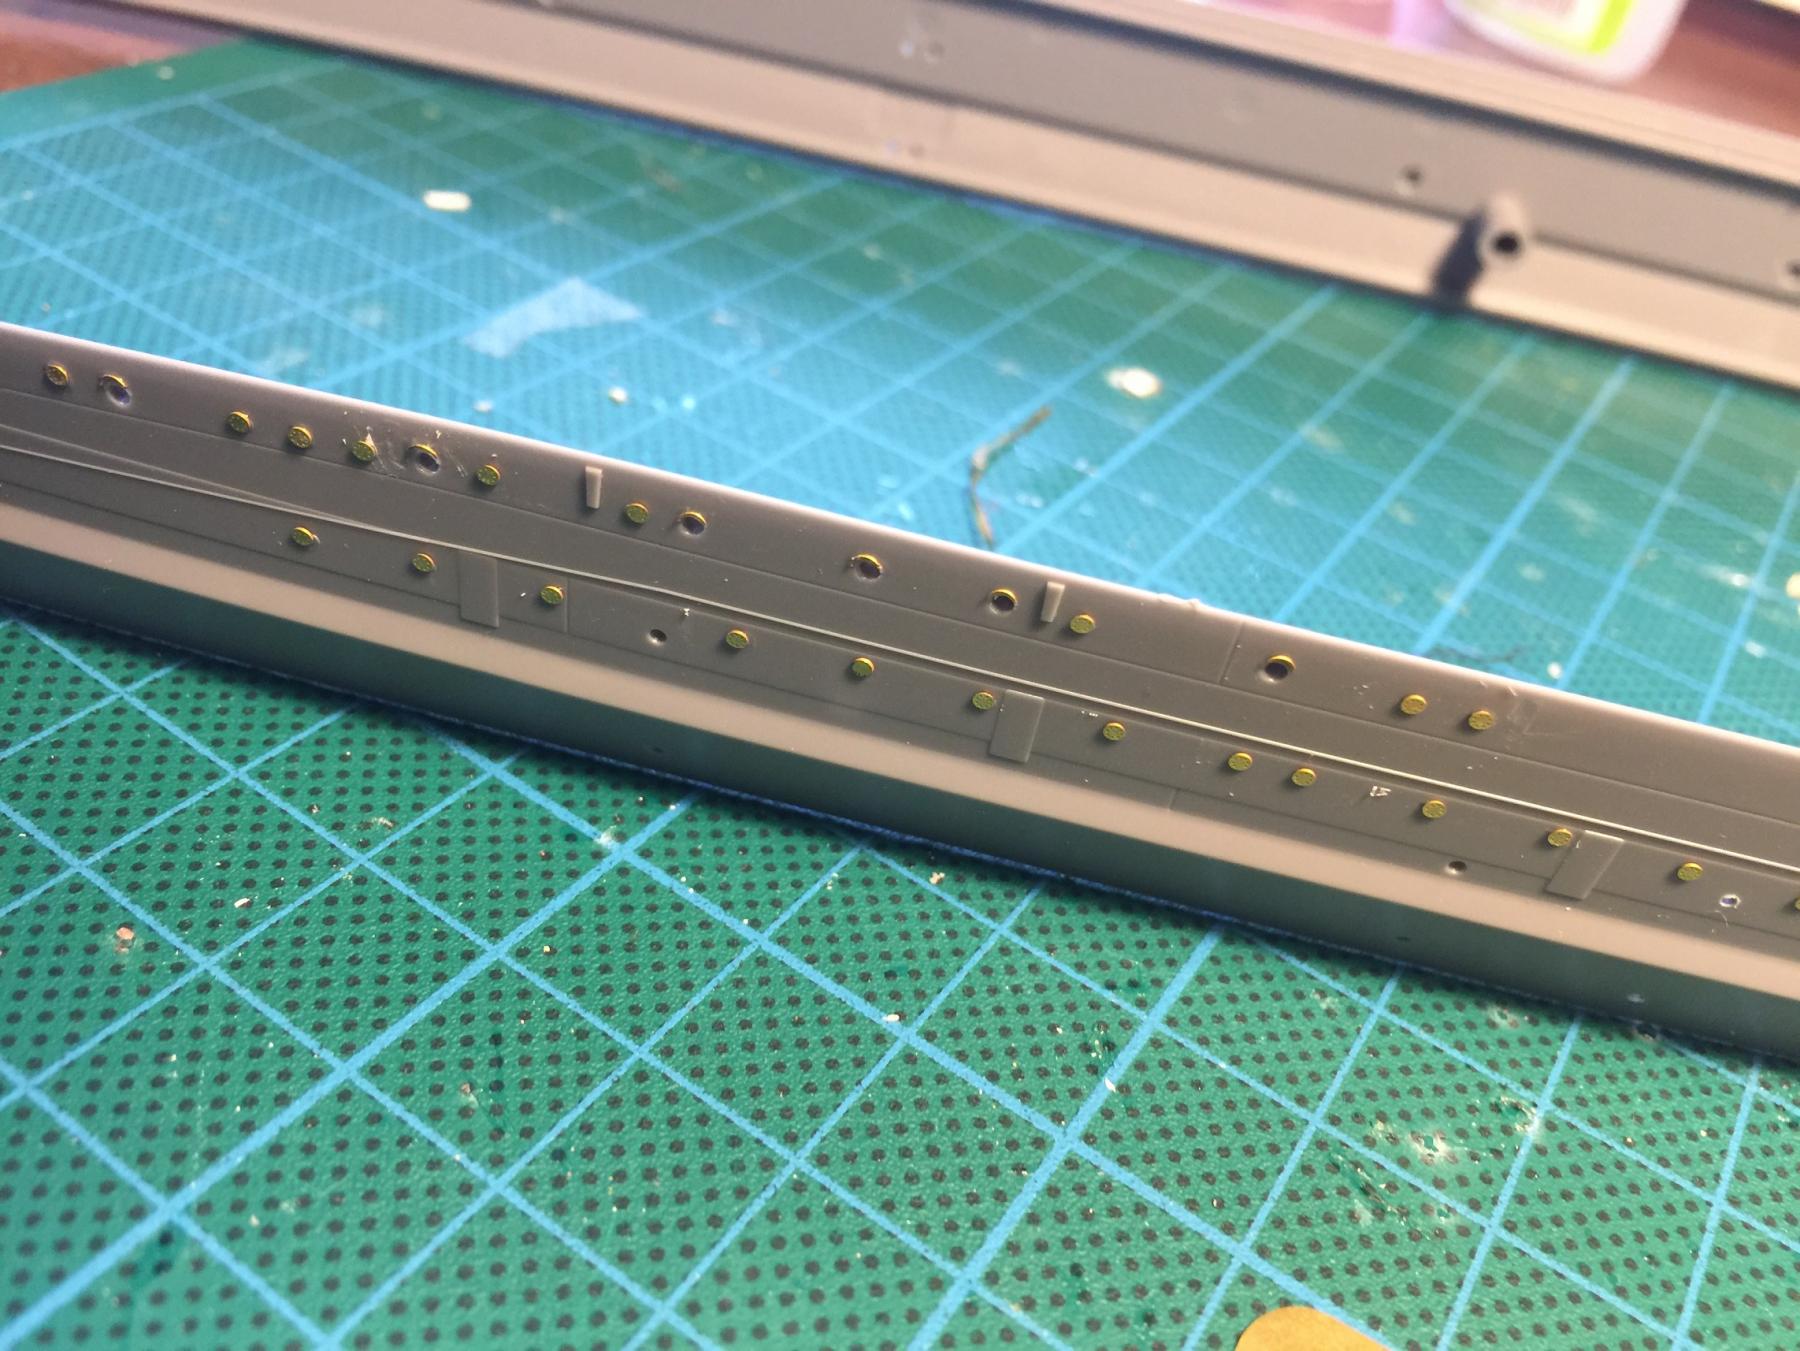
They come free floating (the dead lights), the ringols have to be cut from a curving line from Alliance modelsworks but are a pain to apply.
- popeye the sailor, Canute, mtaylor and 1 other
-
 4
4
-
Continuing on withe the upper hull, I tried adding step ladders but not really happy with them so I will only do the one side.
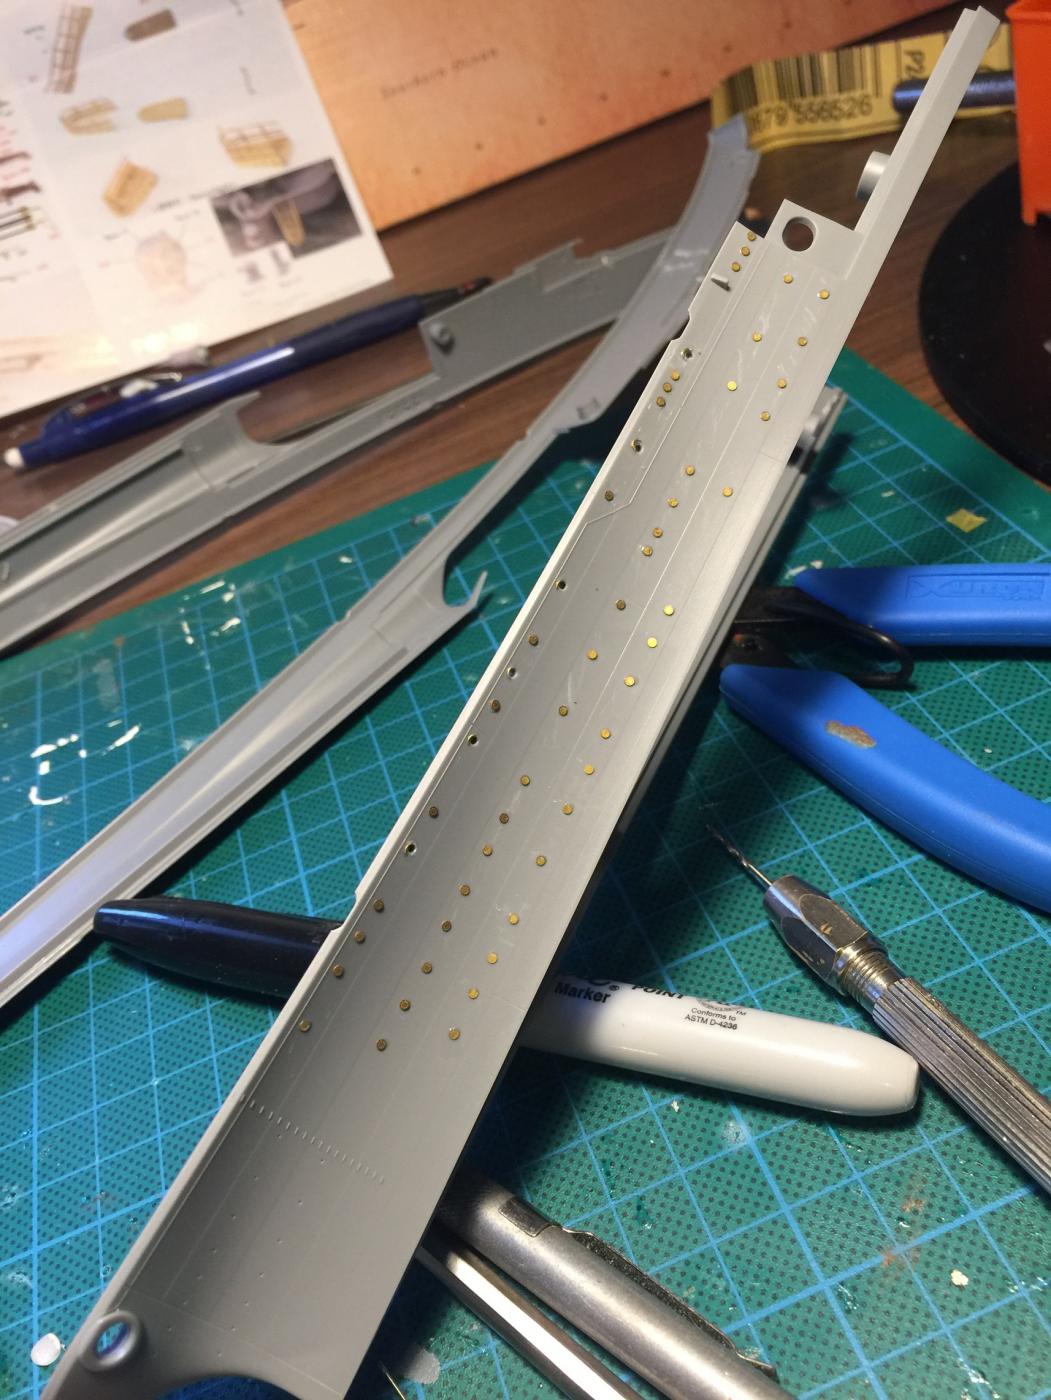
There are about 250 deadlights where the portholes were covered later in the war. The kit just has them as blobs but as usual, there is an aftermarket for them. About 2 days of painful work.


- popeye the sailor, CDW, mtaylor and 19 others
-
22
-
Reactive armour, I like it.
- mtaylor, Old Collingwood and Canute
-
3
-
I actually thought the same thing, but AOTS confirms it
- mtaylor, Old Collingwood, Elijah and 2 others
-
5
-
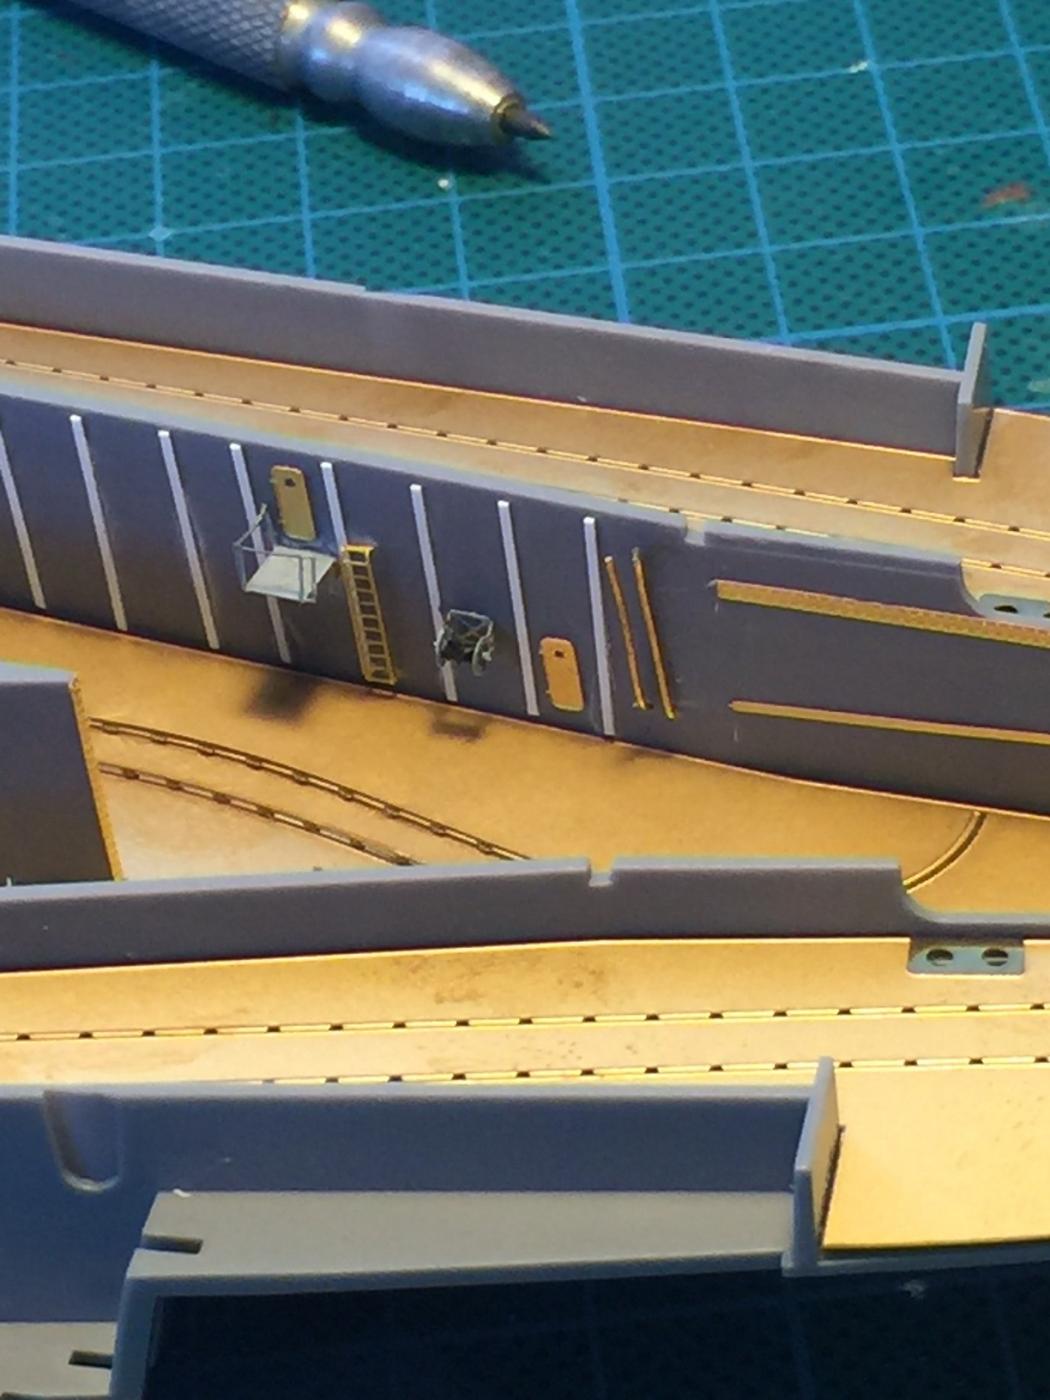
Well, back from holidays, a little bit of work on the old girl today.
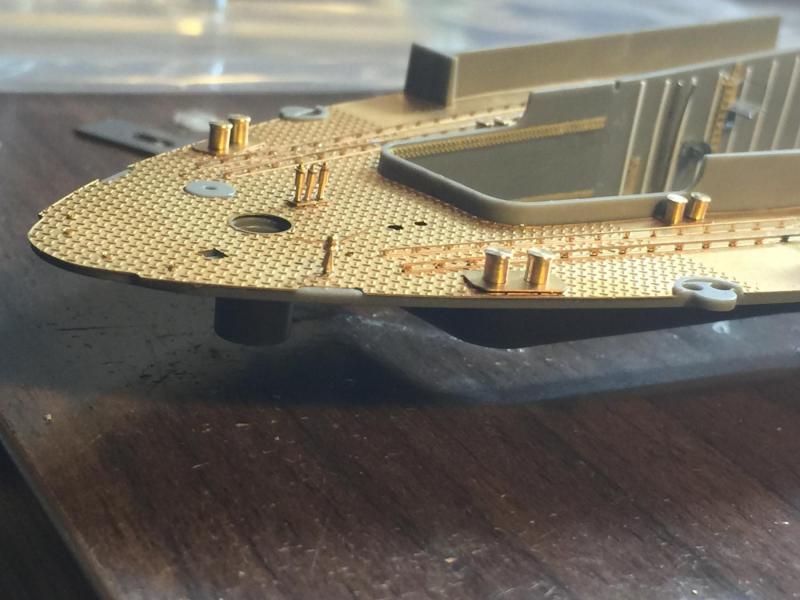
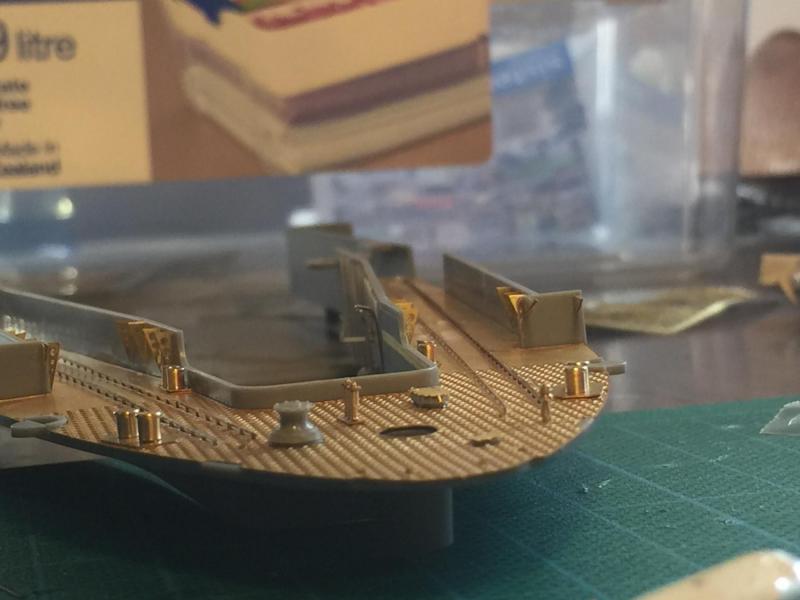
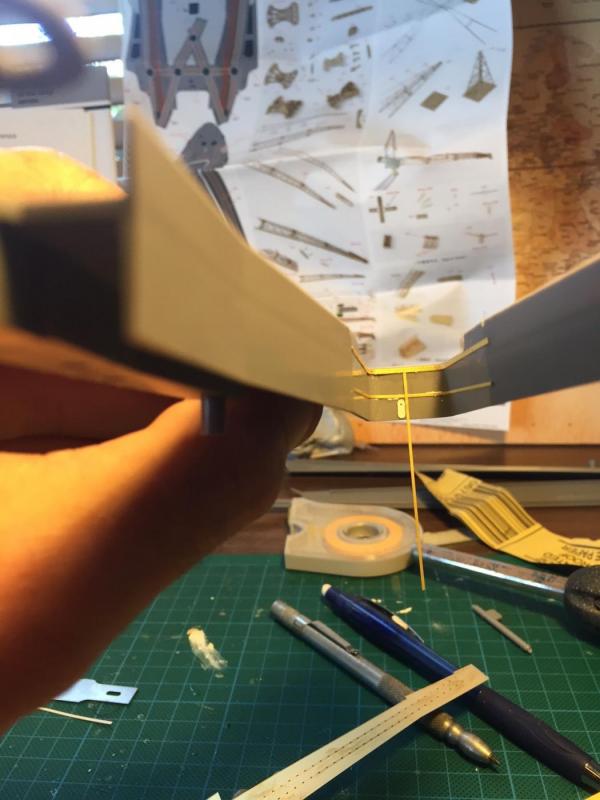
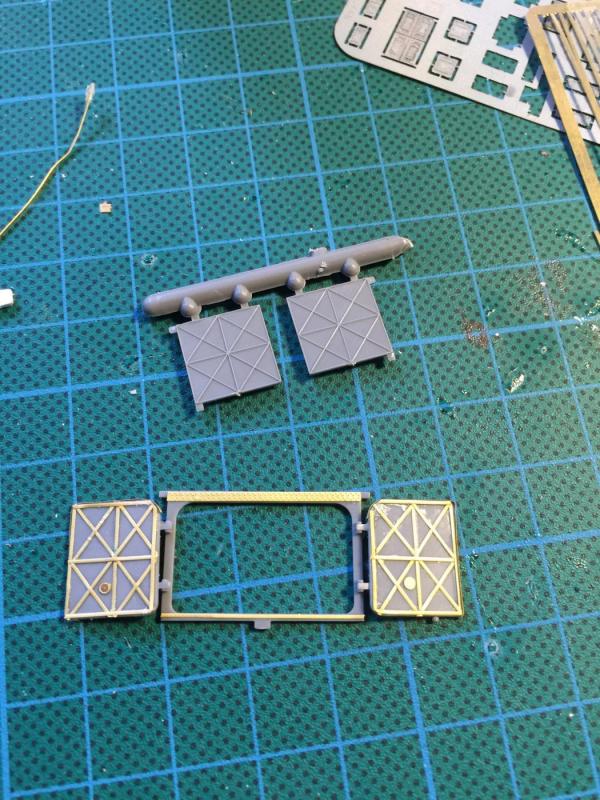
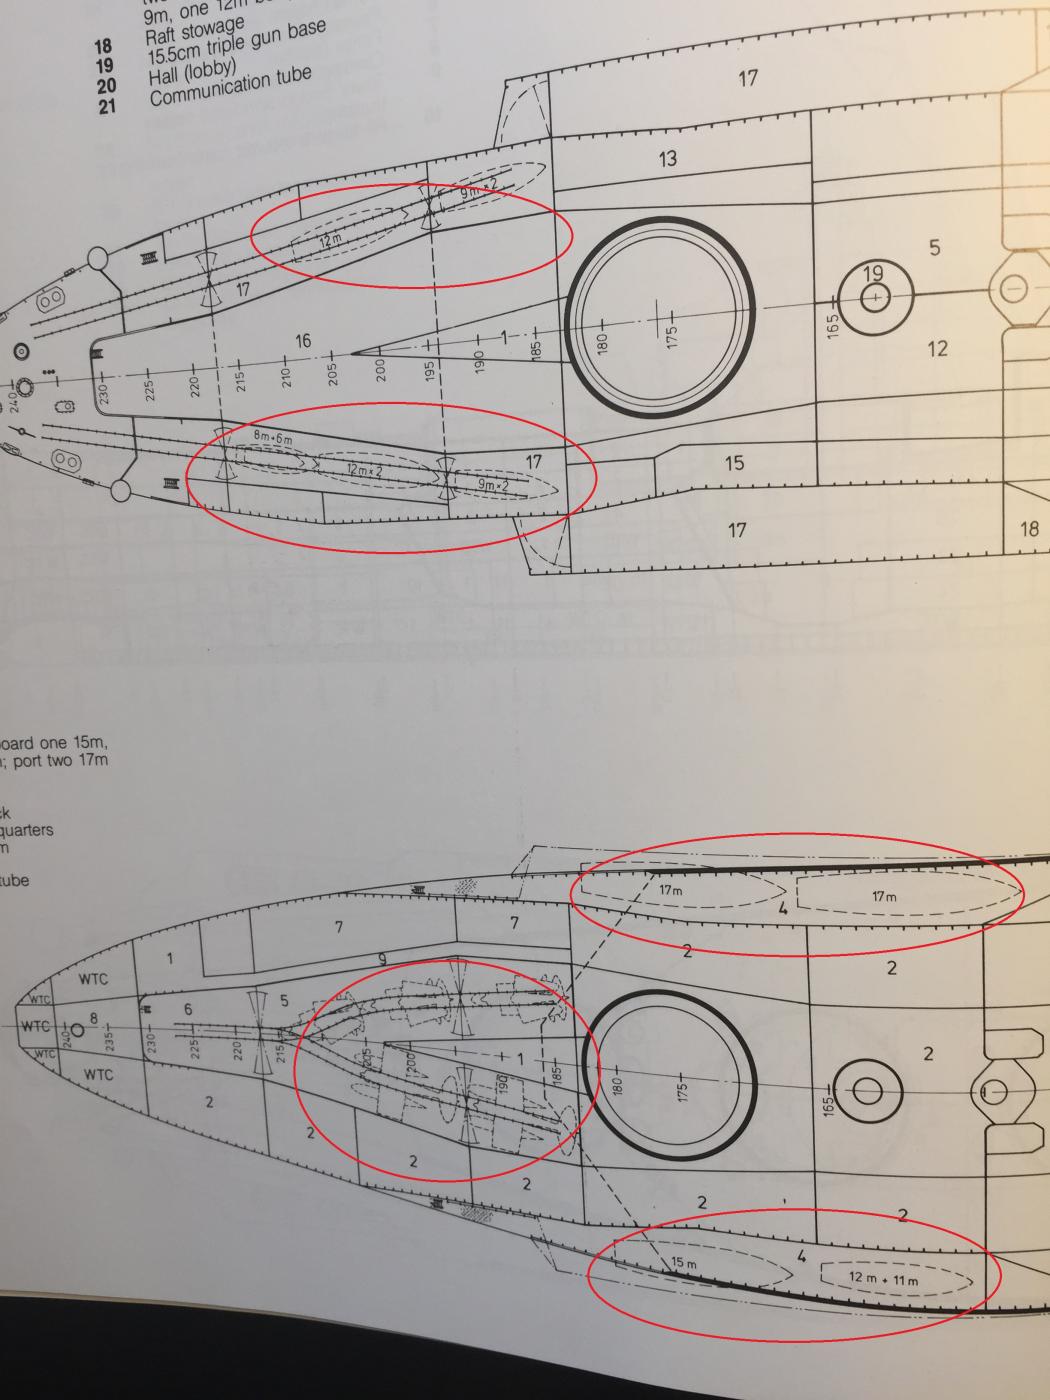
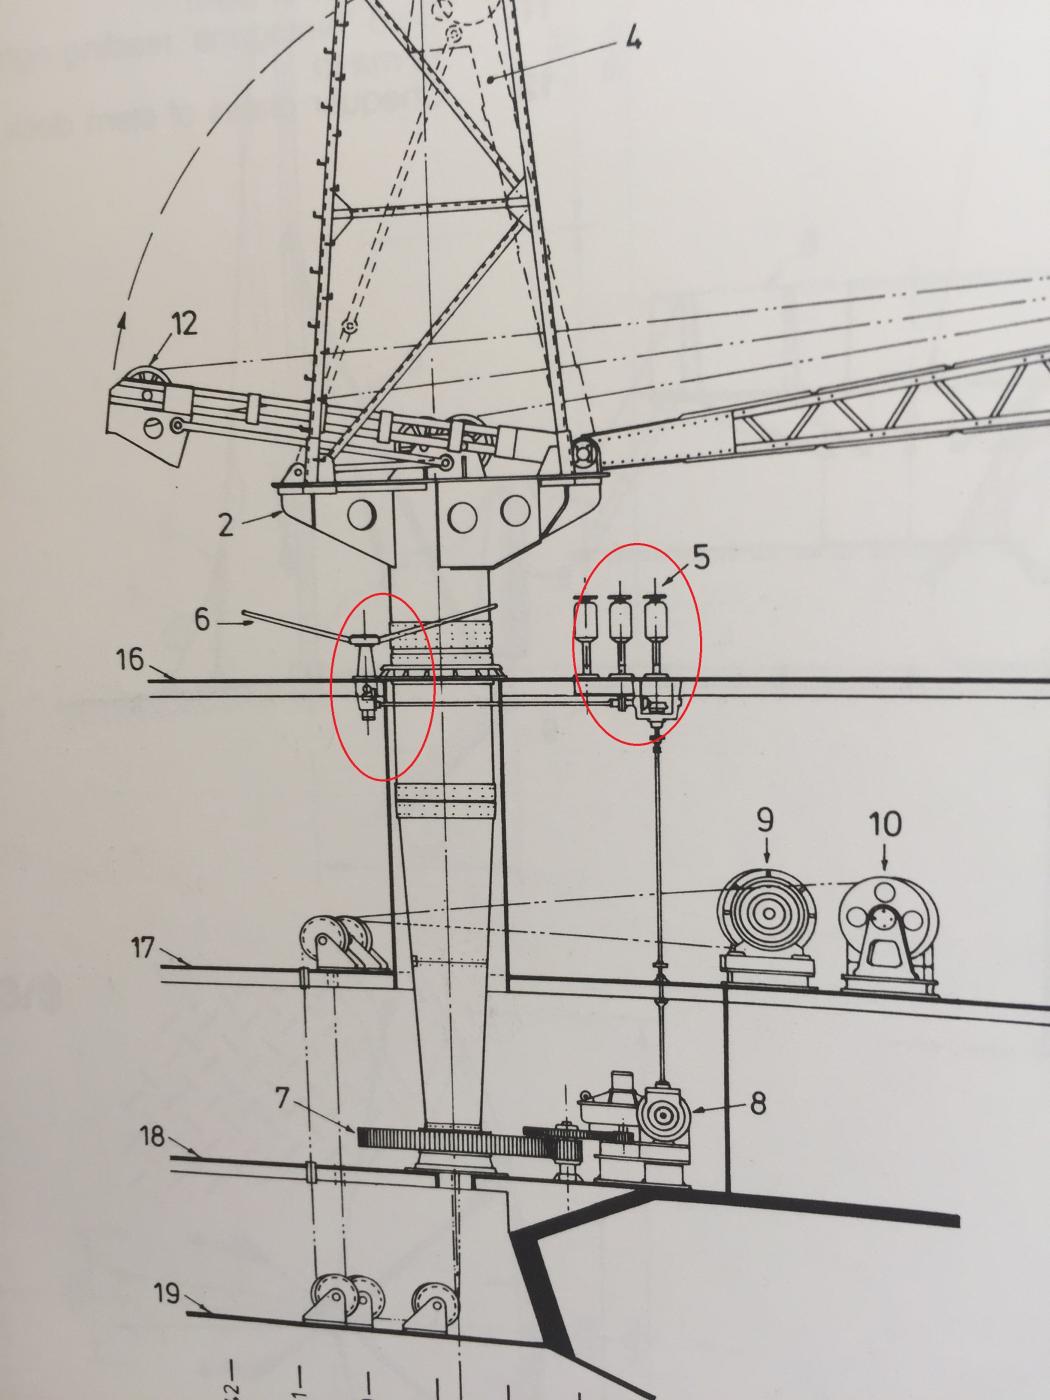
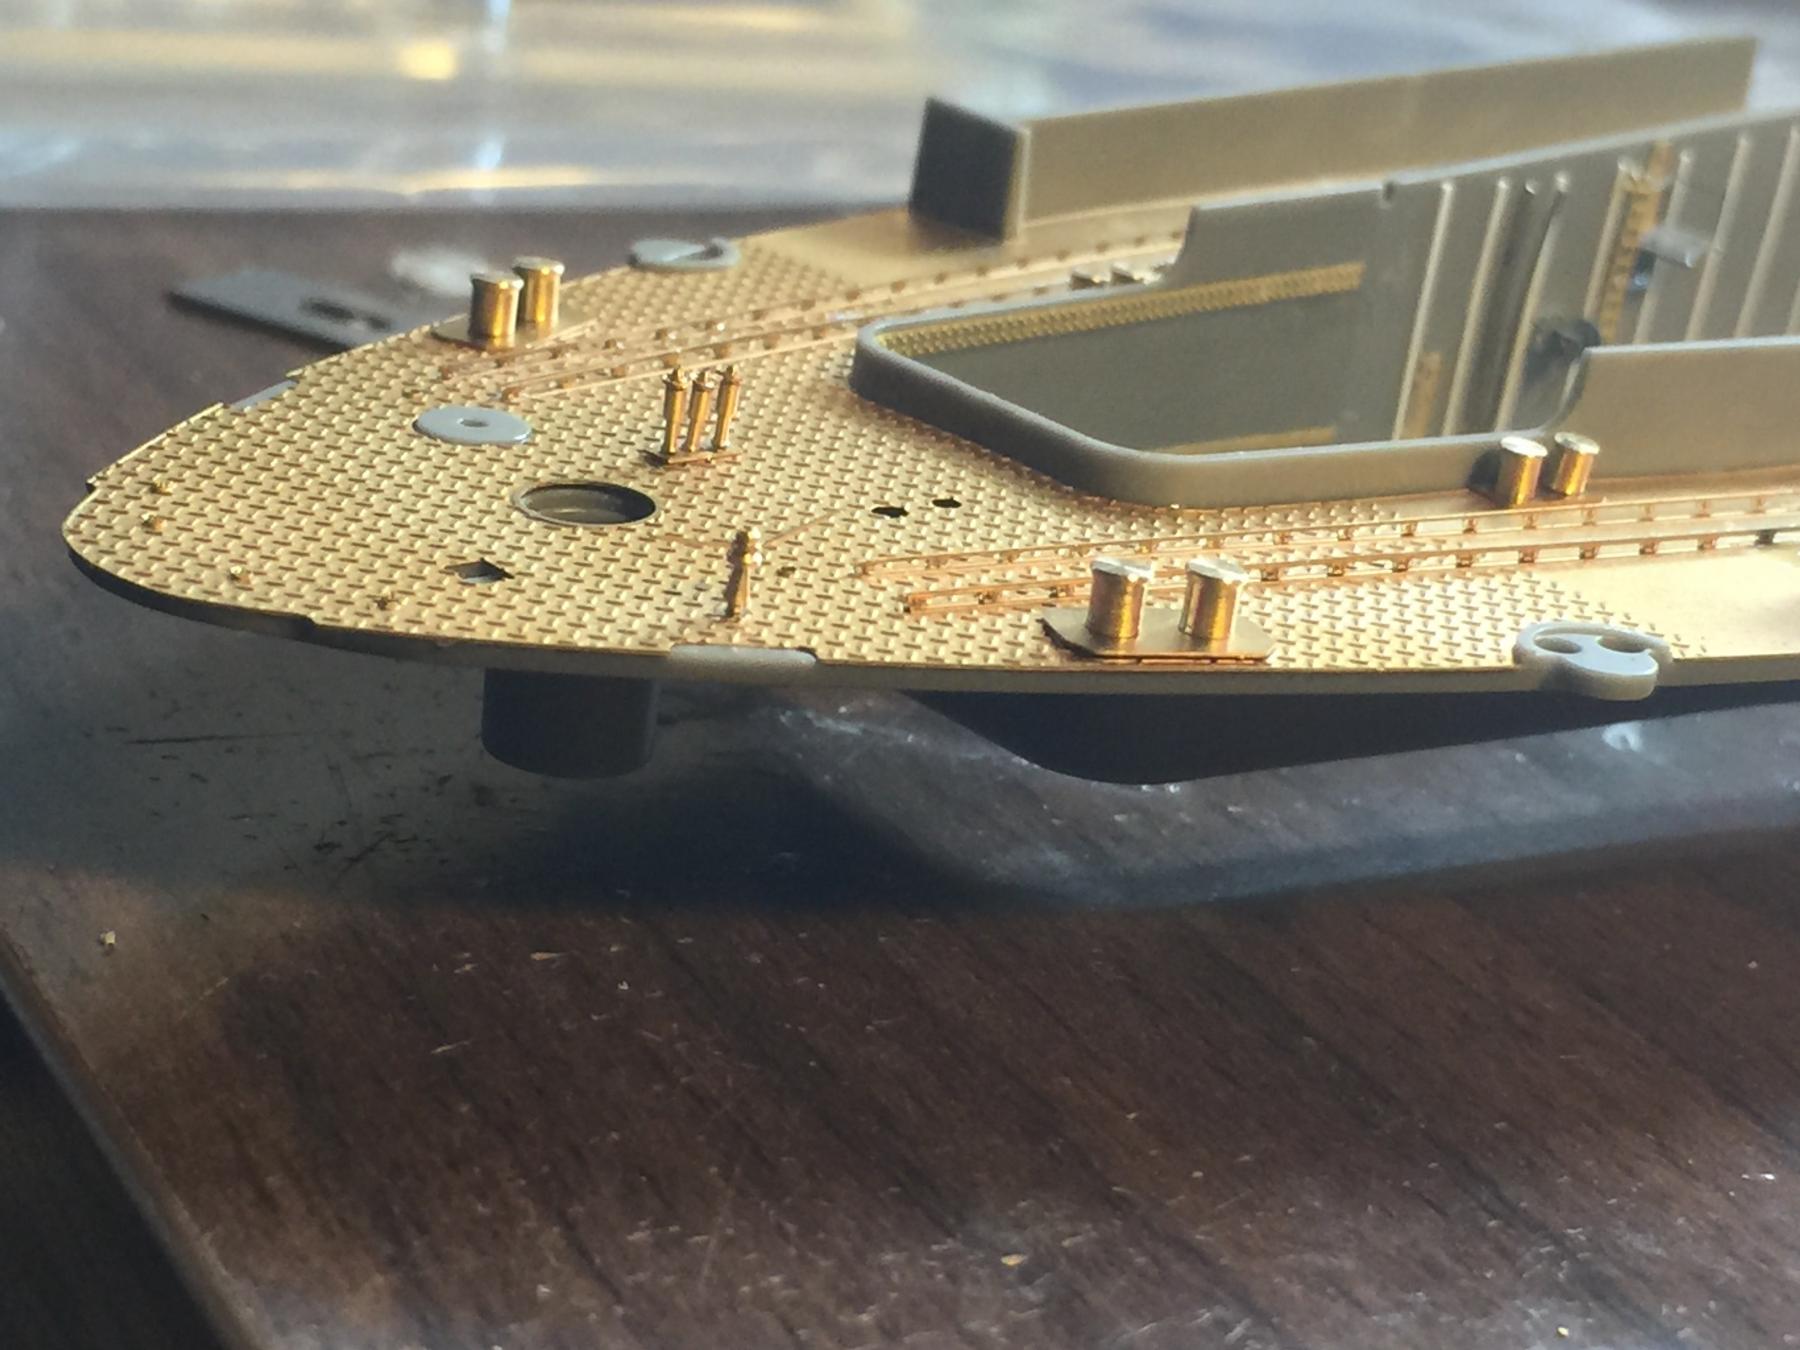
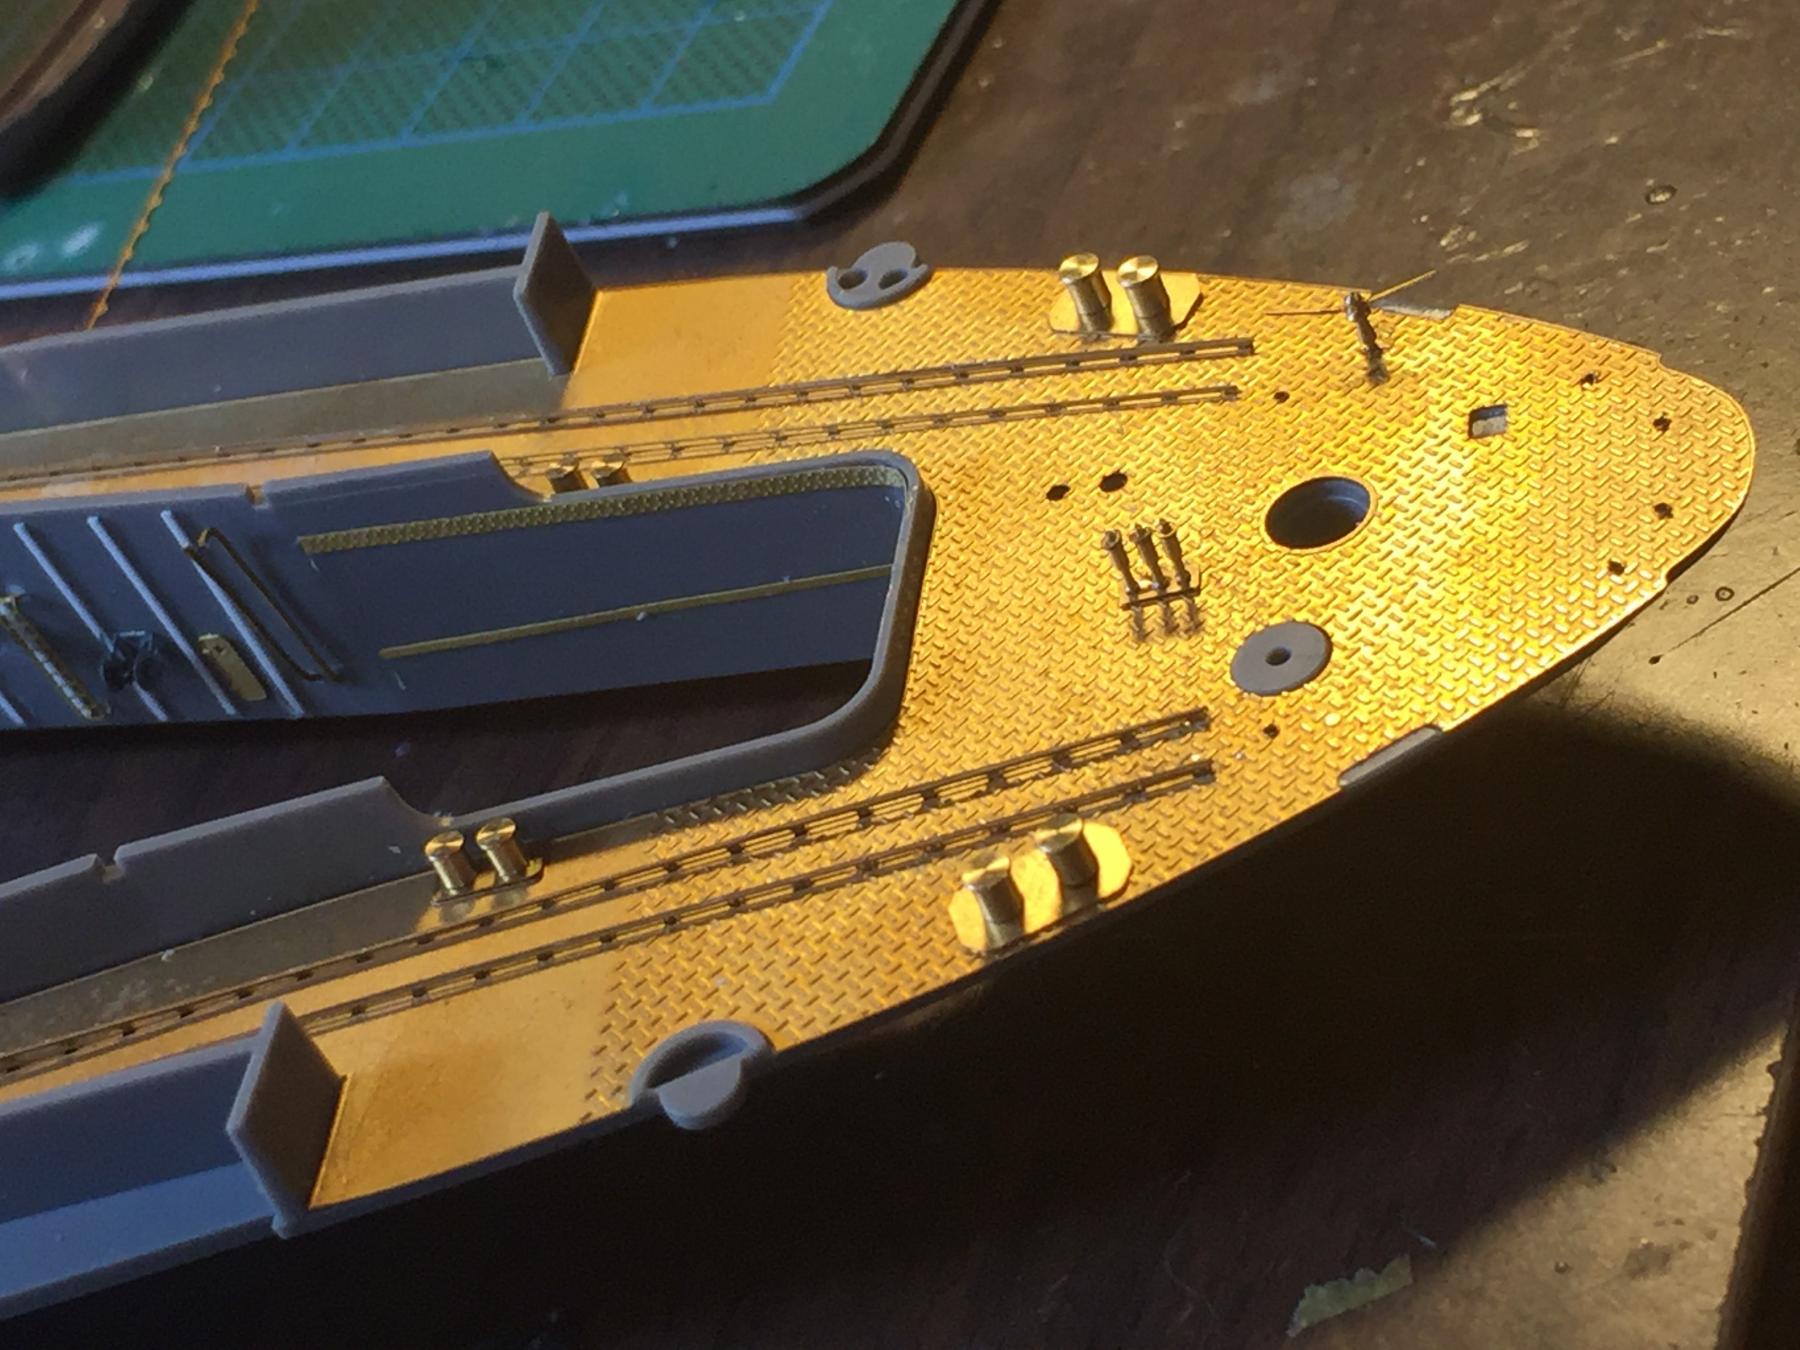
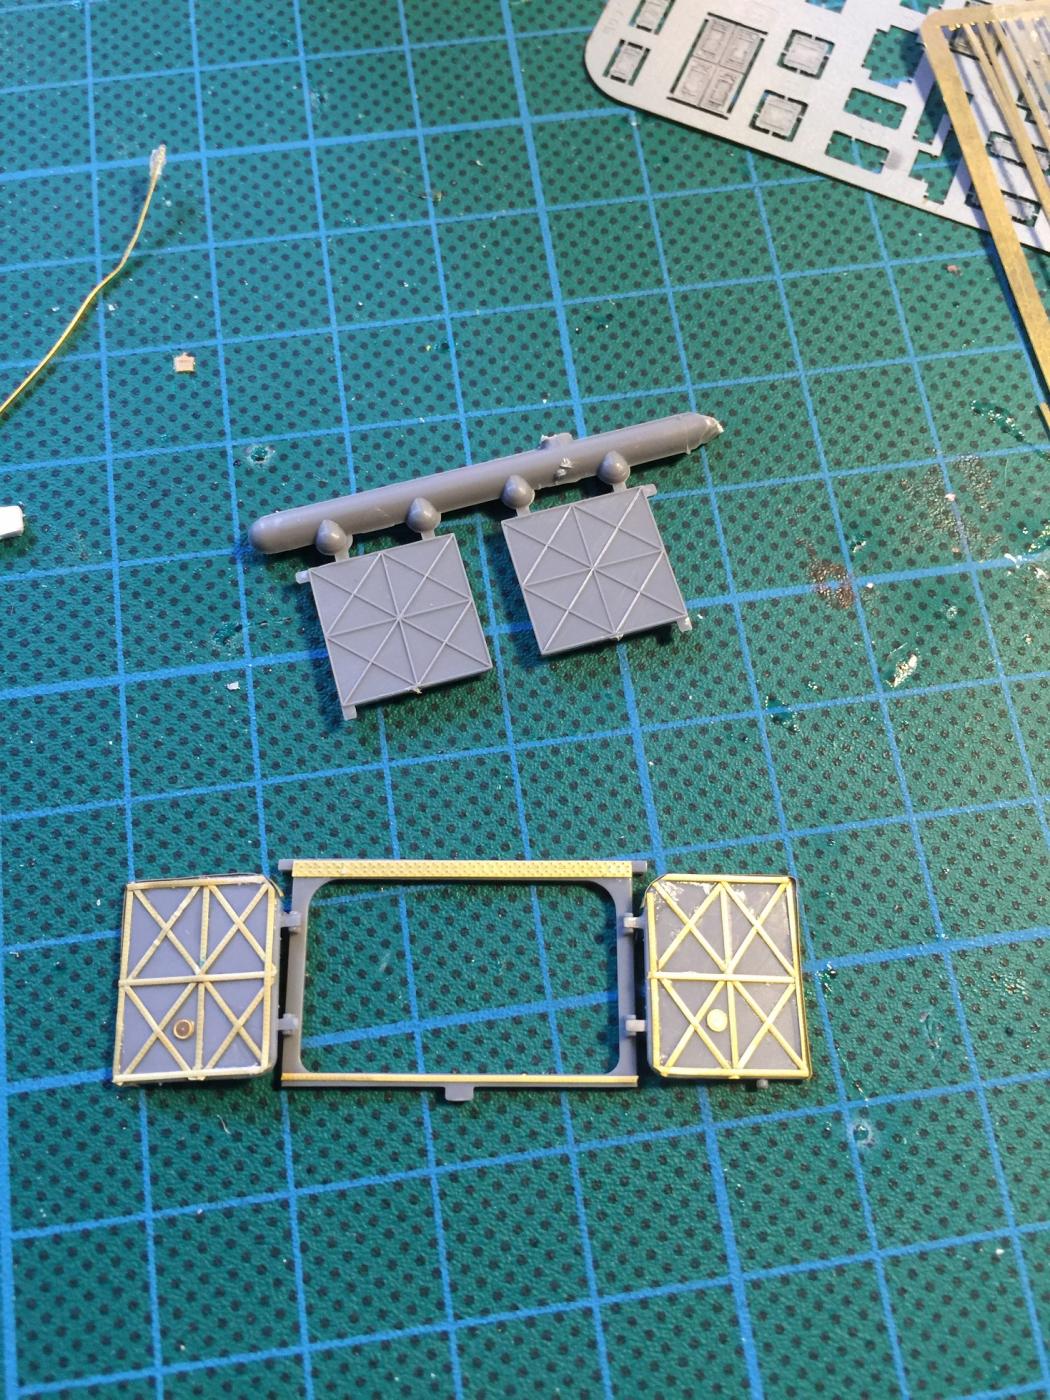
You cannot do anything with the Pontos instructions without other reference material. Moving on to the boat hangars, two for the smaller boats and two for the launches. The back deck includes nice bollards, (the holes in the kit need drilling out to widen), rails and equipment for the winch. You can see from the AOTS is is very busy below decks.

 .
.The etch is easy to use just somewhat tiny.
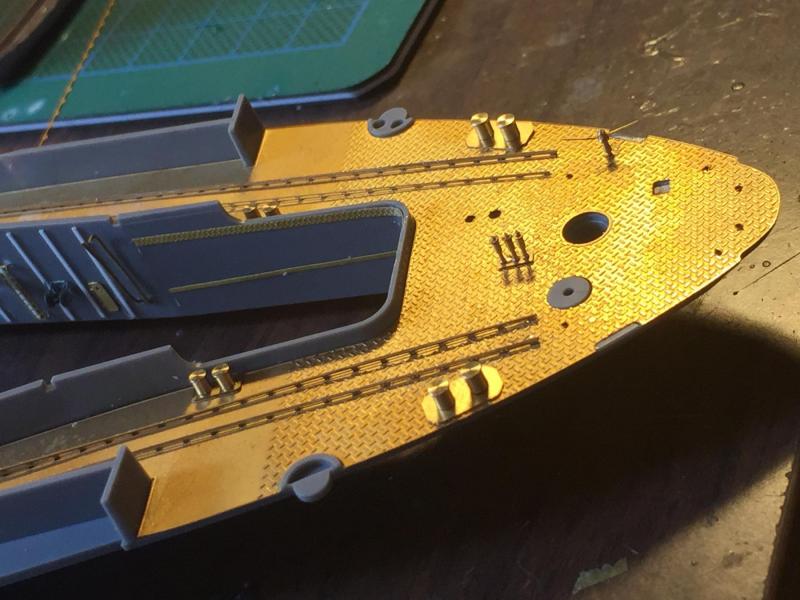
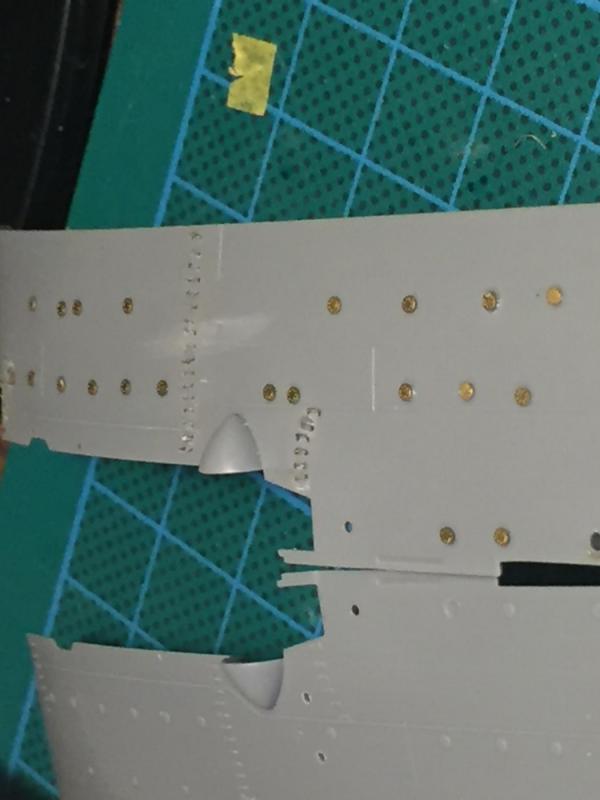
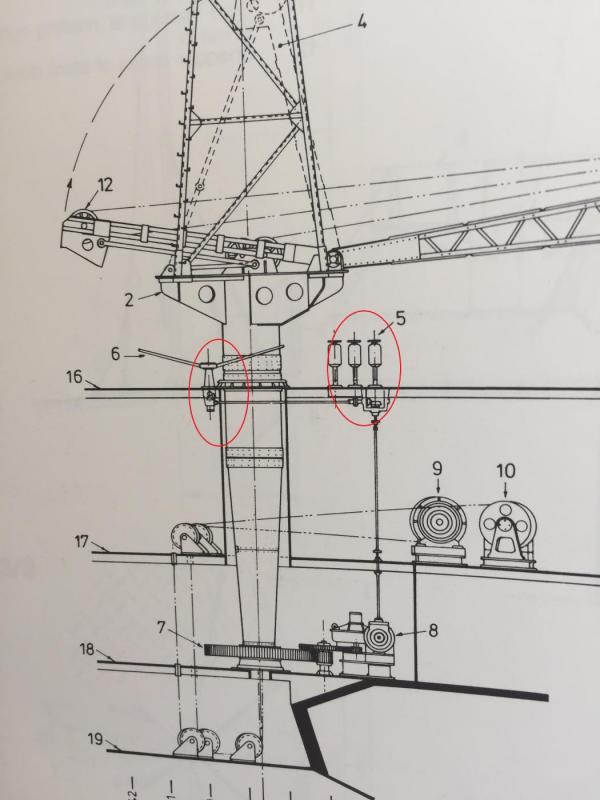
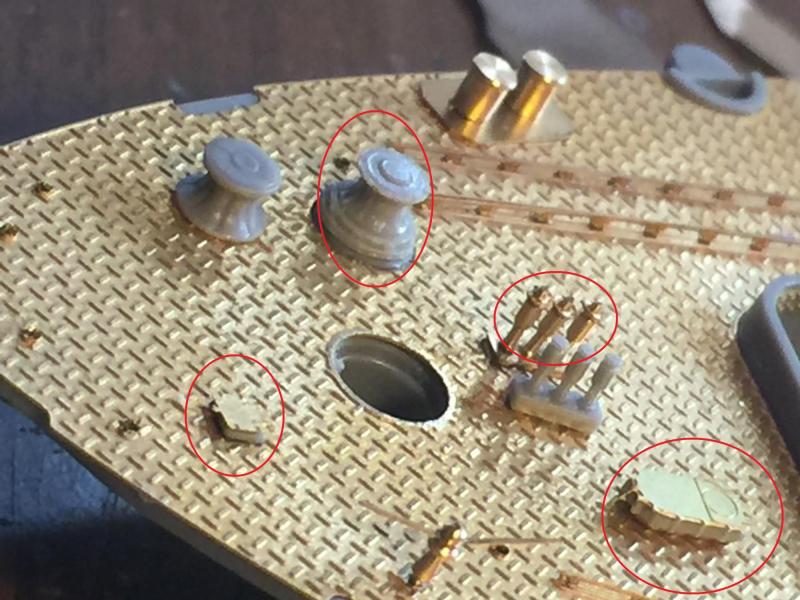
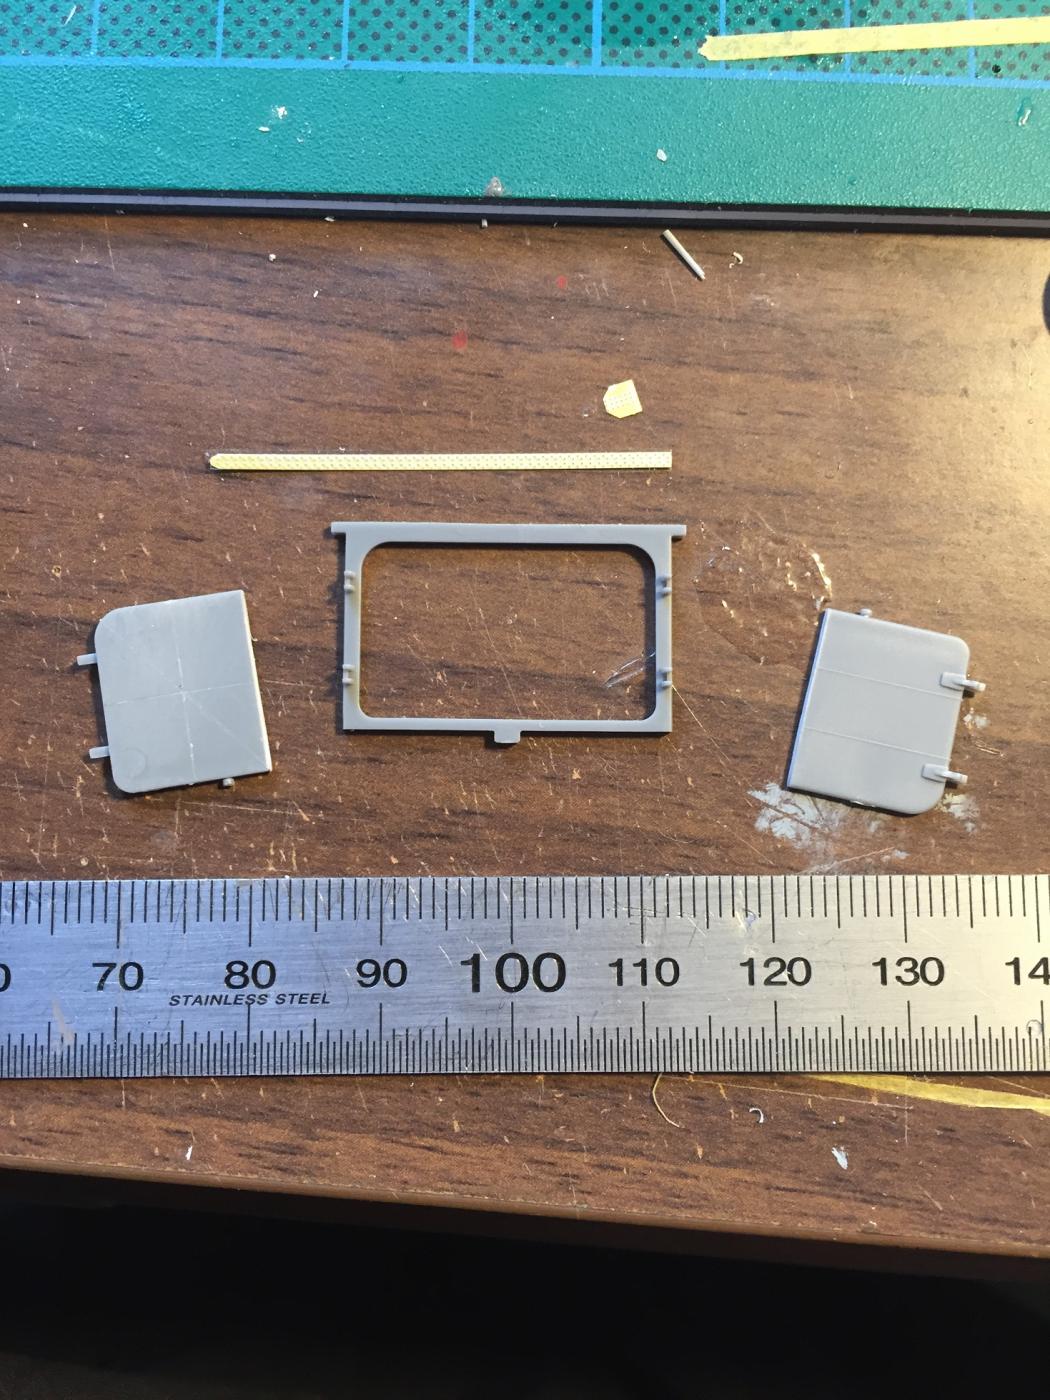
For some reason only known to Pontos they do nothing with the hatches or windlass's. I used North star hatches and a Chrysanthemum windlass. You can see from what is circled what is the kit and what is replaced.
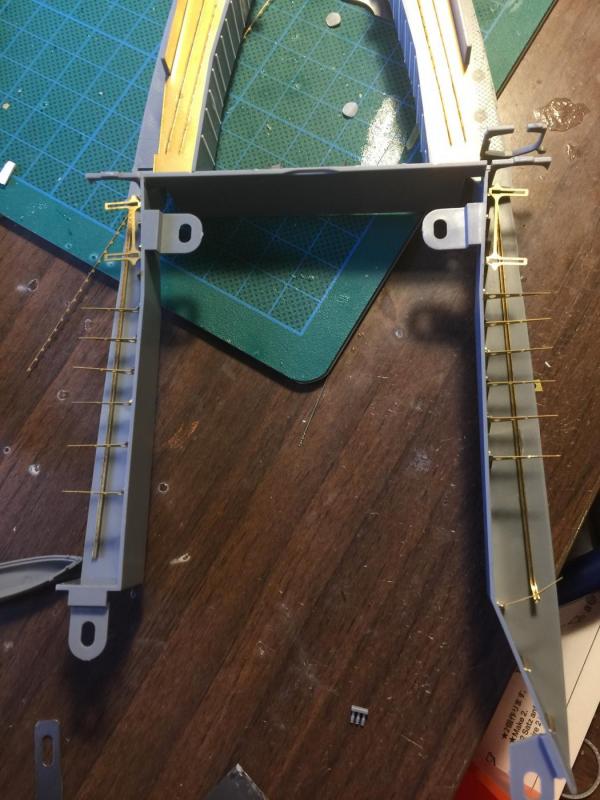
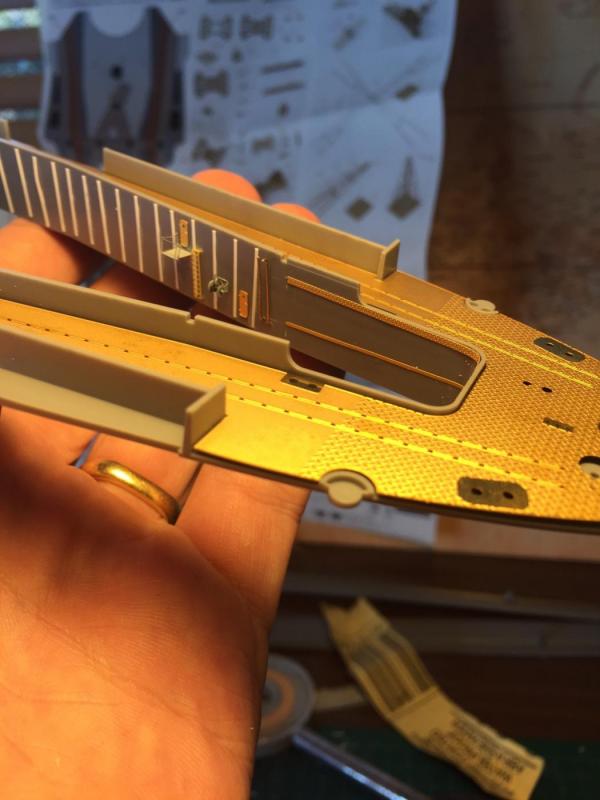
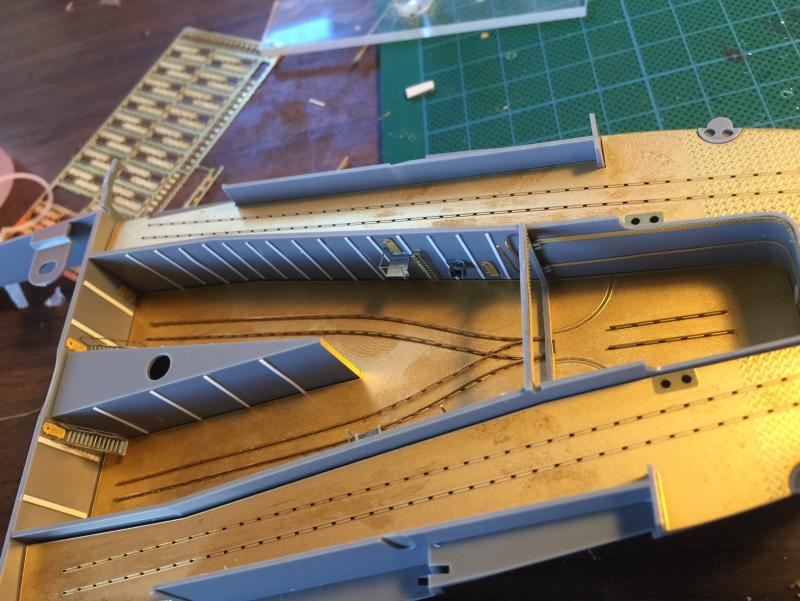
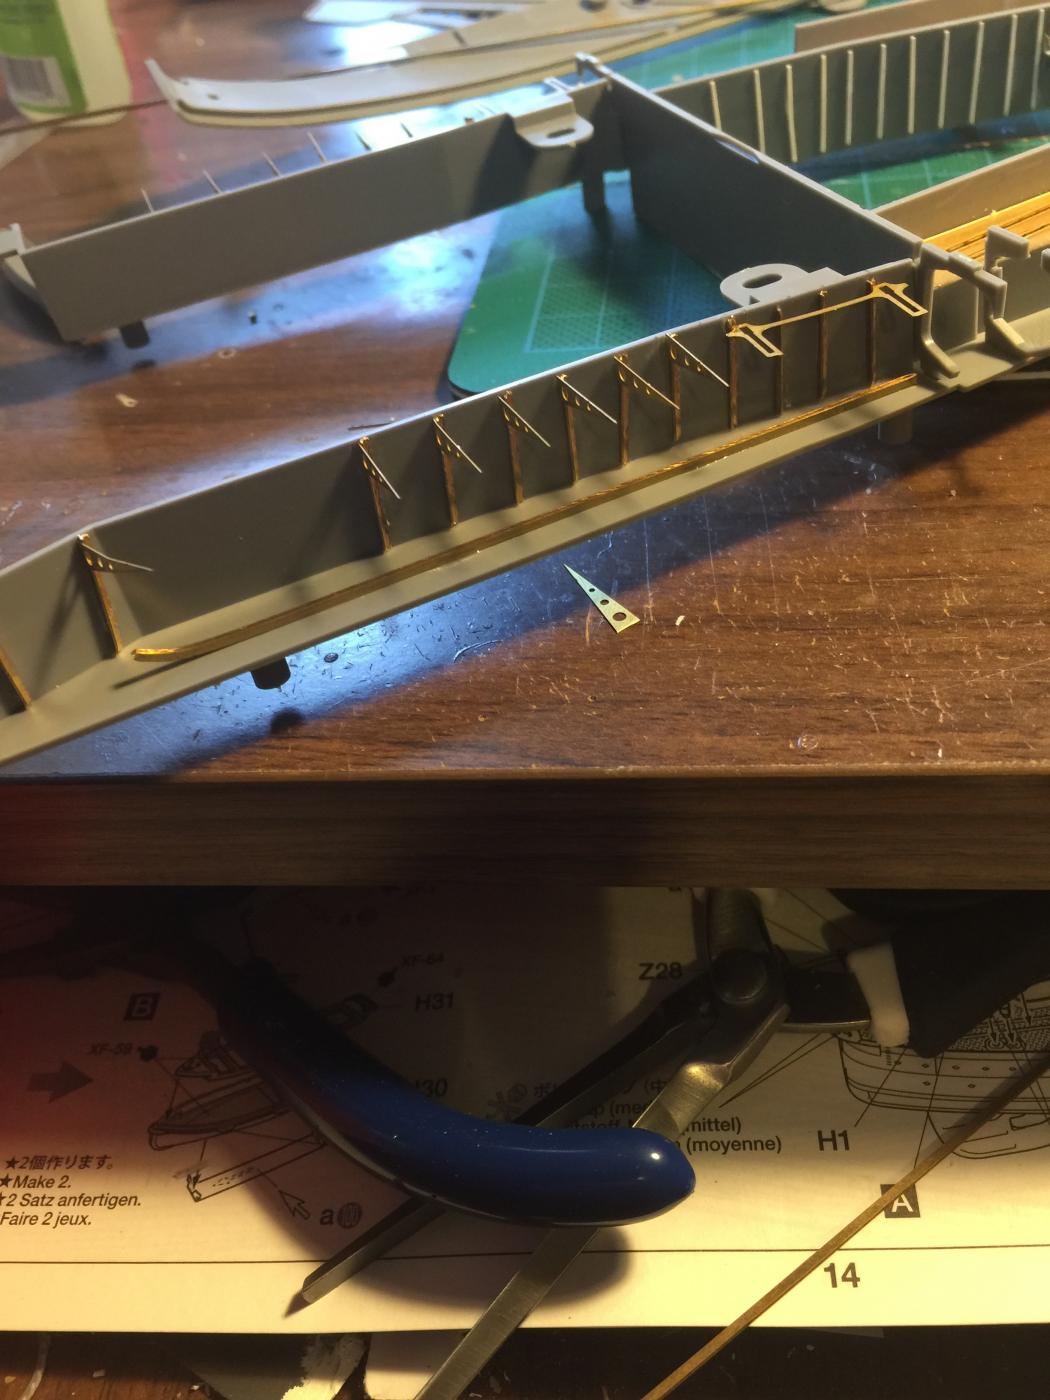
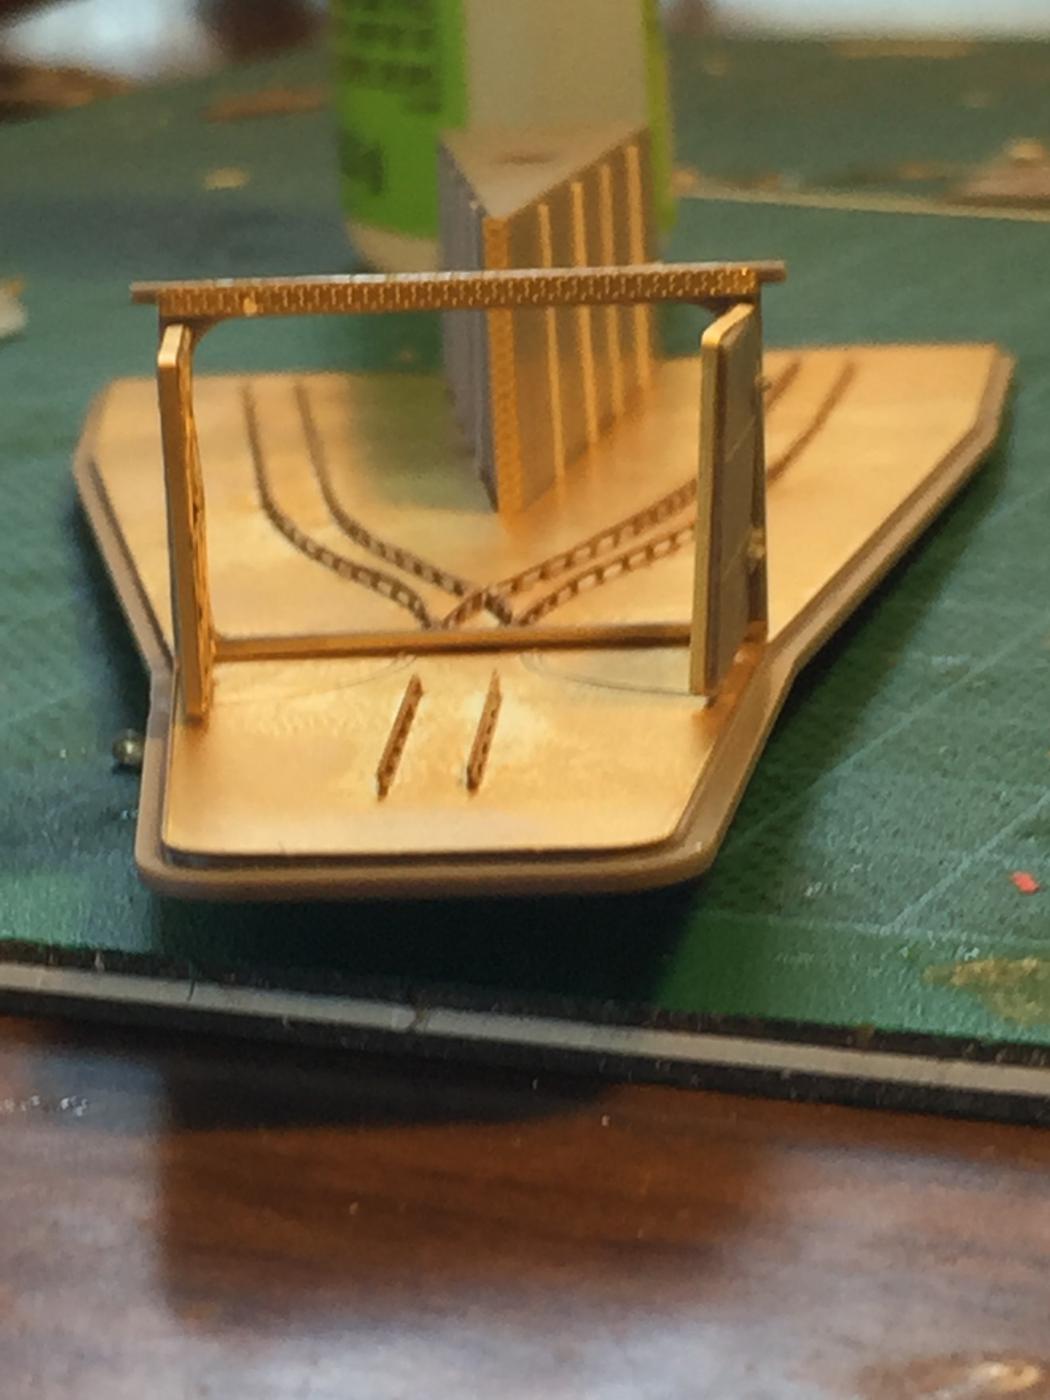
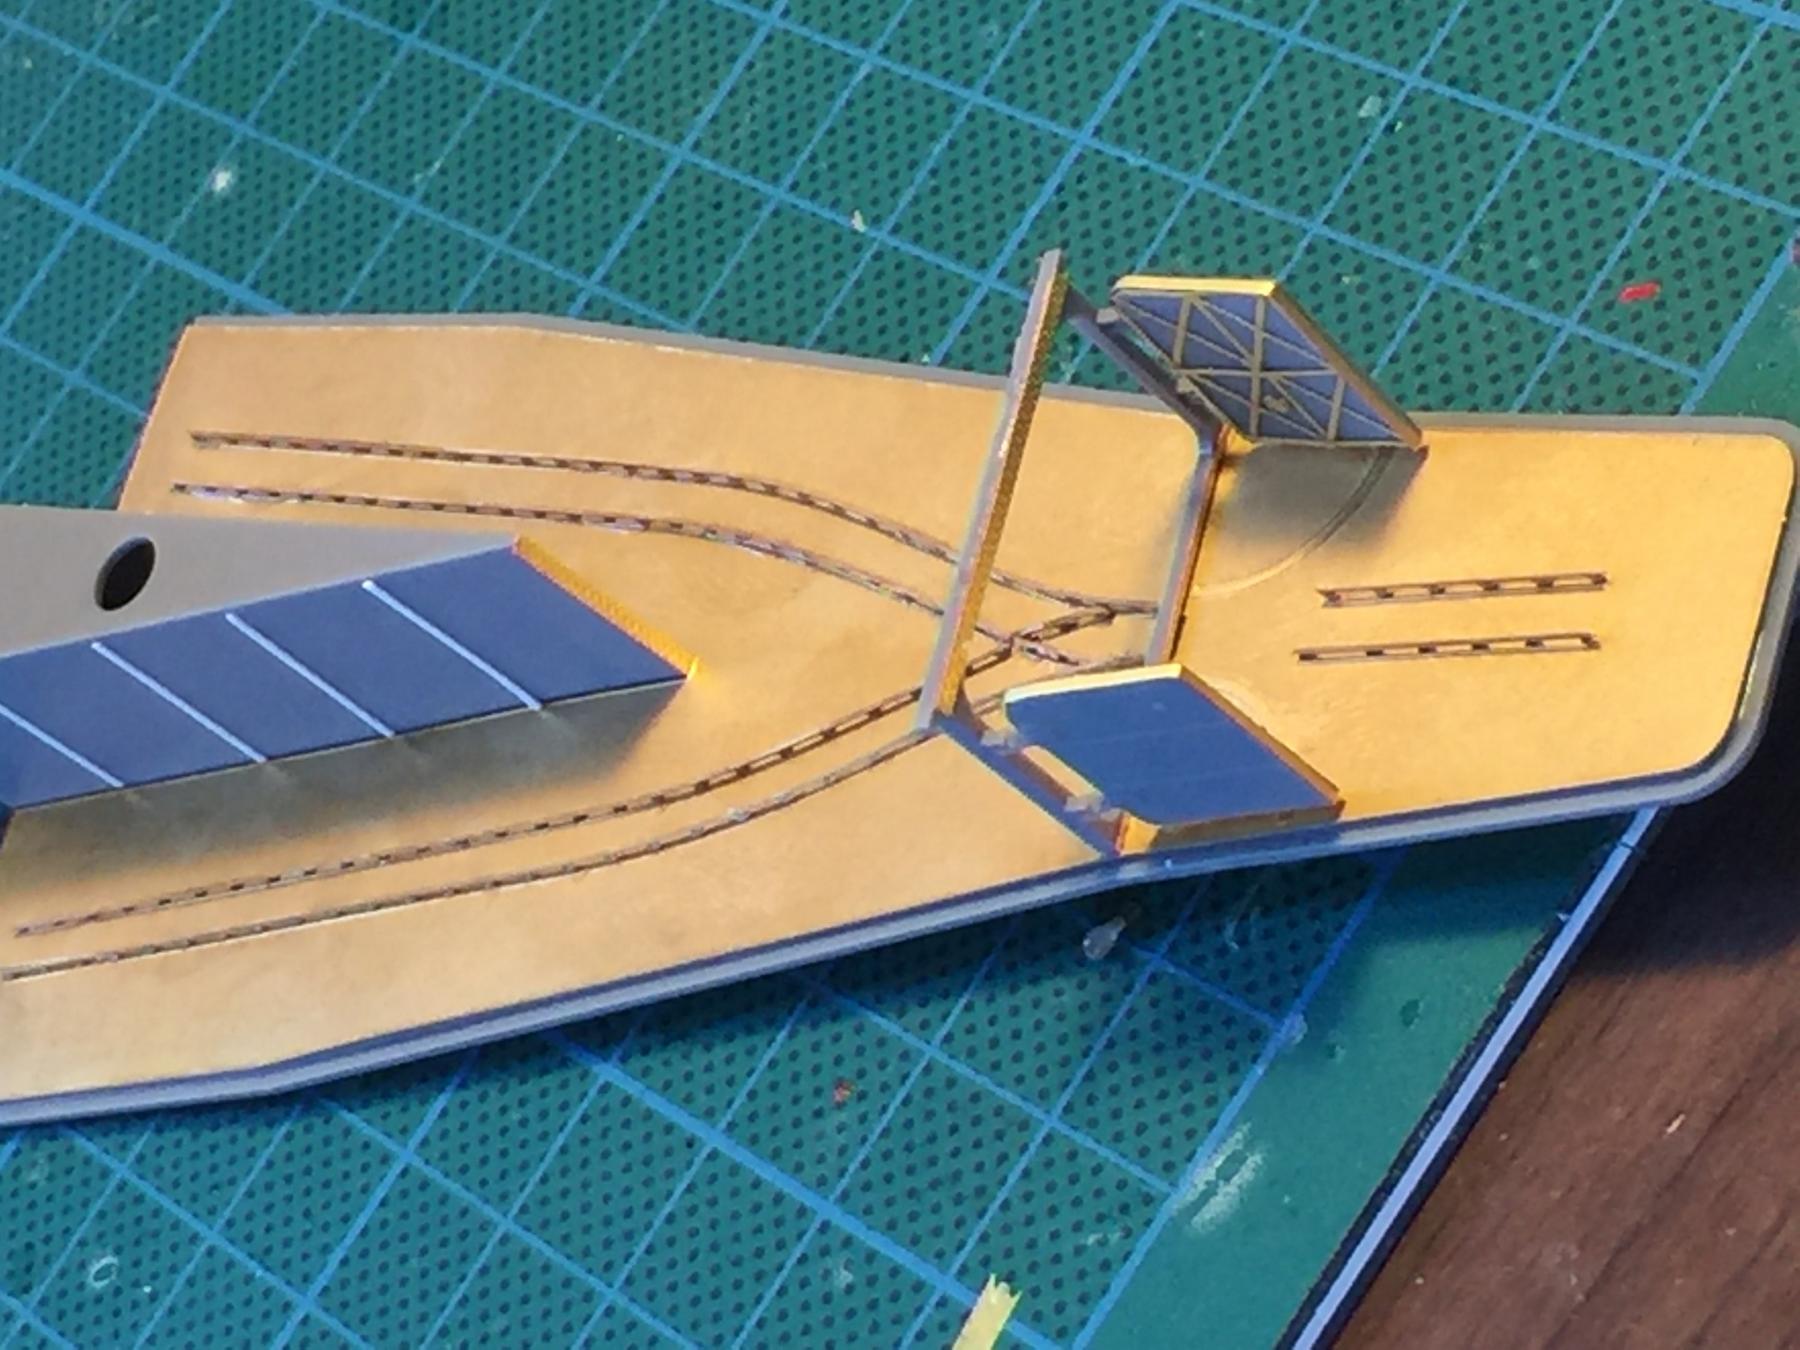
Then to add some realism, I have added some perforated gussets to the small boat hangars. As I intend to park some boat in there not much will be visible.
The larger hangars for the ships large launches are a work in progress but a lot is visible via large doors. I will finish this bit up when I put the hull together. This is all scratch and nothing to do with the kit or the pontos set.

-
-
Au$25 here, have a look at Cornwall Boat models, they have heaps of excellent equipment and very reasonable. When I was building my Endeavour it was cheaper buying stuff from there than in Oz.
For some reason anything in Europe is far quicker to Oz than the US
- Canute, Old Collingwood, Elijah and 2 others
-
5
-
Yes mate, they certainly are piracy but they are quite useful if not a little too big. Maybe a trip to a "beading" shop as they seem to have some useful hand tools? I think 1/700 is just a little too small for me to achieve the level of detail I'm after without the need of a magnifying glass.
- cog, Elijah, Old Collingwood and 2 others
-
5
-
-
-
Love to see a photo of it! Drop it in the log! Apart from the floor I invented the rest. There is soooooooop much to do before painting. Maybe I'll afford an airbrush by then.
- Elijah, Old Collingwood, mtaylor and 2 others
-
5
-
I reckon I have done enough on the hangars now as I intend to park about 3 aircraft in there and you wont see much. Ive ordered some perforated steel beams which I will need for the boat hangars which run on both sides of the hangar and alongside the main rear gun.
I can pretty much make this up as there are no references anywhere.

-
Slog,
I used very thin CA spred on with a chisel end blade.
Banyan, yes I know but the weather has been atrocious the last week so I thought I'd have a potter while getting my head around the build as it's quite complex. I am off for a weeks holiday tomorrow. I did get a solid two days weeding the garden (with a pick axe) and I was so sore I needed some rest as well as finally getting my boat licence (for tinnys not like your warships!).
Greg
-
-
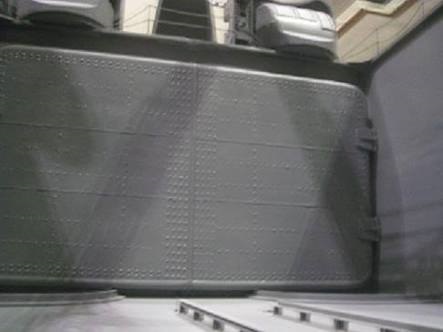
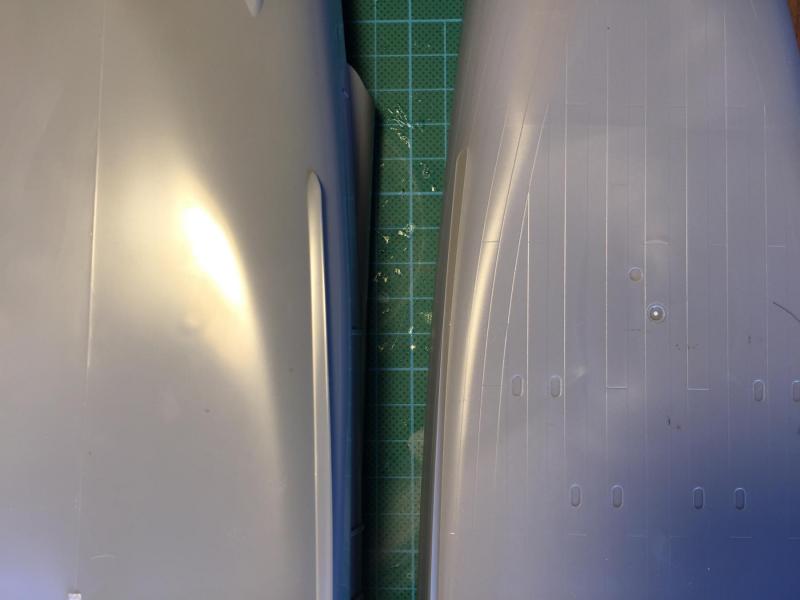
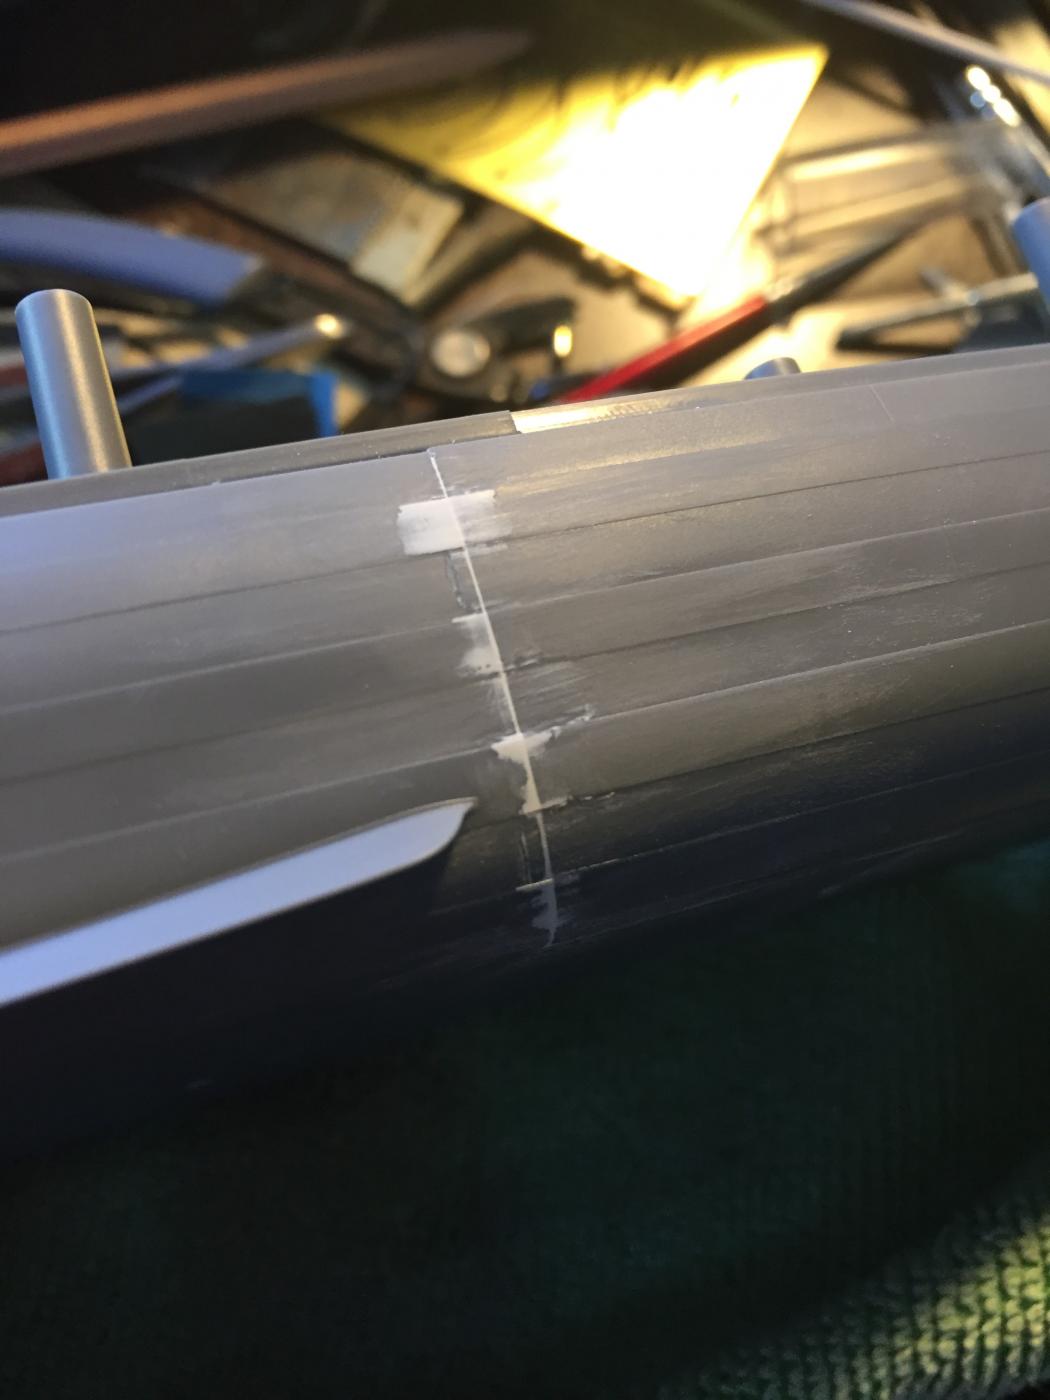
After the unnecessary frustration of lower hull, the aircraft and boat hangars have to be done next, the is no way around it any very little reference to it. Not much is visible and the back of the ship has a lot of photo etch details but the first step is the hangar doors which on the new tool have to be cut in half to show them open. The last photo shows what a bit of aftermarket rivet lines can do and how they compare to the old tool.
The flyhawk upgrade includes these doors buy Pontos does not. They should look ok after some paint.


- Captain Slog, yvesvidal, cog and 21 others
-
24
-
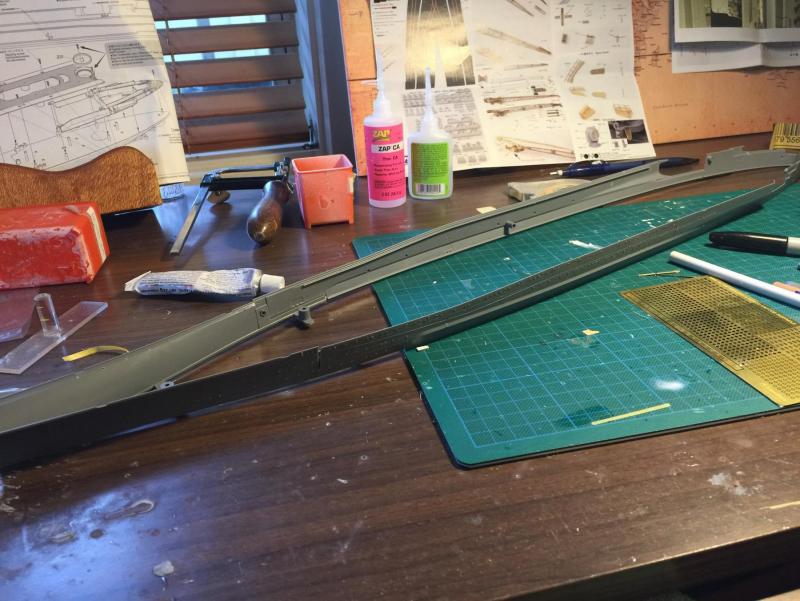
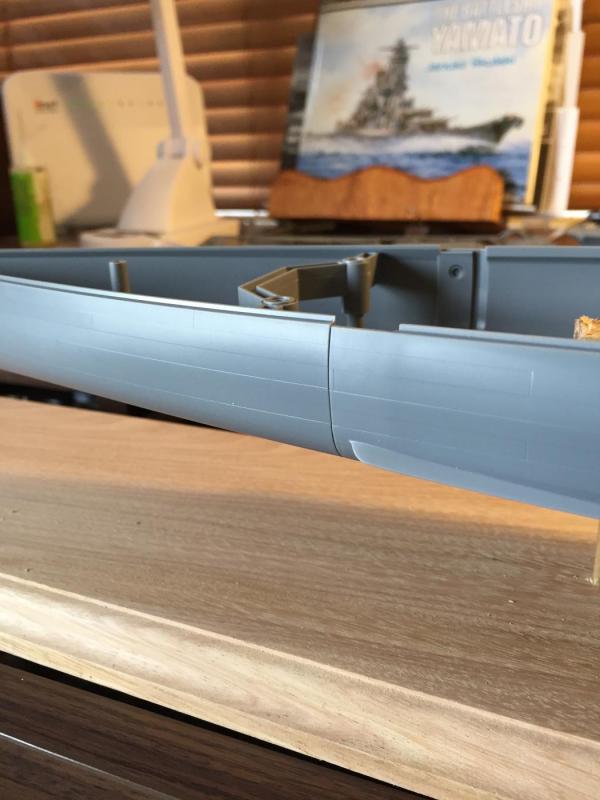
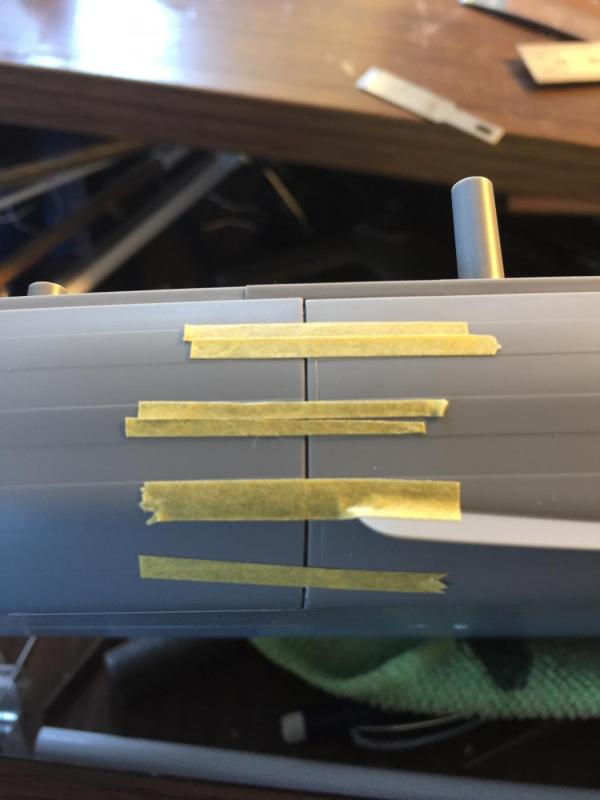
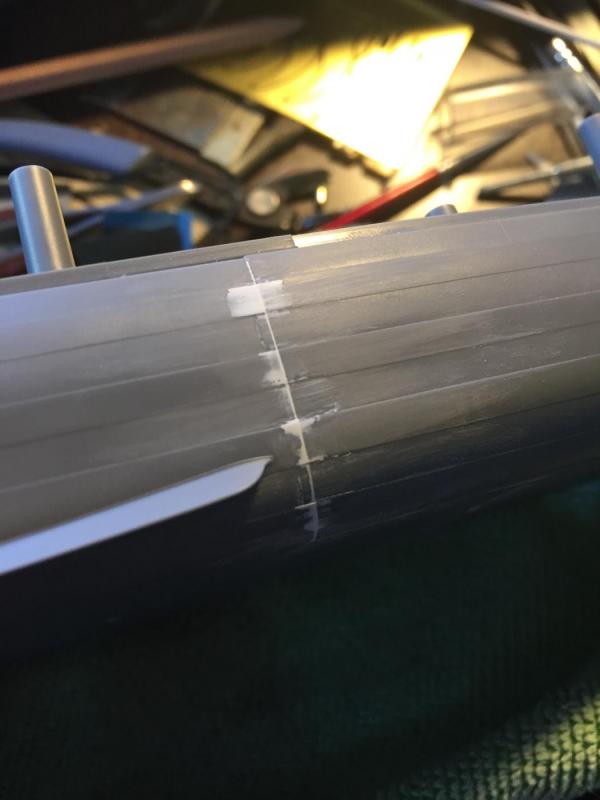
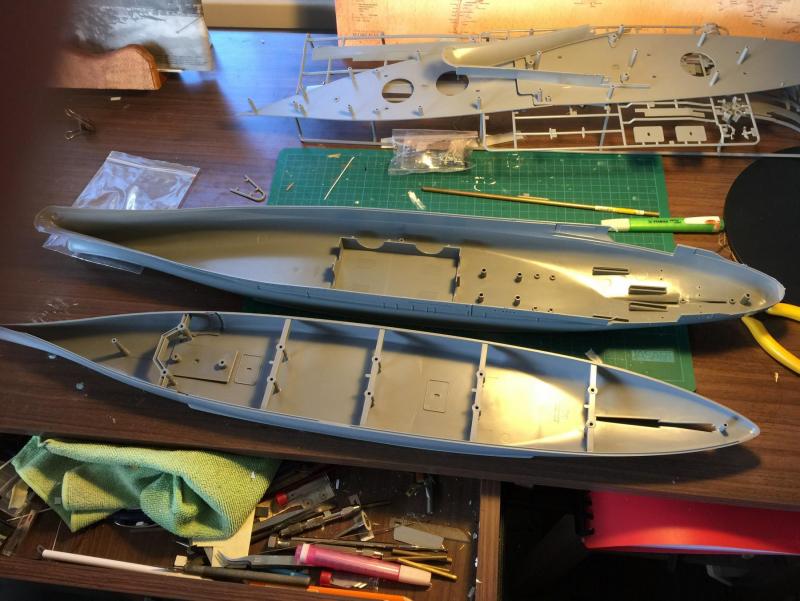
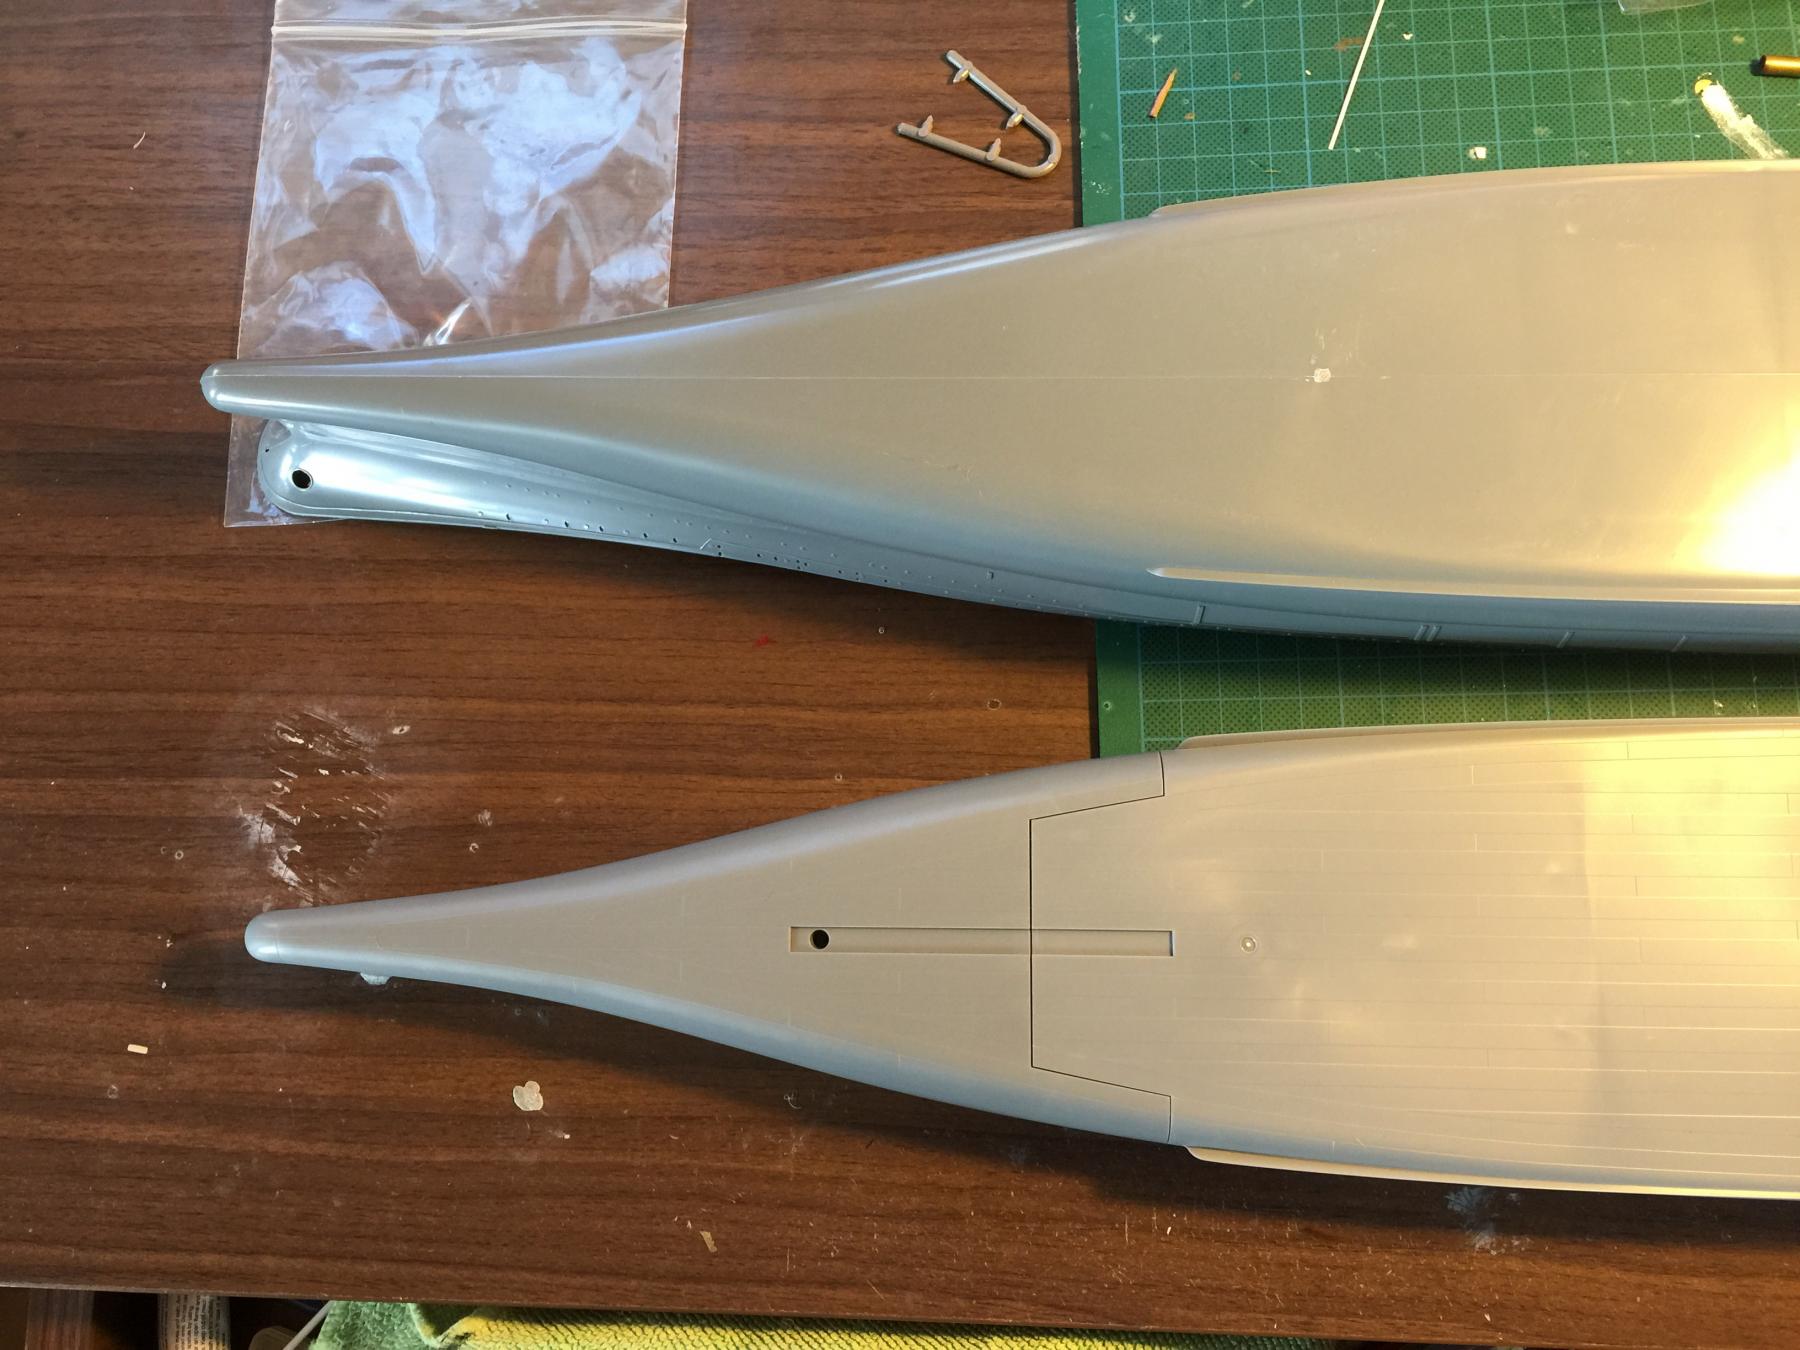
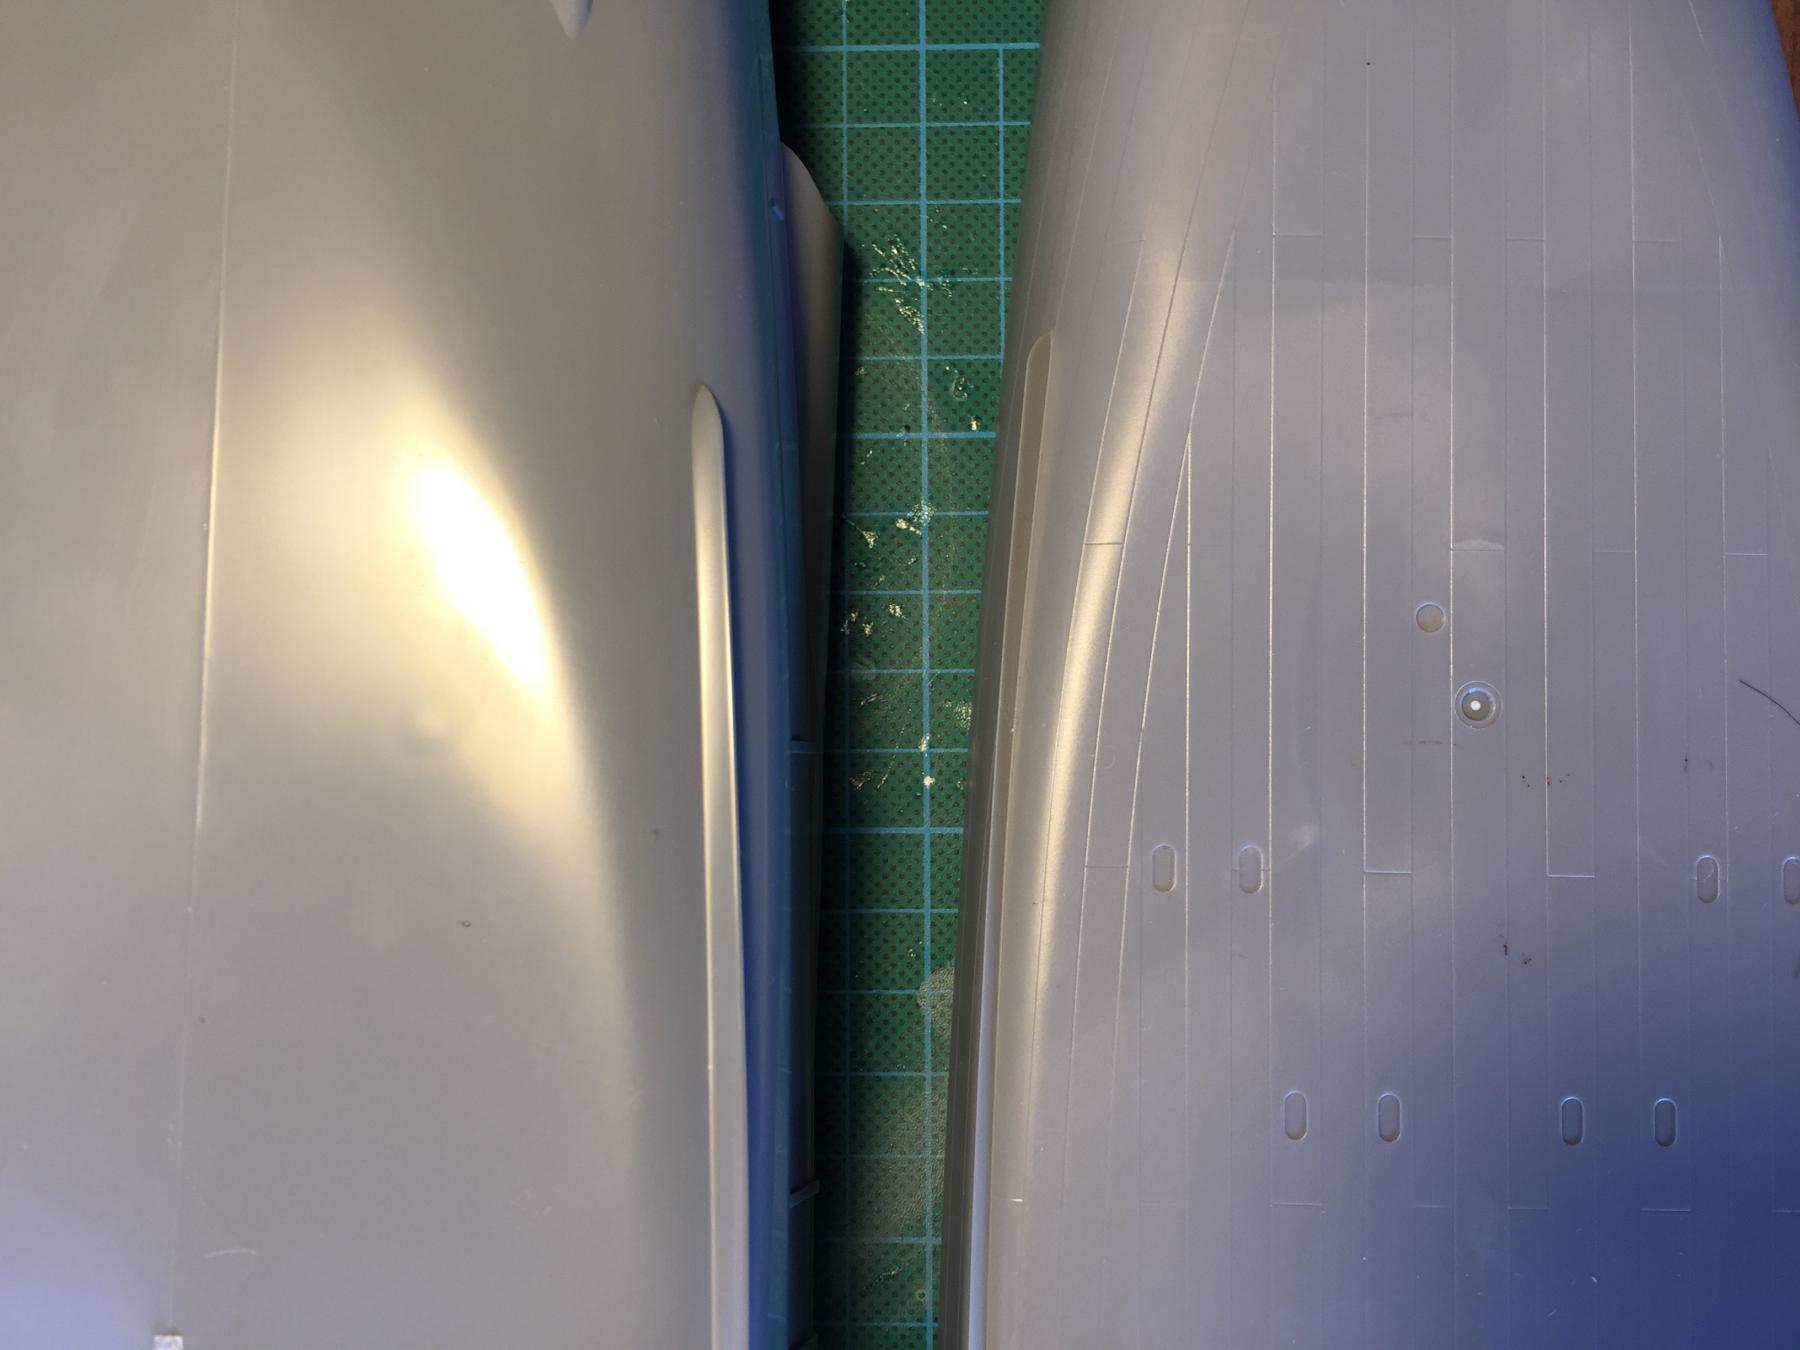
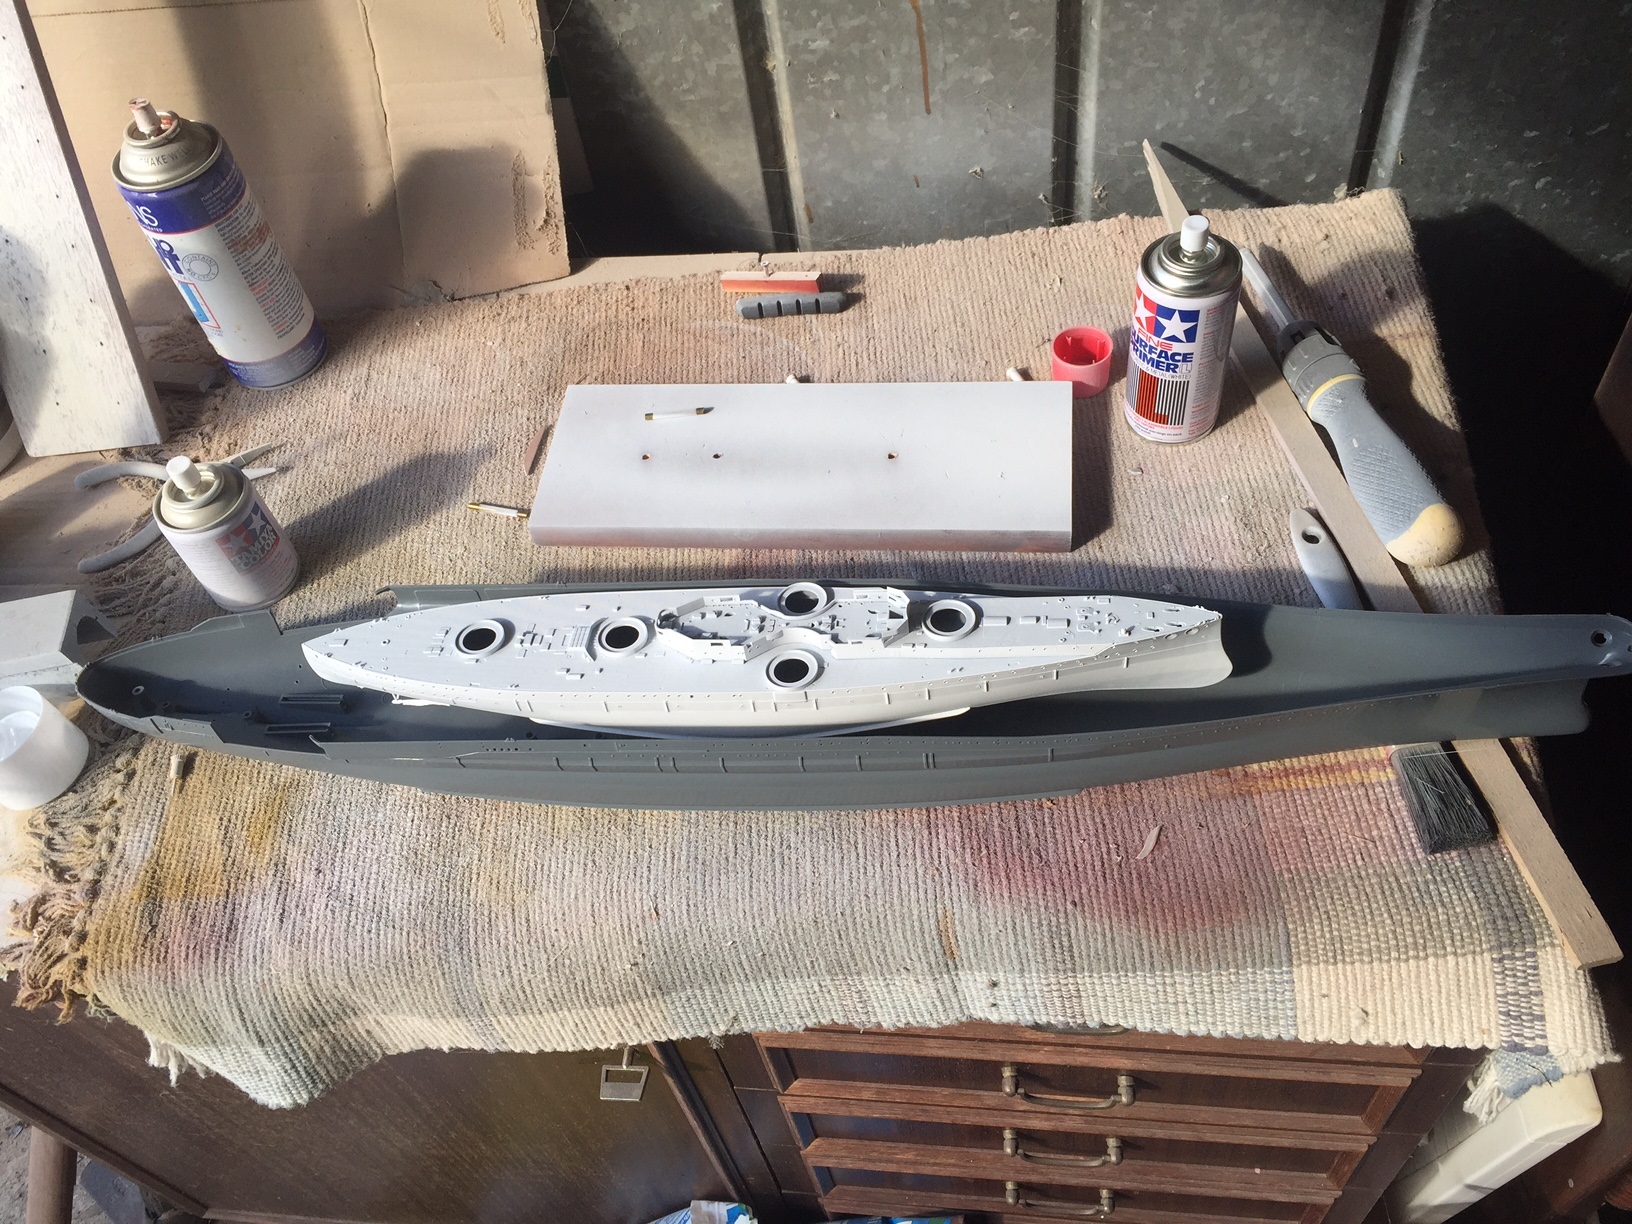
The lower hull comes in two parts for some unknown reason and has a huge gap. I had to be careful in the use of putty to avoid losing the detail of the armor plates.
You can see the difference in detail between the old and the new tool kit.
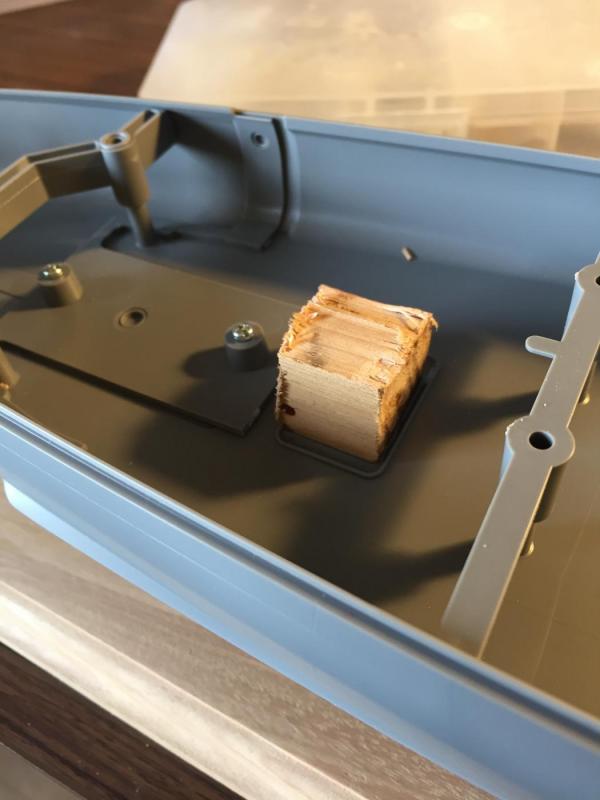
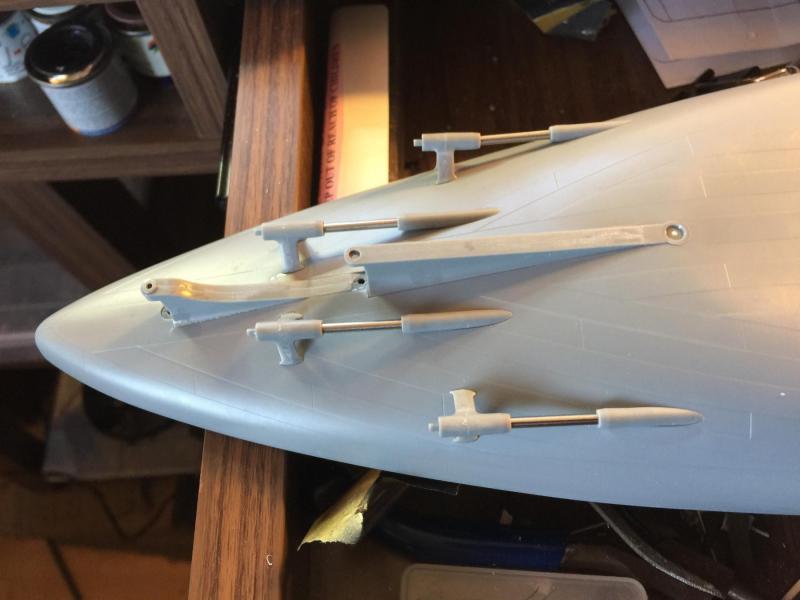
One joined the use of a piece of wood to bracket the brass rods that will be used as stands and the addition of the shafts.


-
Cog, I will only do parts of the old tool up that I need to practice airbrushing on (so I don't completely stuff it up on the newer one), and steal the aircraft and boats from it. I won't be wasting photoetch on it. The old tool is less detailed and an easier kit to construct. I'm about to go away for a week so I am still getting my head around construction. The hull comes in 2 options, waterline or full hull, the lower hull has some major build flaws which I have remedied and will post later today (I'm off to get my boat licence with my 13 year old today). The upper hull comes in about 15 pieces which will require lots of prep before I even think about going for the glue. Again I will do individual stanchions which will require about 1000 0.3mm holes drilled out (I've ordered a 10 pack of drill bits as they break really easily), the aircraft and boat hangars have to also be constructed first which have a lot of etch and scratch building required.
As to putting a crew on board, there were 2000 souls, and to man her would require a LOT of $, North Star makes lovely stuff in 3D print now but if I start where do I stop? If I just put 30 of them on something as massive as this they would look a bit lonely as distract from the overall build I think.
-
That was always my thinking Robin, this kit is a big elephant to eat and has been done all over the Internet so there is a lot of other build logs.
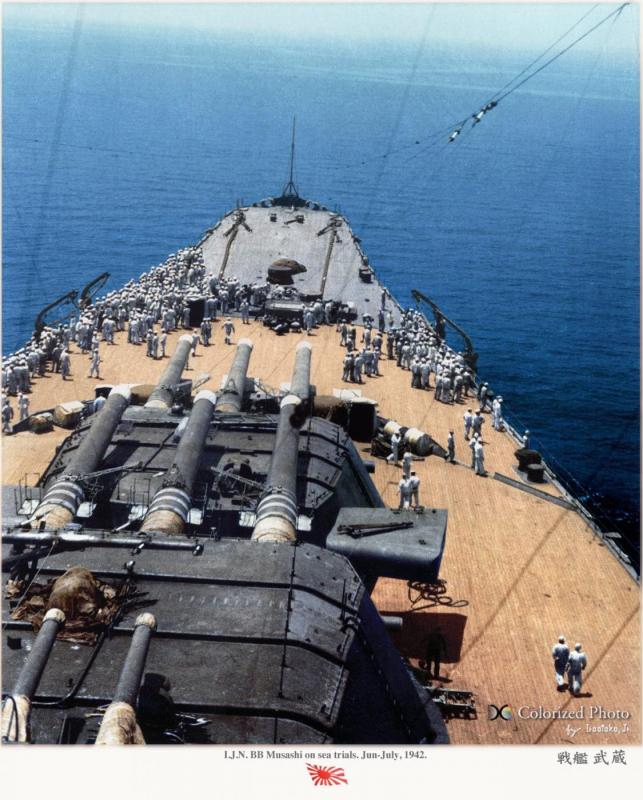
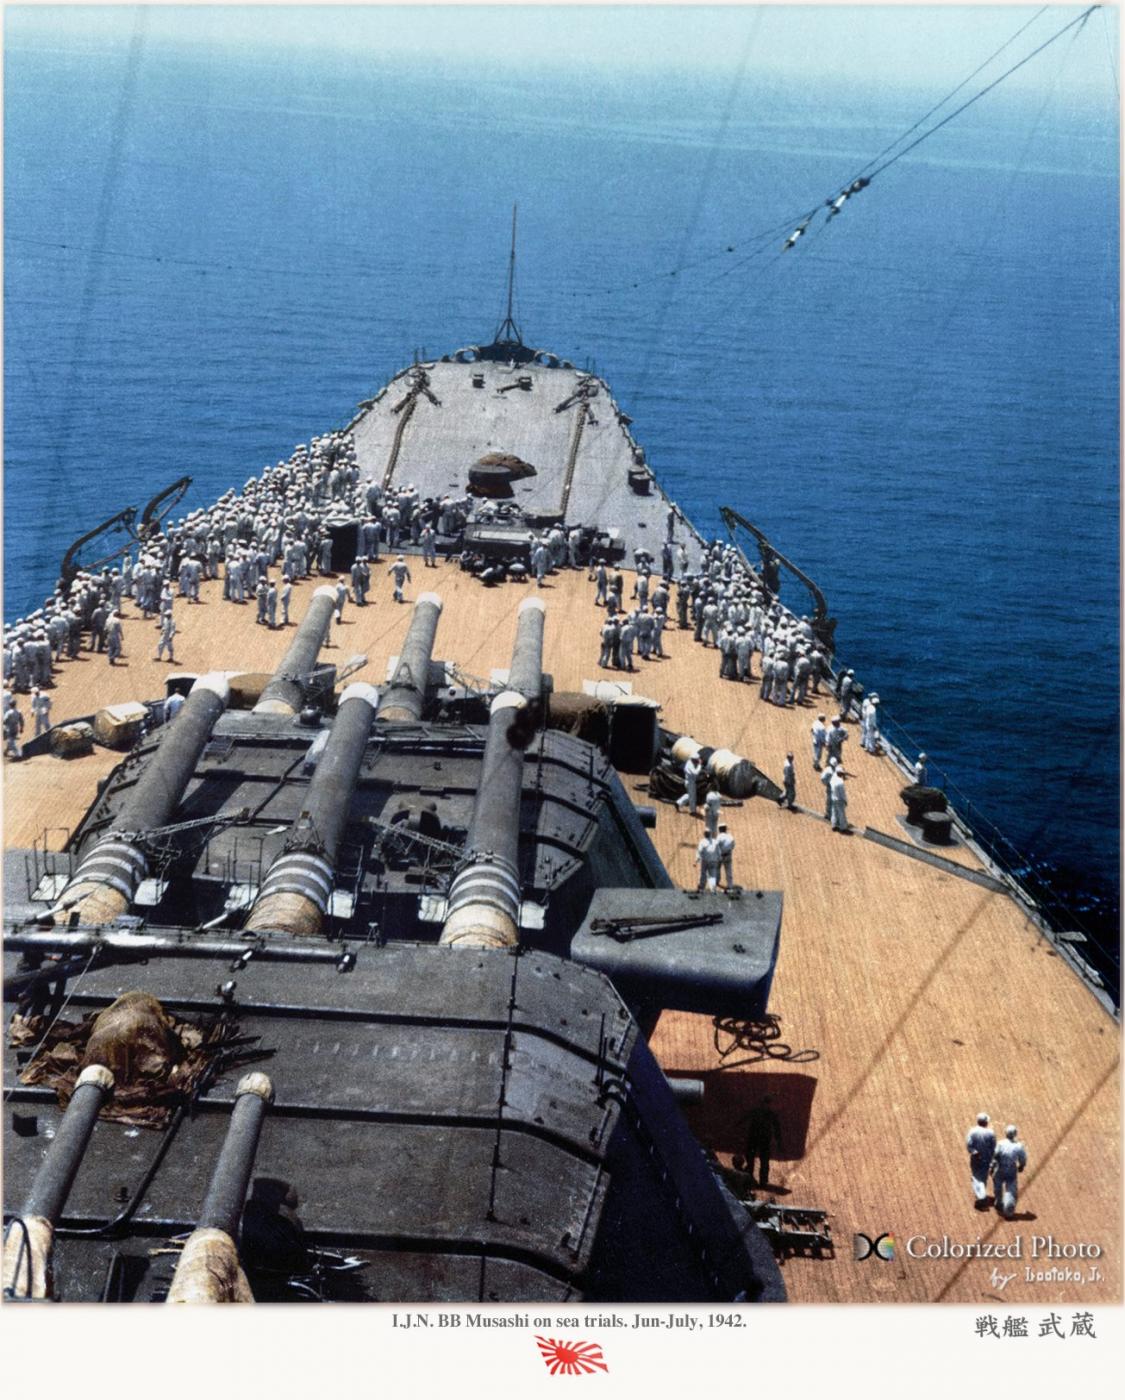
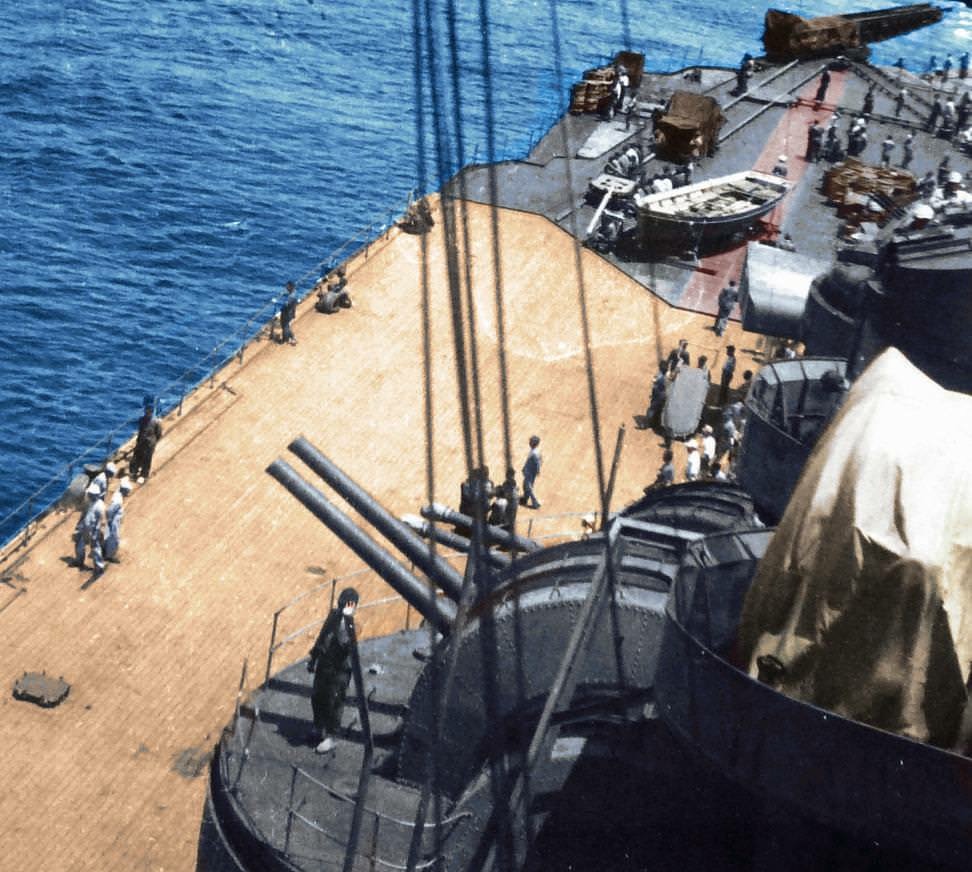
Research and photos of the original have a LOT of experts commenting on this and that and some forums are quite robust in their arguments. I'm open to suggestions as I like to do things with a fair bit of detail, so if anyone finds photos please place them on my log, I mean it.
- docidle, Captain Slog, mrshanks and 4 others
-
7
-
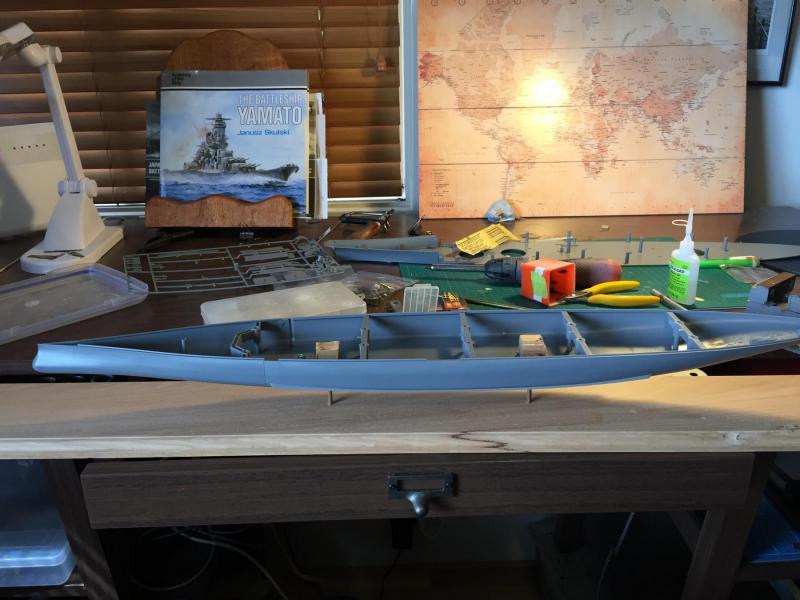
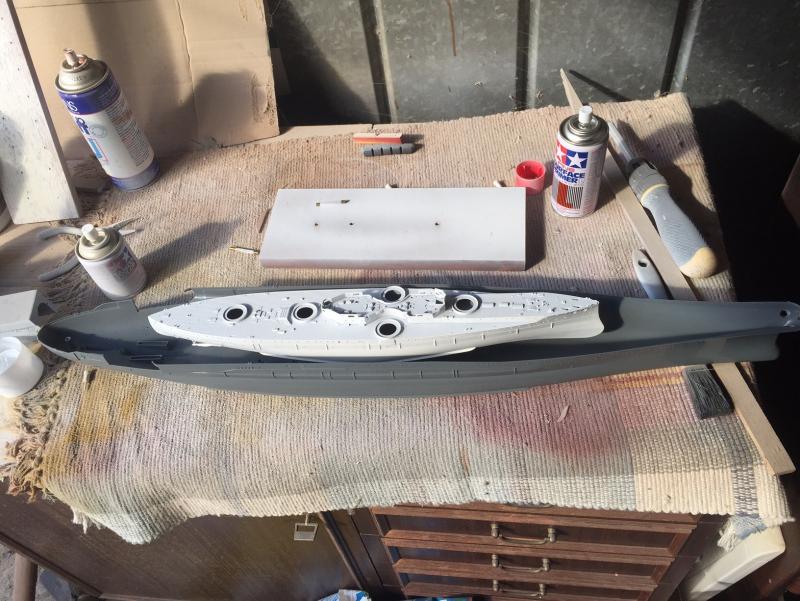
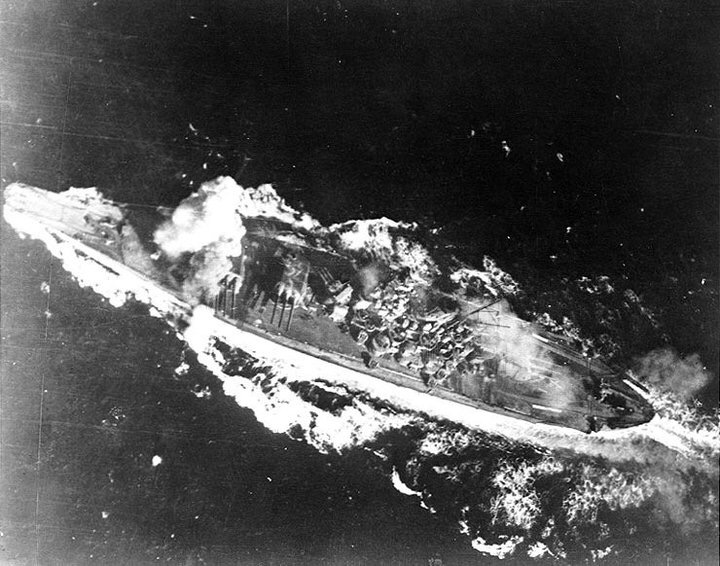
The new tool V the old tool and the comparative size for the Dreadnought.
- mrshanks, uncarina, Captain Slog and 24 others
-
27
-
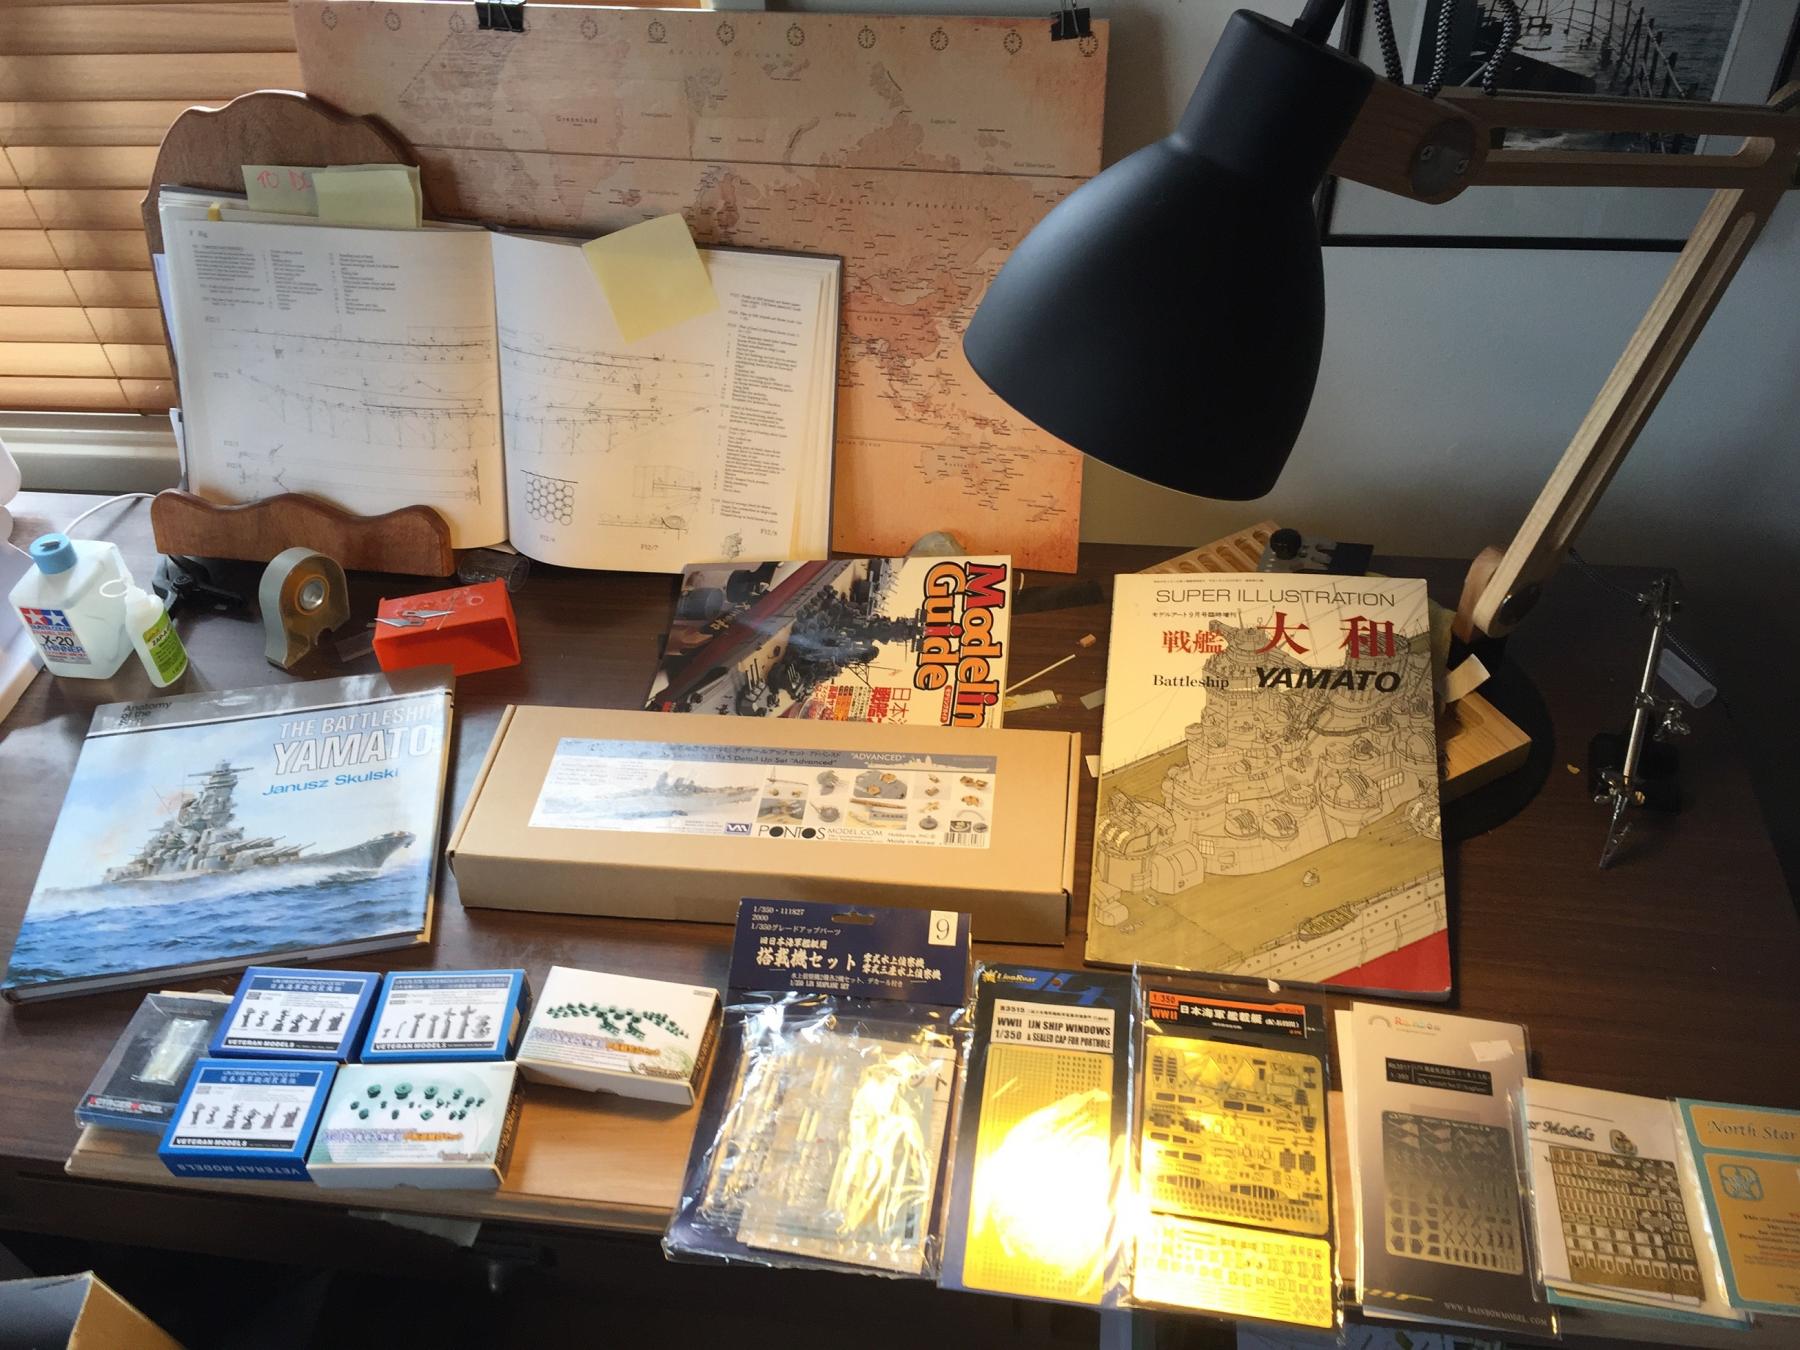
OK, I'll make a start on my next build log.
The 1/350 Tamiya (new tool) Yamato with Pontos upgrade set and numerous other bits and pieces.
Those of you that have watched some of my other builds have obviously figured out I like the aftermarket stuff.

That being said the kit is enormous, compared to my last build.
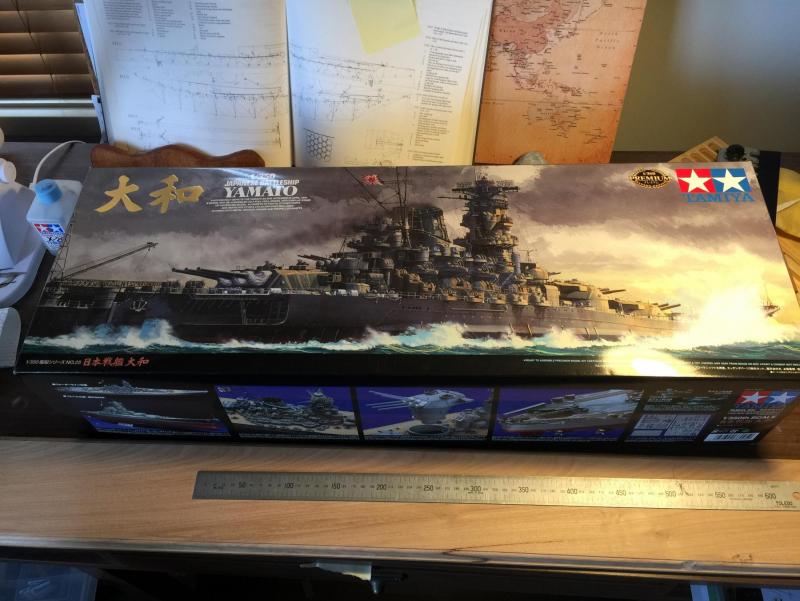
I also got a cheap old took kit off ebay for painting practice when I get around to buying an airbrush.


-
-
Thank you all, I may have started tinkering with the new kit, getting my head around the old argument of the chicken and the egg as to construction and how I can complete with some of the other builds (there are a lot).
I will weather it, but that's like being a little bit pregnant as to how far I go. My first 3 builds were shipyard models so it was kept to highlighting features only. I recently watched the Japanese movie about the last days of the Yamato and I am of the firm belief that their nature would have everything accessible clean as possible.
I have decided on an airbrush but I think I will do a LOT of pre construction first (I have to convince the wife why I am spending so much on a toy), but I can put that purchase off for a while as this is a very big elephant to eat.
-
-


IJN Yamato by RGL - FINISHED - Tamiya - 1/350 - PLASTIC
in - Kit build logs for subjects built from 1901 - Present Day
Posted
I think the eyelets that go over to portholes to keep water out, like an eyebrow