HOLIDAY DONATION DRIVE - SUPPORT MSW - DO YOUR PART TO KEEP THIS GREAT FORUM GOING! (Only 13 donations so far - C'mon guys!)
×


Keith Black
-
Posts
6,558 -
Joined
-
Last visited
Content Type
Profiles
Forums
Gallery
Events
Everything posted by Keith Black
-
 Sorry Rob, I don't understand?
 -
Will, the hull looks positively peachy. Were it I, I'd sand the top starboard side plank down to match the port side plank. Save the sawdust and mix with some yellow glue, fill the crack, and sand as needed. We'll miss seeing you about, be careful out there....Keith
-
Iraymo, you know how to correct the excess glue problem on your next build. Hold off buying the sander for glue removal as a reason unless you can see where it would help you in some other area. I'd get rid of that foam brush, bristle brushes are much better especially for fine detail. I love your little dory.
- 85 replies
-
- 2
-

-
- Lowell Grand Banks Dory
- First Build
- (and 2 more)
-
Trond, I don't care for pencil "holes" because they look exactly like that, pencil holes. IMHO, pencil holes do a very poor job of imitating plugs. IMHO, I think you'd be better served just scraping and lightly sanding the deck and putting down whatever finish you like.
-
kit review ENDURANCE by OcCre - 1/70 scale
Keith Black replied to ccoyle's topic in REVIEWS: Model kits
Left on the sheet would probably have required a larger box. -
Glenn, don't let my current address fool you into thinking I know nothing of Texas weather. You see, I was born in Dallas in 1947 and lived in Texas about fifty of my 74 years. Most thunderstorms move in from the west, northwest and are swirling mass of dark grey and black that has one constantly eyeing the churning clouds for a spinning tail to drop down. And a "rip" roaring thunderstorm by it's very definition means something is gonna get torn loose. If you think my remark was being unfriendly, that surely wasn't my intent. It's just that I lived through and saw too many rip roaring Texas thunderstorms to think anything good came of them except for the pelting rain. Now, a gentle Texas spring rain that sends the bluebonnets skyward, that's a whole different kettle of fish.
-
No damage and a rip roaring Texas thunderstorm is a oxymoron.
-
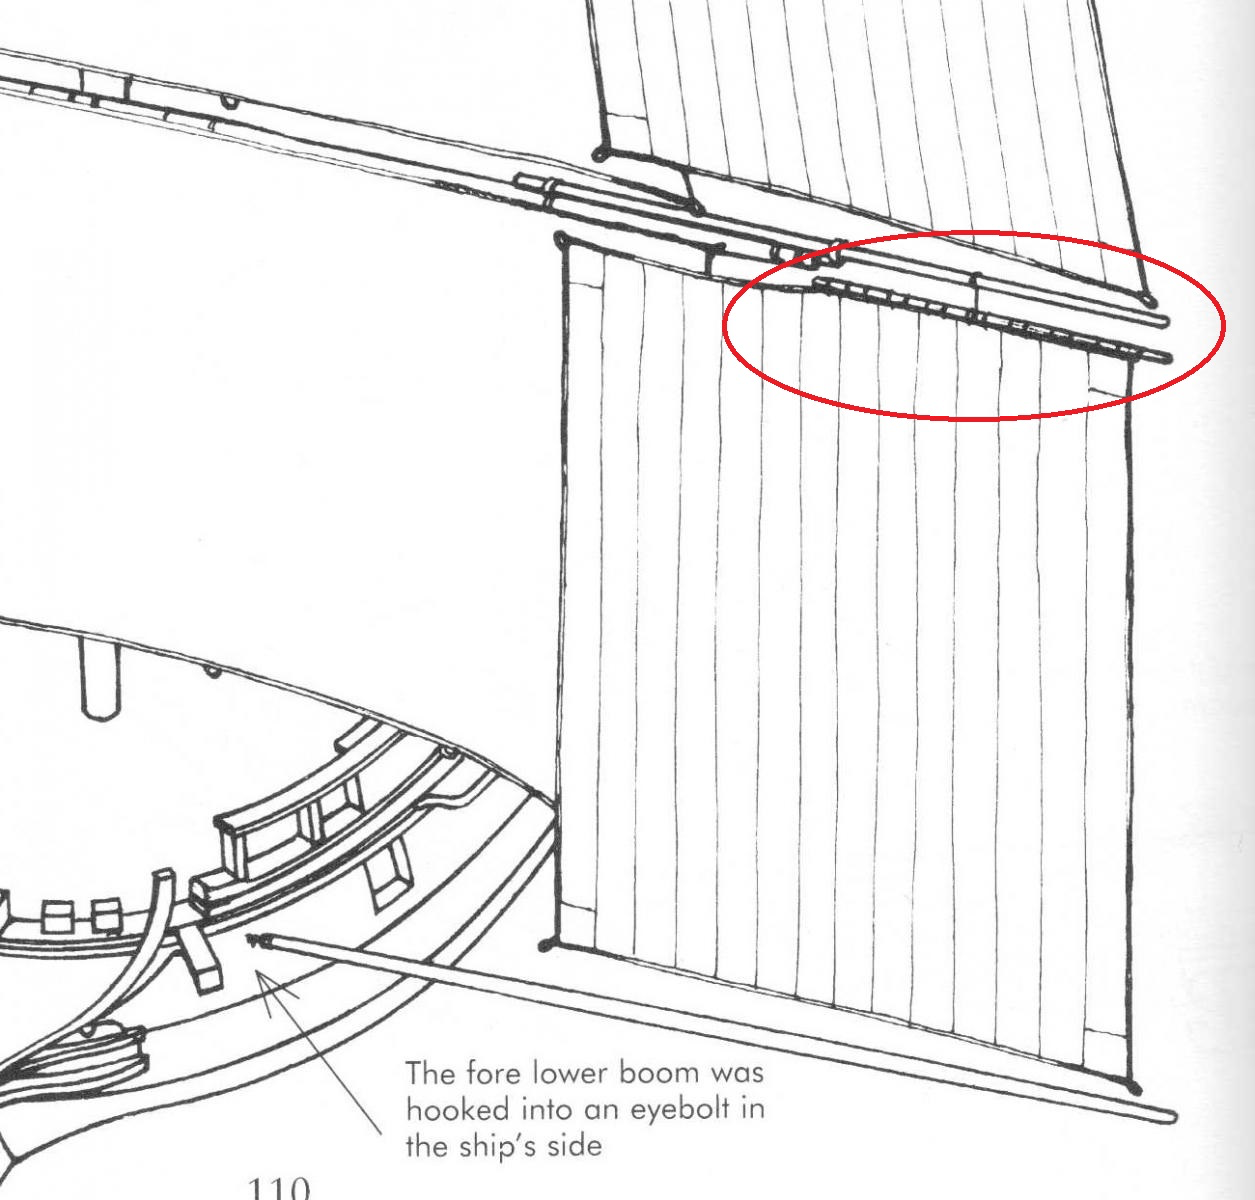
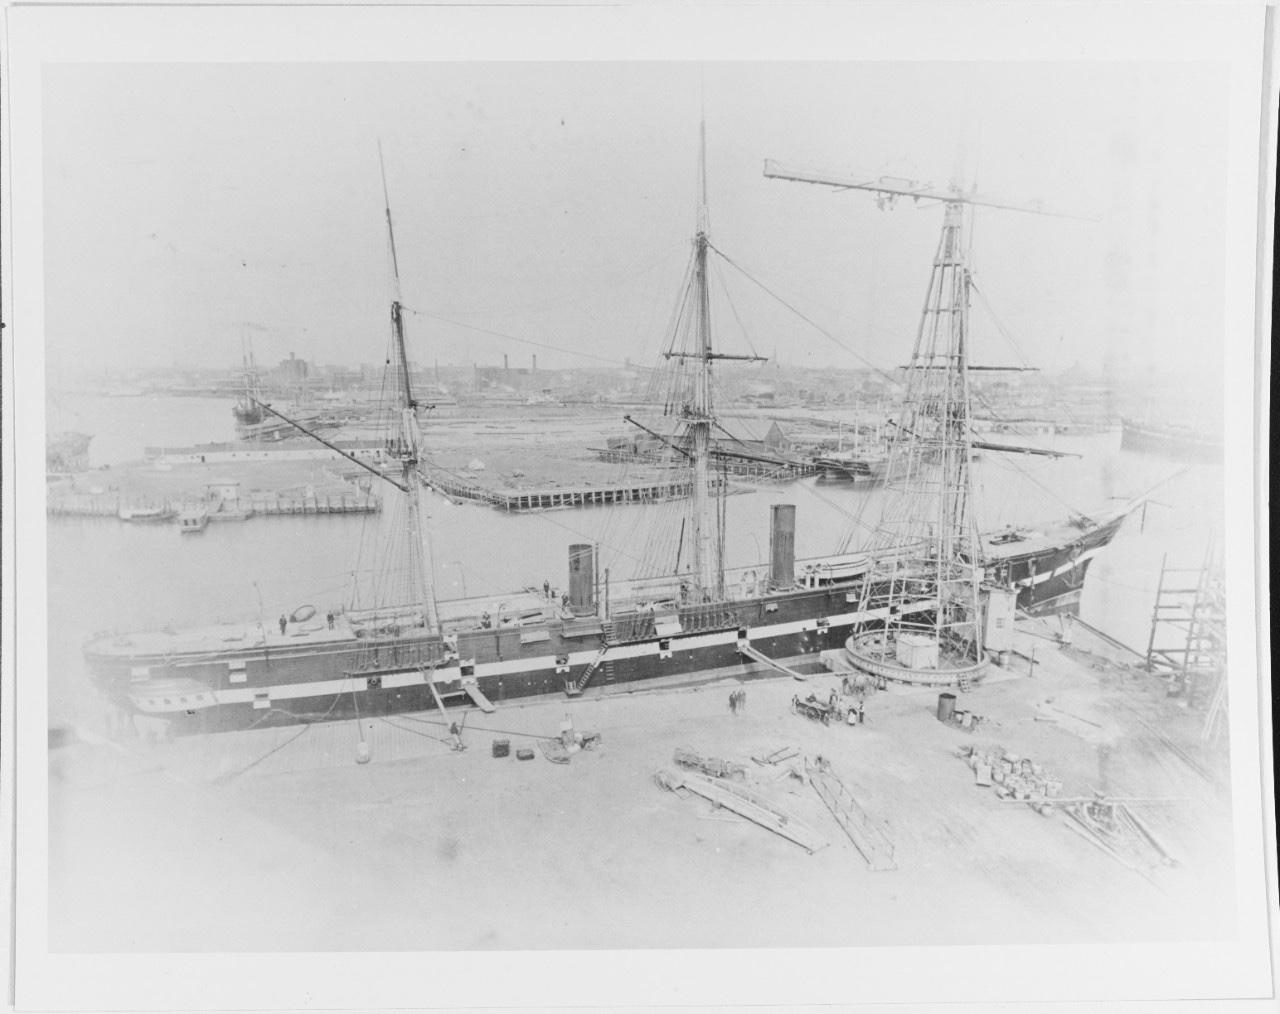
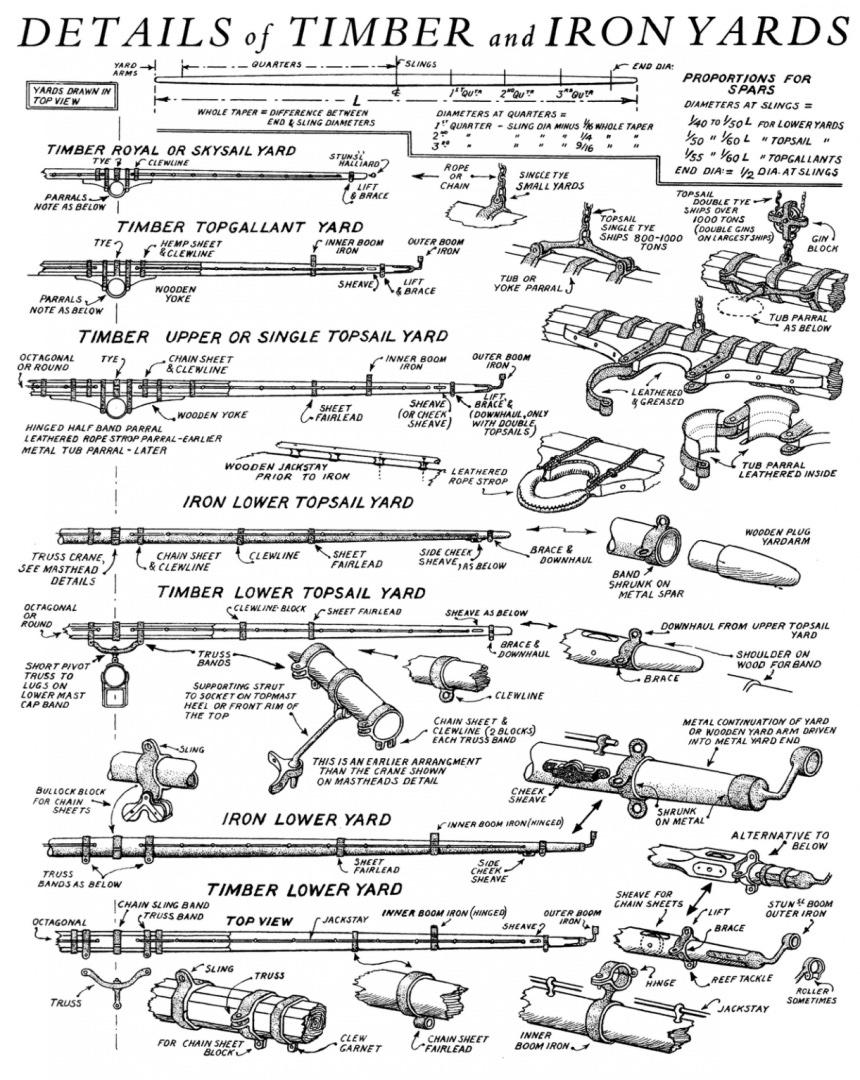
Rob, I don't see the boom being above the jackstay? I have that image in a tiff file where I can increase magnification beyond image recognition. The attached 1865 photo provide by Pat Banyan shows the main's main yard and the boom appears to be in front at the yardarm.
-
Eck, welcome to MSW. I look forward to seeing your build log.
-
Pat, I'm not clearly understanding what you're telling me. It isn't a Pat issue, it's a Keith issue and my lack of knowledge about the world (and terms) above the gunnels. There is a boom on the lower main and fore yards, there is not a lower boom for either the fore or main goose necked to the hull. At least none that I can see in the four available H&H photographs that clearly show the hull from both port and starboard sides. What I didn't realize till this discussion is that the boom attached the main and fore lower yards is also called a studdingsail boom, I thought that term applied only to the lower boom that attached to the hull. I learned something and for that, thank you.
-
Rob, that's the way I see it shown on models, over or under but a H&H photographic of the Tennessee shows the boom mounted in front of the main and fore lower yards and the attached drawing shows the boom in front. I was torn when I built the main and fore lower yards regarding the boom and still am but, they're both made the way they are, right, wrong, or indifferent. I want to thank you again for your Great Republic build. I go to your build constantly searching for answers to my many questions.
-
Iraymo, she looks really really nice. Well done!
- 85 replies
-
- 3
-

-
-
- Lowell Grand Banks Dory
- First Build
- (and 2 more)
-
Tom, I am deeply sorry to hear of Uncle Jon's passing. My condolences to you and your family.
-
Chris, very nice. Are you using a brush, if so it looks great. All that prep work has payed off.
-
Keith, watch the link in Brian's post above. It makes sense now. Thank you, Brian for posting.
-
Keith, see the drawing in post #278. That boom (if this is the one you're talking about) is level with the spar per photos of the Tennessee. I've seen that boom modeled on the top side of the spar which doesn't make sense to me but I have a steep learning curve ahead of me. The Tennessee does have those booms on the main and fore lower yards which I've modeled see post #243 and 257.
-
I don't know that more uses for wood is a good idea? Wish they were using plastic waste.
-
Evening all - first post
Keith Black replied to TheNavyWouldNotHaveMe's topic in New member Introductions
TNWNHM, welcome to MSW. I hope you start a build log and share your work with us. Enjoy your stay. -
Keith, I have no photographic evidence that the Tennessee employed studding sail booms so I'll not be adding them. But because of the way they're employed I don't see that there would be interference with the jackstays. Those more knowledgeable than I need to speak to this matter.

-
Pat, Brian, Gary, MCB, Will, Rob, and Kevin, thank you for your supportive comments and kind words. Thank you to all for visiting and for the likes. I stopped whining about the jackstays and got on with it, now all spars have their jackstays installed. One thing that helped was, I increased the drill size by a thousandth which made inserting the eye pin shanks easier. I also developed a rhythm by having all pieces necessary for each spar made ready to place when work commenced. In other words, I tried working smarter and it helped. No photos till all the spars are have the foot rope stirrups installed, (installing them is like working with 2x4's after the jackstay eyebolts) spars painted, and the foot ropes run. Rob, I thought about this approach at length. One would have to support the wire at both ends on a third hand with all the eye pins strung. Then each eye pin would have to be weighted to hang straight down and not rise up when CA was applied or the tiny things would be drawn to the CA like a magnet. Spacing wouldn't be critical as long as you marked each correctly. An advantage would be that the holes could be oversized. Should I ever do this again at 1:120 I might try this method. Thank you for the suggestion. Will, I currently depend on my reading glasses. I need to get off my lazy duff and order a OptiVisor per Gary's suggestion. Speaking of Gary, thank for the gentle push.