


wool132
-
Posts
113 -
Joined
-
Last visited
Content Type
Profiles
Forums
Gallery
Events
Posts posted by wool132
-
-
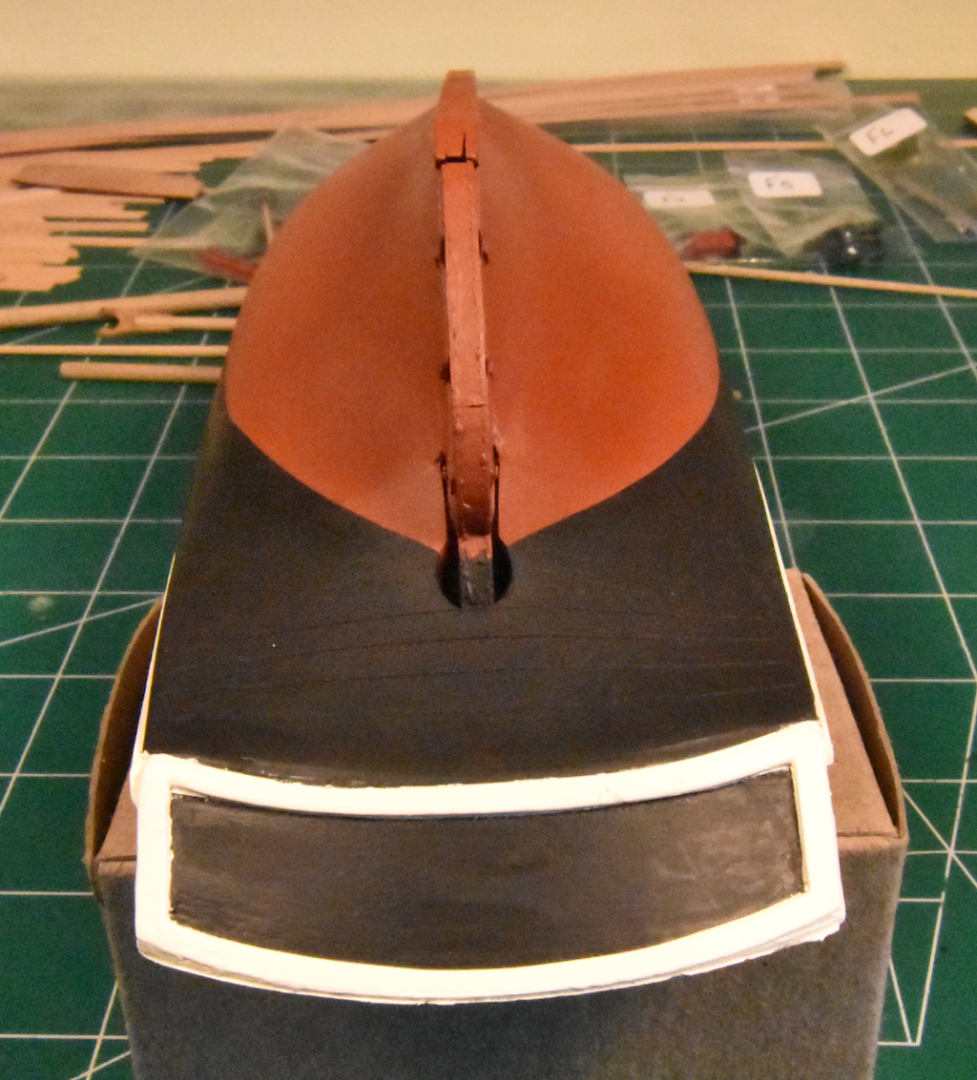
The Badger Anti-Fouling Red Oxide paint arrived on Saturday. I decided to go with DB789's white racing stripe after all.

(The starboard side looks the same).
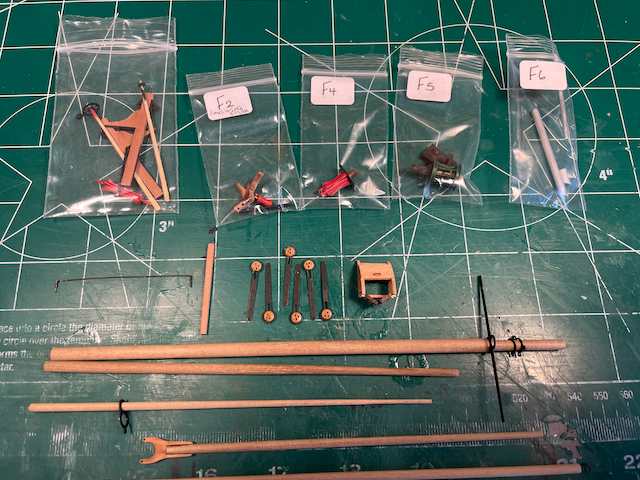
While awaiting the paint, I got a head start on the deck paraphernalia (companionway, main winch, ladder, fish hatches, steam winch, mast, etc).
In other news, I've started Volume XIV - The Age of Reform in my quest to read the entire Oxford History of England series. A side benefit of all my effort is that "1066 and All That" is now even more hilarious!
Jonathan
- JpR62, AJohnson, Paul Le Wol and 4 others
-
 7
7
-
Yippee!!!!
Jonathan
-
-
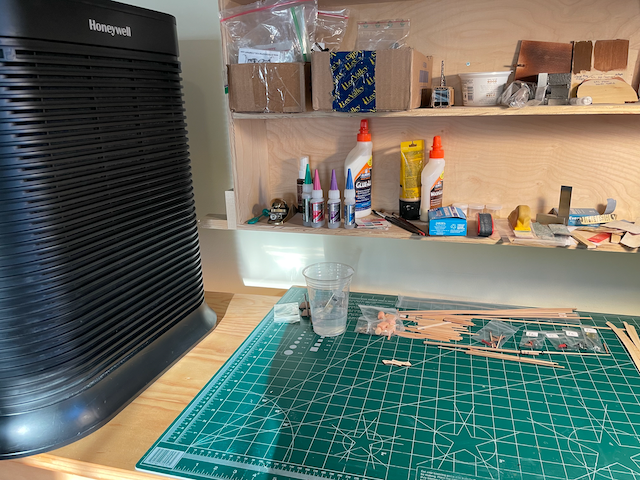
I built a spray booth out of ½" plywood with a tempered glass window along the top a few years ago.
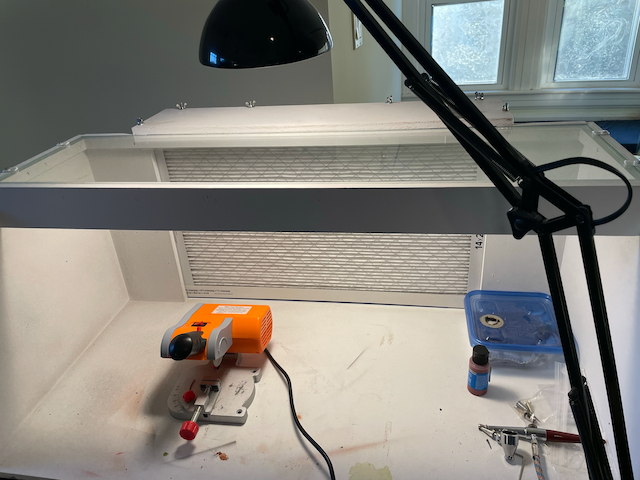
When using enamel or other smelly stuff, I vent it to the outside. I don't bother venting it for acrylics to save on HVAC expense.
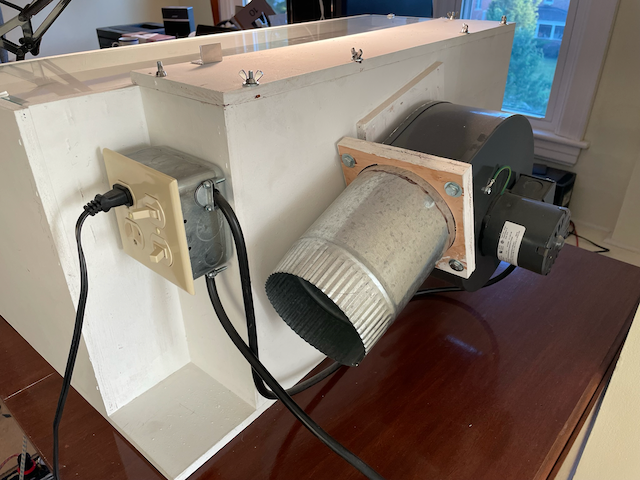
I originally used a plain old furnace filter. Like you, I got to thinking that it could double as a sawdust collector so I replaced the filter with a 3M Filtrete 1900 to catch the very fine sawdust. I didn't bother with an explosion-proof motor. The density of dust particles or smelly aerosols in the booth is nowhere near hazardous levels. Also there's a filter between the motor and the contaminated air.
I now use it to collect dust when using my chop saw which has no vacuum attachment. I also use it with my disc sander with a Miele vacuum attached to the built-in dust port (mainly to keep the interior of the sander dust free).
I could use it when sanding parts by hand but it's much more convenient to do that at my bench. There, when sanding, I wear a KN95 mask, run an air cleaner to catch the fine particles, and vacuum frequently.
I echo Bob Cleek's recommendation to avoid sanding when you can use an X11 blade (or similar), a chisel, or a small plane. The latter is especially useful when tapering planks or masts, spars, etc. The larger plane to the left in the photo below is a Stanley 12-101 small trim plane. The one on the right is a Lee Valley Veritas Miniature Block Plane. For reference, those are 1" squares on the hobby mat.
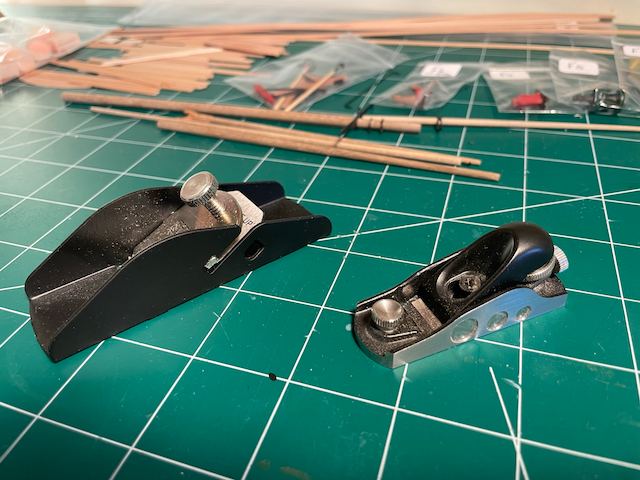
Warning: The Lee Valley website, along with the ones for Festool, Byrnes Model Machines, and the Lie-Nielsen Toolworks, is a Restricted Web Site in the No Surf Zone. Visiting a restricted web site unless under the direct supervision of the Admiral is strictly prohibited. 🙂
Jonathan
-
The results are in with the Badger Anti-Fouling Red Oxide paint. I sprayed it on undiluted using my Paasche H Airbrush. I have minimal experience in airbrushing. Here 'tis:
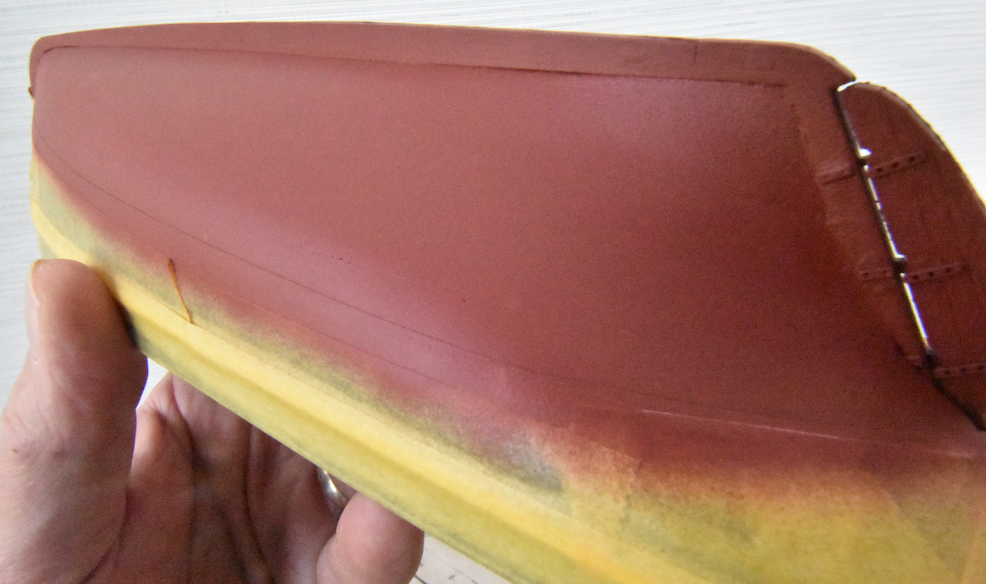
The picture was taken with a Nikon D3400 set for f/25 (to increase the depth of field) with a 10-20 mm zoom lens in shaded evening light. It's a pretty good reproduction of the color. Initially I was lazy and used my iPhone 12 but the built-in AutoColorCorrectifierForDummies turned it into a rather garish red - gee, thanks guys. 😕
Jonathan
- thibaultron, Canute, Glomar and 2 others
-
5
-
Excellent work!
Jonathan
-
I too am working on the Nisha and trying to air-brush the lower hull with some sort of acrylic. I ordered Badger Modelflex Anti-Fouling Red Oxide from Hobbylinc, based on the recommendation of Kurt Van Dahm in this forum. It's one of Badger's ModelFlex Marine colors. I used their Stynylrez primers, also recommended by Kurt, which has worked out well so I thought I'd give this stuff a try.
It's due to arrive tomorrow (Saturday). We'll see how it goes.
Jonathan
- Canute, Glomar, thibaultron and 1 other
-
4
-
Congratulations on finishing the model - it looks excellent!! 👏
Jonathan
- DB789 and chris watton
-
2
-
Wow! Lookin’ really good!!
Jonathan
- AJohnson and longshanks
-
2
-
-
Thanks y'all for the likes and comments! Helps me keep going. Like, say, during construction of the infernal Companionway. I can imagine the conversation now:
James (working on the prototype): "Hey Chris, these hinges are so large that they're actually easy to put together."
Chris: "I can fix that! Bwahaha!"
Dan (DB789): Thanks! And if you just take photos of the stern from a high enough angle, nobody would suspect a thing!
Craig (Craigie65): It's almost as if you have to start with the fitting of the gunwale and stern gunwale, then work back from there until you reach Step 45. That way you'd know how much to sand off the stern frames before proceeding. I think I read somewhere that Malcolm Darch doesn't like to glue anything until all the relevant parts fit together like the proverbial glove.
Finally, a shout out to James H. and Chris Watton for numbering the steps in the documentation. It makes trading information a whole lot easier on the forums.
Jonathan
-
I'm going to use the Andyrew approved colour scheme. I was shooting for the DB789 look with the natural gunwale (minus the white racing stripe) but it looks like there will be a big gap between them and the stern gunwale that'll need a bunch of filler. Phooey. Maybe next time... (It's like home projects such as putting up drywall or tiling a bathroom: just about the time I actually get good at it, the job is done.)
Jonathan
- AJohnson, bruce d and chris watton
-
3
-
Later that very same build ...Having finished the first layer of planking on the port side, I turned to the starboard side. The results were better, at least at the stern.
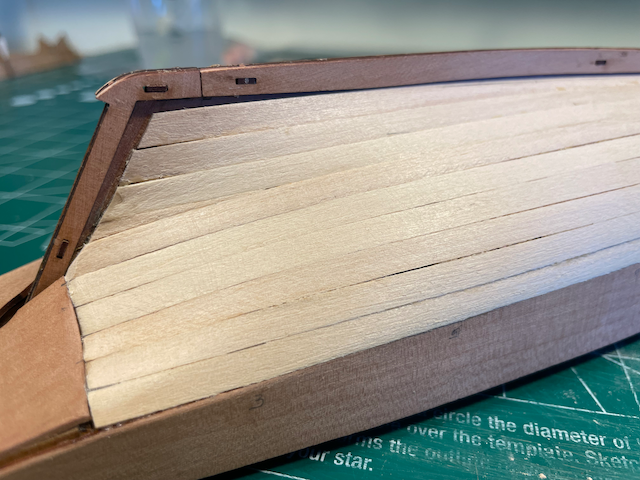
With three strakes to go there was going to be a 0.05" gap so I tried to distribute that evenly across the four edges, given that everything would be covered up by the second layer of planks. The bow was also a bit ragged.
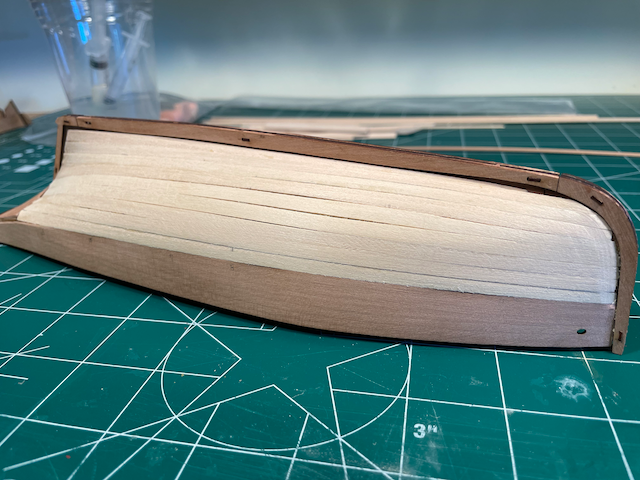
There was quite a gap between the counter and the bulwarks...
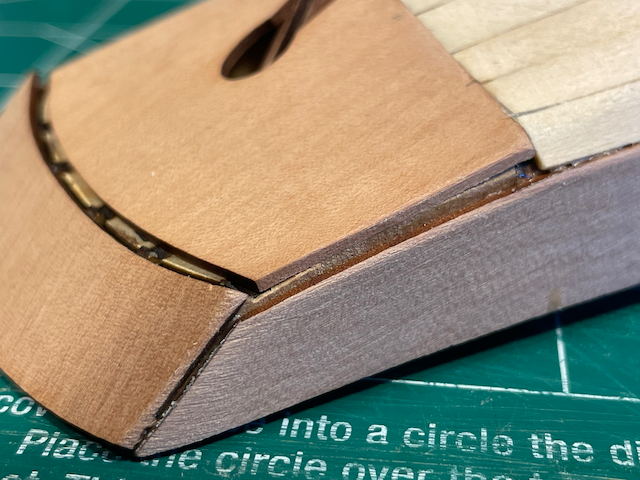
... but some filler cleaned that up.

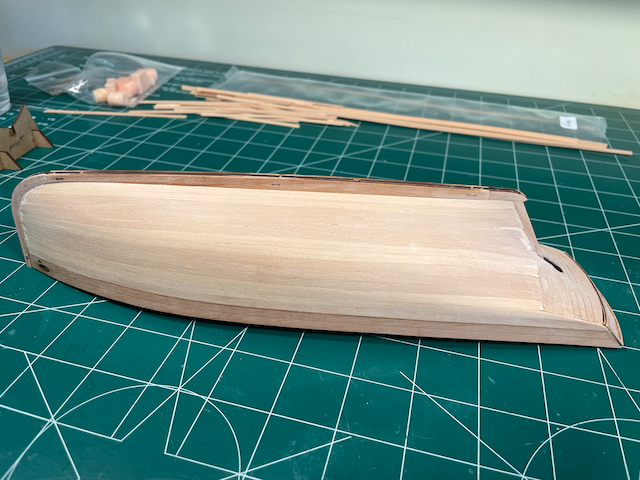
There were no gaps amidships after the second planking (I finally got it right - yippee!) but the bow and stern areas on both sides needed some filler in the problem areas.
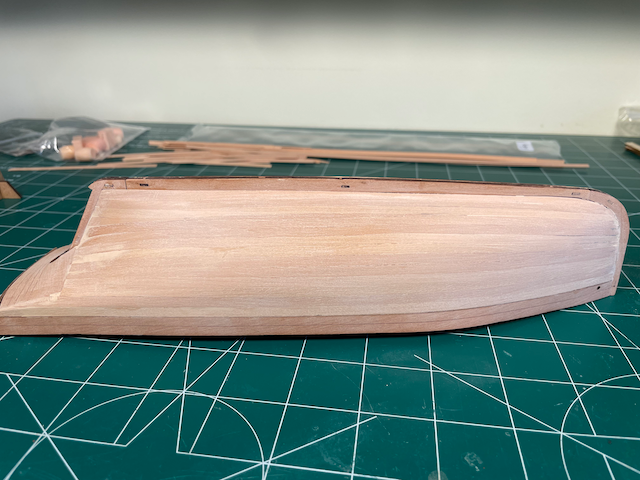
Given all the filler, it was easy to make the decision to paint the entire hull, starting with Badger Stynylrez for the primer.
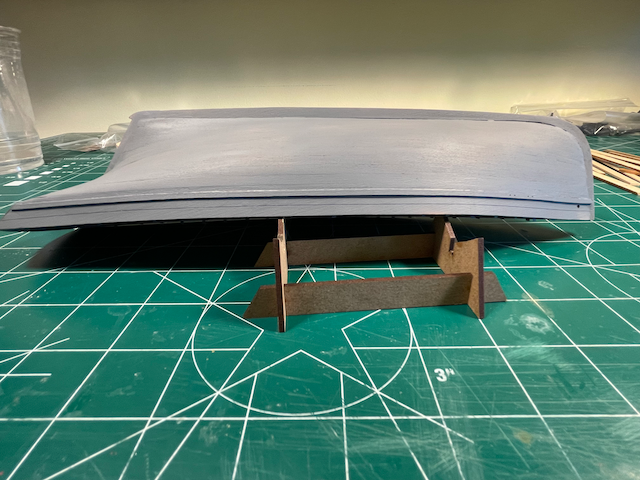
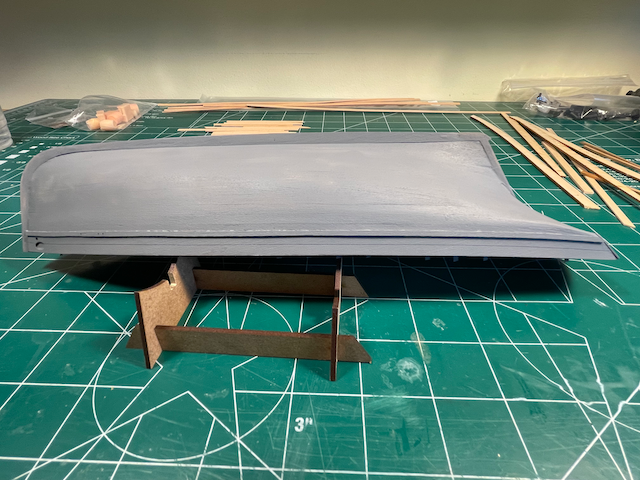
I had to fashion a thin piece of pear to help fill the gap between the counter and the stern board as it was too wide for filler alone.

As you can see, I need to improve my sanding and painting techniques.
Jonathan
- Andyrew, Craigie65, Paul Le Wol and 8 others
-
11
-
-
-
-
I found the blackener on the bluejacketinc website by choosing
Fittings > Paint, Glue, Odds & Ends > Paint-enamel and metal toners > Metal toners.
Once there, change the order quantity from 0 to 1 (or more) for the version(s) you want then click Buy Now!
Jonathan
-
The GB Dory is a great choice for a first kit. Plus you can easily haul it back out when you're done. I imagine something with masts and rigging would be a bit more problematic.
For tools, James H's list is great plus:
Woodworker's glue (Elmer's or Titebond, etc) plus alcohol to undo errors
CA glue plus CA dissolver to undo errors
Xacto knife w/spare blades plus band aids to patch errors
Eyewash kit to rinse out errant wood particles
A couple of lego blocks to ensure right angles
0.3 mm mechanical pencil and spare leads
Wood filler
Some acrylic paint and Winsor & Newton (or equivalent) quality brushes
An inexpensive brush or a box of toothpicks to spread out the woodworker's glue
A handful of #16 and #33 rubber bands
You may not need spare wood. The GB Dory kit already comes with some extra pieces plus you can recycle the leftover cutouts.
If you worked out in the gym with the offensive or defensive linemen in high school or college, you could also bring a hair dryer and traveling iron for bending planks, a Byrnes table saw, disc sander, and thickness planer plus a suitably large portable electric generator. 🙂
Jonathan
- mtaylor and Keith Black
-
2
-
Hole too large? Insert a toothpick (pared down to fit) along side the mast.
Too small? Twirl the mast between some sandpaper to shave it down.Just right? None of the above 🙂.
My mast rested on the hull though I don’t think it matters all that much. I mean, how much vertical force can there be to warrant the extra support?
As I recall, the instructions said that either straight up and down or having an aft tilt is okay. With that in mind, I just made sure that the mast wasn’t tilted forward.Lookin’ good so far!
Jonathan
-
-
-
-
-
I'm at the same place at the same time with the same problem on my build. Care to share the secret to success, wealth, and eternal happiness?
Jonathan


Nisha by wool132 - FINISHED - Vanguard Models - 1:64 - Brixham 'Mumble-Bee'
in - Kit build logs for subjects built from 1901 - Present Day
Posted
I used Badger Stynylrez black primer for the finish coat above the waterline. I was so happy with the Red Oxide that I forgot to take a picture from the top. 🙂
I've spent the last couple of days poring over the rigging plan sheets and reading @Dr PR's excellent series of posts on the subject over in the Masting, rigging and sails forum.
Jonathan