


GrandpaPhil
-
Posts
5,045 -
Joined
-
Last visited
Content Type
Profiles
Forums
Gallery
Events
Posts posted by GrandpaPhil
-
-
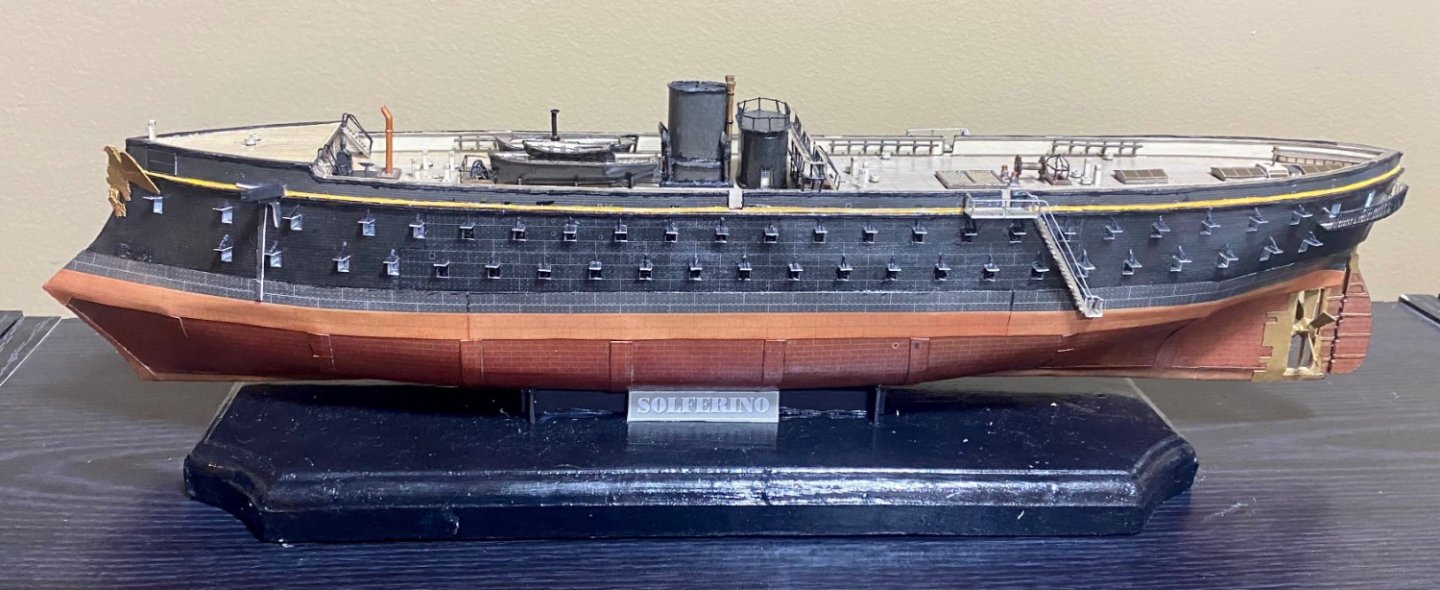
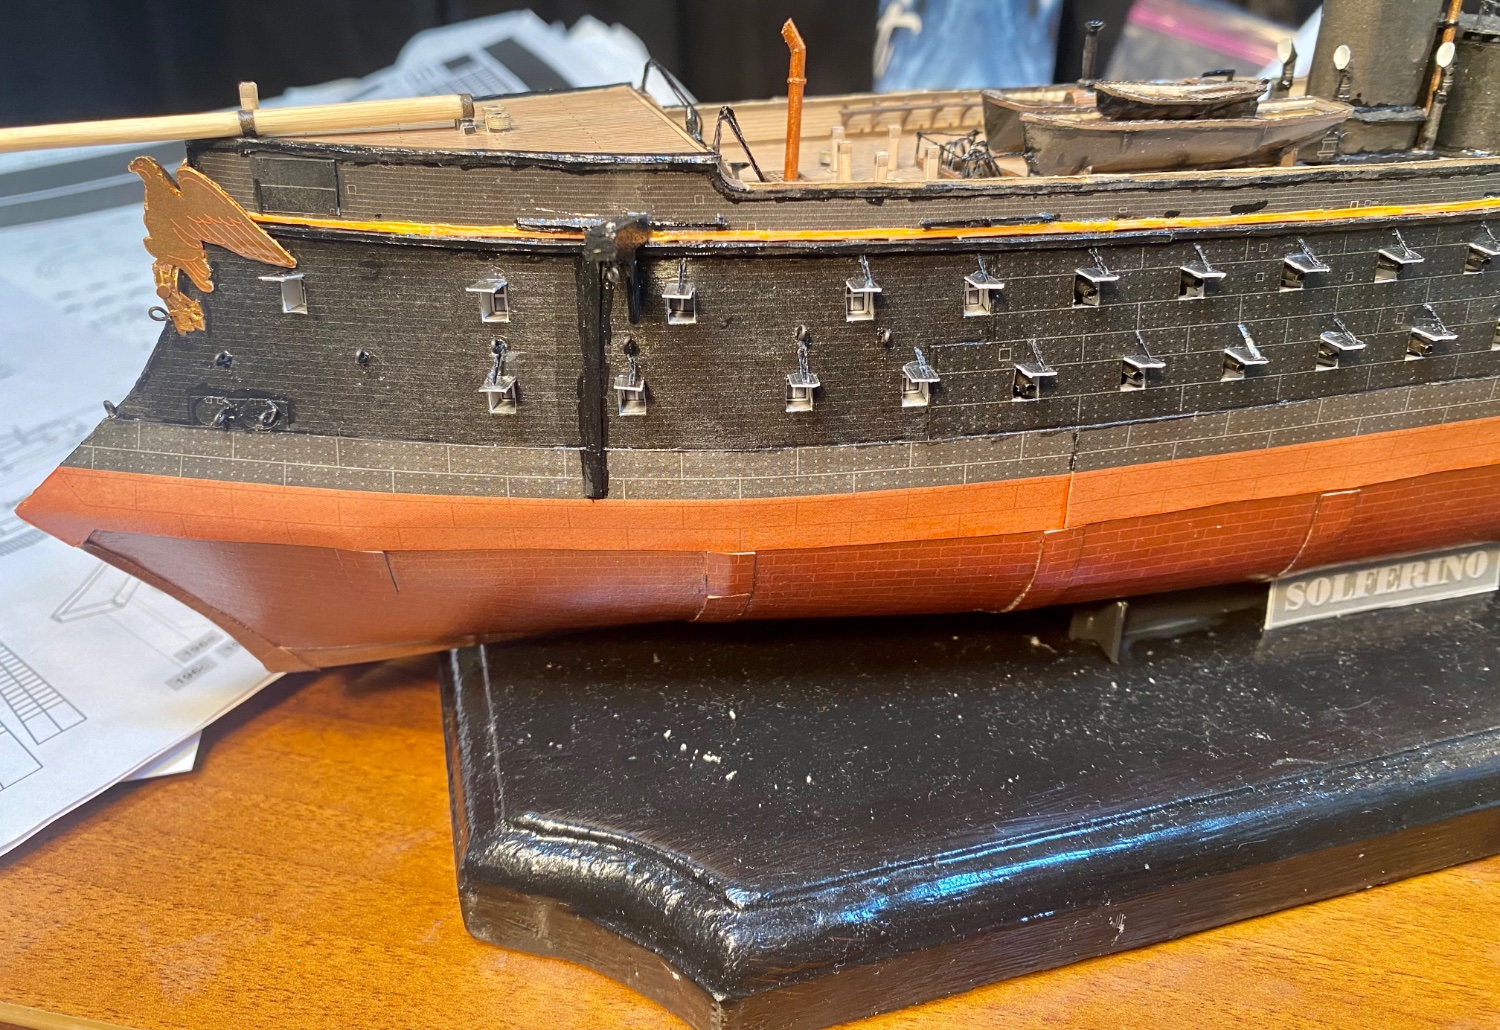
On the Paris model, the posts along the side of the ship are round.
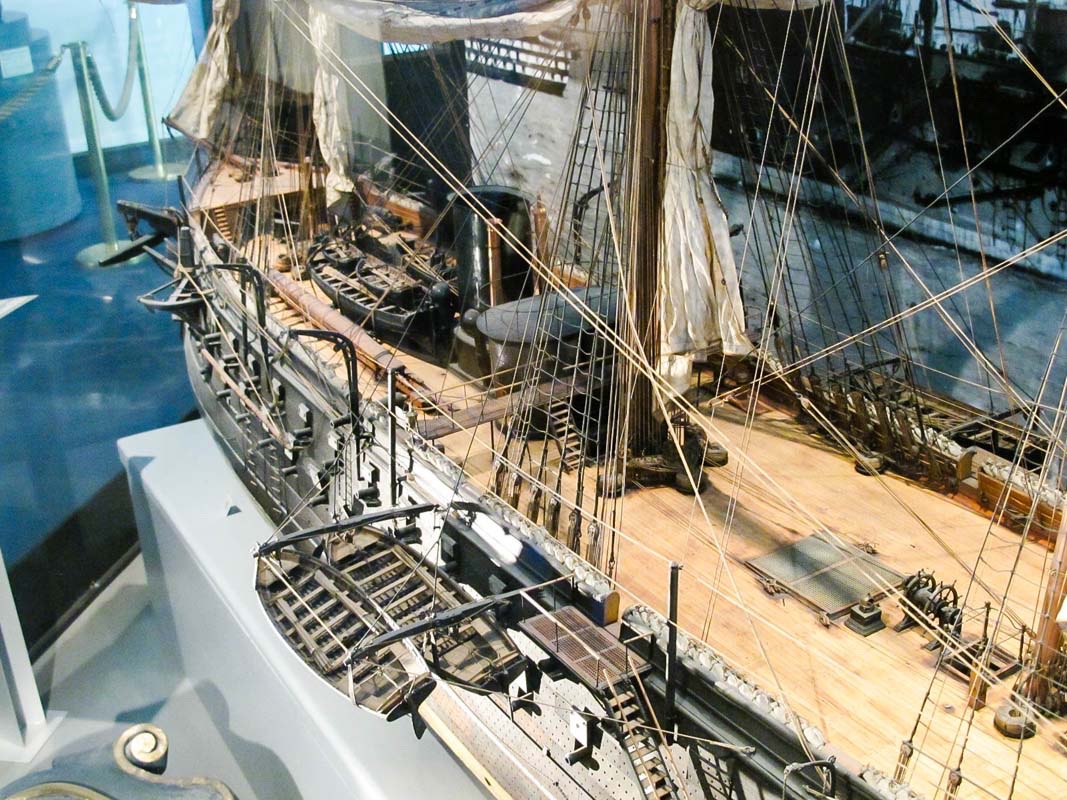
I don’t really feel like making these out of card due to strength issues, so I’m making them out of steel rod, until I run out, then I’ll switch to wood.
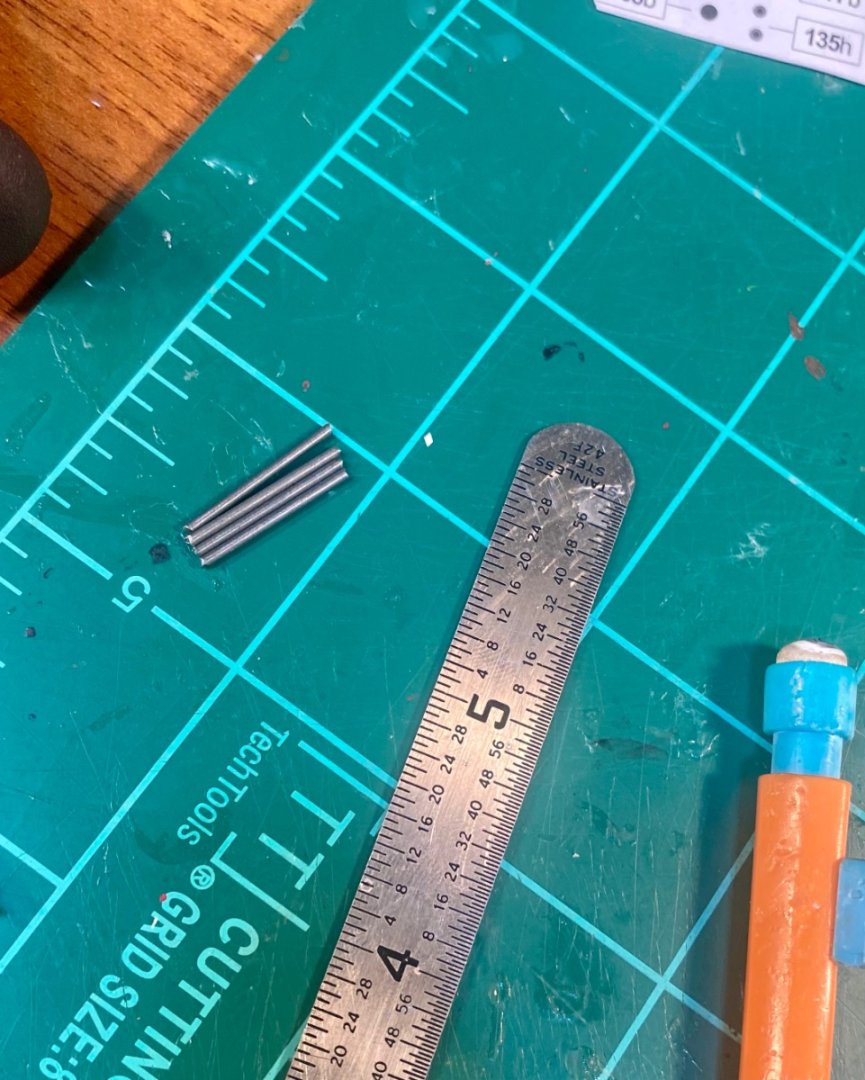
I’ll paint them on the model, because they are very small.
It should be noted that many of my models turn into games of, “Let’s Make It Up As We Go Along.”
That’s when the models are the most fun.
- bobandlucy, Edwardkenway, Canute and 6 others
-
 9
9
-
I just ordered the gummed tape and my tissue paper (silk span) for Solferino’s sails.
- Canute, Keith Black, Edwardkenway and 1 other
-
4
-
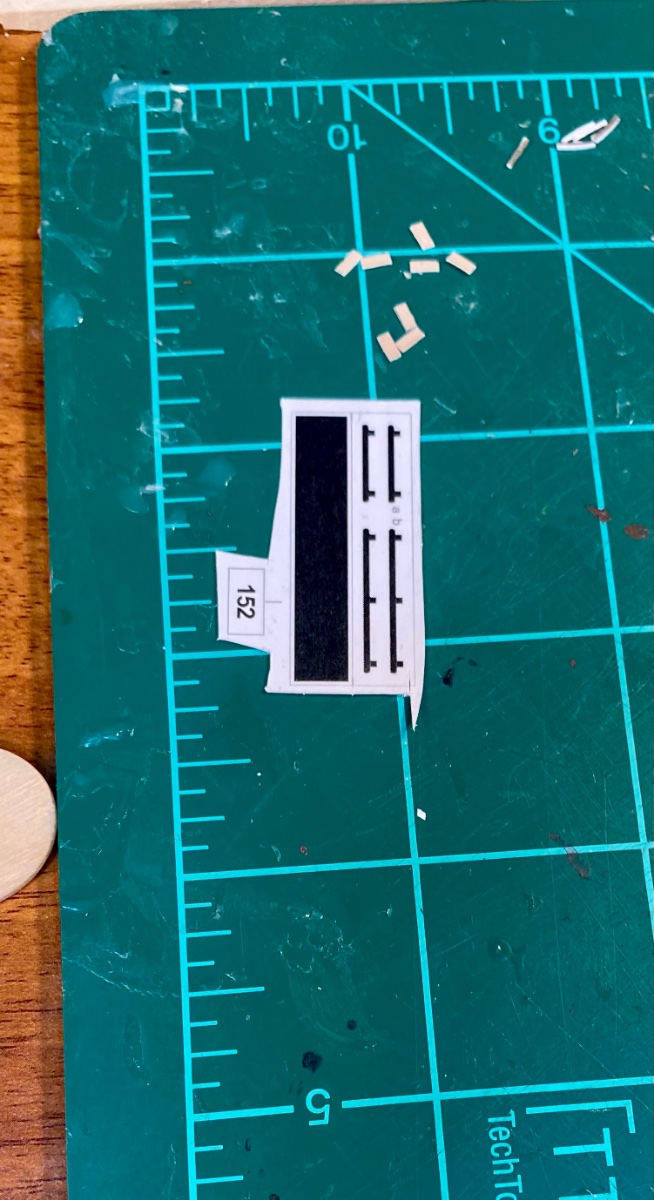
A lot of the detail rigging ties off to thin pieces of card.
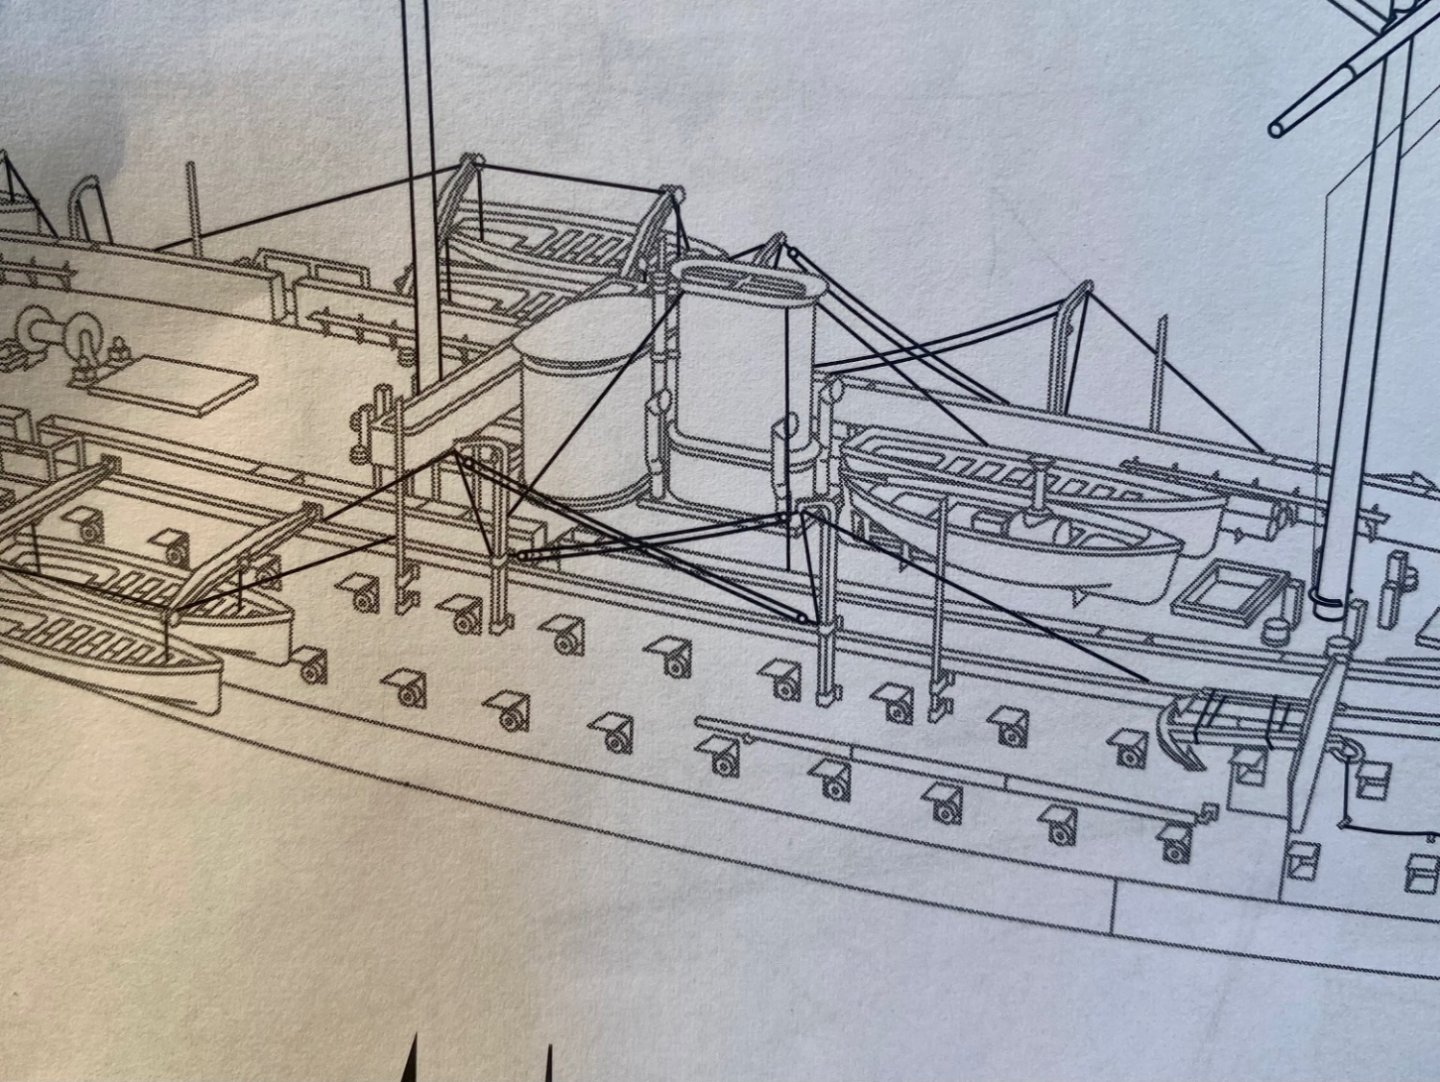
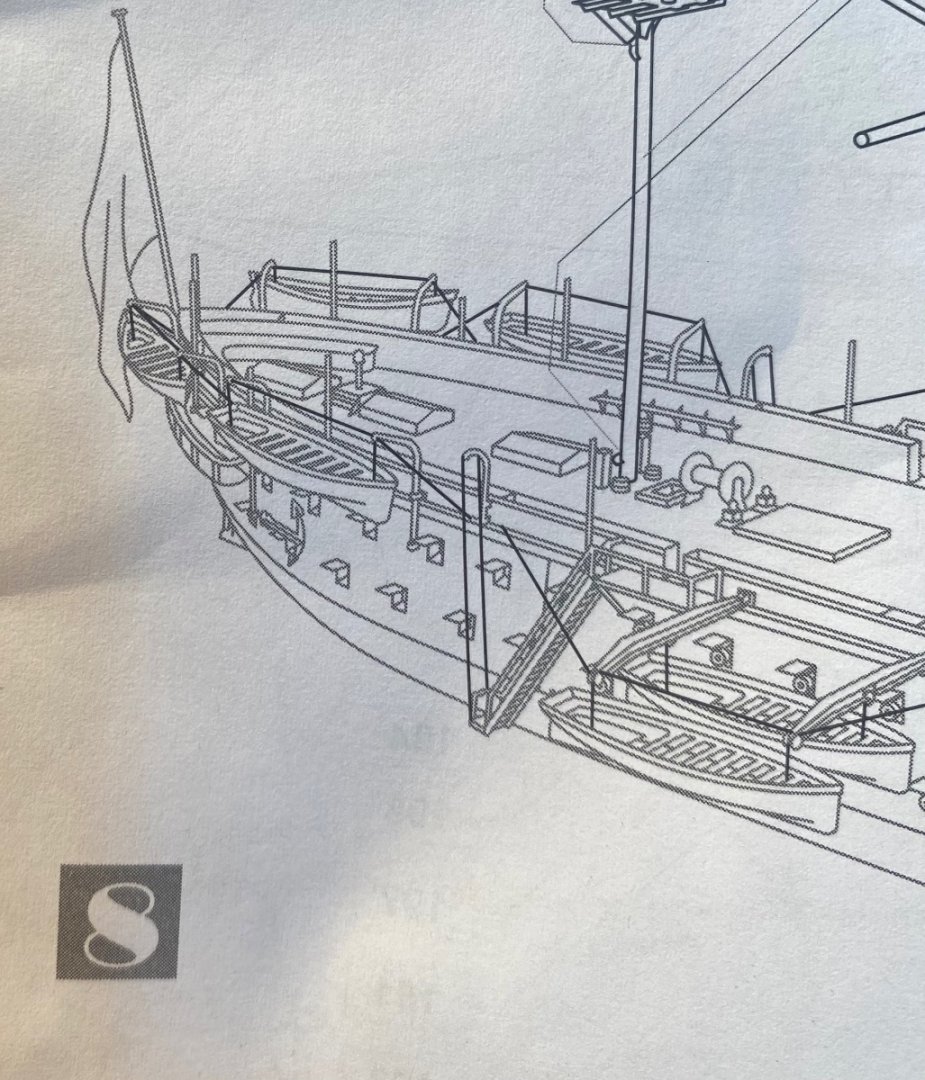
I think with those locations, I am going to do as I did with the gunport lids and just stiffen up some string and preform them all.
All the stays will actually be rigged where I can, but those vertical supports are too thin to tie off to and have it look even halfway decent.
So, I am going to ad lib again and just do as I think best.
- Ryland Craze, Keith Black, Canute and 2 others
-
5
-
-
-
Welcome!
- Keith Black, USCGDave and mtaylor
-
3
-
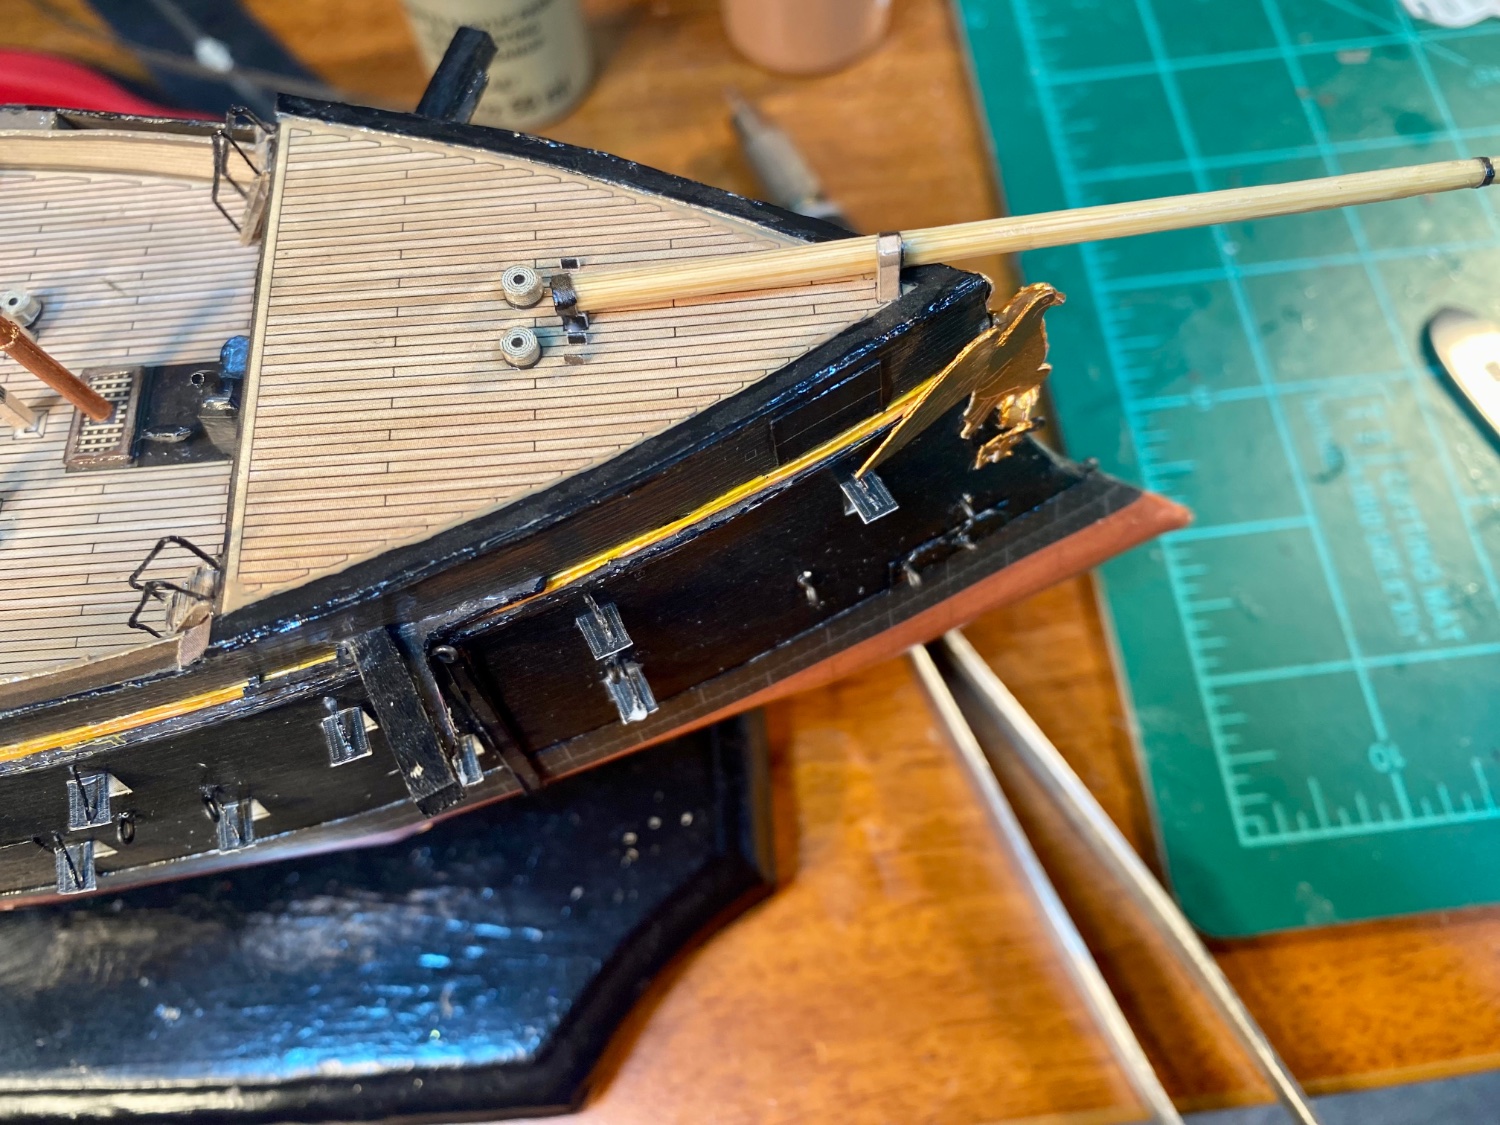
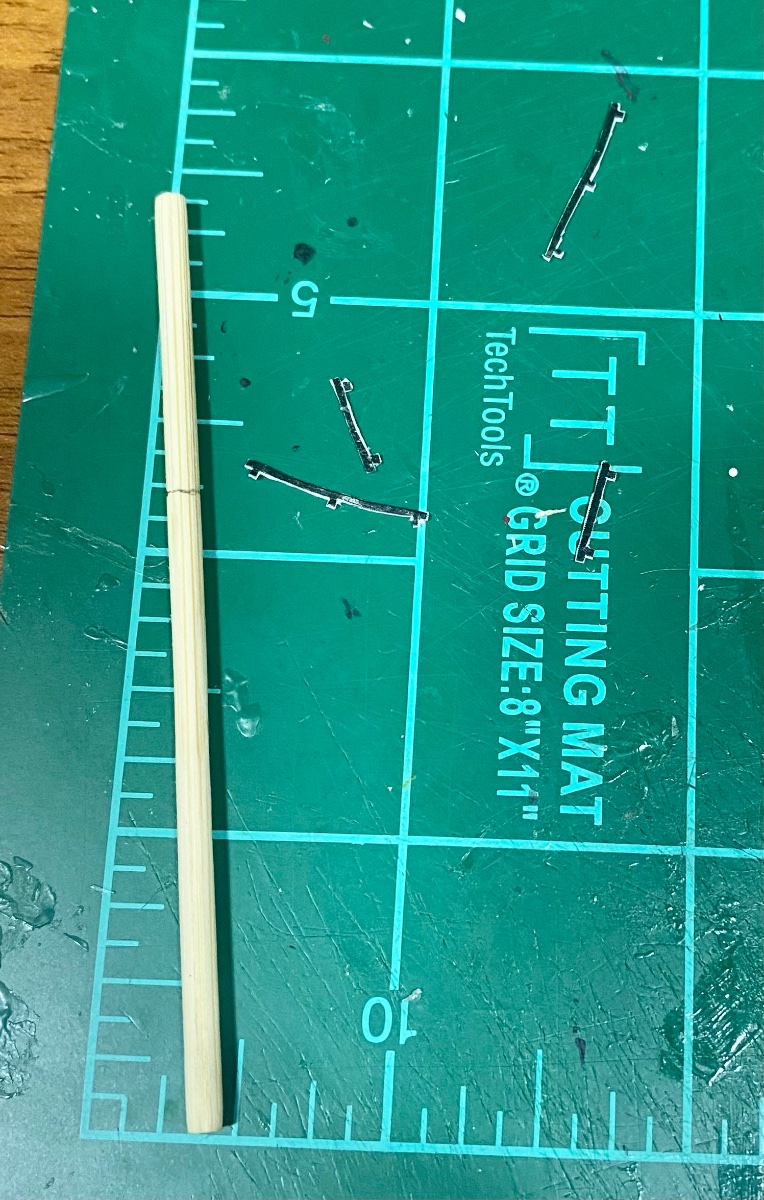
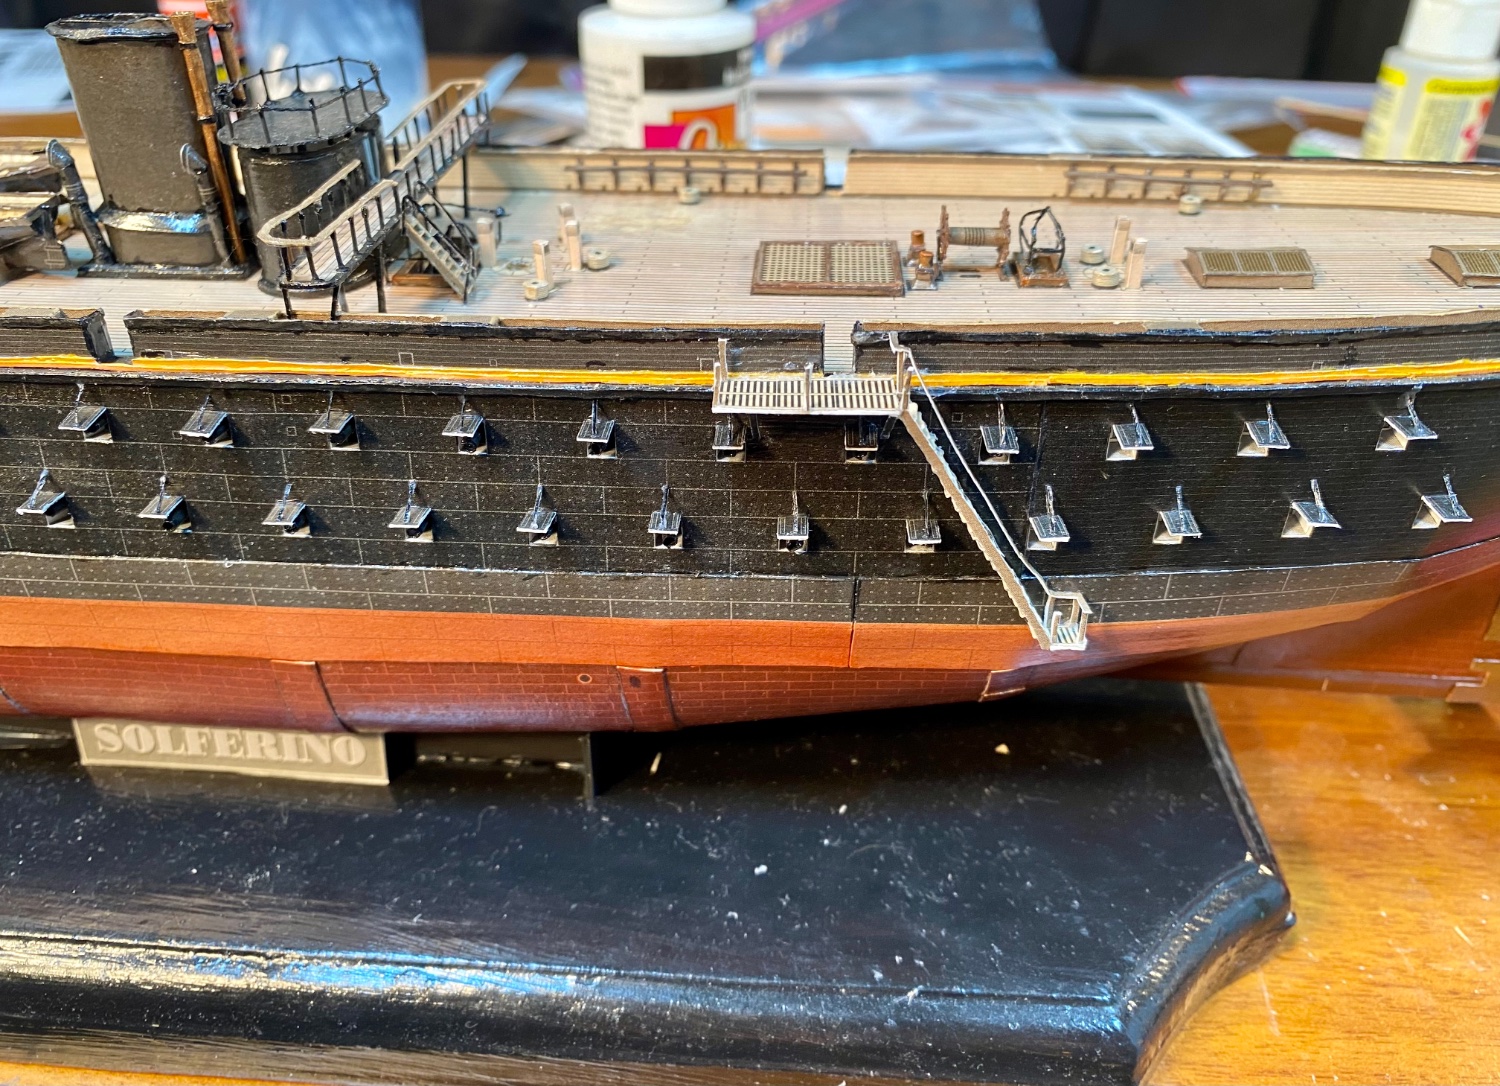
The boarding ladders and catheads are on:

I started the bow sprit, since I am going bow to stern, and it is sitting next to some hull fittings that need painted: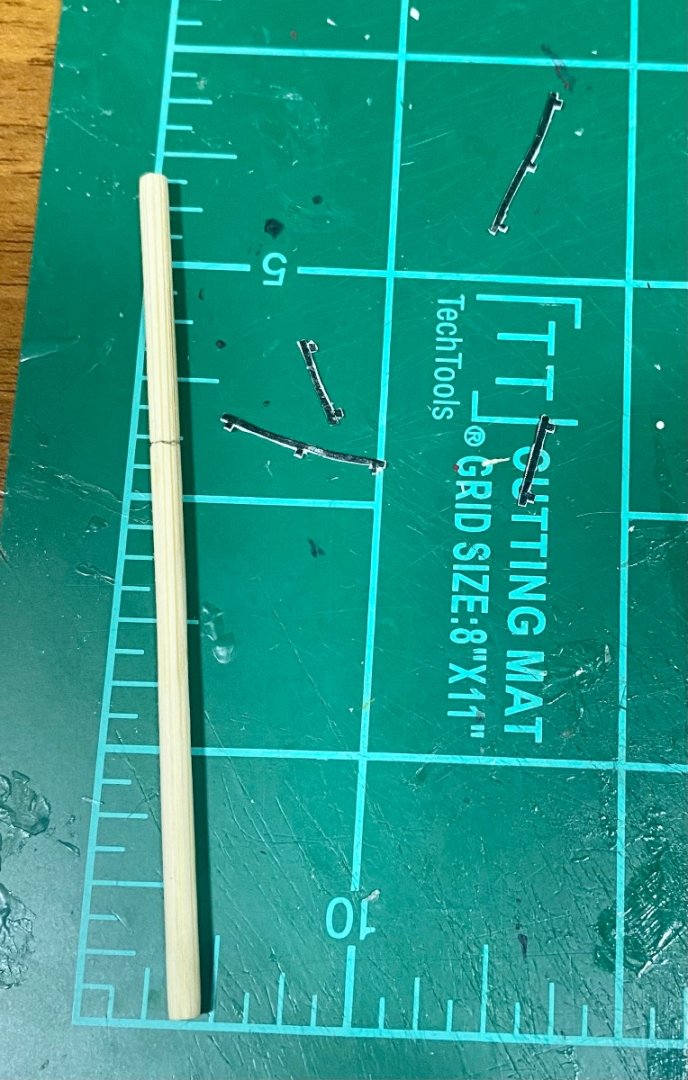
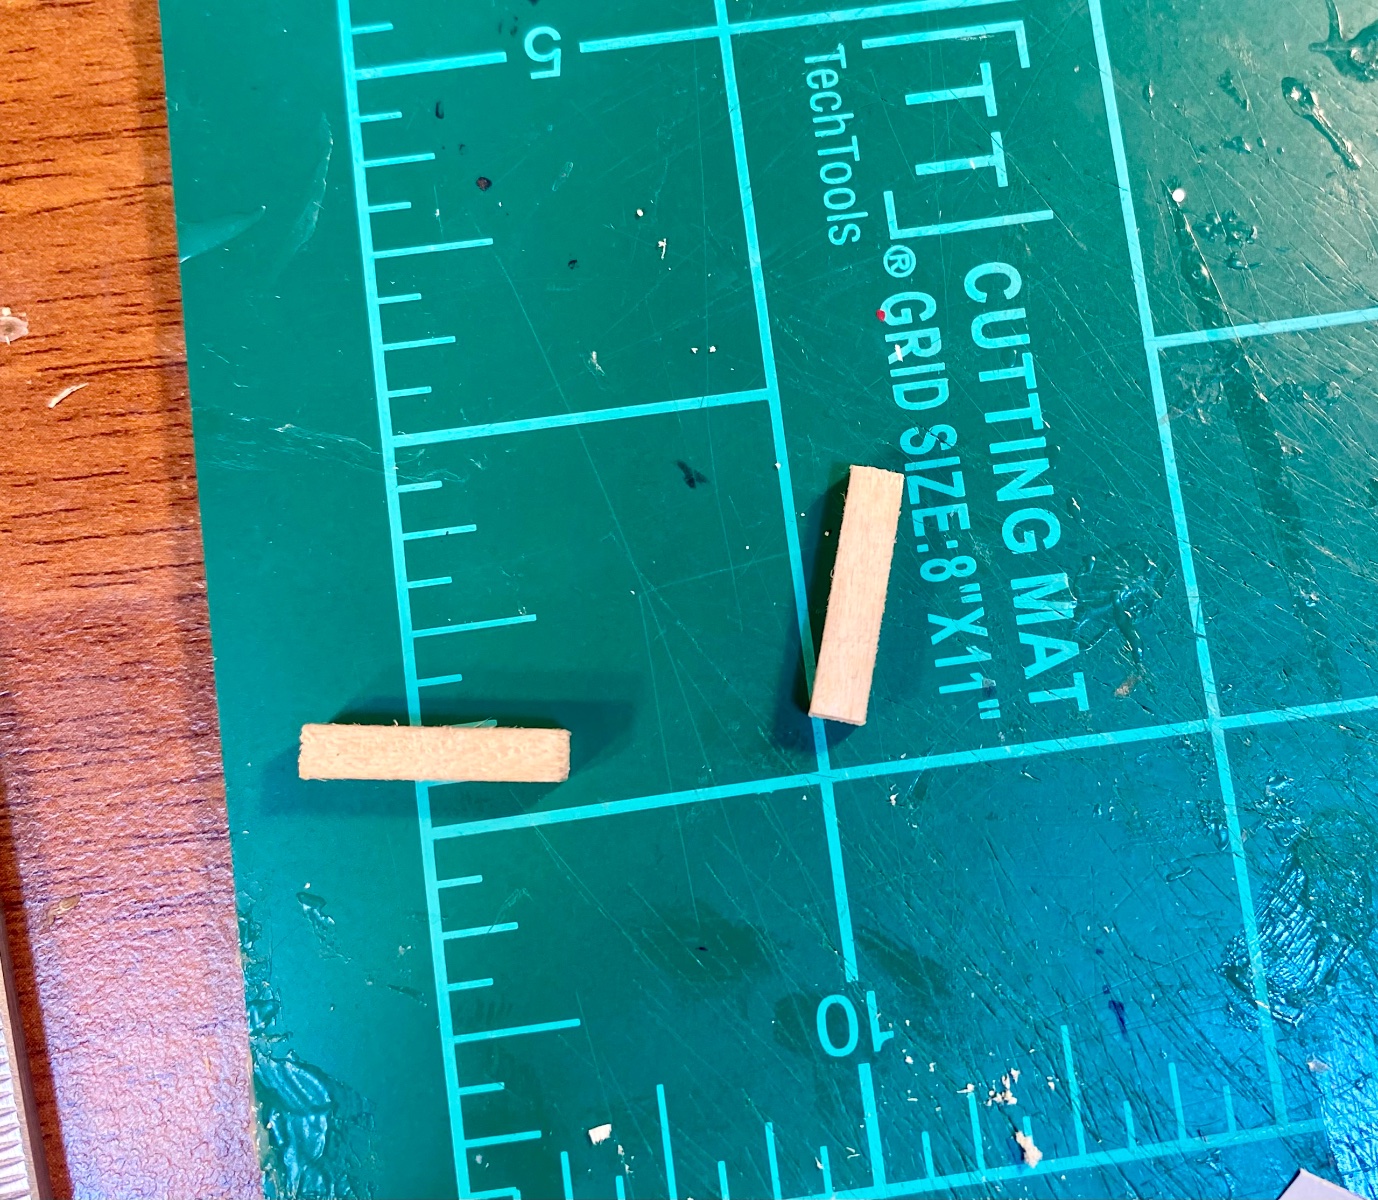
The bow sprit started out life as a bamboo kitchen skewer that I slimmed down and cut to size:
All installed fittings will be getting edge painted and sealed shortly.
- Edwardkenway, KurtH, Keith Black and 6 others
-
9
-
I need to prep the hull for rigging when I start adding the rest of the fittings, too.
That will mean using the eyebolts that I just made.
- Canute, mtaylor, Edwardkenway and 1 other
-
4
-
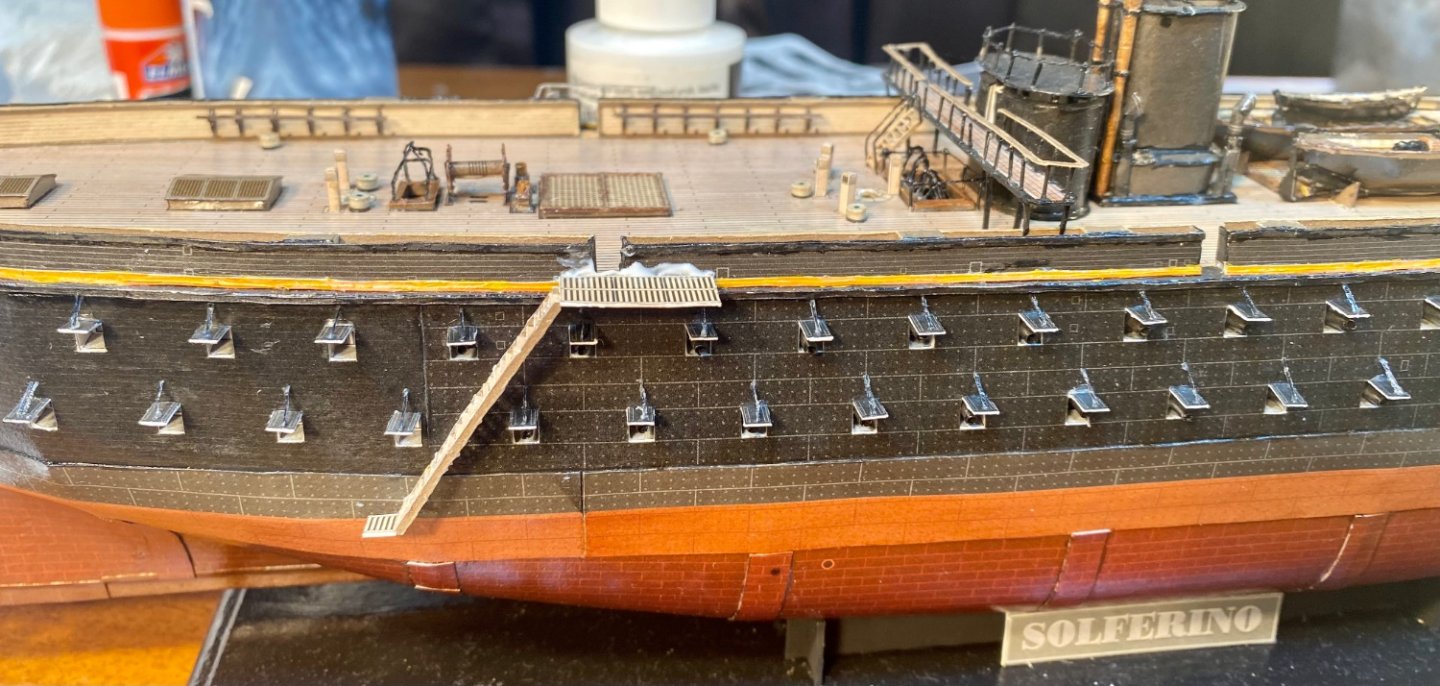
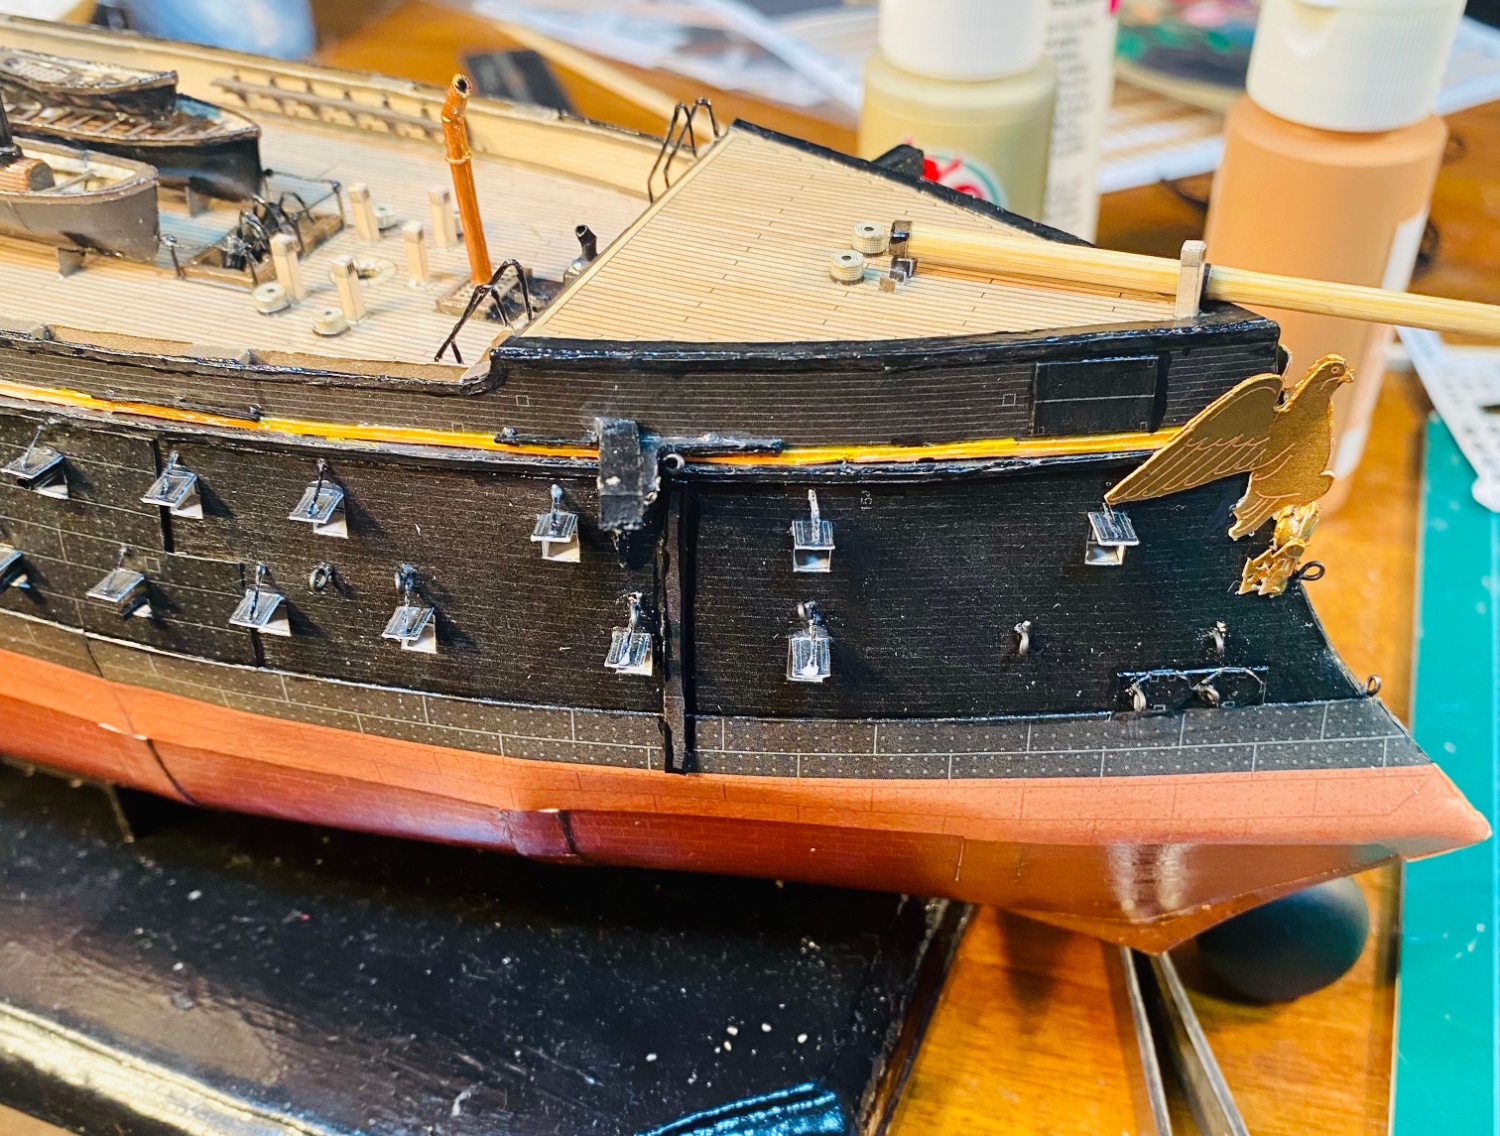
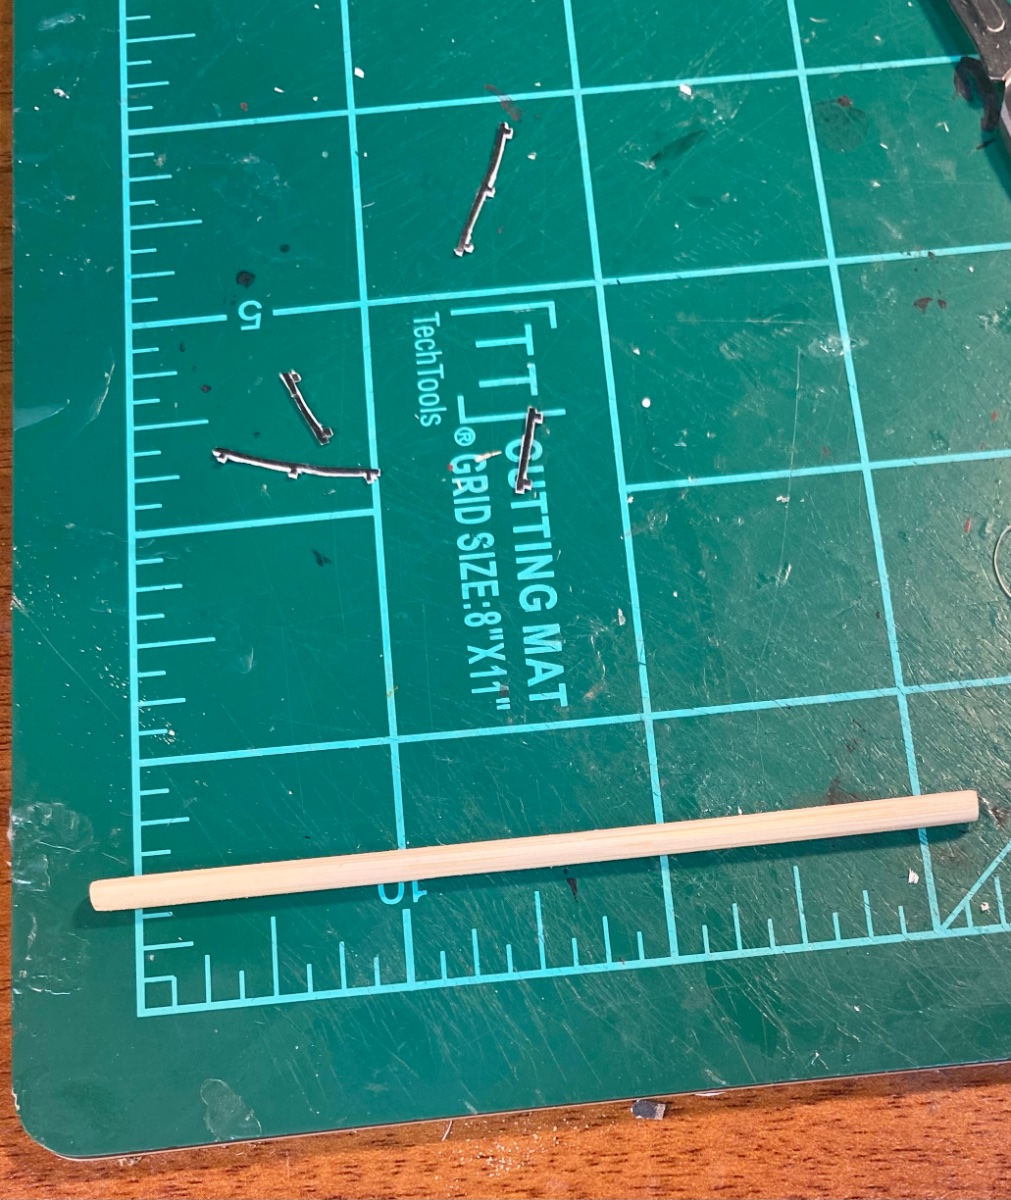
The starboard boarding ladder is installed and is awaiting railings:
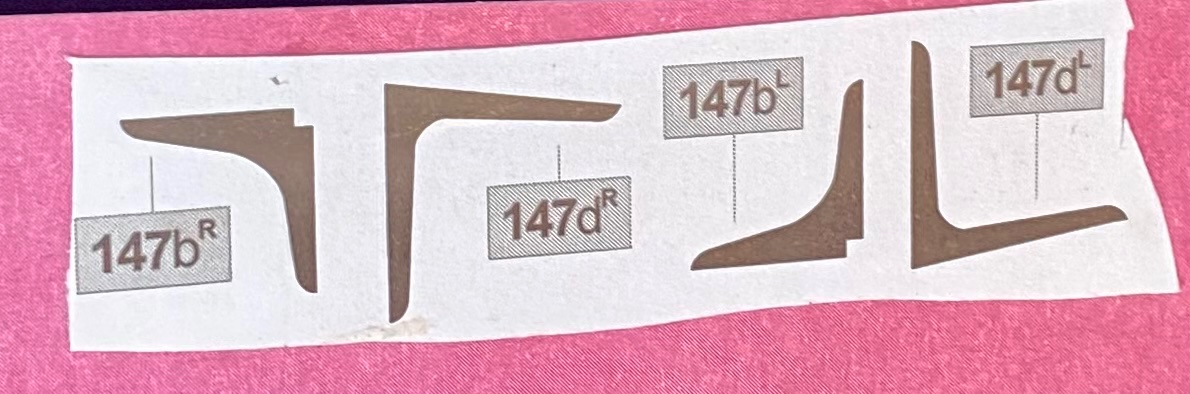
Working on the catheads:

I didn’t like the paper ones, so I scratch built them. At 1/200 scale, there’s not a lot of detail to them.
The braces for the catheads:
Starting miscellaneous hull fittings:

I’m almost at that point where I start at the bow, and work my way aft, crossing everything off as I go, so I don’t forget anything.
That is how Zu Mondfeld recommends working in his book, Historic Ship Models.
For those starting out in this hobby, I cannot recommend that book enough.
That book is how I learned this hobby even existed and made me want to build model ships, nearly 30 years ago.
Starting forward and working aft will start after I install the catheads and finish the starboard ladder.
-
-
Scratch the extra pipe work! It’ll look amazing!
- mtaylor, Old Collingwood, Canute and 1 other
-
4
-
-
I’ll make another tutorial on how I make rigging fittings using basic hand tools later on.
I typically make my own eyebolts, deadeyes and rigging blocks.
They aren’t hard to make.
The only reason I bought deadeyes for Solferino is because of the size of them.
- Canute, clearway, Keith Black and 3 others
-
6
-
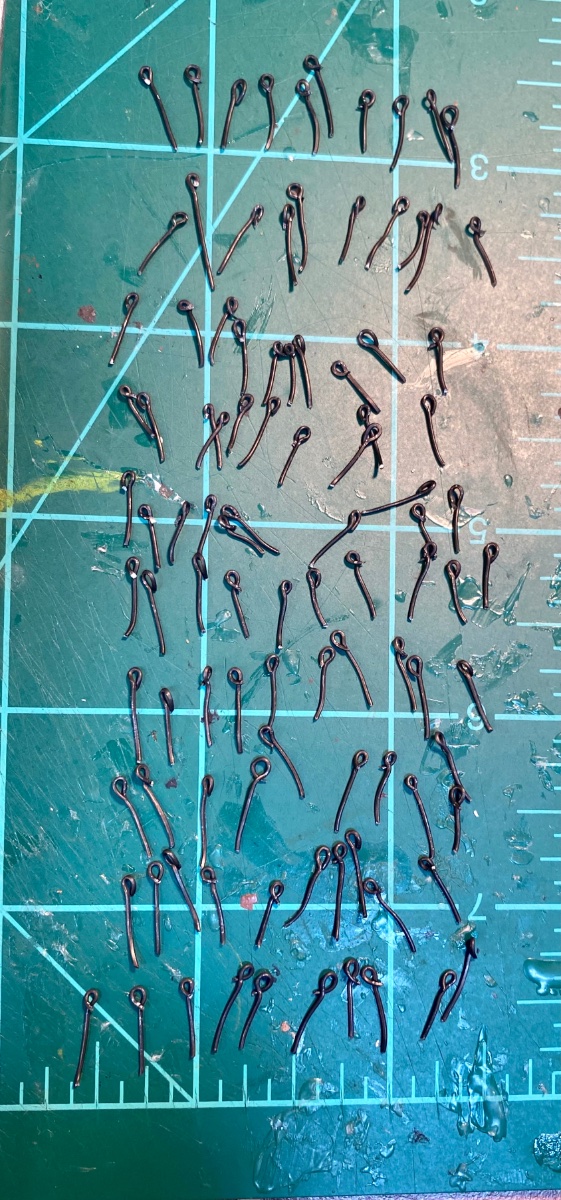
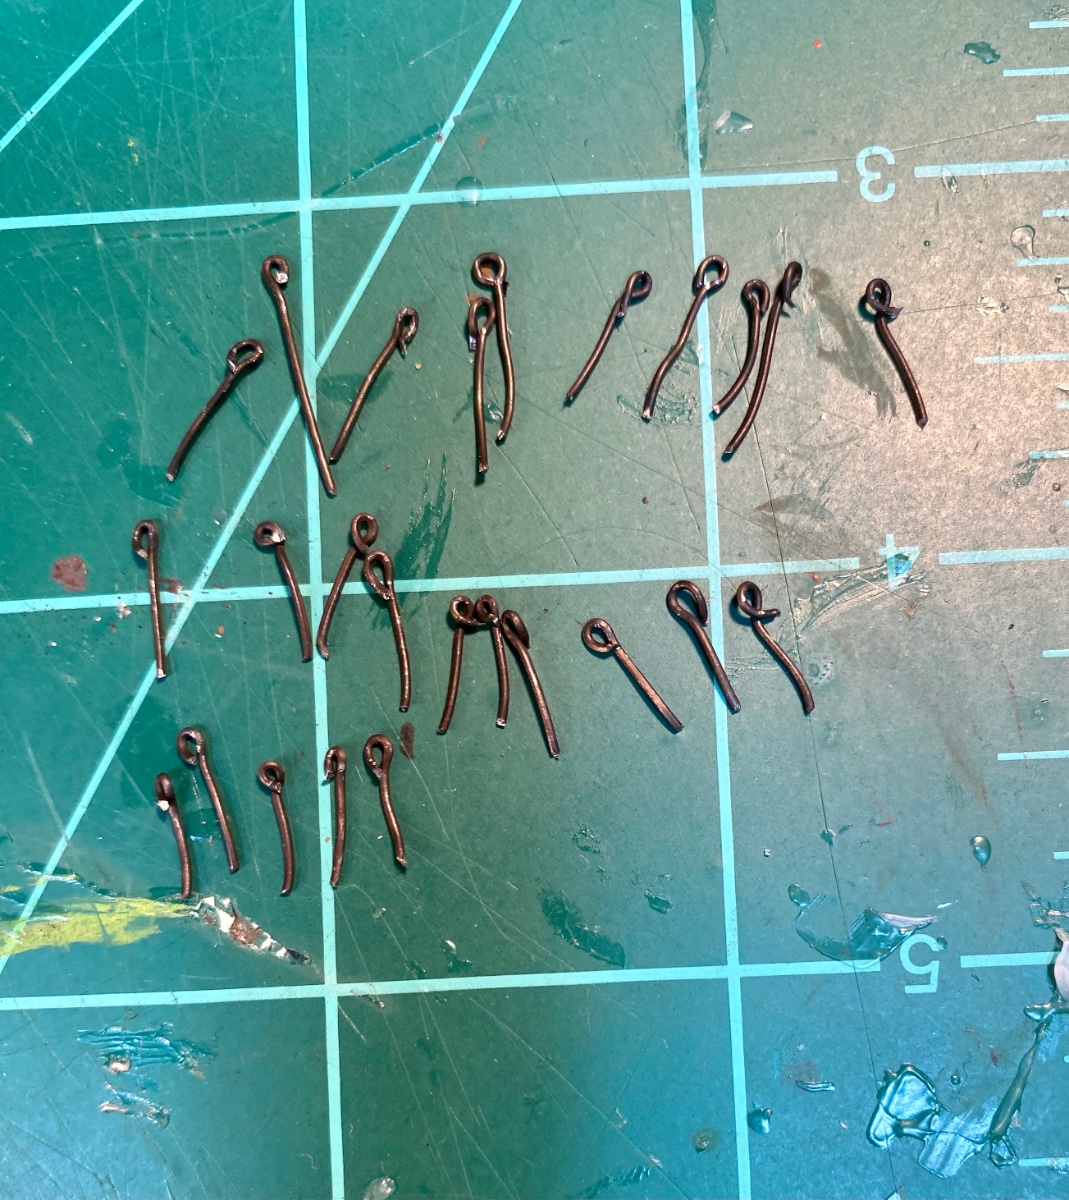
I started with 100 eyebolts.

I’ll make more, when I use these up.
These should get me through Solferino, if not, I’ll take an hour and make more.
They are very easy to make and cost almost nothing.
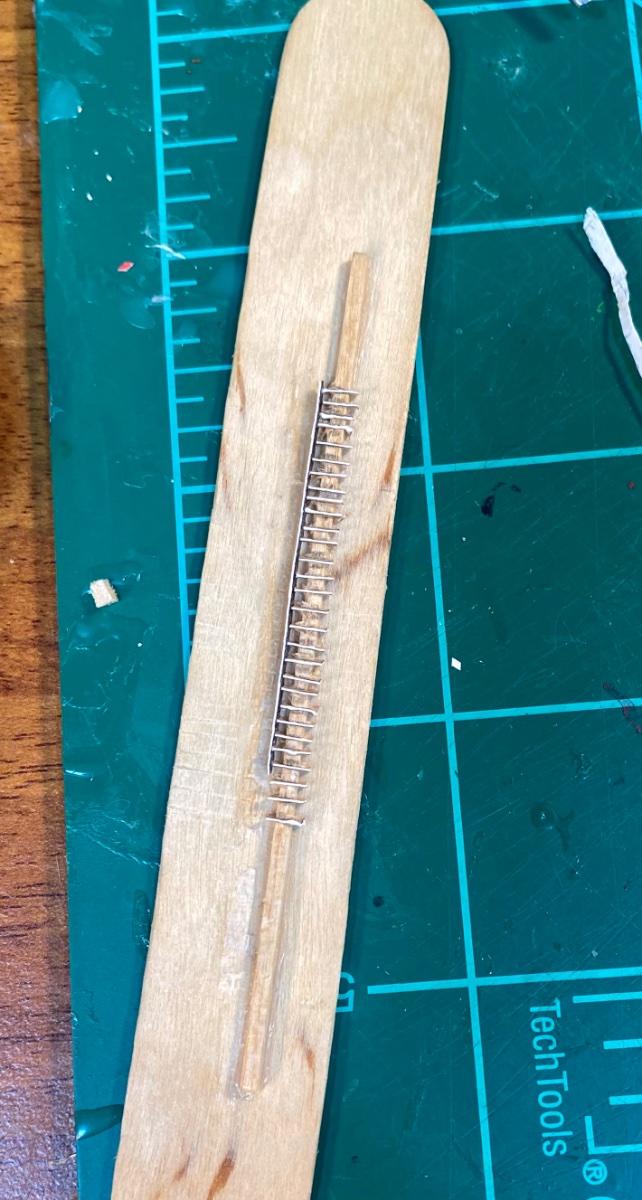
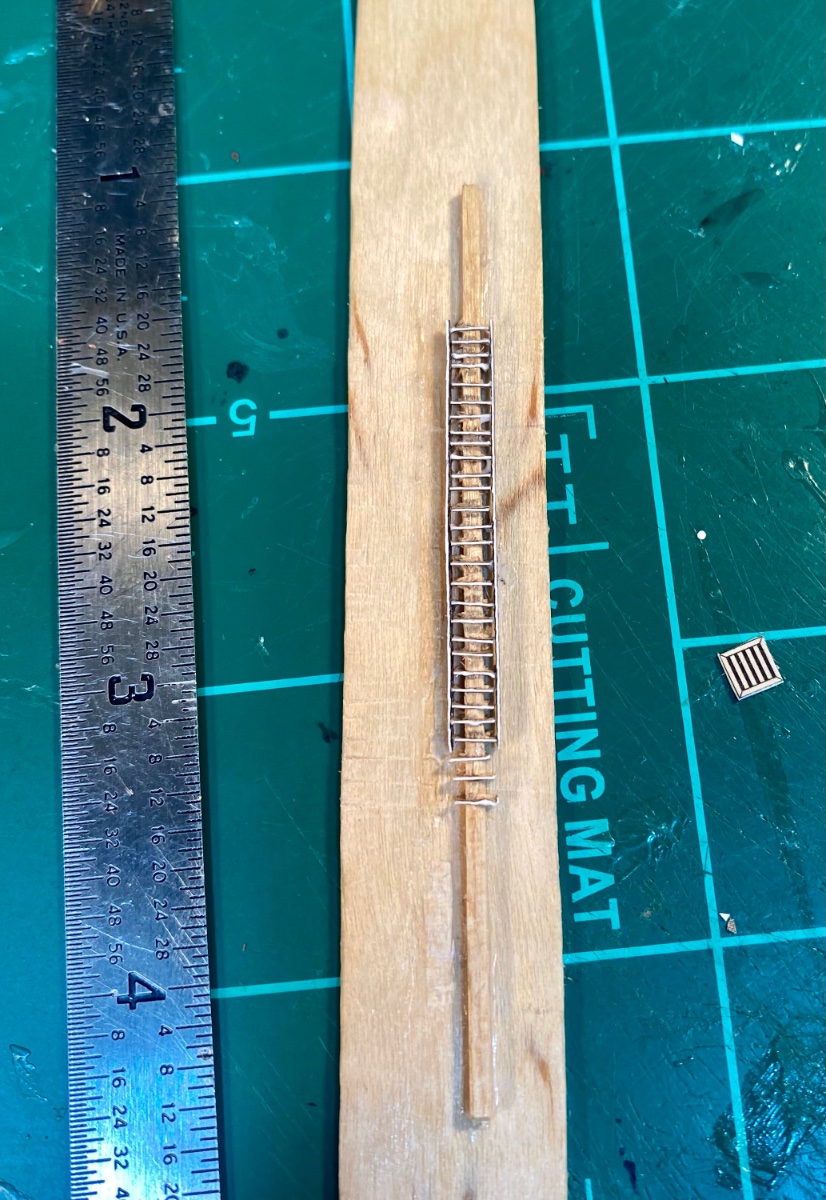
I use annealed wire from a hardware store.I remade my ladder making jig twice.
I finally just used a piece of 1/16” balsa stock left over from a model airplane from long ago.
I only have one ladder left to make and I have no plans to make another 1:200 scale ship anytime soon, so it doesn’t matter if this jig gives up the ghost when I pull the ladder off it.
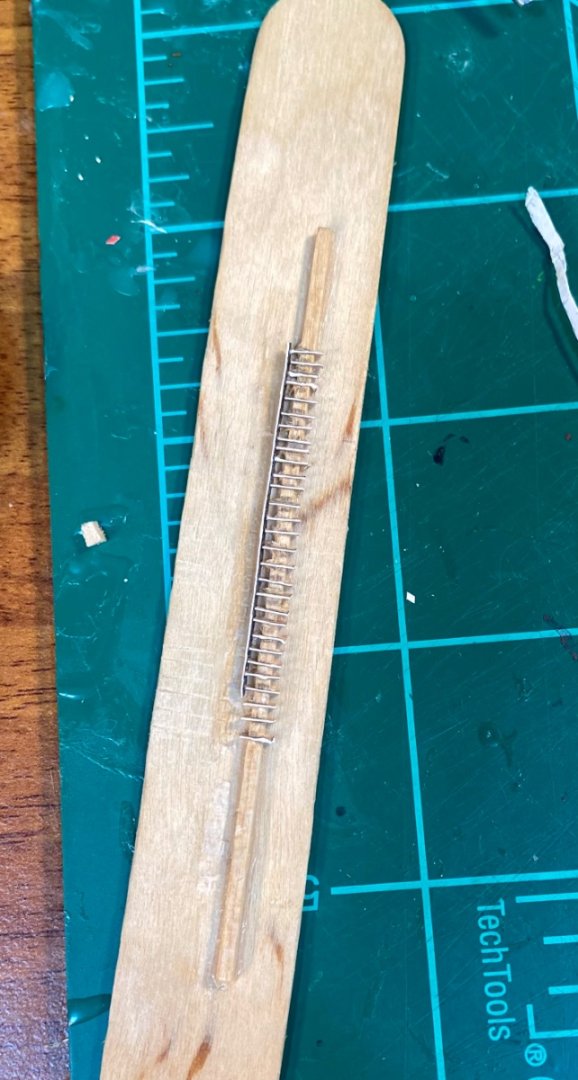

I’ll take another side on shot once this ladder is installed.
-
Congratulations!
- Edwardkenway, thibaultron, Dave_E and 6 others
-
9
-
-
Paint protects against corrosion and weathering of material, whether wood or metal.
This is especially valuable because salt spray destroys absolutely EVERYTHING.
Paint is also one of the cheaper protective coatings. I do not know for sure, but I would imagine that as much as would be reasonably coated, would have been.
In my time either on a ship or a workboat (I spent time as a sailor a long time ago), everything that could be painted, was painted.
Everything that couldn’t be painted was otherwise regularly cleaned and lubed.
Corrosion control is a big part of shipboard life.
- Baker, Knocklouder, Keith Black and 1 other
-
4
-
While waiting on glue to dry, I started making eyebolts:

I need about 500 of them, between Solferino and Mercury.
- KurtH, Keith Black, Captain Slog and 4 others
-
6
-
 1
1
-
Thank you to everyone for dropping by, commenting and for the likes!
Here’s where that port side boarding ladder is at:

This model needs finished so I can finish my other two that are half built!
- Keith Black, Captain Slog, mtaylor and 8 others
-
11
-
-
-
Thank you very much for the information!
- thibaultron and Canute
-
2
-
I found an ad for a 1/96 HMS Bellona card kit by Shipyard.
Does Shipyard still make this kit?
I have the AOTS for the Bellona and would like to build her some day in 1/72 scale.
That would be a great resource if this kit were still available.
- catopower, Canute and thibaultron
-
3
-


HMHS Britannic by Kevin - Trumpeter - 1/200 - PLASTIC - from Titanic kit - Started September 2022
in - Kit build logs for subjects built from 1901 - Present Day
Posted
I’m glad I said that, the gantries came out very well!