GrandpaPhil
-
Posts
6,154 -
Joined
-
Last visited
Content Type
Profiles
Forums
Gallery
Events
Everything posted by GrandpaPhil
-
Oseberg ship burial replicas by Eindride
GrandpaPhil replied to Eindride's topic in Completed non-ship models
Very nicely done! What is this?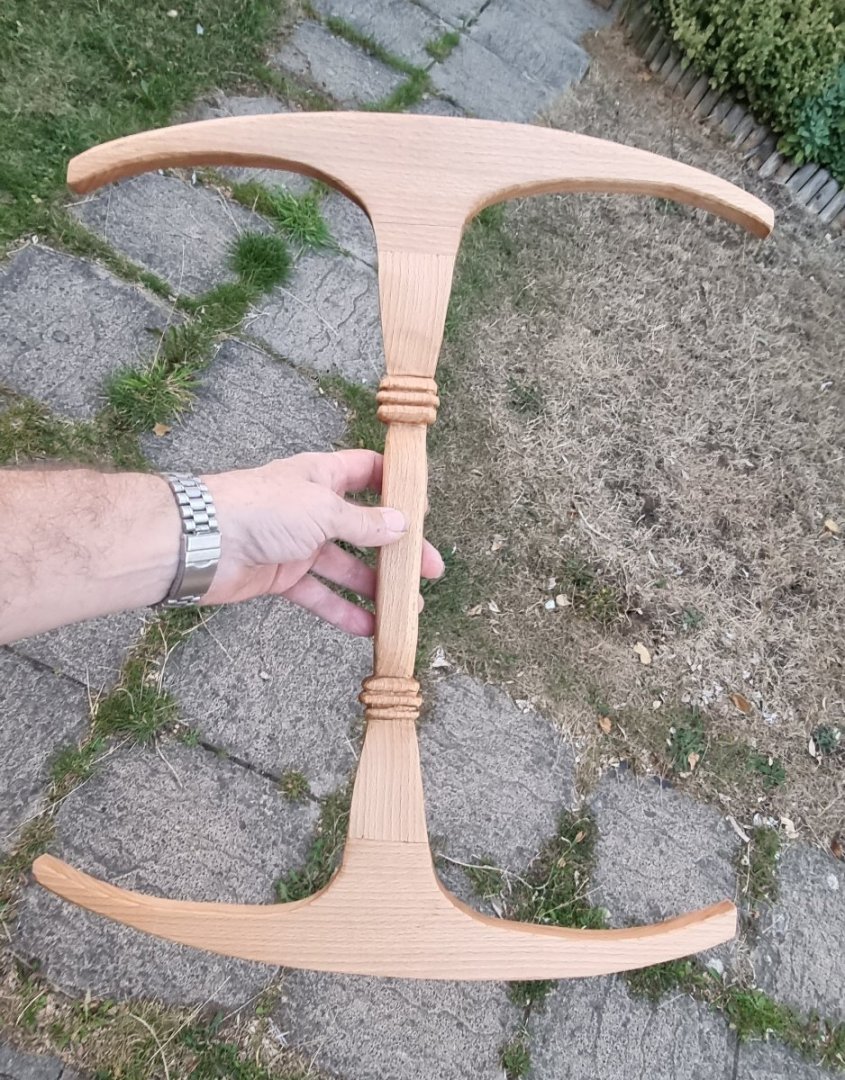
-
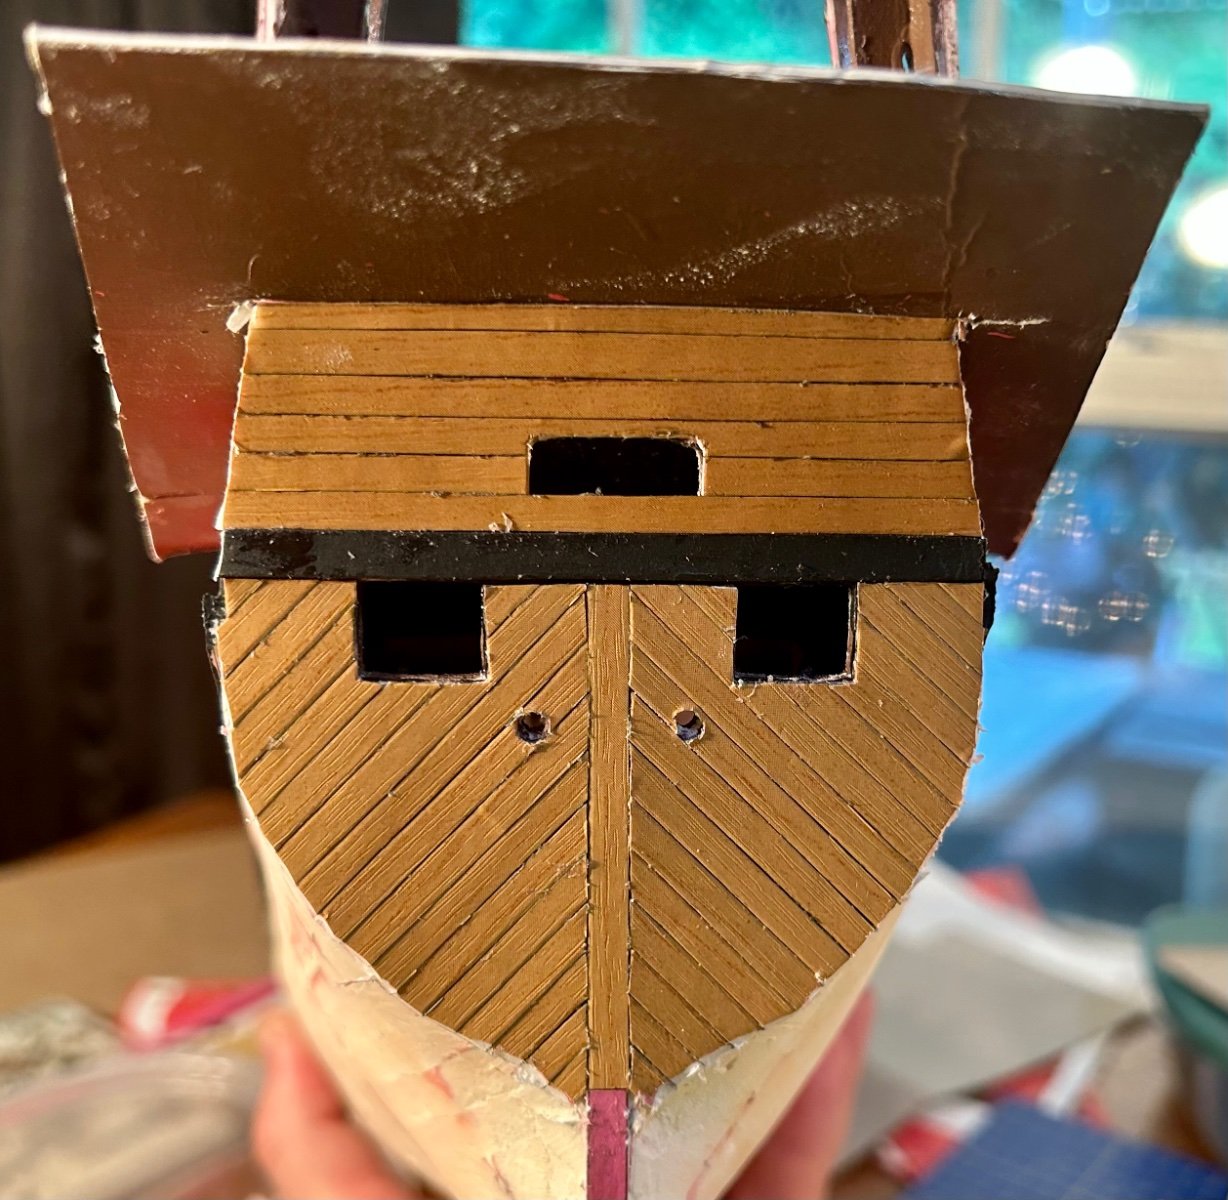
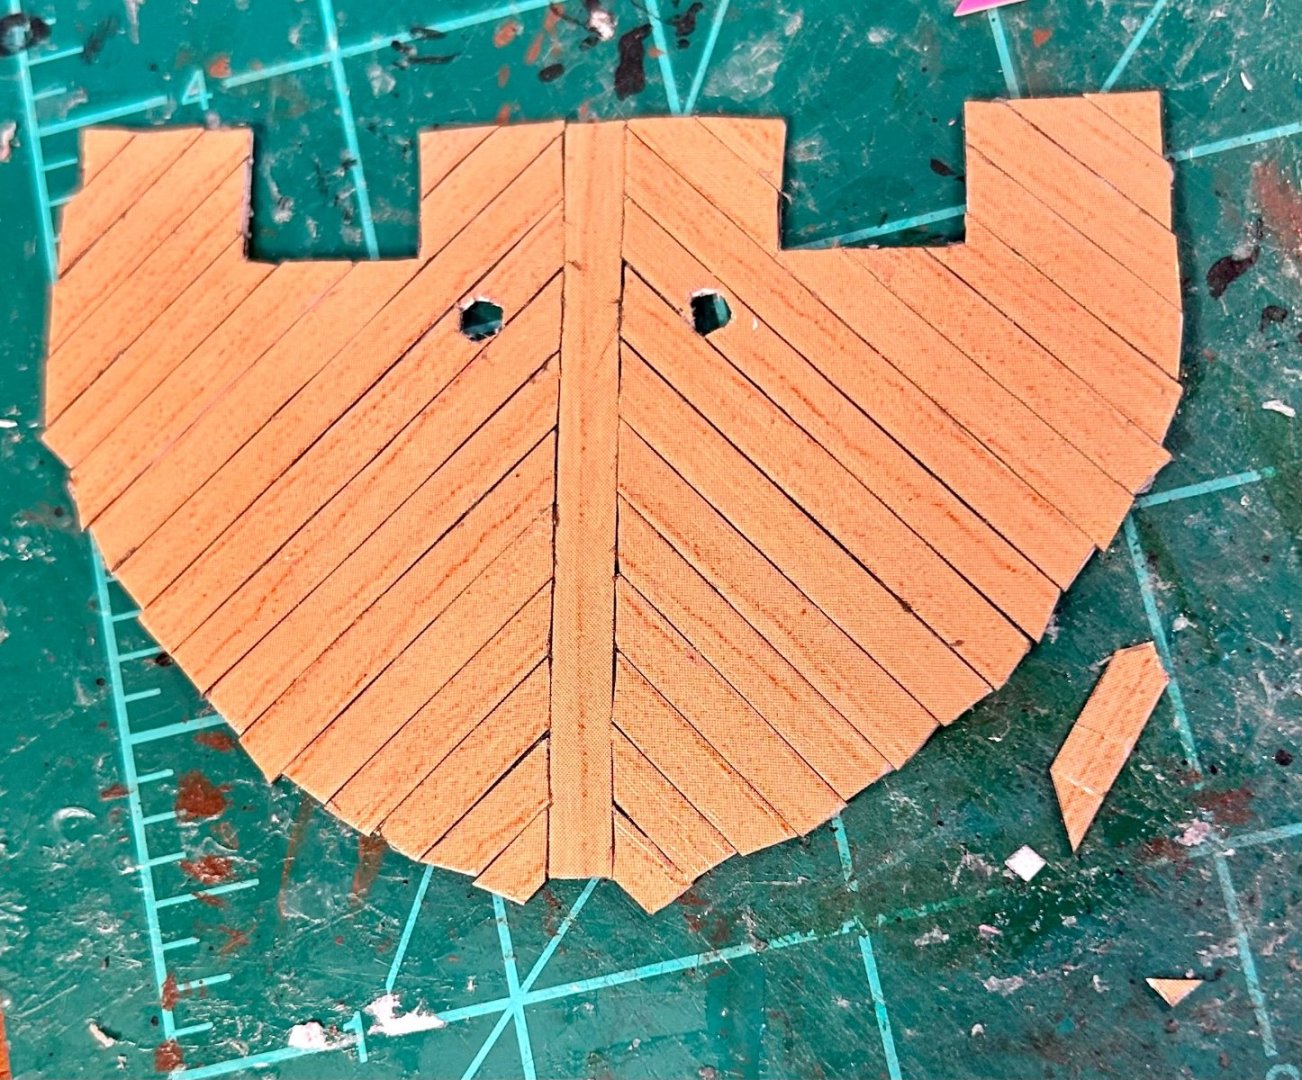
Here is the planked transom:

-
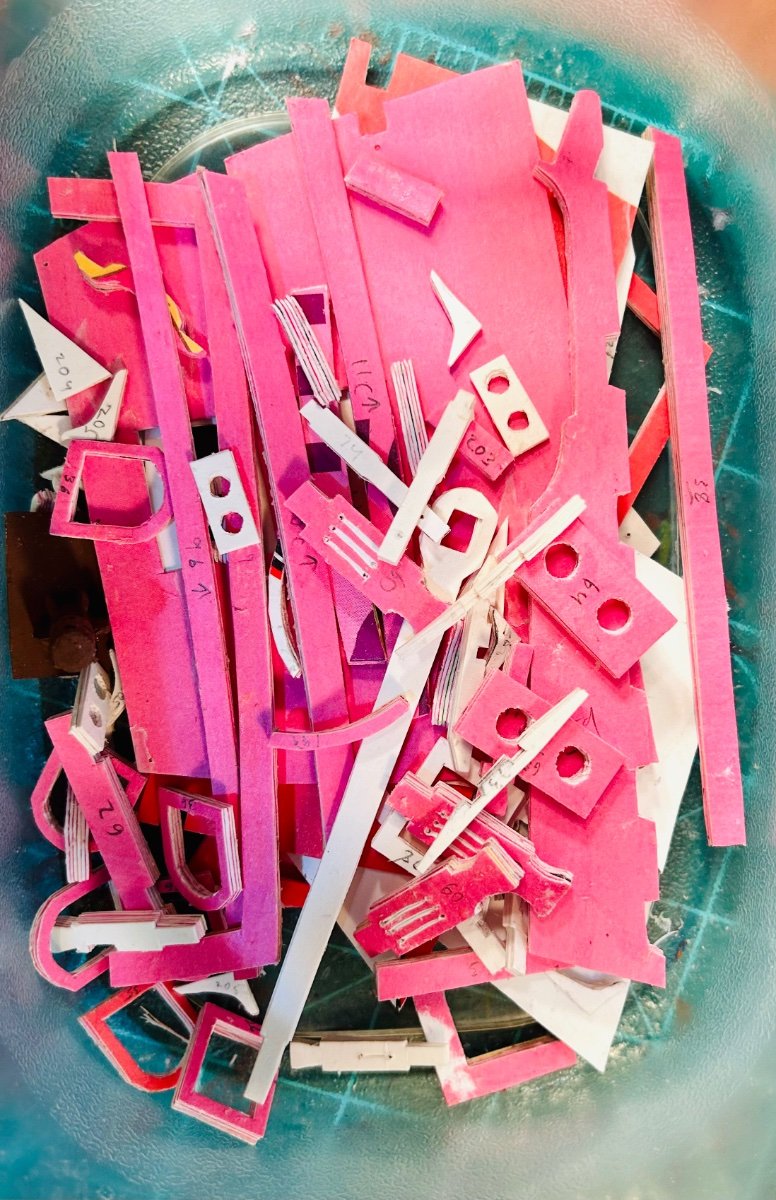
LOL! Indeed my friend! Here’s that pile of parts: That was a lot. Here is the transom piece: It is nearly ready to install on the Revenge. I copied the pattern that came with the plan set. The lower wales are painted now and the hull is ready to take the transom once it dries for a bit and I trim the upper edges and the gunport. I am going to step out of sequence again and install the middle wales prior to planking above the lower wales. I like having my actual wales in place before second planking because it serves as a nice guide. I have already made the middle wales themselves and just need to install them. This model is supremely well designed. I am glad that I bought this plan set.

-
Yes. Adding flags is typically my last step in a model.
-
Hahn’s book “The Colonial Schooner” has a complete discussion about how he built his model of the Hannah.
-
Based off what I’ve seen of your work, I second the opinion that you would not have any difficulty with making shrouds or ratlines. Your galleon is looking great!
- 279 replies
-
- 2
-

-

-
- Spanish Galleon
- Imai
- (and 1 more)
-
Welcome!
-
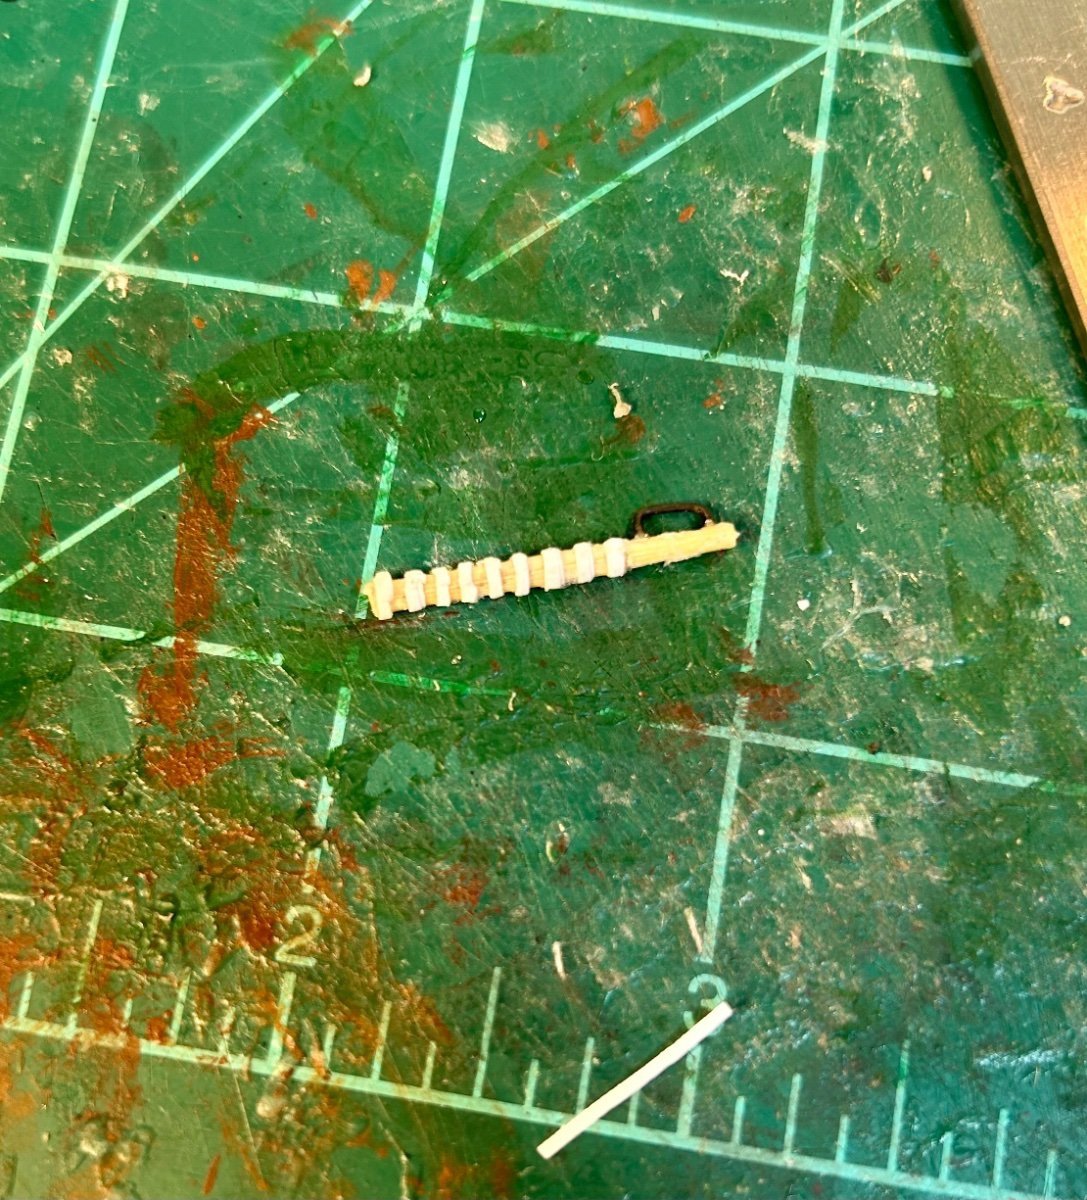
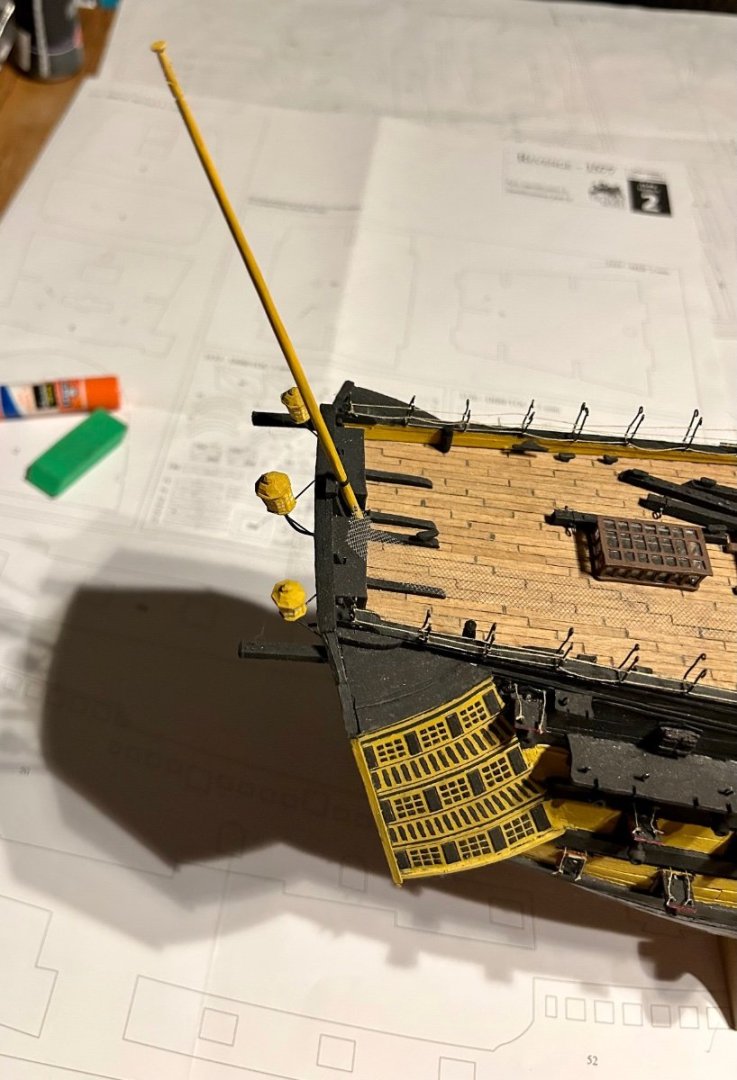
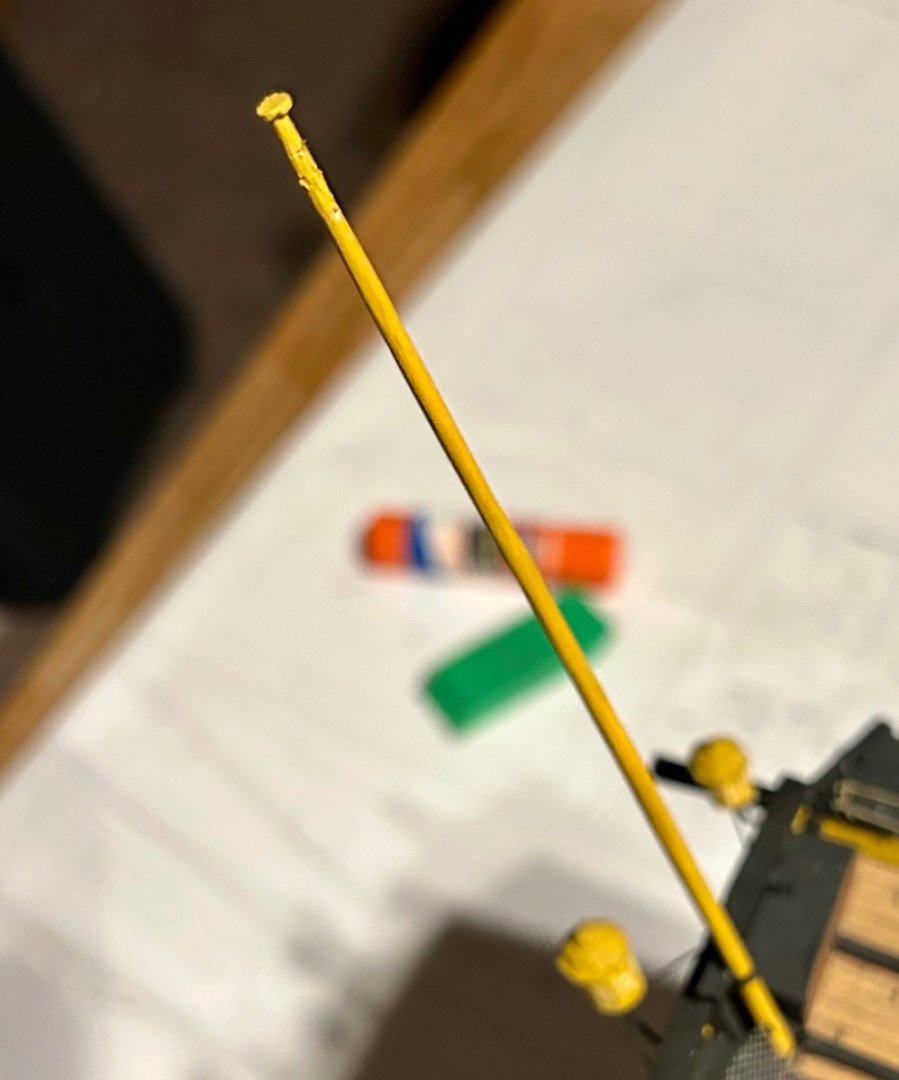
Here is the ensign staff on my Victory: Here is the sheave:
-
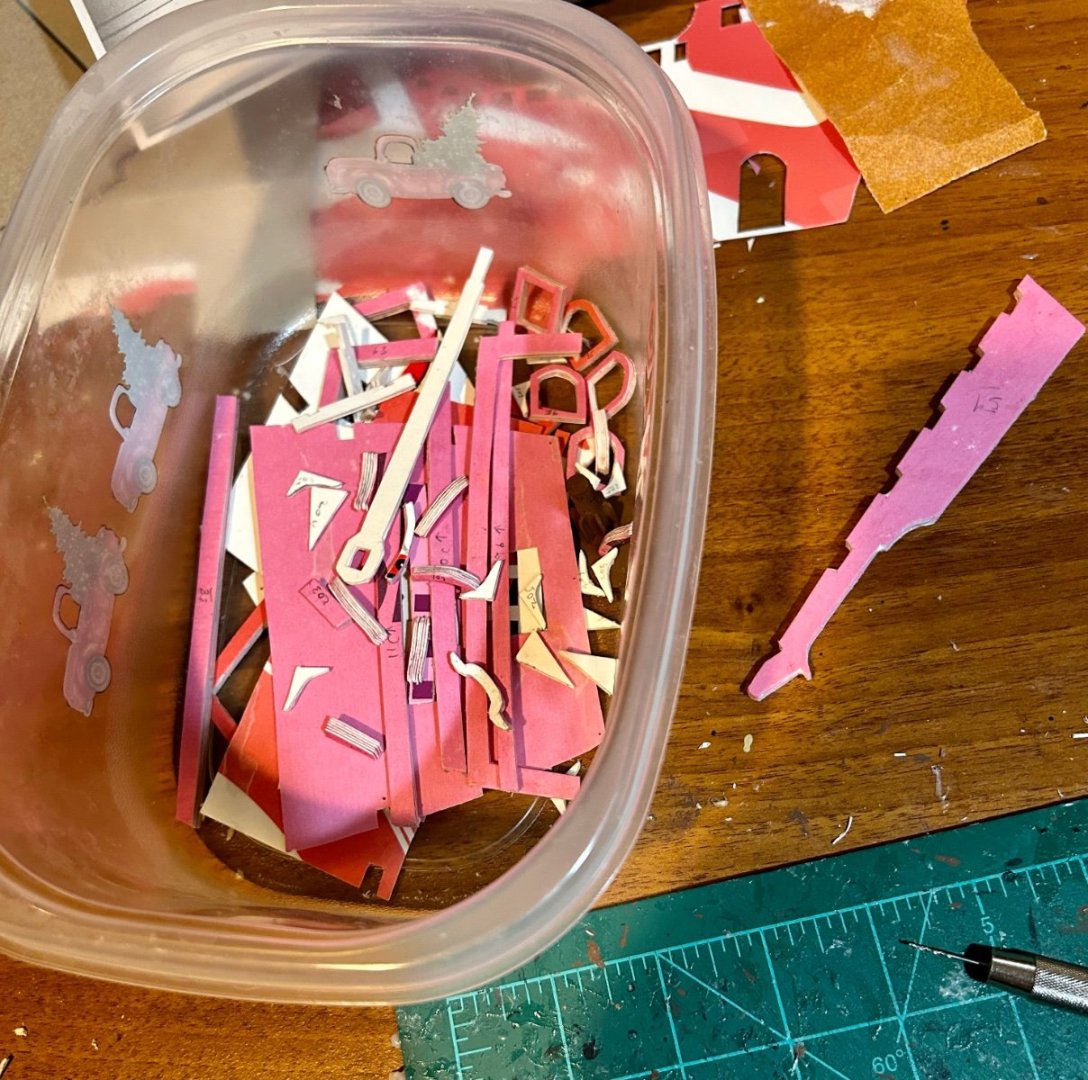
The pile O’ parts mostly ready to use continues to grow: The pile O’ parts that need further processing continues to shrink:

-
Nicely done!
-
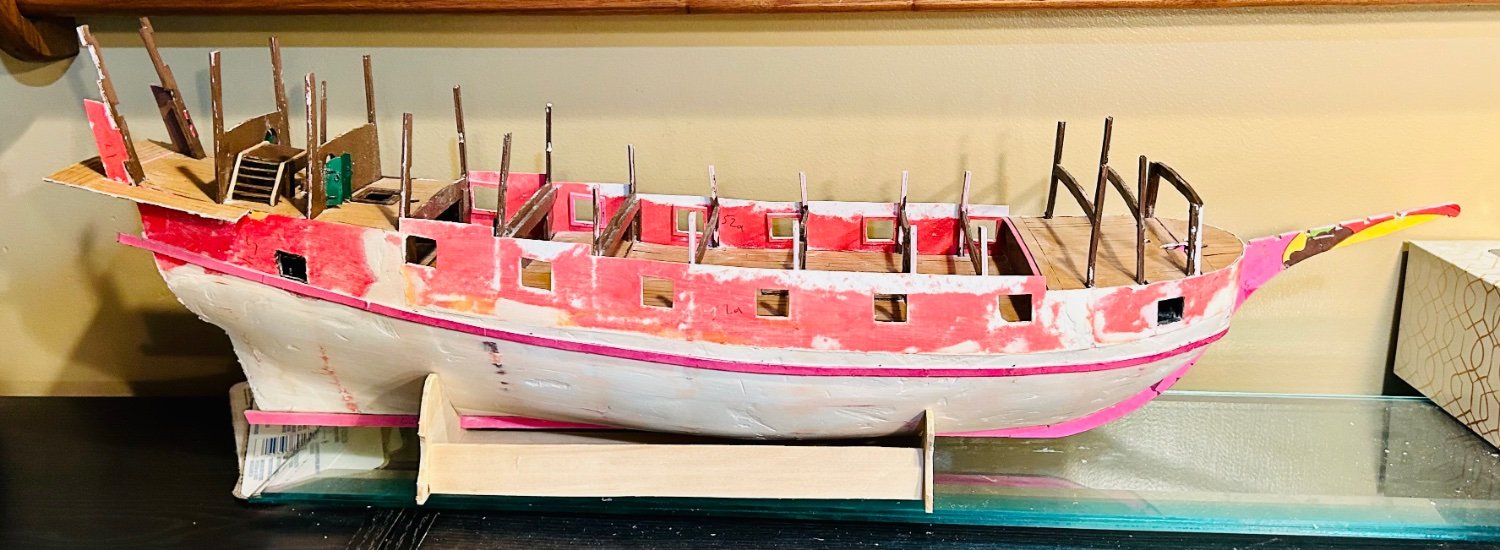
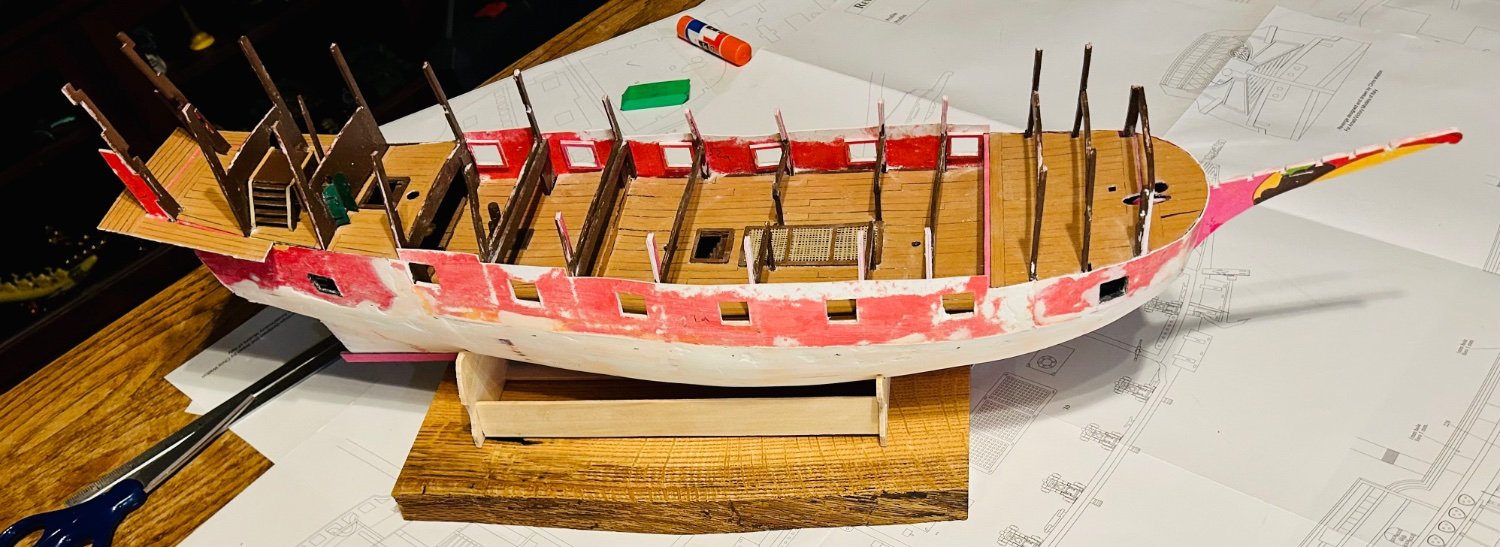
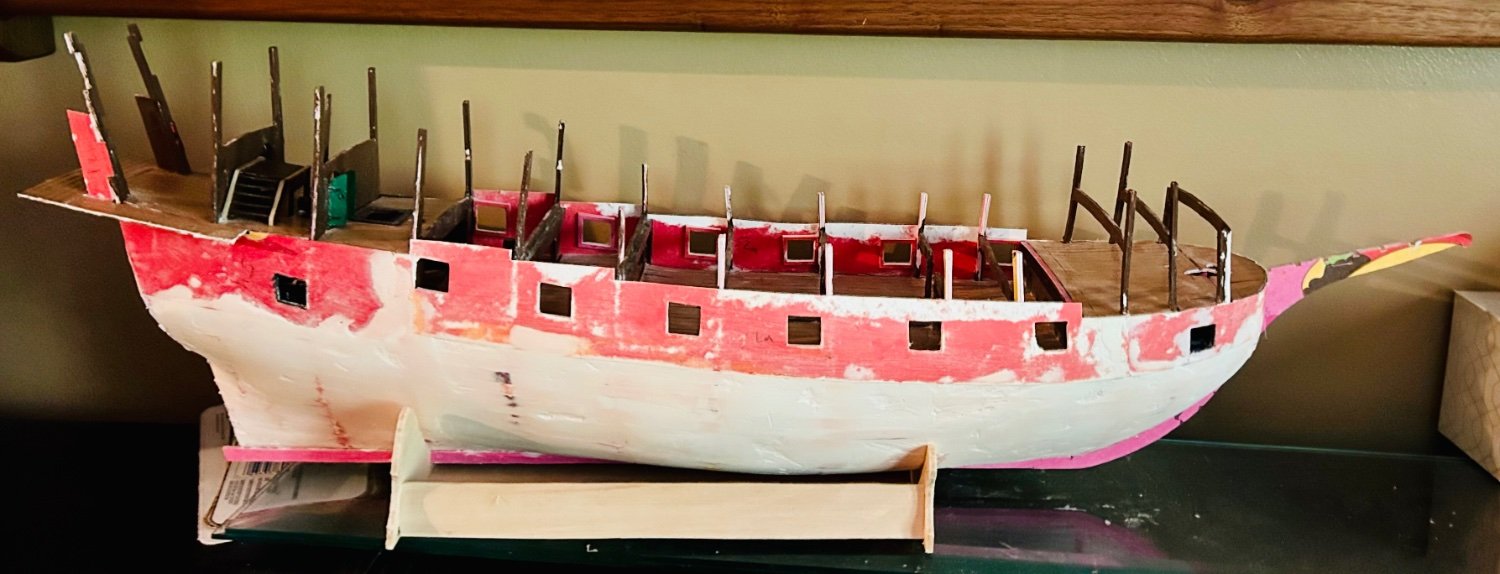
Wales are on: The wales will be painted black in the near future IAW the Matthew Baker drawing prior to any more planking being laid down. And the test fit of the final base looks really good. I thought about using it for the Victory and then for the Mercury. But, I’m not sure what I’m doing with either of those builds. And it will look really good with the Revenge.


-
The keel is on: Working on the wales now.

-
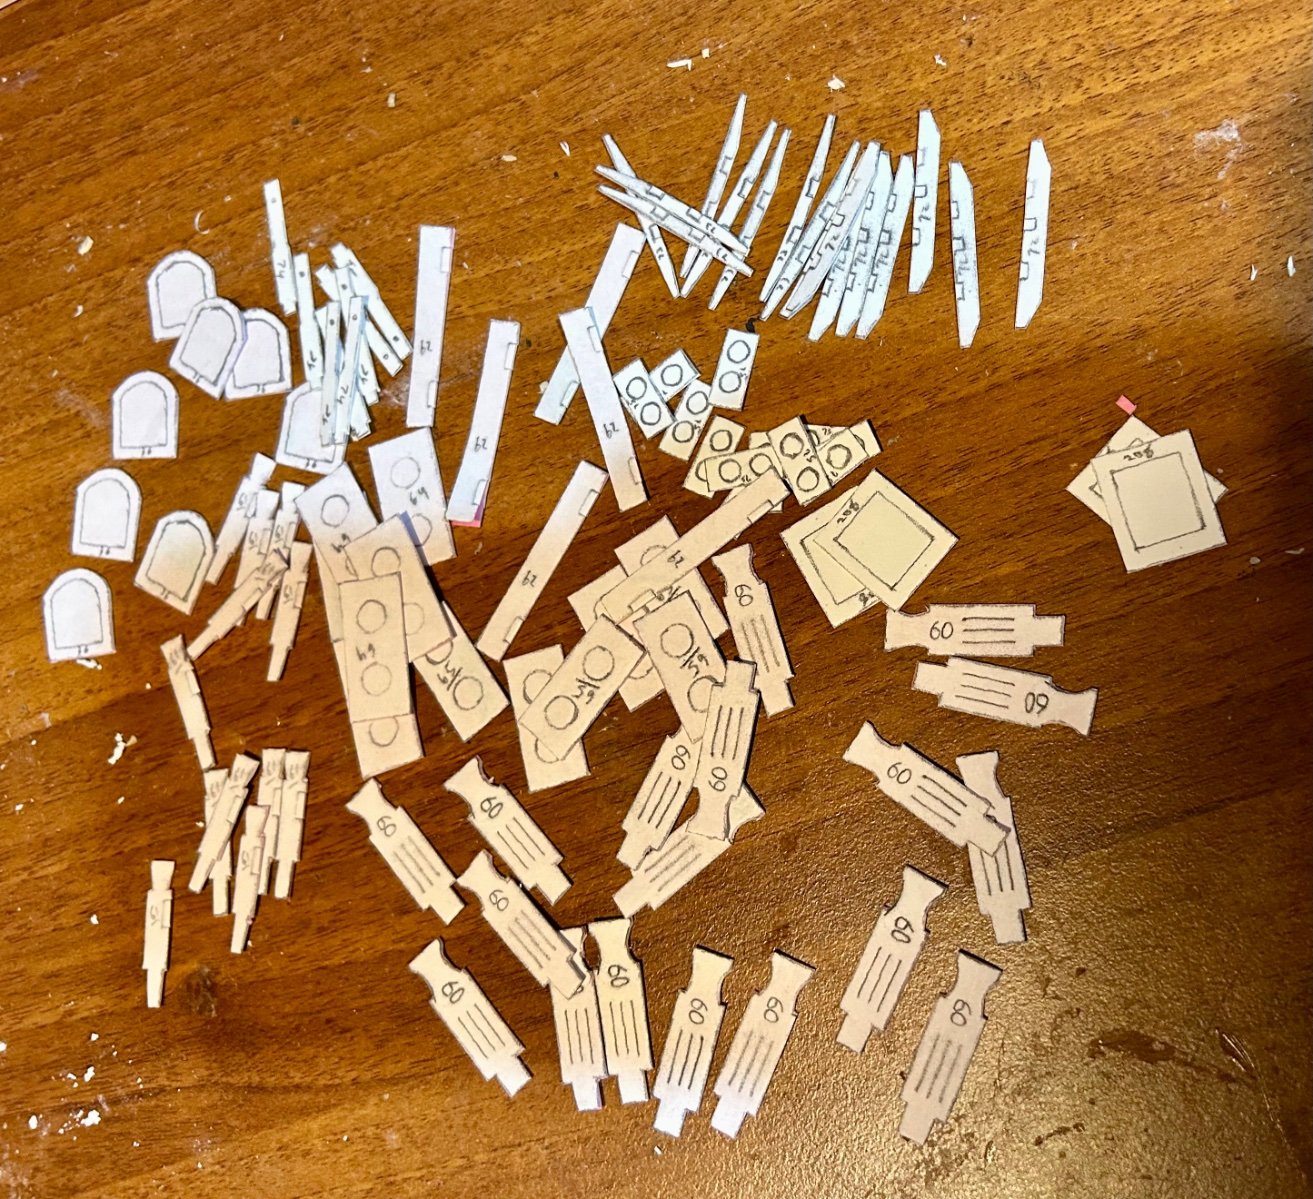
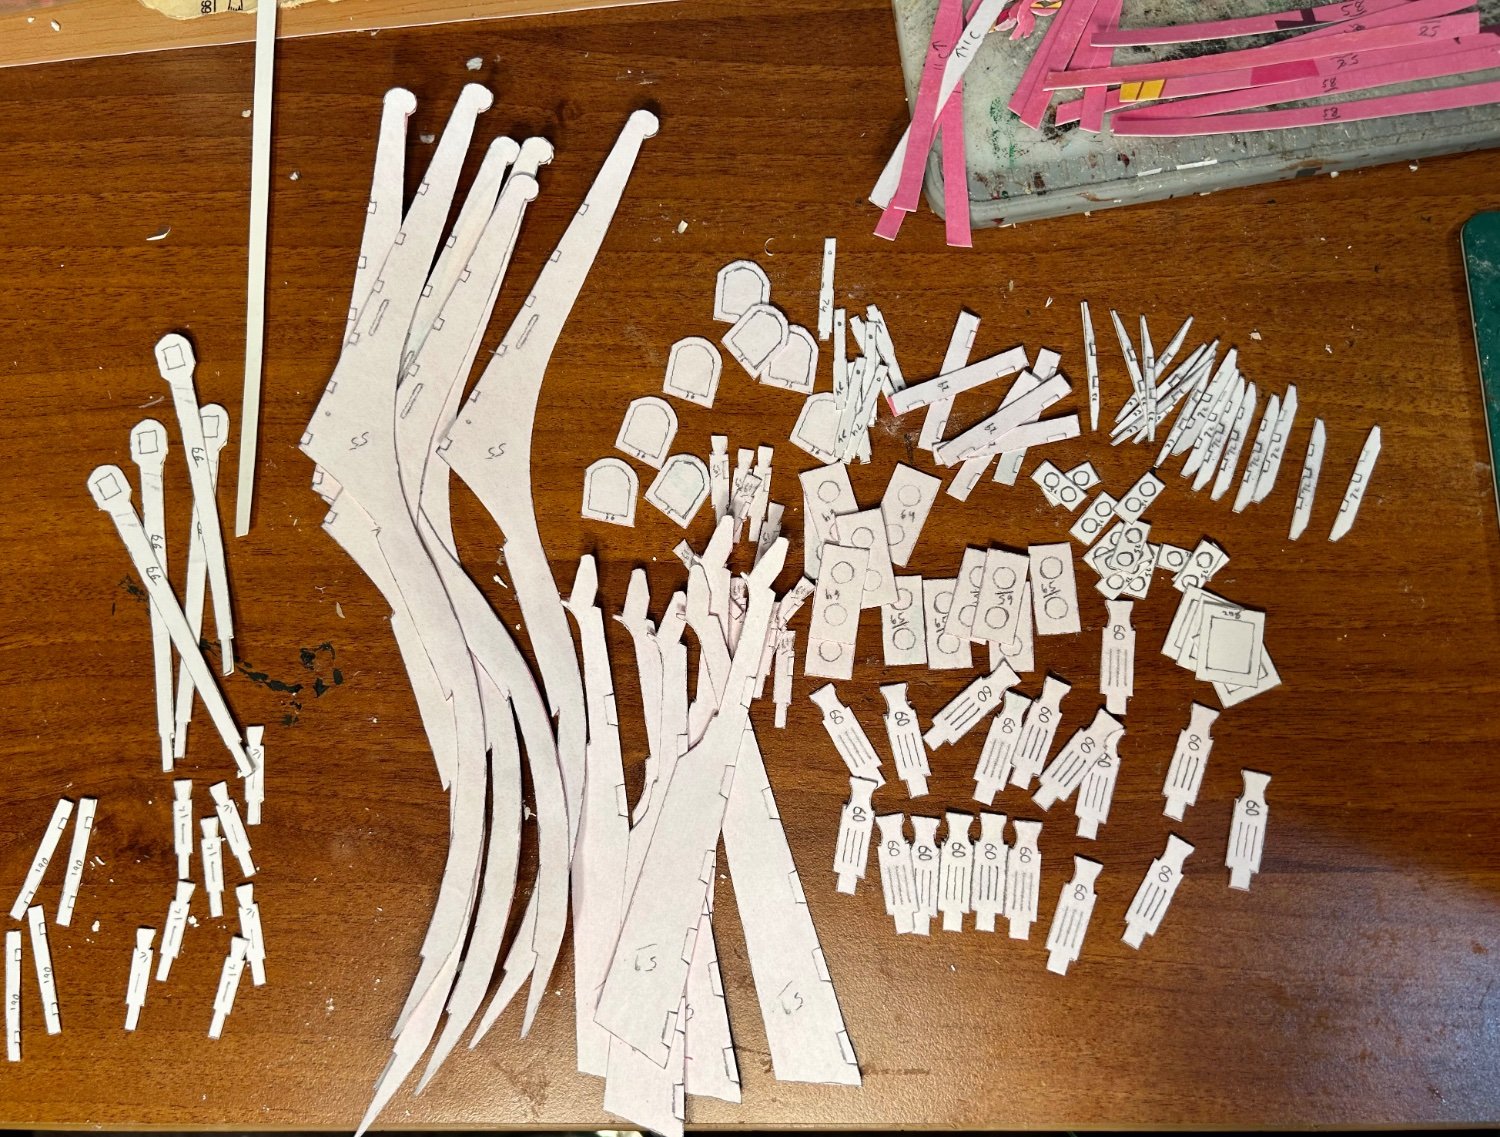
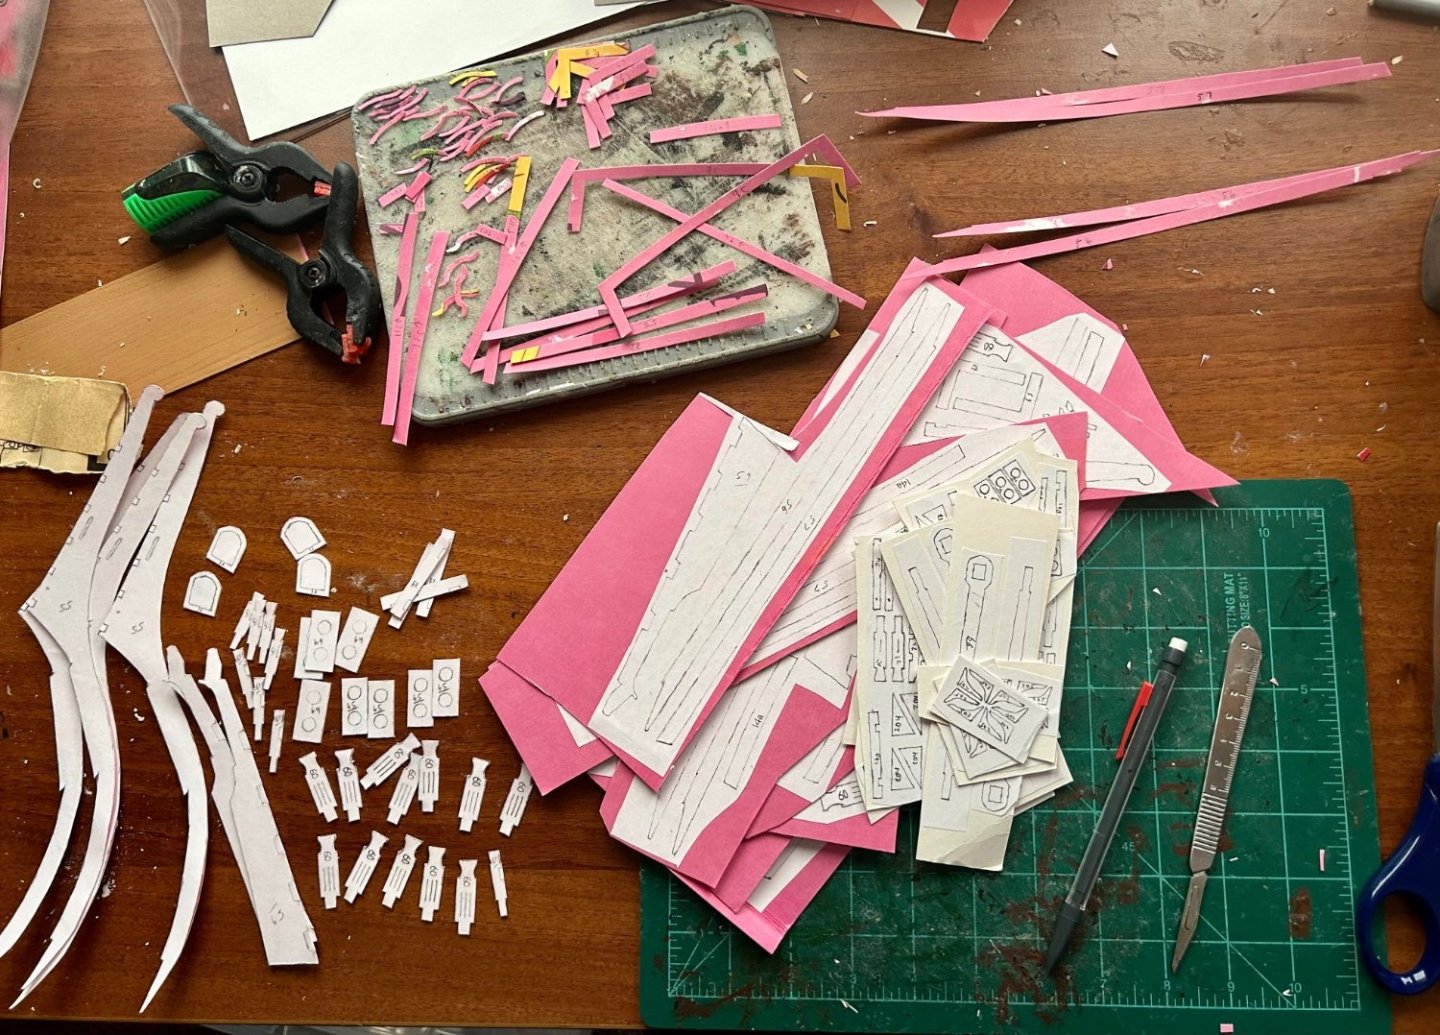
All 300+ parts are now at least rough cut out and ready for either finishing or laminating: This encompasses many of my later fittings such as cross-trees, the belfry, mast caps, bitts, the heavy rigging parts, trim and my remaining deck beams. I also have the interior lanterns ready to glue down and the transom pattern ready to go. I still need to cut the pieces for the wales and mark those off on the hull. Then it will be on to the second planking!


-
Welcome!
-
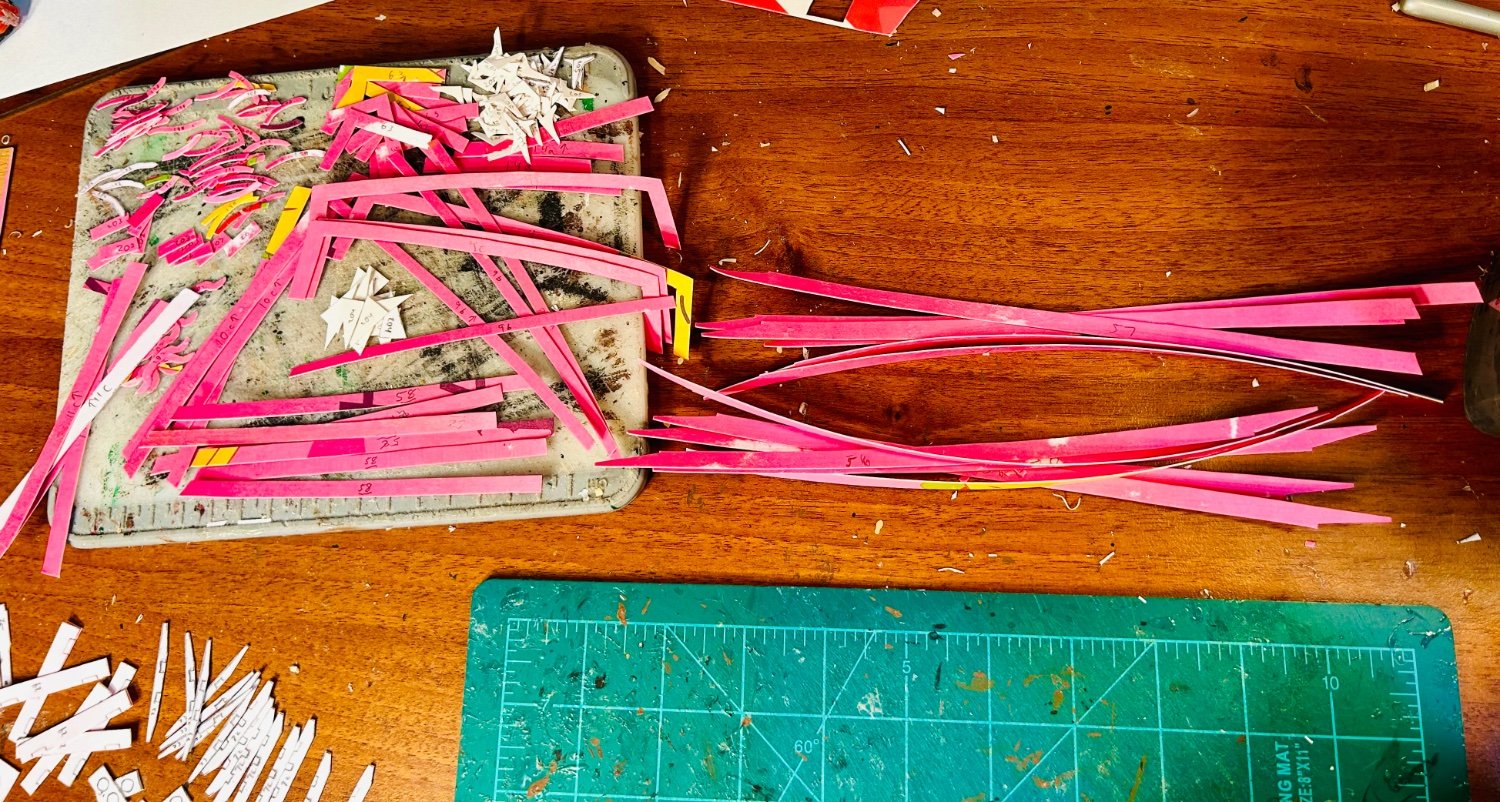
I eat my Wheaties every day, with a cup of black coffee, Lol. In all seriousness, I glued down over 300 pieces on card for cutting out and laminating together, this time. They will make 67 pieces when done. I only needed my keel pieces and rudder, but I could only fit one of the prow pieces on a sheet of tracing paper, so I just filled in the rest. On the positive side, I now have the majority of my deck fittings at least partially made, and all of my remaining beams. I also have parts of my channels and some of my mast fittings now too. I am six months into this build and project another 12 months. But, with the guns and these, I am really far ahead on my fittings.
-
I traced a lot of pieces this time in the name of not wasting paper, like nearly half of the remaining pieces that would have been laser-cut in the kit version of this model:
-
Very cool and very nicely done!
-
Your Golden Hind is incredible! I made several of the Henry VIII style breech loaders from toothpicks with paper banding.

-
The P-38 would only have an 18” wingspan. Definitely hangable.
-
I pin (with steel pins glued in place) my rudders to the rudder post and fake the iron banding with pieces of card. It prevents them from moving and thus getting broken in the future.
-
Personally, I would finish the galleon, it’s almost done. However, if it is no longer fun, then build the Viking ship.
- 279 replies
-
- 1
-
-
- Spanish Galleon
- Imai
- (and 1 more)
-
Build whatever makes you happy. Also, regarding references for the post-Mary Rose era, the Revenge might be a useful example. Peter Kirsch’s “The Galleon” has been very useful for me, too.
- 279 replies
-
- 1
-
-
- Spanish Galleon
- Imai
- (and 1 more)
-
This is a very cool build! The breech loaders aren’t too difficult to make. I made mine from toothpicks, with the banding done in thin strips of normal printer paper. I made the handle for the breech out of thin annealed wire bought from a Habitat For Humanity Re-Store.

- 45 replies
-
- 4
-
-
-
- Great Henry
- Henry Grace a Dieu
- (and 1 more)