src
-
Posts
2,300 -
Joined
-
Last visited
Content Type
Profiles
Forums
Gallery
Events
Everything posted by src
-
Hello tabycz,
I saw you had started modeling the Jesus Boat a couple of years ago. Did you ever finish the 3d model?
If you did would it be possible to buy a copy of the model? The company I work for recently bought a creality 3d printer and I would like to try my hand at a print.
Best,
Sam
-
well done. Agreed, less is more on the nail holes. more perceived than actually seen. Sam
- 333 replies
-
- 11
-

-
Cisco, Well done on the hooked scarfs, the addition of the dust in the joint makes a big difference. When I cut the scarfs on my Enterprise I wish I had done something similar, other than on the transom all that hard work has disappeared. Agreed on the use of hand tools, I love watching what others are doing with laser cutters and 3d printing, but for me I need the feel of making dust myself. Sam
-
grant, This is such a cool project. You have a talent for finding interesting and unusual projects. The knots are a nice subtle addition as is the wire brush graining. I have done this look on full size projects with a torch and brush or even sand blasting. Its cool to see how to do it at a smaller scale. Sam
- 333 replies
-
- 12
-
-
Popeye, That looks really good. Is it the camera angle or does the main deck become narrower about the Fore Castle? Sam
- 48 replies
-
- 5
-
-
- New Jersey
- Tamiya
- (and 1 more)
-
nicely done. Broken parts are so frustrating. I found on the T'Gallant masts for my Enterprise scraping with a recently honed chisel or scalpel gave me more control and less pressure on a fragile part. Sam
- 218 replies
-
- 1
-
-
- Victory
- Caldercraft
- (and 1 more)
-
Jay, they sure are. This one more than most it seems. She is 11 years old last July and still chases gremlins through out the house. This week was slow build wise. Last weekend I bent the Fore Top Sail to its yard and as mentioned above started another sheet for more sails. I will not bore you with repetitive picture of lines on silk span. Today will be a good day f I can get bolt ropes on at least one sail. I re-re--re-did my foot ropes, they are kind of better: Bent and ready to mount and furl. or furl and mount, don't know which yet, probably both until I find a method that works for me.
-
David, Round looks good to my eye. If you decide to try shaping octagonal parts again in the future I found a small violin makers plane works wonders on these small parts. That and being extra careful with the layout. even so it is still a bit fiddly. Sam
- 218 replies
-
- 1
-
-
- Victory
- Caldercraft
- (and 1 more)
-
It is Labor Day and Murphy stopped by for a visit, actually he was here a couple of years ago when I did the foot ropes on my Fore Yard. It seems I wrapped the stirrups so they hung from the front of the yard instead of the back! 🙄 I kept trying to bend my sail to the yard and could not figure out why it wouldn't sit correctly. Then I looked closely and realized my stirrups were hanging from the front. No worries sez I, I will just remove the sling cleats and re-install them on the other side. Except since I decided to install studding sail iron now those are backwards. Off came the cleats and back to the correct side they went. Now I am redoing the stirrups and foot ropes. I am consoling myself with the thought that I was never really happy with how the stirrups hung. But wait, there is more Murphy declares!!! If you order before midnight you get a free Cat-astrophy! Yesterday I stretched and colored another sheet of silkspan and this morning painted in my seam lines and set aside to dry. I am still learning the correct speed to draw the bow pen to gt a consistent and accurate seam, fortunately these sails will be furled, so the seams should not be really obvious. However, Commander Lorcan (the cat in Cat-astrophy) decided my work was substandard, even for me, and walked across the stretched and painted silkspan, tearing and permanently wrinkling the sail material. So now I am off to re-stretch yet another piece of silkspan. Labor Day indeed!! Sam

-
She is a big Girl indeed Popeye. The Iowa is (was?? she doesn't show up on Google anymore) berthed in San Pedro Harbor in LA, right by the cruise ship terminal. Better Half and I took a cruise in 2018 and the Iowa was right in front of us. As big as she is she was an ant next to this 4500 guest cruise ship. Was pretty cool looking down on her and getting an aerial view. Sam
- 48 replies
-
- 5
-
-
- New Jersey
- Tamiya
- (and 1 more)
-
Thanks Mark, agreed on the "any progress." trying not to fall into the "Just get her done" trap. Sam
-
AAAnnnnnnddddd after only two weeks I have a sail bent. LOL its only been what 12 years since I started this build? I took a few tries to get the robands on more or less to my satisfaction. The sail is still slightly off center, hopefully it does not show when its furled. On to the top sail.... might even be less than two weeks before I get it done even!!
-
cisco, Just found your build. You are cruising right along and doing quite well also. A man after my own heart: I saw the two cherries chisels in the back ground. A tool question, you mentioned a "lunch box" plane, that is a new one for me. It looks like what I know as a block plane, what is the difference? or is it just cause its small enough to fit in your lunch box??? Best, Sam
-
David, I just discovered your build. Well done. I always enjoy seeing somebody who can paint at small scale (Paint and I dont get along well ) That was a nice save on your ladder; I ended up scratching two on my Enterpise, I know how fiddly they can be to get the angles on the steps correct. Will follow along, Sam
- 218 replies
-
- 1
-
-
- Victory
- Caldercraft
- (and 1 more)
-
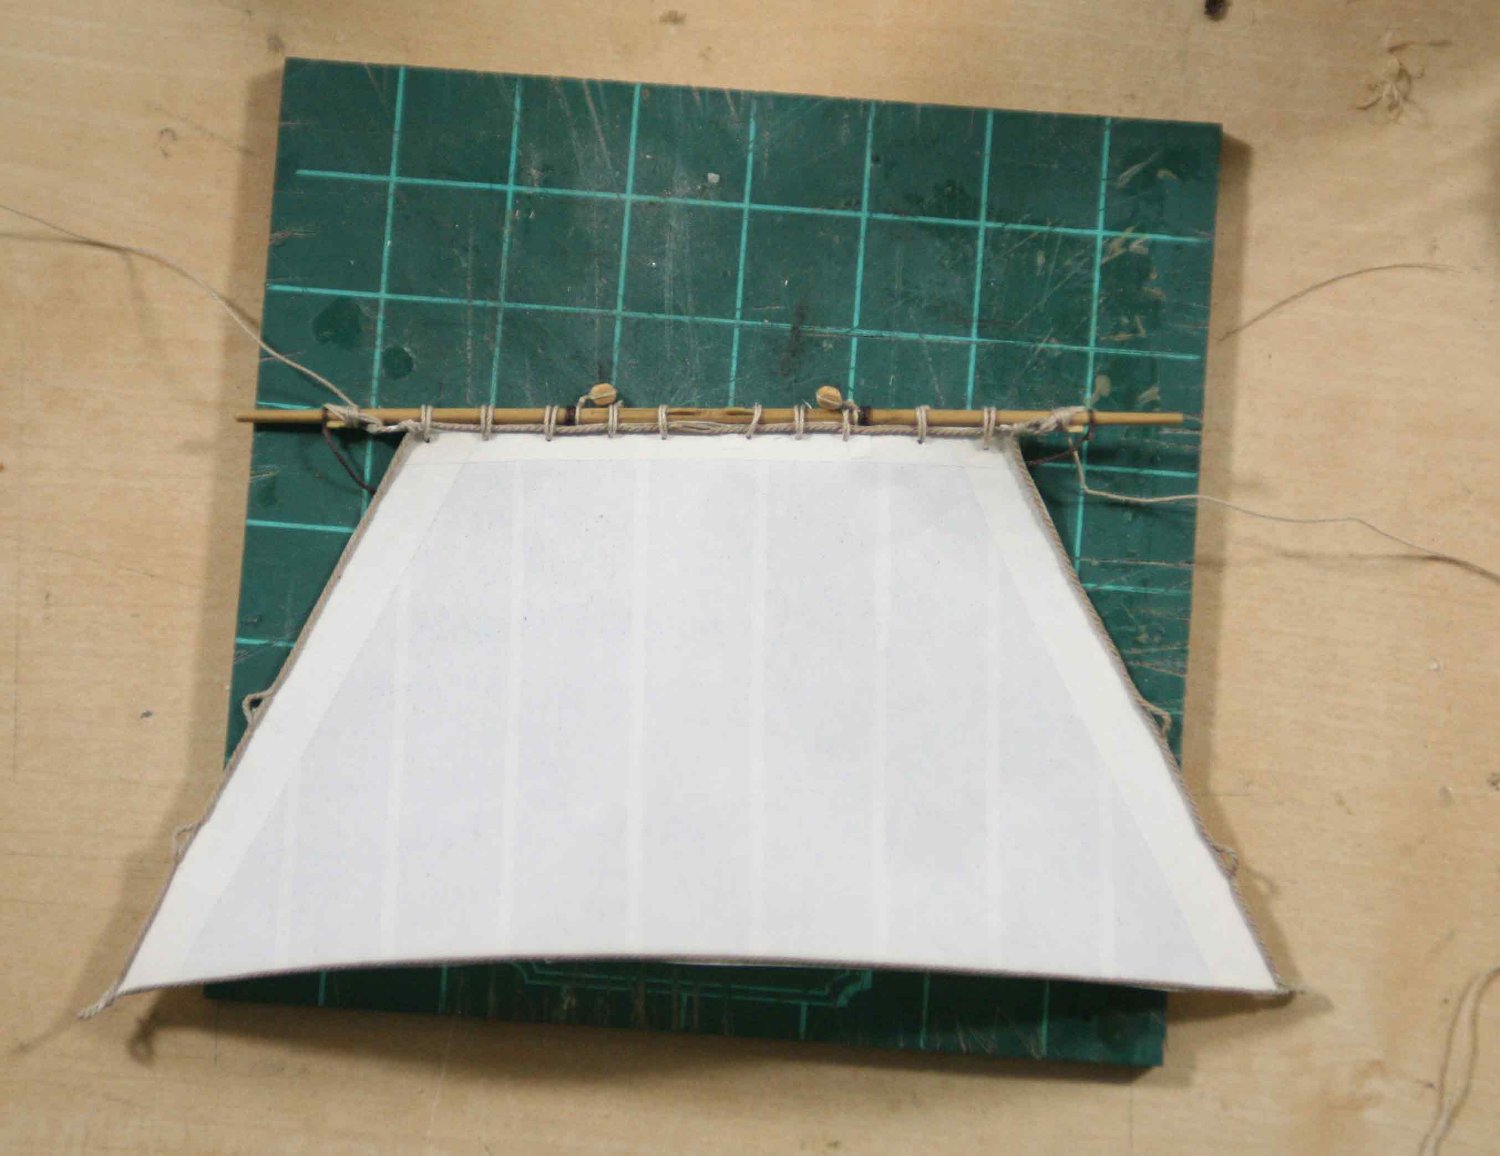
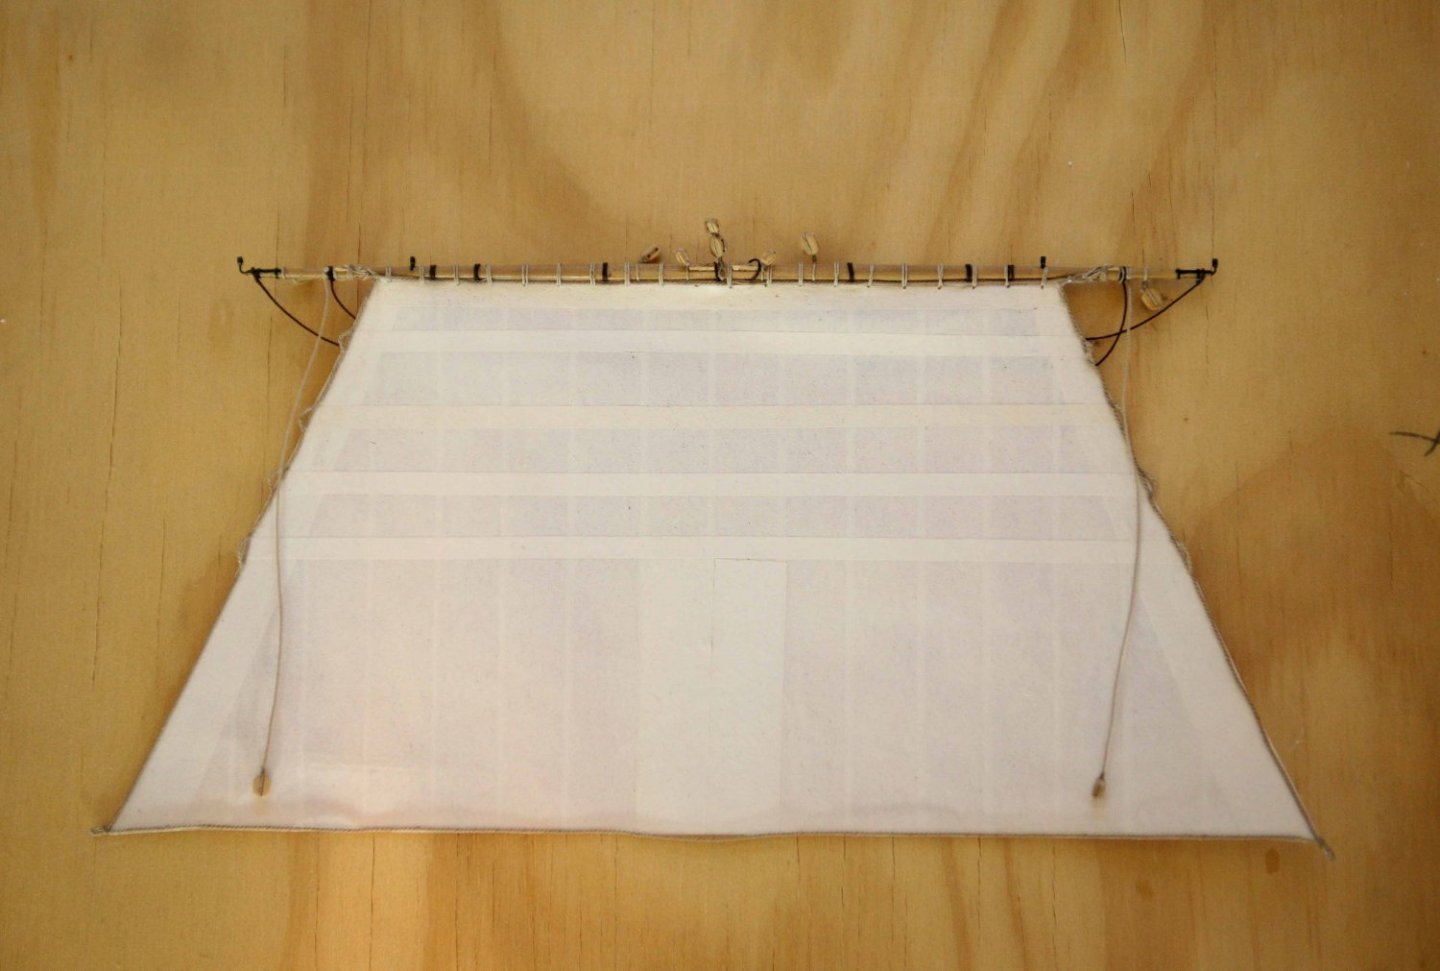
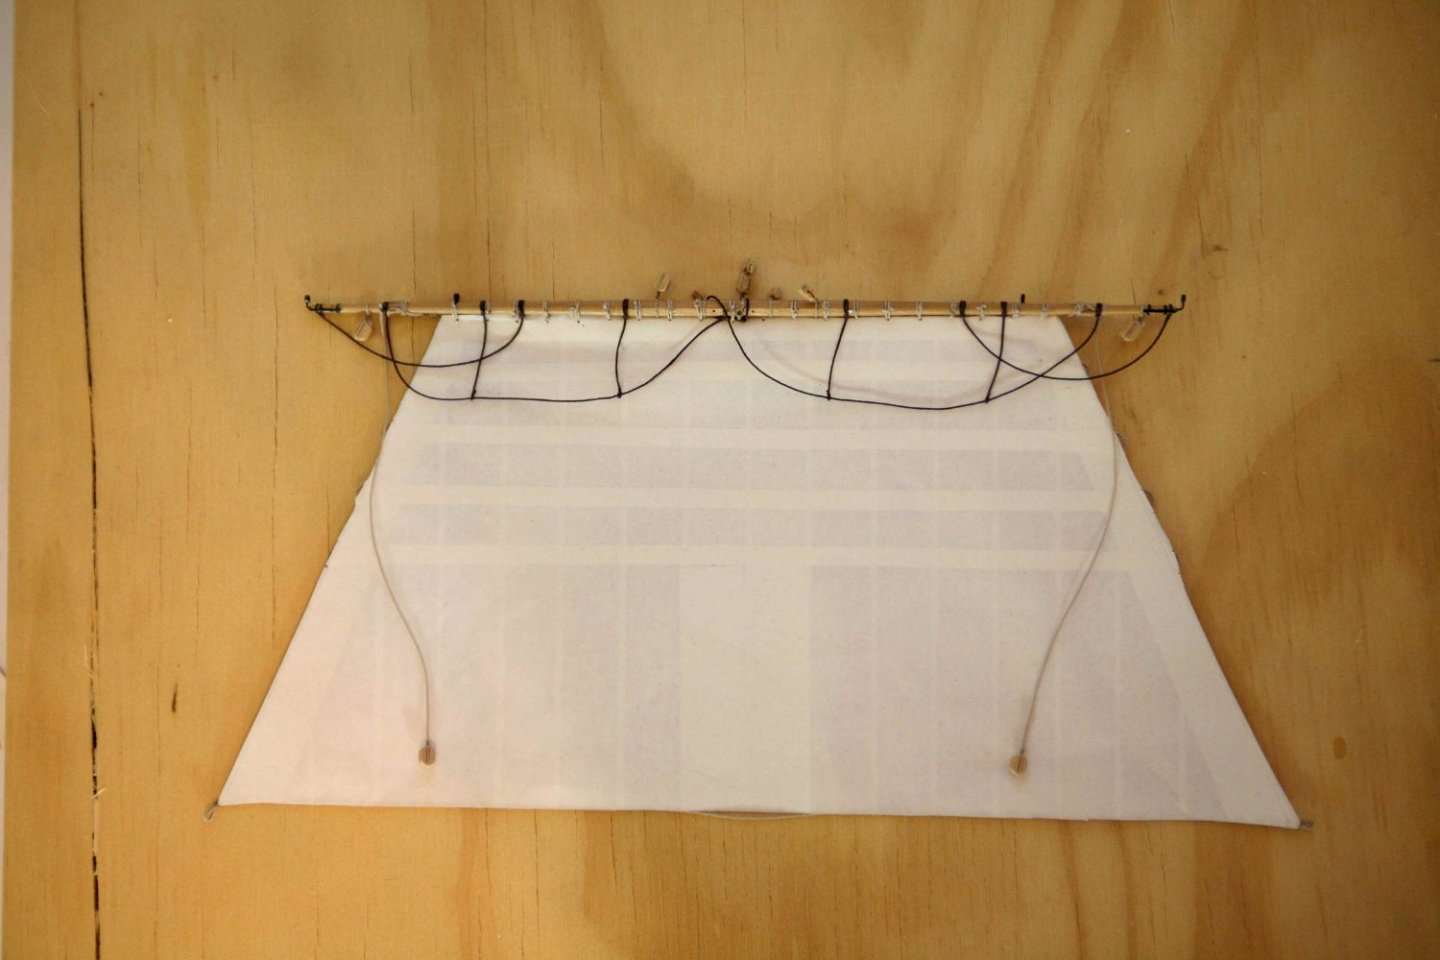
Mostly finished with my first two sails, not sure if they are keepers or not. I do have some areas that need to be glued down better and then fill in the areas around the cringles(?) I used the reinforcement sizes in Lees, and they seem out of scale?? If I furl them it really doesn't matter. if I choose to show them I may hate them, Might try another set with smaller reinforcements more in line with what the sail making pamphlet from Antscherl suggests. In Process, I used eh tweezers to hold the rope in place while the matte medium used as an adhesive dried: Almost finished, need some fine tuning and some tying off of the loops on the corners. Side light really helps bring out the detail (and the flaws... 😞

-
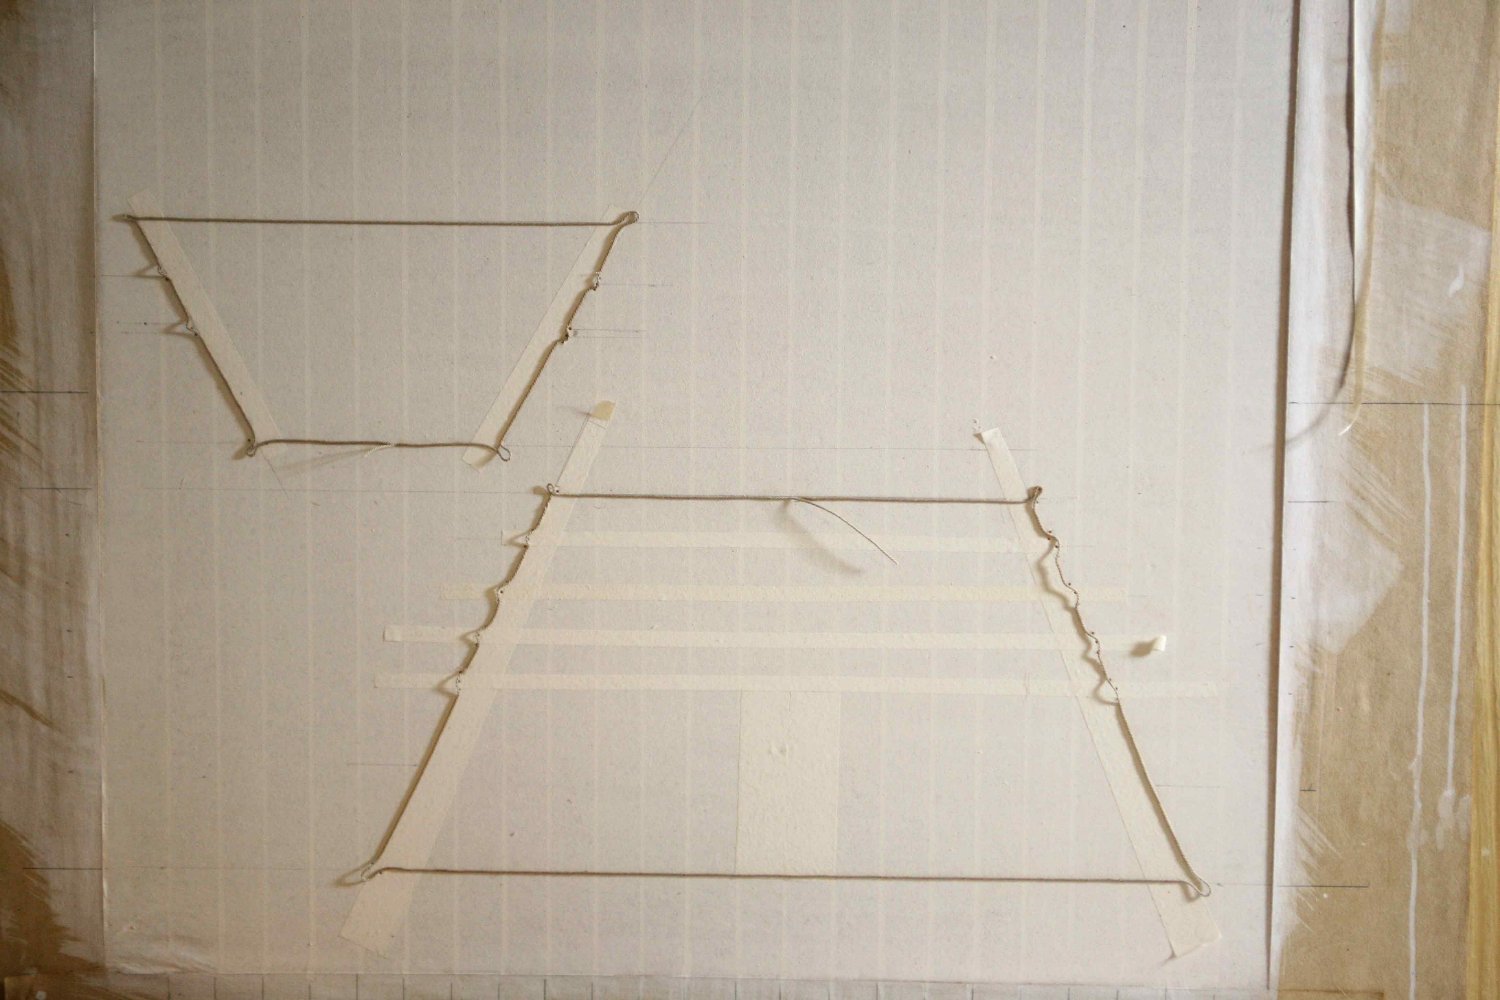
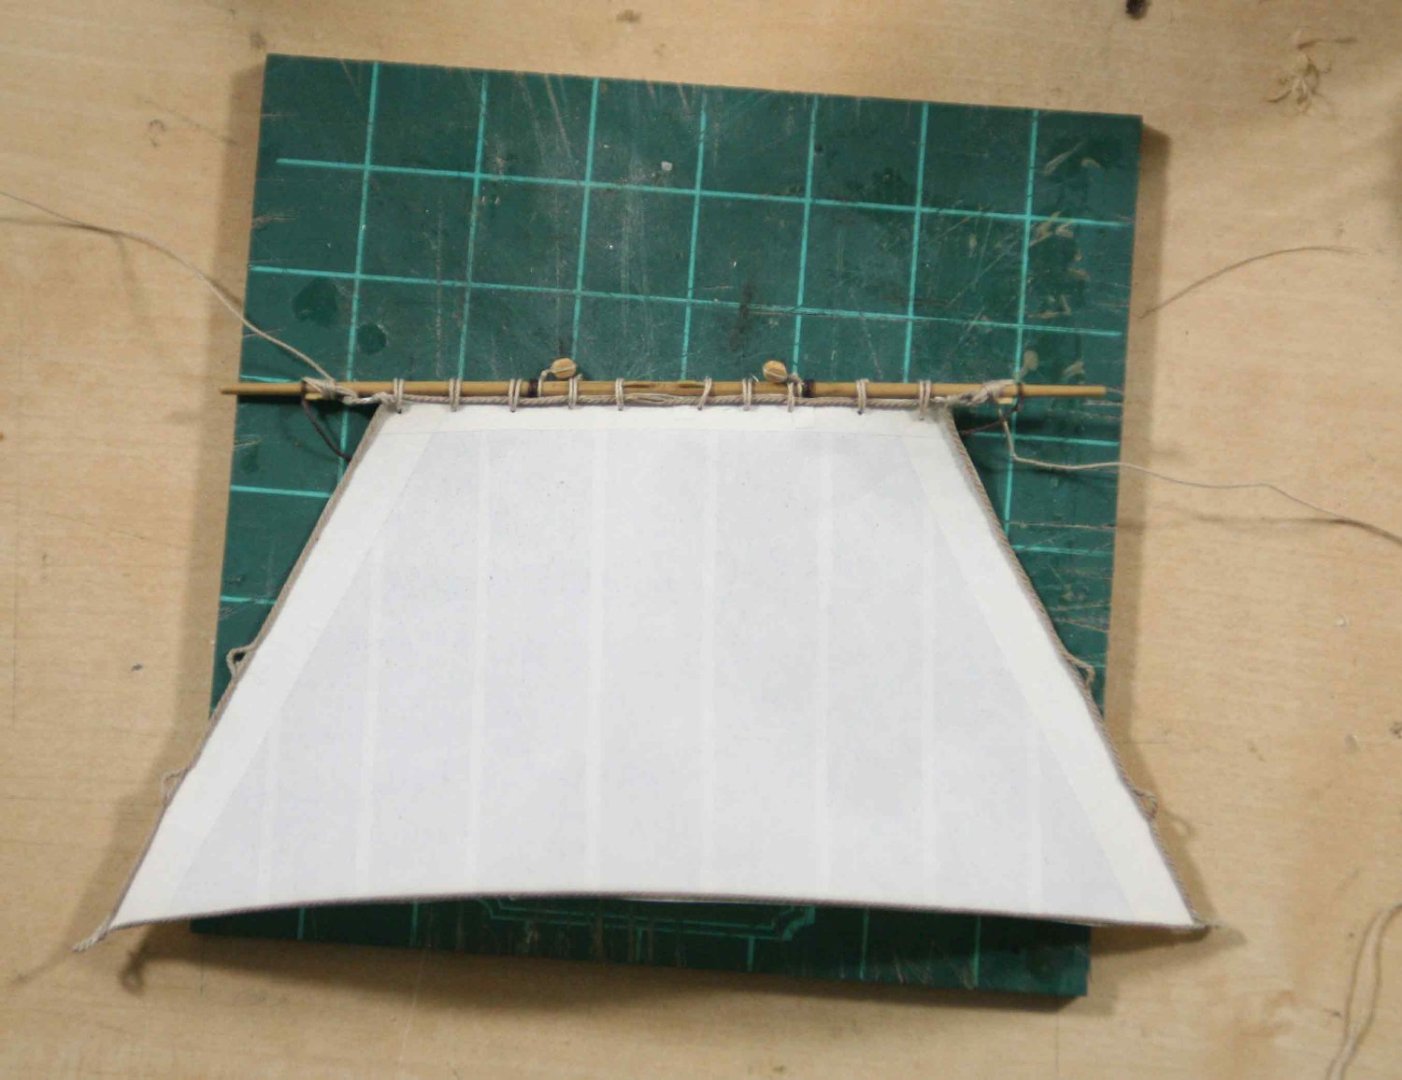
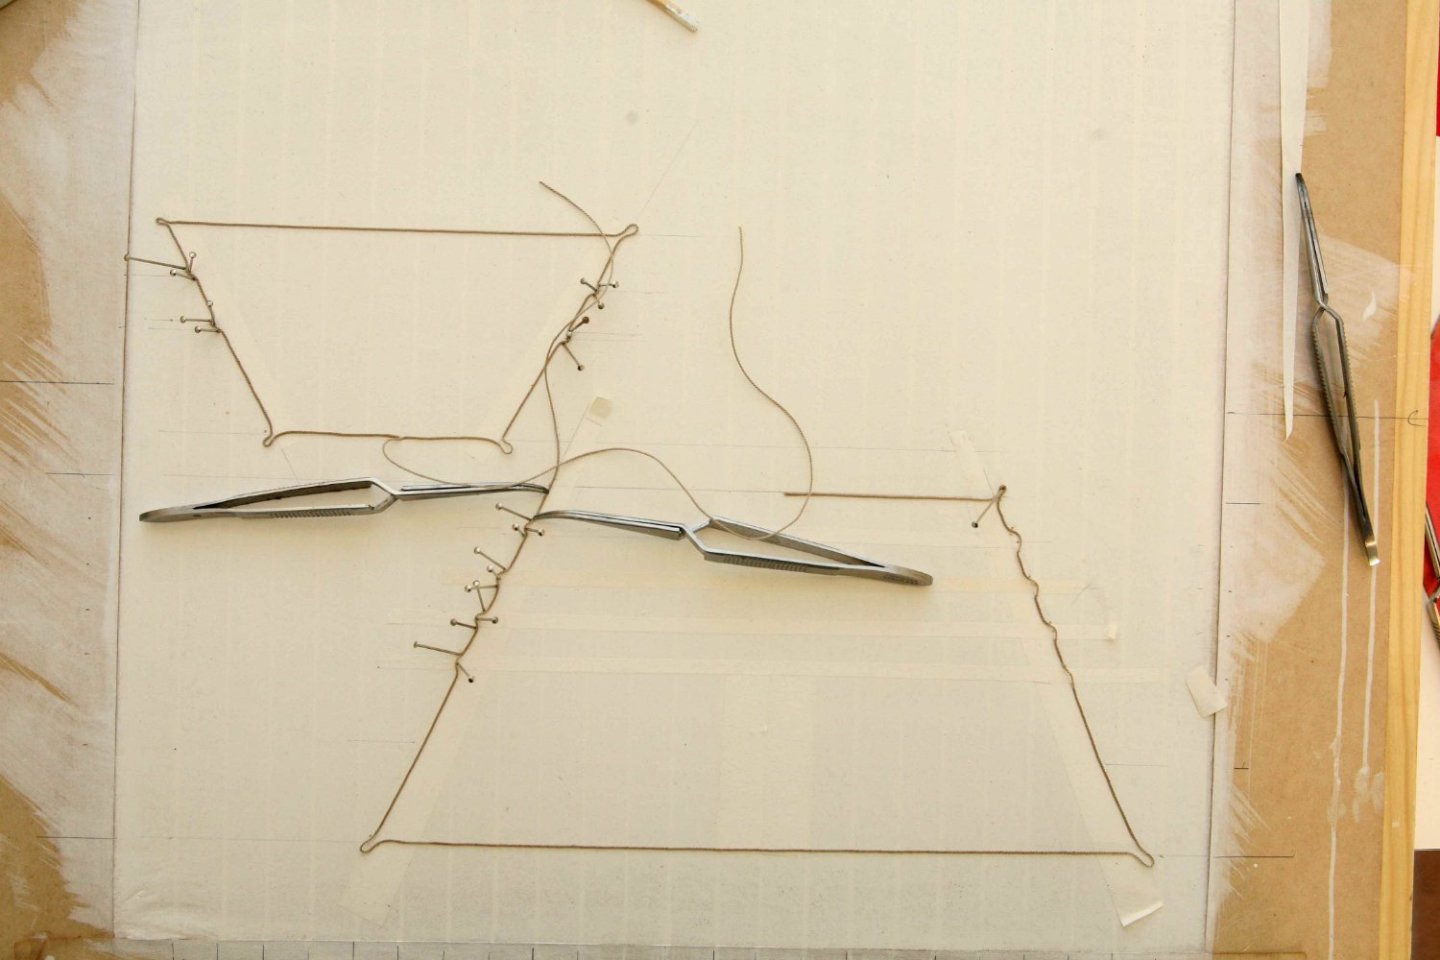
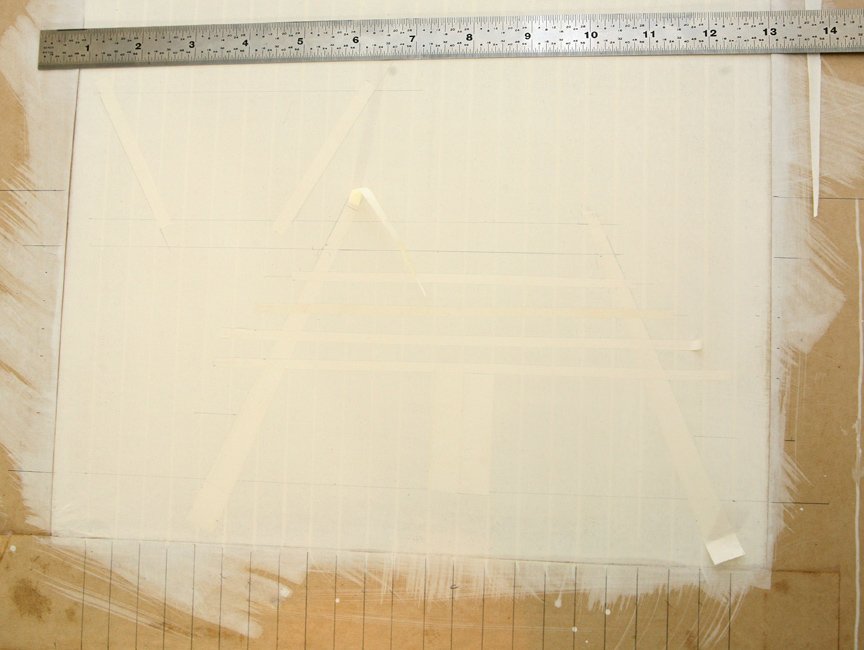
Inching along, I started laying in the reinforcements. I am not sold on the proportions of the reinforcements. I am using Lees for my sizes but I am thinking of following the guides in Antscherl's pamphlet. Apologies for the poor photography, side light would probably have been better to see the outline of the sails. this is the Fore Course and (oops!) Fore Top and Fore Top Gallant sails. You can just make out the outer dimensions of the sails, the sides are the outer edges of the reinforcements and the tops/bottoms are the pencil lines. I plan to get the head and bolt ropes attached today and get them up against the ship see if I hate them and need to re-try.
-
Impressive Slog, this build has come a long ways in my absence. Another well thought out tool for your steps, they look as tedious as ratlines. Sam
- 244 replies
-
- 4
-
-

-
- borodino
- dom bumagi
- (and 1 more)
-
Well done Rich, What are you using to hold the railings in, CA? Sam
- 94 replies
-
- 4
-
-
-
- tugboat
- BlueJacket Shipcrafters
- (and 1 more)
-
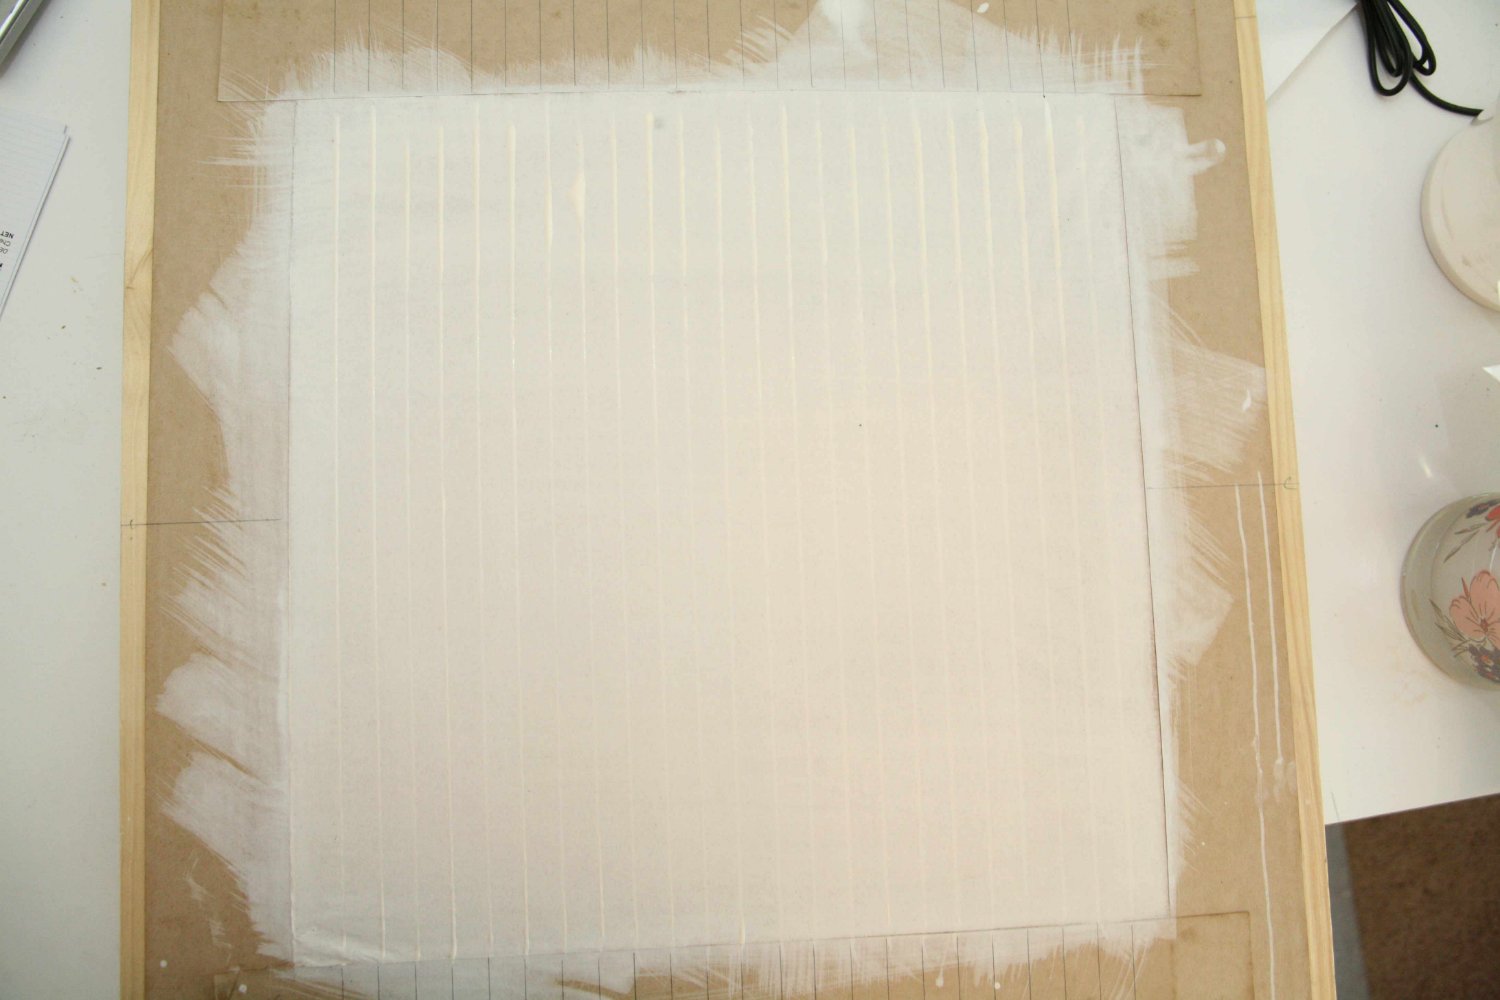
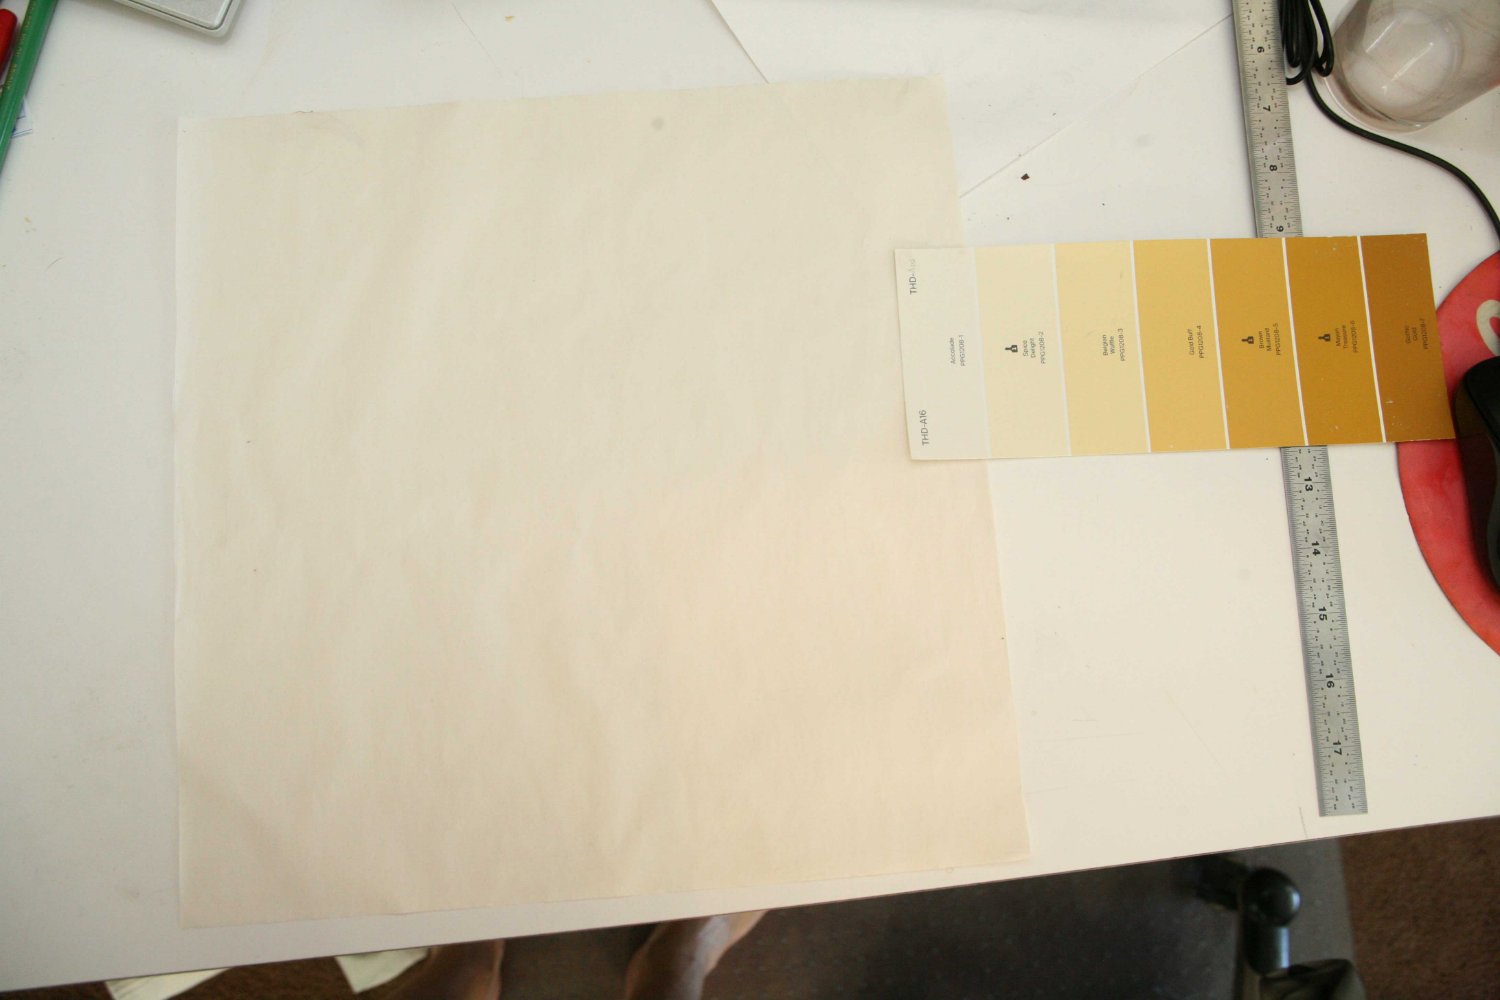
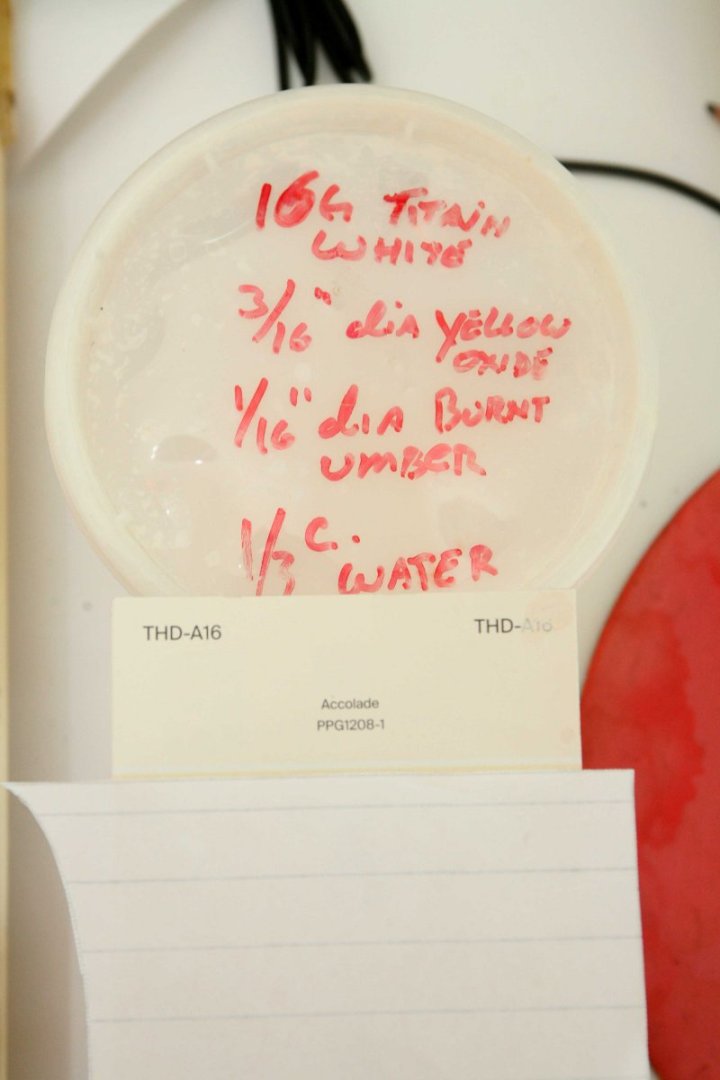
I am not 100% set on all furled sails, being wishy-washy! I ordered some silk span as well as Antscherl's pamphlet on making sails from silk span. I made my stretcher board, mixed my paint and got going. Deciding on what color I was shooting for stumped me for a bit until I looked around our shop and found a roll of canvas. The boss wasnt too keen on my cutting a piece out of a brand new roll so I grabbed our PPG paint chip book, found a color that I felt was close and wrote down the number. Paint chip books can be hard to get so I didnt want to take the shop book home. Since Home Depot sells PPG paint it was a simple matter of tracking down the right chip and taking a couple home for matching. I am not great at matching colors but I feel I came pretty close, this is just a tad warm but should go well with the other wood tones. The pamphlet instructions say to make a very thin wash and build up the color slowly. I found a 3" taklon brush worked well. After that a bow pen was used to draw in the seams. This is going to take some practice, the pen wants to be moving as soon as the paint starts to flow and then you have to keep a consistent speed to have a uniform line. I expected to get two or more sails out of this piece. It is hard to see in the picture but the bottom half came out better than the top half: The next step is to cut strips out of another sheet that has been painted and "glue" them down with artist matte medium. Hopefully I will have that done during the week. Sam


-
We will be here when you come back Mark. Sam
-
Ron, Getting reacquainted with your build. As always outstanding work! Why, over the years watching you build, have i thought this is a much larger build???? Well done indeed. Sam
-
Pinta by jct - Shipyard - 1/96 scale - CARD
src replied to jct's topic in - Kit subjects built Up to and including 1500 AD
J, Sorry to hear you are having some issues. Hope to see you back at it soon. Take Care, Sam -
Rich, been a while! last time I talked to you your hands were still bandaged. Good to see you are back at it. Will follow along. Best, Sam
- 94 replies
-
- 3
-
-
-
- tugboat
- BlueJacket Shipcrafters
- (and 1 more)