HOLIDAY DONATION DRIVE - SUPPORT MSW - DO YOUR PART TO KEEP THIS GREAT FORUM GOING! (Only 72 donations so far out of 49,000 members - Can we at least get 100? C'mon guys!)
×


cog
-
Posts
8,764 -
Joined
Content Type
Profiles
Forums
Gallery
Events
Everything posted by cog
-
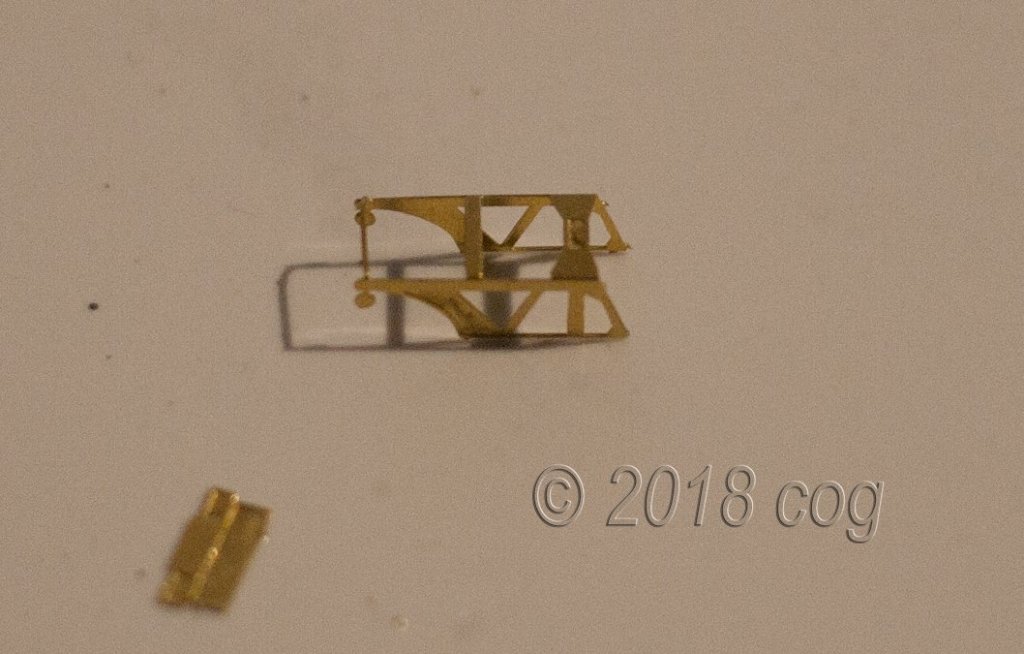
 No pivoting parts ... nicely stuck together with CA ... probably not a pretty sight either
 -
I hope there is some hull left. You've been sanding for quite a while ... How's life? Missing your updates, Crhis ...
-
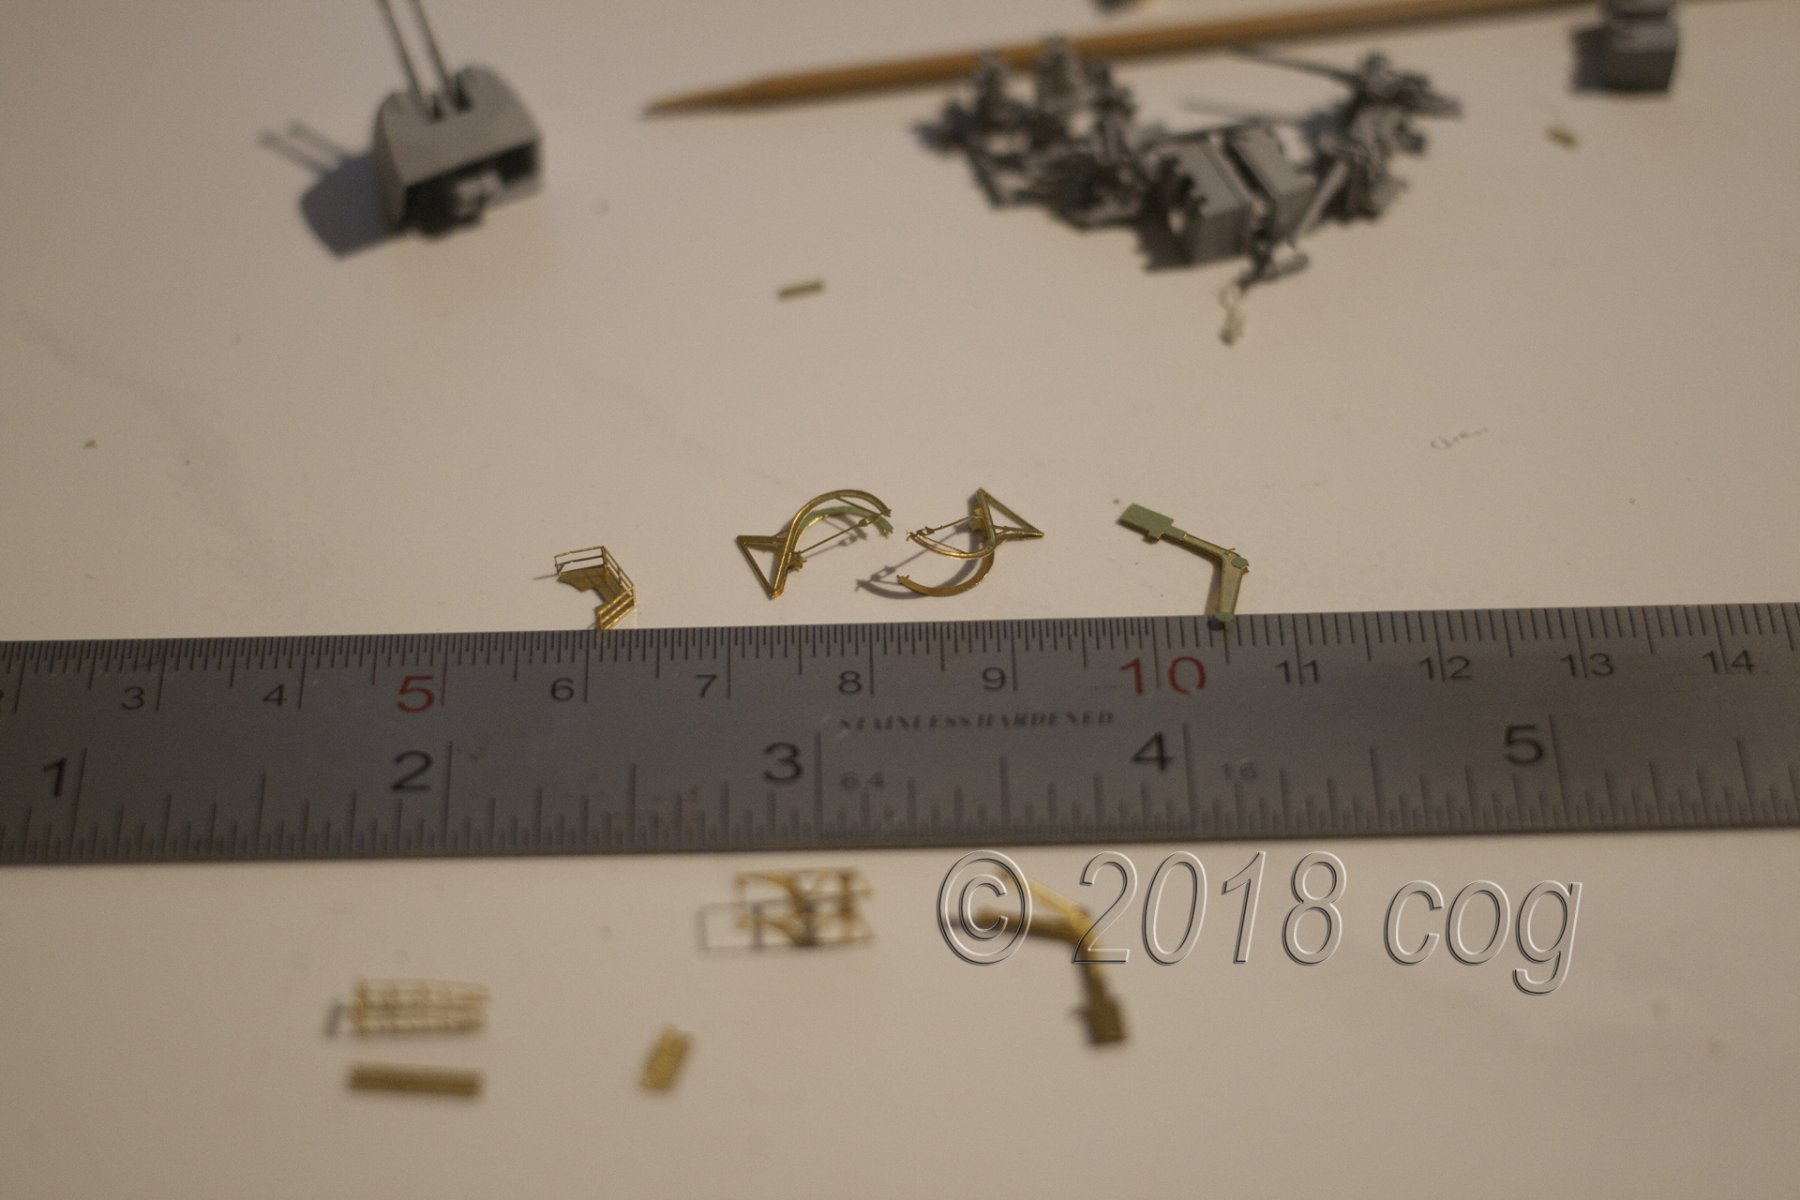
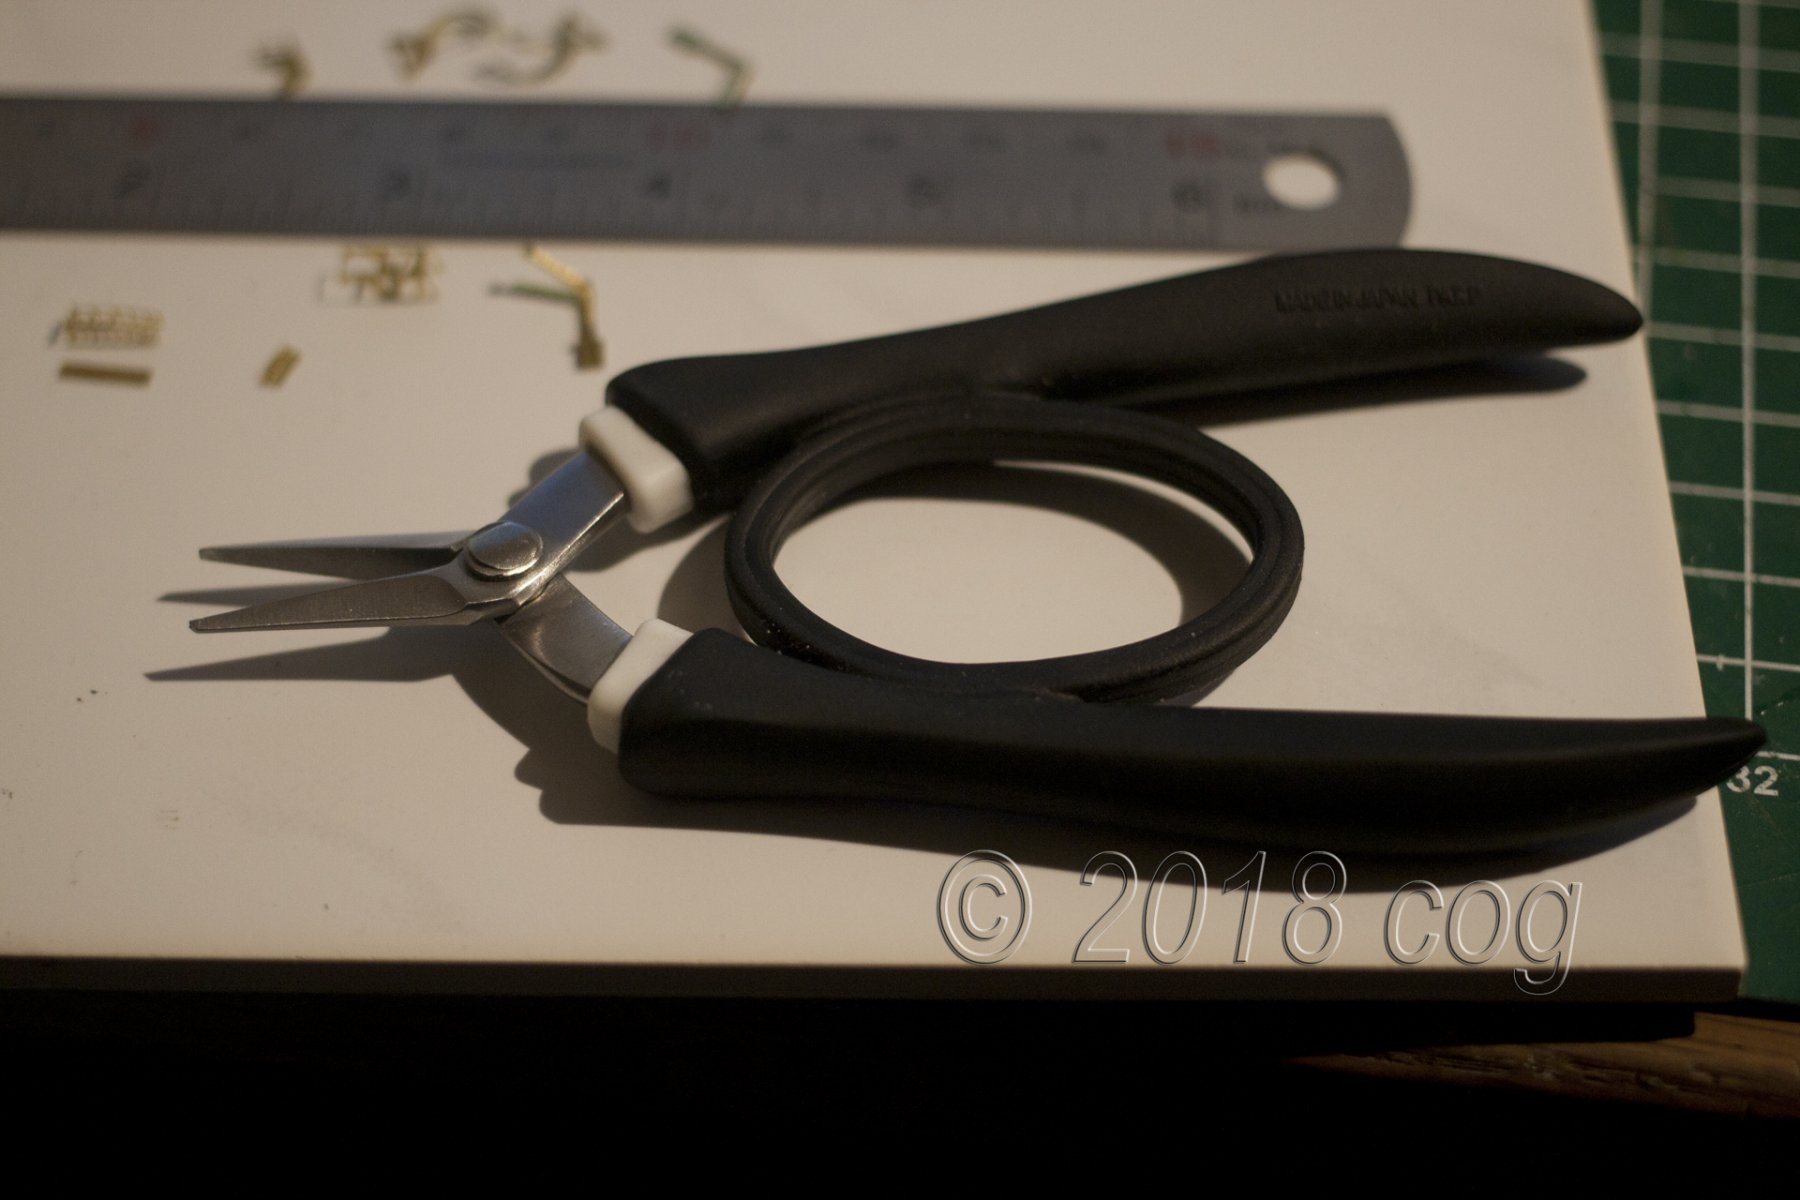
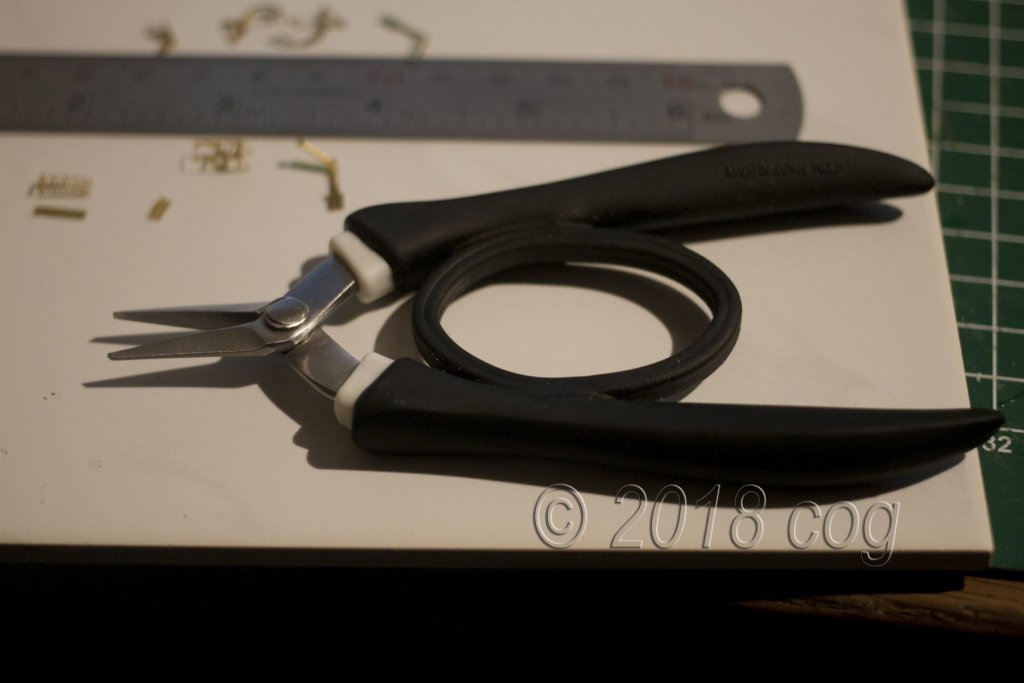
Bit more of the fiddly stuff, and the bend tool I use most ...

- 292 replies
-
- 7
-

-
- g class destroyer
- trumpeter
- (and 4 more)
-
Can hardly tell the difference KP ... hard choice to make ... Turned out rather spiffy ... You really think there were windows ...The cap'n on an open bridge ... to hoist the boats snuggling in a cosy cabin ...
- 122 replies
-
- 5
-
-
- tamiya
- King George V
- (and 2 more)
-
Who would have expected that ...? Very lovely turnbuckles, I am astonished by what you accomplish at that scale, and most of all the number of parts you can make separately. I would be happy if I could make it as a single piece!!!
-
Second photograph, "pencils" on the left, are those for lithograph? Nice assortment of leads and "holders"(?) From the latter I got some from my grandfather, but for some reason I use mostly the modern ones ... (from 20 odd years ago )
- 749 replies
-
- 3
-
-
- albertic
- ocean liner
- (and 2 more)
-
Greg not all Oerlikons from the RN had shields, I do not know the details when or why, still looking for more data
- 405 replies
-
- 3
-
-
- tamiya
- king george v
- (and 2 more)
-
Thank you Pat, I think I'd best refrain from the rum until the fat lady sang her last chord on the tripplets. "The ... gets going" already
-
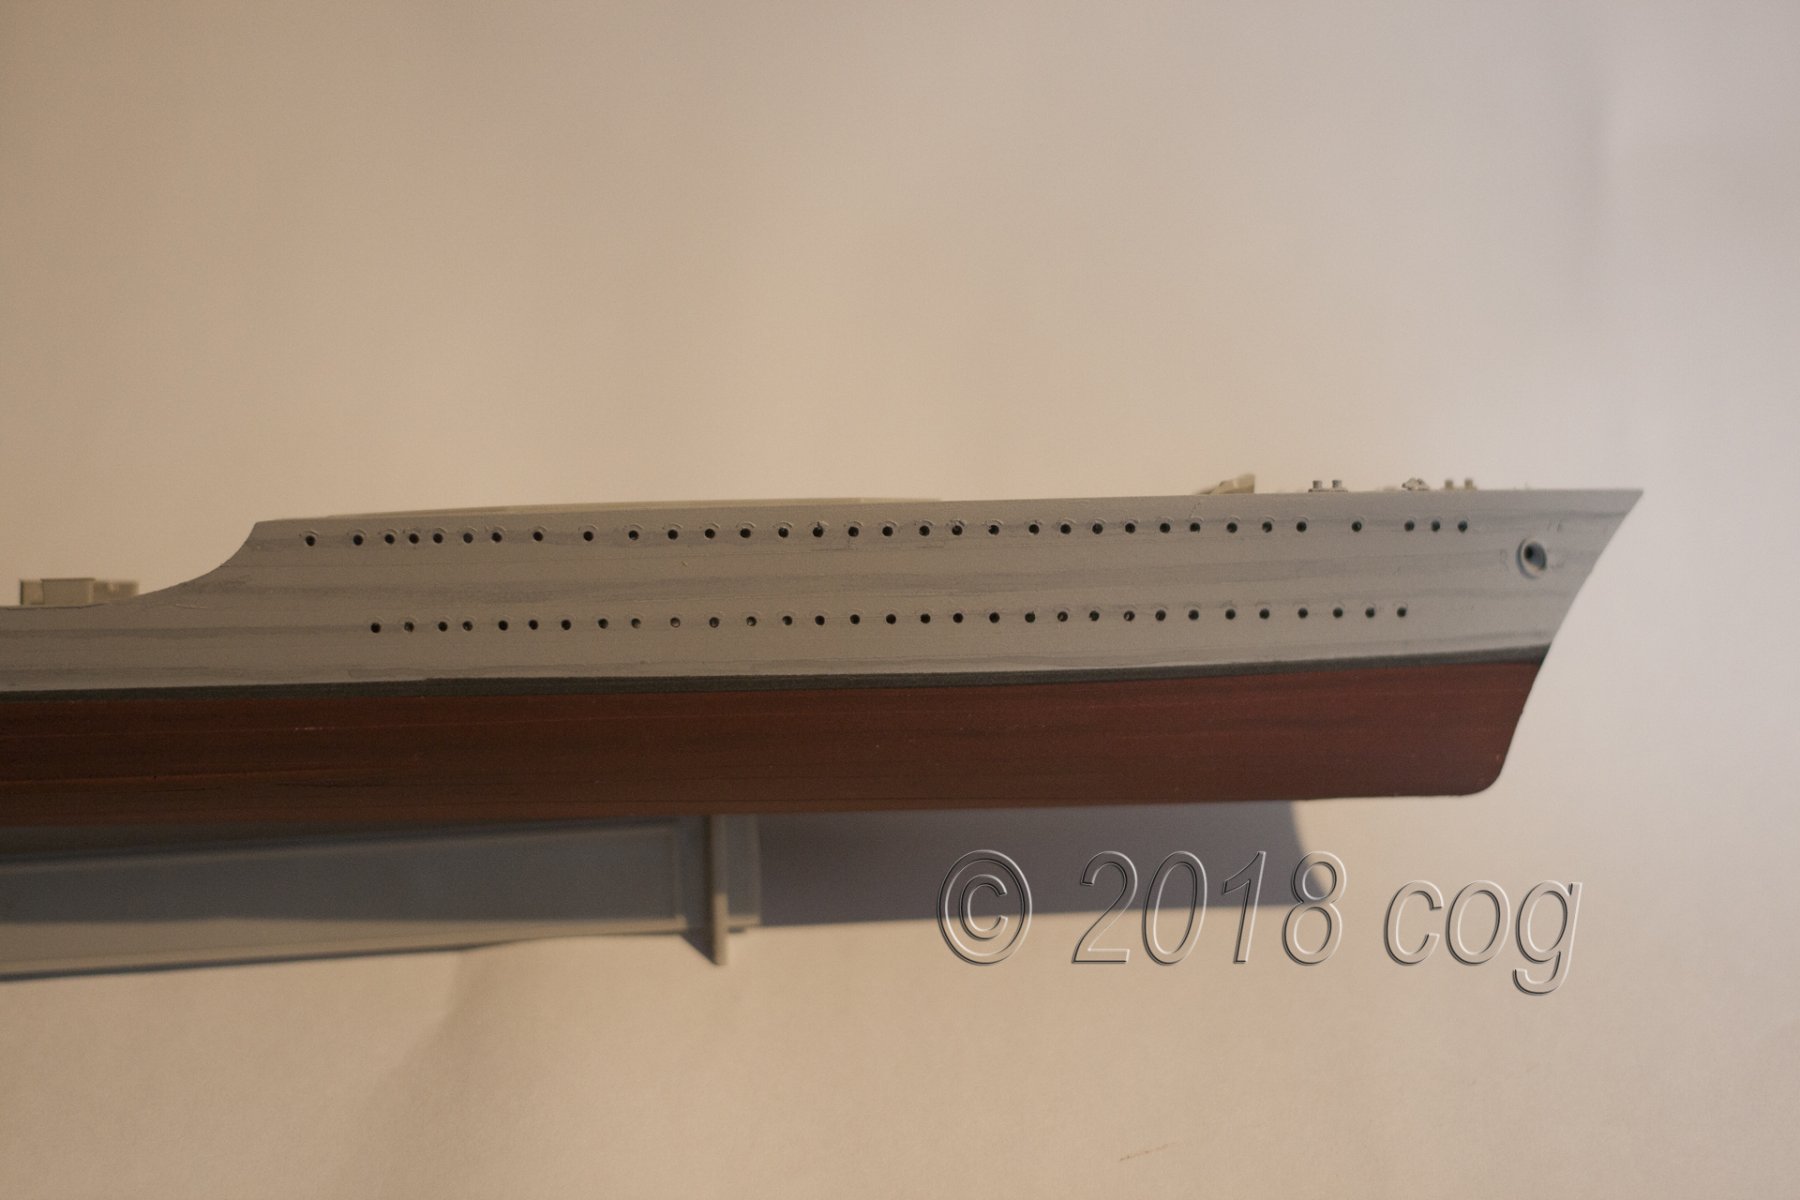
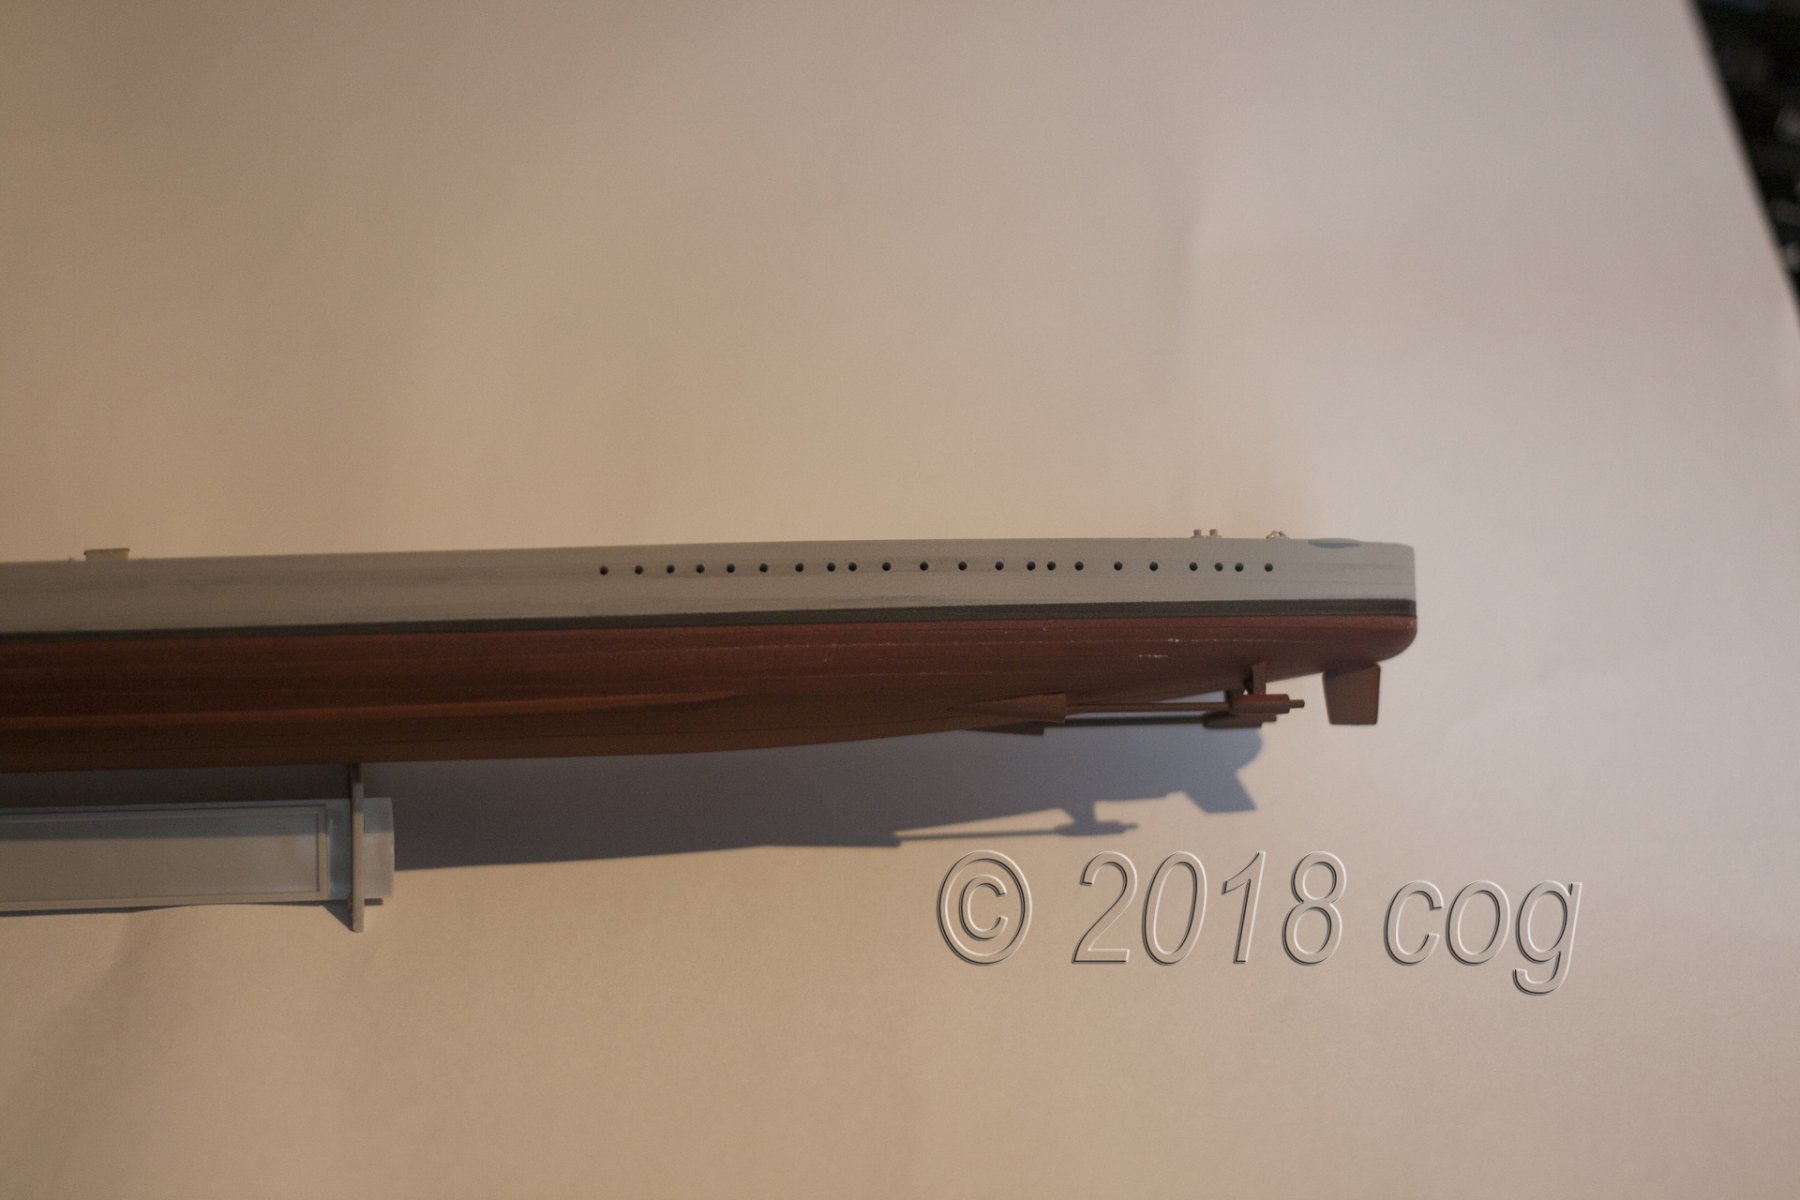
Denis, Progress exists! well done, you noticed I did trim the depth markers. Measured them out and snip, snip ...With regards to the "lame" Arizona kit ... maybe you are the one which makes it the perfect ship ... scratch building and all ... you've got the extra PE, plastic you can use from the sprues ... what's in a challenge when it's easy ... you always like to do it the hard way ... a bit of ranting can't do you harm, just motivates the you know what out of you!!!
- 1,090 replies
-
- 6
-
-
- showcase models
- vendetta
- (and 2 more)
-
I've got the same ones, the brass/PE that is. Would like to lay my hands on the real deal ... nice garden ornament
- 405 replies
-
- 7
-
-
- tamiya
- king george v
- (and 2 more)
-
Yeah right, I find it to be the other way around. Haven't seen a PE/brass tripple AA gun on the smaller ones yet!
-
I've got them 4 barreled guns 3D printed, and those are tiny ... very well done Dan The bollards, vents and guns ... eye screwingly impressive
-
Very well done ... I wonder how you do it, when your camera has that much trouble focusing on it
- 1,306 replies
-
- 5
-
-
- syren
- model shipways
- (and 1 more)
-
thanks for your answer. Your weathering is hardly visible, but nevertheless realistic, more so than if done to heavily
-
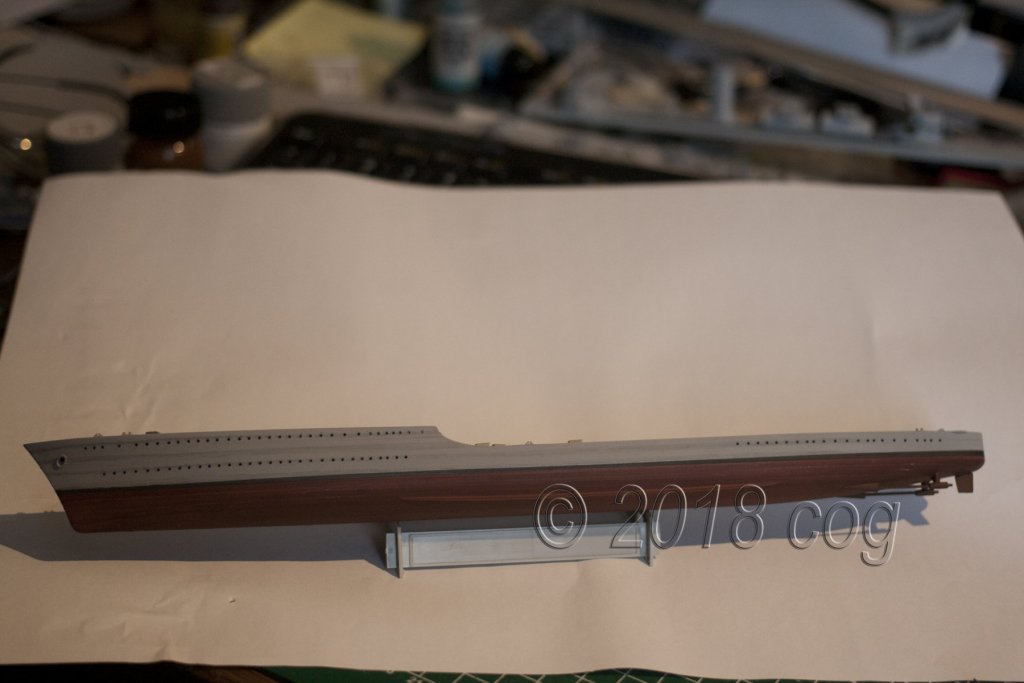
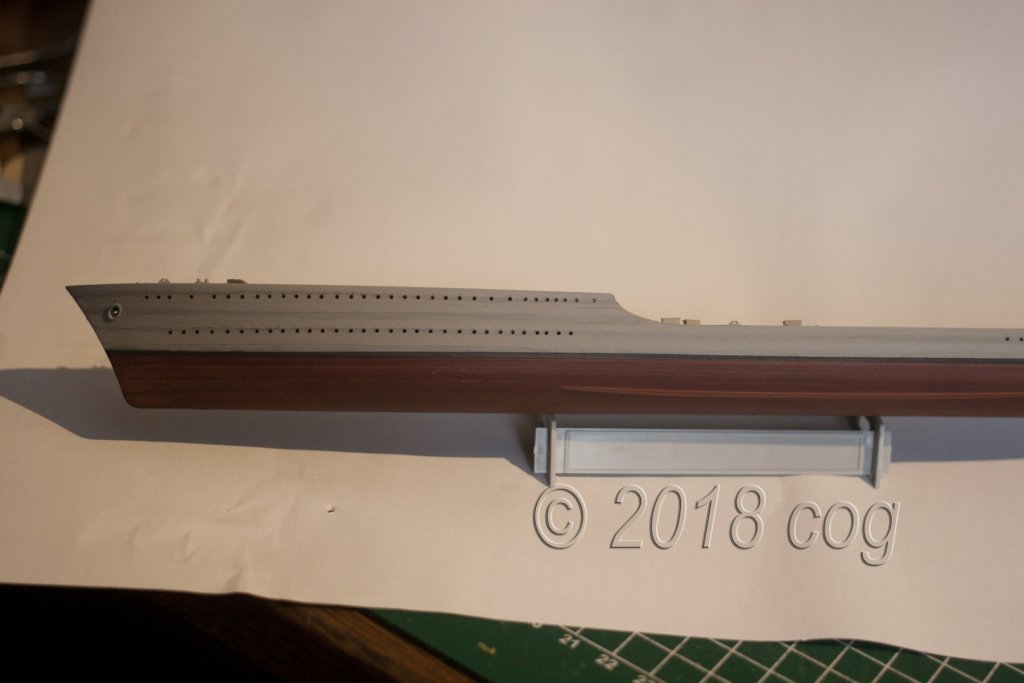
Just finished ... need a few hardly visible touch-ups, When I paint the deck furniture, I have to give a very light spray o gray on the port bow, just not enough coverage ... and a way to get the shading of the plating straight!


- 292 replies
-
- 6
-
-
- g class destroyer
- trumpeter
- (and 4 more)
-
The brush-on doesn't give you the finish you want, besides it clogs up thos little openings you have with PE, it would be a sin to loose such detail ... you can try the testors on the "fret" of some PE ... Normally, where Tamiya pot paint is sold, they sell the cans. Tamiya makes you bleed to sell their products, you have to take the line or you don't get to sell it here in Europe. On the other hand it is good ... Ah, yes before I forget. IF you want to thin Tamiya down, take the thinner with the blue cap, it thins apperantly better than the accrylic one (white cap) I have to order one such bottle, since I bought the white one <bummer> I tried water on accrylics to thin them down, but I was not impressed with it at all, so now I use brand speciffic thinners. With the present warmth 30ºC (we have had a heat wave) I used some stuff to make it dry less quickly as well
- 292 replies
-
- 5
-
-
- g class destroyer
- trumpeter
- (and 4 more)