Mirabell61
-
Posts
7,411 -
Joined
-
Last visited
Content Type
Profiles
Forums
Gallery
Events
Everything posted by Mirabell61
-
 Thank you very much Bob, nice to know you dropping in now and then... but do`nt be modest about your own wonderful builds, you do very well and I like them very much Nils
 -
Hi Mike, you may want to look into scale 1:87 (common H0 model Train scale), search for sailors or ships Crew. I have not found figures in 1:87 for historic 18th century on the web yet. Nils
-
Hi Don, your Progress is well under steam, all Looks very good, you probably shall be mounting several deck Fittings soon Nils
- 46 replies
-
- 1
-

-
- gorch fock
- occre
- (and 1 more)
-
Nice metal work with the brass parts Max, Nils
-
Very nice looking details Jason Nils
-
I like that Popeye, a very nice word of yours and it fits to all fellow modelers here on MSW who are satisfied with their own results, Thank you very much Nils
-
Thank you very much Pete, I enjoy your comments Nils Thank you David, I just transfer the things on my mind as they come around the Pegasus Fitting out theme, am happy if it is liked... Nils
-
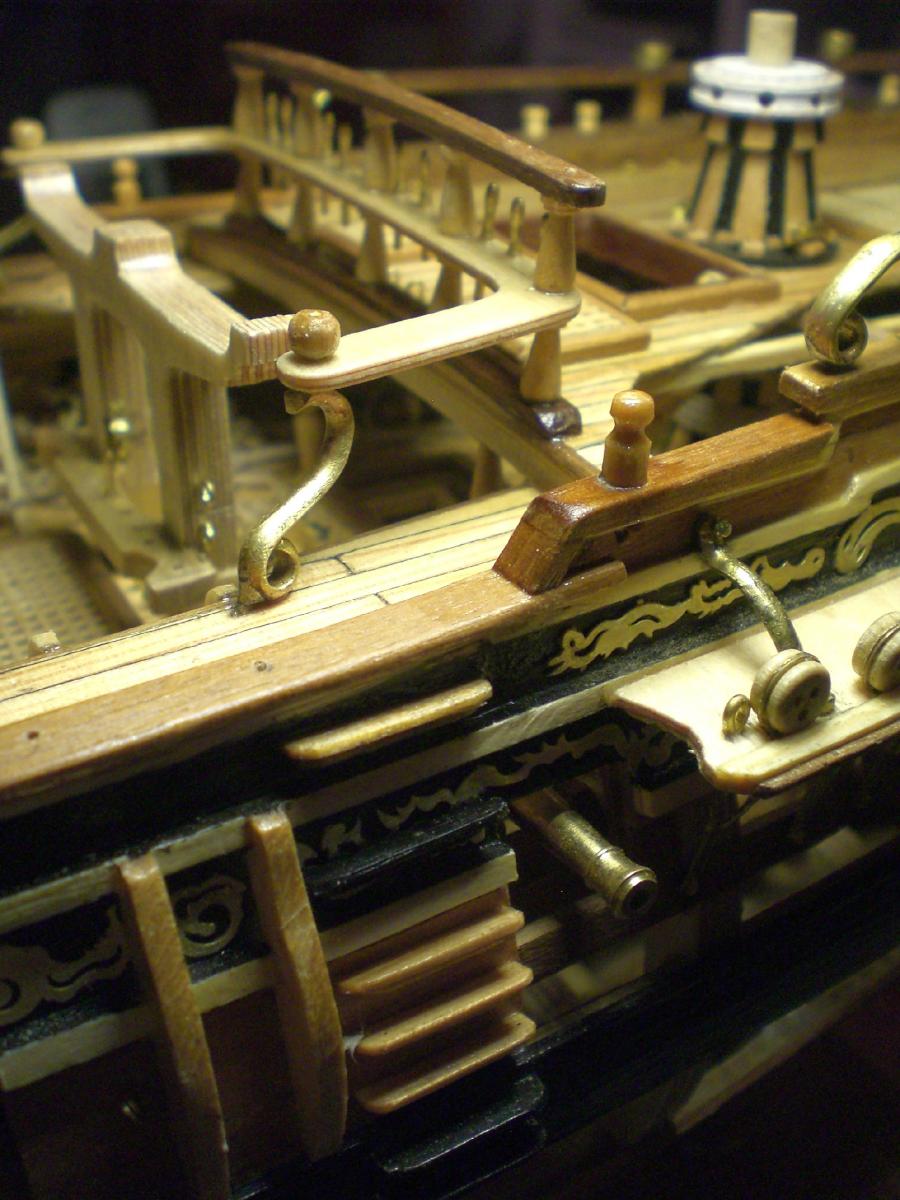
Thank you Popeye, for your appreciative comments, slowly the hull with its Fitting out is moving towards completion. There still is some work with the rails at the bow, the hammock nettings, and afterwards I`ll start with the rigging (masts and bow sprit making) Nils Thanks for your word Omega, I`m glad to know that you are following and like this log... Nils
-
Thank you very much Dirk, several Details are alternative to the Amati plan Nils
-
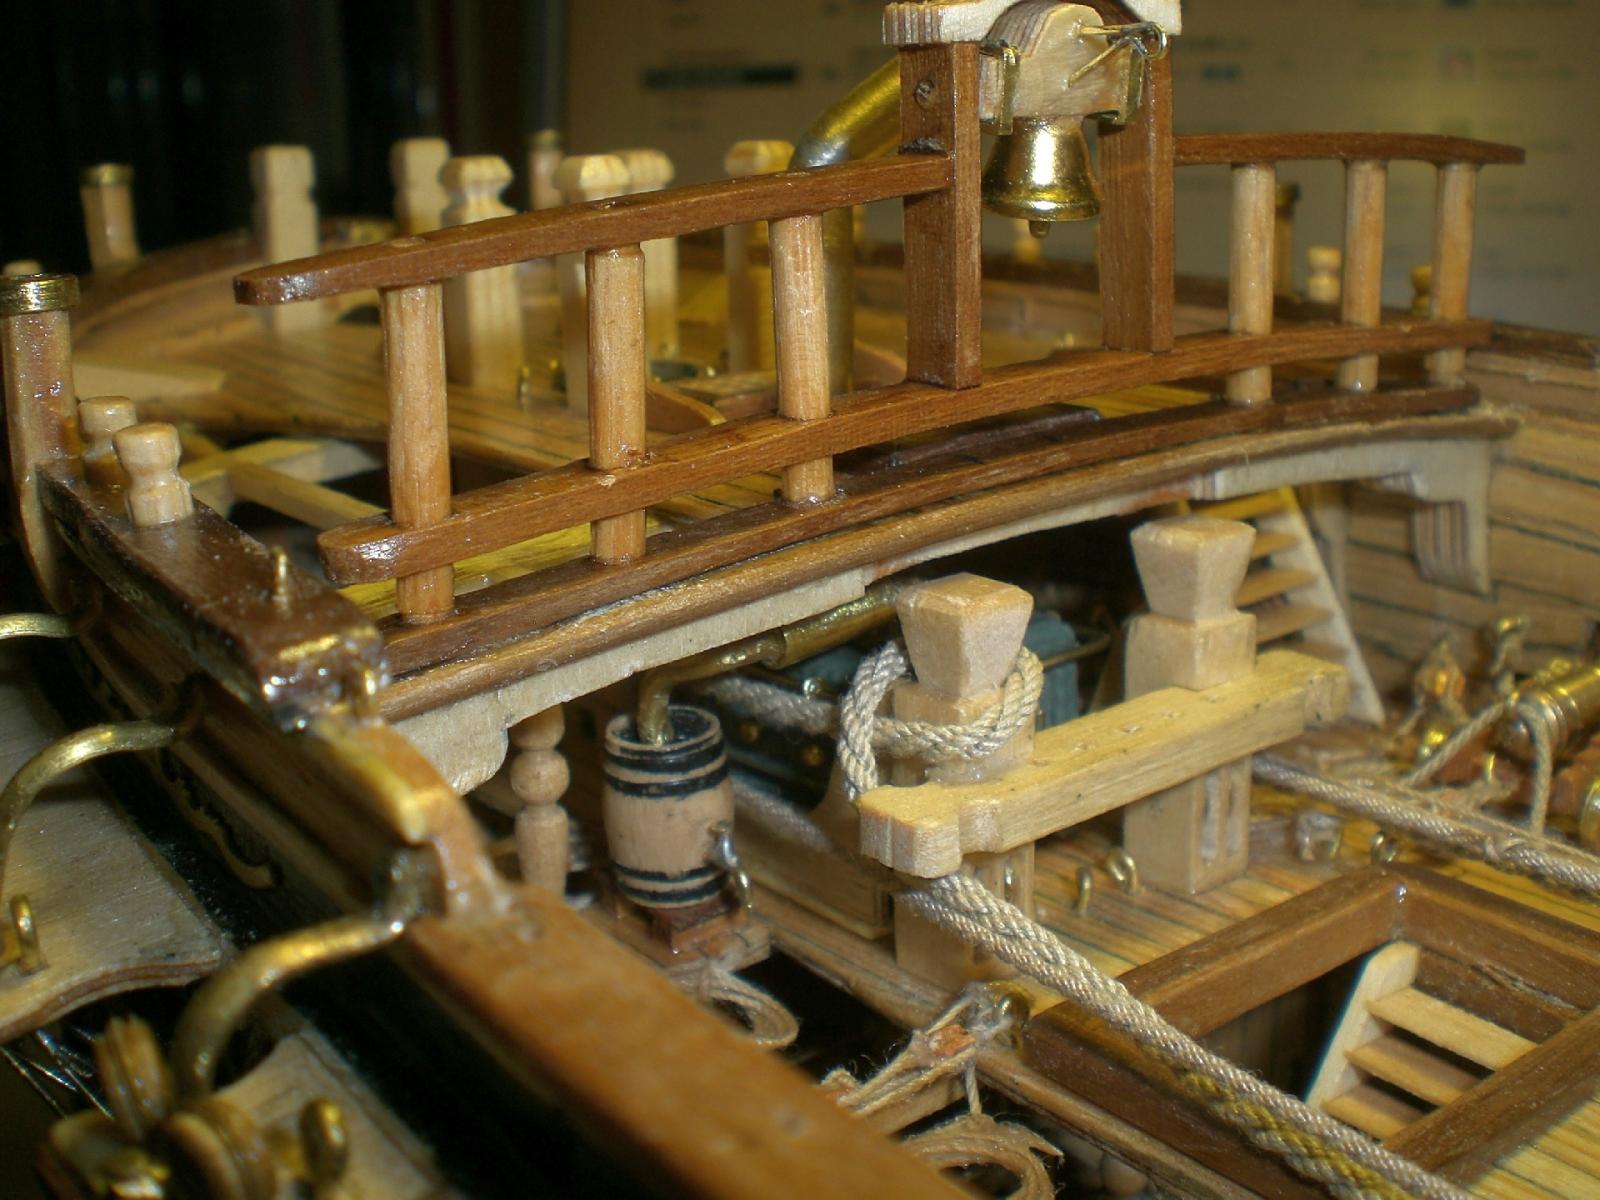
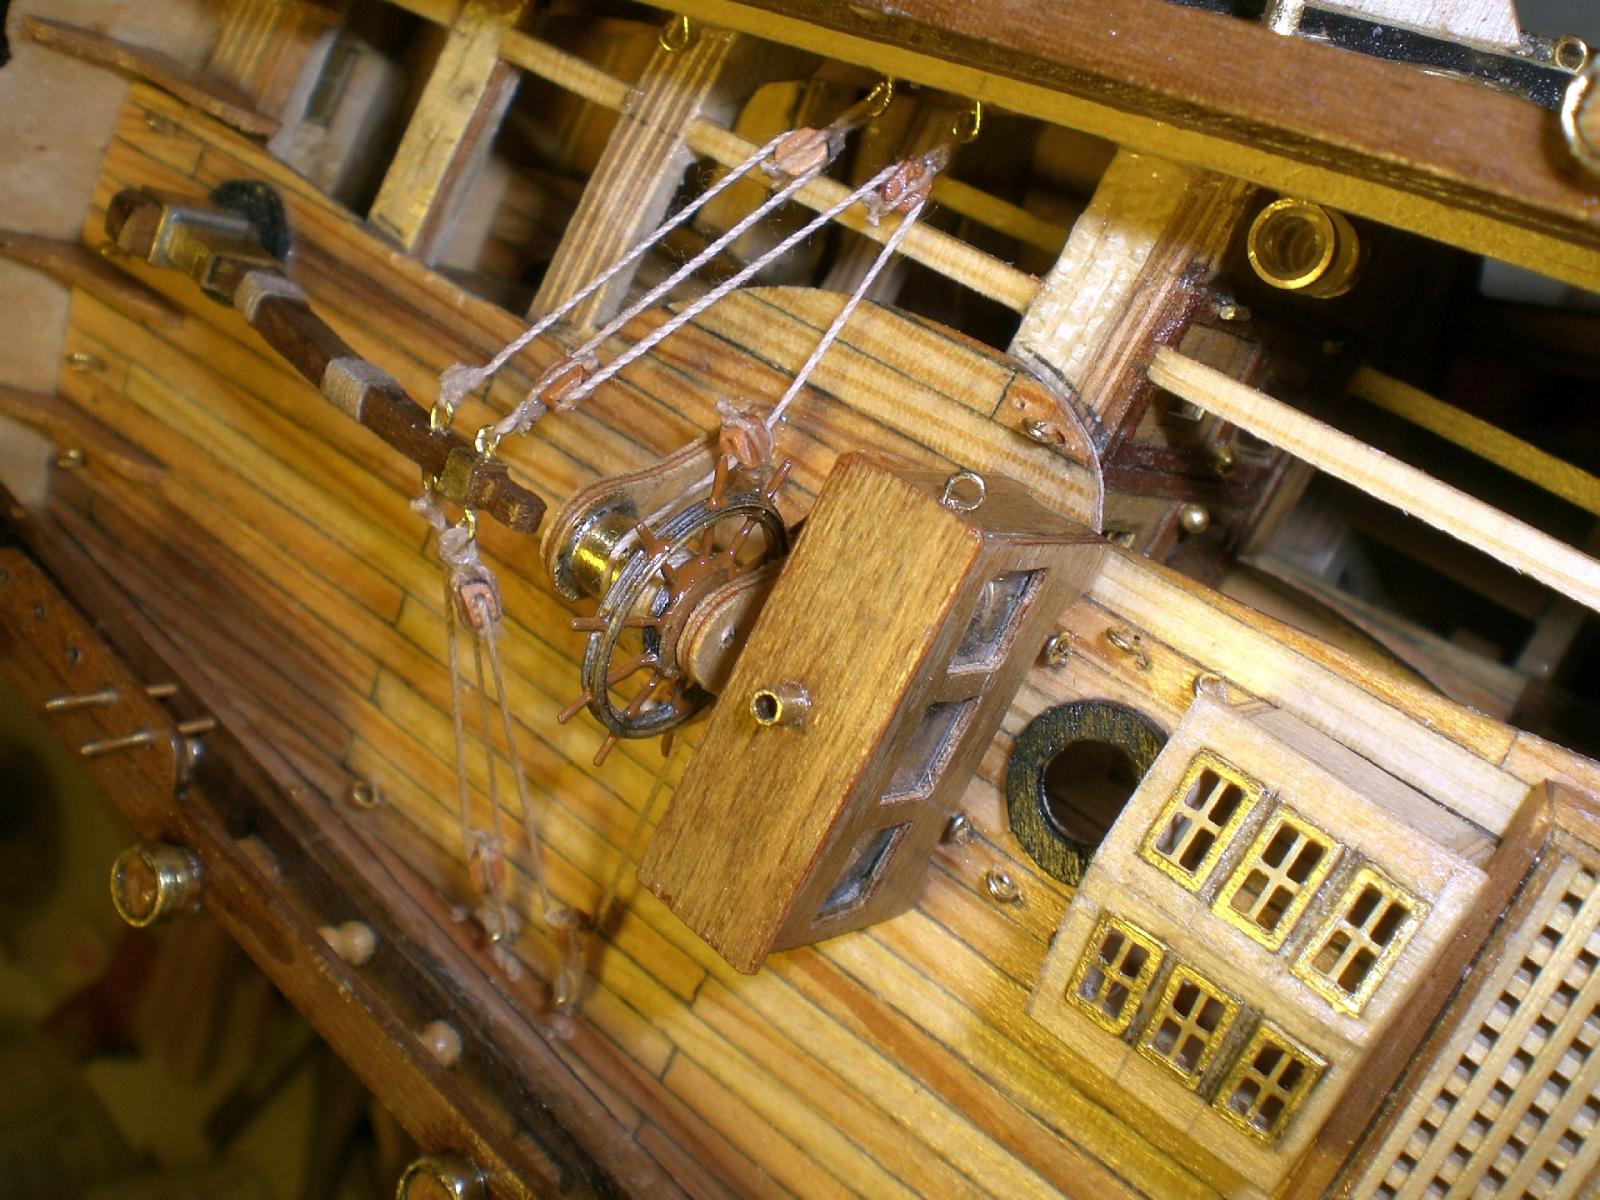
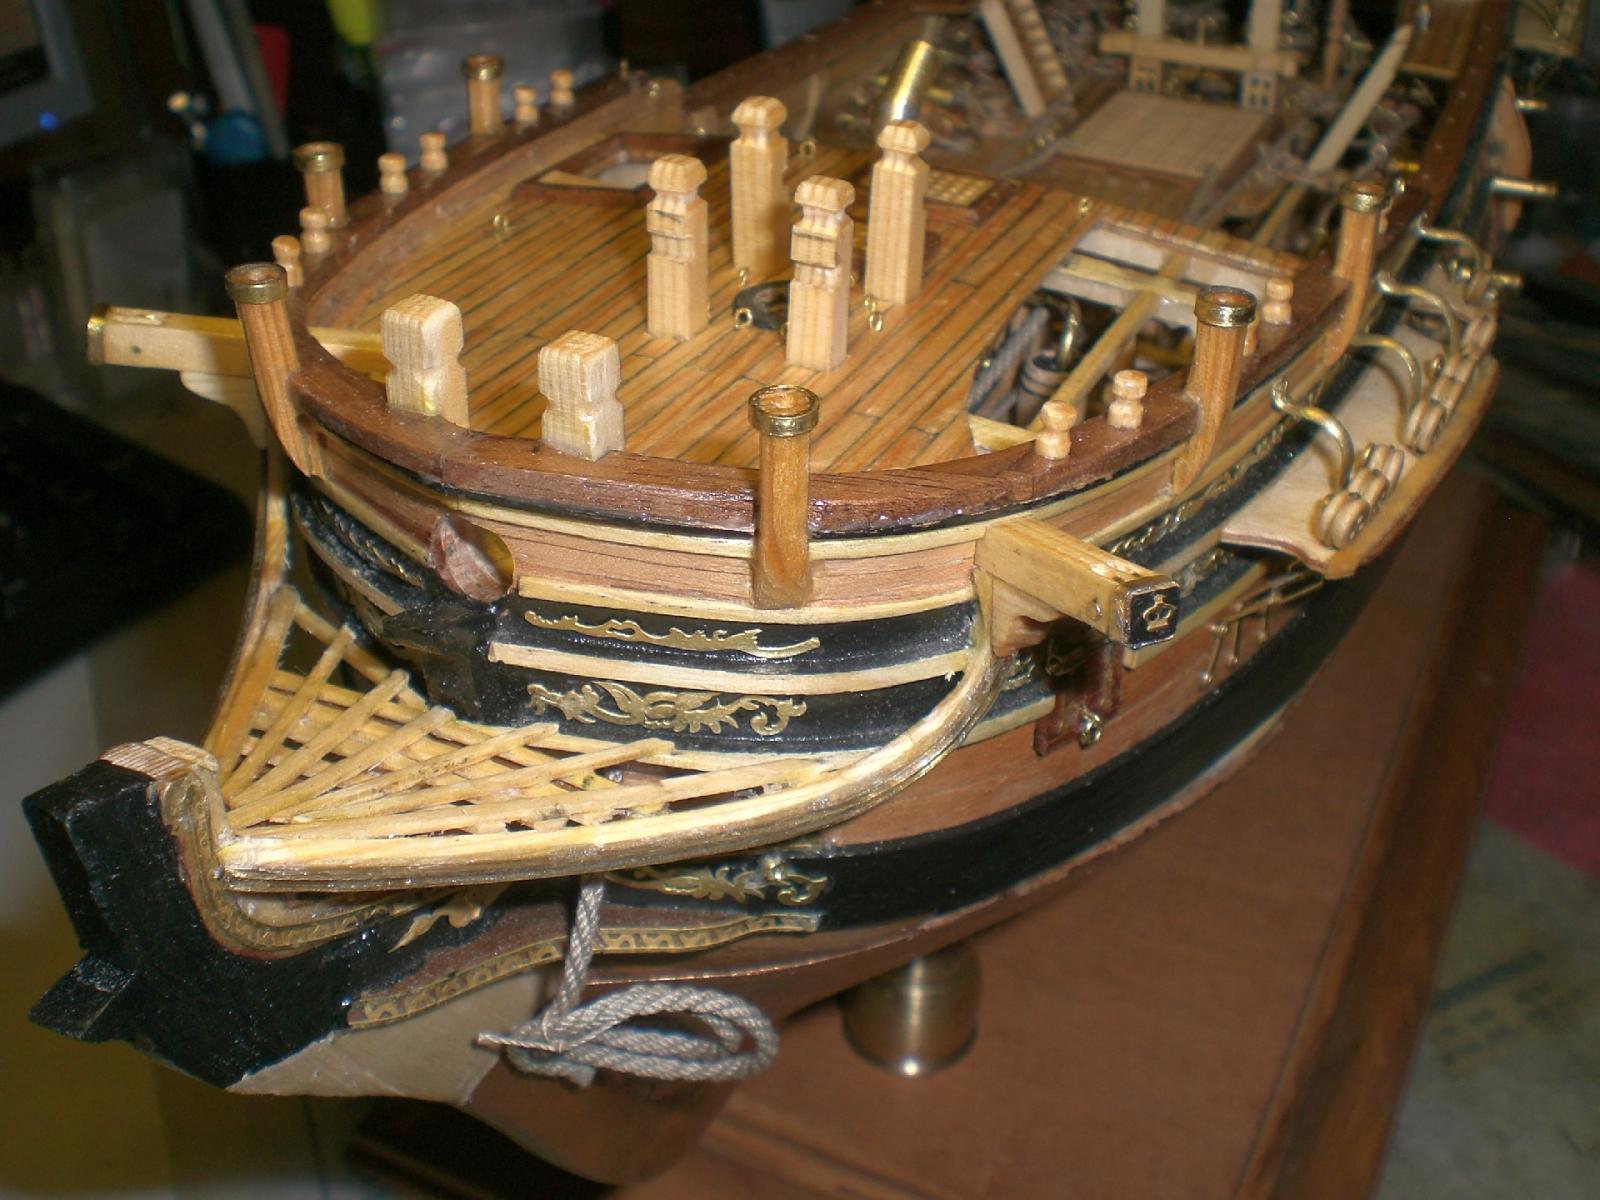
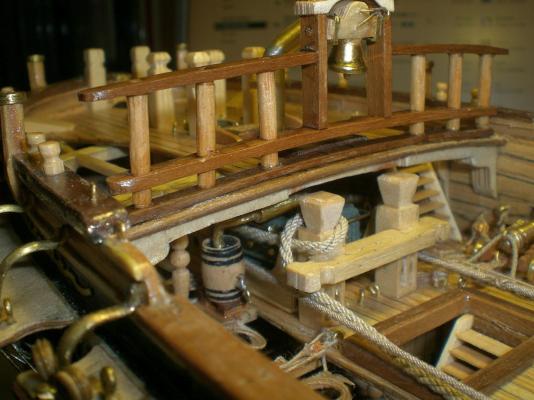
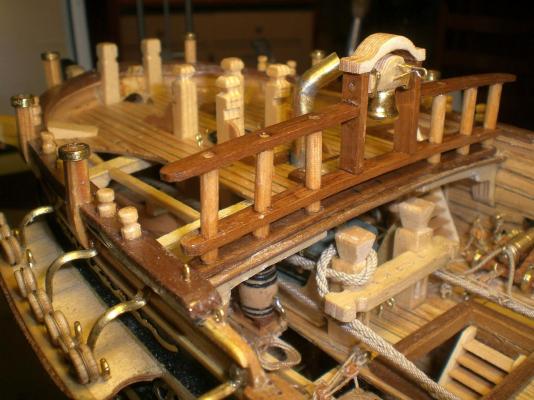
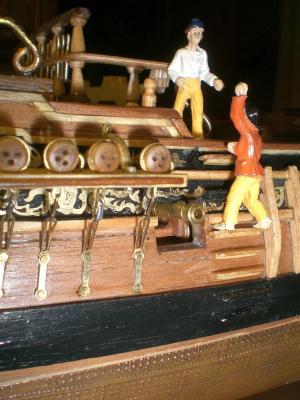
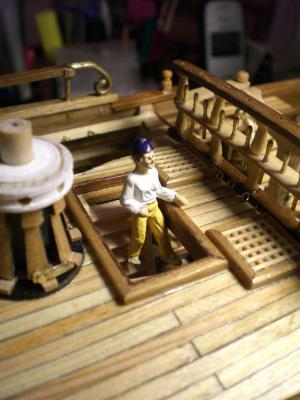
Build log part 48 Rudder / tiller rigged front ballustrade with ships bell (bell found from Christmas decoration) and mounted, note : no sidewise spaces, because Access to forecastle deck is by integrated stair the bits on the four front Posts still to be done horizontal layed spare mast parts find their Support Areas... Nils


-
beautiful work Richard, all the deck Fitting out very well done. I also like the hammock netting Nils
-
Hello Ed, love this Stern view of the Framework, a very nice sight of the beautiful lines of this ship Nils
- 3,618 replies
-
- 1
-
-
- young america
- clipper
- (and 1 more)
-
Thank you Omega Nils
-
Thank you B.E. I`m working on the removeable ladder hatch stanchions in the moment... Nils
-
Hi Nigel, thanks for dropping in, yes I use a clear acrylic lacuer spray, but spray smal amounts into a small plastic cap and then use a small paint brush for application to the brass parts Nils
-
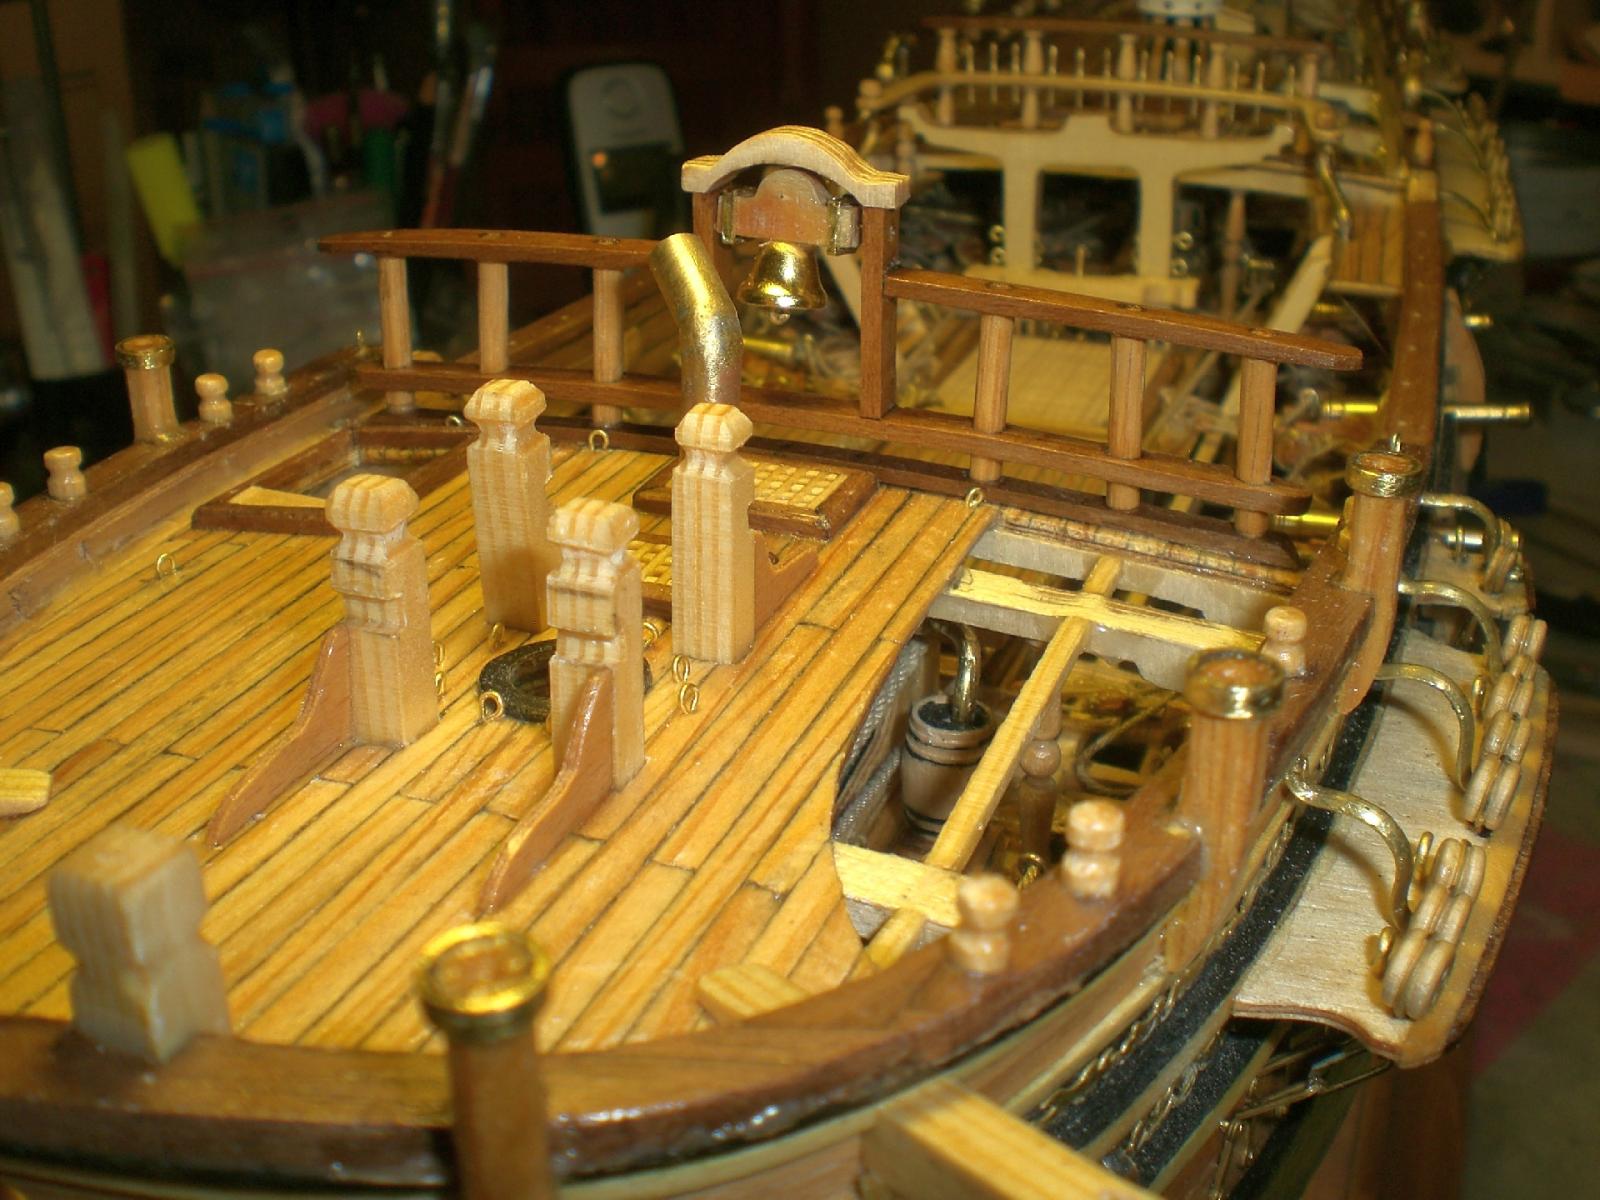
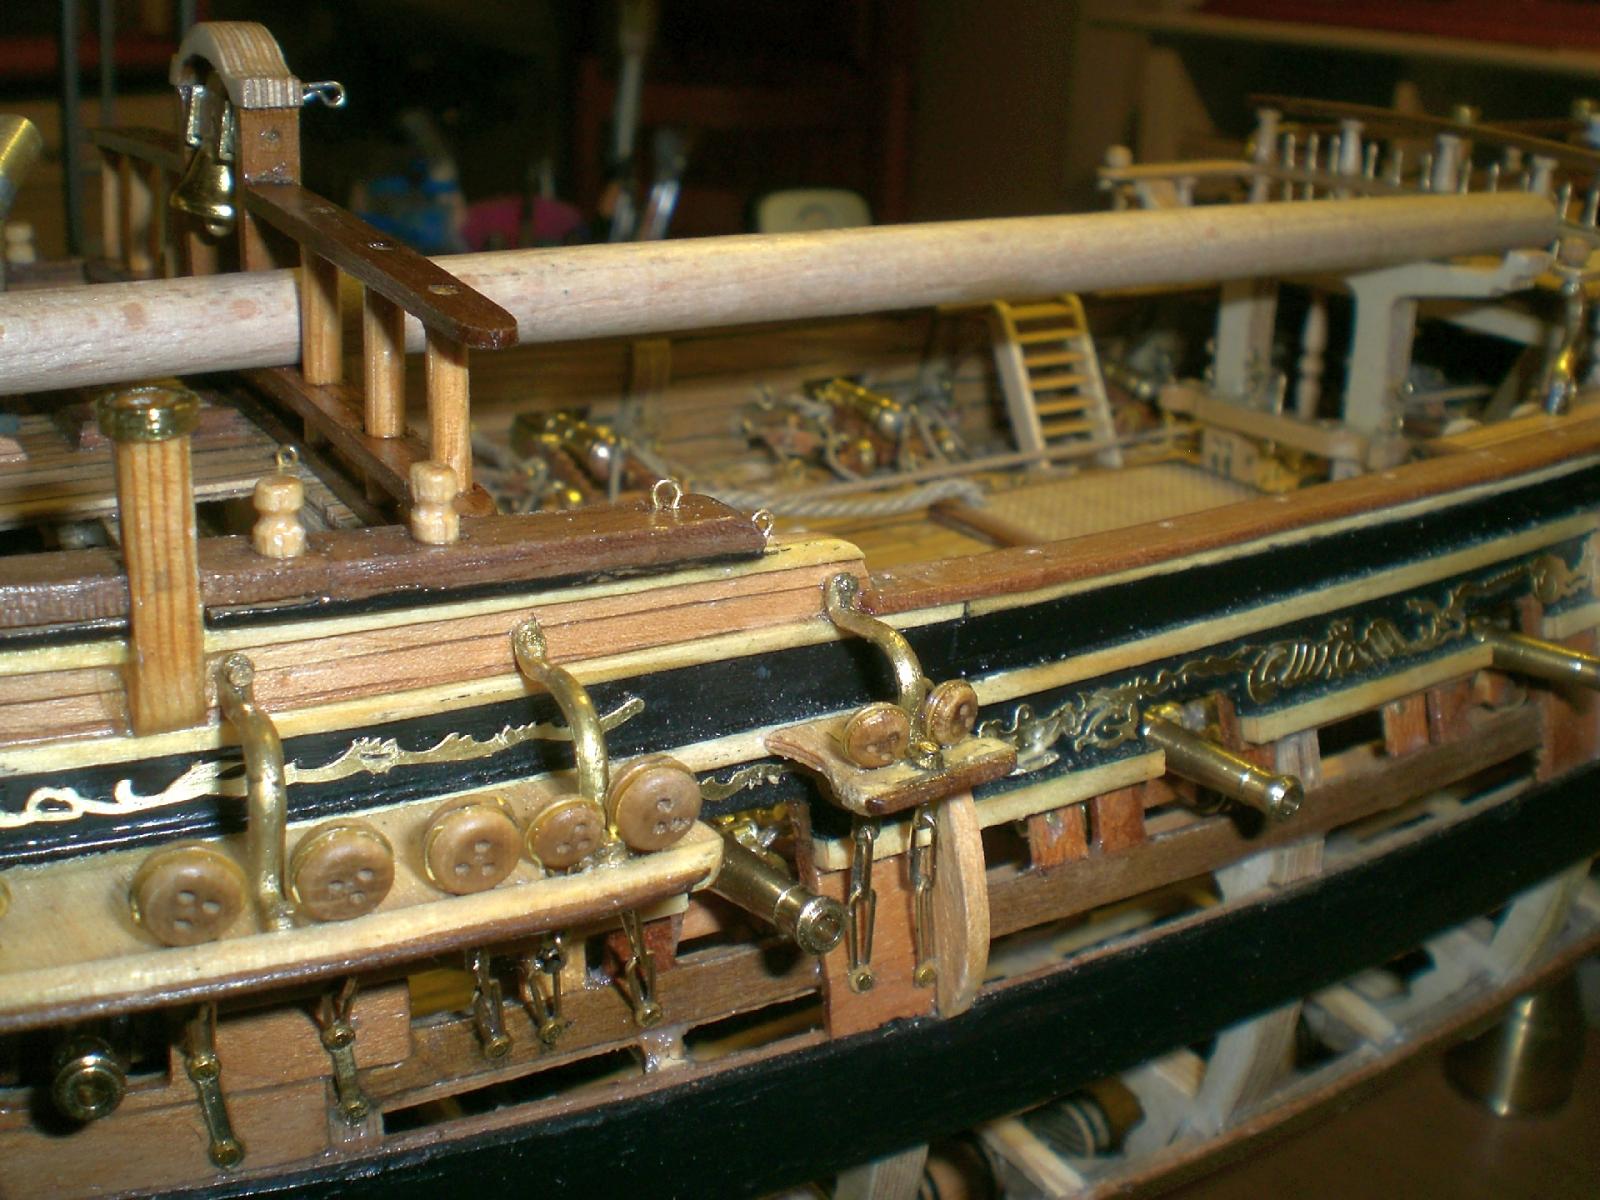
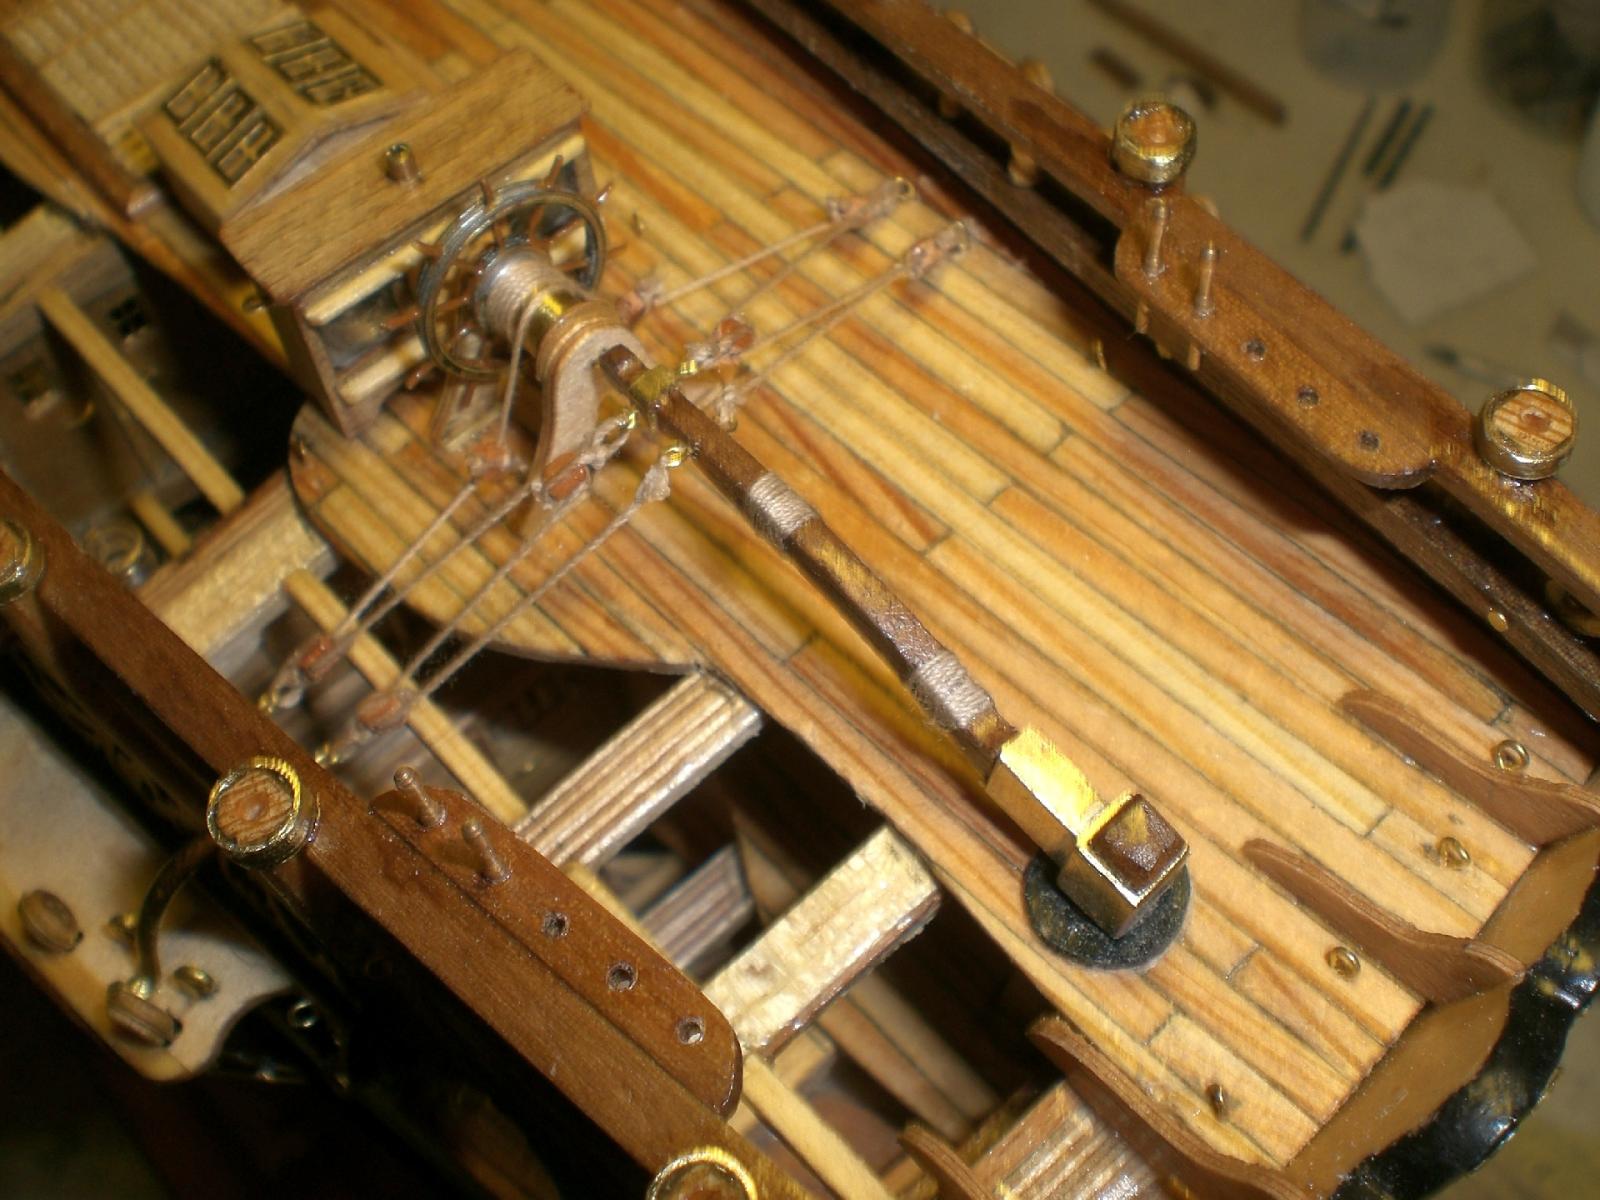
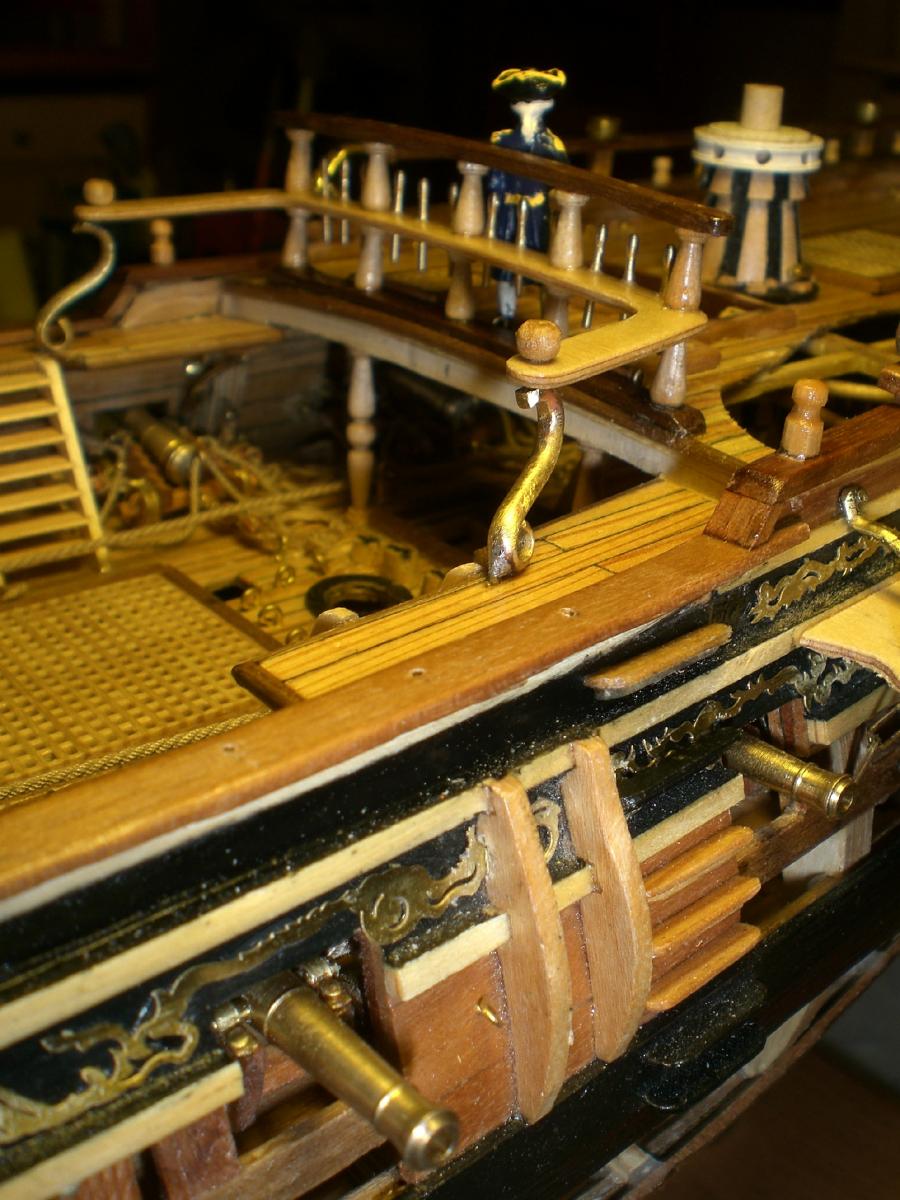
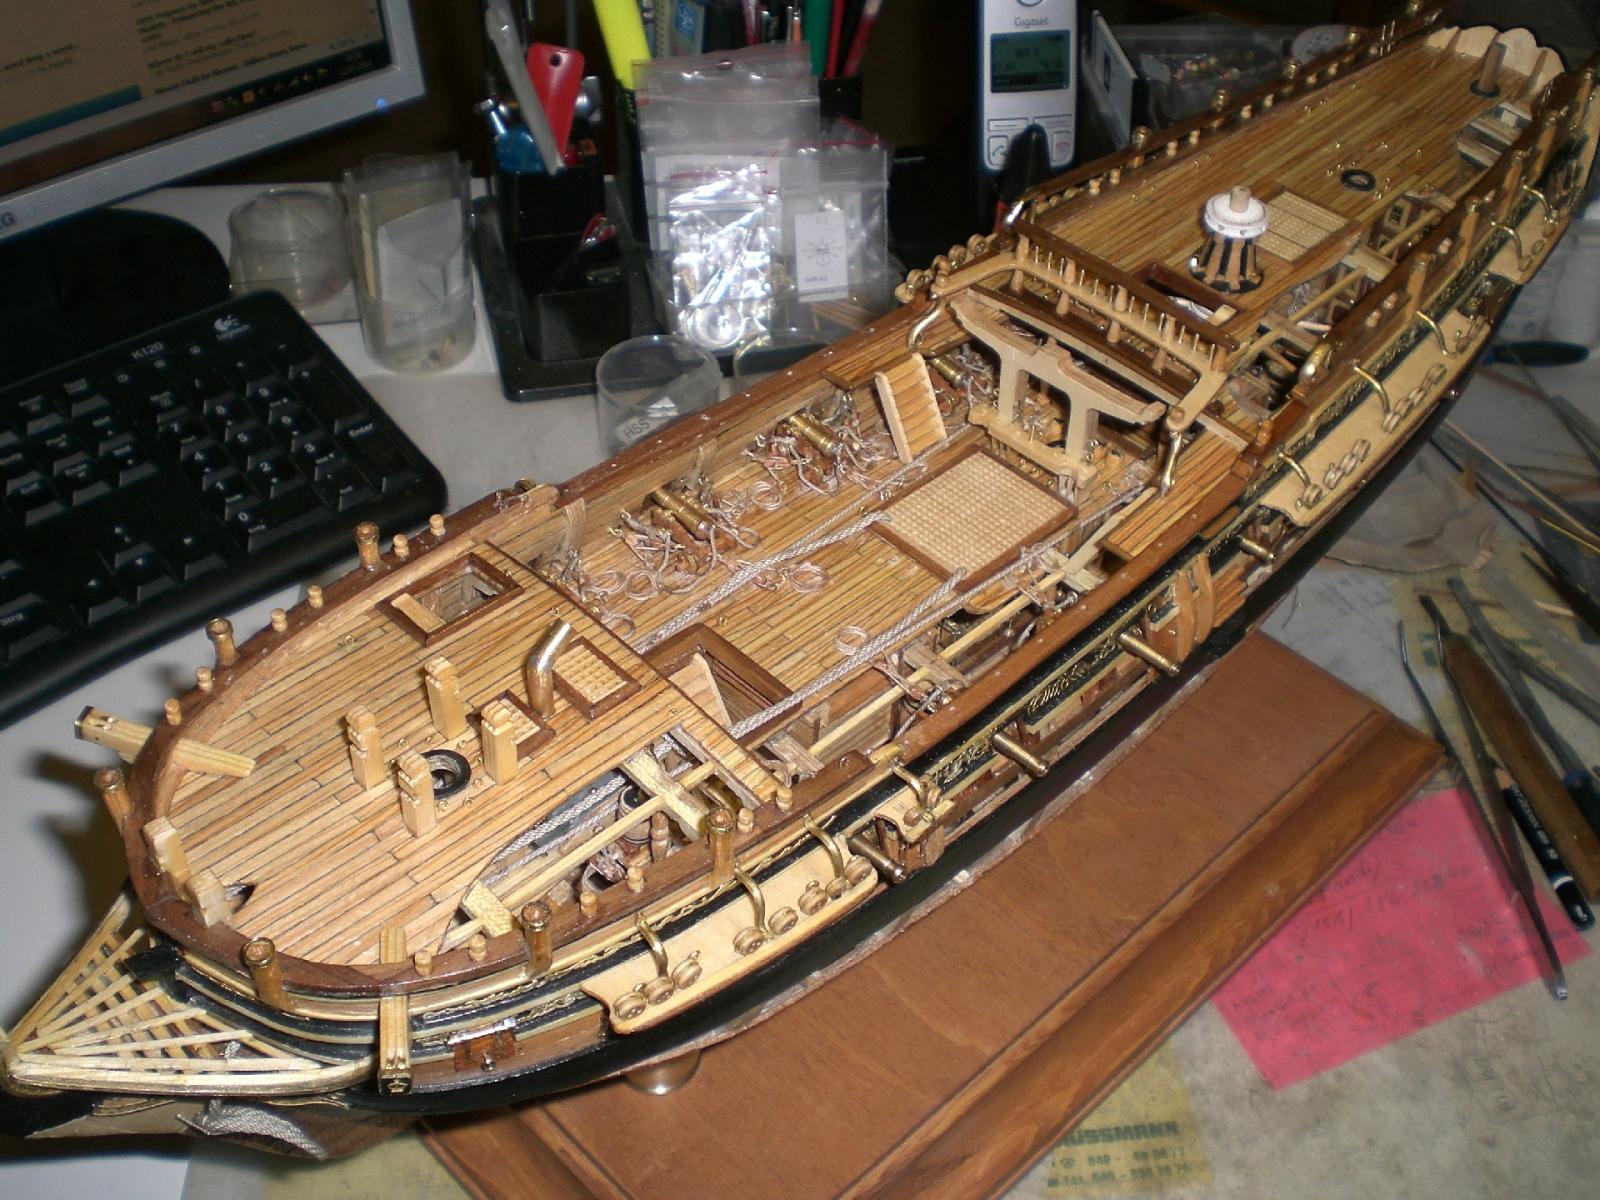
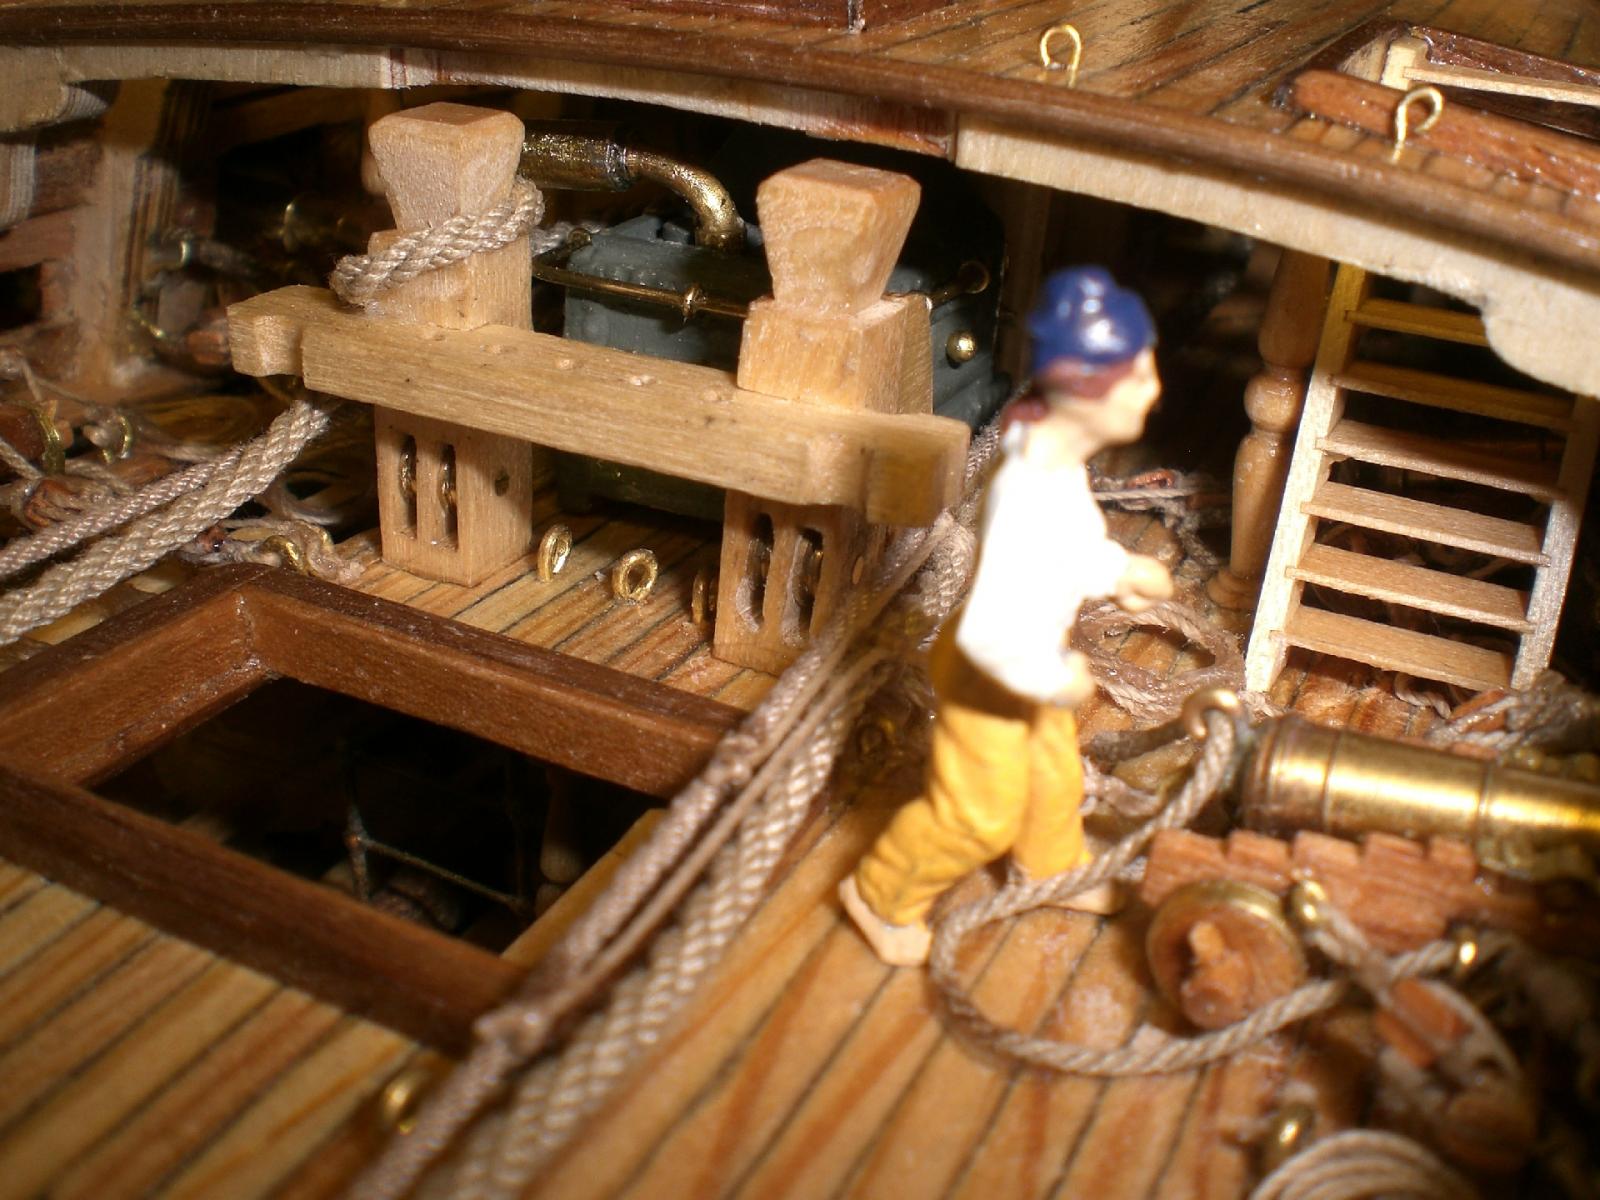
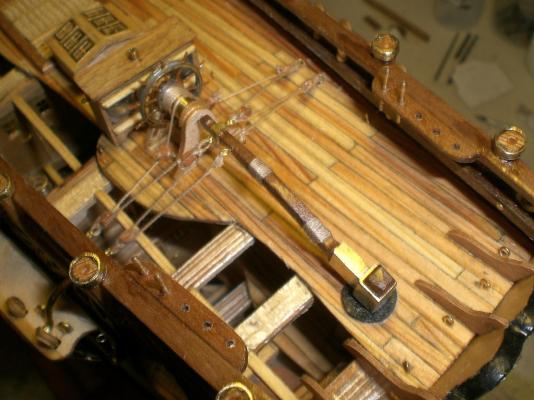
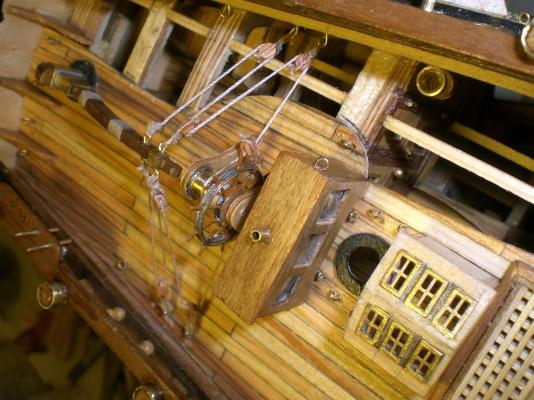
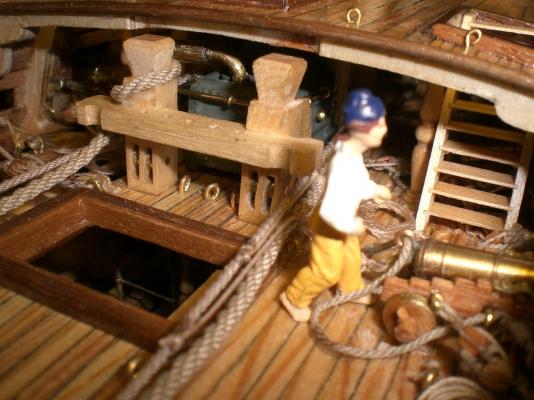
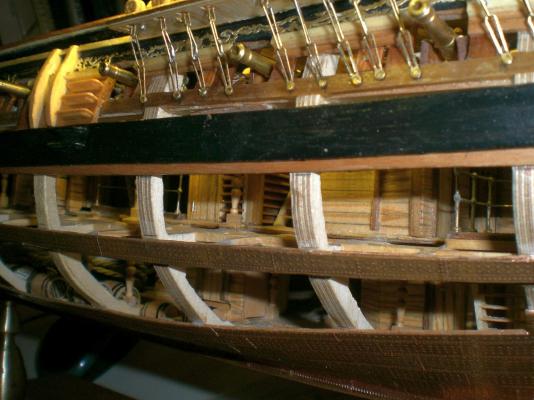
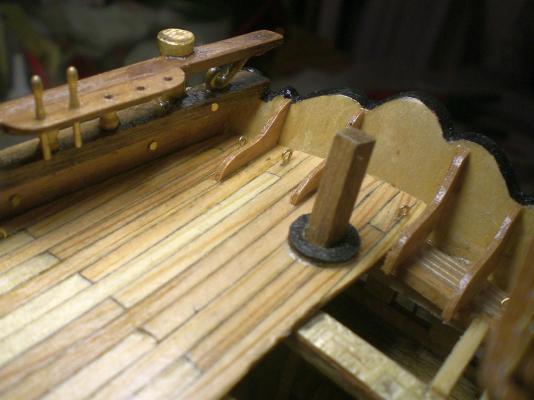
Build log part 47 view to the interior sternplate supports fitted two more outboard steps at the top, now 7 steps per side fitted the focsile deck with all its "underneath", the catheads glued in place, removeable chimney of the galley oven mounted Overall deck view fitted one additional post to both the ballustrade side rails starboard anchor cable tied to the Messenger, portside cable put on the bit the QD stair, when used, fouls a bit with the capstan spars on the gun deck, but I take that in account, and whoever does`nt see it won`nt bother anyhow supports to the 4 foremast rigging posts Nils


-
Congrats Michael, to the first watering test. The displacement of 66 lbs will easily climb to 75 lbs in total I guess. When that mass is in Motion it will nock everything out of the way on her cruise. Are you planing to have all the ballast-weights at low Point inside the hull, or with external Ballast as well ? The cutter already Looks great on the lake as is... Nils
-
good looking and well done locks Johann, Nils
-
A good start Pete, the Frame work Looks very nice, it must be fun to build this hull from now on.... Nils
-
Hi Mark, I see you`ve been quite busy modeling Fitting out assemblies in the last days, it Looks fantastic..., all clean and exact Nils
-
Hi Mirün, I must have overlooked that lovely bilge pump you made last year. It Looks fantastic and is so inspiring that a am thinking about alike.... Well done ! Nils
-
Lucky Boy Doreltomin, the "Puritan" is also one of my favorites, can understand thad that you could`nt go by that famous eyecatcher,....am looking foreward to your build log.. Nils
-