HOLIDAY DONATION DRIVE - SUPPORT MSW - DO YOUR PART TO KEEP THIS GREAT FORUM GOING! (89 donations so far out of 49,000 members - C'mon guys!)
×


Papa
-
Posts
1,305 -
Joined
-
Last visited
Content Type
Profiles
Forums
Gallery
Events
Everything posted by Papa
-
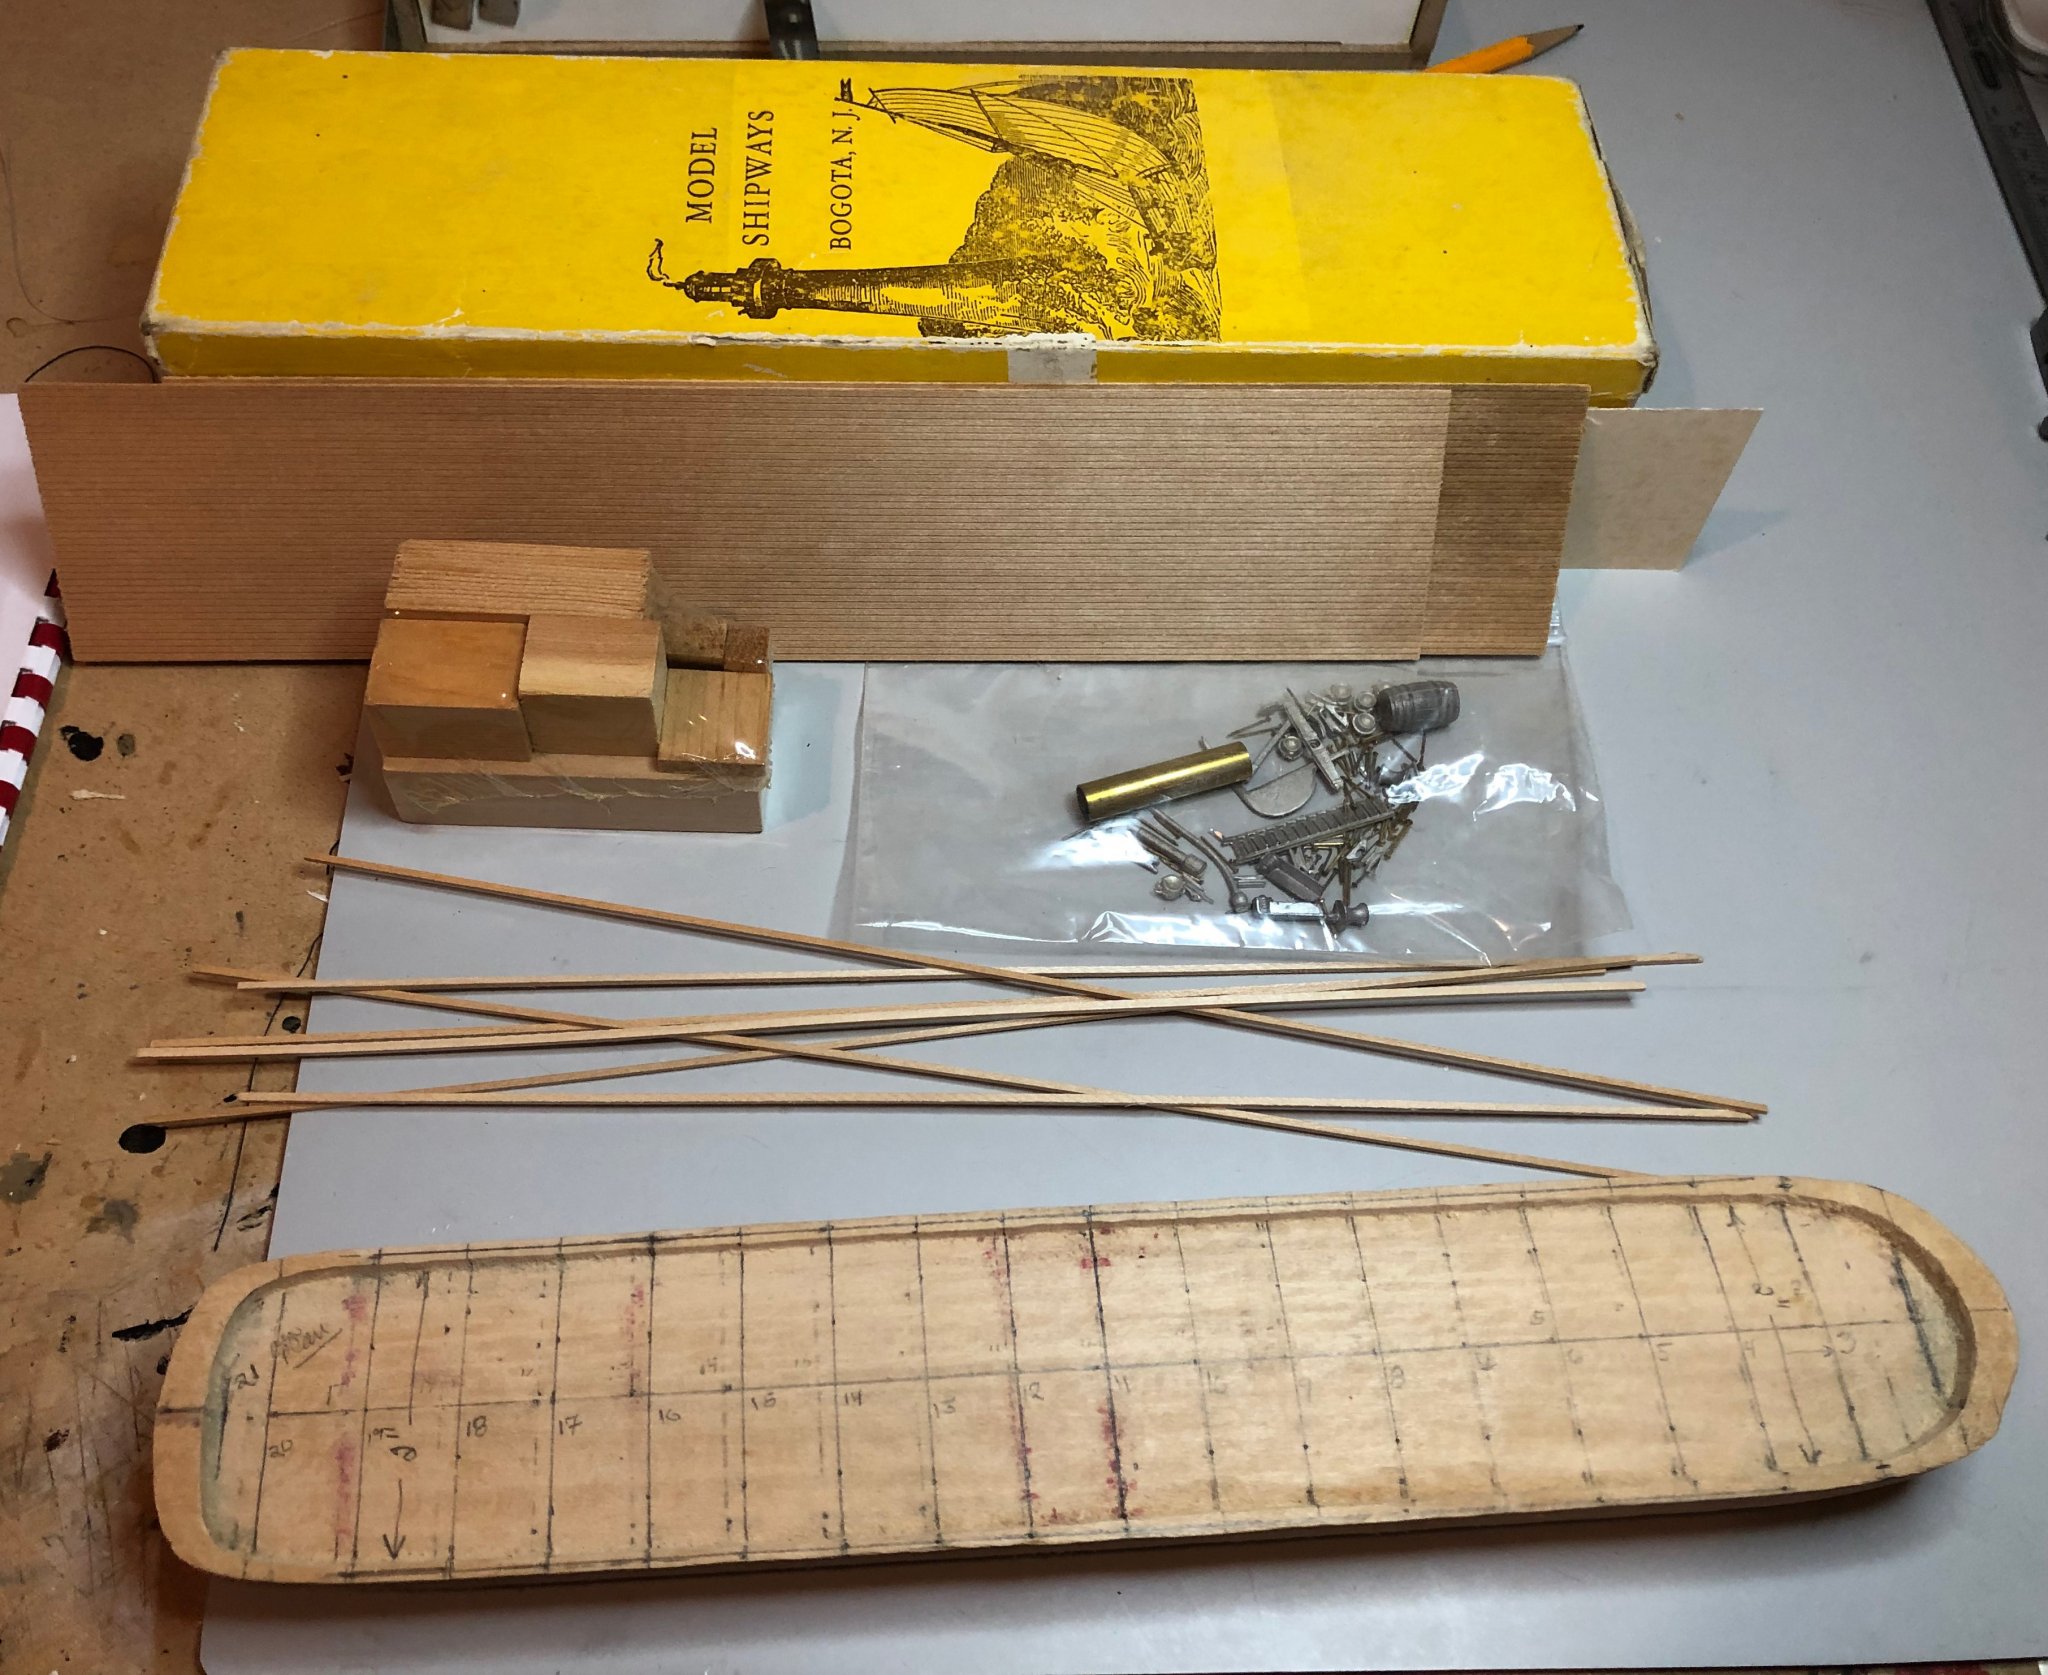
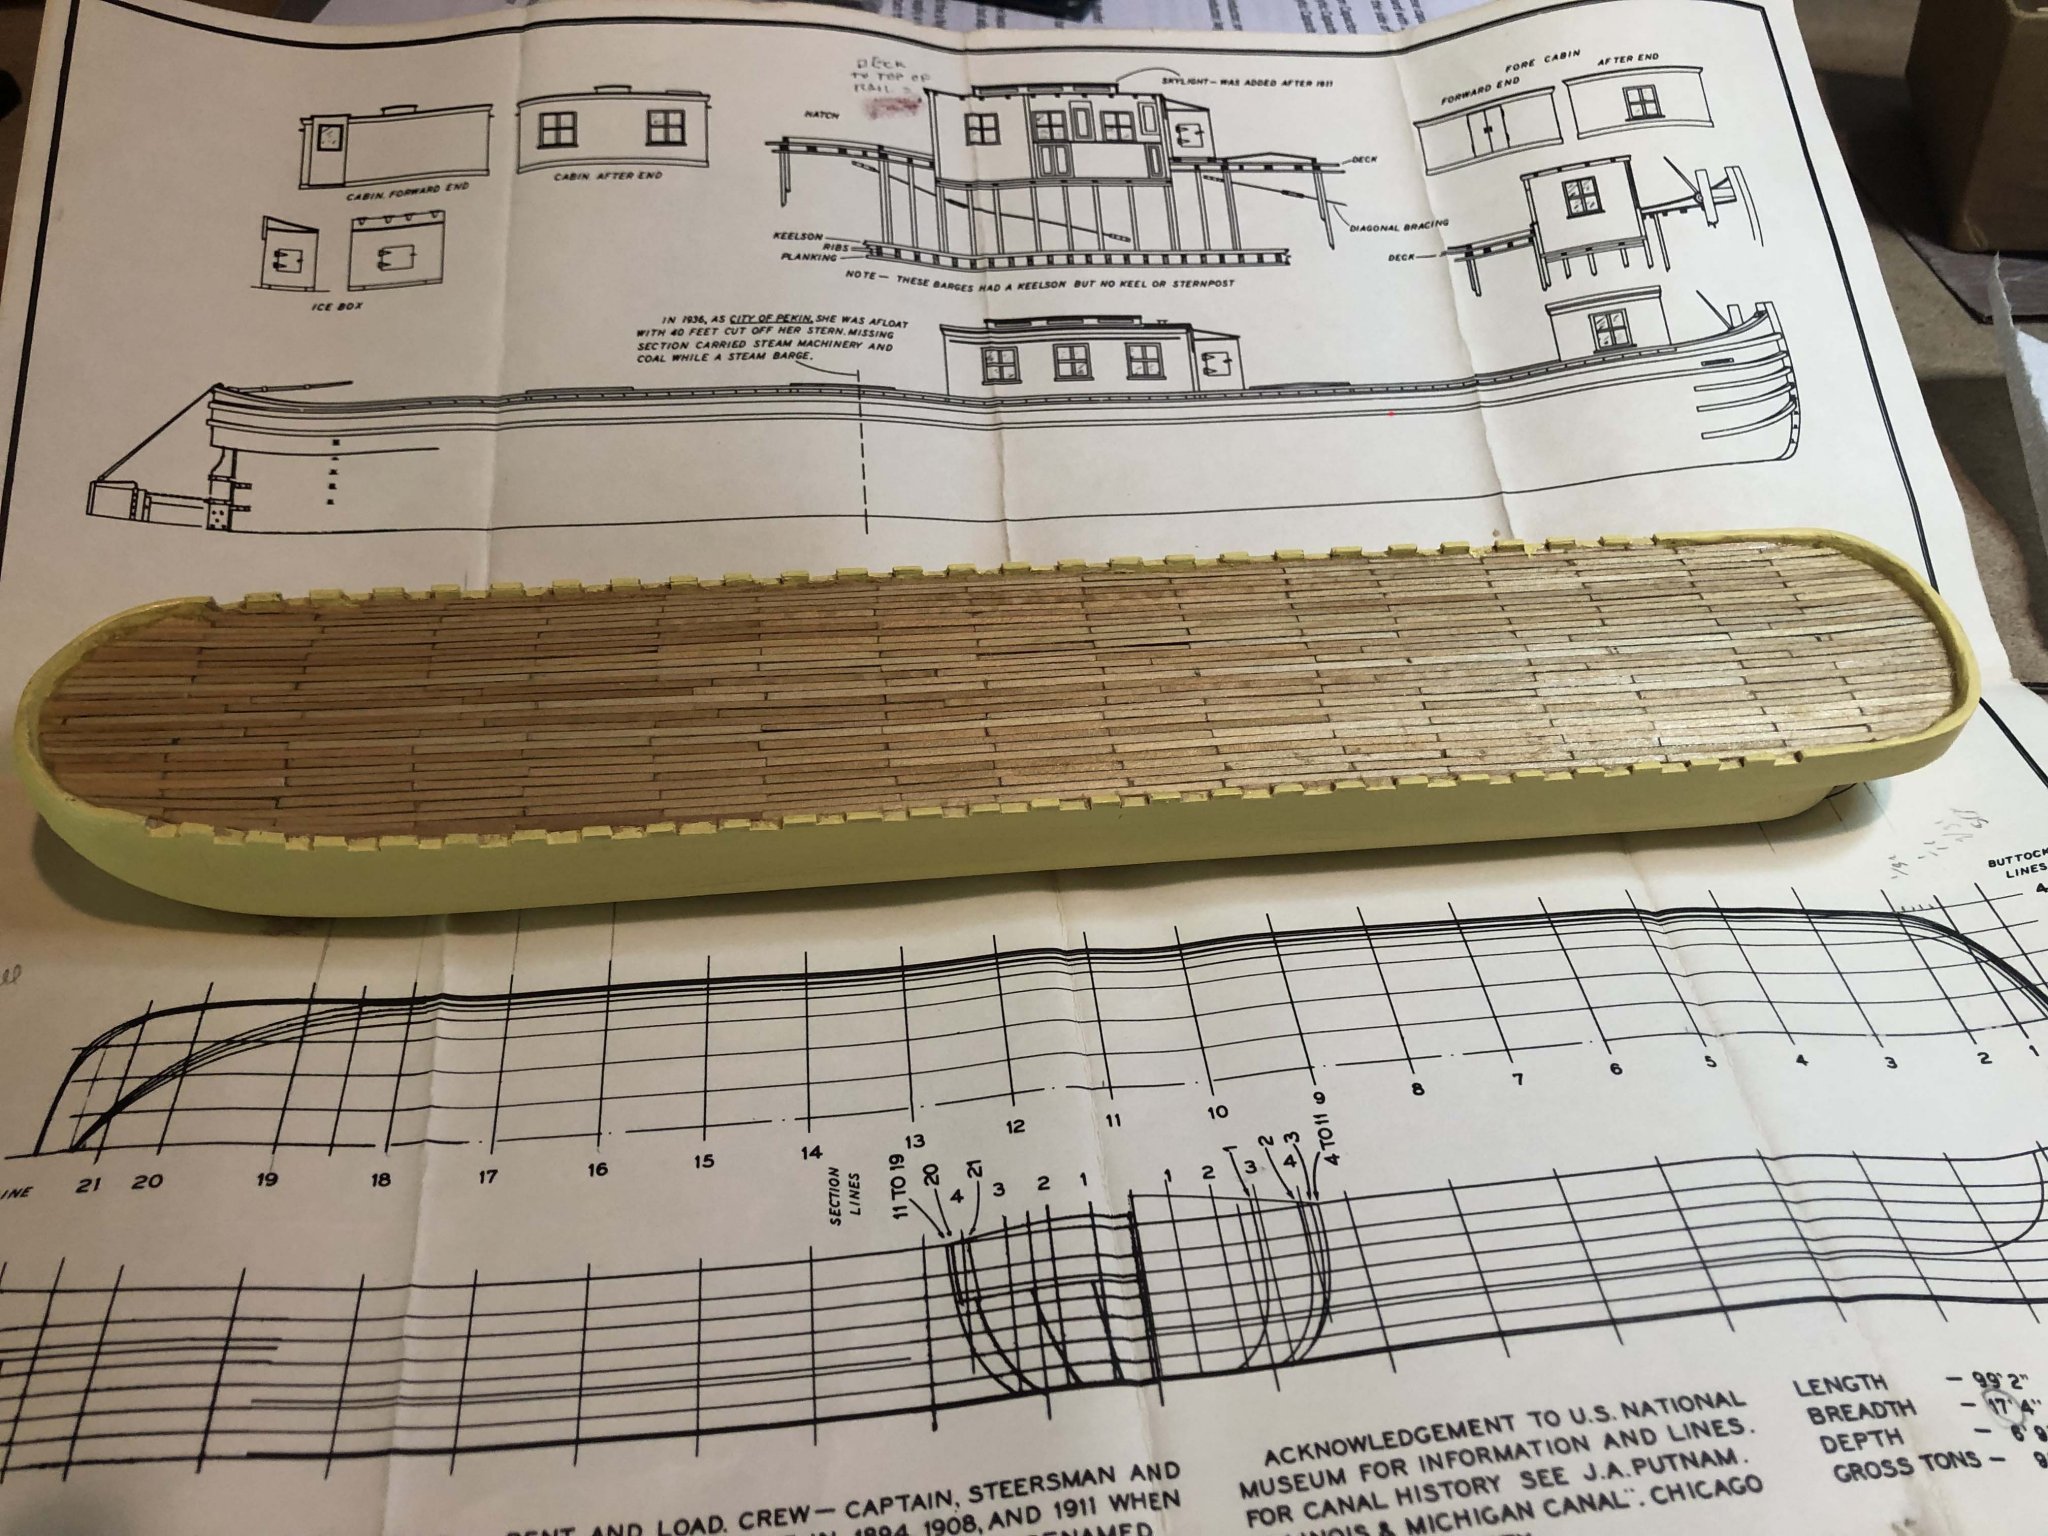
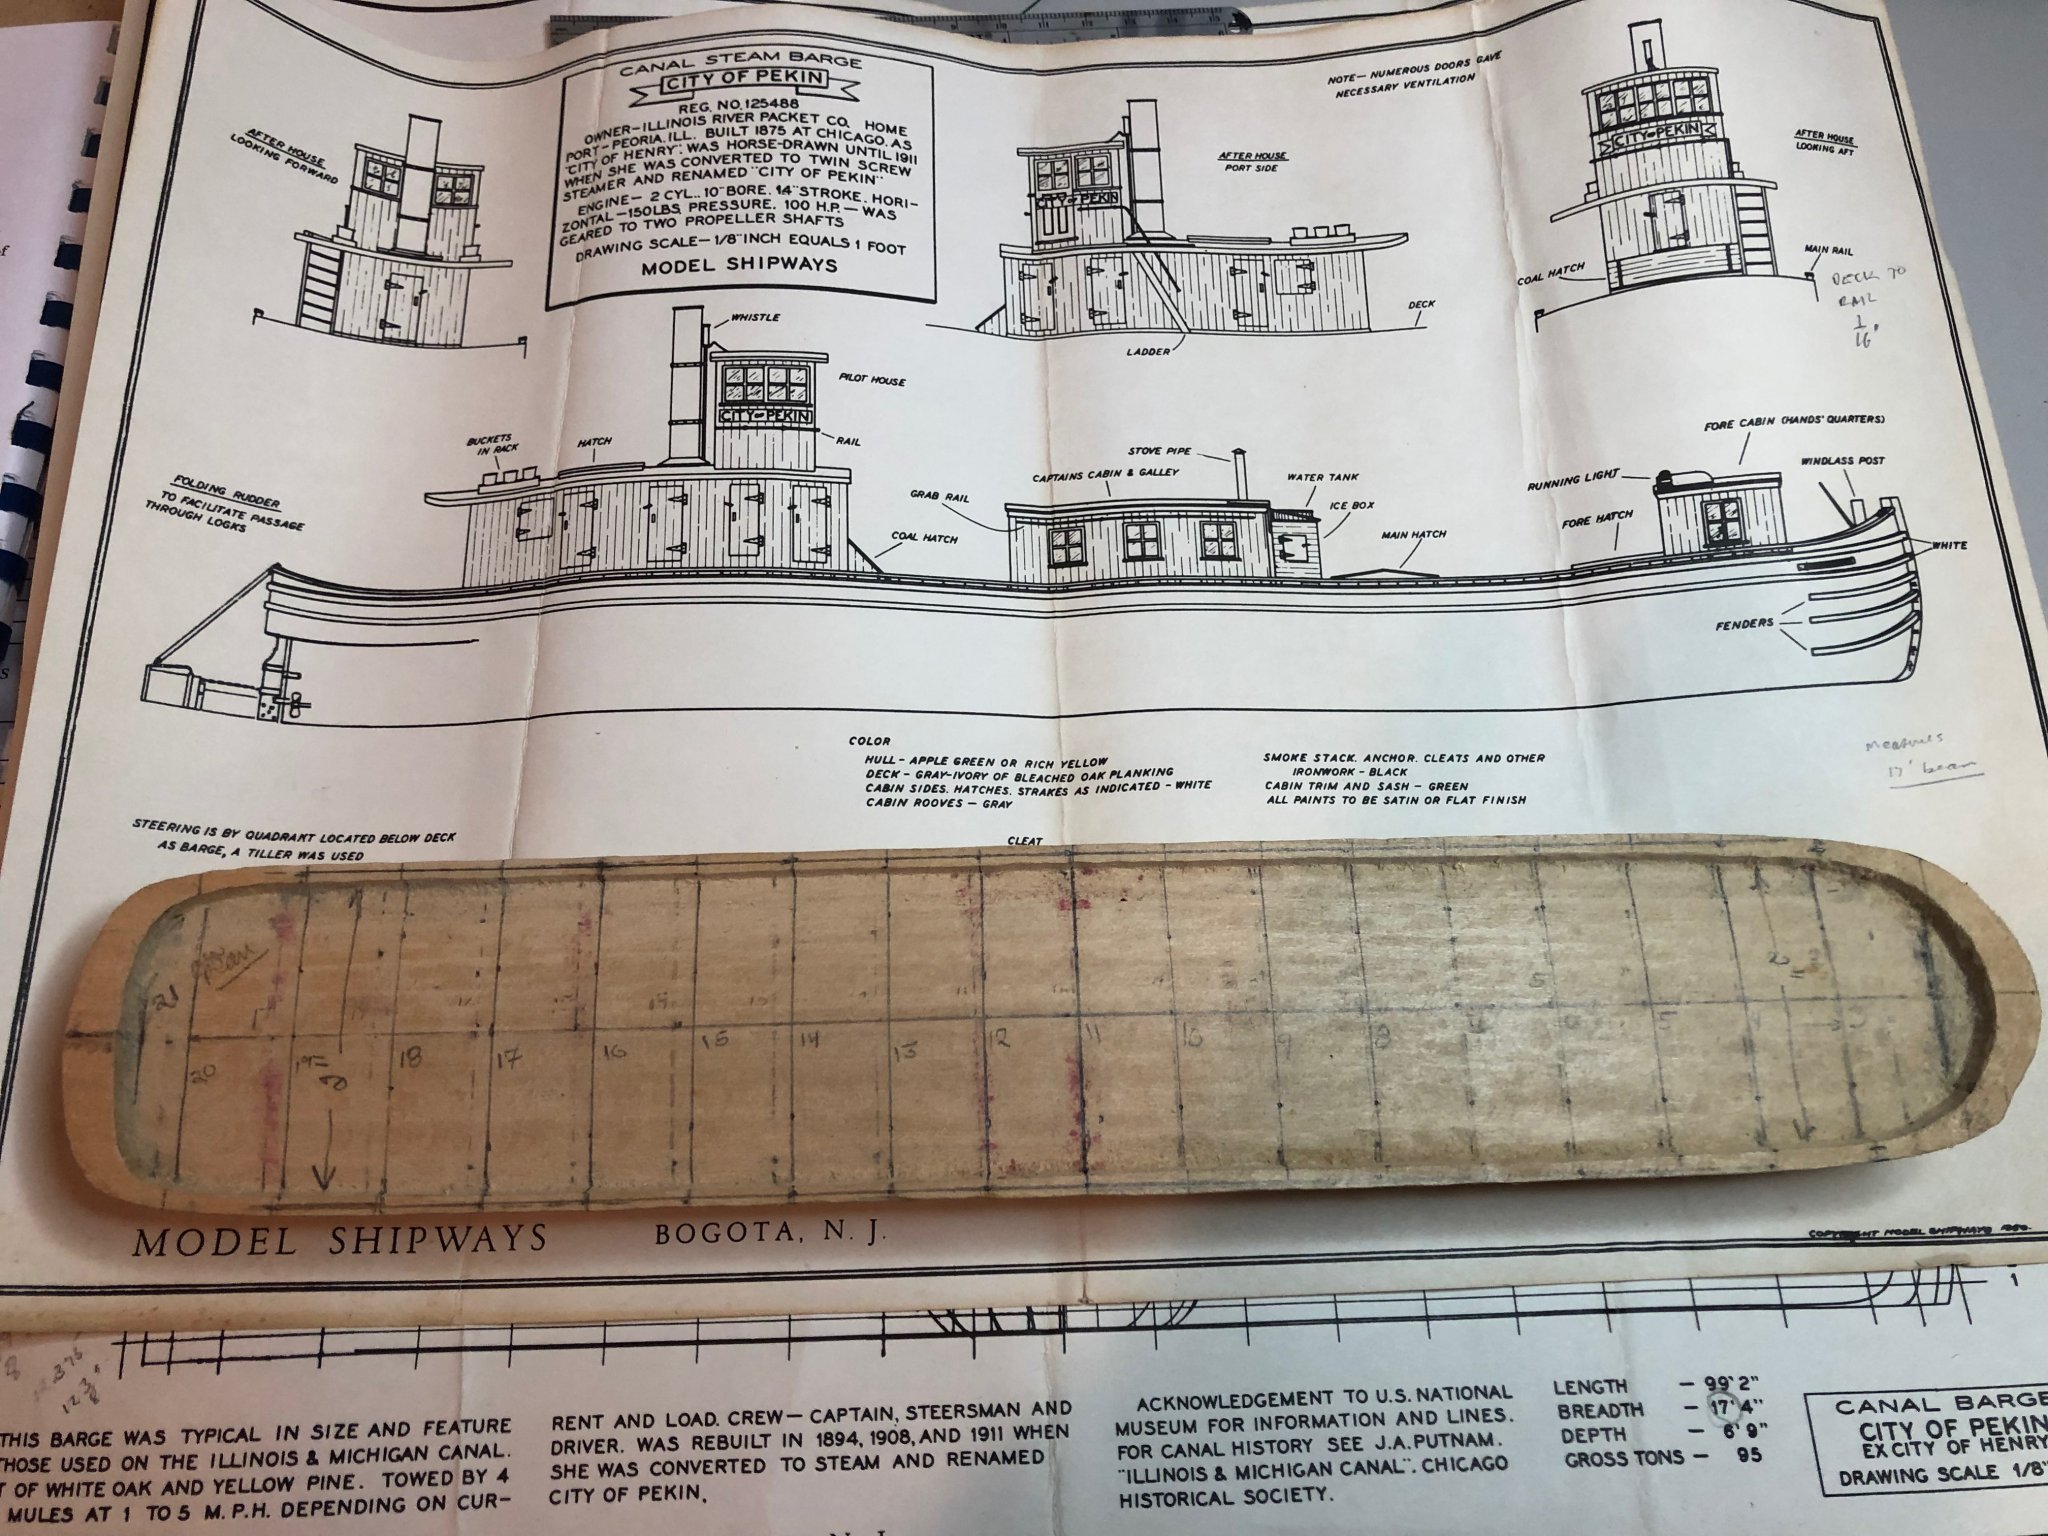
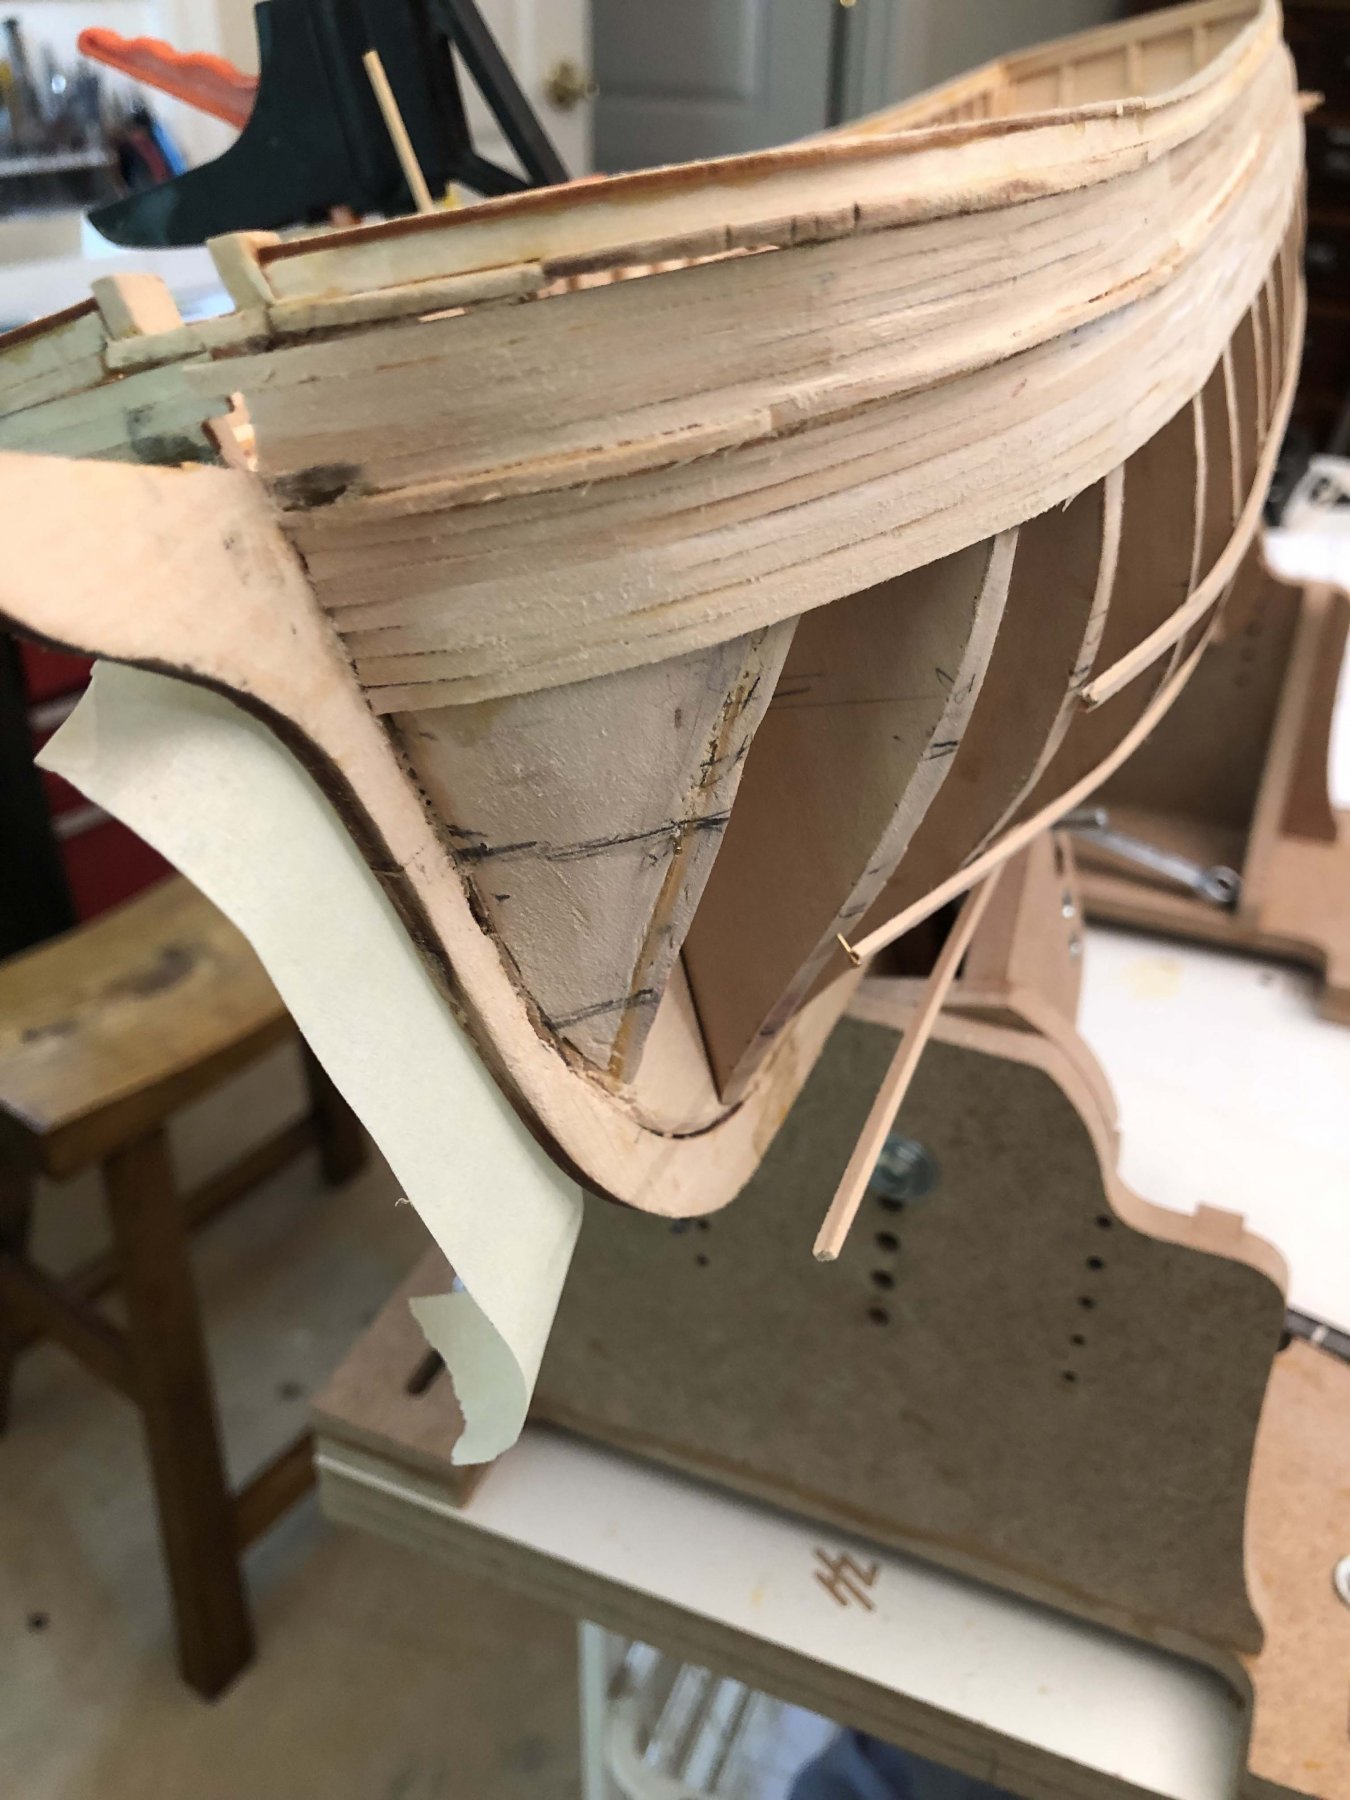
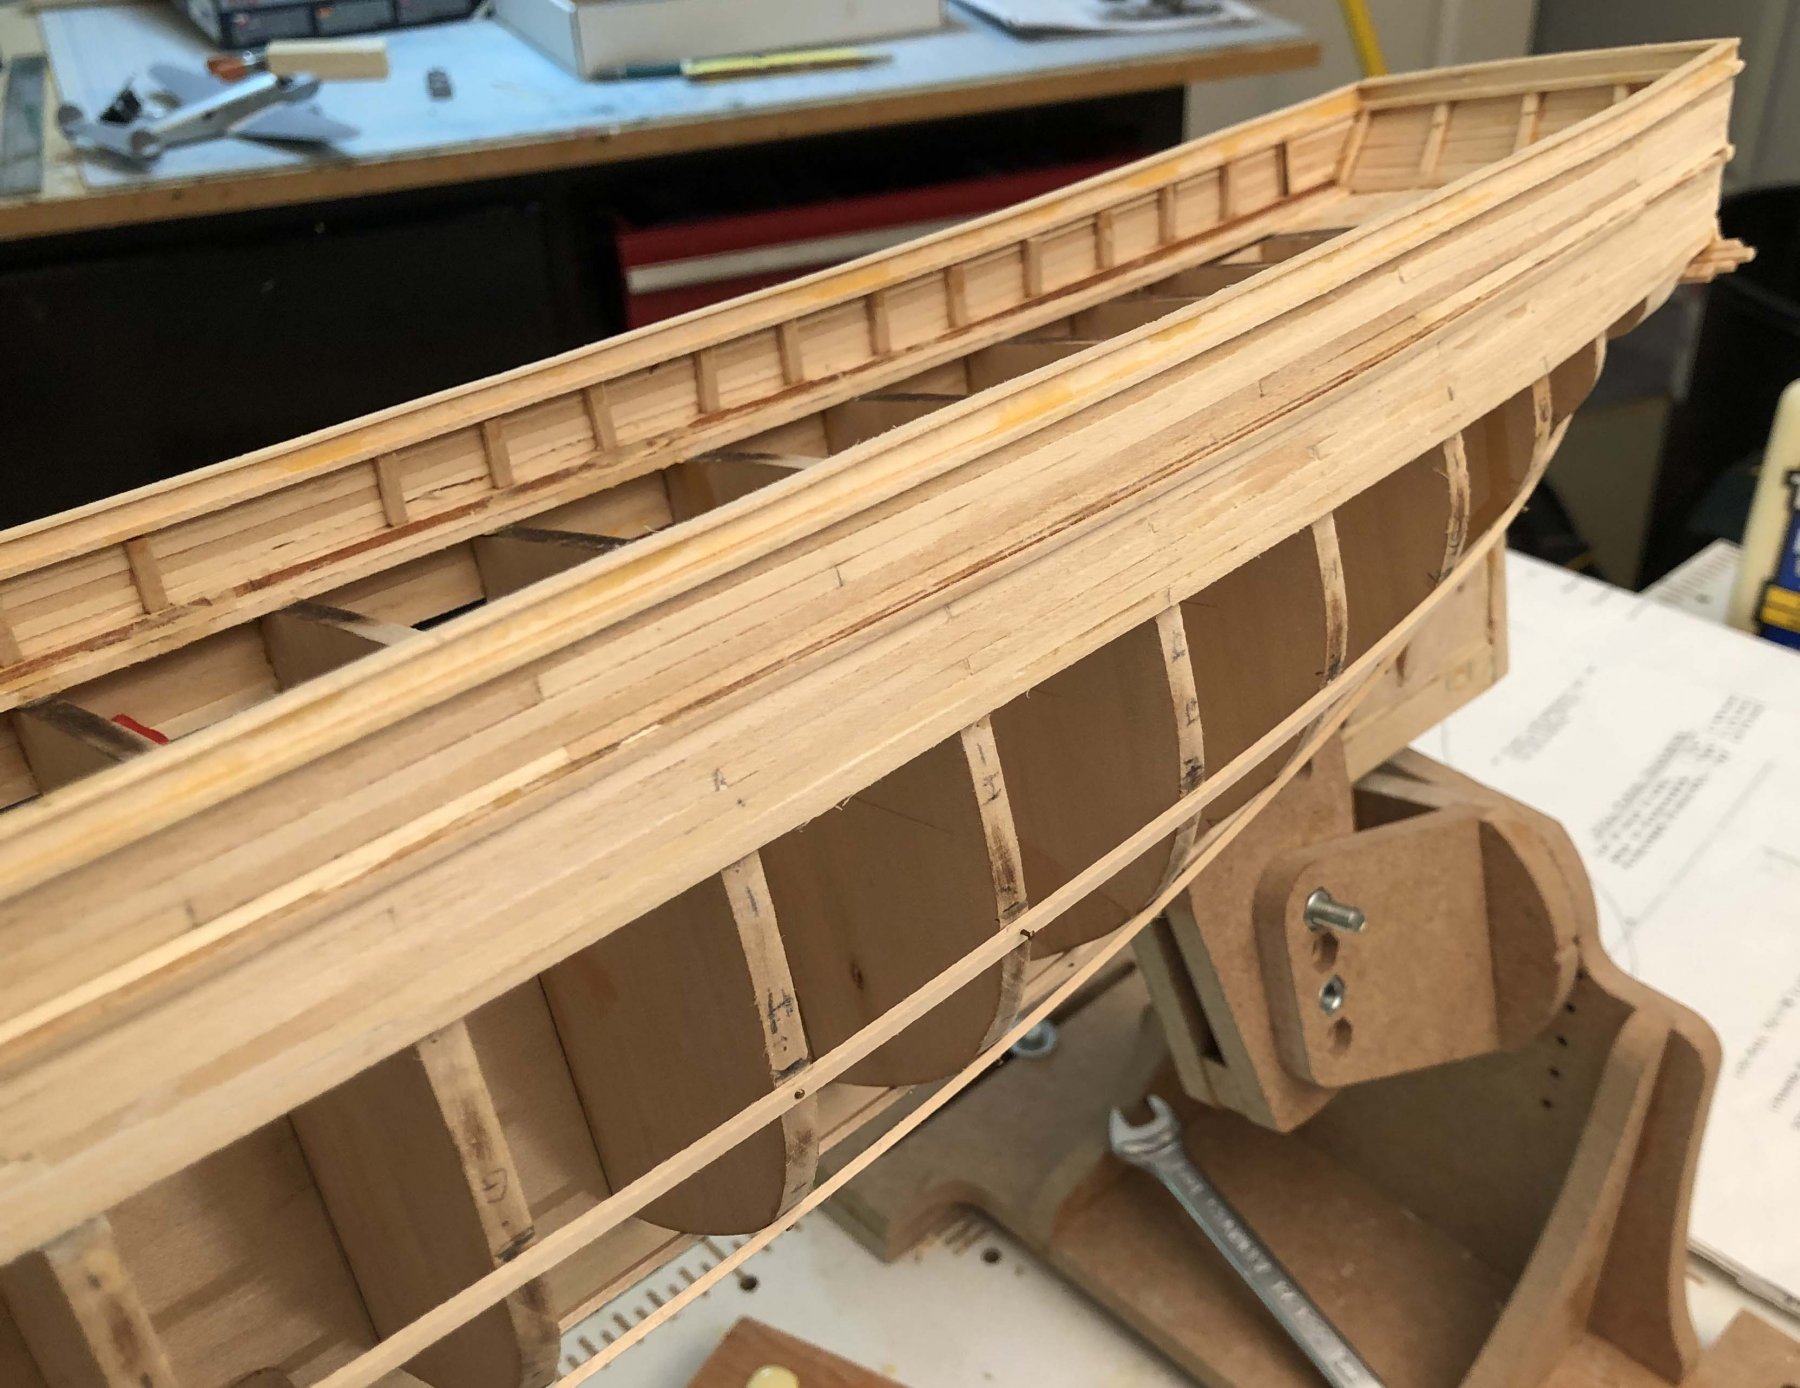
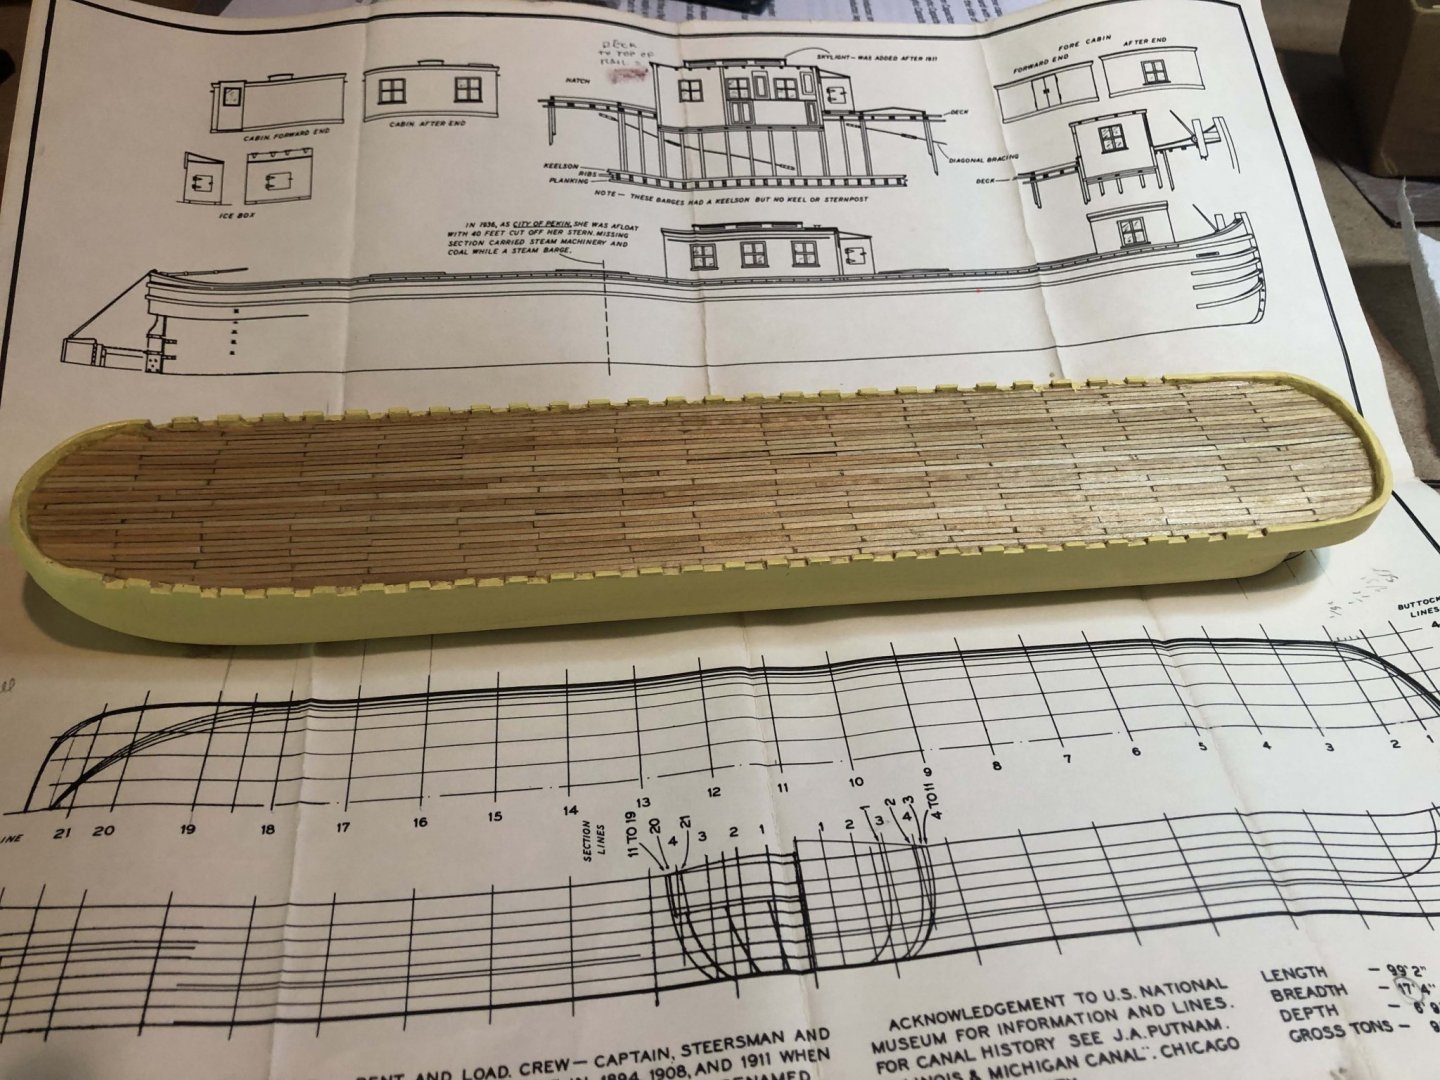
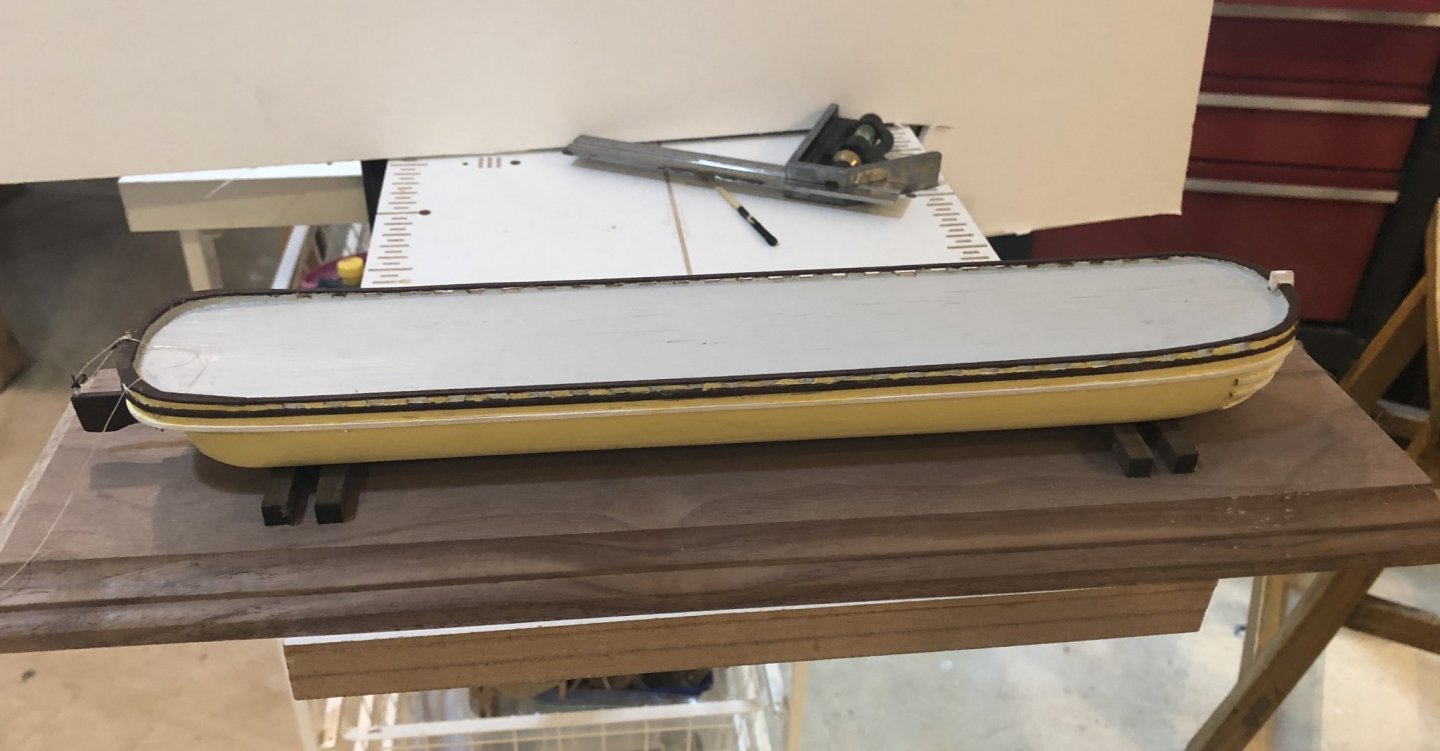
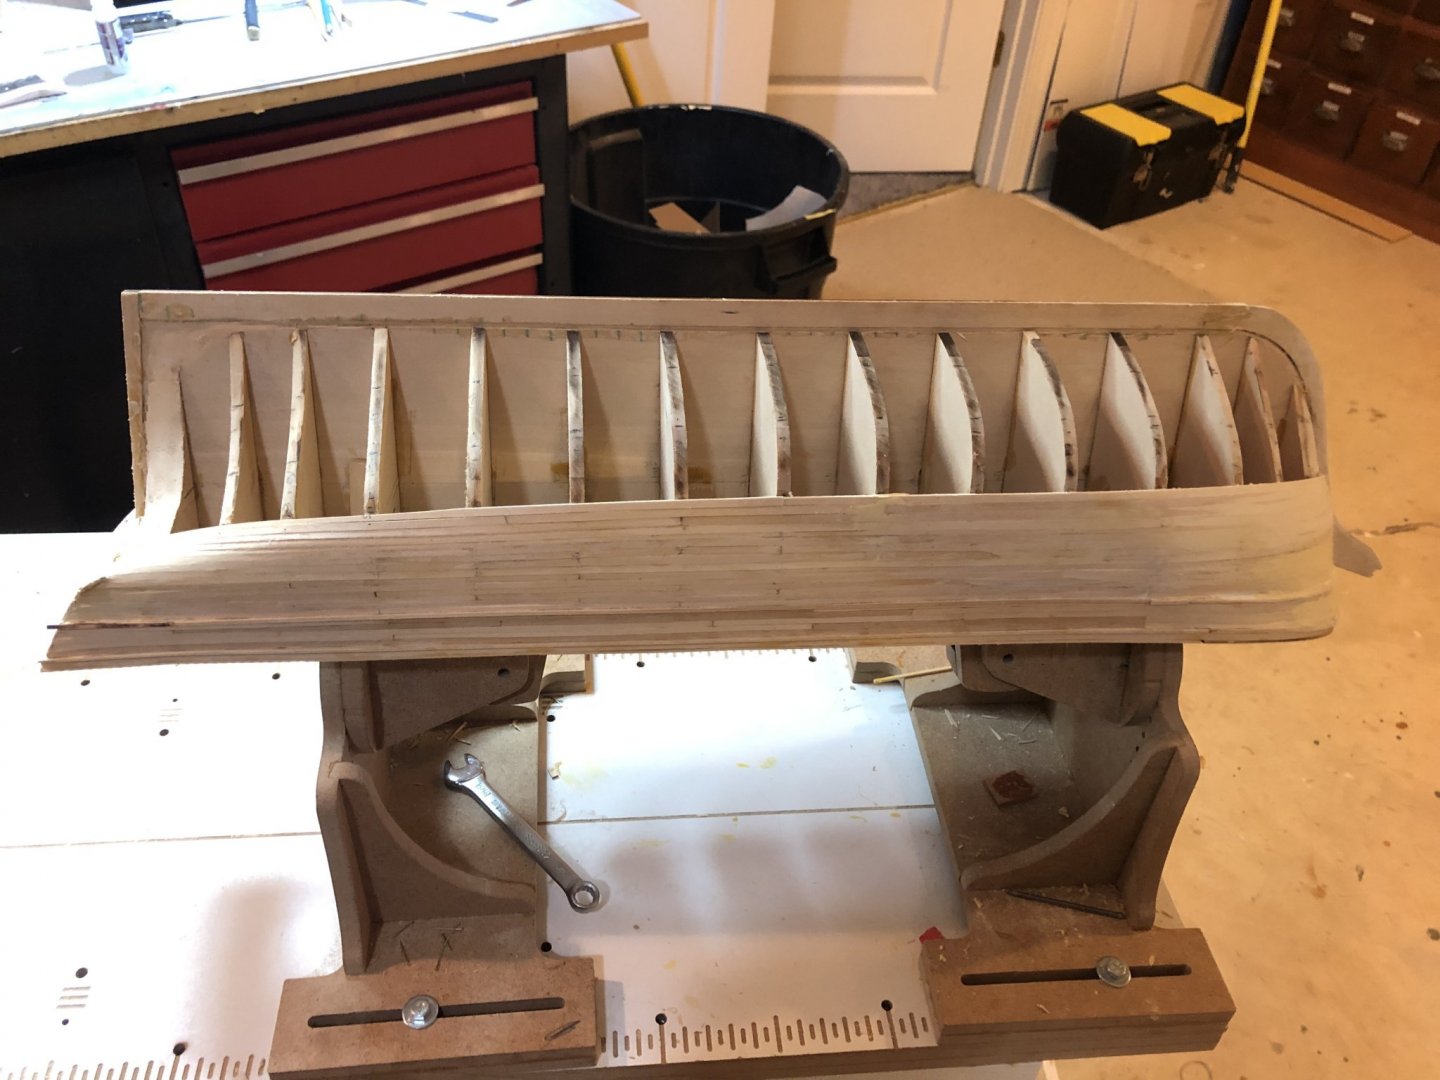
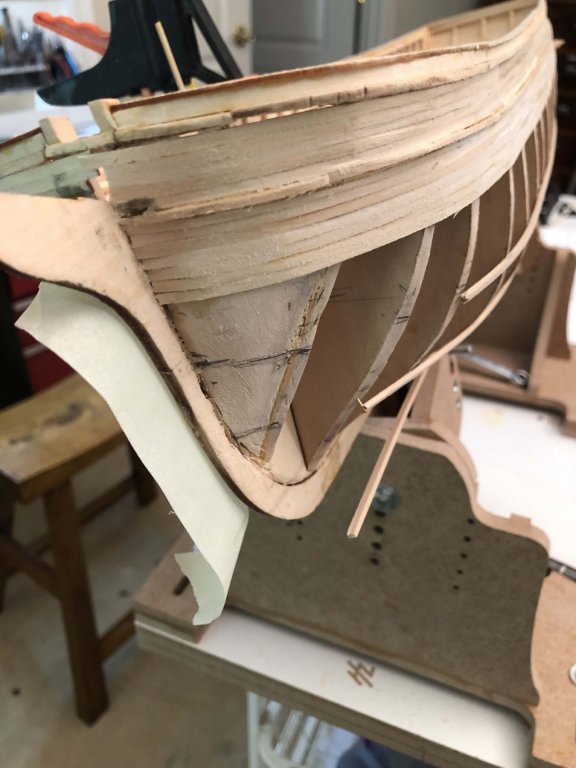
 I started this kit a while ago and have postponed starting a build log for no particular reason. I am a professional procrastinator. This is a very old kit with minimal parts. A machine carved hull; some blocks of wood for the deck cabins, some strip wood; and various white metal castings. There are 2 sheets of plans. One for the original tow barge and a second set showing the conversion to steam power. When I took the contents photo I had already started to lay out some reference lines on the deck. Some observations: 1. I discovered that the blocks for the deck houses were sized totally different from the plans. I planned to scratch build these anyway 2. The strip wood were of sizes that were way off scale for their required application. 3. The bow shape did not agree with the plans; hence all the plastic wood. As in all solid hull kits I've seen, the bulwarks are oversized by design and have to be shaved down to the proper thickness. The kit included scribed sheetwood for the decking but i decided to lay individual planks with 1/32x1/32 stripwood. Initially I varnished the deck and then later decided to paint it deck grey. After installing the decking one has to cut a bazillion little notches in the bulwarks. Most recently I test fit her on a walnut base. At this stage I installed the rudder. This was a bit of an issue. The casting included had no resemblance to the rudder in the plans. Also, the drawing was too small to really understand what the rudder actually looked like. Thanks to Google, I found an archeology study of some sunken barges of the same period as the CoP that had a good drawing of a typical rudder. I scratch built a reasonable copy for my CoP. I also had to scratch build 2 props as these were not provided in the kit. The result is passable, but they are not very visible anyway. Next step is to start making the deck houses. Final note: I am building the CoP at the same time as I am planking my Charles W. Morgan. I need to do something as the glue dries or the planks soak. LOL


- 26 replies
-
- 9
-

-
- city of pekin
- model shipways
- (and 1 more)
-
and myself also. I organize stuff and then I can never find anything.
-
PS. It’s nice to see a work are as messy as mine😂
-
Interesting aircraft. I have to admit I had never heard of it. Nice job on the shark nose painting. Was that freehand?
-
Nice work. Both cases are very nice.
-
Perhaps I should make the tow barge version showing it prior to the conversion to steam.
-
In between laying planking on my C W Morgan, I have been building the old Model Shipways “Yellow Box” City of Pekin, steam canal barge. Today it seemed like a good idea to install the props, prior to setting it on a base. But, the bag of fittings did not include the props. I purchased the kit on eBay several years ago. I don’t know if the seller lost them or MS didn’t include them. They need to be rather small, about 1/8th inch in diameter. (Model scale is 1/8” to 1’). To get to my point I haven’t been able to find props that small at any of the model ship stores. The smallest seems to be 20mm. I can probably scratch build something passable but I am wondering if any of the shipwrights out there have any suggestions for a source. I was thinking that perhaps an old plastic warship kit might have something useable. Ron Gove
-
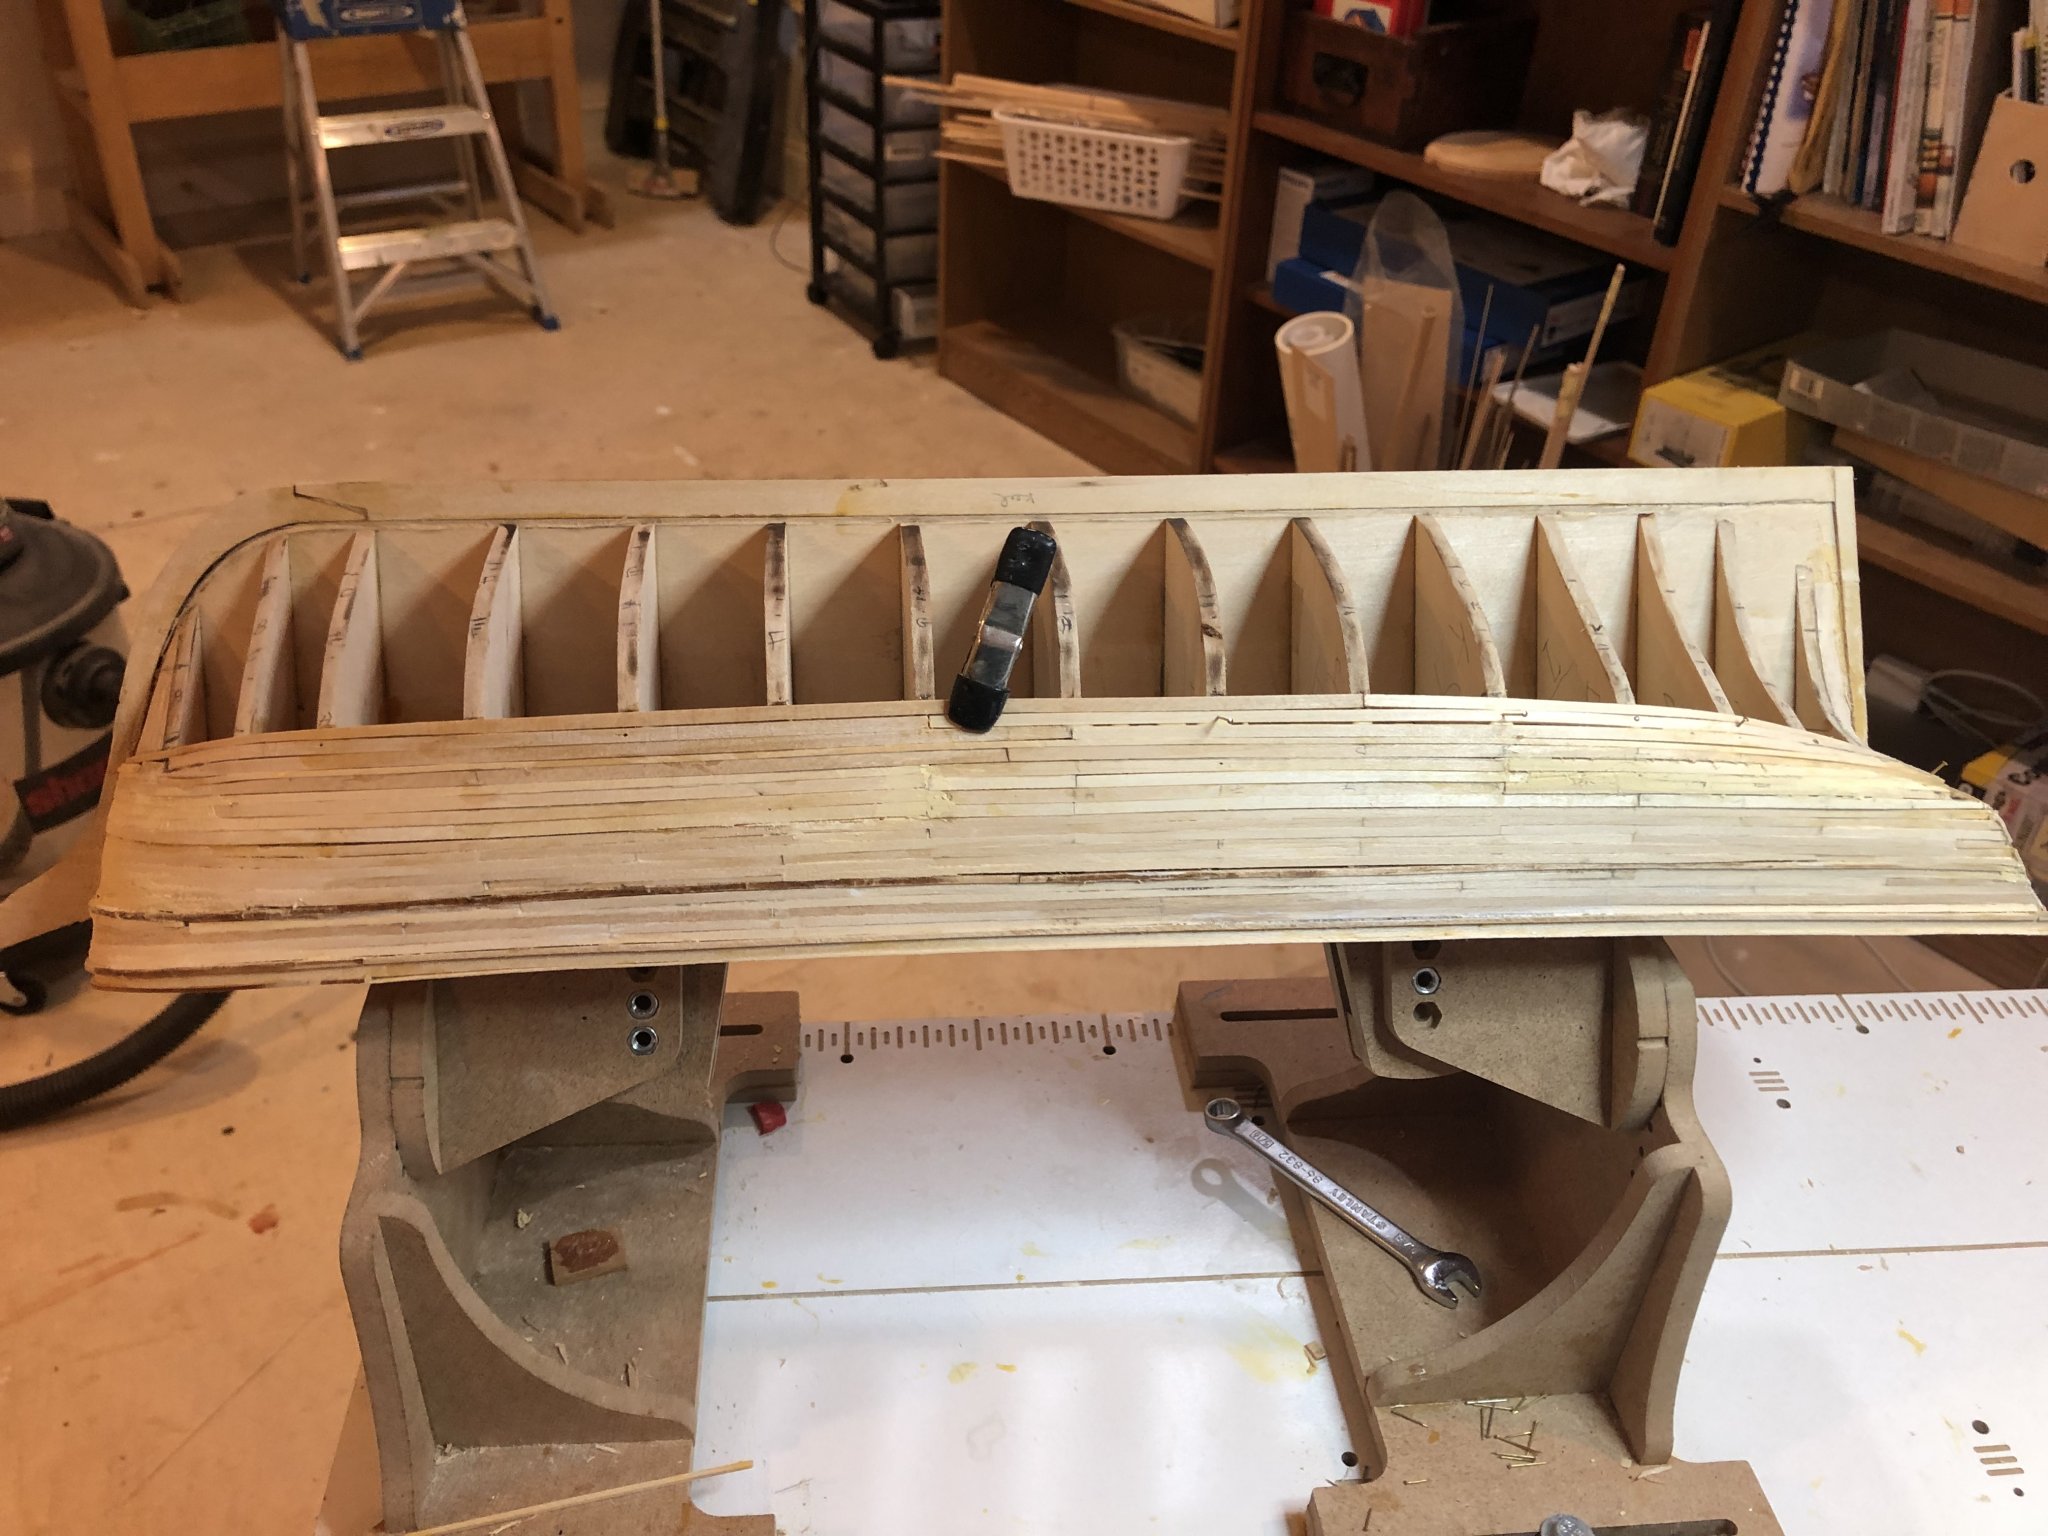
I haven’t posted progress for a while since the admiral and I were touring Colorado. Beautiful country! Since we’ve returned I’ve finished planking the “A” band. Slow work.

- 294 replies
-
- 7
-
-
- charles w morgan
- model shipways
- (and 1 more)
-
Dan, do you ever sleep? You are turning out beautiful paper models faster than I can read the postings! Ron Gove
-
At last. I see a work area more messy than mine.😁
-
Maybe I will see you on the air somedaY. I am also on QRZ
- 45 replies
-
- 1
-
-
- new bedford whaleboat
- model shipways
- (and 1 more)
-
I see a ham radio station in the background in one of your pictures. Are you also a licensed ham? Ron Gove W1GOV Leesburg, VA
-
Nice job
-
The product specifications at Amazon say the assembly time for this kit is 24 hours. That has to be wrong by 2 orders of magnitude.
-
Amazing job as usual Dan.
-
I’ve used the ShipWrightShop for rigging and other stuff. Amazing is that their shipping for small stuff from the UK to US is cheaper than Model Expo (Florida to Virginia) http://www.shipwrightshop.com/shop/contents/en-uk/d6_Static-Ship-Fittings.html
-
Nice camouflage! I remember making a tank model as a teen but I have no recollection of the brand.
-
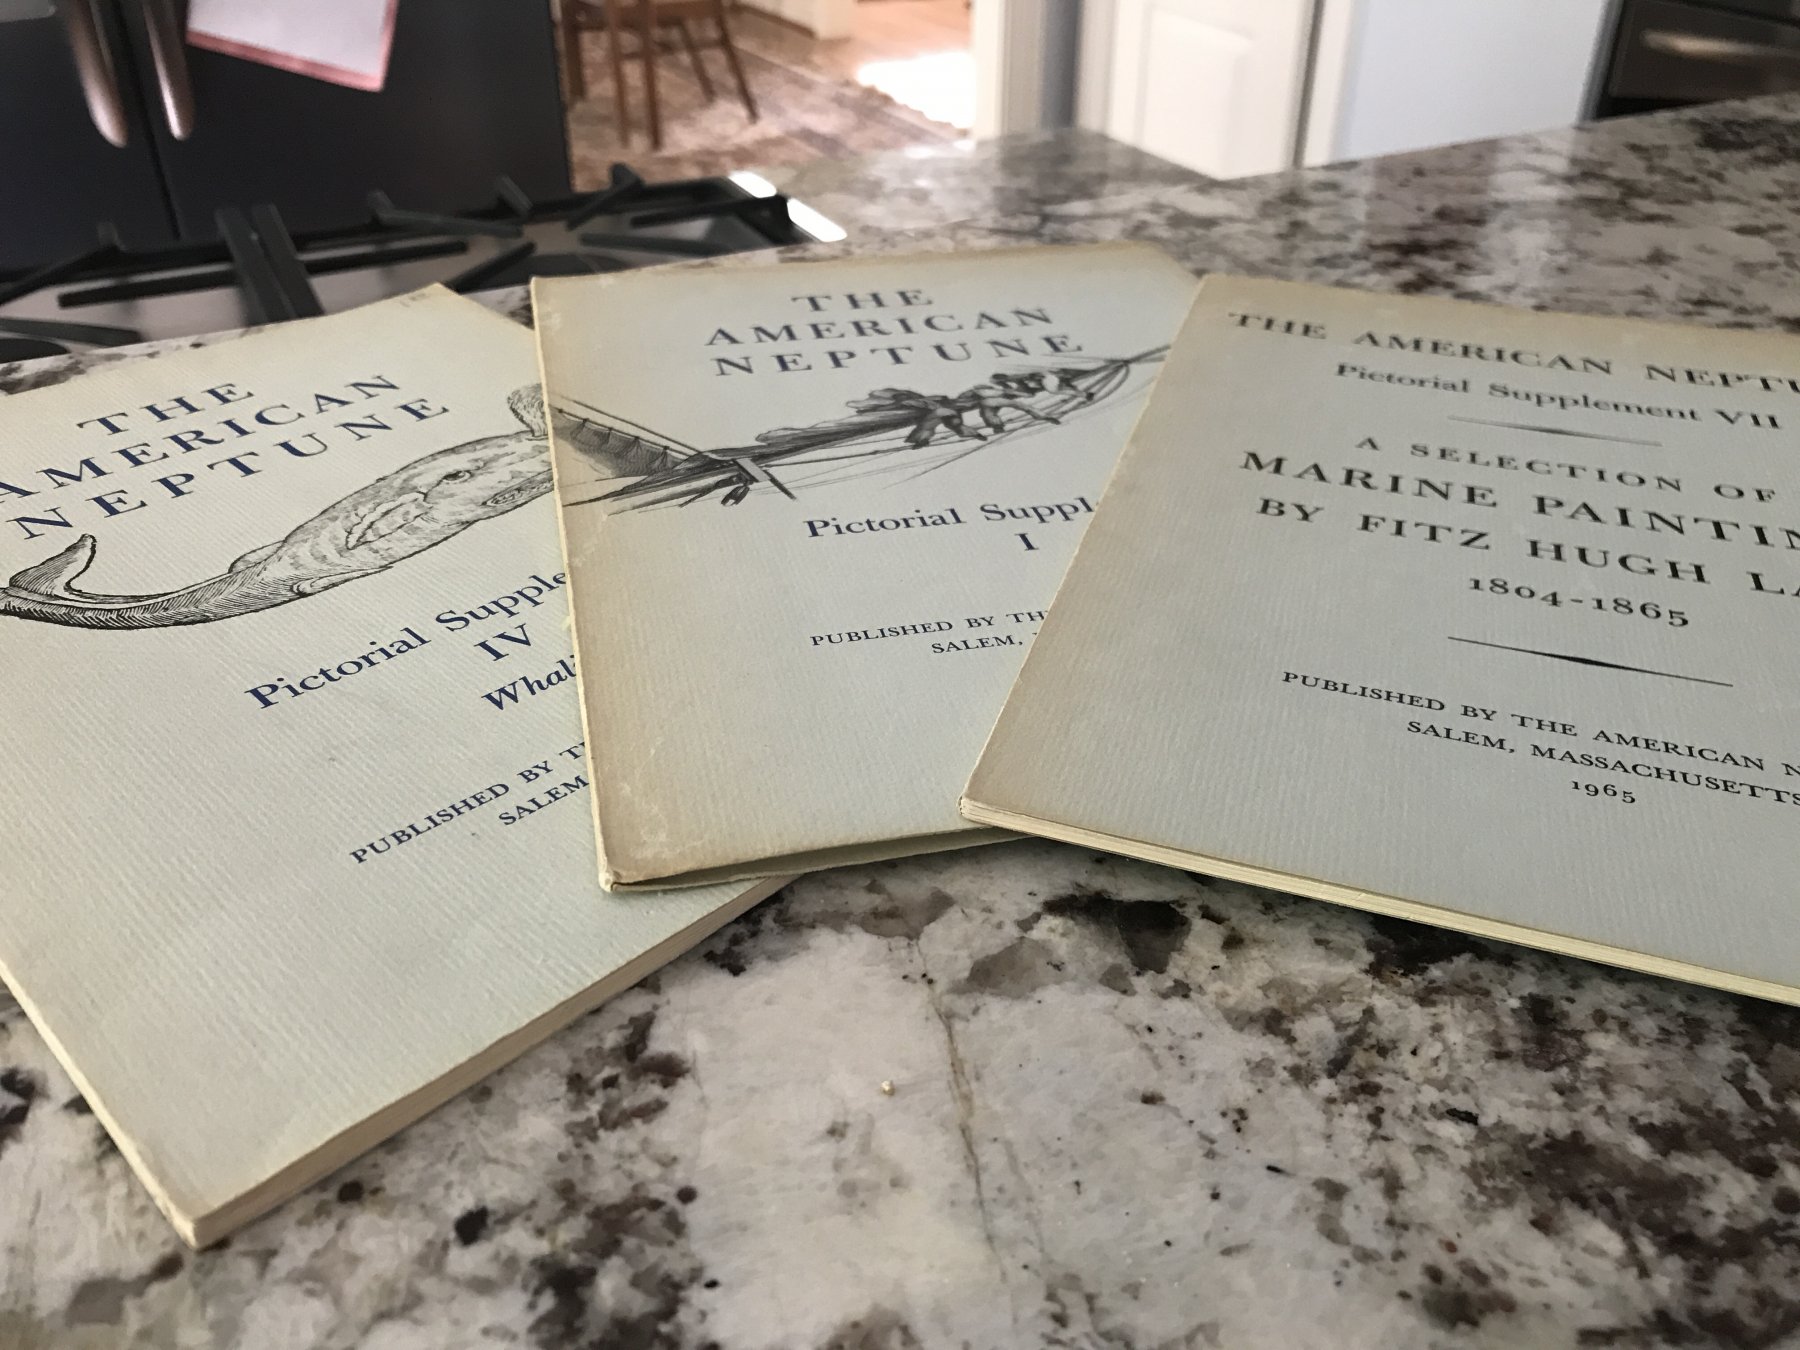
I purchased these booklets maybe 50 years ago from the old Model Shipways company when they were in Bogota , New Jersey. If anyone would like them, message me with your mailing address and they are yours free of charge.

-
Hello from the one part of Michigan that isn't near water.
Papa replied to Shantyboy's topic in New member Introductions
As you are interested in the Pacific Northwest lumber world, check out the old yellow box Model Shipways Forester. She’s a 4 masted lumber schooner. I’ve always wanted to build her myself but I have too many kits stacked up now. There is one on eBay today with a $29 current bid. -
Planking is now underway. I had a bad time with the bow as the plank shear broke into many pieces during earlier stages of the build. I patched it up as best I could and continued. However, once i started planking I could see that my repairs we not good. The port and starboard sides were quite asymmetrical. I had to rip out all of the planking around the bow, repair the asymmetry and start planking again again. Looks much better at the bows now. A bit of filling and sanding to do still. Ready to start the planks below the wale.

- 294 replies
-
- 8
-
-
- charles w morgan
- model shipways
- (and 1 more)
-
Stunning build. Amazing what can be done with card.
-
I think Black Sea is a new Capt Black blend
-
Briar wood is sold in blocks in a variety of sizes. Google pipe making. It is very hard with a tight grain so it might be good for blocks. Need someone with experience in block making to try. Vermont Freehand sells blocks from a variety of sources. From $3 to$1000 on their webpage