HOLIDAY DONATION DRIVE - SUPPORT MSW - DO YOUR PART TO KEEP THIS GREAT FORUM GOING! (Only 20 donations so far - C'mon guys!)
×

NAZGÛL
-
Posts
1,365 -
Joined
-
Last visited
Content Type
Profiles
Forums
Gallery
Events
Everything posted by NAZGÛL
-
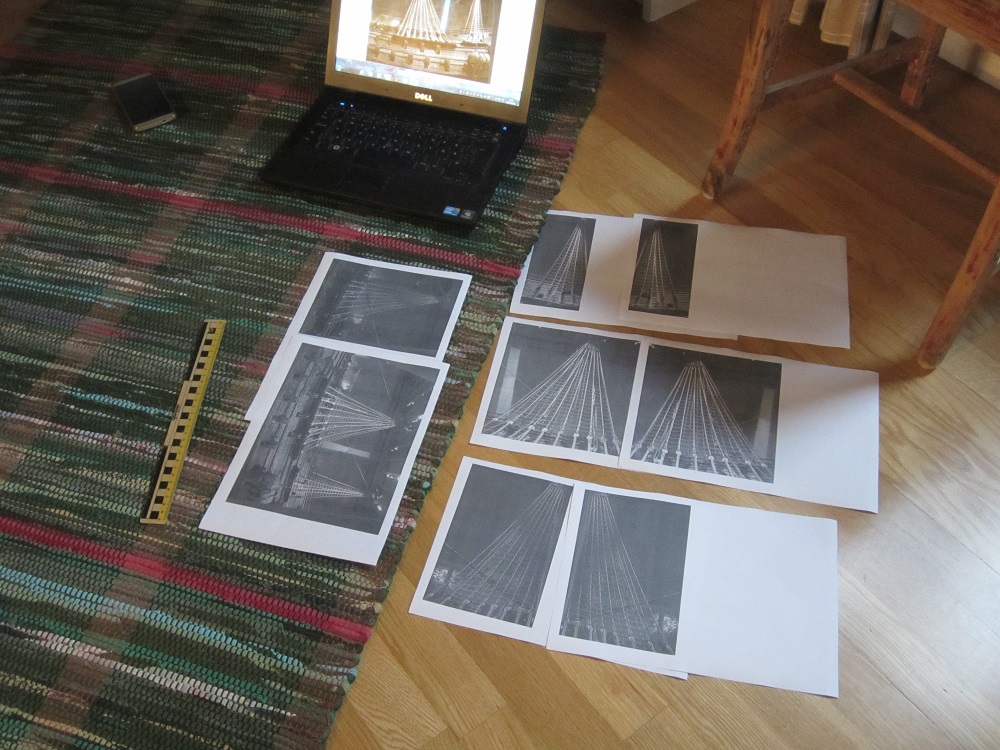
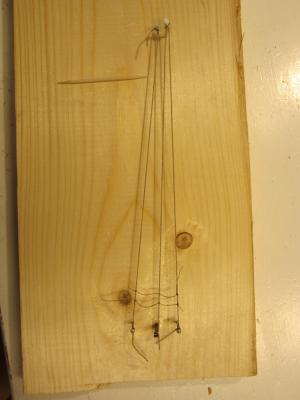
 I did a little test on the fake shrouds just to see if I could get any controle of the curve. I felt at home with the CA on toothpick method so I will probably go with that. It also turned out to have the advantage that the ratlines when glued end up close to the color my painted shrouds have. Next I did some templates by scaling pictures of the real ship. That way I hope to get the same curves as she has, and also how to space them. Gulp, this means I'm going to have a go at the model now... /Matti
-
Cheers mobbsie! Thanks for the heads up Ulises! I'll build the fake shrouds and start experimenting now. /Matti
-
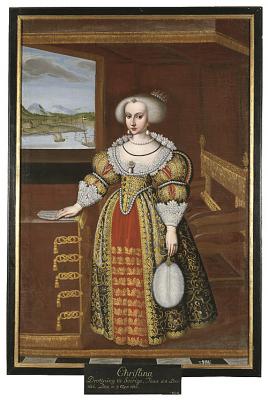
I heard she was painted in a north german style with polychrome sculptures. The red was a traditional swedish navy color. The ship that can be seen in the back of the painting of queen Kristina (Gustav Adolfs daughter) looks pretty close to Vasa in its color, even if it has few details added. I agree with the above comment that Vasa colors would have looked different in full size, especially if looked upon from distance. /Matti
-
Thanks Mark! Yeah I will try clove hitches.I will make a false rigging now and see how it works. /Matti
-
Wow, you are a quick builder! I see what you mean about the angle, here it is more straightened. /Matti

-
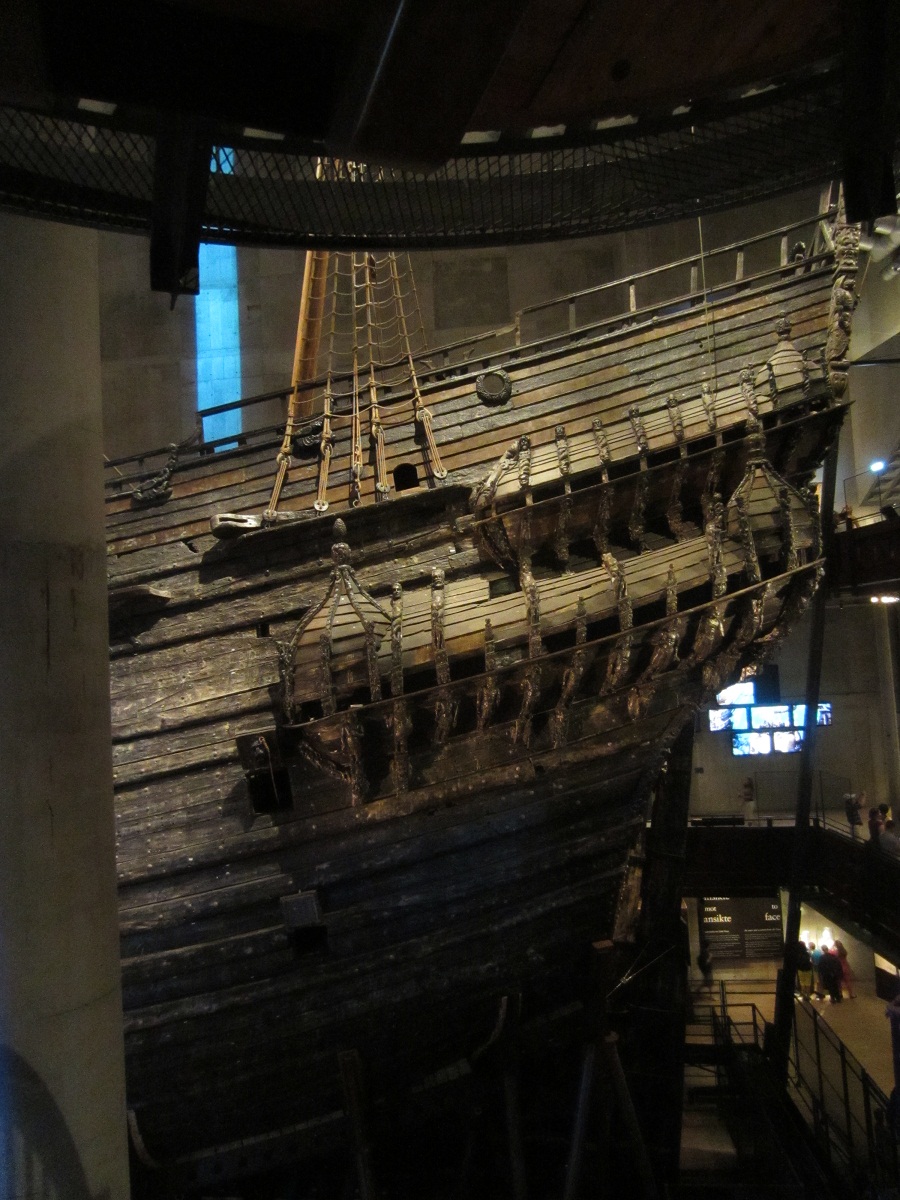
Thanks buddy, glad you're back! Yeah outdoor picture are better and more fun to take also but it rained all day yesterday. And thanks for the likes everyone! Mike, yeah what a cool experiment, it was on the news earlier and Fred Hocker and the carpenters put a bet on if the cannon ball would destroy it. /Matti
-
Nice work, I found those galleries to be pretty difficult to get right with all the angles. Good thing is Billing gives a lot of freedom to shape or reshape as you want. I like your idea with the toothpicks. Here's an image I took earlier. Angles and lines all over, and some lines dont align with others, making it hard to build. /Matti
-
Great suggestion Nigel, I'll keep that in mind when testing the white glue mix! Cheers! /Matti
-
Thanks for your suggestions guys! I tend to use CA alot when building so I guess I could learn to control it. Instead of white, I often get the ropes to get to dark, or a wet look. I have also tried the white glue from time to time, like the flag above. The problem I can see using it is to be able to shape it as it takes hours to dry. Like you say I will do some testing before starting. /Matti
-
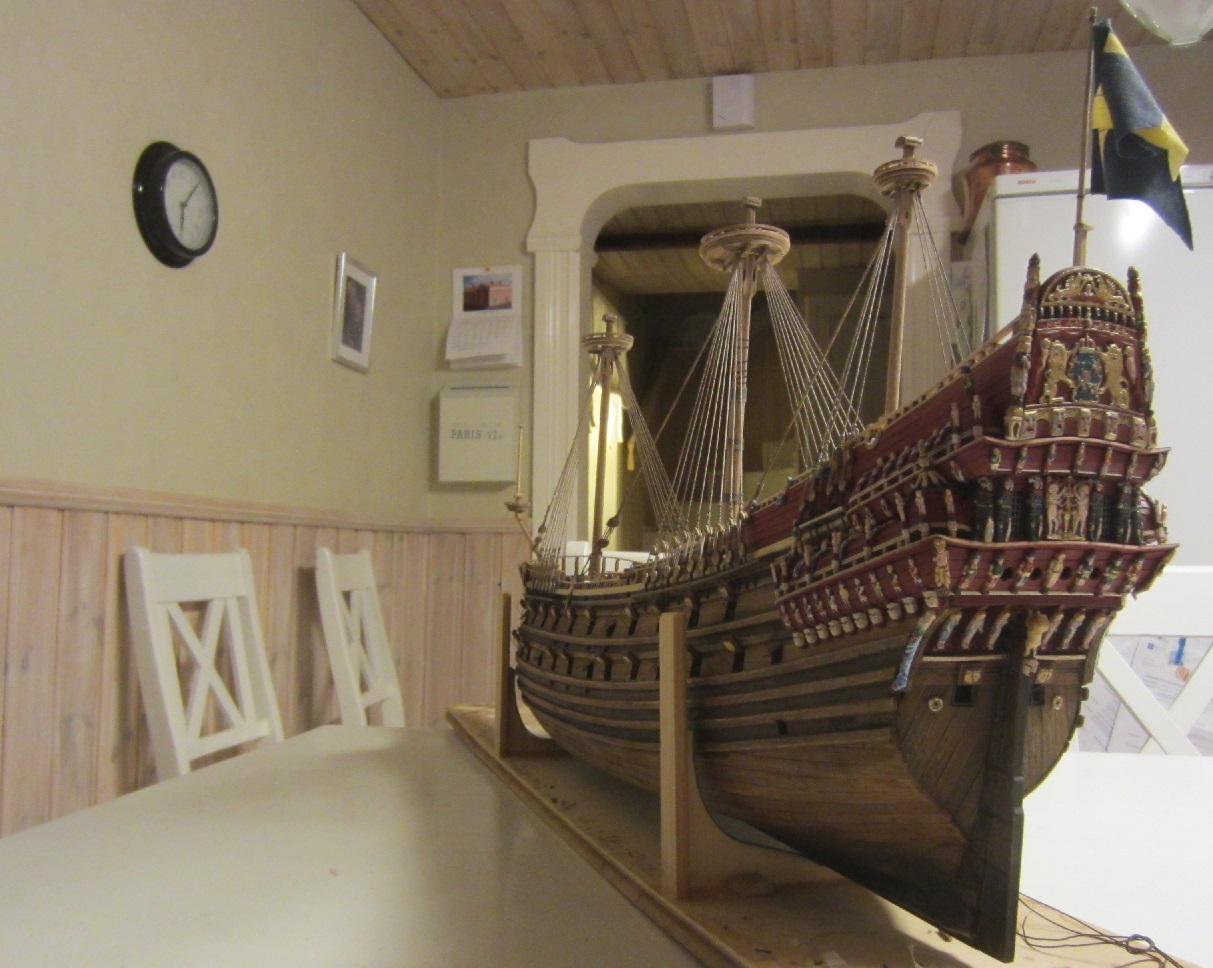
Many thanks Keith for the kind words! This is the most fun I had with modelbuilding, so many different stuff going on, yet the pace is slow so it's very relaxing. I did consider making it based onhow she looks today, but I'm to interested in the 17th century to do that. Half the fun is looking at reference trying to decide how to paint the sculptures. I'm starting to get a list of things I would do different next build but I try to take the misstakes as lessons learned. It's like the collars, the first I did for the the mizzen is more slobby compaired to the other two as I learned how to during the build. Same with the first shrouds compaired to the later ones.But on the other hand I can follow the progression when looking at them. /Matti
-
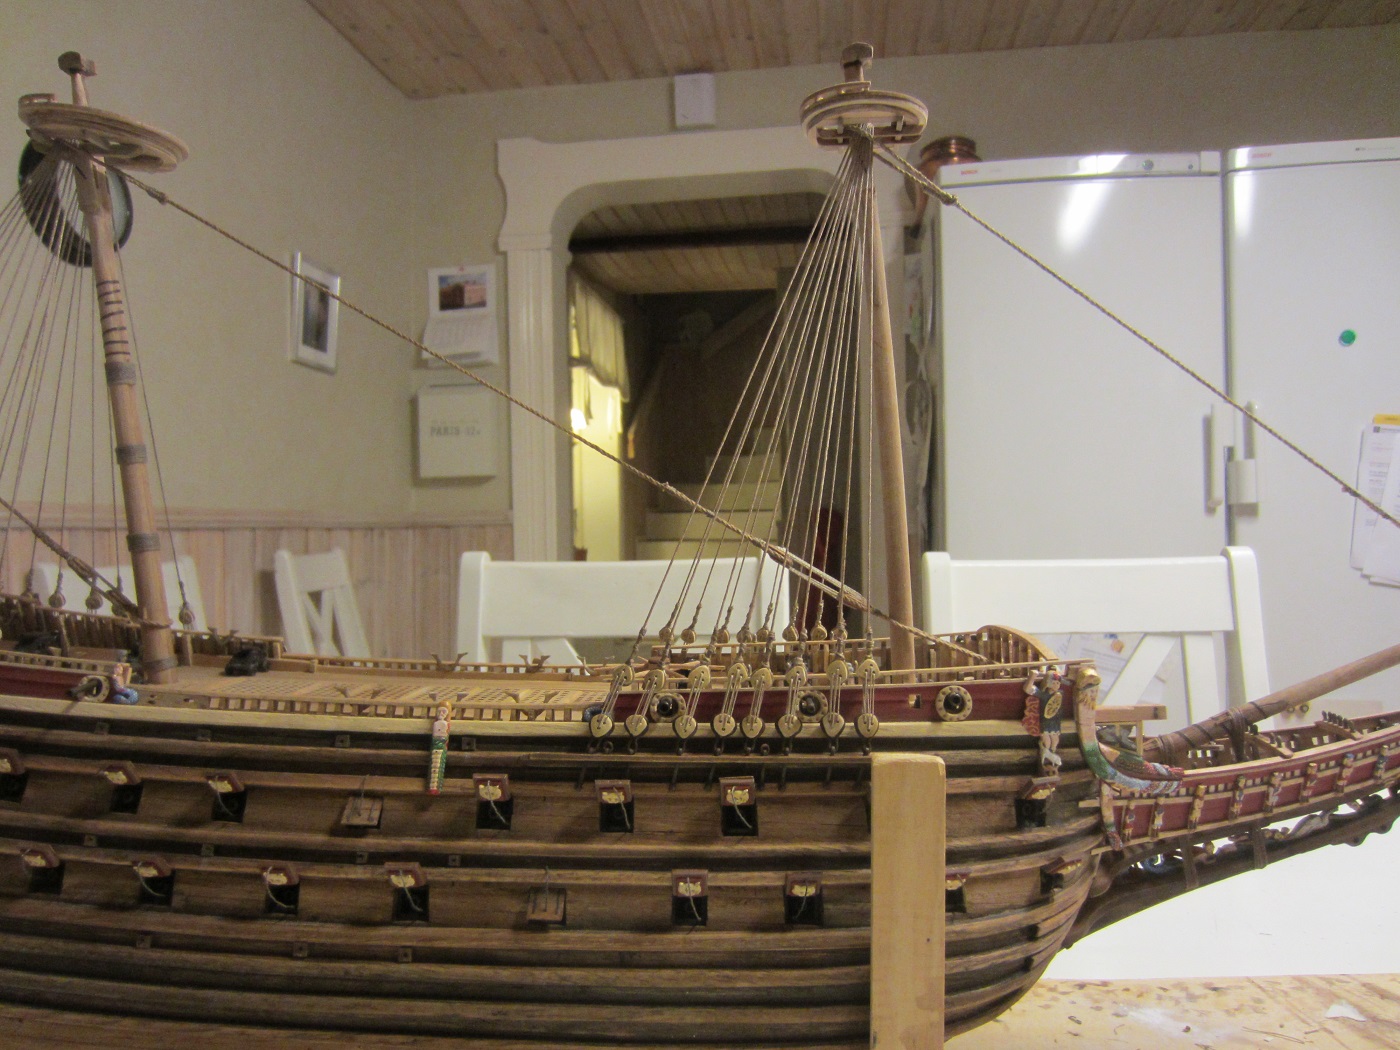
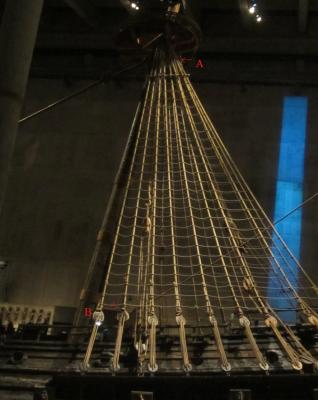
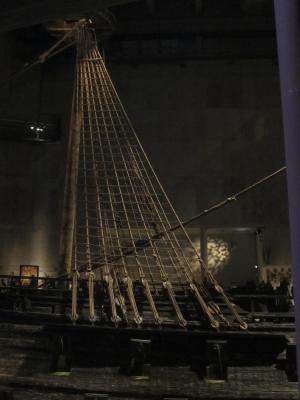
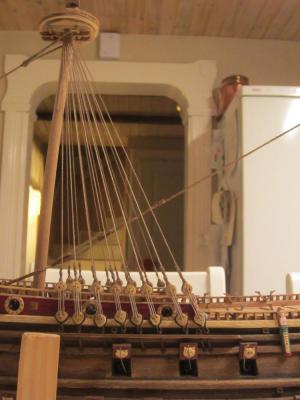
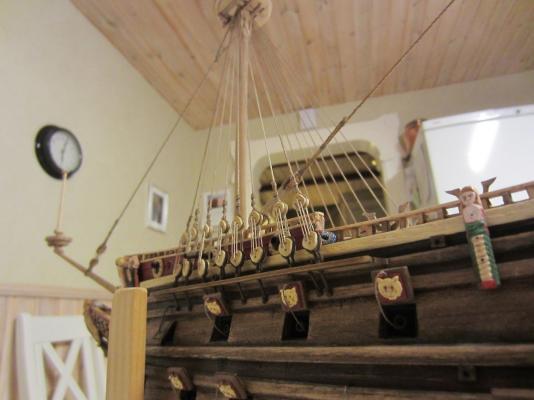
Cheers mate! Actually I'm enjoying the rigging so far. After all that shaping of the deadeyes and metal parts it feels so quick to just color the ropes and put them on and thats it. I'm sure ratlines will be different as there are so many though. Two questions: When is the best time to make the "ladders" (A) up to the tops? I would guess after the ratlines are on. Is it possible to get the curved sag the real ratlines get ( B )? I'm afraid lose ratlines would curve unrealistically and look wormy (if that's a word haha) as a thin thread has little weight. /Matti
-
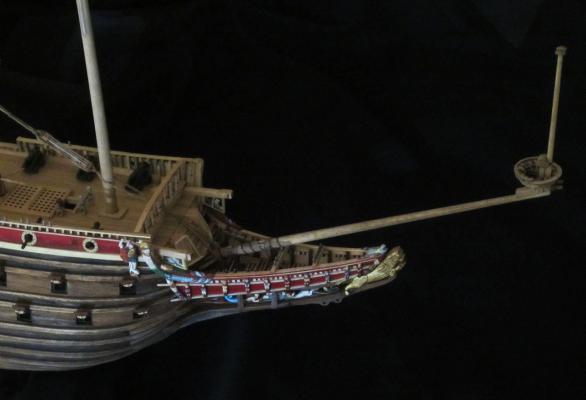
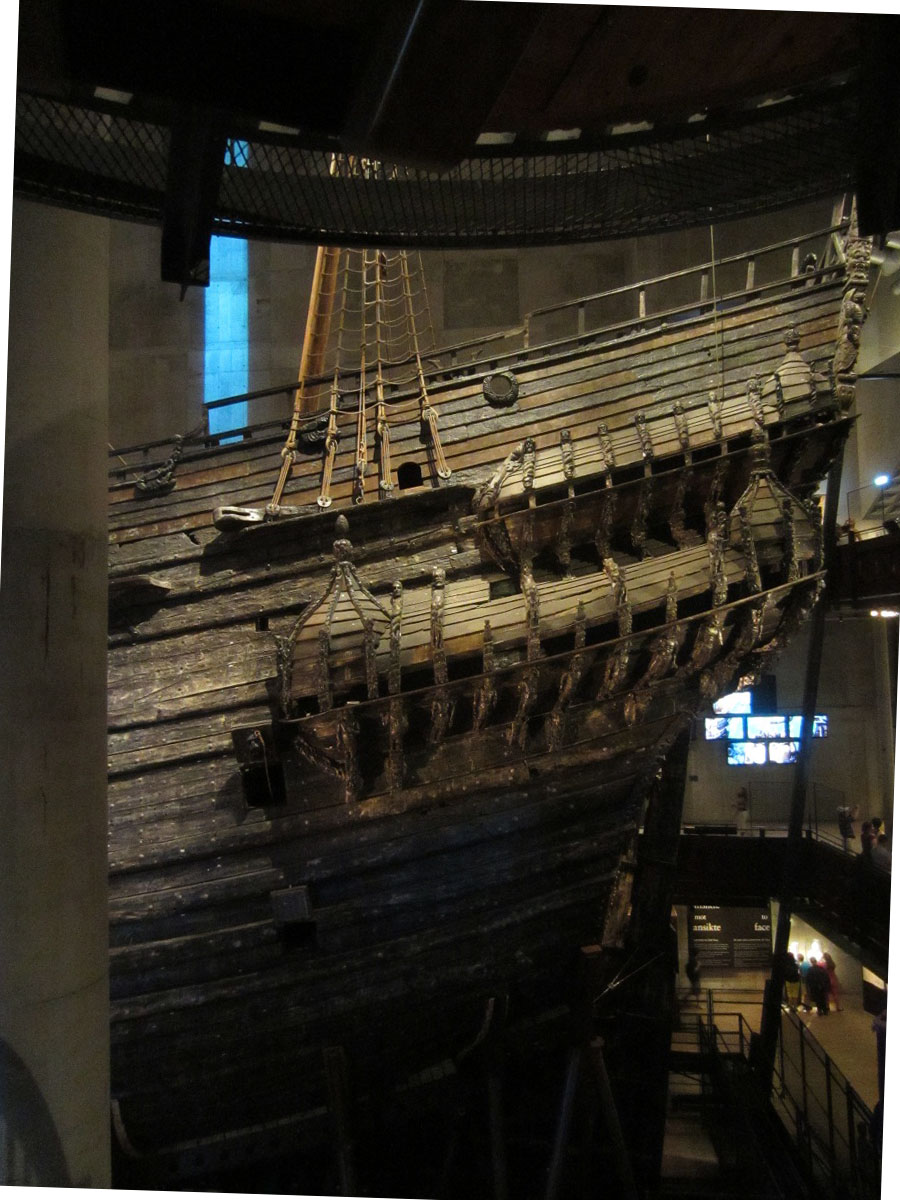
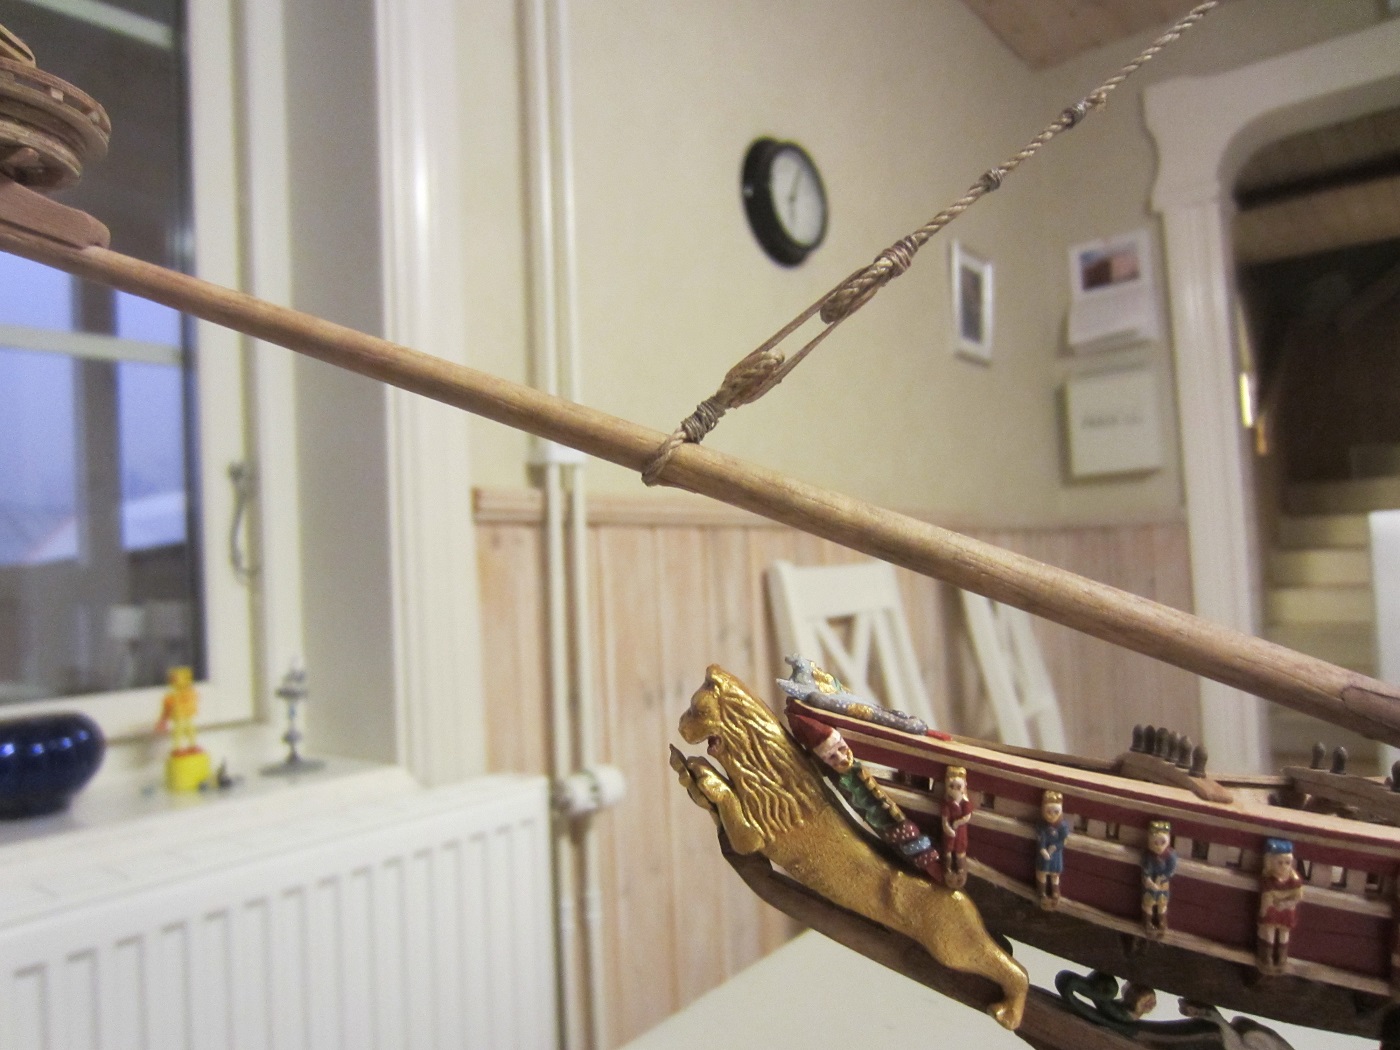
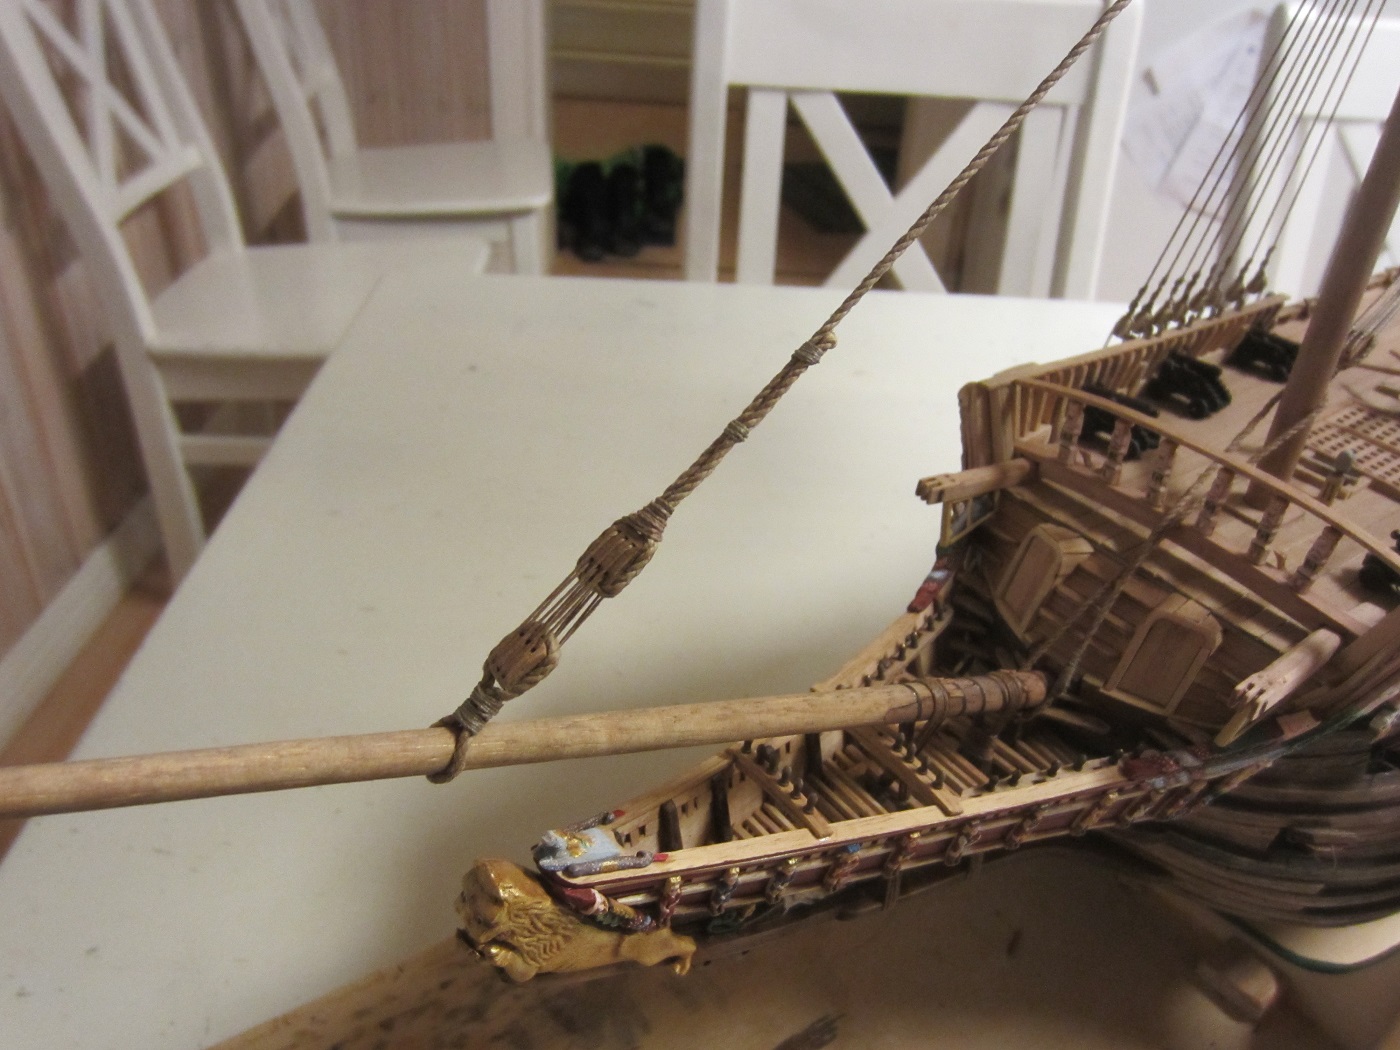
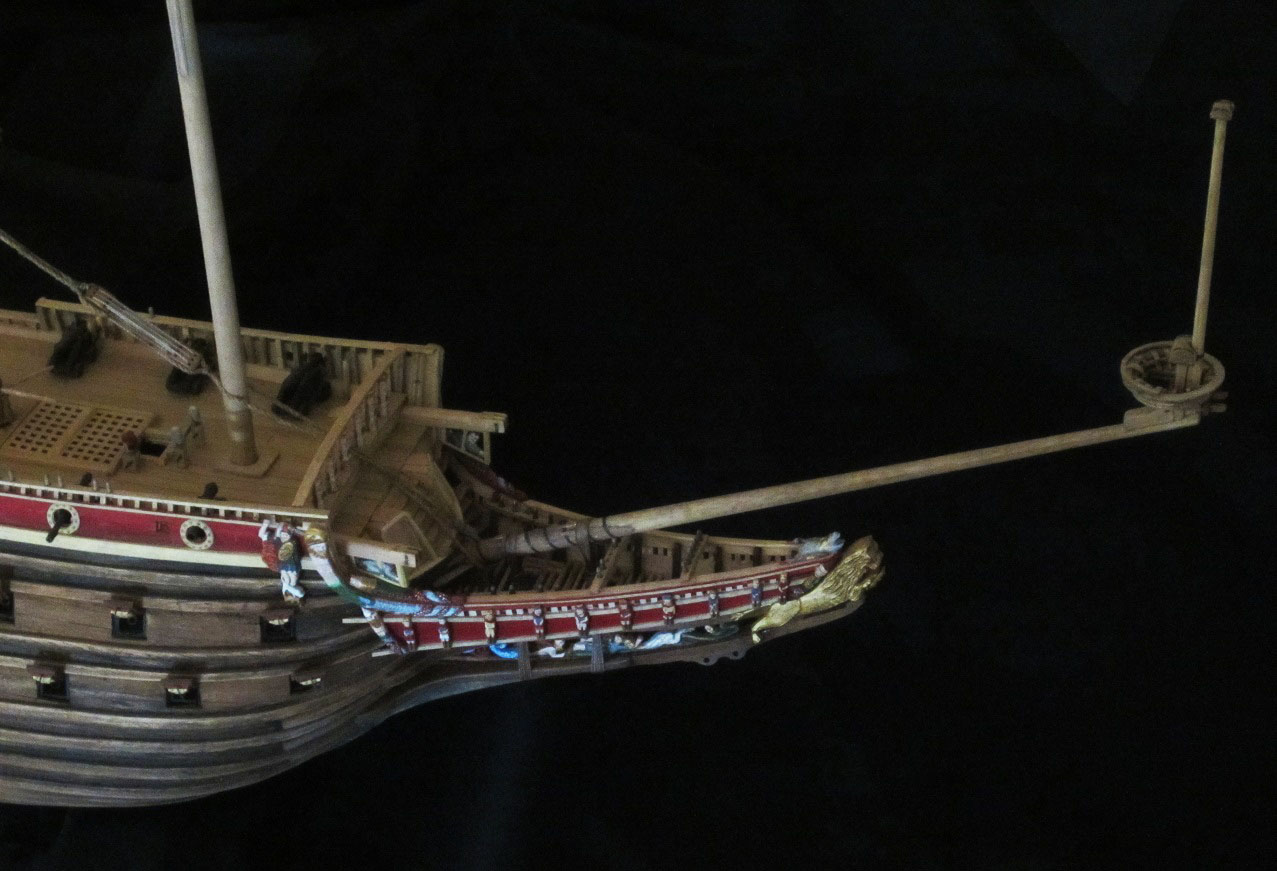
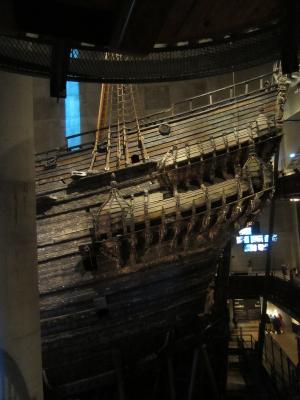
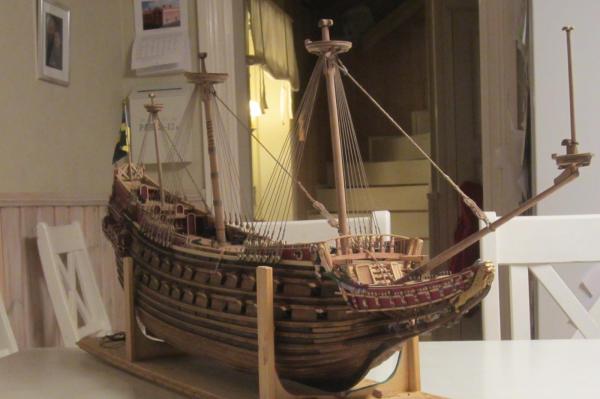
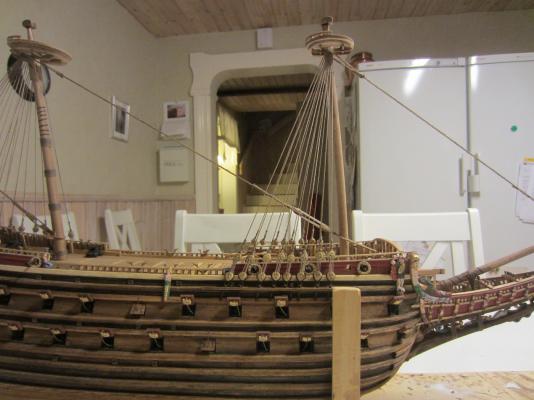
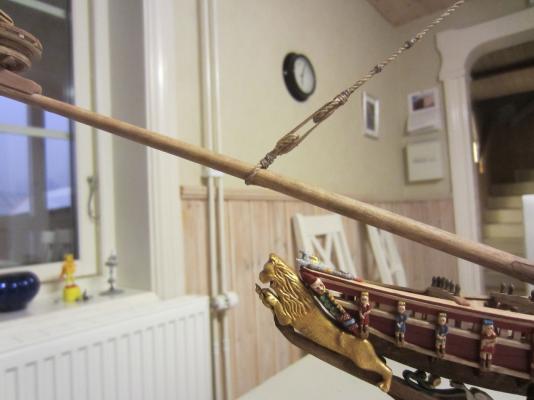
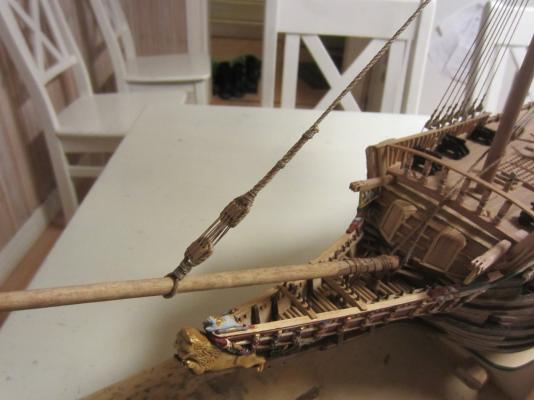
Hey again! I'm finally done with the channels and its details. Also did the collar holding on to the bowsprit. First a pic I took at the museum. And how mine turned out: Time to start planning those ratlines now... /Matti

-
Nice project! Looking good. /Matti
-
Nice work on all details wolf! The little boat came out beautyful! Thanks for showing the masking tape trick, that will definately come handy someday. /Matti
-
That's such a lovely model Vivian! I can't say for tension, as I'm also new to rigging. But if my gut would say it was to tensed, I'd changed it. /Matti
-
No worries about the colors, I know how weird the tones can get with lighting. /Matti
-
Fantastic result mate, this will be a superb modelt! Of your ongoing builds, do you have any favourite? /Matti
-
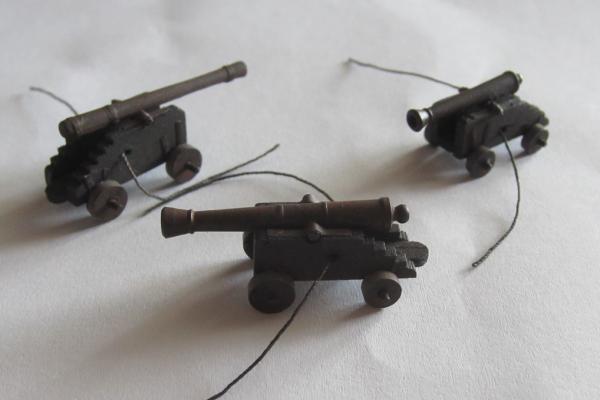
Wow, great work! That planking and stern is awesome! I also painted my cannons: First sprayed a layer with paint that grips well on metal, then acrylics. /Matti
-
Very nice project to follow Vivian! I like the aproach to darken the wodd before building it. It will give you great control. How does the wax work with ca and wood glue? Jack that is a very cool thing to do, hats off to you! /Matti
-
Nice work! Just a heads up, I don't think she had bindings on the foremast. /Matti
-
Wow, she is looking stunning mobbsie! Funny I was thinking about how a stand with multiple poles holding the ship would look, and then I see yours. It looks really nice! /Matti
- 1,279 replies
-
- 1
-

-
- agamemnon
- caldercraft
- (and 1 more)
-
Thank you very much guys! Your kind comments make the work with the dead eyes more fun. /Matti
-
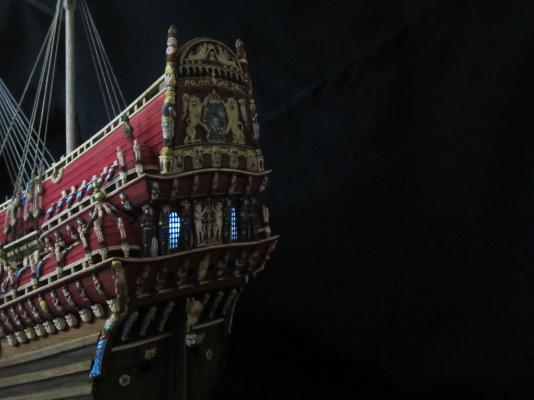
Thanks buddy! I like lights in models, and the way the kit is constructed made it easy to install. The dimmed effect and the actual light doesn't come through in the picture though. Cheers for all the likes! /Matti
-
Cheers pops! I tried to take dark background images earlier. I don't get why the LED lights look so weird in the image. IRL it is quite dim and have a grey/greenish tone, as the windows are tinted. The camera pick the light up as bright and almost blue. Now it's back to shaping deadeyes and the metal parts for them so I can continue with the foremast. Thanks for the likes everyone! Matti