HOLIDAY DONATION DRIVE - SUPPORT MSW - DO YOUR PART TO KEEP THIS GREAT FORUM GOING! (Only 20 donations so far - C'mon guys!)
×

NAZGÛL
-
Posts
1,365 -
Joined
-
Last visited
Content Type
Profiles
Forums
Gallery
Events
Everything posted by NAZGÛL
-
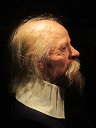
 Nice lighting! /Matti
 -
Batavia by *Hans* - FINISHED
NAZGÛL replied to *Hans*'s topic in - Build logs for subjects built 1501 - 1750
Nice work Hans, I like the way it turned out! /Matti -
Great to see her out in the sunlight! /Matti
-
As I've been so busy lately I had to go through a few pages to catch up. Man that's great work. Your painting skills are just awesome! Now my thumb hurts after hitting the like button so many times, but it was worth it. /Matti
-
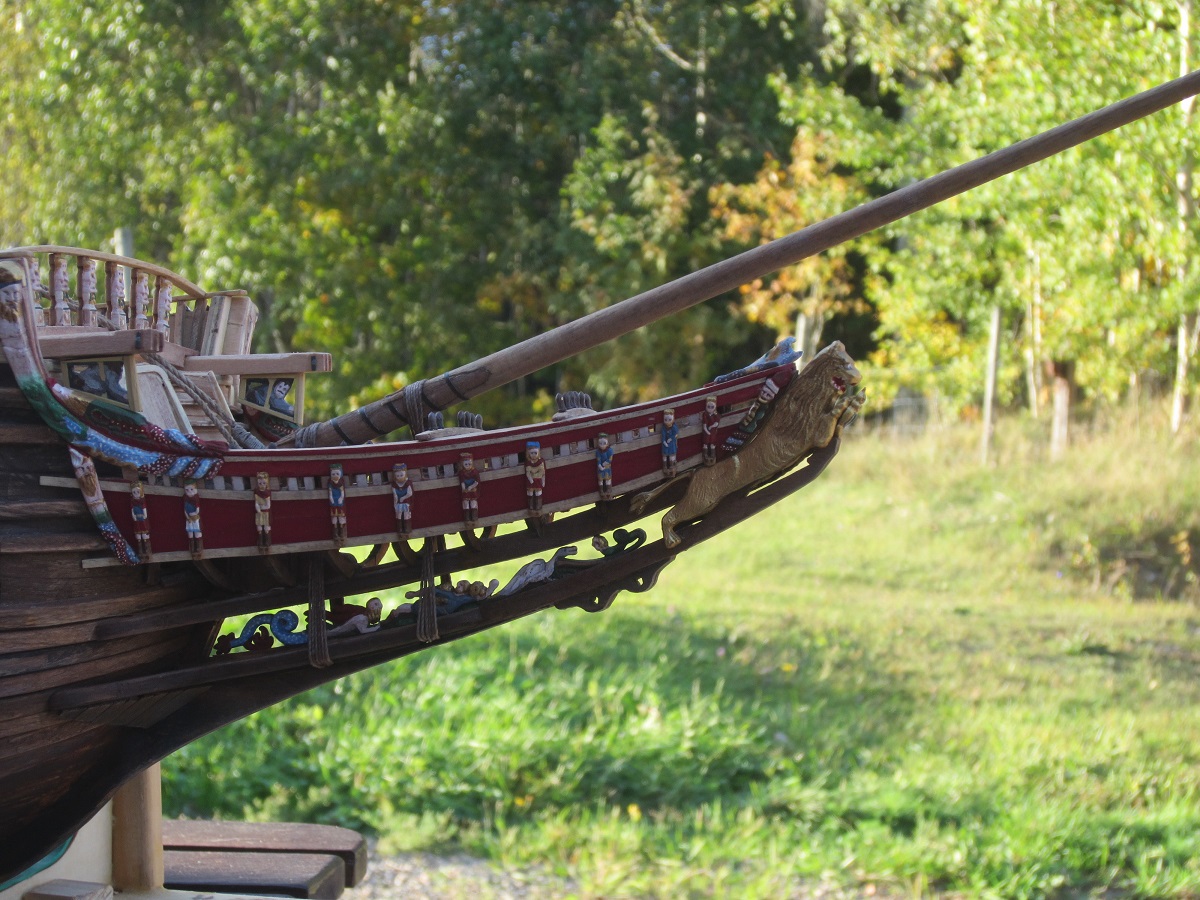
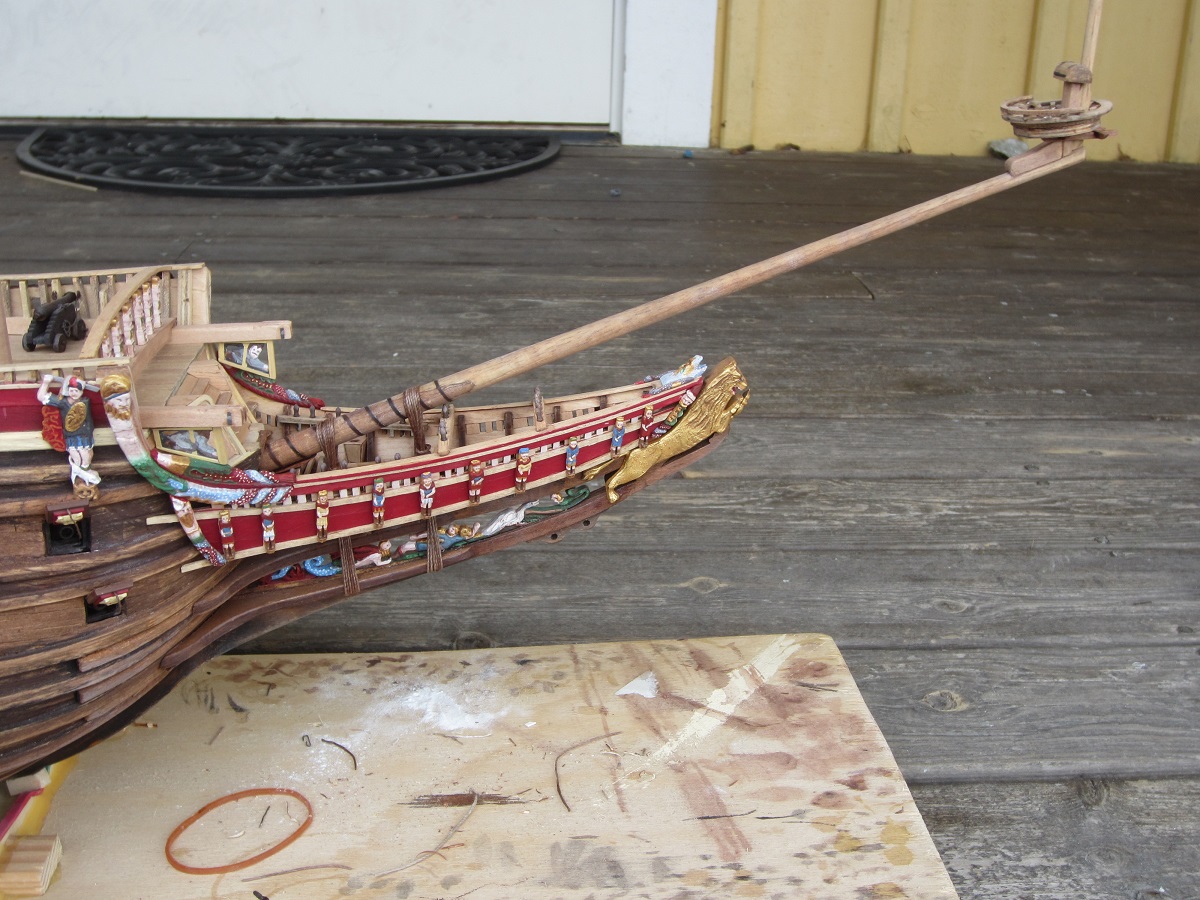
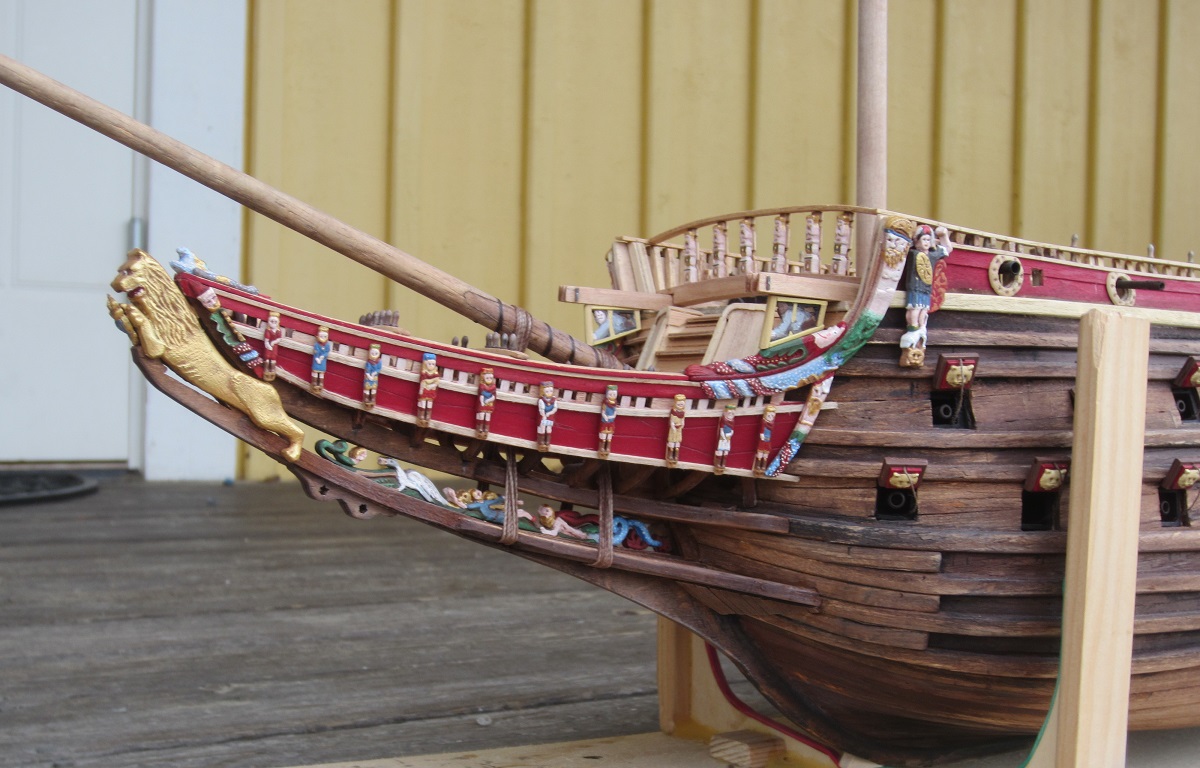
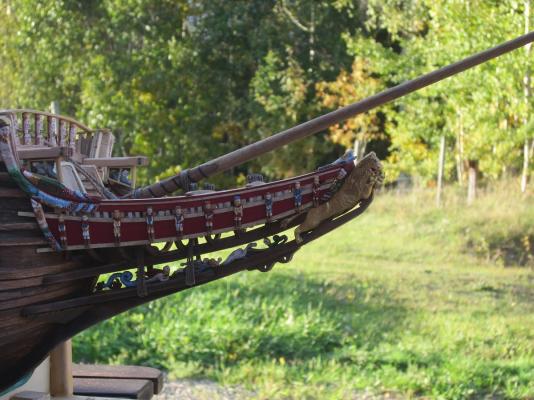
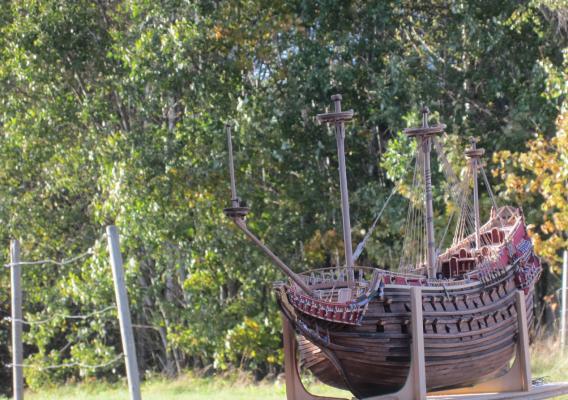
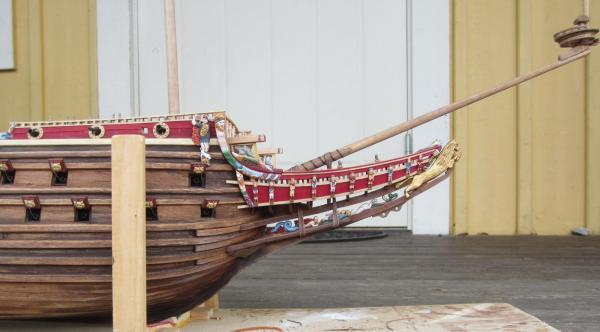
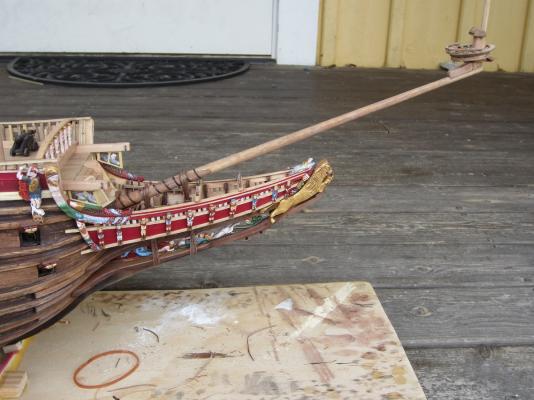
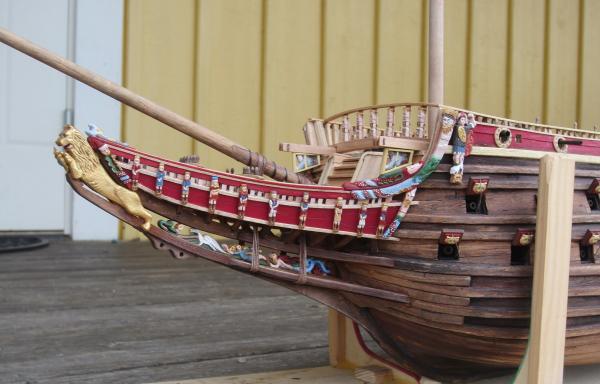
Hey all! Small update. I added the clamps holding the bowsprit ropes. I blended them to match the other wood, so they aren't very obvious. I also made the mainstay collar, trying to get it like the real one at the museum. Paintwise its washes and trying to get everything to blend and look balanced. I'm glad I repainted the lower area of the beakhead. /Matti


-
Hans, I just added them. I´ll post pictures later. Cheers Frank! I will add the top railing later, the BB railings are very fragile. I got the suggestion to wait by Nigel earlier and it is the best solution. I don't think the shrouds will be to much in the way. /Matti
-
Nice start with the painting! You will have use of your experience with figure painting. You don't need to use primer on this plastic if you don't want to. Vallejo and the other acrylics I've tried bites well on it. /Matti
-
I love the planking Frank! You manage to give your models a special feeling, very nice! /Matti
-
Cheers guys! Yeah Nigel it must have been horrible, almost as bad as the poor souls having to be up in the tops... Thanks for the likes everyone! /Matti
-
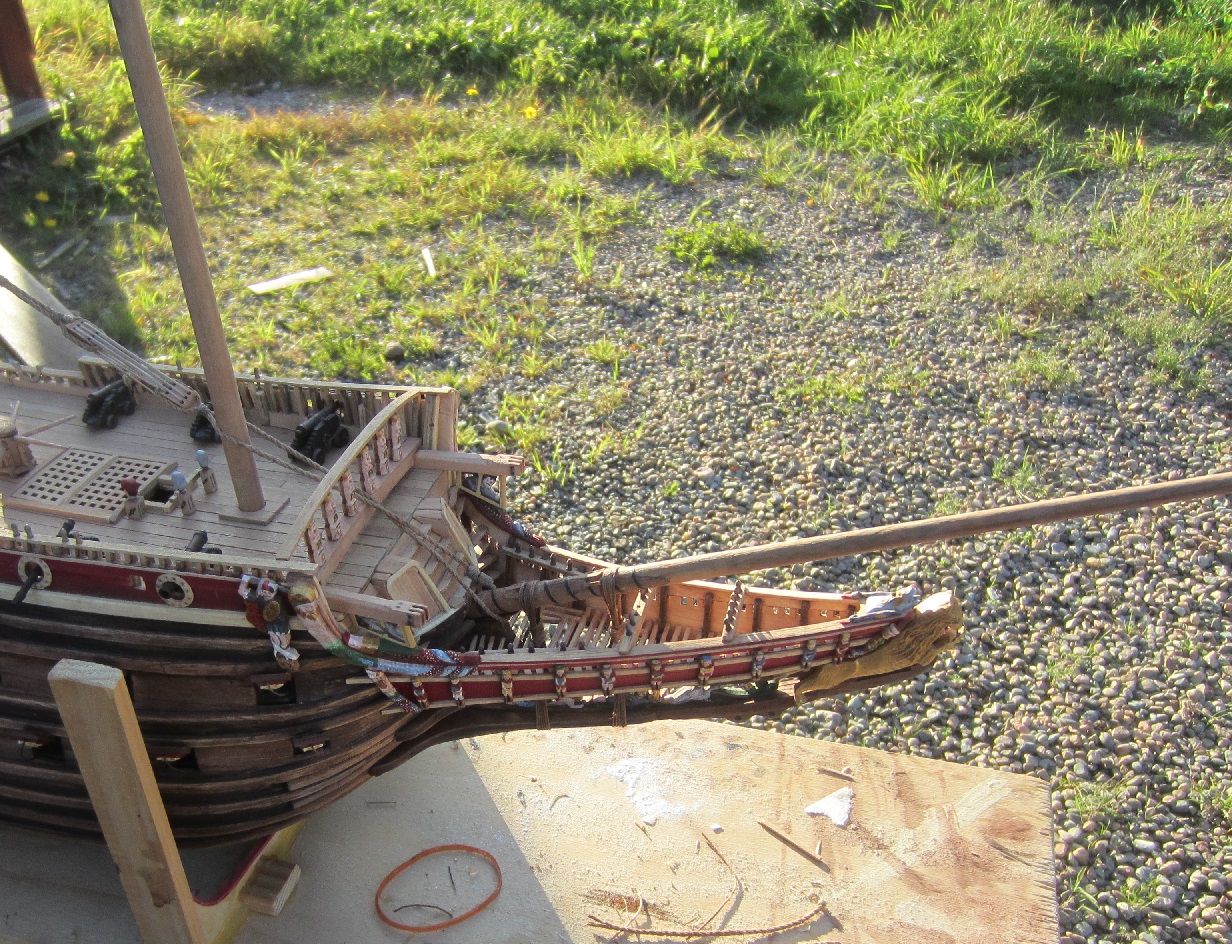
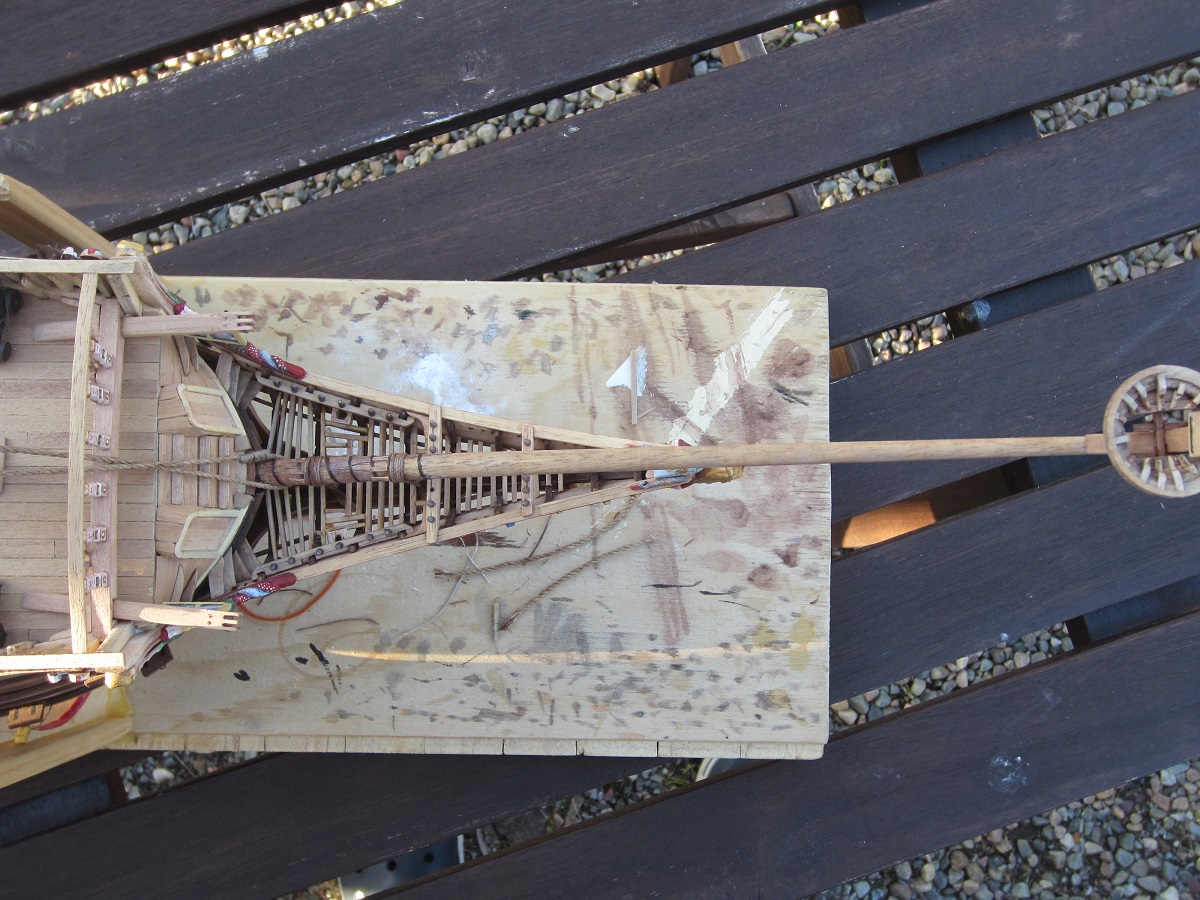
Hey again! I've mounted the bowsprit and finished the ropes holding it. It was lots of work as I had to reshape thin down the L shaped timbers holding the bow. Looking back I think it was good to wait with drilling the rope holes until knowing where to put them. That gave me liberty to arrange the beek head "floor planks" the way I wanted and then arrange the rope holes acccording to them, not the other way around. That said, I would have thinned down the L shaped parts slightly pre assembly to make it easier to get room for the holes, and this is a tip for builders of the kit. This way made me nervous about destroying anything... I never was happy with the paint job on the lower beakhead parts, and this gave me an opportunity to make it better. /Matti Edit: I just realized that I didn't explain that the kit construction is with the ropes running "outside" the lower beakhead construction (wrong). Remember that I broke the beakhead earlier and strengthened it when repairing it. This made my beakhead stronger and that's good when doing this mod to the build.
-
Wow man, you're making a little gem! /Matti
-
Nice project! Good work. /Matti
-
Very nice, you have done the most difficult parts now, and it looks great! /Matti
-
Thanks! I think it may be only slightly to thick and the corresponding parts are slightly to thin. /Matti
-
Cheers pops! In order to continue I now added the bowsprit. There is a problem with BB:s construction. The L shaped parts making the bow strong are to thick, making the room for connecting the ropes (holding the bowsprit mast) to narrow. I'm trying to reshape them giving some room for the hole for the ropes. It's nervous work to drill and cut in the ship now... I'll post pictures later of what I mean. Anyone building the BB is wise to plan this area ahead of buiding it. Simply thinning the L-shaped parts down would have solved it. Well live and learn. Fingers crossed I don't destroy the bow now. /Matti
-
Thanks for the explanation, Karl! Cheers /Matti
-
Nice project, you are really getting a high level of your details! Good job! /Matti
- 153 replies
-
- 1
-

-
- royal caroline
- panart
- (and 1 more)
-
Karl, very nice work on the anchors and blocks! How did you get the vertical ropes holding the bowsprit so nice? I have problems getting mine correct due to the construction of the kit. /Matti
-
Wow, thanks for the kind words Keith and Max! I've scratchbuilt styrene models before and feel that these kits have much in common as you get to shape it the way you want. This is nicer though, wood is more alive and the ships have such great history and art in them. After carving a few sculptures for this kit, wich I really enjoyed, I can definately say I could never get myself to put the years into scratching a Vasa. All those sculptures would be to much. Thanks for the likes everyone! /Matti
-
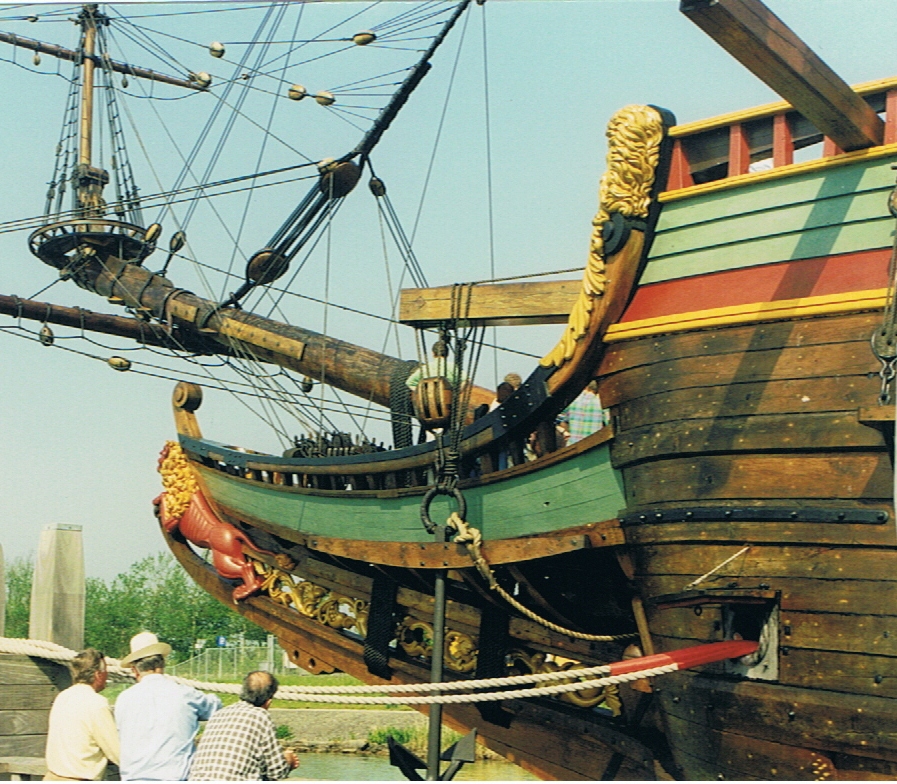
Thanks Buck! The Vasa museum and Sjöhistoriska has awesome models, and my attempts doesnt come near them. The guys working as their modelmakers are genuinly nice and skillfull.Thank you for the compliment though. /Matti
-
Cheers Max! Yes I can see making them being relaxing. I'm not sure of the setup I want on the masts, so this way I can still descide. It also makes the model more easy to handle during this stage. /Matti
-
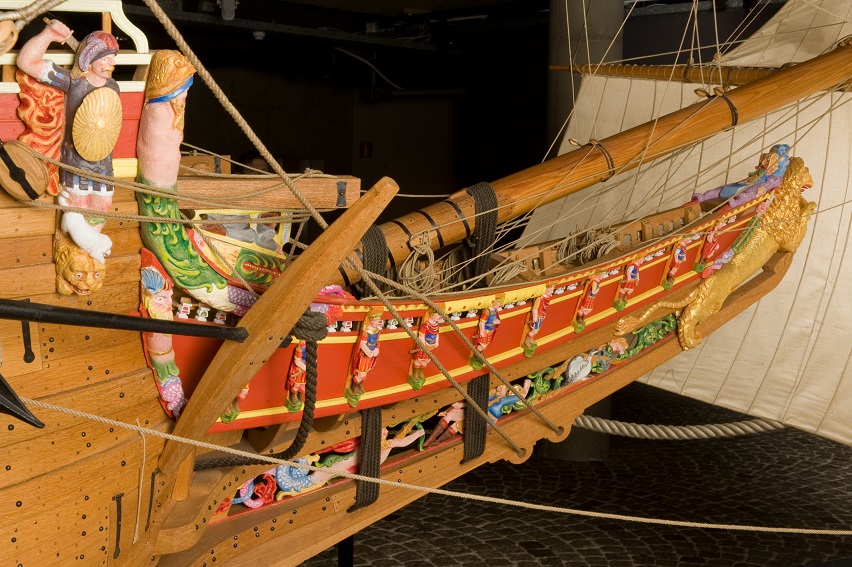
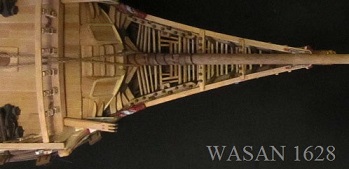
Many thanks for the nice word and likes everyone, it makes me very happy and easier to continue! Yeah I have lot's of knots ahead of me, but I'll wait with any ratlines untill later. It's allready difficult not to destroy anything when working with the model. Soon I have to glue the bowsprit, something I dont't want as it will make her more difficult to handle. The colors are my take on the Vasa look. Aesthetically my idea is to let them symbolice her fate I used bone yellow, earth brown, blood red. These are more muted and natural colors that blends well, and perhaps not as eyecatching as I imagine the real Vasa colors were. I havent really decided about the sails. I'm worried about my ability to make them look realistic and in scale. I may have them rolled up (I forgot the right word for it). I have a few other ideas also. Thanks again all! /Matti