

Toolmaker
-
Posts
193 -
Joined
-
Last visited
Content Type
Profiles
Forums
Gallery
Events
Posts posted by Toolmaker
-
-
That looks a great start. I’ve only recently finished the woodwork on mine and clearly remember the nervy excitement of starting out.
Thank you
Paul
- Ryland Craze, Blue Ensign and mtaylor
-
 3
3
-
Hi Dave, as per norm there are different routes that might achieve your preferred look.
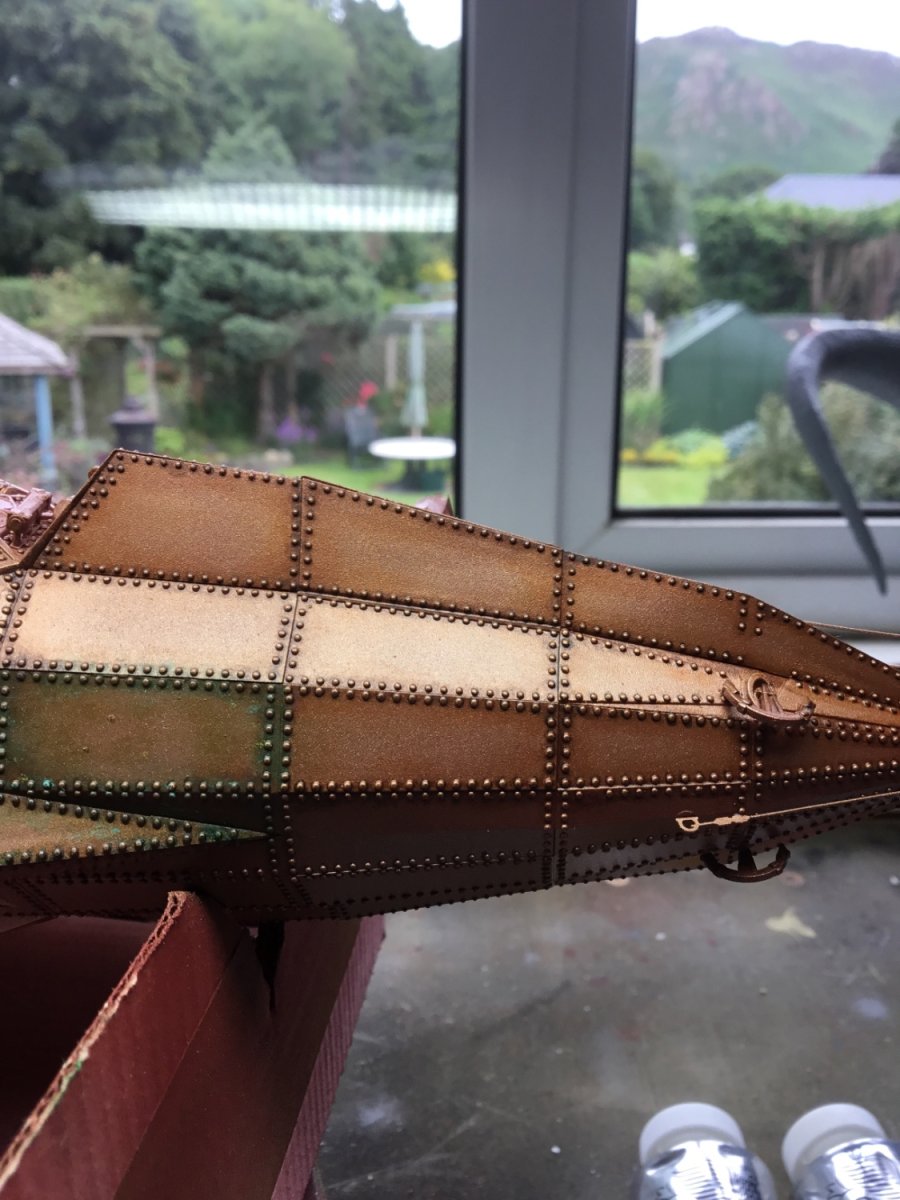
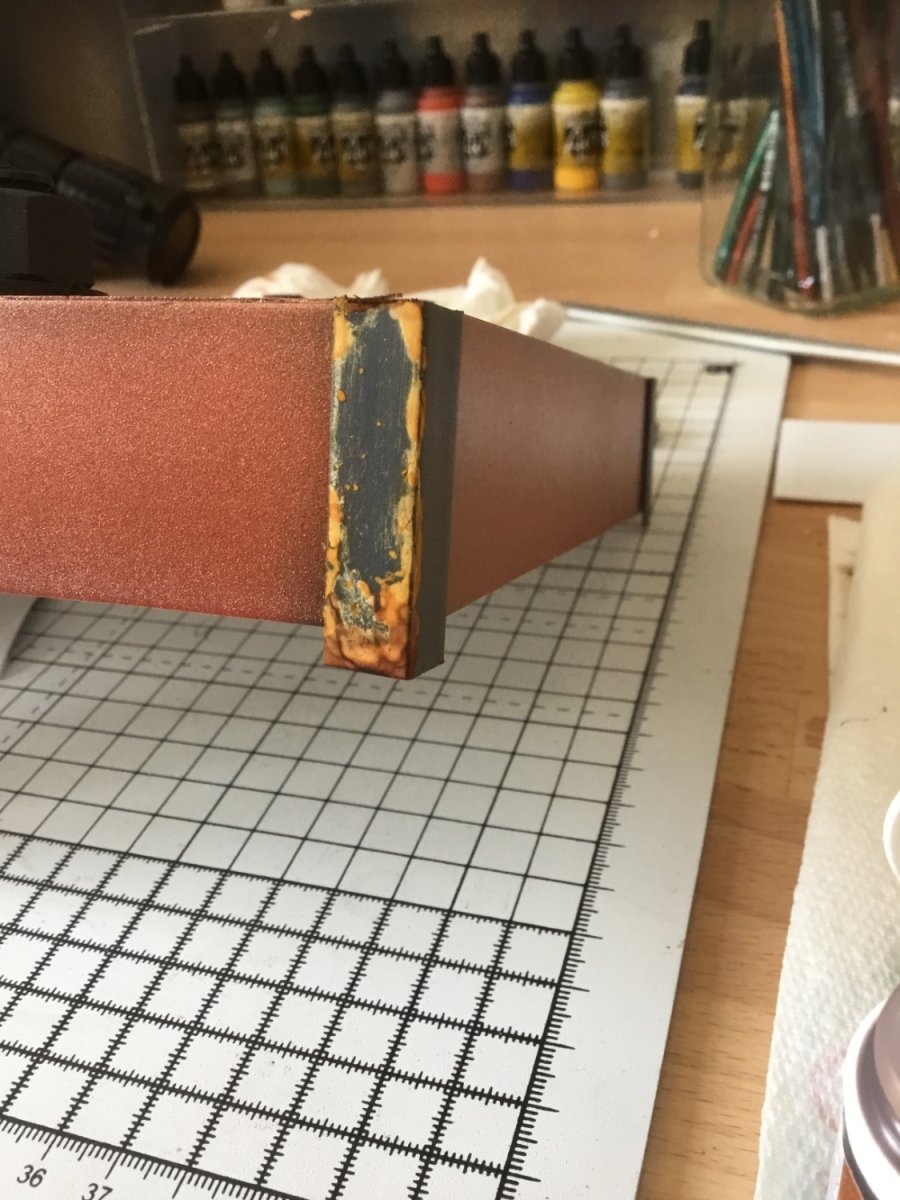
You could try a palette of various oil paints.

The beauty of oils is that you have plenty of time to push them around or remove them all together if you don’t like it. Just the one panel done here. Painting can be time consuming.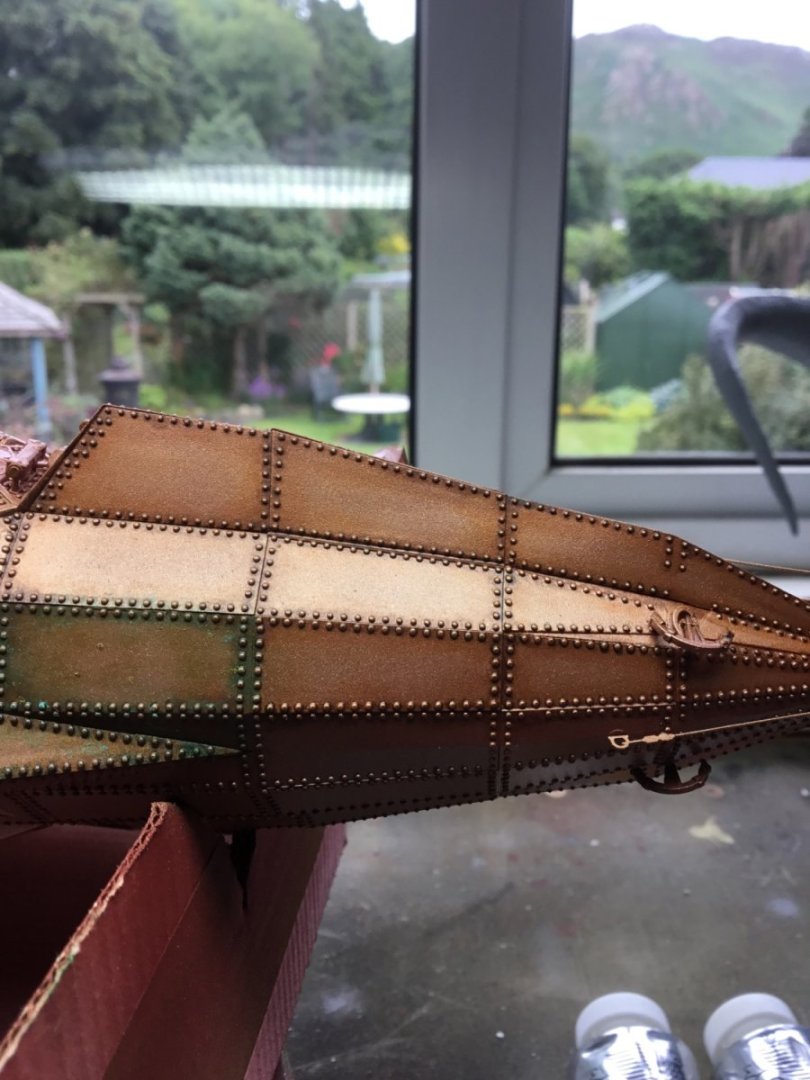
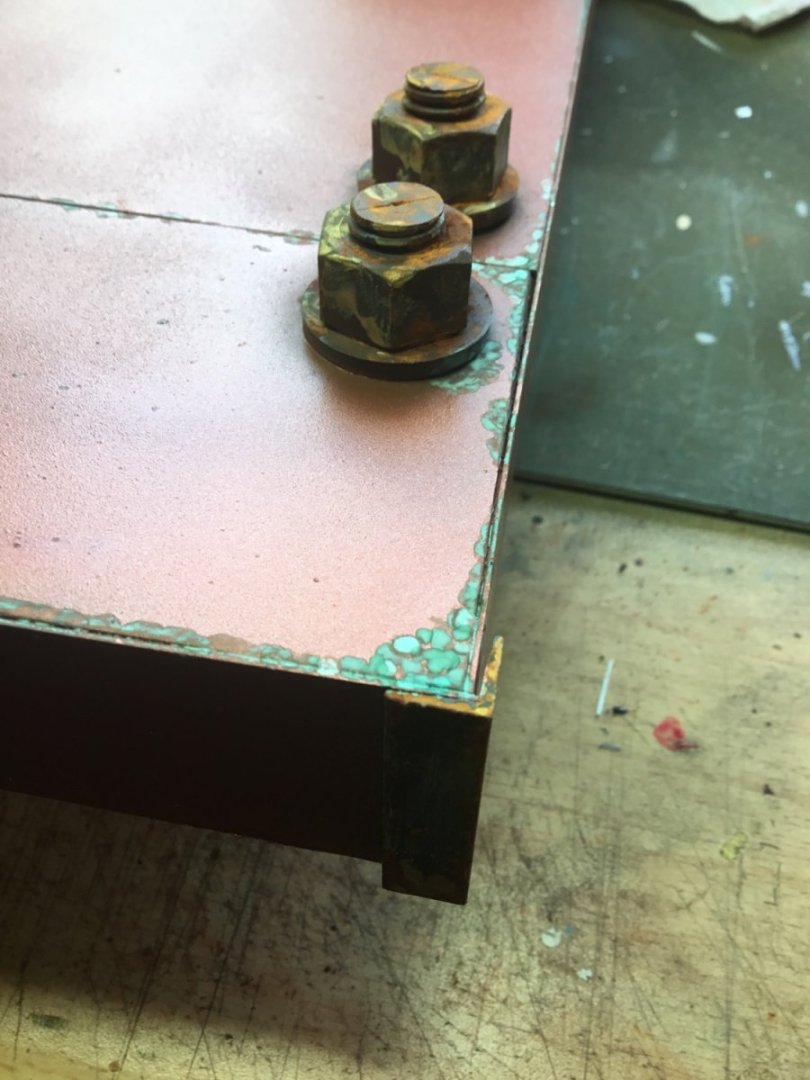
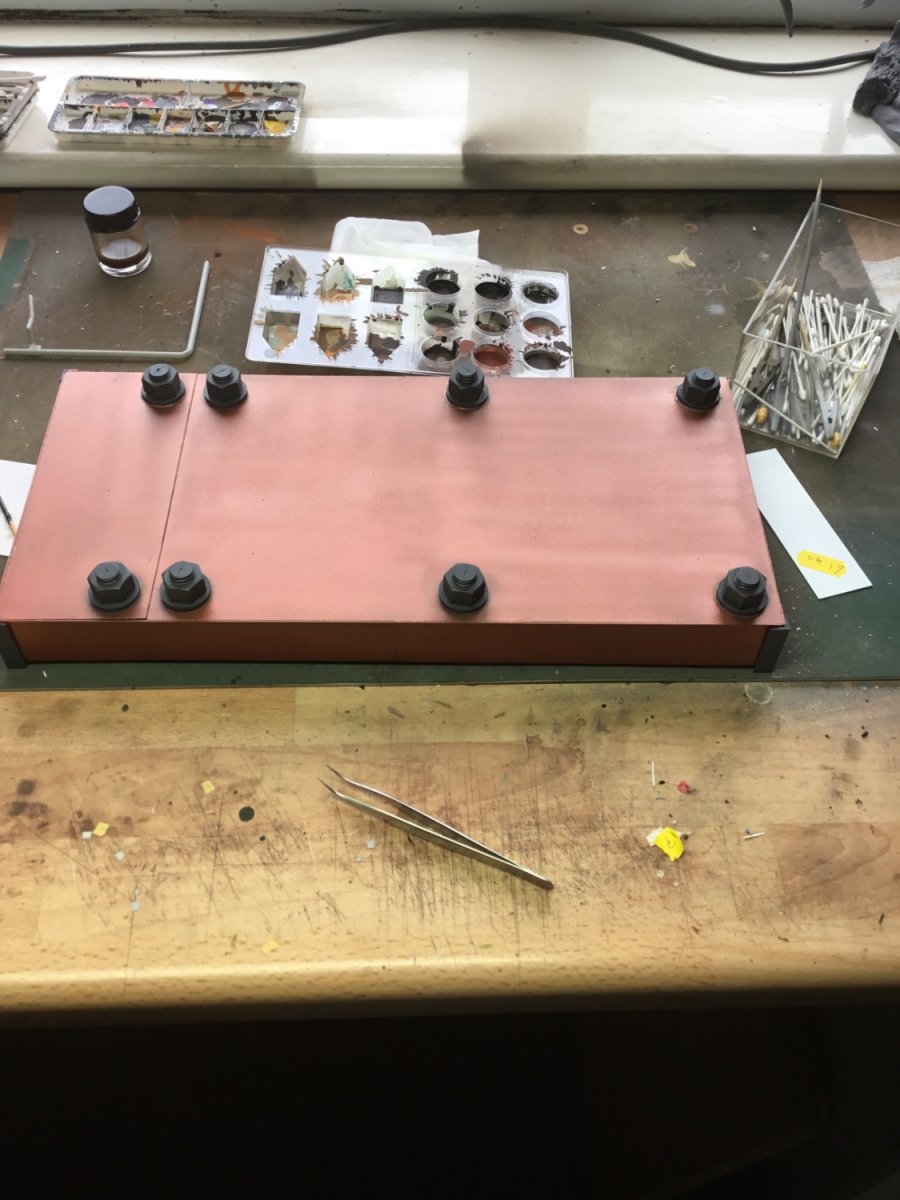
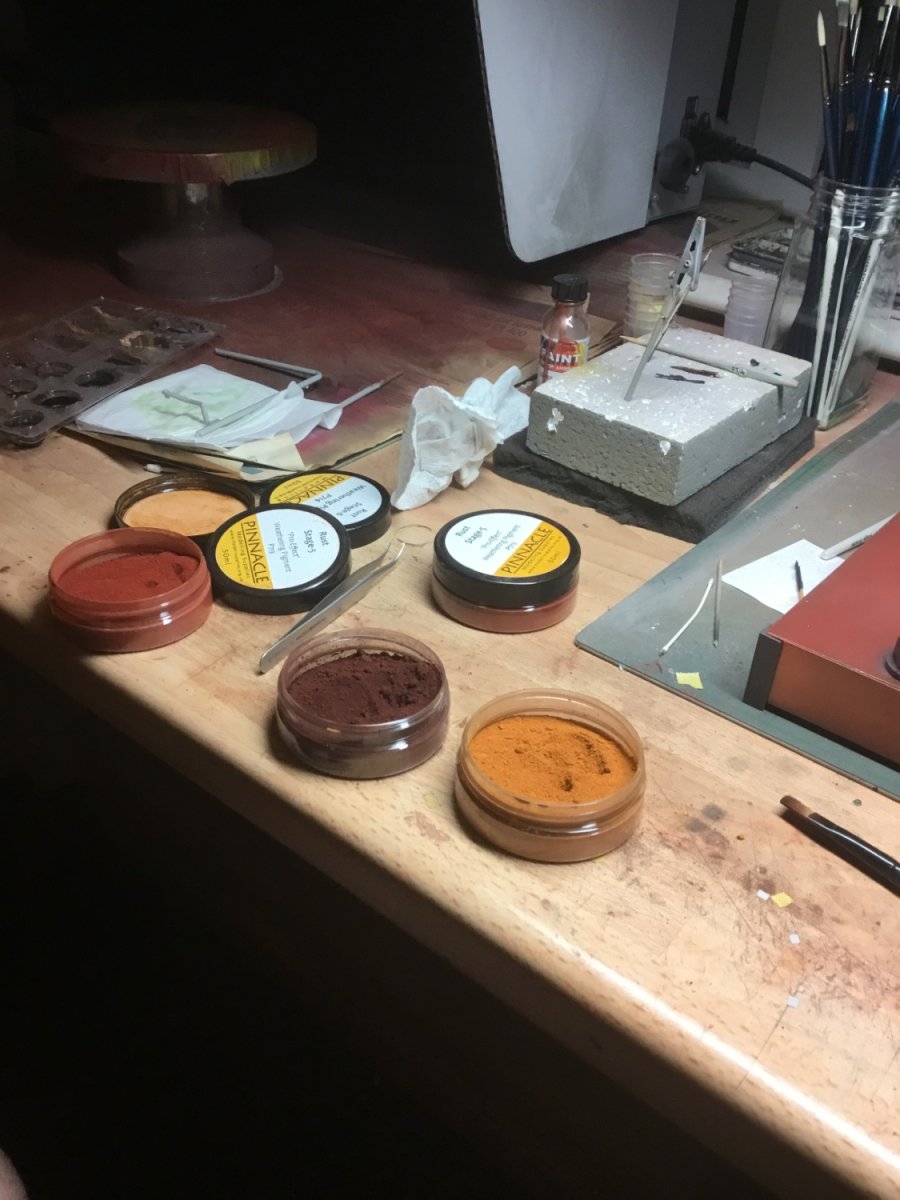
Coincidentally I am using the same kit as an example as that beauty shown above. I made my base from plastic painted a base colour of copper and the fasteners painted black.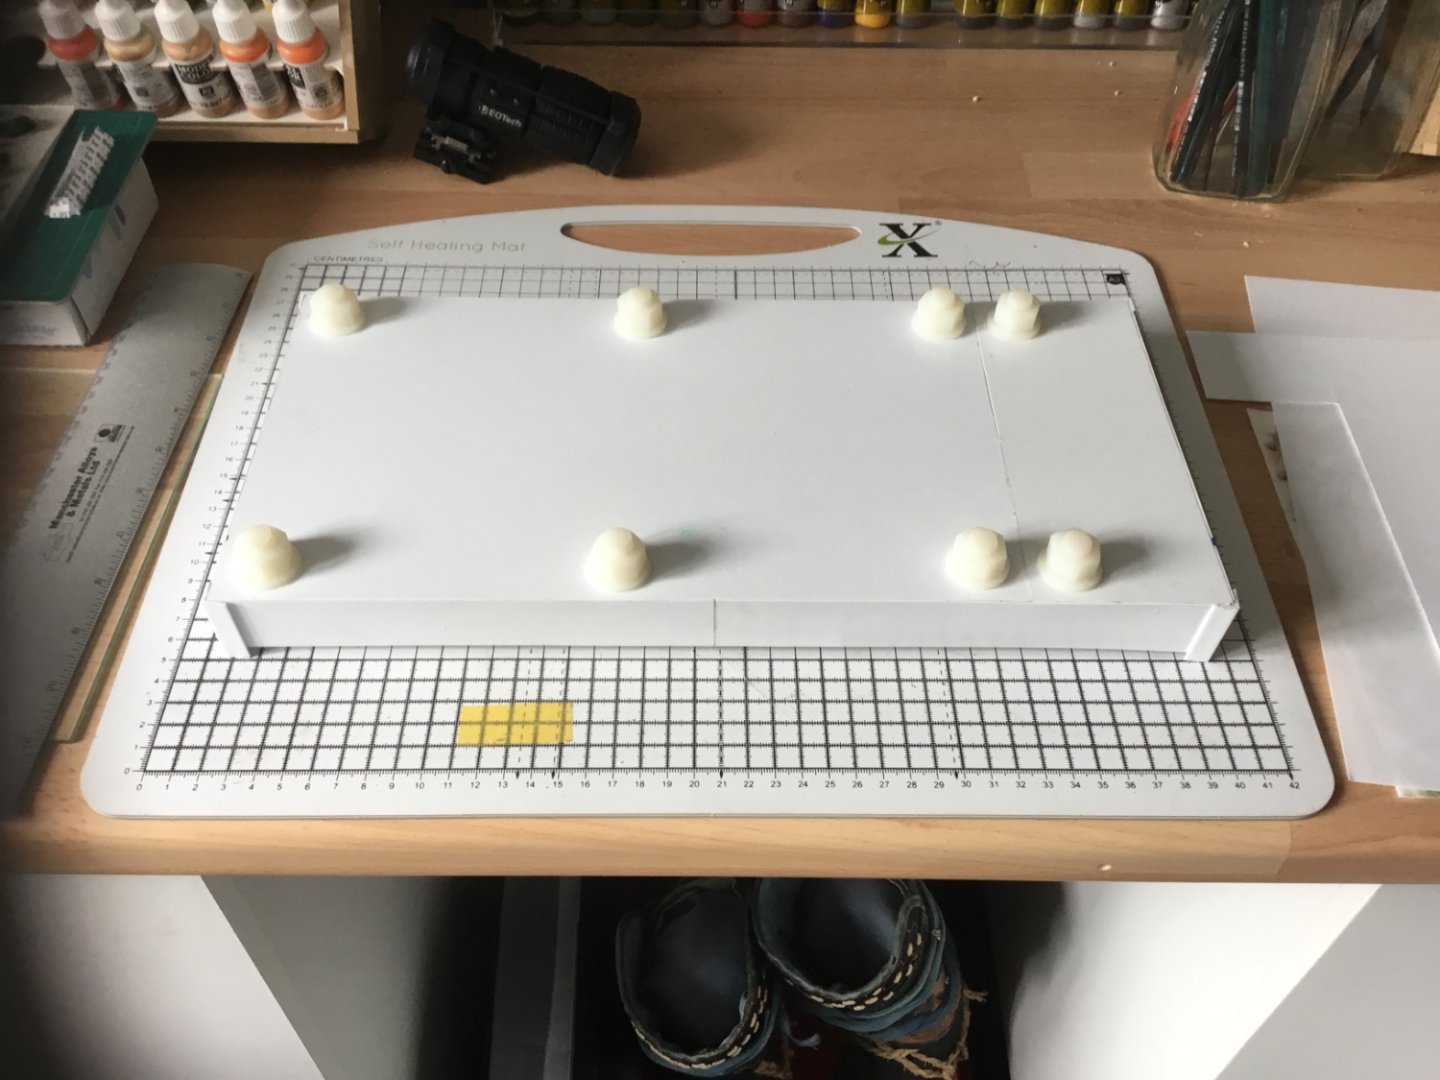

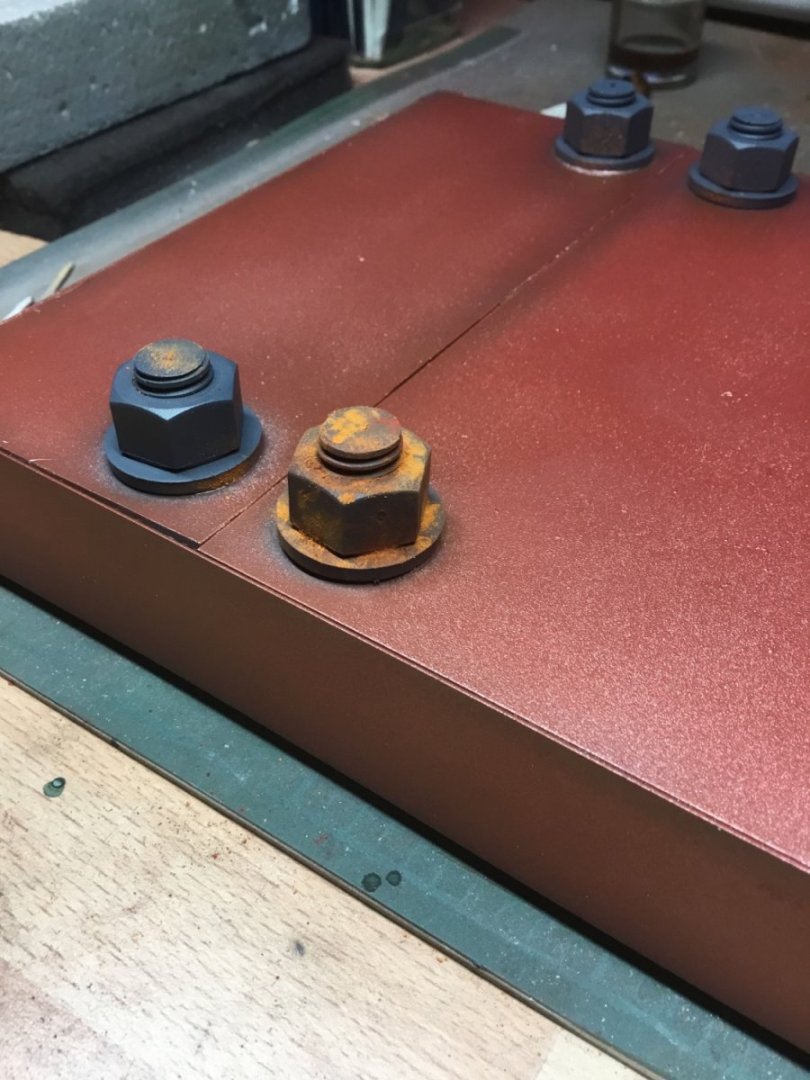
That rust effect is just done with weathering powders.

Other effects are just painted on. The verdigris comes directly out of the bottle.

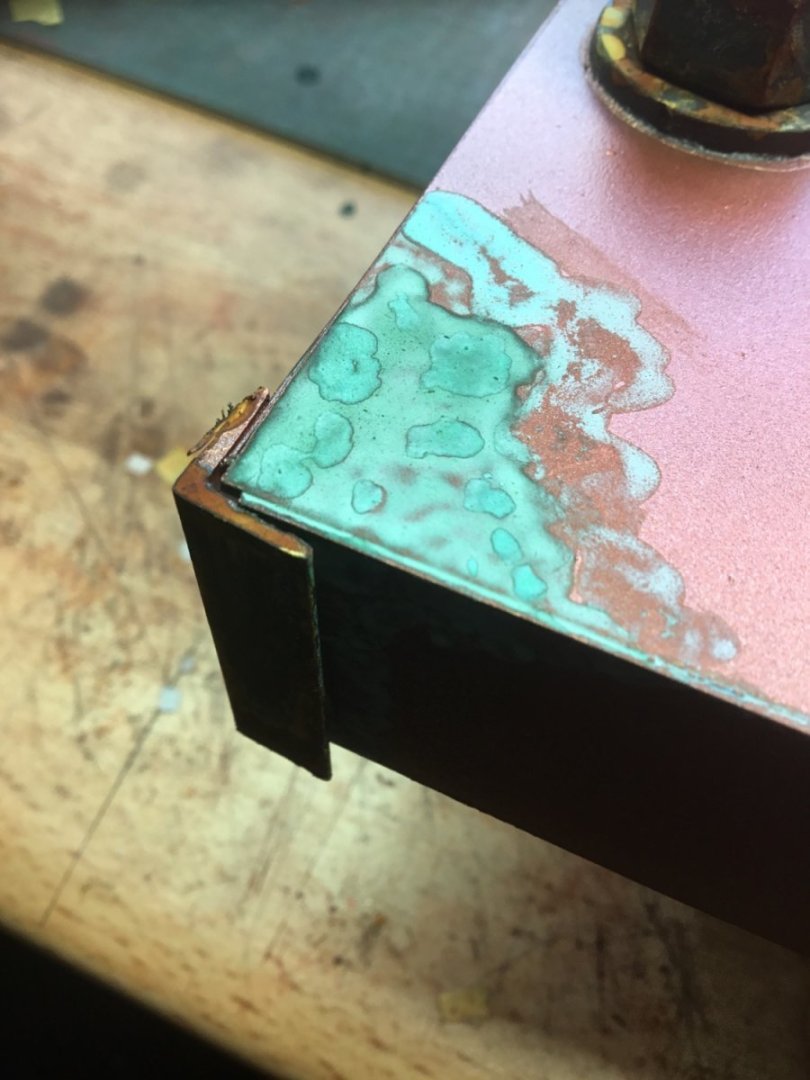
This was done a number of years ago and at that time the rust and verdigris effect paints were sold by modelmates. I think that company might now be known as Dirty Down. These paints were all sourced in the UK.
Although I am not a railway modeller, I do find they usually have a broader range of all things modelling supplies.
I hope some of that is useful.
Thank you
Paul
-
That’s a beautiful little machine, an absolute delight.
Some years ago I manufactured fancy widgets for a company using Sterling technology. They had a sterling compressor in their works reception area that had been running non stop for almost 30 years at my last visit. The technology definitely works!All the Böhm collection look like very interesting stand alone pieces.
Thank you
Paul
-
Richard,
I must add that any sort of soft jaw, whether in a lathe or on a milling machine would only be used to hold on an already machined surfaces. It’s not a way to grip hard, more to grip accurately without distortion or damage.
With the advent of multi axis cnc machines it is now ideal to do as much work in one hit as possible helping to maintain accuracy between planes.
Back to shapers, whilst working in Bremen on the European Spacelab, I did see an enormous planer which is similar to a shaper but where the work table moves and the tool remains in a fixed position. I was roughing out the beds at a large lathe manufacturer. That little shaper you quoted look’s loverly when made well.
Cheers
Paul
-
Richard,
RE; Your picture in post 69
One way to accomplish those two sides during that set-up would be to substitute your steel vice jaws for al/al ones. Make them the same as the steel ones but 10mm higher. Screw them on the same, close them up and machine the top in a castellated manner to retain an “up” section a little narrower than your casting. Likely in this instance, for a one-off, it would be seen as not worth the effort. That said, it’s the concept of using soft jaws for milling that I was highlighting. If you have such a set of soft jaws it becomes easy to hold round thin workpieces for instance.
You just close the jaws against a shim, bore/slot drill to suit your component diameter. Open vice, remove shim, place workpiece, close vice. Your vice becomes akin to a full form 2 jaw chuck. Harder to describe than show as usual and due thought should be employed with all set ups. There are numerous ways to approach most machining jobs and this is just another alternative when conditions suit.
As for shaping machines, I detect some nostalgia from you. For me, I was taught to use one during my apprenticeship but then haven’t seen or used another for the past 45 years.
Thank you.
Paul
- mtaylor, thibaultron, Egilman and 3 others
-
6
-
Richard,
I appreciate your invite to come back. My initial comment was referring to you 5th and 6th photo’s in your first post. I thought with a different set up, you could have avoided the picture 7 step. I hope that makes sense.
I have recently (2 years) made a commitment to wooden ship building. Time will tell if that’s going to be a good choice. Like you, sanding can effect my asthma.
Talking about gluing parts, it reminds me how we used to hold glass when machining optics. It was often done by placing the material on a bed of melted wax, which was then left to set before cutting or polishing.
I’m not sure if you have tried it, but it can help to have a small carborundum stone handy and just take the sharp edge off your hss tools. It seems counterproductive but in effect you are just putting a tiny radius at the tool point. Use it to rub any built up edge from the top of the tool every so often also
That dro is going to be a game changer, no more remembering turns of handles and much less anti backlash considerations. You’ll be wanting power feed next!
keep up the great work
thank you
Paul.
-
Hello Richard,
What a fab read that was. Once over the initial shock of thinking I was back in work, I thoroughly enjoyed every post.
I designed and made workholding fixtures for much of my working life, however I never made a 4 jaw chuck! I have even used 2 jaw chucks and 3 jaw eccentric chucks but still never made my own.
You are more than capable and I have little to offer but a couple of things came to mind as I was reading your log.
The first was it seemed you had an opportunity to machine 2 sides in one set-up. For instance both faces of the tail stock knee when you were face milling. If that is possible it gives you two faces square and parallel to each other and it is often easier to measure the distance between them. As you know, the issue with clamping castings is to do so without putting any twist or bend into the casting.
The second was offering a different route to the gluing of your parts onto mandrels. I have used as little holding force as double sided tape when working to micron tolerances, but only with lightweight al/al or plastic components. Generally I would prefer mechanical means where possible.
Two other options for your parts were a shouldered mandrel slighter shorter than your part with a drilled and tapped hole in the end. Then a flat washer and a cap head screw or bolt to hold the part tight.
Similarly an expanding mandrel. Again drill and tap and add a large countersink to your tapped hole on a shouldered mandrel but leave the holding diameter a little over size. Split the length of the mandrel with a hacksaw with two or more cuts depending on diameter. Take a cap head bolt and machine a chamfer at the head end of the thread, this chamfer matches the countersink in the mandrel and tightening the screw forces the mandrel to expand. When ready for use put the mandrel in your lathe, just nip the screw and finish turn the mandrel for a slide fit on your component. Tighten the screw some more and your part will be rock solid. If the mandrel is shorter than the component you can use this method to face and turn.I apologise for the long winded interruption, it’s just that I get a little excited by this stuff😂
Regarding the kit materials, for the none cast items they could supply much nicer free cutting cast iron (not that much more expensive).
The issues with the bronze will be down the cutting tool angles. Straight or shallower fluted drills would perform much better, but that’s getting a bit too specialised for the one off beauties you are producing.
I shall keep an eye out for your next build.
Thank you
Paul
- Roger Pellett, thibaultron, Jack12477 and 5 others
-
7
-
 1
1
-
Looks great and much respect to you. I gave card modelling a go last year and failed miserably. It was far more challenging than I could have imagined.
cheersPaul
- ccoyle, Old Collingwood, Egilman and 5 others
-
8
-
I have just condensed your 6 years of effort into a few hours of reading and learning. Fascinating and quite spellbinding seeing the build evolve. Very enjoyable.
Thank you
Paul
-
It takes one to know one bud. I did the fitter/turner approach whilst you were still enjoying primary school. To be fair to yourself, if I had read this and your previous topics a little more carefully I would have seen you mentioned it a couple of times before.
As for that name it’s pronounced Doog-a-vul-he with a guttural sound between the vul and he. Perhaps “near Conwy” is easier 😂Keep up the great work and thanks for being so approachable. I expect I will pick your brains some over the coming months.
Cheers
Paul
-
Hi Doc,
This is looking very neat and tidy. Lots of etch and add on’s to keep you busy.
I did the 1/200 version with full etch in the past and still have lots of historical photo’s should you need any.
I shall keep looking in.
Thank you
Paul
-
Hi Mark,
I’m just starting out in the forum but during my lurking phase this build was, and continues to be, a main draw.
Your workmanship is superb and I love your approach. I can’t help thinking you have some background in machine shop practice. Whether or not that is the case, I find your work inspiring me as I prepare for my next project.
Thank you.
Paul
-
23 hours ago, allanyed said:
A warm welcome to you. Our youngest son and daughter-in-law ran a 200+ mile foot race in Wales last September and raved about the beauty of Wales. Hope the admiral and I get to visit there one day.
Allan
I think that must be the Dragons Back race. Probably the worlds toughest race and starts a couple of miles from my home.
23 hours ago, AJohnson said:Good to have you delurking Paul. Although too late for build logs, do you have pictures of those builds you mentioned, you could add to the gallery?

oh yes, lots of pictures available once I figure the process.


That seemed to work.
Many thanks to everyone for the warm welcome.
-
Hello to all,
My name is Paul and I live in Wales, UK.
I have modelled for some years starting with plastic, then more multi media using brass and resin and more lately I have concentrated on wooden ships.
My first ship build was a 1/200 scale USS Arizona with lots of etch. This was followed by a 1/72 scale Flower Class Corvette with more brass than plastic.
Recently I have built two Vanguard Models kits, the Fifie Lady Eleanor and the Cutter HMS Alert and I am currently just starting the rigging on the Syren Ship Model Company, Medway Longboat.
I have been undercover here for some time but having just signed up to the HMS Winchelsea group and acknowledging the help likely needed with that, I thought it best to climb out of my hiding place.
Thank you for having me
Paul
- druxey, Dave_E, Edwardkenway and 9 others
-
12


Le Rochefort by No Idea - 1/24th Scale - First POF Build
in - Build logs for subjects built 1751 - 1800
Posted
I’m sure you have done those posts just like they would have been done originally which is probably the easiest way.
A fancy fixture and a form tool in a fly cutter would work but every now and then the old ways still win.
Lovely stuff as always and thanks for all the tips.
Cheers
Paul