BANYAN
-
Posts
5,961 -
Joined
-
Last visited
Content Type
Profiles
Forums
Gallery
Events
Everything posted by BANYAN
-
 Not far to go now John - Christmas pressie to yourself??? She is starting to look liker a working boat now. cheers Pat
- 745 replies
-
- 2
-

-
- francis pritt
- mission ship
- (and 1 more)
-
Not a good thing Mark - back to hand cutting for a while...or can HMS Visa find some room after Xmas spending? cheers Pat
-
They would be small at that scale OC; but to me the driver would be the quality of the kit part. If it holds definition and shows the correct detail, stay with it; otherwise... cheers Pat
-
Quite a bit of detail even in the funnels - this should make into one very nice model Greg. cheers Pat
-
Good to see this little lady again Rusty; I hope you are enjoying making sawdust again? cheers Pat
- 310 replies
-
- 3
-
-
- cheerful
- Syren Ship Model Company
- (and 1 more)
-
Hi Dave, I am sure you'll get the hang of it if you are used to AutoCAD. There are a few 'quirks' with the program I am still trying to get to grips with but I am coming from a "know nothing' background; your experience will help a lot. My biggest errors were not using 'blocks' so I have far too many entities, and using the wrong line tools ending up in far too many nodes. cheers Pat
-
Following instructions in a tutorial is one thing Dave; understanding the principles another Still, I have learned a lot from the exercise. cheers Pat
-
Nice work John, the blocks appear very nicely to scale. cheers Pat
- 745 replies
-
- 3
-
-
- francis pritt
- mission ship
- (and 1 more)
-
That looks really good Dave; I might have to have a look at that myself. let me know when you get to the Yawl and Gig, as I have to do those yet - a set of dxf files for those would be useful if you don't mind sharing? cheers Pat
-
My, you have been busy Greg. That is looking good; quite the complex ship but I suppose it had to be with all that armament. cheers Pat
-
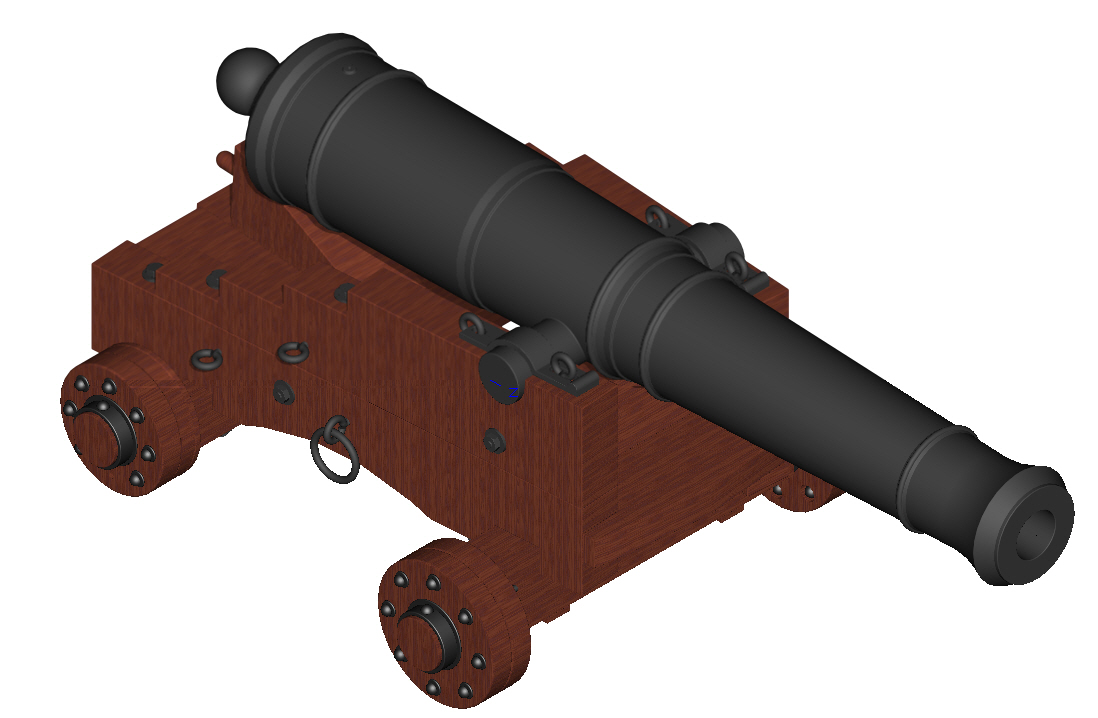
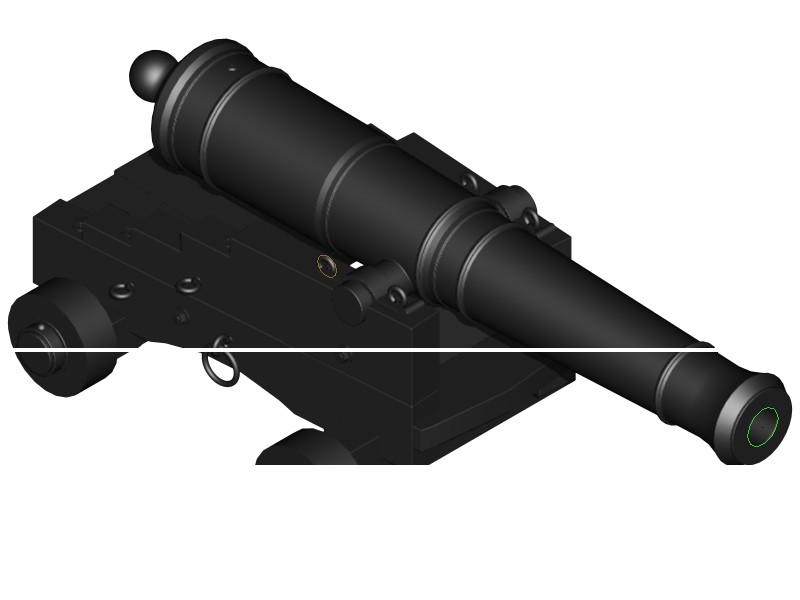
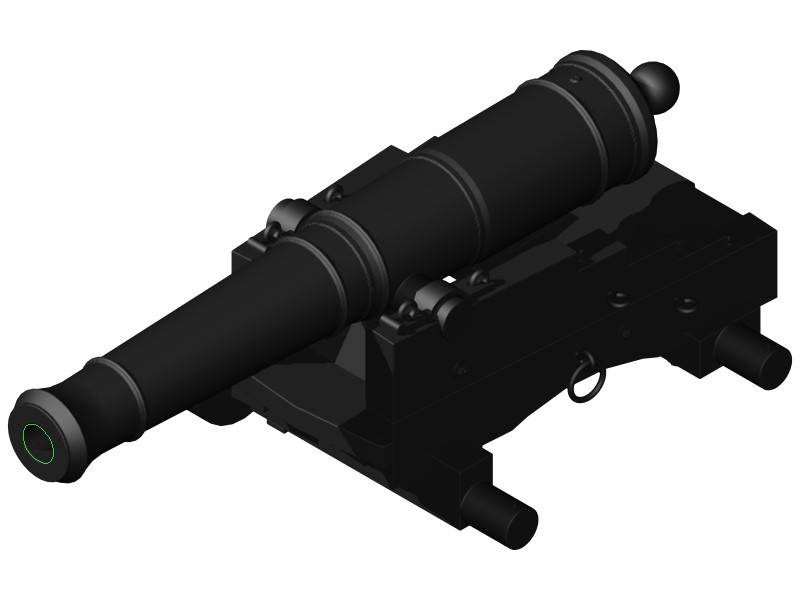
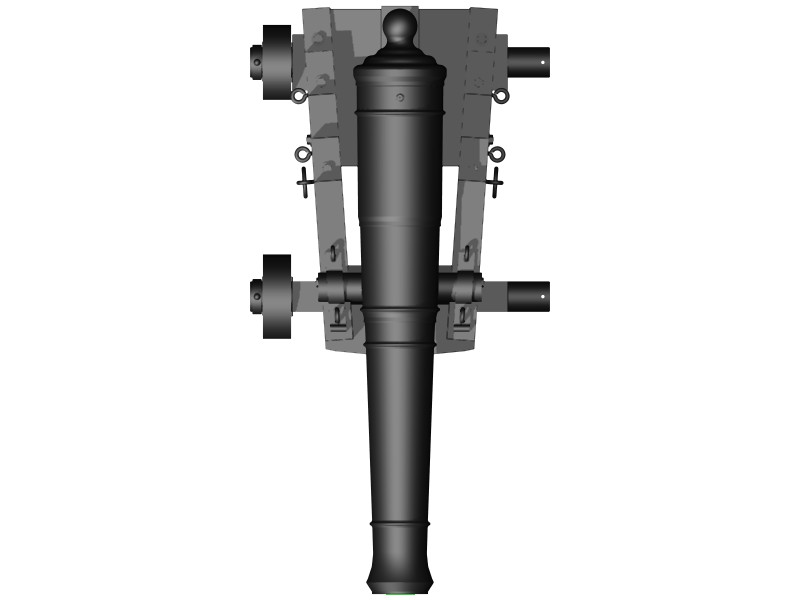
Hi folks, another update - Ron talked me into it I played around with some materials and the result is shown below - still a few minor errors to correct - but largely there. Next job - work out how to apply all of this to reflect the cannon and carriage design for the HMCSS Victoria. That part will not be so easy Mark - don't say I don't do as I am told - off to prepare for the hangover cheers Pat

- 15 replies
-
- 13
-
-
Looks good OC, great work with the paintbrush to get such an even looking finish - I hope the missus didn't mind you 'borrowing' the hairdryer cheers Pat
-
Thanks for looking in Doc, Ron, Carl and Mark, and for the many likes. Ron, I will have a poke around the menus to see what I can do with materials. I am doing this following a Tutorial so I don't want to get too far ahead of myself. I am only a couple of hours (hangovers allowing) to starting that process but it can't do much harm 'exploring" - I hope cheers Pat
-
Well, a bit more practice and some progress with my TurboCAD 3D project. Here are a few basic renders of the progress I have made to date. Hopefully within a couple of weeks I'll be able to show a couple of advanced renders. Things will slow for the next few days as my younger boy is getting married this Saturday and I hope to send him on his honeymoon with a 'hangover' - I know, I'll be in trouble with the daughter-in-law cheers Pat
- 15 replies
-
- 10
-
-
Many thanks Michael - off to the shed tomorrow cheers Pat
- 749 replies
-
- 9
-
-
- albertic
- ocean liner
- (and 2 more)
-
Thanks again Michael; I missed this otherwise would not have cluttered you log as much This looks a very usable and ergonomic solution. cheers Pat
-
Hi Chris, the biggest 'must do' for me is power outlets - never have enough of them- plus one at the front of the bench to plug in those hand held tool so that the cords are more easily managed/kept away from the work piece. cheers Pat
-
Thanks Michael, that is very helpful. That would be very useful if you go ahead with a design using commonly available materials; I for one would value it. cheers Pat
- 749 replies
-
- 3
-
-
- albertic
- ocean liner
- (and 2 more)
-
Very nice work Dave, that looks very nicely proprtioned and balanced. cheers Pat
-
Nice progress Dave they look good - not trying clinker planking cheers Pat
-
Michael, I think having two of those little beauties (third hands) is excessive; to save you the embarrassment I am happy to take the second one off your hands (all puns intended) Seriously though, they look great. I purchased a GRS third hand (soldering station) but yours, especially with the machine clamps look very usefull for rigging as well as many soldering set-ups. Would you mind posting a pdf of the mechanical set-up of the arm version (how you make it grip the bar yet remain adjustable etc)? I am not keen on grub or thumb screw option and I really like what you have done here. cheers Pat
- 749 replies
-
- 7
-
-
- albertic
- ocean liner
- (and 2 more)