


rfolsom
-
Posts
881 -
Joined
-
Last visited
Content Type
Profiles
Forums
Gallery
Events
Posts posted by rfolsom
-
-
-
Hello, Primey; I'm trying to get caught up with everyone; You're doing very fine work so far. As your kit has more lavish woods than a life replica, I suppose you should decide if you want the beautiful veneer (an artistic version, which I wouldn't copper) or a more historical version painted and coppered. (That is the choice we all have to make
 Anyhow, She'll be beautiful no matter what !
Bob
-
Hothead's skills are superb! I'ts good you have a wonderful architect and (Princess, budding Doctor) in your family; I miss teasing the "old attorney";
Hope you and your family are doing well, It's been a pleasure to catch up to your fine work; I still have more to go...
Your Good Friend;
Bob
- Omega1234, CaptainSteve, mtaylor and 1 other
-
 4
4
-
Hello, Jens; I have been away for many months now, and am just logging back on to MSW. Life has thrown me some hurdles lately, so I apologize for not responding. I have much catching up to do; both with following my friends' posts and restarting my builds.
I'll let you all know what's going on in due time.
Your Friend,
Bob
- popeye the sailor, NenadM, clearway and 1 other
-
4
-
Thanks, Larry
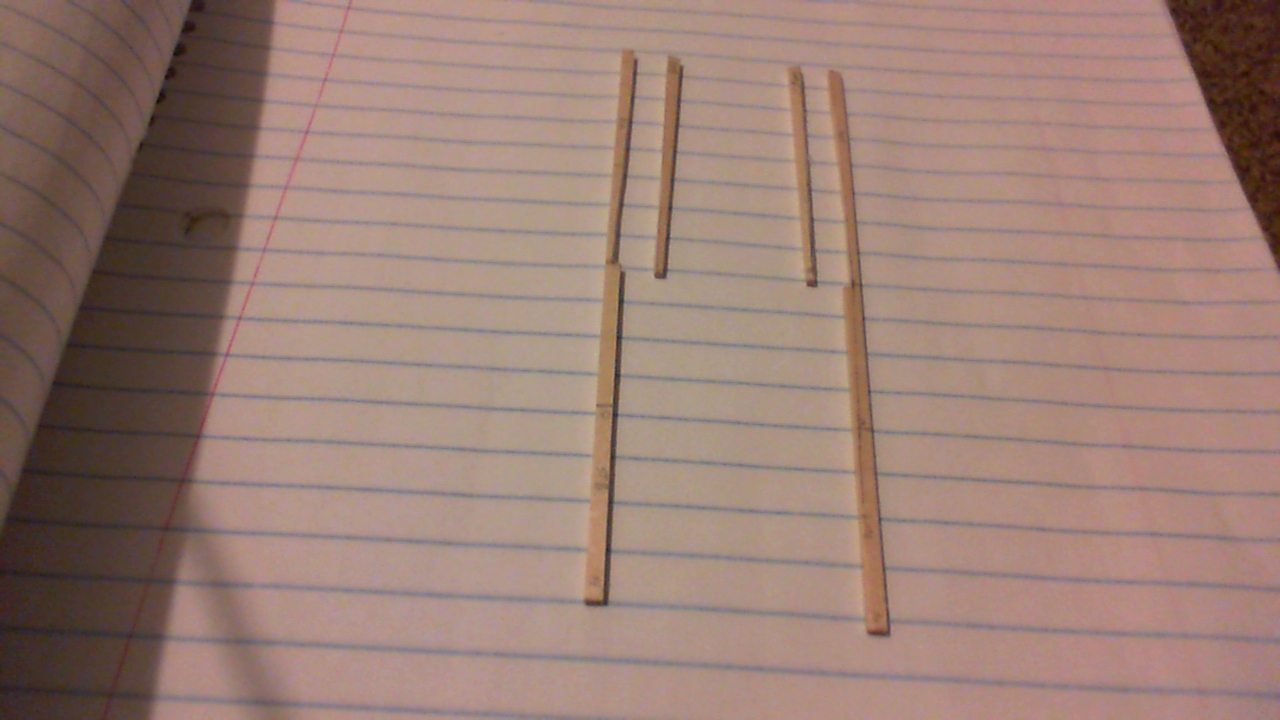
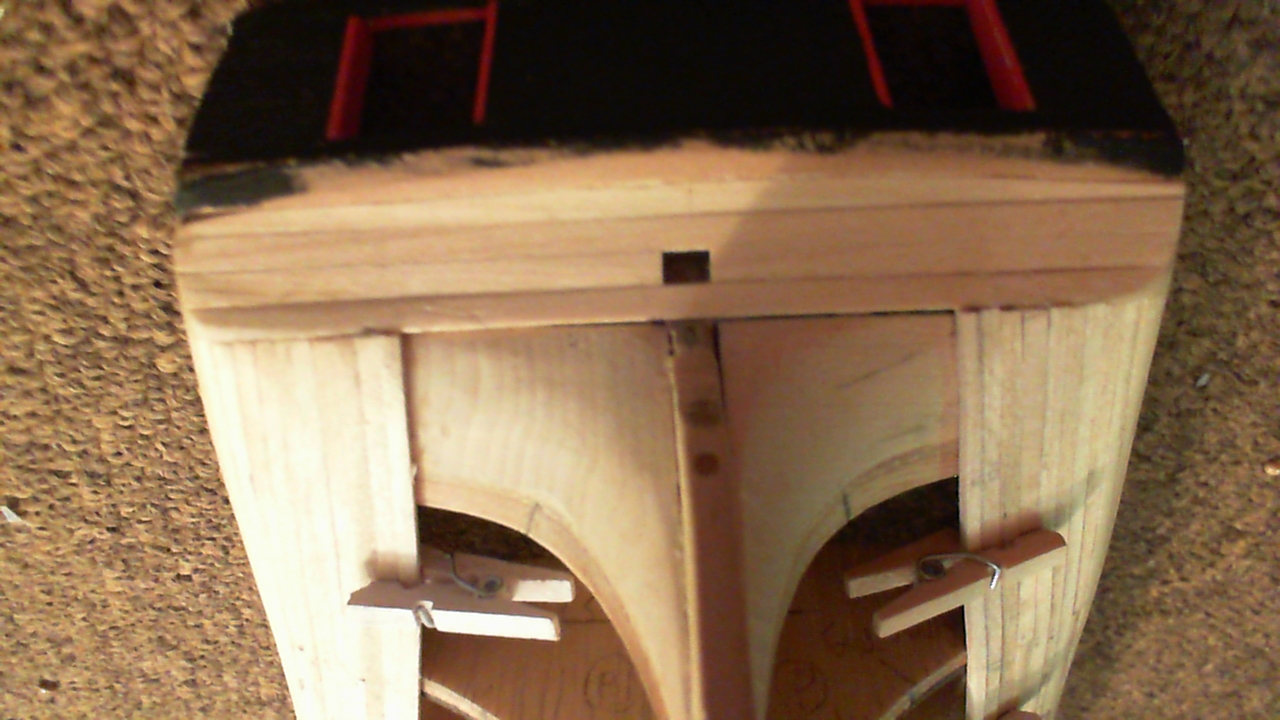
Unfortunately I wasn't paying close attention to the stern planking, and I found I was tapering too much at the stern on belt "B". So on the 7th strake of belt B I am having to introduce stealers.
This is the first time I've made and used proper stealers (I cheated on the Cutty Sark, as all stealers would have been hidden by the coppering).
I made the stealers alongside their planks and shaped them off the ship; hopefully they'll align properly on the ship....

- lb0190, popeye the sailor and NenadM
-
3
-
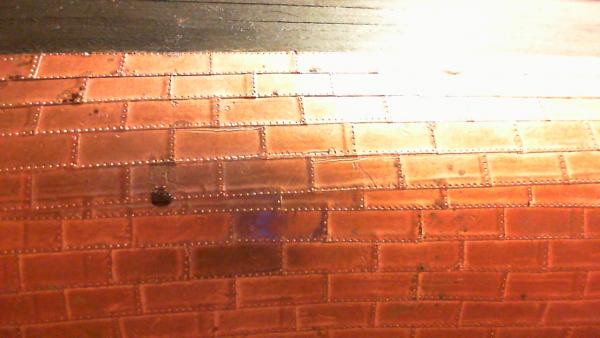
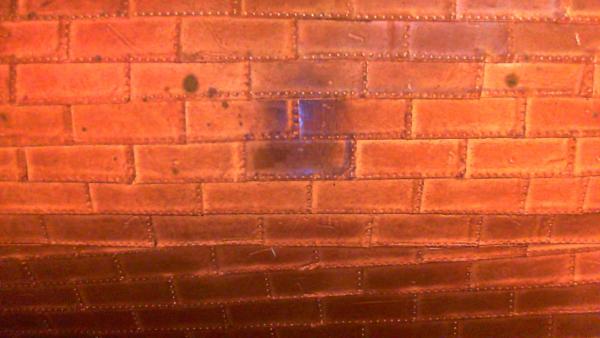
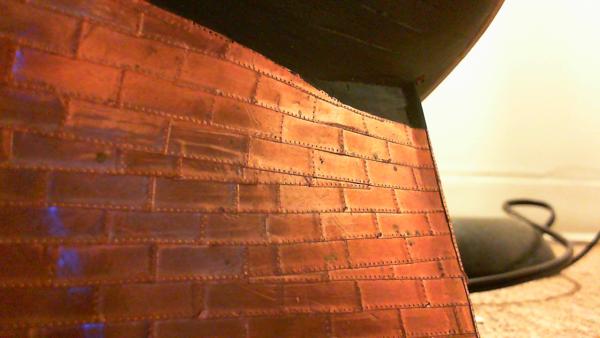
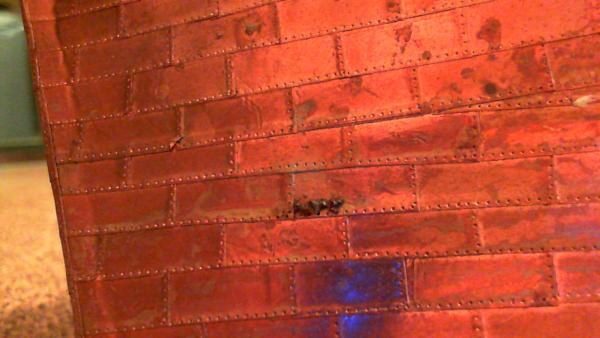
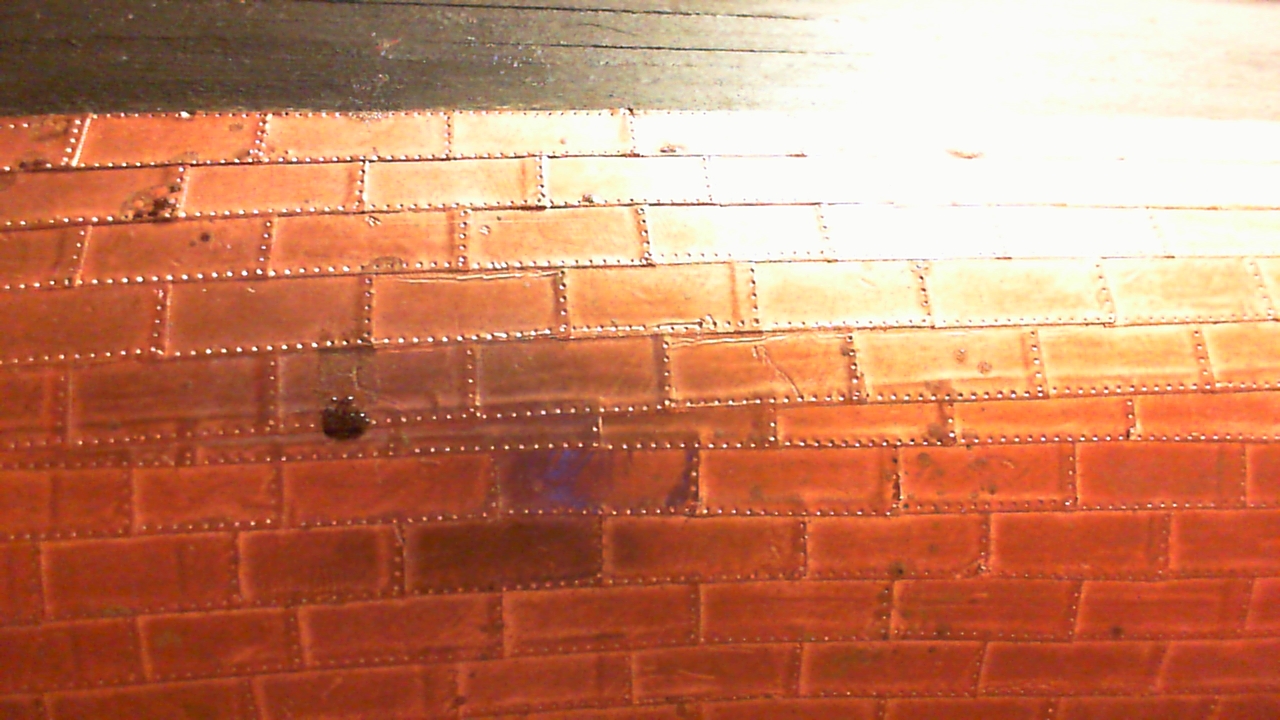
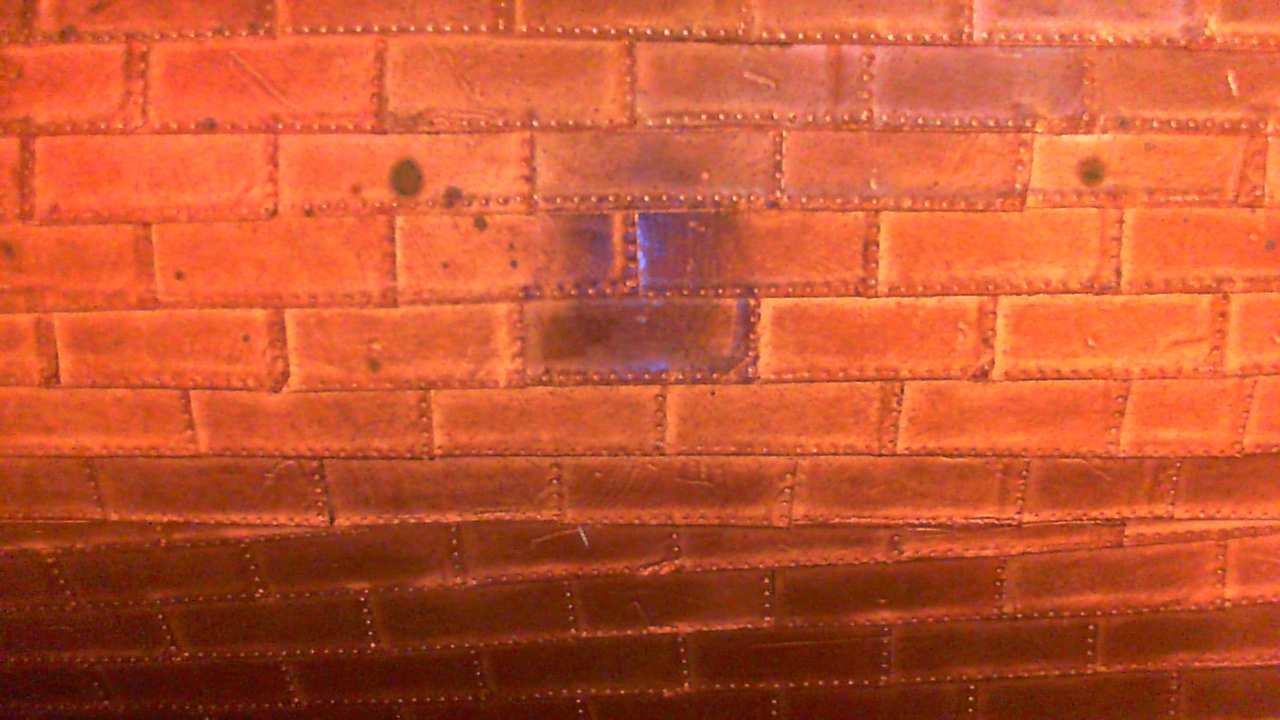
Ok, so no new work on the Cutty as of yet by me; but to keep this post halfway alive, here's some pictures of what the last year has done on the copper.
I really like the patina, some copper has lifted up due to handling, (that's ok too) but I don't like these dark spots that I'm finding.
What do you guys think it might be? I know I haven't spilled paint; this seems like oxidation; maybe moisture condensation that I'm unaware of?
~Bob
-
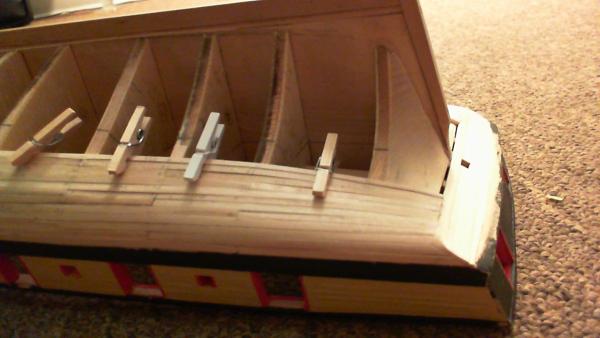
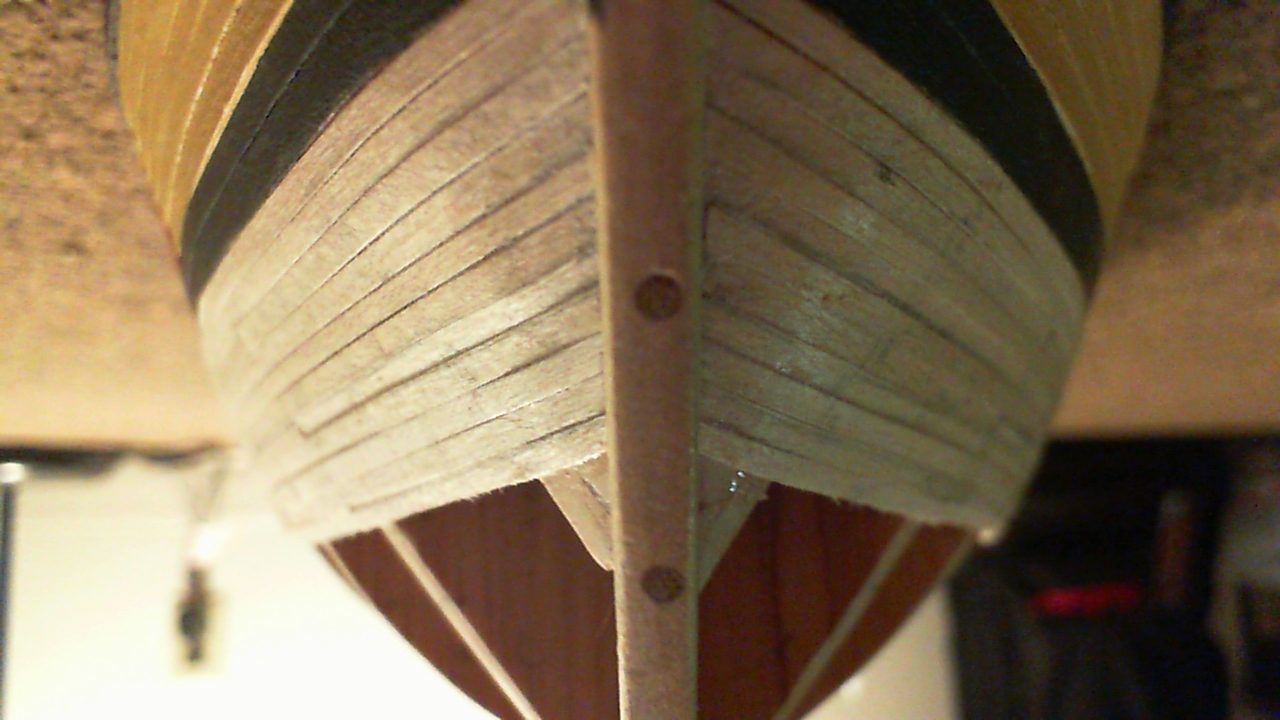
...Hull planking resumes after a 14-month hiatus (thought it was 16 months, so I feel a tiny bit better)
You can see where the port and starboard planking doesn't always match with perfect bilateral symmetry, but I've tried to compensate along the way...

- jct, GuntherMT, popeye the sailor and 1 other
-
4
-
Hi Marc;
Niagara is getting hull planking on belt "B";
I was working on Cutty's deadeye strops and trying to figure out how to do the scrollwork, etc.
Vic was getting her bulkheads and false keel laid out and cut.
I chose Niagara to ease myself in, as I'm pretty much following kit plans, and all the materials are there in one box.
-
Hello all; I am now doing work on the Niagara on my living room floor... Haven't gotten around to buying the materials for a workbench yet... I unpacked enough stuff (sanding block, x-acto, miter box, and a few of my rulers, calipers, etc.) to do a little work, and have now shaped a couple of planks for the Niagara for the first time in 16 months...
Niagara to whet my whistle, Cutty to finish, and HMS Victory waiting in the wings.....
-
-
Remember this ship is 146 years old.. If you had a house that old, lots if remodeling would be done...
You are doing a first rate job, my Friend!
~Bob
- GLakie, thomaslambo, CaptainSteve and 4 others
-
7
-
Thank You, everyone; I finally have room for a dining room table (Which was my previous workbench in a one-bedroom apt.) So I'll have to build a new workbench.
I am now in Nebraska, where I want to be; but I'ts hard for me to be at ease when we have our friend that is still mourning.
~Bob
-
I will be doing a move from Denver, Co to Lincoln Ne. within the week. We'll see what happens...
- GLakie and popeye the sailor
-
2
-
So very sorry to hear this news, my Friend; my heart is with you and your family.
Your Friend,
~Bob
-
-
-
-
-
Hello, Peter; I have not looked very closely at these areas of the plans until this point, since I have not started rigging, but upon initial inspection, everything with Campell seems to be OK.
Allright; with all the forestays, (main, mizzen, etc.) their main principle is to keep the masts from falling backwards due to the tension on the backstays and shrouds, who in turn transmit the force of the wind into motion for the ship. The bowsprit will transfer some of these foremast static rigging forces, and dynamic running rigging forces, from the topmost forestays, down through the main forestays, through the bowsprit, and into the hull in a symmetrical manner. (divided by the dolphin striker.).
~bob
-
-
Also, Peter, I do believe the topsail braces running through the single blocks is the way to go.. If you look at Lou's "Cutty Sark Picture Portfolio" on this forum, pictures cs030 and cs031 show the eyebolts for these blocks mounted on the main rail's side straddling the foremost mizzen deadeye, as per Campbell.
But wait! I noticed a few months back that on picture cs030 that an additional deadeye forward to the foremost mizzen deadeye was present! It was in Lou's opinion that this was a modification added to the original design sometime after the 1950's restoration, in order to make the deteriorating ship more structurally sound. It also appears that the two single blocks were replaced by one double block for both braces in order to fit around the added deadeye and shroud. (You can see the empty eyebolt aft of the deadeye, that's aft of the added deadeye.. )
Egads!
~Bob
-
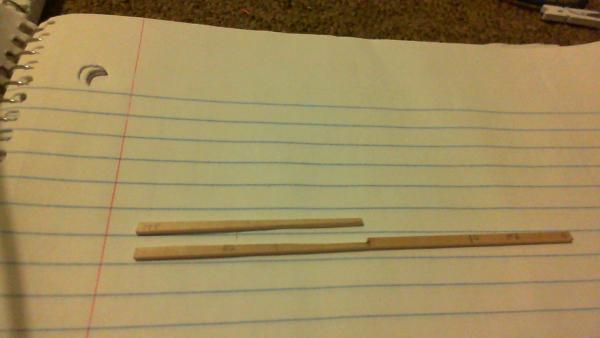
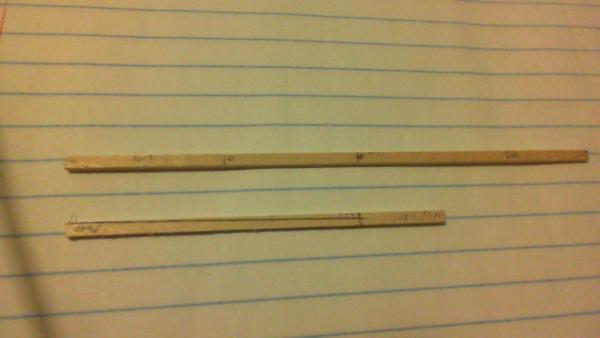
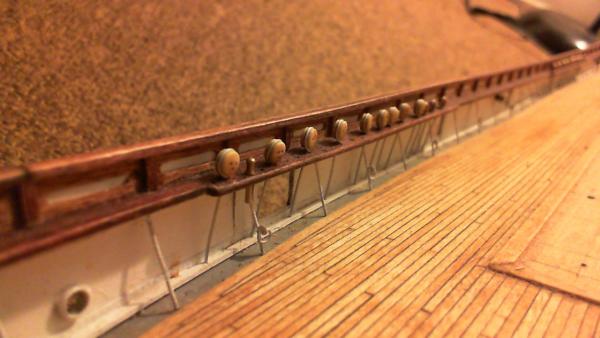
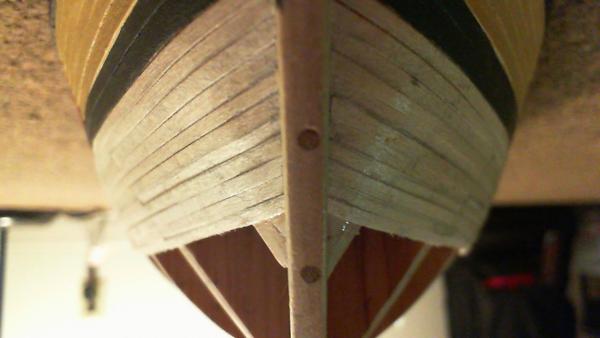
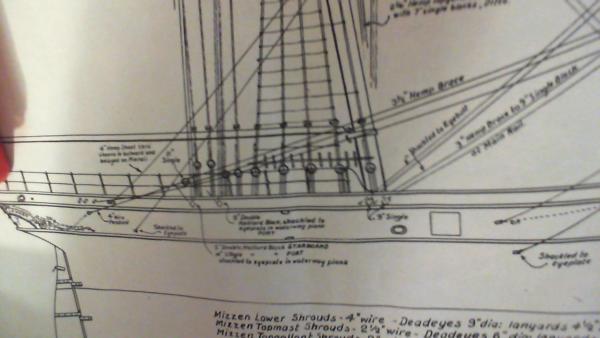
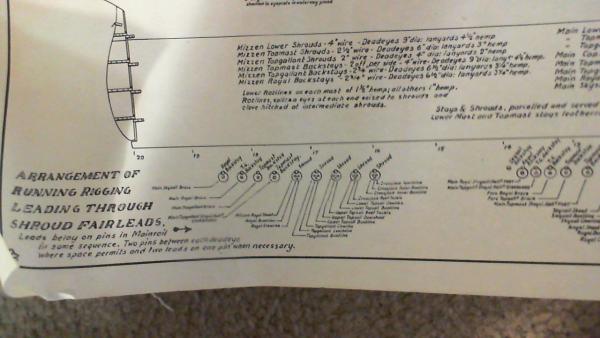
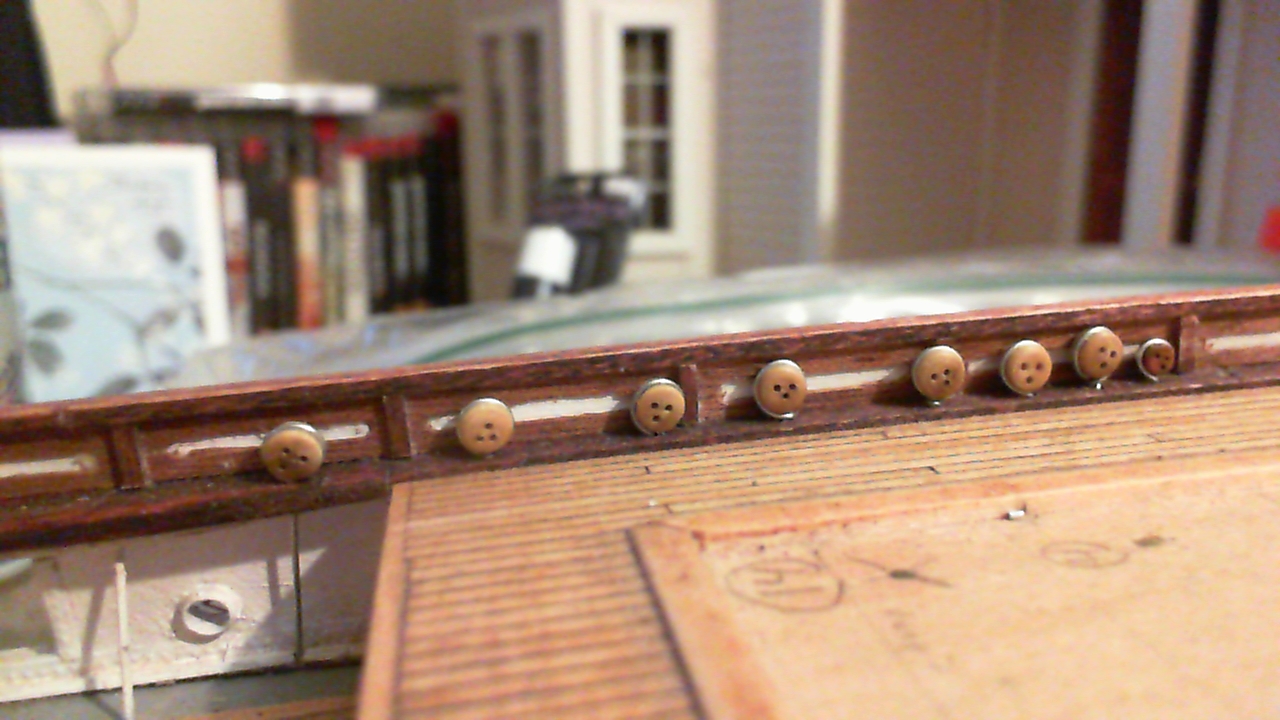
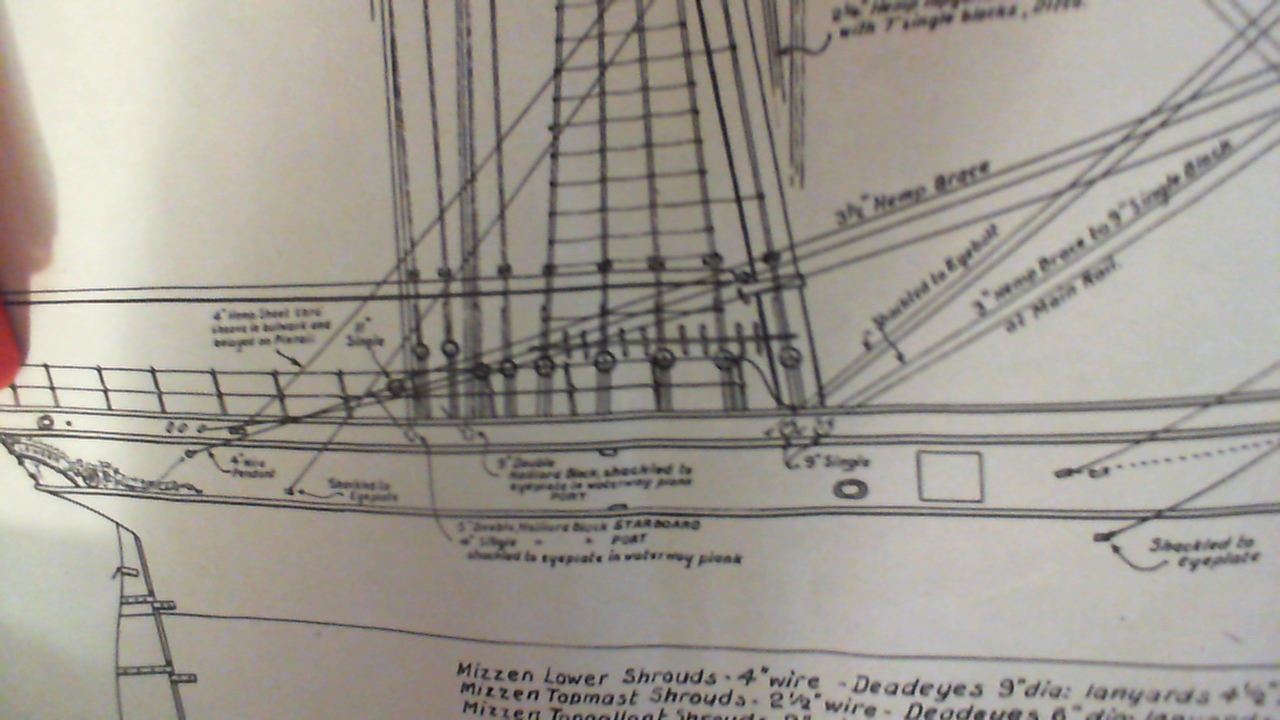
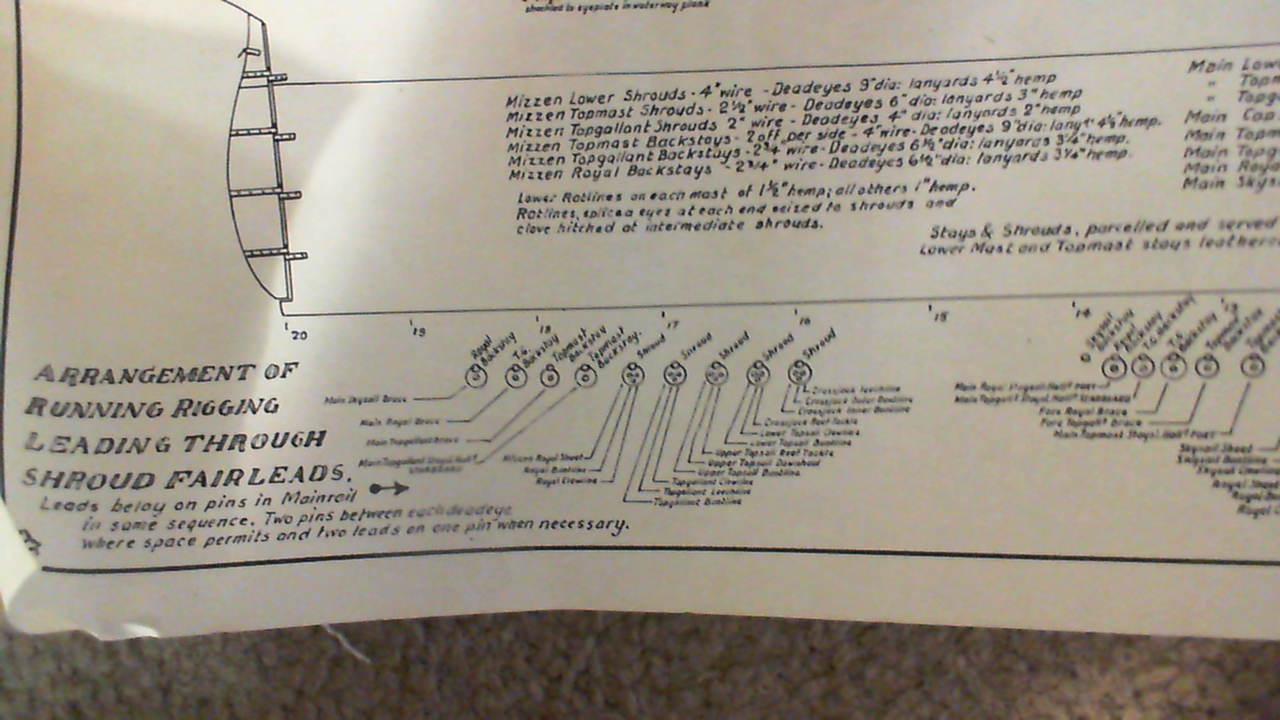
Hello, Peter; I too am working on the billings model (459). However, the only kit parts I've used so far have been the keel and bulkheads. My unstarted, but incomplete kit was missing the main deck, and all plans and instructions except for (gold mine!) two complete sets of G. Campbell's plans. I have been using these plans almost exclusively (along with actual photos, and help from the great masters on this site) to scratch build most of the ship over the original skeleton. All deadeyes and spacing follow these plans. Here's a picture of my mizzen deadeyes temporarily in place, followed by photos from Campbell's plans. The last deadeye (aftmost) is not in place in the photo of my model, but the hole is drilled. Also note details from Campbell... Do you have a set?
The two different diameters of deadeyes (2.5 and 3.5 mm) reflect the 6.5" to 10" variance in the actual ship's.
Hope this helps...
Bob

-
Nenad; I just got on and was enjoying your posts, until I saw your Admiral was sick. Is she ok?
all the best wishes, always.
Your Friend;
Bob
- CaptainSteve, NenadM, Piet and 1 other
-
4
-
Thanks, Jan; Lincoln has been consistently in the top 100 cities to live in the US. When you've lived there for most of your life, you tend to think the grass is greener on the other side. It's not. No wonder the richest man in the world lives in Nebraska, and stays in Nebraska (Warren Buffet).


Cutty Sark by Nenad
in - Build logs for subjects built 1851 - 1900
Posted
Hello, at long last, Nenad!
In my absence from the forum, I've had ups and downs like everybody else. Right now I'm thinking about purchasing a 3d printer; which could potentially solve my problems with trim pieces, etc but it will be a while.
The dimensions could be scaled for anyone; and if I DO (admiral) purchase a 3d printer, I'd be happy to provide anyone on this forum with parts minus shipping.
Cutty has had some damage from the moves; I'll get her back and move on....
Your Friend,
Bob