-
Posts
3,172 -
Joined
-
Last visited
Content Type
Profiles
Forums
Gallery
Events
Everything posted by Gregory
-
My laser cut planks
Gregory replied to modeller_masa's topic in Building, Framing, Planking and plating a ships hull and deck
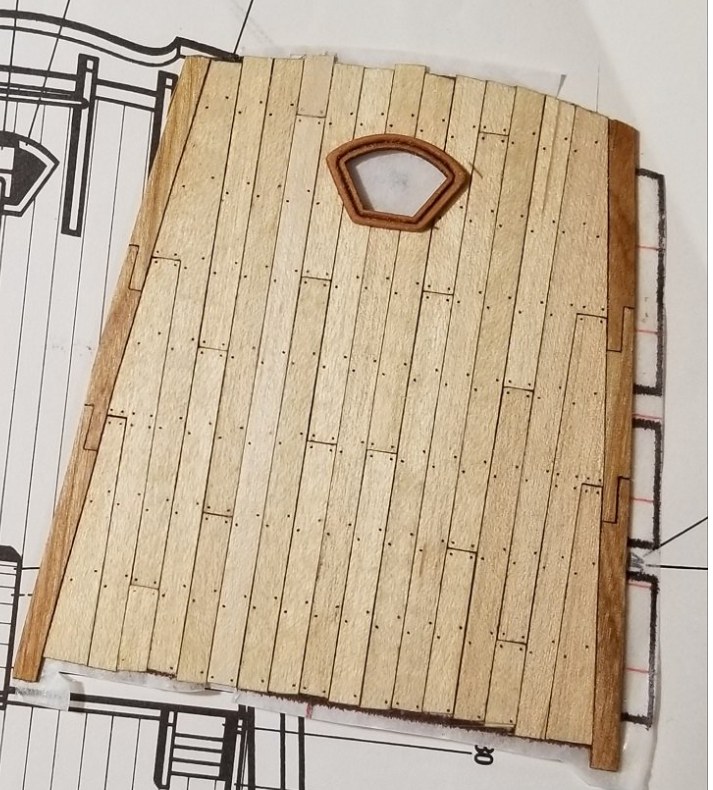
Yes, the treenail effect is just maybe 4 pixels in a 600dpi drawing. Just so aspiring laser users don't get confused, the fiber lasers are a different technology than the blue diodes. The cheapest ones are about $1200 and only have a 70mm square work area. Fiber Lasers at Amazon The diode lasers are much better than they were a few years ago. I have seen 40w units available. The basic ones have one diode that has about 5w of power. The 10, 20 and 40w models use multiple diodes focused into a single beam. -
My laser cut planks
Gregory replied to modeller_masa's topic in Building, Framing, Planking and plating a ships hull and deck
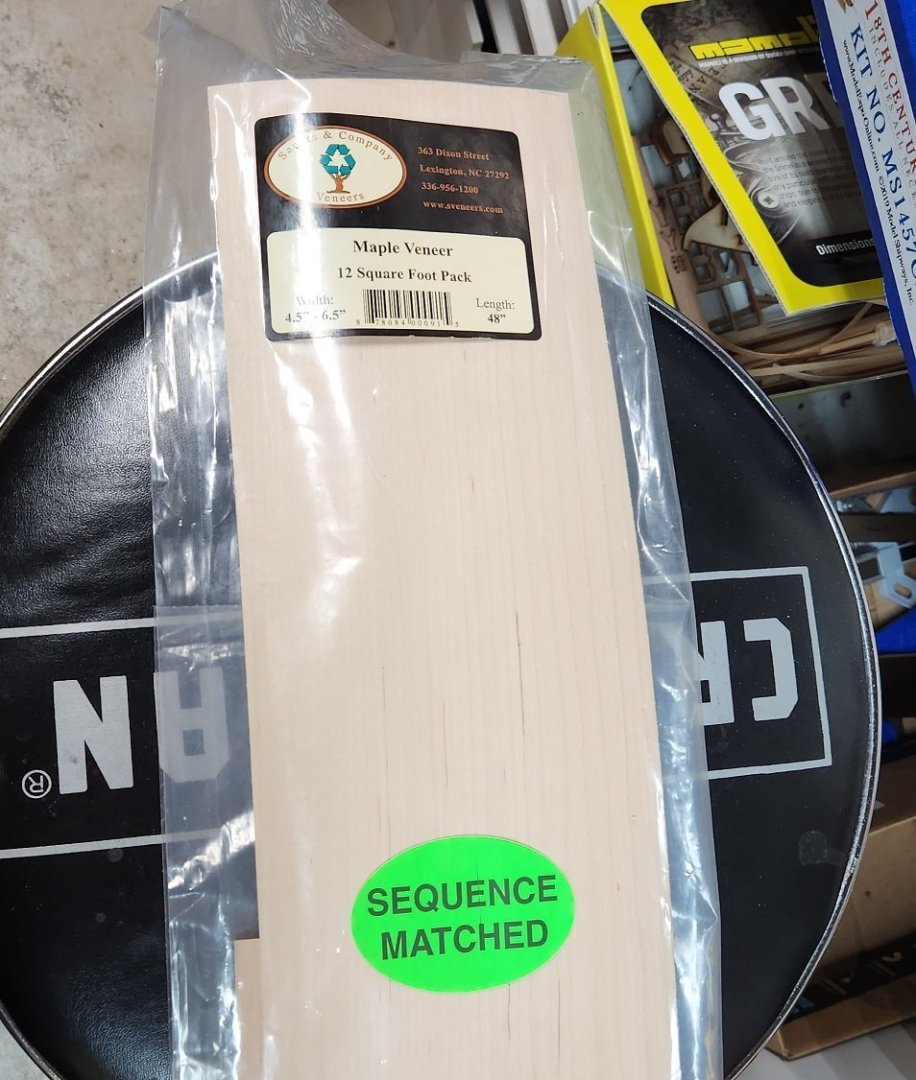
Which model fiber laser are you using? I have not seen that configuration at a $500 price point.. Your image looks like a typical blue diode laser. This should catch on as more people start using the laser. I use maple veneer, and have also explored making treenail marks. Also good for shaped margin an nibbed/jogged planks. You are right on about it taking care of the caulking simulation. -
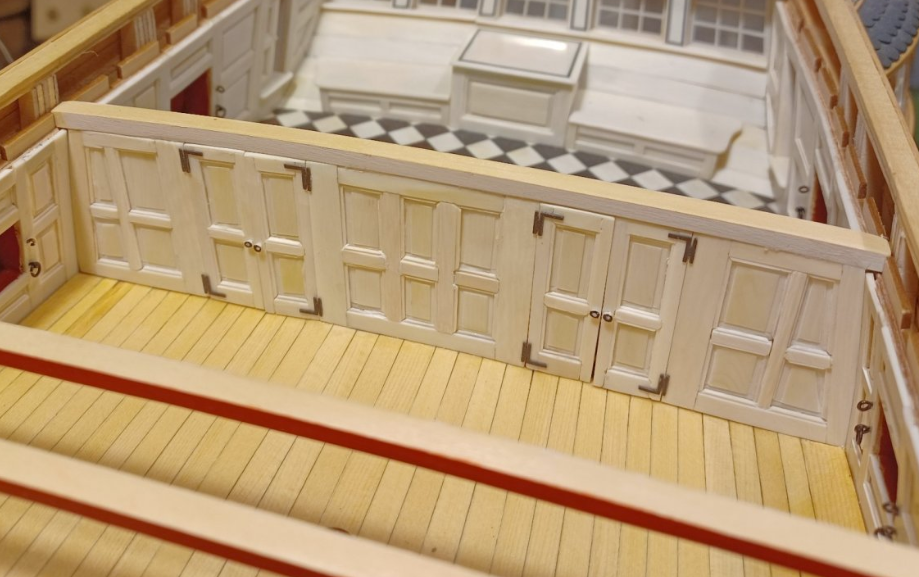
I wasn't thinking so much as duplicating the craftsmanship and/or detail but more in the way of a design concept, which is not that much different from the MS/Campbell drawings. The red drawing is from the Winnie plans reshaped a bit for size. The upper curved panels on the MS drawings do not look homogeneous to me. They don't follow the shape of the bulwarks. And once again there are the windows. It would seem more logical for them to be in the doors.
-
I'm finding some inspiration for the quarterdeck bulkhead in Beckmann's Winchelsea build. Link to the relevant content.. Here is a small sample. Click on down through the link above for a lot more detail regarding method. @Dave_E If I'm cluttering up your log too much just let me know and I will delete posts.
-
They spent all their money on the elaborate carvings and figurehead.😁
- 152 replies
-
- rattlesnake
- Model Shipways
-
(and 1 more)
Tagged with:
-
Bend cast metal parts
Gregory replied to bogeygolpher's topic in Metal Work, Soldering and Metal Fittings
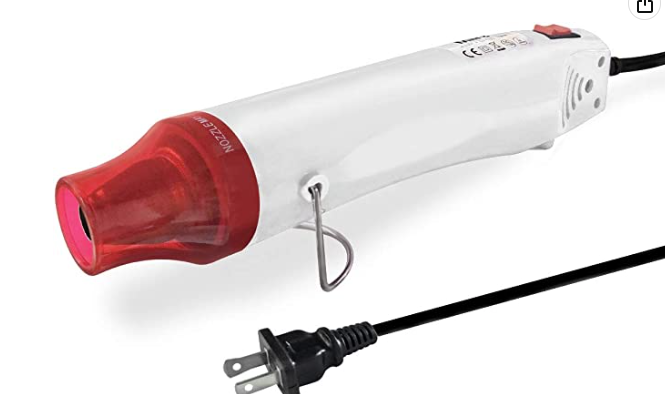
In addition to boiling water you might add somethin like this to your tool chest. Mini Heat Gun Use with care. It gets very hot. will melt some plastics and will char wood. -
With thread, it's not just the surface.. It penetrates between the fibers and creates a coating that surrounds the fibers whether it bonds to them or not. I was trying to keep it simple, but I realize all plastics are not the same.
-
Just to elaborate a bit on what Glenn said, somewhere along the line people got the idea that water-based whatever would not stick to polyester because polyester is essentially plastic, and we all know how water behaves on a plastic surface. However, polyester thread is made up of almost microscopic fibers - think fuzz - and water based whatever will saturate the space between those fibers, dry , and essentially become part of the thread/line made from the thread.
-
I have successfully used about 60/40.. ( water 40 )
-
A few years ago, most of the kits were coming from Italy, and they were putting together what would sell as decorative mantle pieces. The idea was to put some contrasting varieties in the box so it would look like something with 'wood-appeal' .. They didn't have a market that was making demands. If they had put boxwood and pear in the kits, no one would have bought the higher price, because the market was not the kind of people you find on MSW. There was no MSW or allanyed's to question their purpose or methods.. MS and BlueJacket kits were mostly bass, with the idea that it was going to be painted..
-
Looking forward to seeing an update.. Your slow and steady approach makes me feel better about all my procrastinations.
-
It will if the thread used to make the line has small enough fibers, which is usually the case with 'rope' from a source like Syren.. I wouldn't use CA because of the shine.
-
How do I tell what size scale rope should be used?
Gregory replied to JoeMacD's topic in Masting, rigging and sails
The size of your scale rope would depend on the scale of your model. If the actual rope was 4 inches in circumference, you would divide that by the scale of your model. There are any number of references for actual sizes. I have Lees masting and rigging, which may or may not be more than you want to spend. Mondfeld's Historic Ship Models has some tables, but I understand there is a calculation error that you have to account for. While most rigging size tables deal with circumference, it might be easier to work with diameter, which is circumference divided by 3.14. A 4 inch circumference rope would be 1.27 inch diameter. This would scale to about .02 inches at 1:64 scale. An anchor cable could be 22in. This would scale to .109 inches at 1:64. The smaller the rope the harder it might be to get a precise scale. Ratlines at 1: 64 would be no bigger than some common sewing thread. This is where you go for something that looks good proportion wise. I'm sure other members will have something to offer. -
I use black card or paper for my straps. I also use it for Pintles and Gudgeons, door hinges and such. I coat it with flat poly or acrylic. A lot easier to work with than metal. I have seen some people use black painters/masking tape, but it has a texture I don't care for.
- 562 replies
-
- vanguard models
- alert
-
(and 2 more)
Tagged with:
-
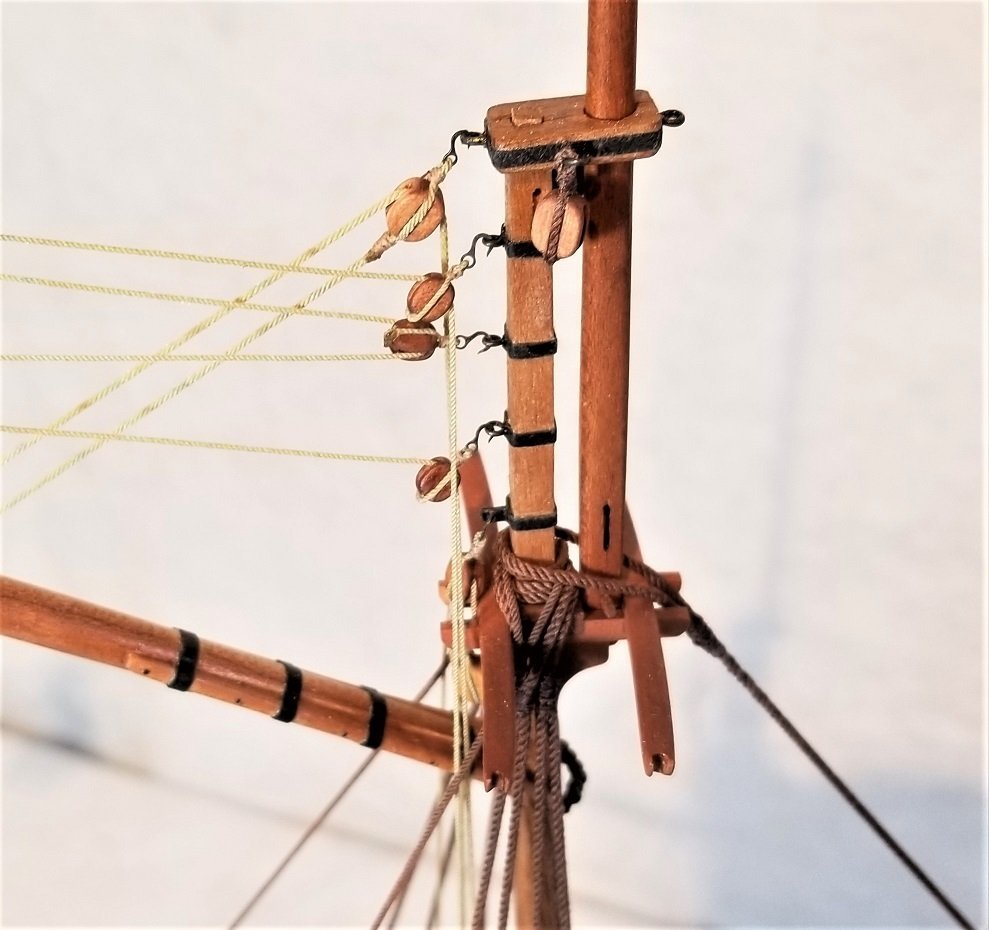
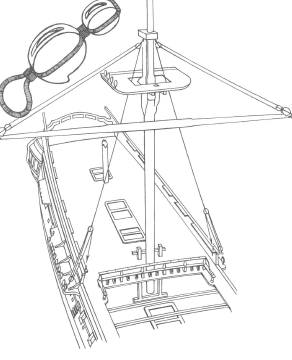
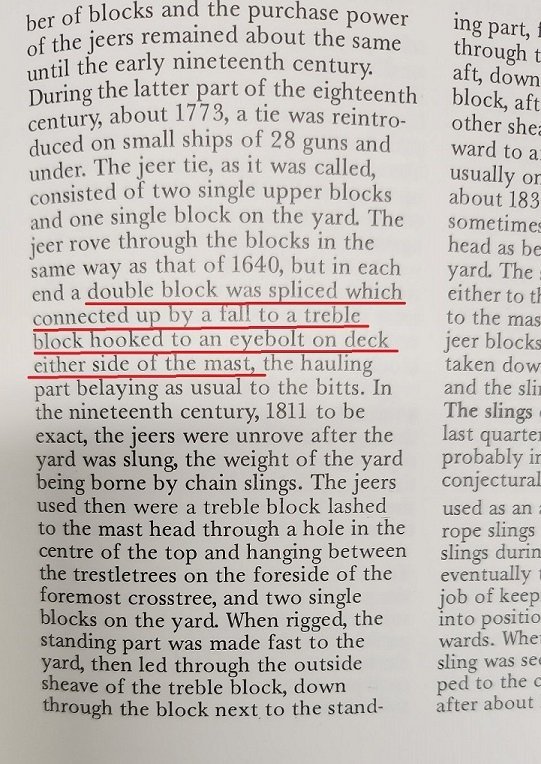
Not sure what constitutes a tackle where you are concerned, but I have seen contemporary models where there are blocks for halyards at the deck. Petersson shows tackles on the main and fore lift. He shows the fore & main jeers reaving through sheaves in the bitts. Here is an excerpt from Lee's that describes the jeers/lift rigged to a tackle attached to an eyebolt on deck. Whether his would be correct for the ship in question, I don't know, but it's not as if this type of rig was never used.
About us
Modelshipworld - Advancing Ship Modeling through Research
SSL Secured
Your security is important for us so this Website is SSL-Secured
NRG Mailing Address
Nautical Research Guild
237 South Lincoln Street
Westmont IL, 60559-1917
Model Ship World ® and the MSW logo are Registered Trademarks, and belong to the Nautical Research Guild (United States Patent and Trademark Office: No. 6,929,264 & No. 6,929,274, registered Dec. 20, 2022)
Helpful Links
About the NRG
If you enjoy building ship models that are historically accurate as well as beautiful, then The Nautical Research Guild (NRG) is just right for you.
The Guild is a non-profit educational organization whose mission is to “Advance Ship Modeling Through Research”. We provide support to our members in their efforts to raise the quality of their model ships.
The Nautical Research Guild has published our world-renowned quarterly magazine, The Nautical Research Journal, since 1955. The pages of the Journal are full of articles by accomplished ship modelers who show you how they create those exquisite details on their models, and by maritime historians who show you the correct details to build. The Journal is available in both print and digital editions. Go to the NRG web site (www.thenrg.org) to download a complimentary digital copy of the Journal. The NRG also publishes plan sets, books and compilations of back issues of the Journal and the former Ships in Scale and Model Ship Builder magazines.


