-
Posts
3,145 -
Joined
-
Last visited
Content Type
Profiles
Forums
Gallery
Events
Everything posted by Gregory
-
Great kit and parts source
Gregory replied to JohnU's topic in REVIEWS: Model Shipwrighting Tools, Parts and fittings
Sorry to hear of your loss.. Thanks for the apology.. -
Great kit and parts source
Gregory replied to JohnU's topic in REVIEWS: Model Shipwrighting Tools, Parts and fittings
You insinuated shopping at Cornwall was a bad idea and unfair to other retailers, and compared them to cheap Chinese knock-offs.. The price difference was for European kits, which would obviously give Cornwall an advantage. Also, you mentioned price breaks for bigger players. I believe that is common practice for a lot of products.. Ever priced one screw vs larger quantities? -
Great kit and parts source
Gregory replied to JohnU's topic in REVIEWS: Model Shipwrighting Tools, Parts and fittings
Proof of what? That Cornwall has a better business model than you do? -
Great kit and parts source
Gregory replied to JohnU's topic in REVIEWS: Model Shipwrighting Tools, Parts and fittings
Do you have a lot of local sources for kits and parts? Let us know who they are, and we can check them out.. I've used Crafty Sailor in Canada ( not exactly local for me ), but their selection is somewhat limited.. -
Great kit and parts source
Gregory replied to JohnU's topic in REVIEWS: Model Shipwrighting Tools, Parts and fittings
I'm not sure how shipping on parts would work out, but I have bought a couple of kits from Cornwall, and the lower cost of the kit made up for slightly higher shipping charges. The kits were at least $100 less than what I would have paid for a US vendor for the same kit. -
Interesting selection here: Watchmakers Tools - Esslinger
-
There must be some spring tension on the shroud that is causing that. Not sure how you would go about solving it without undoing the lanyard and somehow reverse the tension on the shroud..
- 725 replies
-
- vanguard models
- speedy
-
(and 1 more)
Tagged with:
-
Tell Me Why This Is A Bad Idea ( If it is )
Gregory replied to Gregory's topic in Modeling tools and Workshop Equipment
How do you think this would affect accuracy? It raised my table by a few mills.. Am I to believe such problems never happen with traditional ( proper ) inserts? I have used this quite a bit and have had no accuracy or safety issues.. If one has the " proper " inserts, of course they should use them. I only brought this up because I tried it on a whim, and had no issues. I don't expect the pro's to stoop to such jerry rigging. I just thought someone who is waiting on their inserts for the Proxxon FET might give this a try before they arrive.. ( I can't even seem to find them ) In hindsight, my topic title was not that well thought out.. -
Tell Me Why This Is A Bad Idea ( If it is )
Gregory replied to Gregory's topic in Modeling tools and Workshop Equipment
I agree. Your input is appreciated.. I found the tape to be quick and easy. It didn't cause any safety concerns for me beyond what already exists. I fail to see why my fingers would be in any more danger than with the use of a rigid insert. In either case my fingers would need to encroach on the blade, and I fail to see how a rigid insert would mitigate that if I were not being careful to keep my fingers from the path of the blade. The tape certainly does not increase my comfort zone.. Now that someone mentioned it, the idea that a bind might cause a cut piece to go down through the tape, could be a gauge of a problem that needs to be addressed; cleaning, sharpening. I'm never resistant to good ideas.. Though I try not to dismiss ideas without trying them -
Tell Me Why This Is A Bad Idea ( If it is )
Gregory replied to Gregory's topic in Modeling tools and Workshop Equipment
Does the Byrnes saw have any vertical play when you loosen it to move it? When you tighten it? -
Tell Me Why This Is A Bad Idea ( If it is )
Gregory replied to Gregory's topic in Modeling tools and Workshop Equipment
A lot to think about.. I appreciate the comments. -
Tell Me Why This Is A Bad Idea ( If it is )
Gregory replied to Gregory's topic in Modeling tools and Workshop Equipment
Haven't had that problem.. I can see where it would be more of a possibility if the blade is binding against the material. Time to clean or replace the blade. Will keep it in mind.. -
Tell Me Why This Is A Bad Idea ( If it is )
Gregory replied to Gregory's topic in Modeling tools and Workshop Equipment
I did that with my Microlux. Was easy to make with my laser.. But, one day I needed a new insert and thought I would try the tape as a stop-gap before taking the time to make one, it seemed to work OK, so I thought " Why go to the trouble to make one? ".. -
Tell Me Why This Is A Bad Idea ( If it is )
Gregory replied to Gregory's topic in Modeling tools and Workshop Equipment
I always do.. Haven't had a problem so far with this.. What do you see as a problem, if any, with the tape as a zero clearance insert? -
Tell Me Why This Is A Bad Idea ( If it is )
Gregory replied to Gregory's topic in Modeling tools and Workshop Equipment
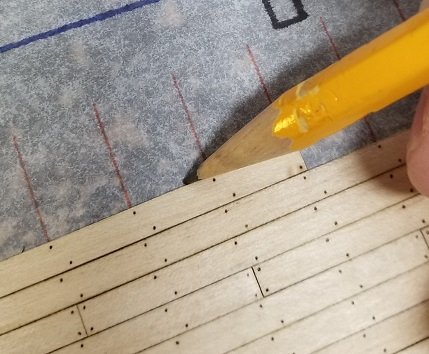
Just a random picture.. I adjust the blade based on the height of the billet being cut.. What do you see as a problem with the tape as a zero clearance insert? -
There is a definite need for Zero clearance inserts for our table saws. Replacements are not that expensive, and it's good to have one for different blades. I've been doing this: I put a strip of masking or duct tape over the opening ( over default insert with about 1/4 clearance insert underneath ).. Hasn't caused any problems I'm aware of. Why might it be a bad idea?
-
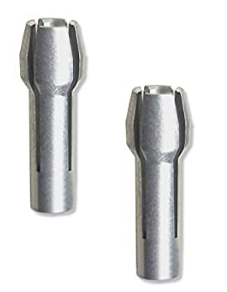
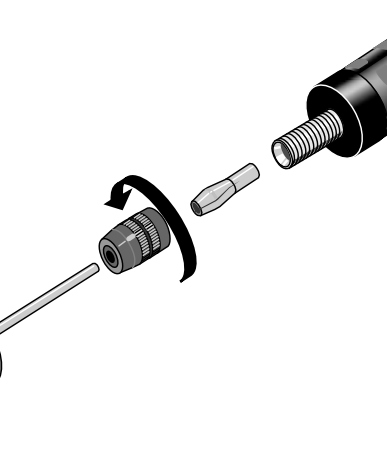
Strange looking collet.. With no more information I would think it is upside down.. The collets I am familiar with look like this: The collet and retainer appear to be upside down. Looking at the manual I'm even more convinced.. If you continue un-screwing, the whole thing should come off if you can find some way to lock the shaft..
-
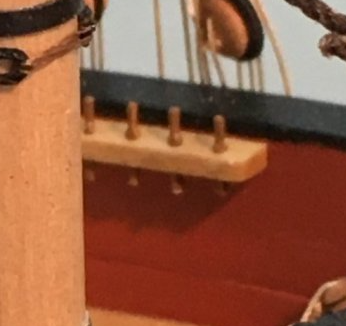
I just noticed the belaying pins in the image above.. Did those come in the kit, and are they wood? They look a lot better than most kit provided pins..
- 725 replies
-
- vanguard models
- speedy
-
(and 1 more)
Tagged with:
-
Topsail schooner sail plans and rigging
Gregory replied to Dr PR's topic in Masting, rigging and sails
Have you seen this one? The Schooner: Its Design and Development from 1600 to the Present Paperback – March 1, 2001 It looks like it may be fairly comprehensive as well..- 104 replies
-
- schooner rigging
- Topsail schooner
-
(and 1 more)
Tagged with:
-
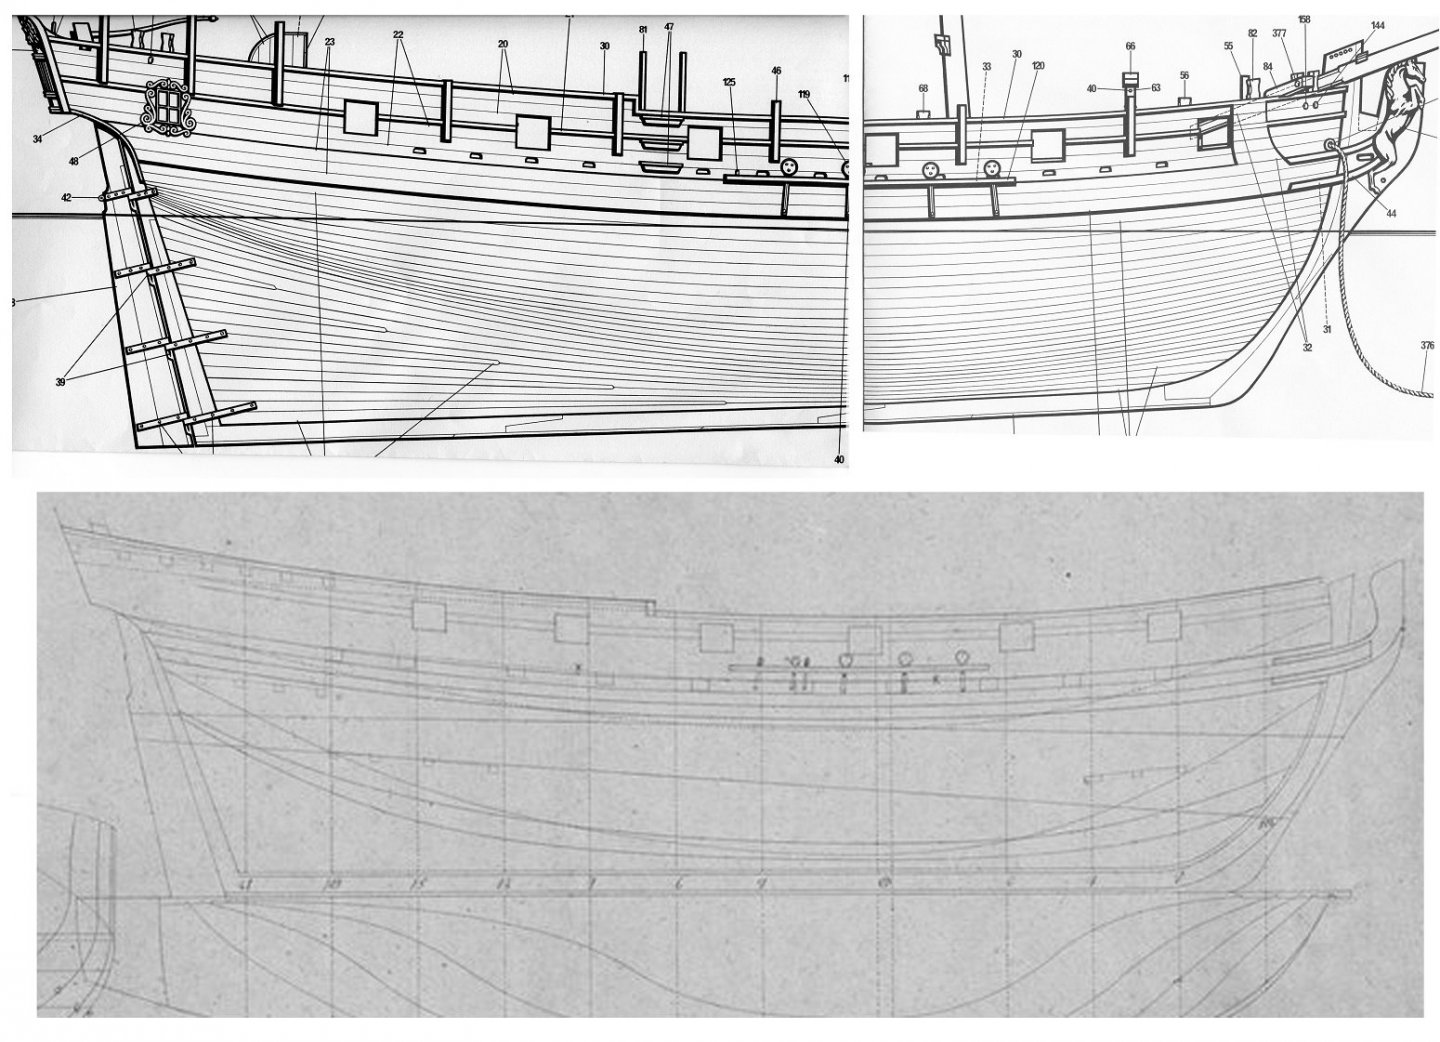
My log explains that 'Resolution" is a name chosen by Corel with no resemblance to any actual ' Resolution ' on record. Also explained in my log, the lines are a close match to drawings found at the NMM for Ferret 1711. The drawings say it is " ... a cutter-rigged Sloop. " ... I try not to struggle too much with rope sizes based on tables or establishments.. I look at contemporary and other well made models and try to get a look that is well proportioned.
About us
Modelshipworld - Advancing Ship Modeling through Research
SSL Secured
Your security is important for us so this Website is SSL-Secured
NRG Mailing Address
Nautical Research Guild
237 South Lincoln Street
Westmont IL, 60559-1917
Model Ship World ® and the MSW logo are Registered Trademarks, and belong to the Nautical Research Guild (United States Patent and Trademark Office: No. 6,929,264 & No. 6,929,274, registered Dec. 20, 2022)
Helpful Links
About the NRG
If you enjoy building ship models that are historically accurate as well as beautiful, then The Nautical Research Guild (NRG) is just right for you.
The Guild is a non-profit educational organization whose mission is to “Advance Ship Modeling Through Research”. We provide support to our members in their efforts to raise the quality of their model ships.
The Nautical Research Guild has published our world-renowned quarterly magazine, The Nautical Research Journal, since 1955. The pages of the Journal are full of articles by accomplished ship modelers who show you how they create those exquisite details on their models, and by maritime historians who show you the correct details to build. The Journal is available in both print and digital editions. Go to the NRG web site (www.thenrg.org) to download a complimentary digital copy of the Journal. The NRG also publishes plan sets, books and compilations of back issues of the Journal and the former Ships in Scale and Model Ship Builder magazines.


.jpg.3ee6e15746592248942a989585b0cb27.jpg)
.jpg.fb1bd1549d456a997b7be5252257f12e.jpg)
