-
Posts
3,168 -
Joined
-
Last visited
Content Type
Profiles
Forums
Gallery
Events
Everything posted by Gregory
-
NRG Capstan Project
Gregory replied to tlevine's topic in - Build logs for subjects built 1751 - 1800
Looking for an opinion.. Chuck had posted a picture of this contemporary model in another topic.. I had asked about the eyebolts but no one responded. There are only two, and they look a little heavy for the bar retention pins as shown on your model. After seeing your model, I thought maybe they might put several pins on one eyebolt. Another thought was, did they sometimes move the upper capstan out of the way? In which case the eyebolts might be for attaching tackle. -
Sorry I'm late to this discussion, but when I see the pictures of this ship, and consider it is a "medium " clipper, what is an example of a " large " clipper?
- 3,560 replies
-
- clipper
- hull model
-
(and 2 more)
Tagged with:
-
I'm confident if the modelers of antiquity could have got there hands on a laser cutter or a Byrnes saw they wouldn't have hesitated to use it..😁 It also makes a difference if it's a full time, paying job.
-
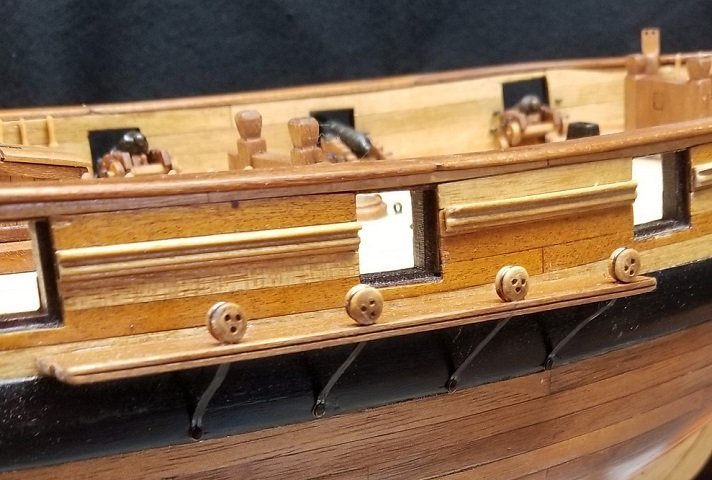
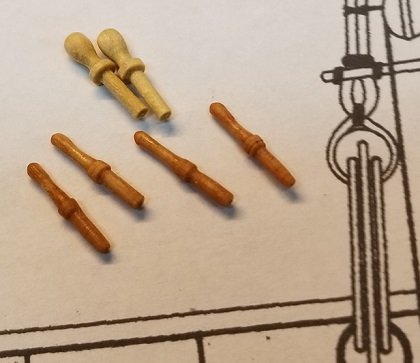
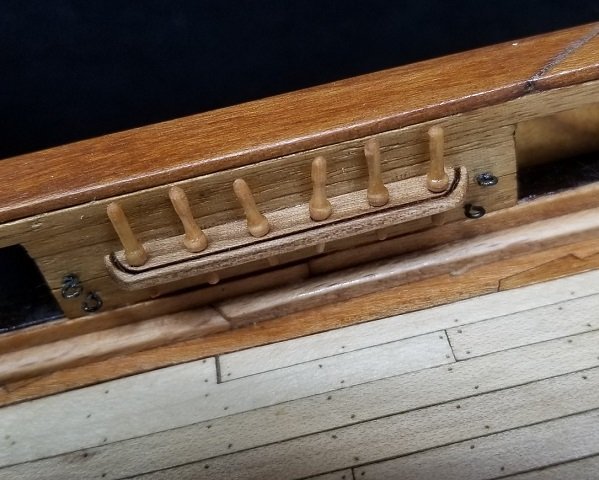
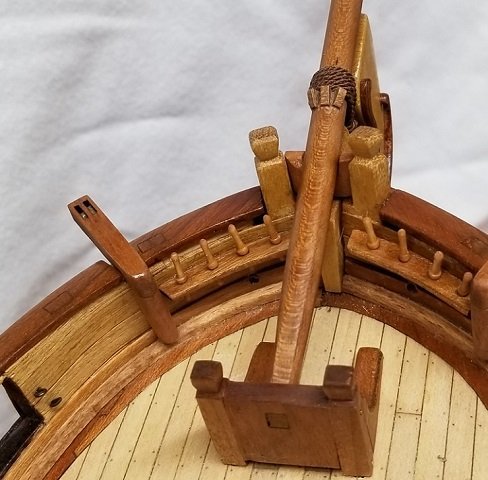
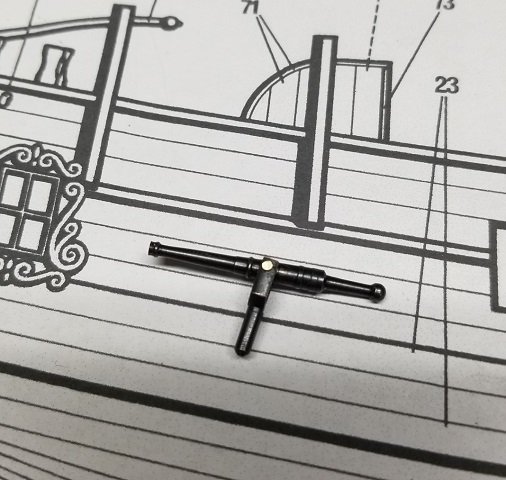
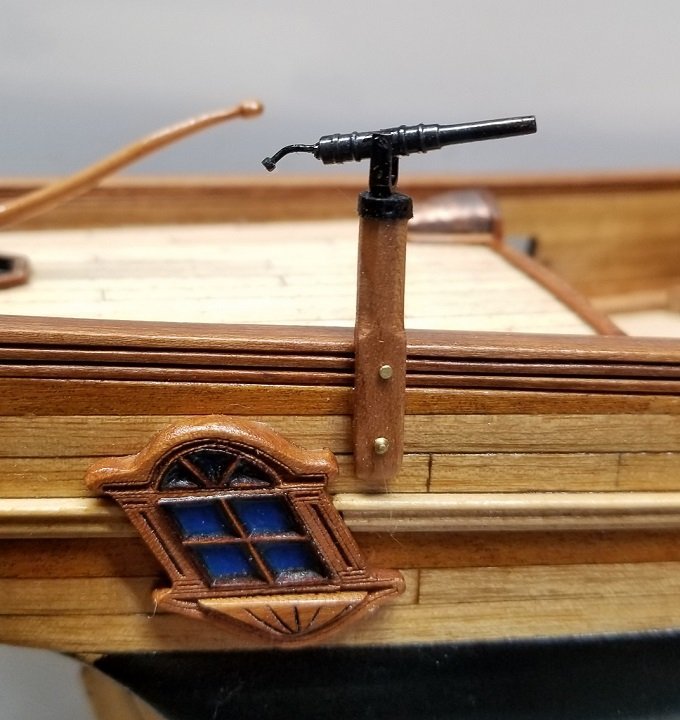
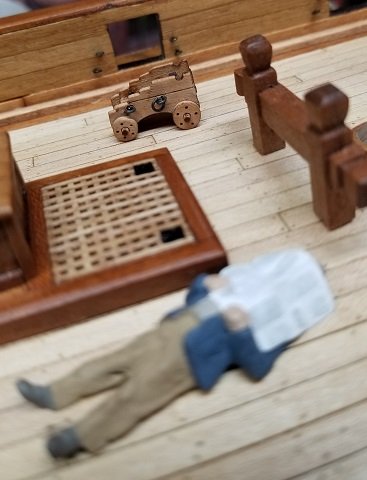
A few more details.. I added the channels . ( Ignore the topsy turvy cannon in the background.. The armorers are still mucking about..) I turned some typical commercial belaying pins into something a little more presentable.. Added the main pin rails. Some pin rails in the bow. The kit provided swivel guns are not bad, The mounts shown on the plans are fairly benign, and not much more than strip wood. I proceeded to jazz them up a bit, and drew upon the look of various swivel mounts seen here at MSW. There are going to be 16 total, but I am going to hold off mounting them until most of the rigging is done. My main go to pic was from a build of HMS Fly by Bill Maxwell over at Admiralty Models Thats it for now..
-
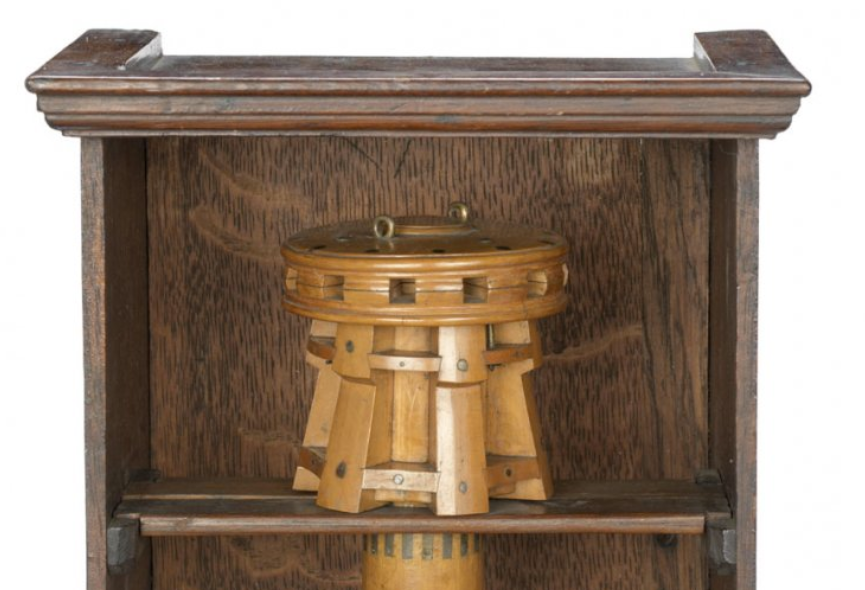
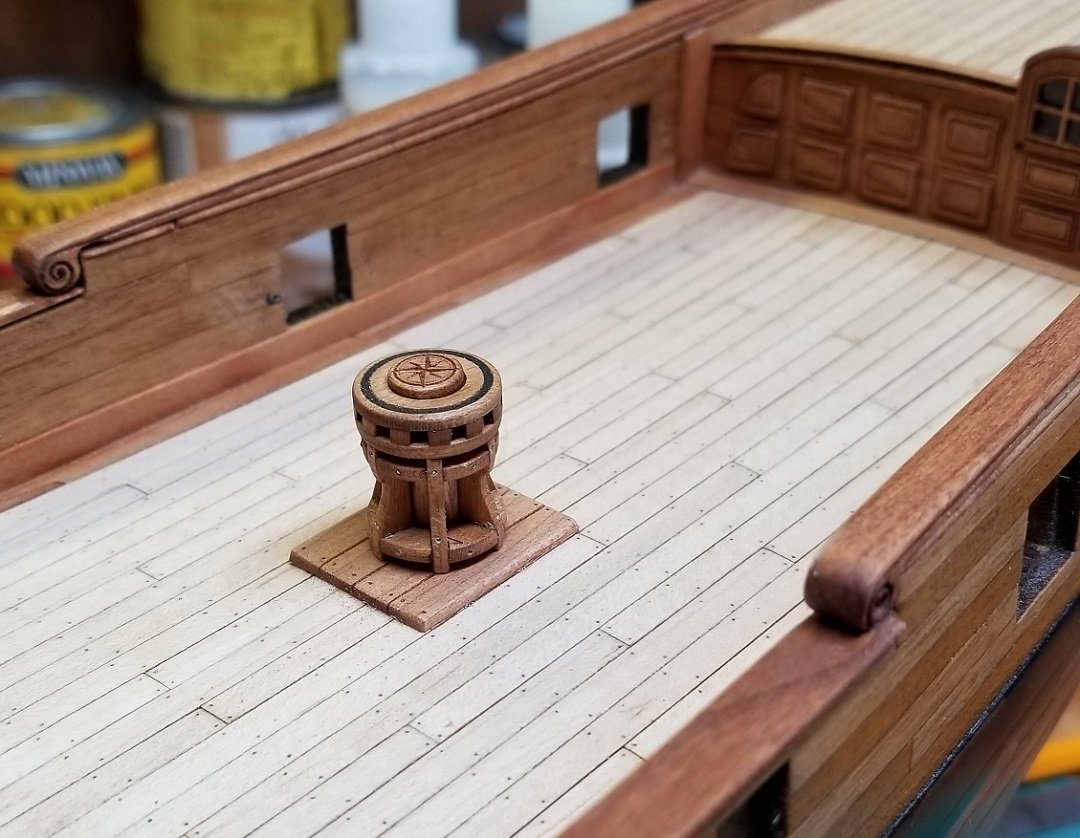
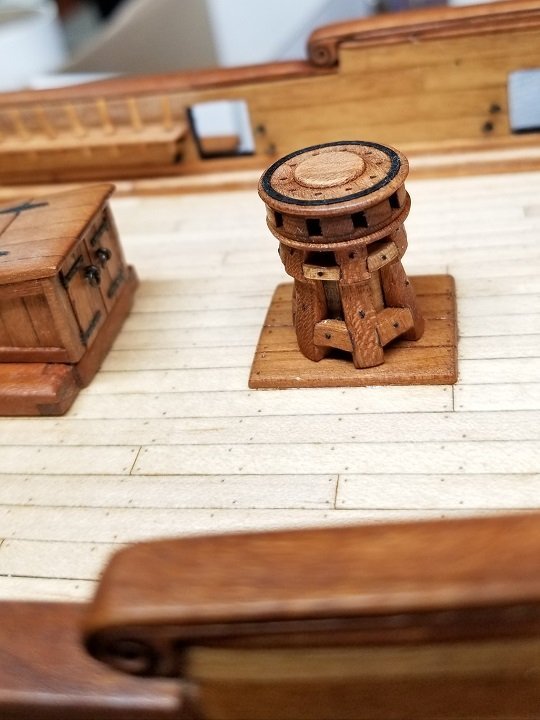
Fiddle and Faddle.. Who are those guys, anyway? Capstan revisited. This is my earlier capstan which I think could have done well in this model, with the final effort in mind being a deco piece.. However, as I go along I'm finding this project to be so many mini-projects. Learning how to use my laser; 2d and 3d software, and making something I can feel satisfied with. There is also the issue of so many challenging efforts here at MSW and all the " OMG! I wish I had thought of that ! " moments. Anyway, I made a new capstan. This is a modified capstan kit from the Winchelsea project.. More fiddle and faddle coming up...
-
Doors
Gregory replied to Don Case's topic in Building, Framing, Planking and plating a ships hull and deck
You left out " ceiling ".. To be accurate.. Some doors on ships are called doors. -
Doors
Gregory replied to Don Case's topic in Building, Framing, Planking and plating a ships hull and deck
I suppose you were never in the US Navy or Marines.. Wish I had a nickel for every push-up I did for calling a companionway or hatch a door...😁 -
Doors
Gregory replied to Don Case's topic in Building, Framing, Planking and plating a ships hull and deck
Doors? On a boat/ship? 😁 -
Yes, but I don't think you will find any with the hawse holes as far back as the reversal of those pieces would put them..😁
- 114 replies
-
- Lady Nelson
- amati
-
(and 1 more)
Tagged with:
-
I felt vossiewulf's Lady Nelson, though not finished, had some interesting twists and turns.. I hope he is doing well.. He hasn't visited MSW in over a year.
- 114 replies
-
- Lady Nelson
- amati
-
(and 1 more)
Tagged with:
-
You tackled the turn of the counter very well..
- 59 replies
-
- DeAgostini
- Victory
-
(and 1 more)
Tagged with:
-
Yes, I do make a lot of parts with the laser... If you look back through the log, you can see where I have used the laser. Everything from the stem, keel, masting and fine parts like window frames. I bought a relatively cheap ' K40 ' a couple of years ago .. Similar to this: K40 Laser I have spent more than the original cost on upgrades and software, and it does very well for a hobby machine. I was fortunate that it worked pretty good out of the box, but the upgrades make it a pretty worthwhile machine. It would never be adequate for any type of volume production. which would cost several thousand dollars.. Thanks for looking in..
-
Working ships absorb a lot of rope.. 😁
- 778 replies
-
- cheerful
- Syren Ship Model Company
-
(and 1 more)
Tagged with:
-
The coils on the belaying pins and cleats look particularly nice.. I saved those for future reference..
- 778 replies
-
- cheerful
- Syren Ship Model Company
-
(and 1 more)
Tagged with:
-
One has to wonder, how many ships were rigged and fitted according to Lees vs how much of Lees was compiled from data of ships having already been rigged and fitted by the craftsman of the time? In other words, Lees merely documented " .. how it should be done, because this is how it is/was done. ".. Not unlike Petersson documenting how a particular model was rigged..
-
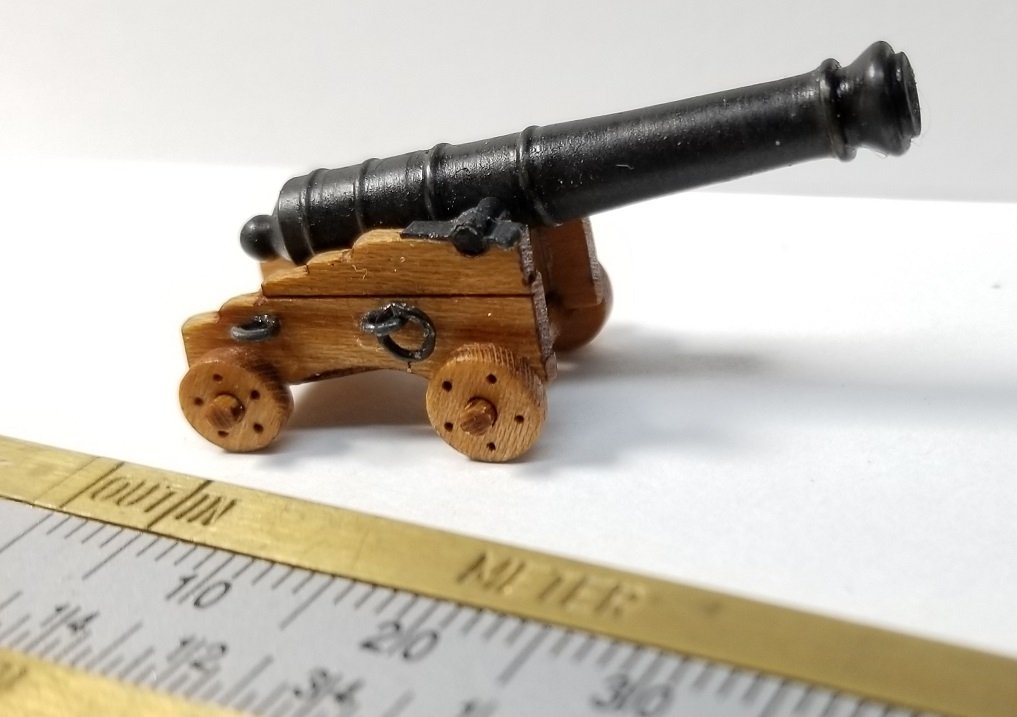
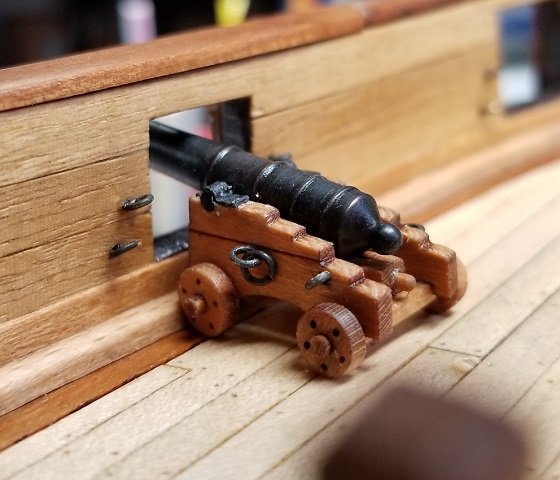
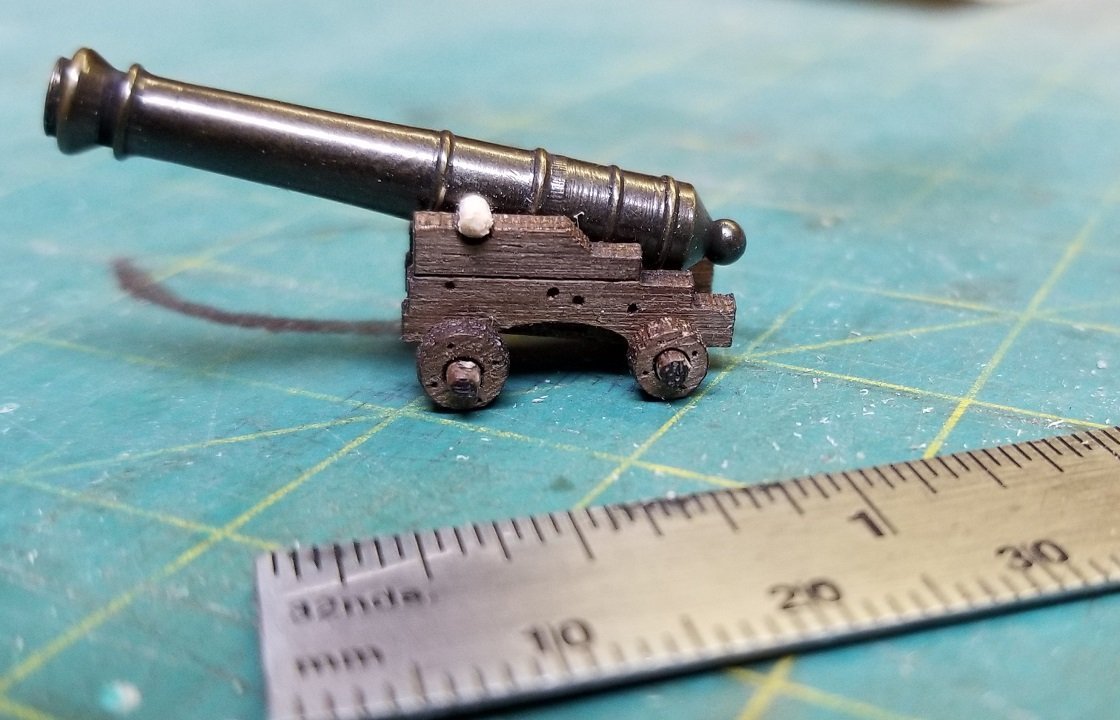
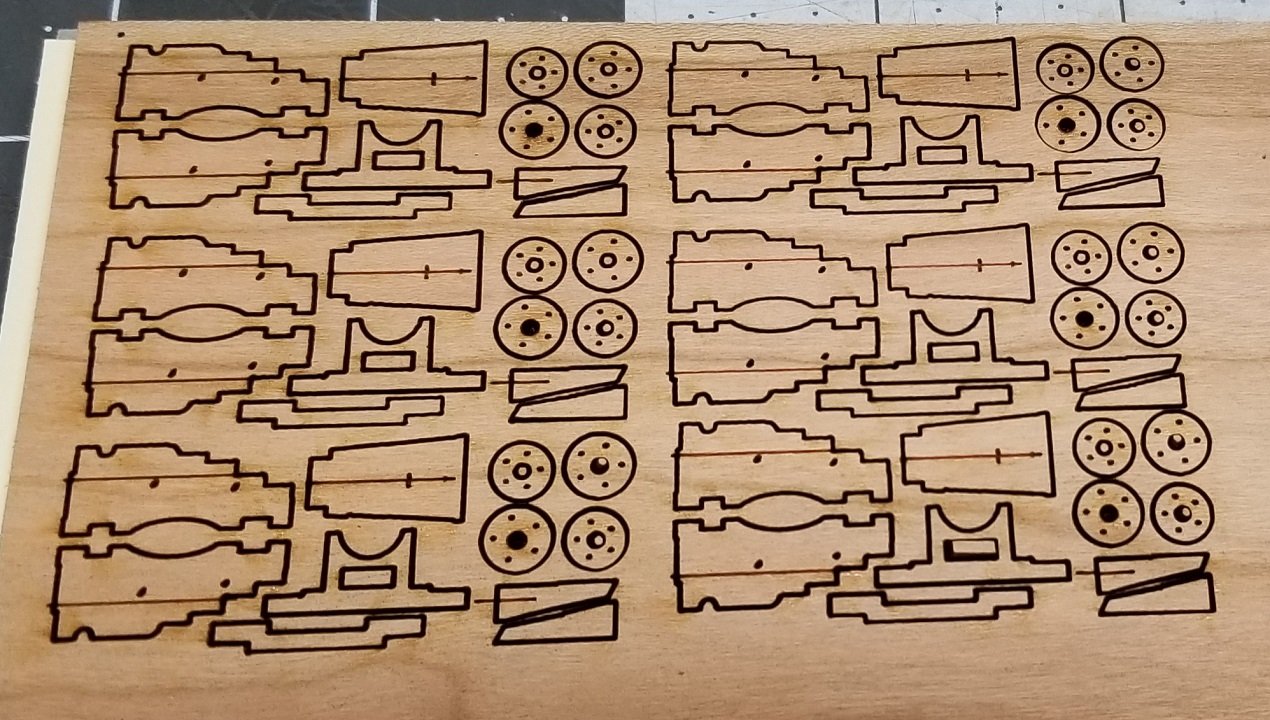
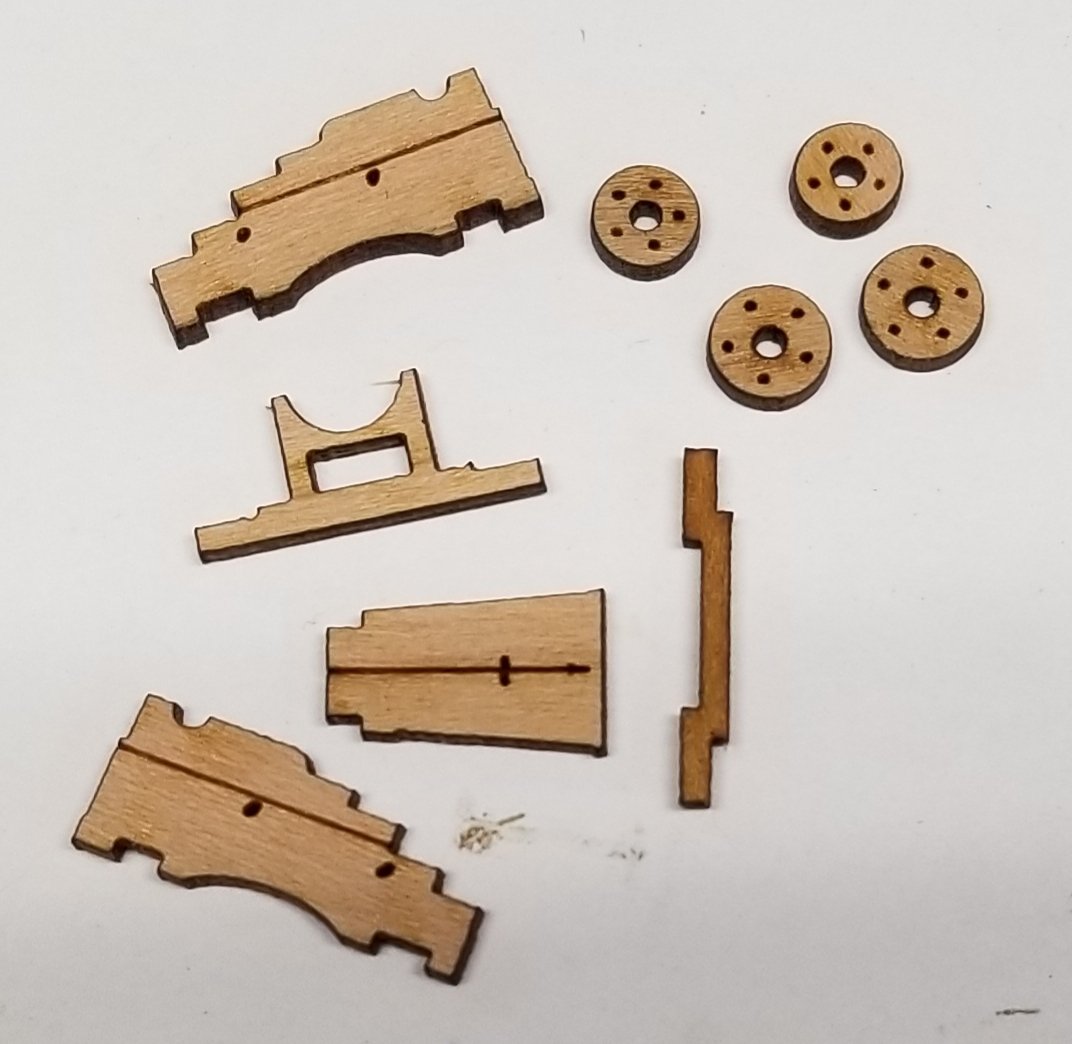
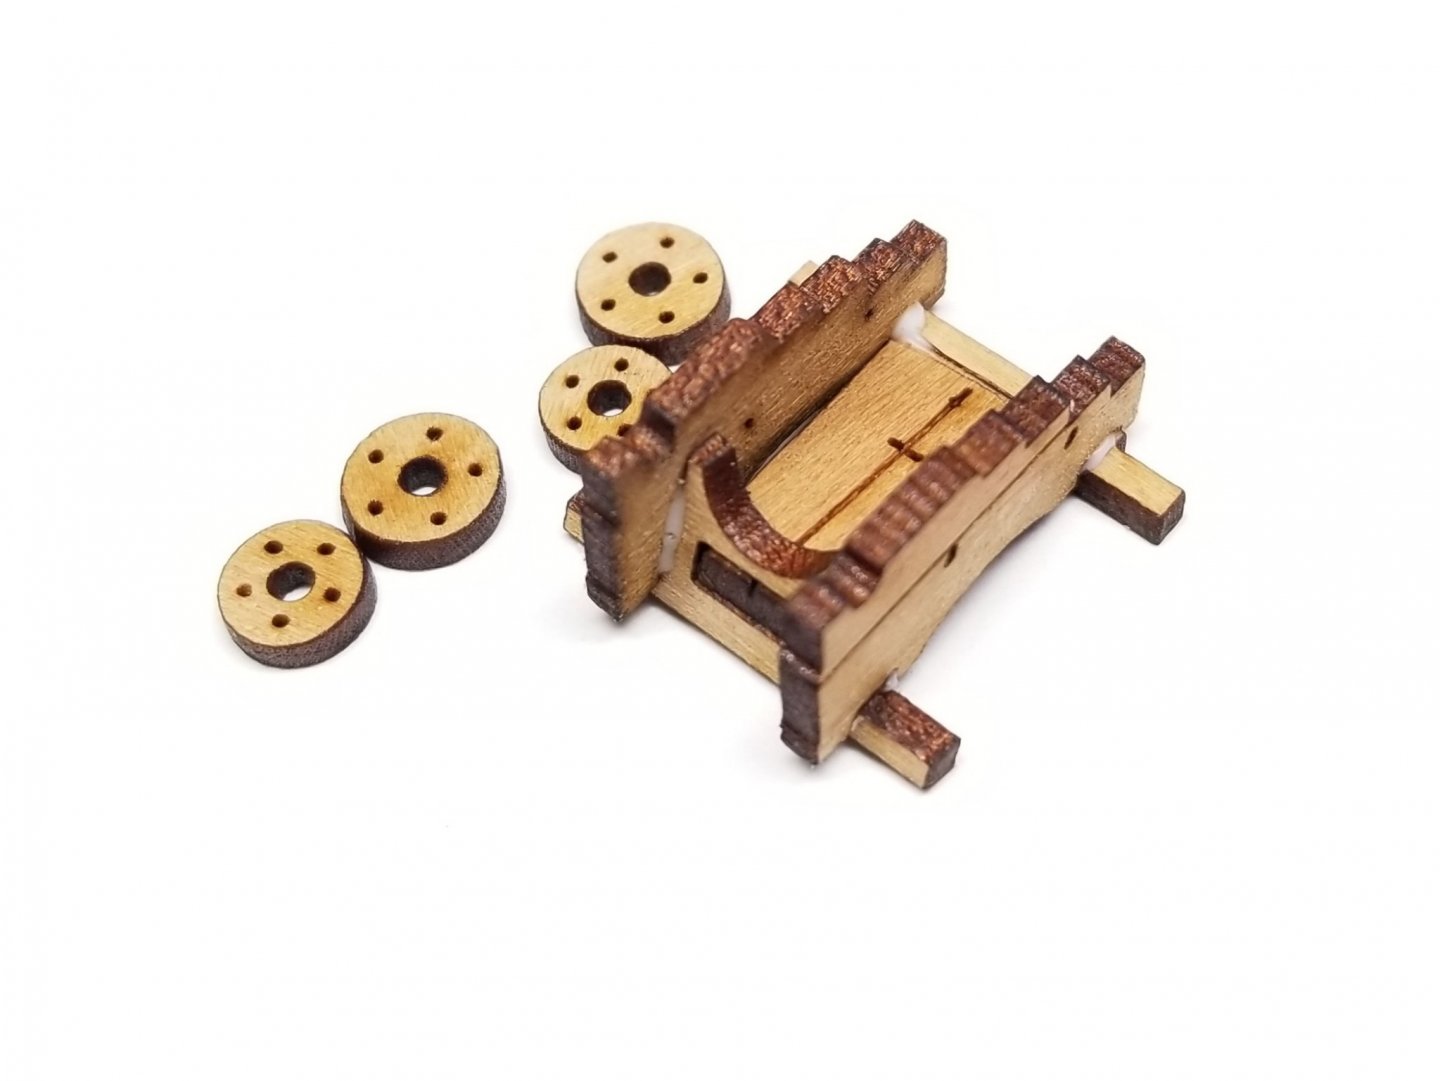
It's been a while since my last update and I am close to start rigging, but I have been spending a lot of time 'playing' with my laser and learning some new software. Over a year ago when I started this build I was talking about the guns early on. They turned out to be a mini project on their own, and a real exercise in using my laser. Here is a flashback to my early gun experiment. The walnut is definitely not a good choice. I decided to go with cherry. Here is a sheet with the carriage parts fresh out of the laser. My mini kit is a hybrid of different kits I have seen. It goes together tightly without a jig. ( Glue not dry. It practically disappears when fully cured. ) I use a brass collet in a small rotary tool to round off the axles. .. another rotary tool to clean the char off the trucks.. The camera picks up more grain detail, than is apparent in person. The color tends toward a pinkish, not unlike pear, that really doesn't show well here. There is some WOP in my future.. I'll be getting back with a finished gun soon.. Maybe even later today.
About us
Modelshipworld - Advancing Ship Modeling through Research
SSL Secured
Your security is important for us so this Website is SSL-Secured
NRG Mailing Address
Nautical Research Guild
237 South Lincoln Street
Westmont IL, 60559-1917
Model Ship World ® and the MSW logo are Registered Trademarks, and belong to the Nautical Research Guild (United States Patent and Trademark Office: No. 6,929,264 & No. 6,929,274, registered Dec. 20, 2022)
Helpful Links
About the NRG
If you enjoy building ship models that are historically accurate as well as beautiful, then The Nautical Research Guild (NRG) is just right for you.
The Guild is a non-profit educational organization whose mission is to “Advance Ship Modeling Through Research”. We provide support to our members in their efforts to raise the quality of their model ships.
The Nautical Research Guild has published our world-renowned quarterly magazine, The Nautical Research Journal, since 1955. The pages of the Journal are full of articles by accomplished ship modelers who show you how they create those exquisite details on their models, and by maritime historians who show you the correct details to build. The Journal is available in both print and digital editions. Go to the NRG web site (www.thenrg.org) to download a complimentary digital copy of the Journal. The NRG also publishes plan sets, books and compilations of back issues of the Journal and the former Ships in Scale and Model Ship Builder magazines.


