


AJohnson
-
Posts
2,059 -
Joined
-
Last visited
Content Type
Profiles
Forums
Gallery
Events
Everything posted by AJohnson
-
 Indeed, we noticed someone was missing from the “Asylum” 🤪 😉
 -
Bismarck greys?
AJohnson replied to Ian B's topic in Painting, finishing and weathering products and techniques
I'll second that for Sovereign Hobbies "Colour Coats" Enamels. They are very good and Sovereign Hobbies do have several good video tutorials on using their paints. I know some people are put off enamels for the fumes/spray, but if used as suggested the odour/aerosol spray is minimal. A great range and well researched colour matching. -
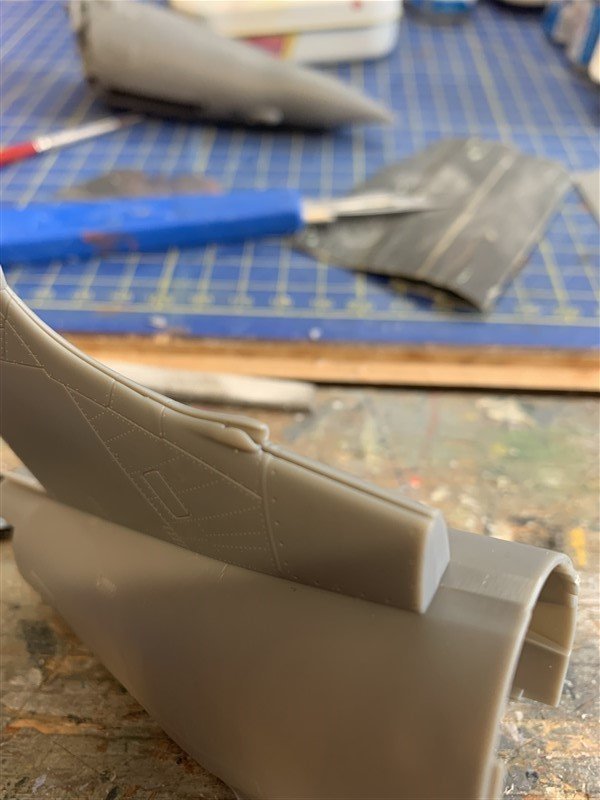
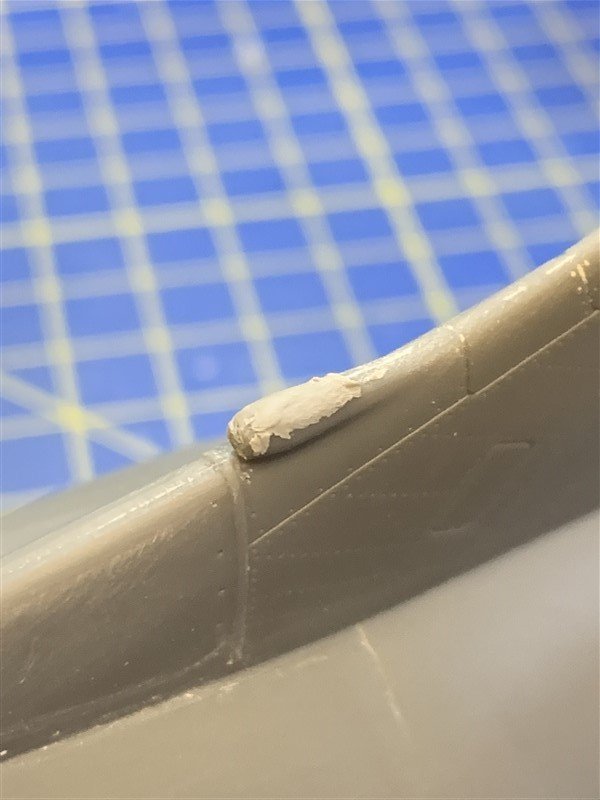
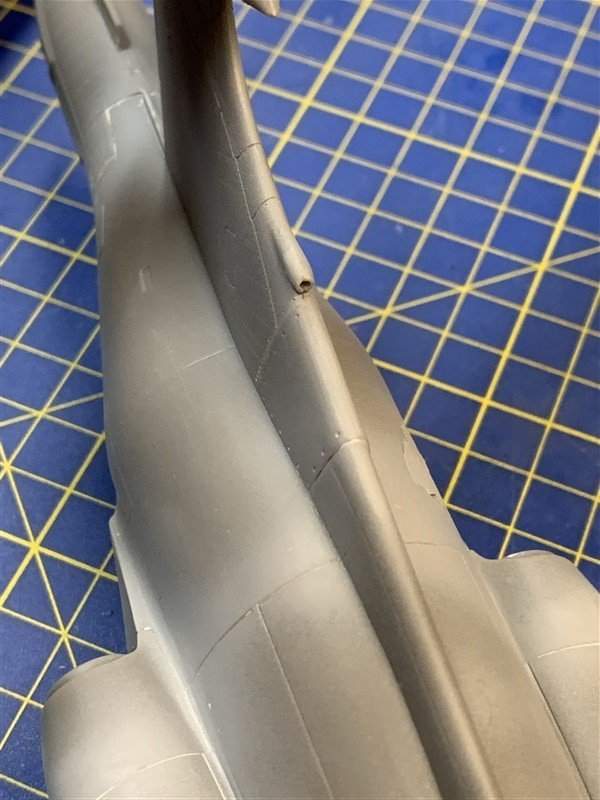
Thanks for the likes and comments guys. Moved on to the main fuselage. I won't replicate the posts/pictures Craig has already done, so just some highlights of things I found on my kit. Namely small niggly "short shot" areas in the mould. The main one being the intake on the leading edge of the tail fin and then on the trailing edge of the fin itself, just above the rudder. Filled with some putty and drilled out again, but I think it still needs some fine sanding to get as close as I can to how it should look. @CDW did you have this? Also had to grind off some prominent ejector pin marks in some placed that would prevent a clean fit. Next onto the wing-fold joints and I will try to replicate the work Craig did. Thanks for following along! 🤓

-
That’s a nice enhancement to the top Brian, looks good! 😁
-
Why you doing a Cutter deal! 🤣😉 I might have to sneak that past the Admiral, she is only just accepting of a HMS Surprise in the next year or so! 🤣
- 57 replies
-
- 6
-

-
- Trial
- Vanguard Models
- (and 1 more)
-
Now this looks an interesting little model! My first wooden kit was the Sherborne and for some time I have been wanting to do another Cutter as I was never happy with my Sherborne effort. I was thinking of the Alert, but now I’ll see what the Trial looks like! 😁👍
- 57 replies
-
- 4
-
-
- Trial
- Vanguard Models
- (and 1 more)
-
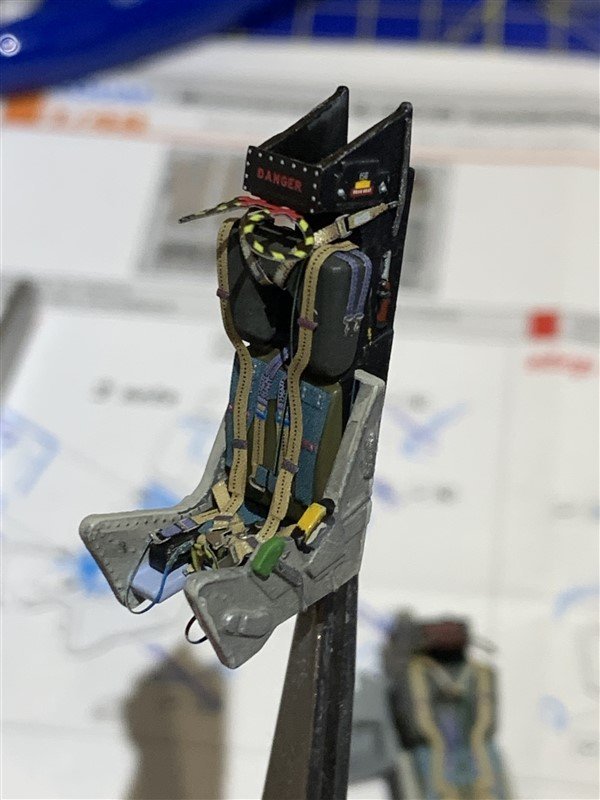
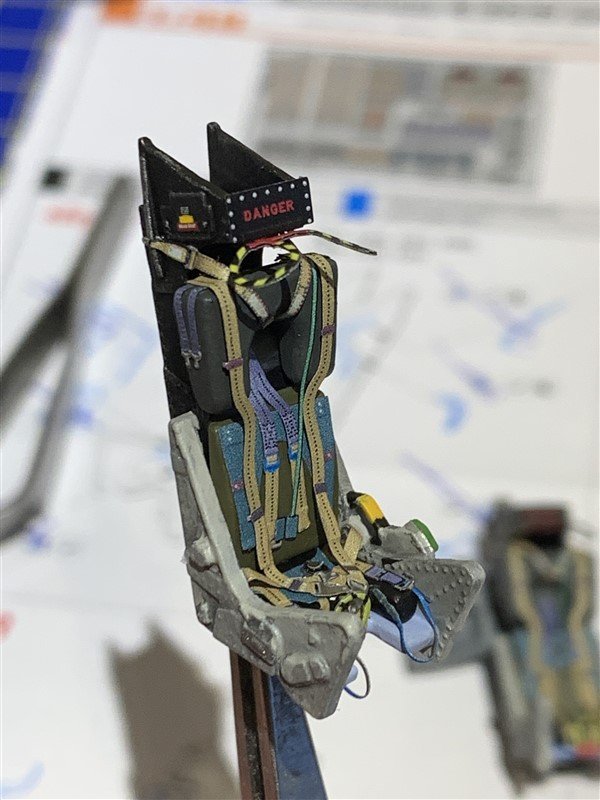
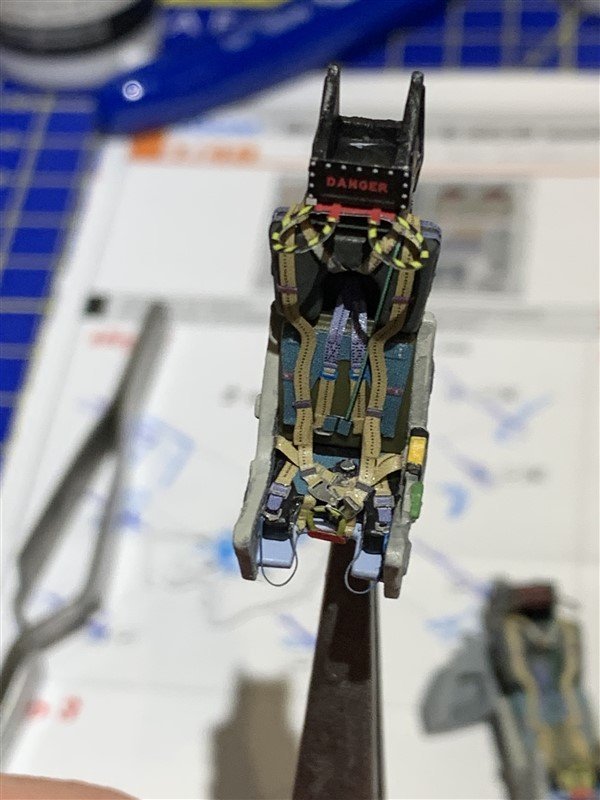
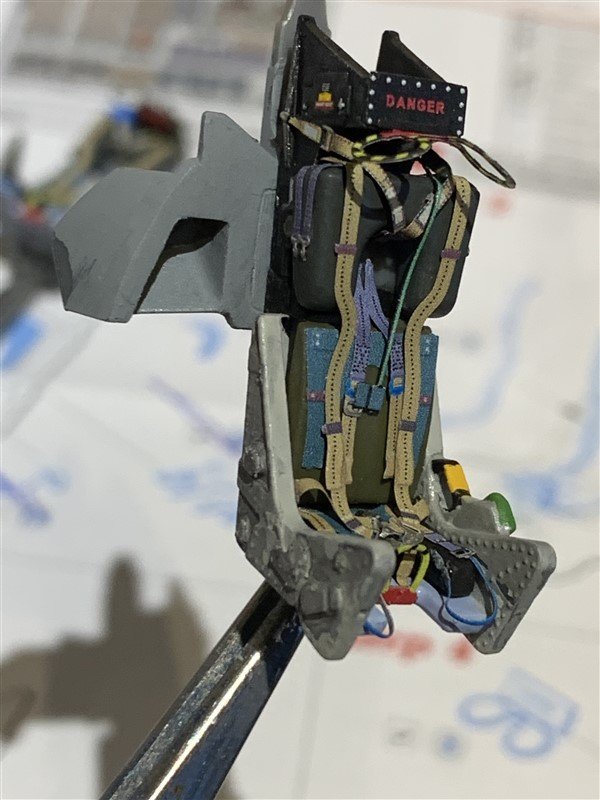
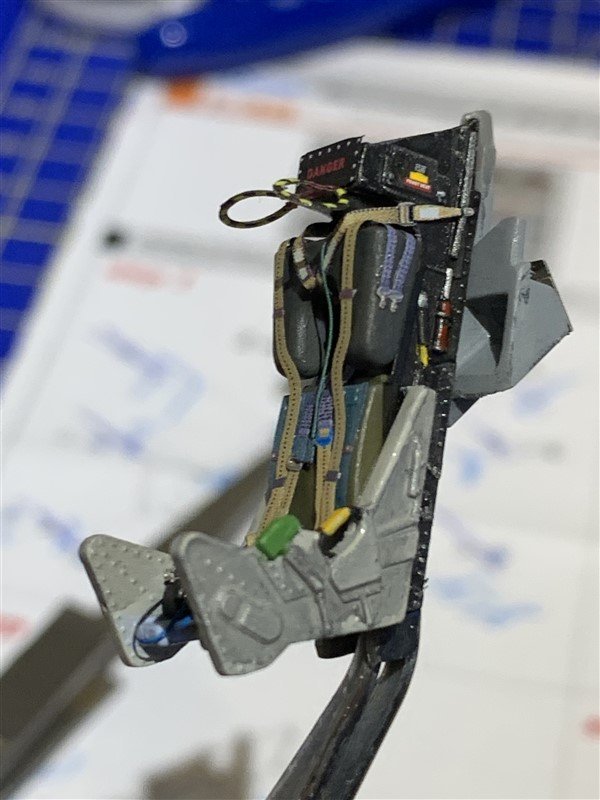
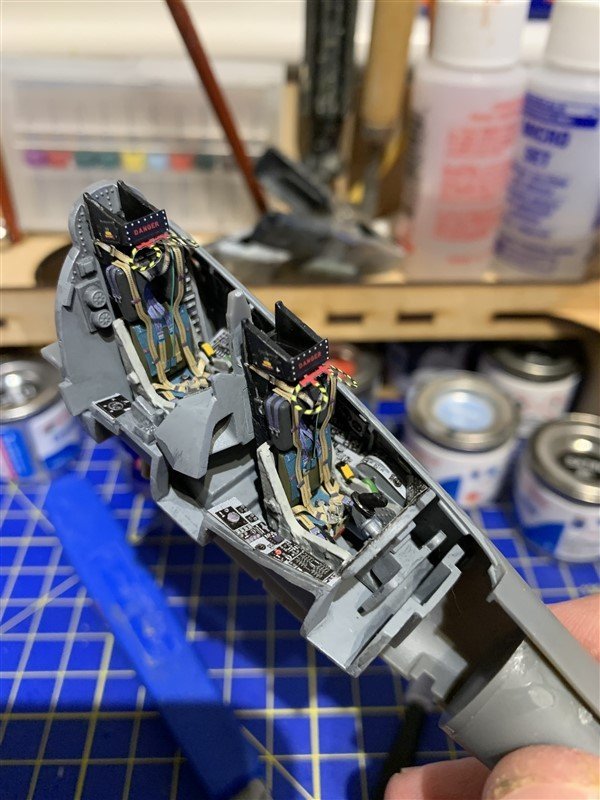
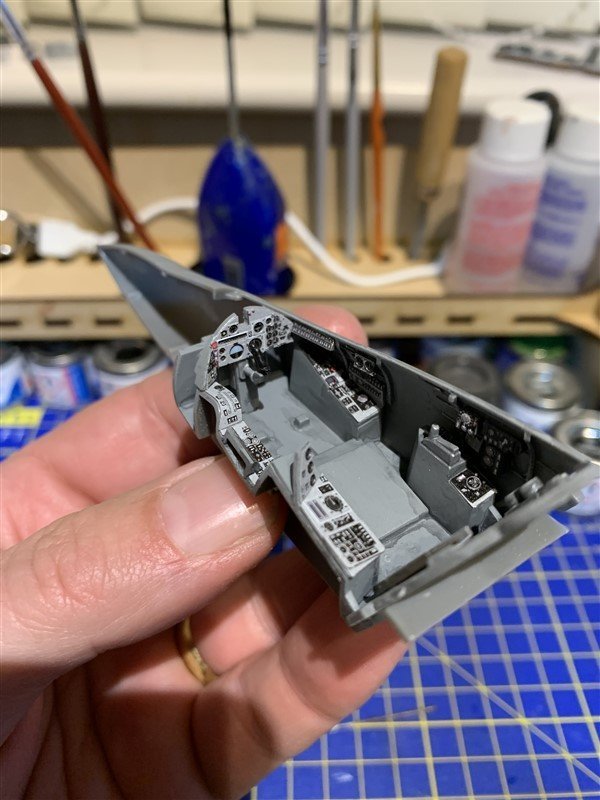
Ejector seats done and installed in the cockpit tub. Thanks to Craig for blazing the trail in posts #47-#68, there appears to be subtle difference between the kit part and the 3D printed aftermarket part, but given how much they will be visible once enclosed in the fuselage, only we will know! I decided to loop the long blue straps at the base of the seat and turn them into "leg garters" / "ankle restraints" as discussed in the tread when Craig was adding his. Finished off with a coat of flat varnish to hide my C-A. glue seepages in places from under the straps! Time to glue together the front section and get on with the rest of the fuselage, which looking at it won't take long. Thanks for the likes and popping by. 😁

- 332 replies
-
- 17
-
-
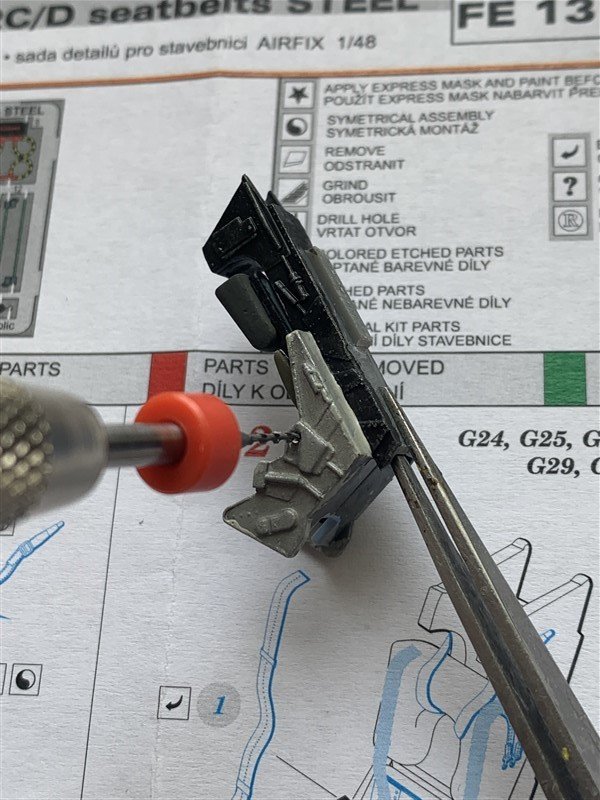
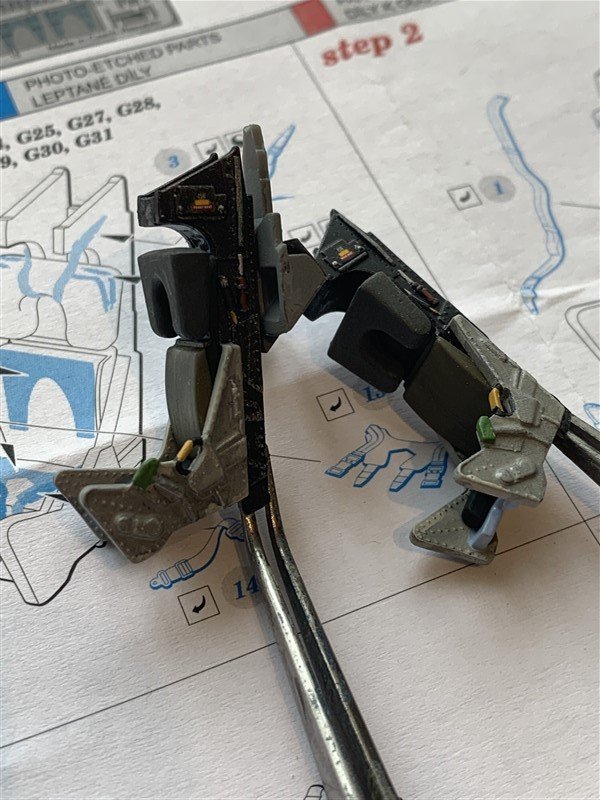
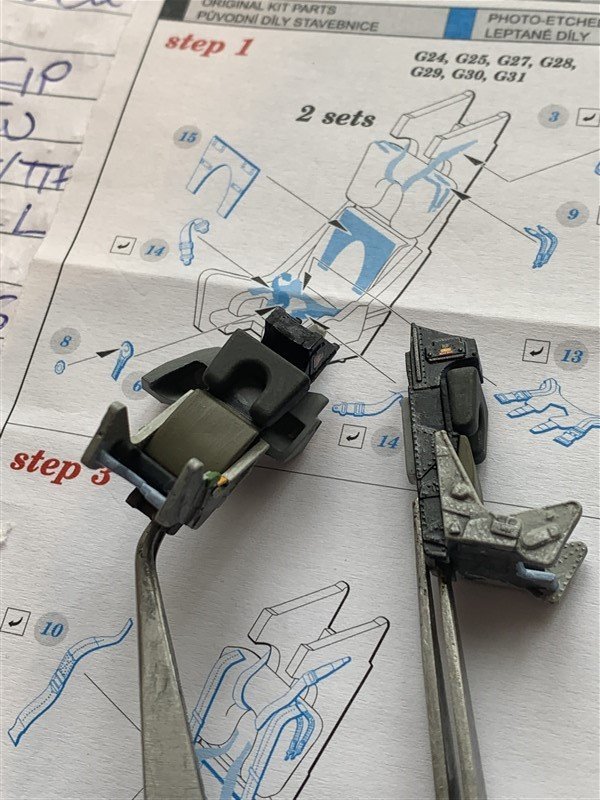
The kit seats are actually not that bad. Dressed up in P.E. seatbelts they will pass for Martin baker 'bang seats' I think. I drilled out the odd detail to improve the looks; side handle and painted in a few details. Looking on line for Buccaneer seat details and colouring it is amazing the variations out there. Clearly the result of many years use and maintenance resulted in no two seats looking the same, so I just tried to copy the best looking pictures i had to hand. Next up P.E. / C.A. and tweezers! 🤯
-
Thanks Craig, It’s getting the sections together to form the tanks themselves, you may have noticed they come in three sections (overly complex to me, halves would have been fine). The fit onto the wings looks to be fine, and they will hide a good section of the wing fold joint on the underside. 👍
-
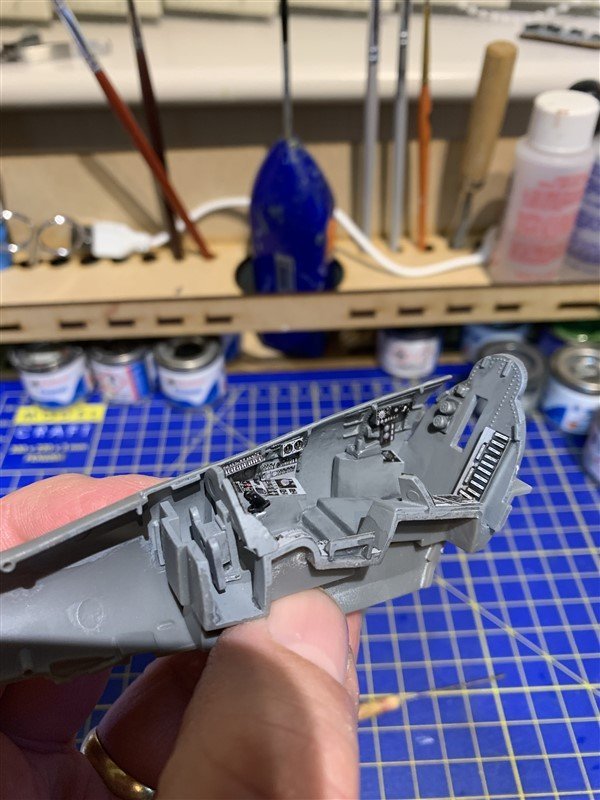
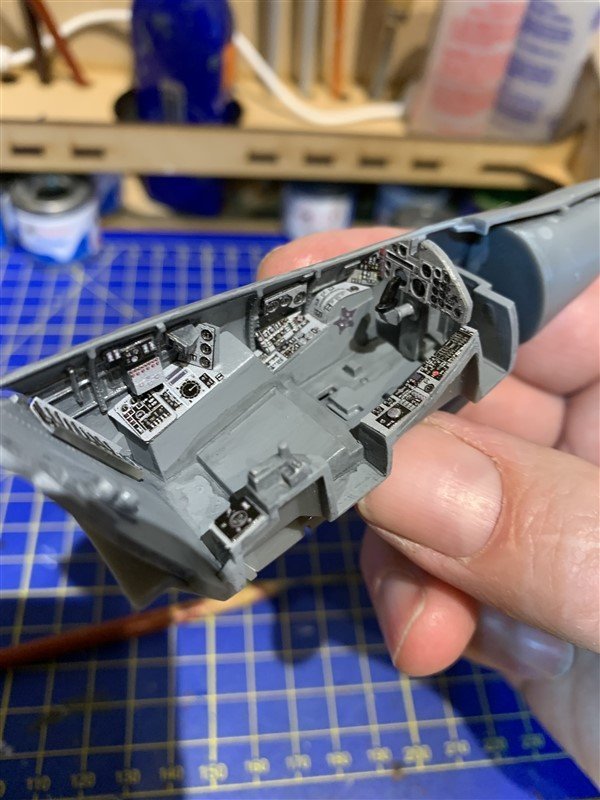
I've started on the slipper tanks Craig, and they are difficult to align correctly, might need a bit of sanding and filling to get that smooth shape! Meanwhile the cockpit is painted, washed and dry-brushed a bit before adding the P.E. Every time I try P.E sets I end up cursing, but like a sucker keep coming back for more! Next up the ejection seats.

- 332 replies
-
- 10
-
-
Hope the crew pass muster!
-
Saw this on the BBC news that some might be interested in. Wellington bomber going on display after 10-year restoration - BBC News
-
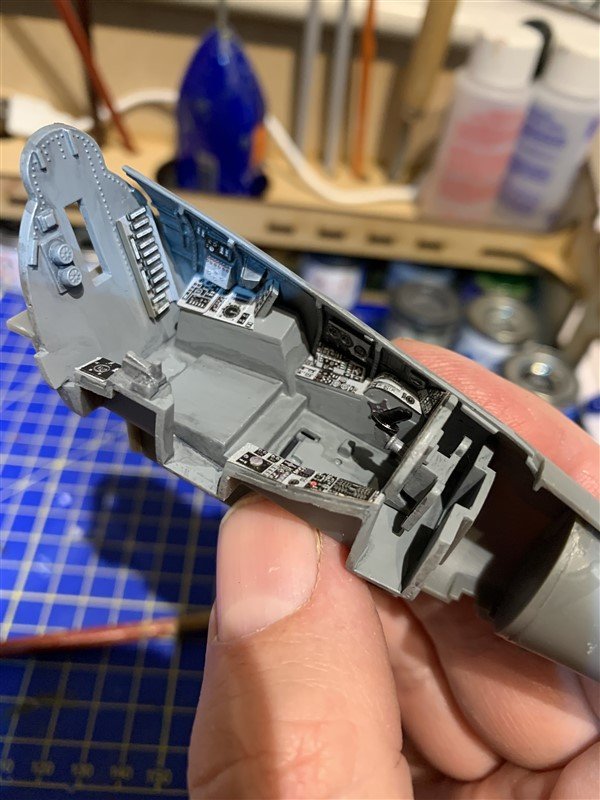
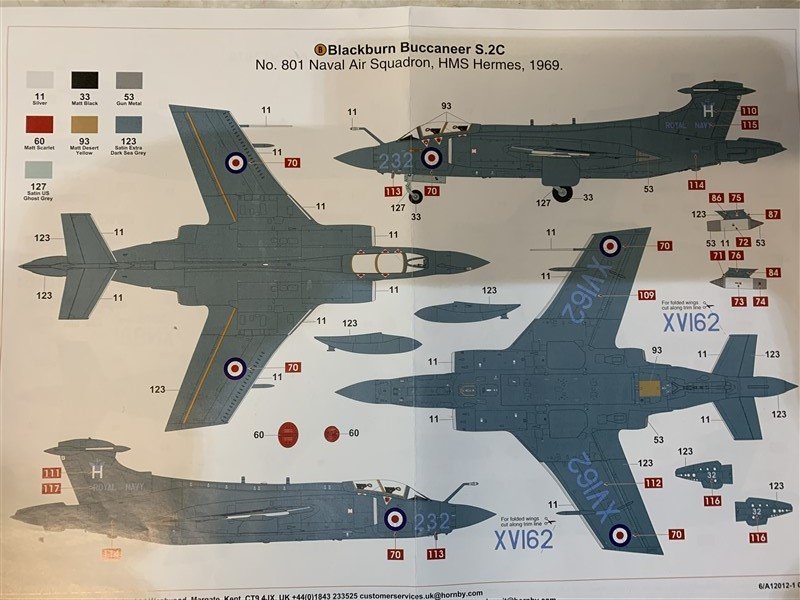
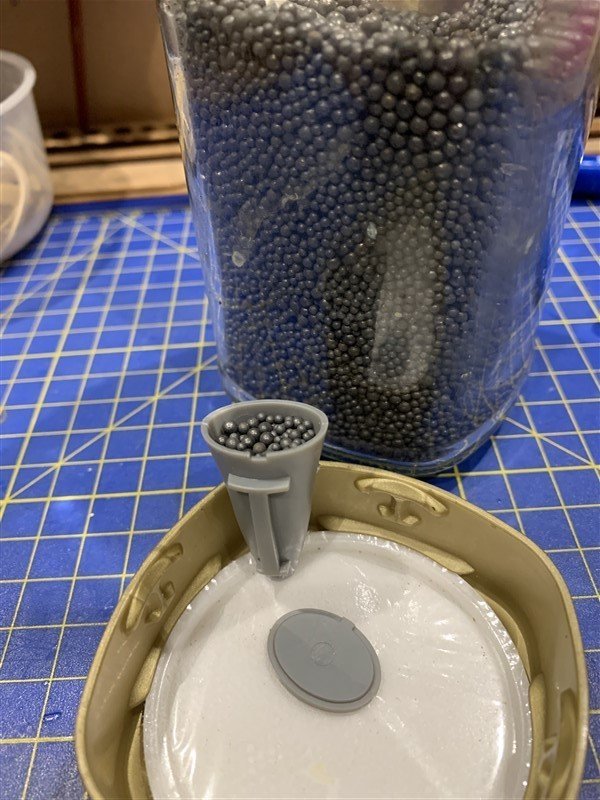
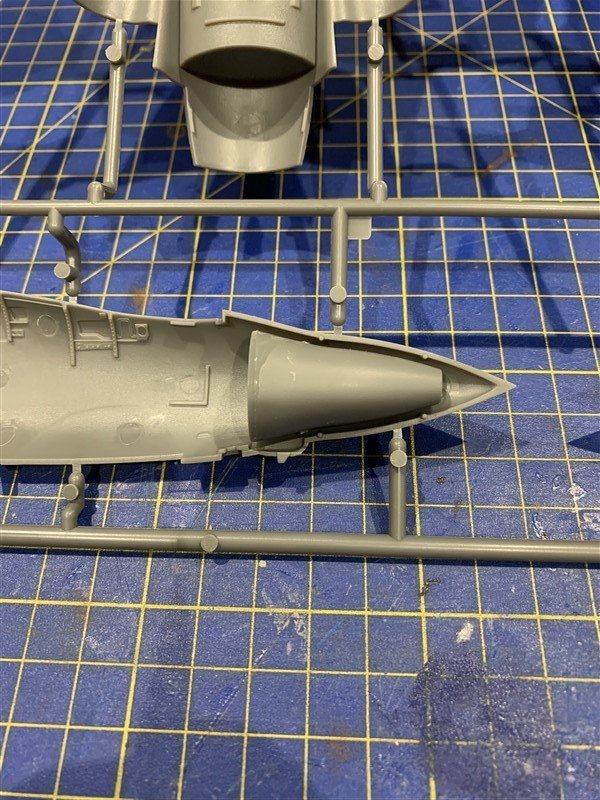
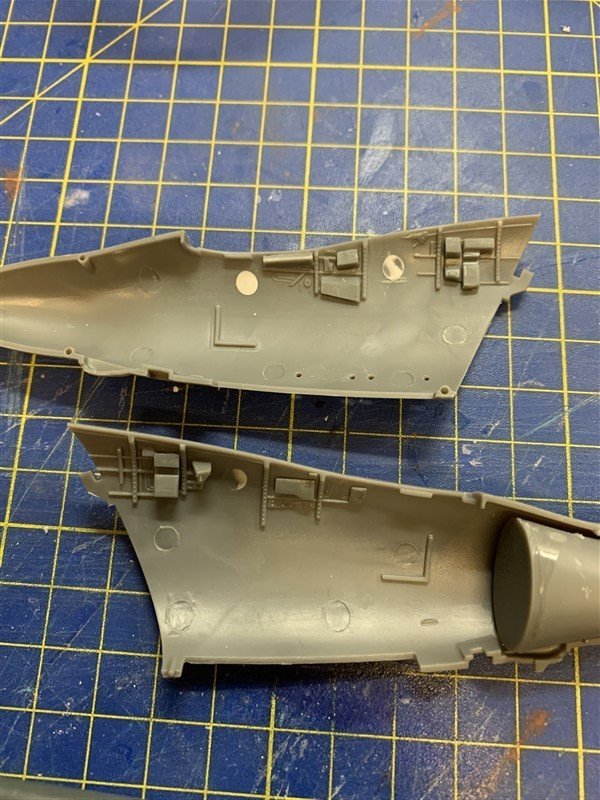
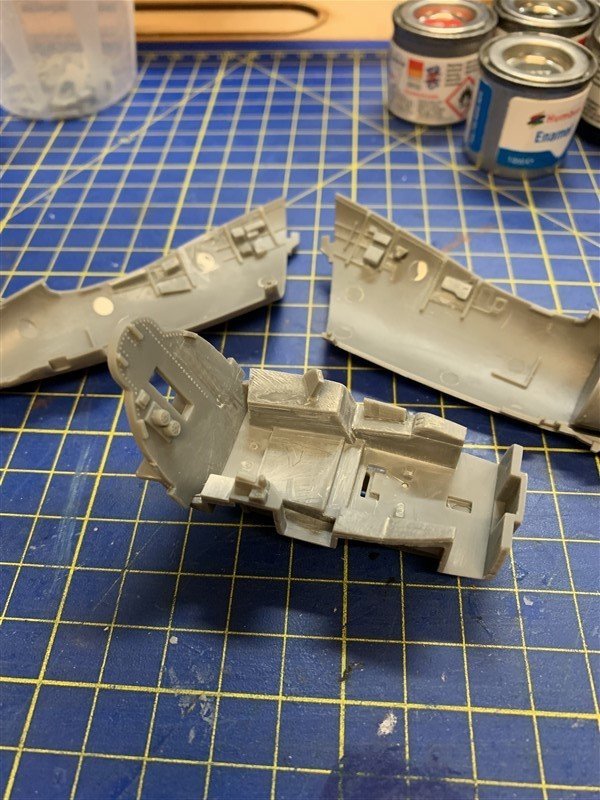
I'm settled on scheme B - XV162 as it looked with 801 Naval Air Squadron on HMS Hermes 1969. Made a start at last, life getting in the way means I've missed this party somewhat, so won't bore people with a "clone" of Craig's great build. I'll just show the main stages and anything slightly different I might be doing. First thing I have noticed is there a quite a few ejector pin marks to sort out, I'm not going to go mad with them as most are not going to be visible when finished, just want to make sure. Also the nose cone weight was interesting, not seen a container like this before, I filled with lead shot. I have also scraped off the raised instrument details for the P.E. set.
- 332 replies
-
- 10
-
-
Wonderful job Craig! You have set a high bar for me to follow. Back at home today from work, so hopefully some time at the workbench soon.
-
Those anchors are really neatly done David, nice to see the gap between the stock halves, many including me in past builds, clamp them flat. Really like the fine bolts in them. 👍
- 310 replies
-
- 2
-
-
- Diana
- Caldercraft
- (and 1 more)
-
It does look good, so ugly it looks cool, a lovely AEW example resides at Elevington. It is monster, the number of steps to climb up to the cockpit, think I’d get vertigo! 🫣
-
1/32 a bit big for my remaining shelf space, but Airfix do a 1/48 Vixen to go with this Bucc, then there is just the Phantom left, the Hasegawa one is not often available and not sure what the Revell one like?
-
Yes the dream Trinity for me is the Bucc, Vixen & Phantom. 😁
-
I try to add all the small decals, usually first then “reward” myself by saving the national insignia, squadron markings, nose art etc to last. Unless of course there is a small stencil on top of a larger marking. I was hoping to make progress on my Bucc soon, but work taking me an away from home this coming week, so maybe next ! Enjoying seeing your’s come together now.
-
Looking good under any lighting conditions 😁👍
-
What a great looking cabinet Brian 🤩 Work does get in the way, I know it has for me, barely visited the workbench for over a month now. Please do start a Sphinx log, I’ll be there! 😉
-
Good to see the Buccs have survived, they have had a varied career and even been used in "Topgun" style Pop videos back in the day.
-
Those Buccaneers are based in South Africa along with EE Lightnings that you could book flights on as tourists. Then they lost a Lightning and the ejection seat failed, due to lack of maintenance and they were grounded. There is a group trying to get them airborne again, but it is an uphill task even in S.A. for them to get permission and funding and infrastructure back in place. It was called Thunder City
-
Great progress Sam, really starting to take shape and get the feel for how she will look completed. 👍
