

S.Coleman
-
Posts
1,146 -
Joined
-
Last visited
Content Type
Profiles
Forums
Gallery
Events
Everything posted by S.Coleman
-
 Your doing great there dragzz. Keep up the great work. I have built this kit as well and I'm afraid Adrieke is correct about the window/ vent. If it was a window it would look good though. Nice job
 -
HMB Endeavour by mikec - Eaglemoss
S.Coleman replied to mikec's topic in - Kit build logs for subjects built from 1751 - 1800
Nice touch with the working lantern. Apparently this ship was originally designed as a coal ship, imagine a big old fancy ship like that just to ship coal? I like the attention to detail with this kit. Looks great. -
" Deck Color"
S.Coleman replied to riverboat's topic in Painting, finishing and weathering products and techniques
D or E for me. Maby a little bit more towards the D i think. But that's just my two cents, As Augie wrote F is too gray. Just on the subject of finishes I hope that you can remove that sample paper off the wall without tearing the wallpaper!!!! -
Looks good. It's interesting watching you do all this before even starting the hull planking, or the decks. Obviously the deck planks are laid straight onto the bulkheads?
-
I never bothered with planking the deck that you will never see. Saved a lot of wood in the process and you never know because you can't see it.
-
Defiantly use a hull marking jig. As mentioned before the string will always be out of whack. You can buy them or simply make your own.
-
Varnish application
S.Coleman replied to S.Coleman's topic in Painting, finishing and weathering products and techniques
Cheers guys. Now I go go back to the model a little wiser, thanks -
Great for measuring the thicknes of dowels for masts etc. Great tool
-
I had a look through all the posts in this section but could not find anything on how to apply varnish the best way. I know some brush it on and some spray it on. In between coats do you give the hull a light sand with extra fine sandpaper? Then apply another coat? Just want some advice thanks
-
How to fix glue blotches?
S.Coleman replied to ArthurB's topic in Painting, finishing and weathering products and techniques
I have not had this problem on my planks as I always use PVA glue for my planking. However on other parts of the ship where this has happened i have just sanded lightly over the area and restrained as I have done for my decking. Sometimes using a scraper carefully you can scrape that stain off. -
Titanic Sinking Mystry Solved: New Evidence Emerges
S.Coleman replied to Hank's topic in Nautical/Naval History
I don't know what it is about this ship. My partner thinks im crazy, always watching my Titanic documentaries. I love the ship and the story of it. There is always something new to discover about it. Thanks for the clip. -
I understand your point. And I also understand as it is your kit it is completely up to you how you want it displayed. I thought the same, but when my partner said a sailing ship is not a sailing ship without all it's bits and bobs ( as she calls the rigging) I have had to complete all the rigging before I am allowed to display it.. But as I said, it's up to you and I respect that. Happy modeling!!!
-
Around the bottom where the walls meet the deck I put a small strip to act as skirting, and hide the gap. It worked out well.
-
Maybe if possible the system could be wired up with an LDR ( light dependent resistor) so the lights come on when it gets dark? Similar to the street lights.
-
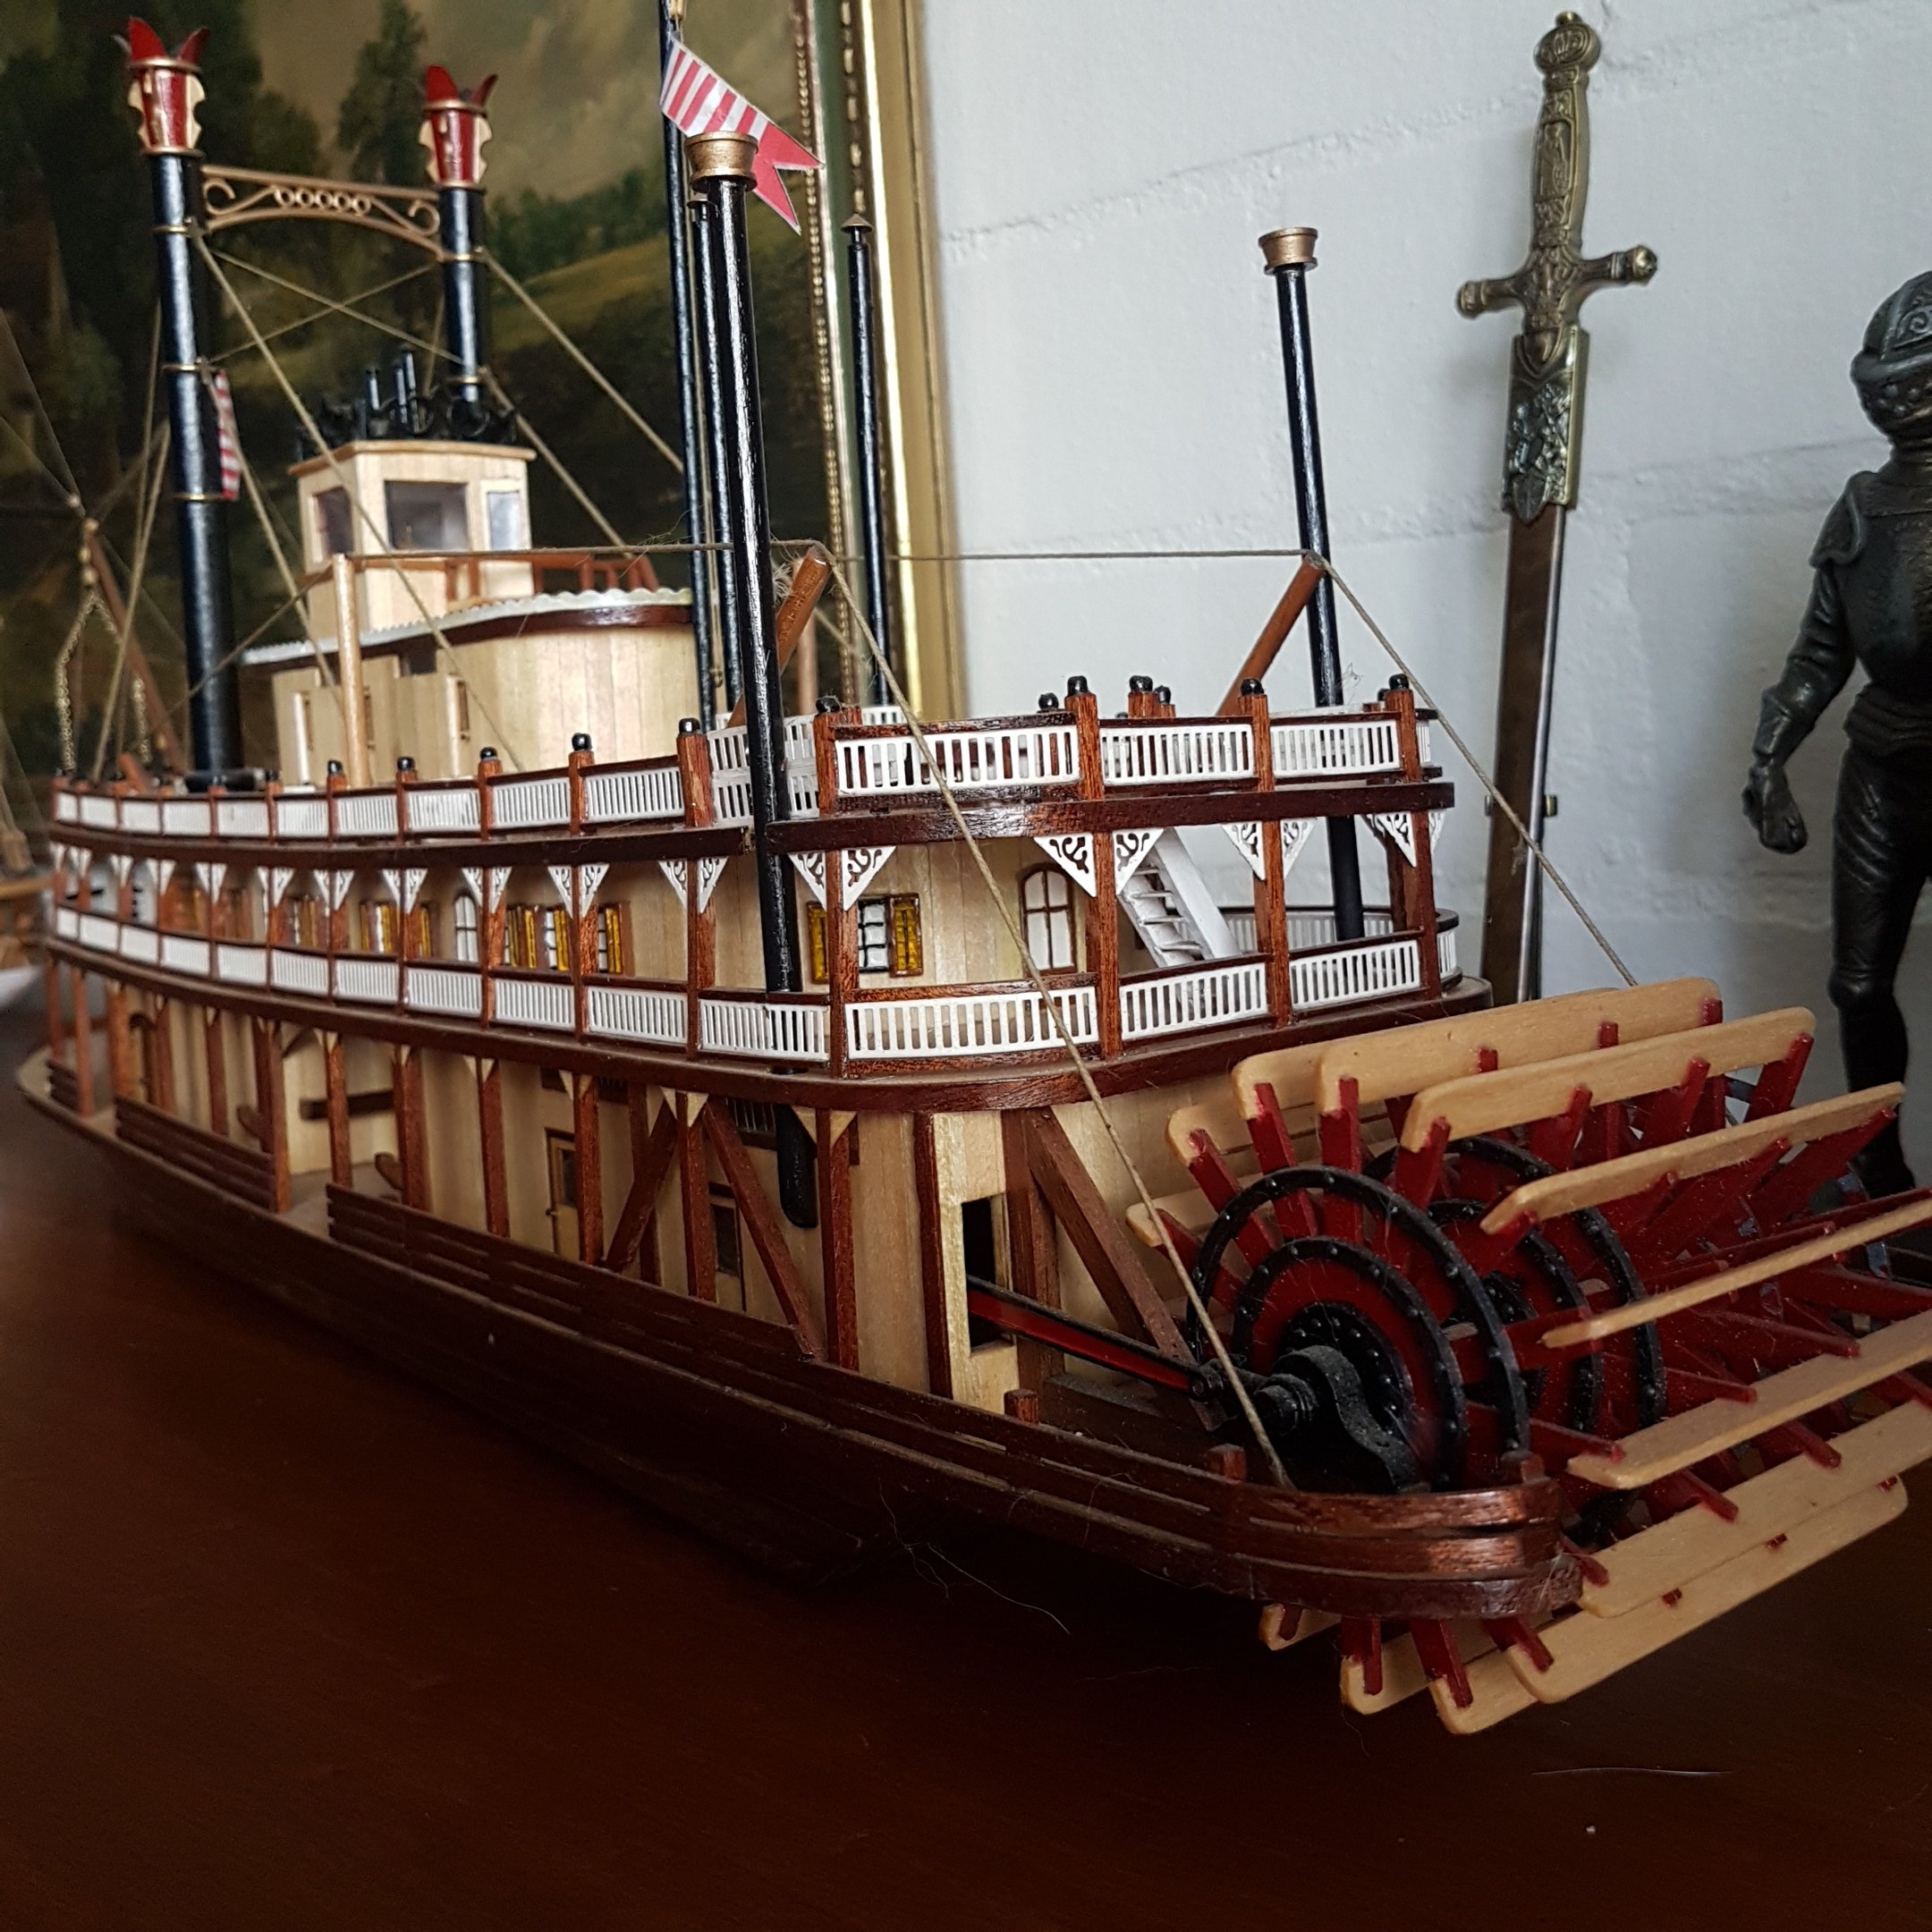
I have not long finished this model too. Looking at you log brings back the memories for sure. Doing great. I like the darker deck planking by the way
-
Warning points...
S.Coleman replied to Torrens's topic in Using the MSW forum - **NO MODELING CONTENT IN THIS SUB-FORUM**
Can't say I have. Don't really have the need to be offensive or rude as everyone's so helpful and friendly on this site. -
Well, looks great what you've done on the hull. Real nice. The rigging can be a nightmare! I can't help you in regards to sewing sails as I never instal them on any of my ships. But as Stockholme Tar had suggested about the pin in the yards is a winner. Saves a lot of hassle. I don't tie my blocks to the yards, just wrap the line around once and cross it over it self. Then use a small drop of CA to hold it. Other than that your doing great
-
What blade for what purpose?
S.Coleman replied to glbarlow's topic in Modeling tools and Workshop Equipment
Yor right there are a handful of different blades for different jobs. The big wide chisel like blade # 11 is mainly used for heavy duty cutting work. It has a lesser angle of the blade. The smaller, skinnier blades #1 are used for the more smaller pieces they have a greater angle of the blade. The rounded blades #11 are good to rock back and forth to get that cutting motion. To prevent splintering of the wood use lite strokes of the blade, each time cutting a little deeper as you go without putting too much pressure on the knife. I must add try to avoid the scalpels with a blue plastic chuck that holds the blade as these can break and be dangerous. I use a brand called Excel, they are stainless and very durable. Your local hobby shop will have a selection hopefully. As for the scroll saw I'm afraid I will have to leave that for someone else to answer. Hope this has helped you. -
Realworkingsailor - I have not purchased the kit yet as I was wanting feed back prior to doing so. Lots of good help guys, that ship the 1:80th slave schooner came up real nice. I did go down to Fremantle harbor the other day as 3 Dutch tall ships have moored there for the last couple of weeks so I had a good browse around them and took some pics for detail reference. Thanks guys
-
It's ok to use. But beware it stains if you have dirty fingers. And I guess with a stain over the top of it will finish it nicely.
-
I want to know everyones ideas about weathering their models. Why or why not ? Do some people like the look of a fresh clean looking ship or the look of one been at sea for years. I found in the local hobby store a weathering kit, but this was advertised for plastic railroad models. Would it still have a nice look on a wooden sailing ship? Has anyone used these weathering kits on wooden ships?
-
Done a great job! It's really looking great. This ship is one of my favorites, always wanted to purchase this one but will have to wait until funds are available. So instead I follow your log and dream. Keep up the good work.
- 1,279 replies
-
- 1
-

-
- agamemnon
- caldercraft
- (and 1 more)
-
I have had he same splintering happen to me the other day. But yeah, if you soak the strips properly before hand its not really a problem. Just be careful as this wood is brittle.
-
Ah yes, the BOUNTY, I'm not going to ask about the sails but.... What's happened to the copper plates!