Knocklouder
-
Posts
2,986 -
Joined
-
Last visited
Content Type
Profiles
Forums
Gallery
Events
Everything posted by Knocklouder
-
 Very nicely done.it looks great. Bob M
 -
Thanks @archjofo, I can't read very well and don't really know if the Astrolabe is a French Corvette, but my good friend @Keith Black has got me to book mark your log. Fantastic work I am sure to learn lots. I have only peeked at your logs, one thing I did find was the French just tied the yards on , no little parallels, yahoo Bob M.
-
Nice work, you may have to soak the plankes in water for a longer period of time, but they should bend, good luck. Bob M.
-
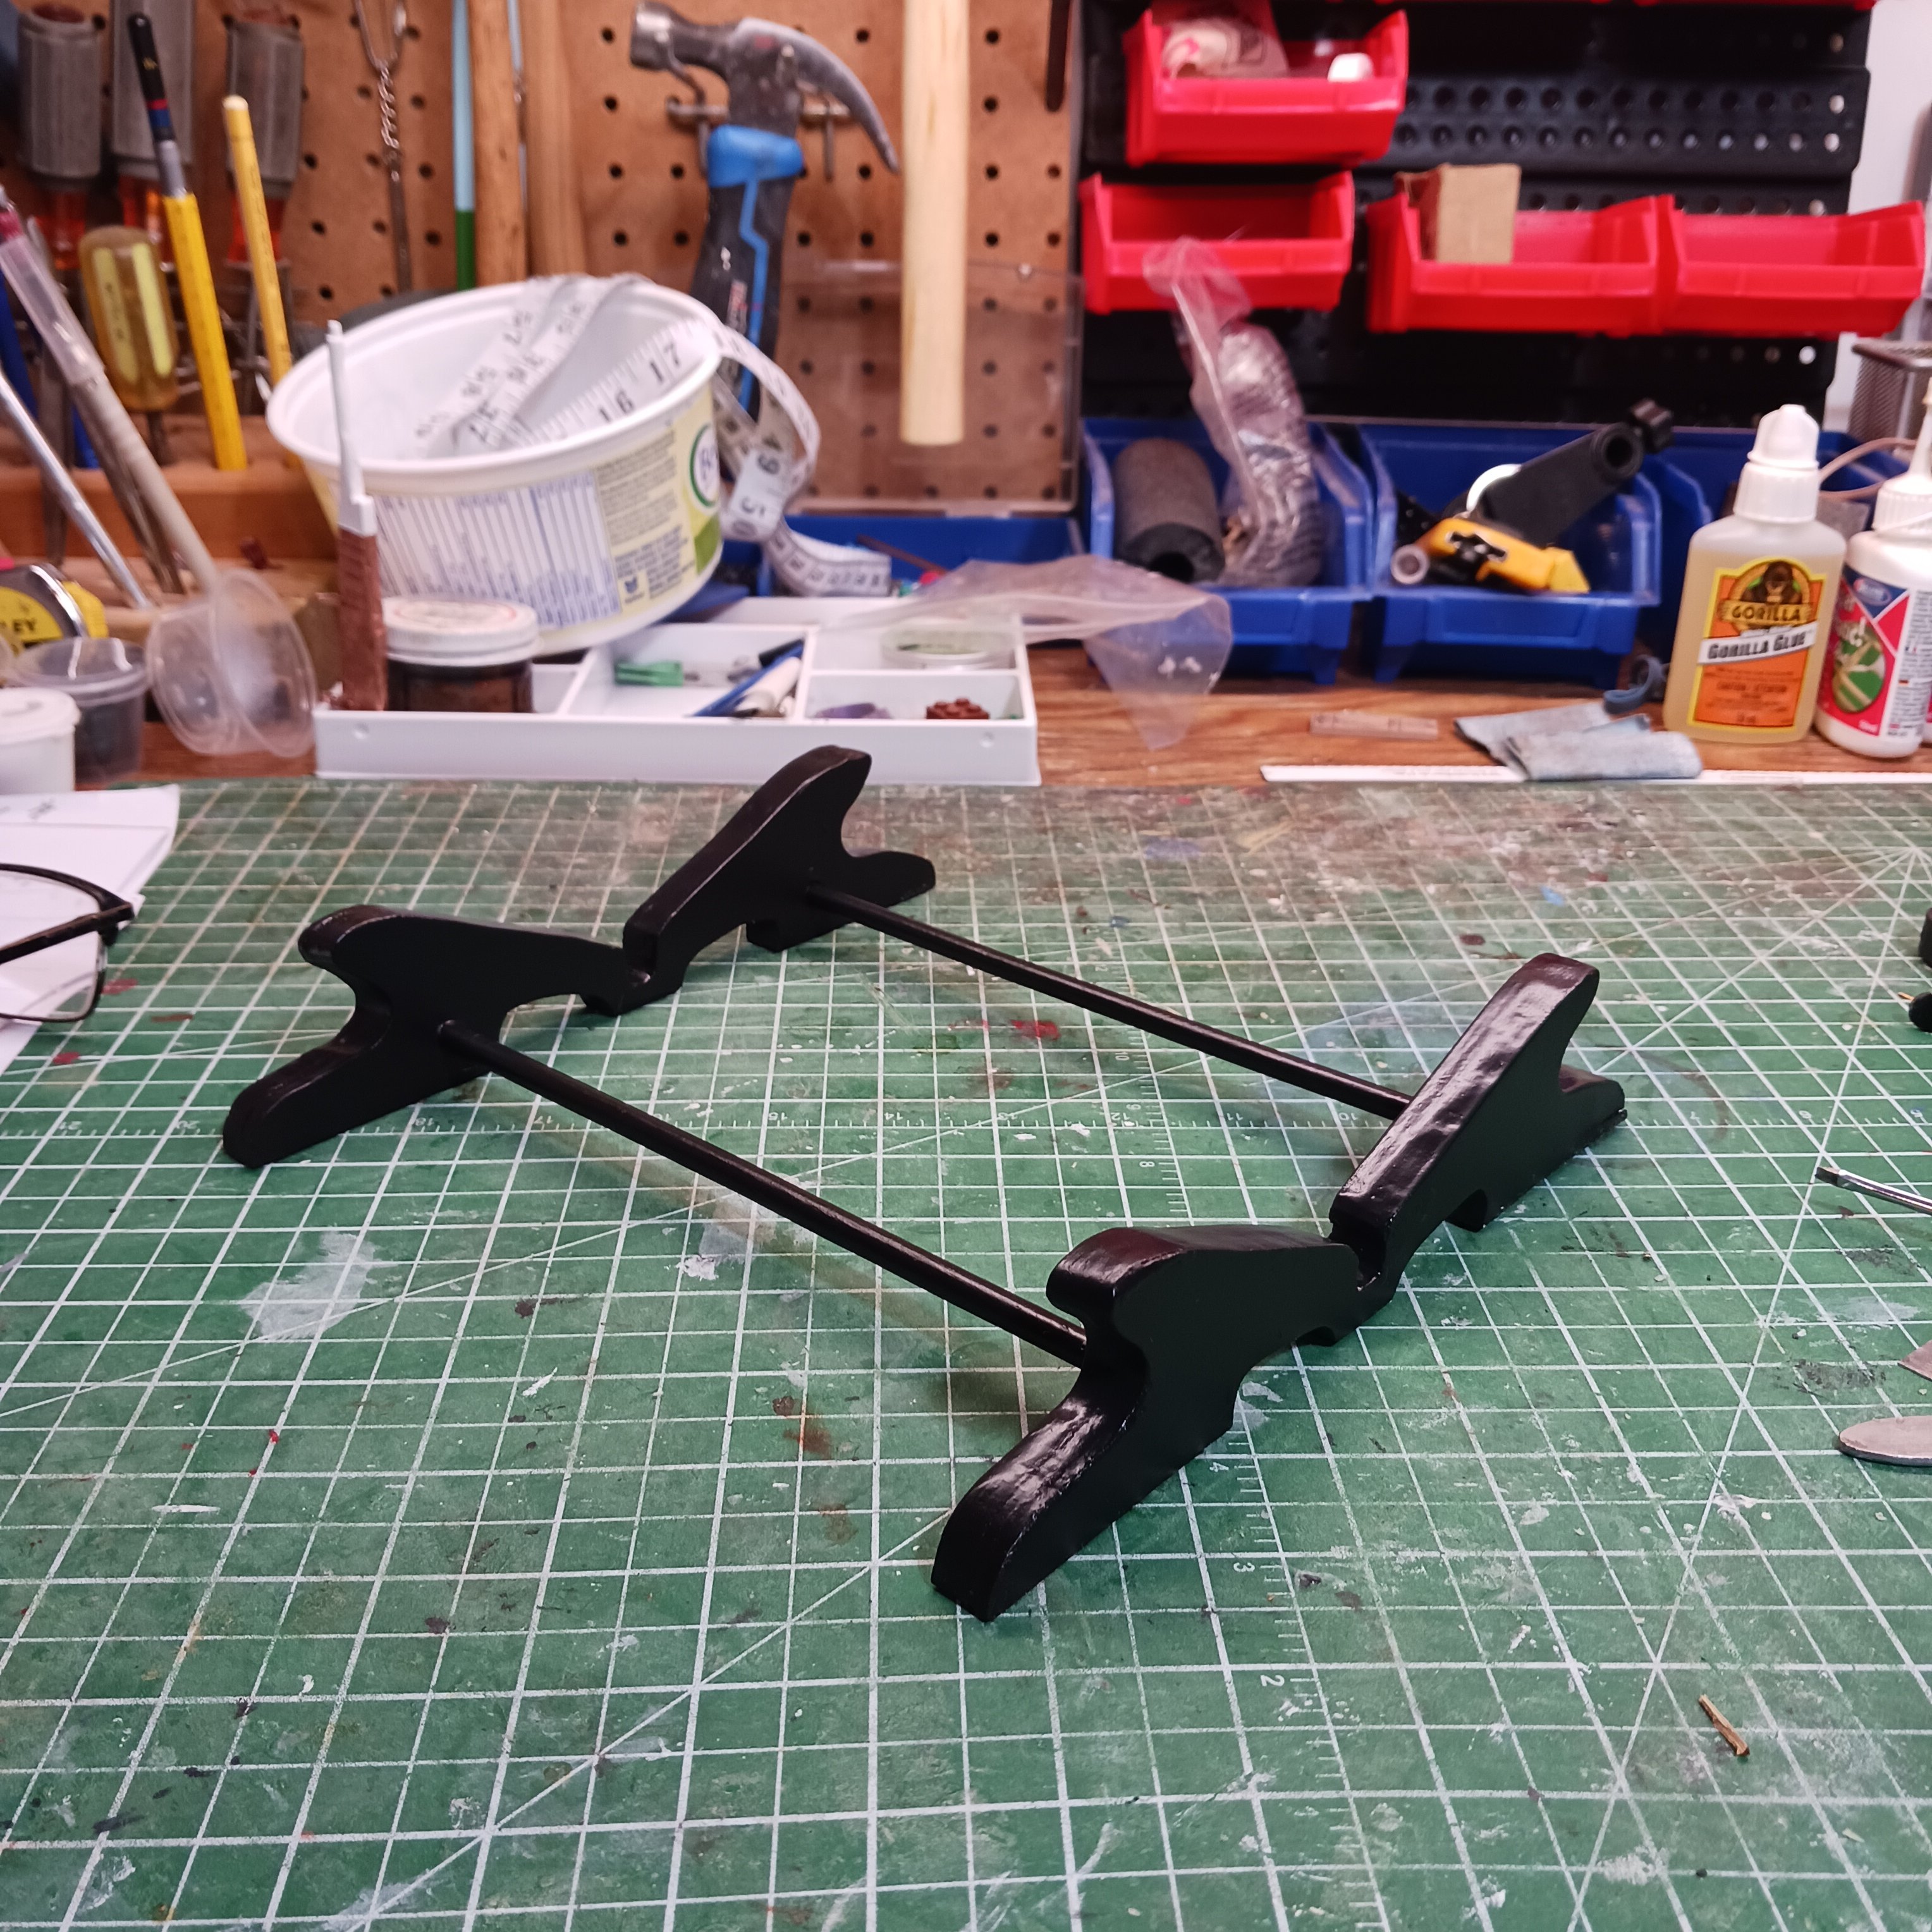
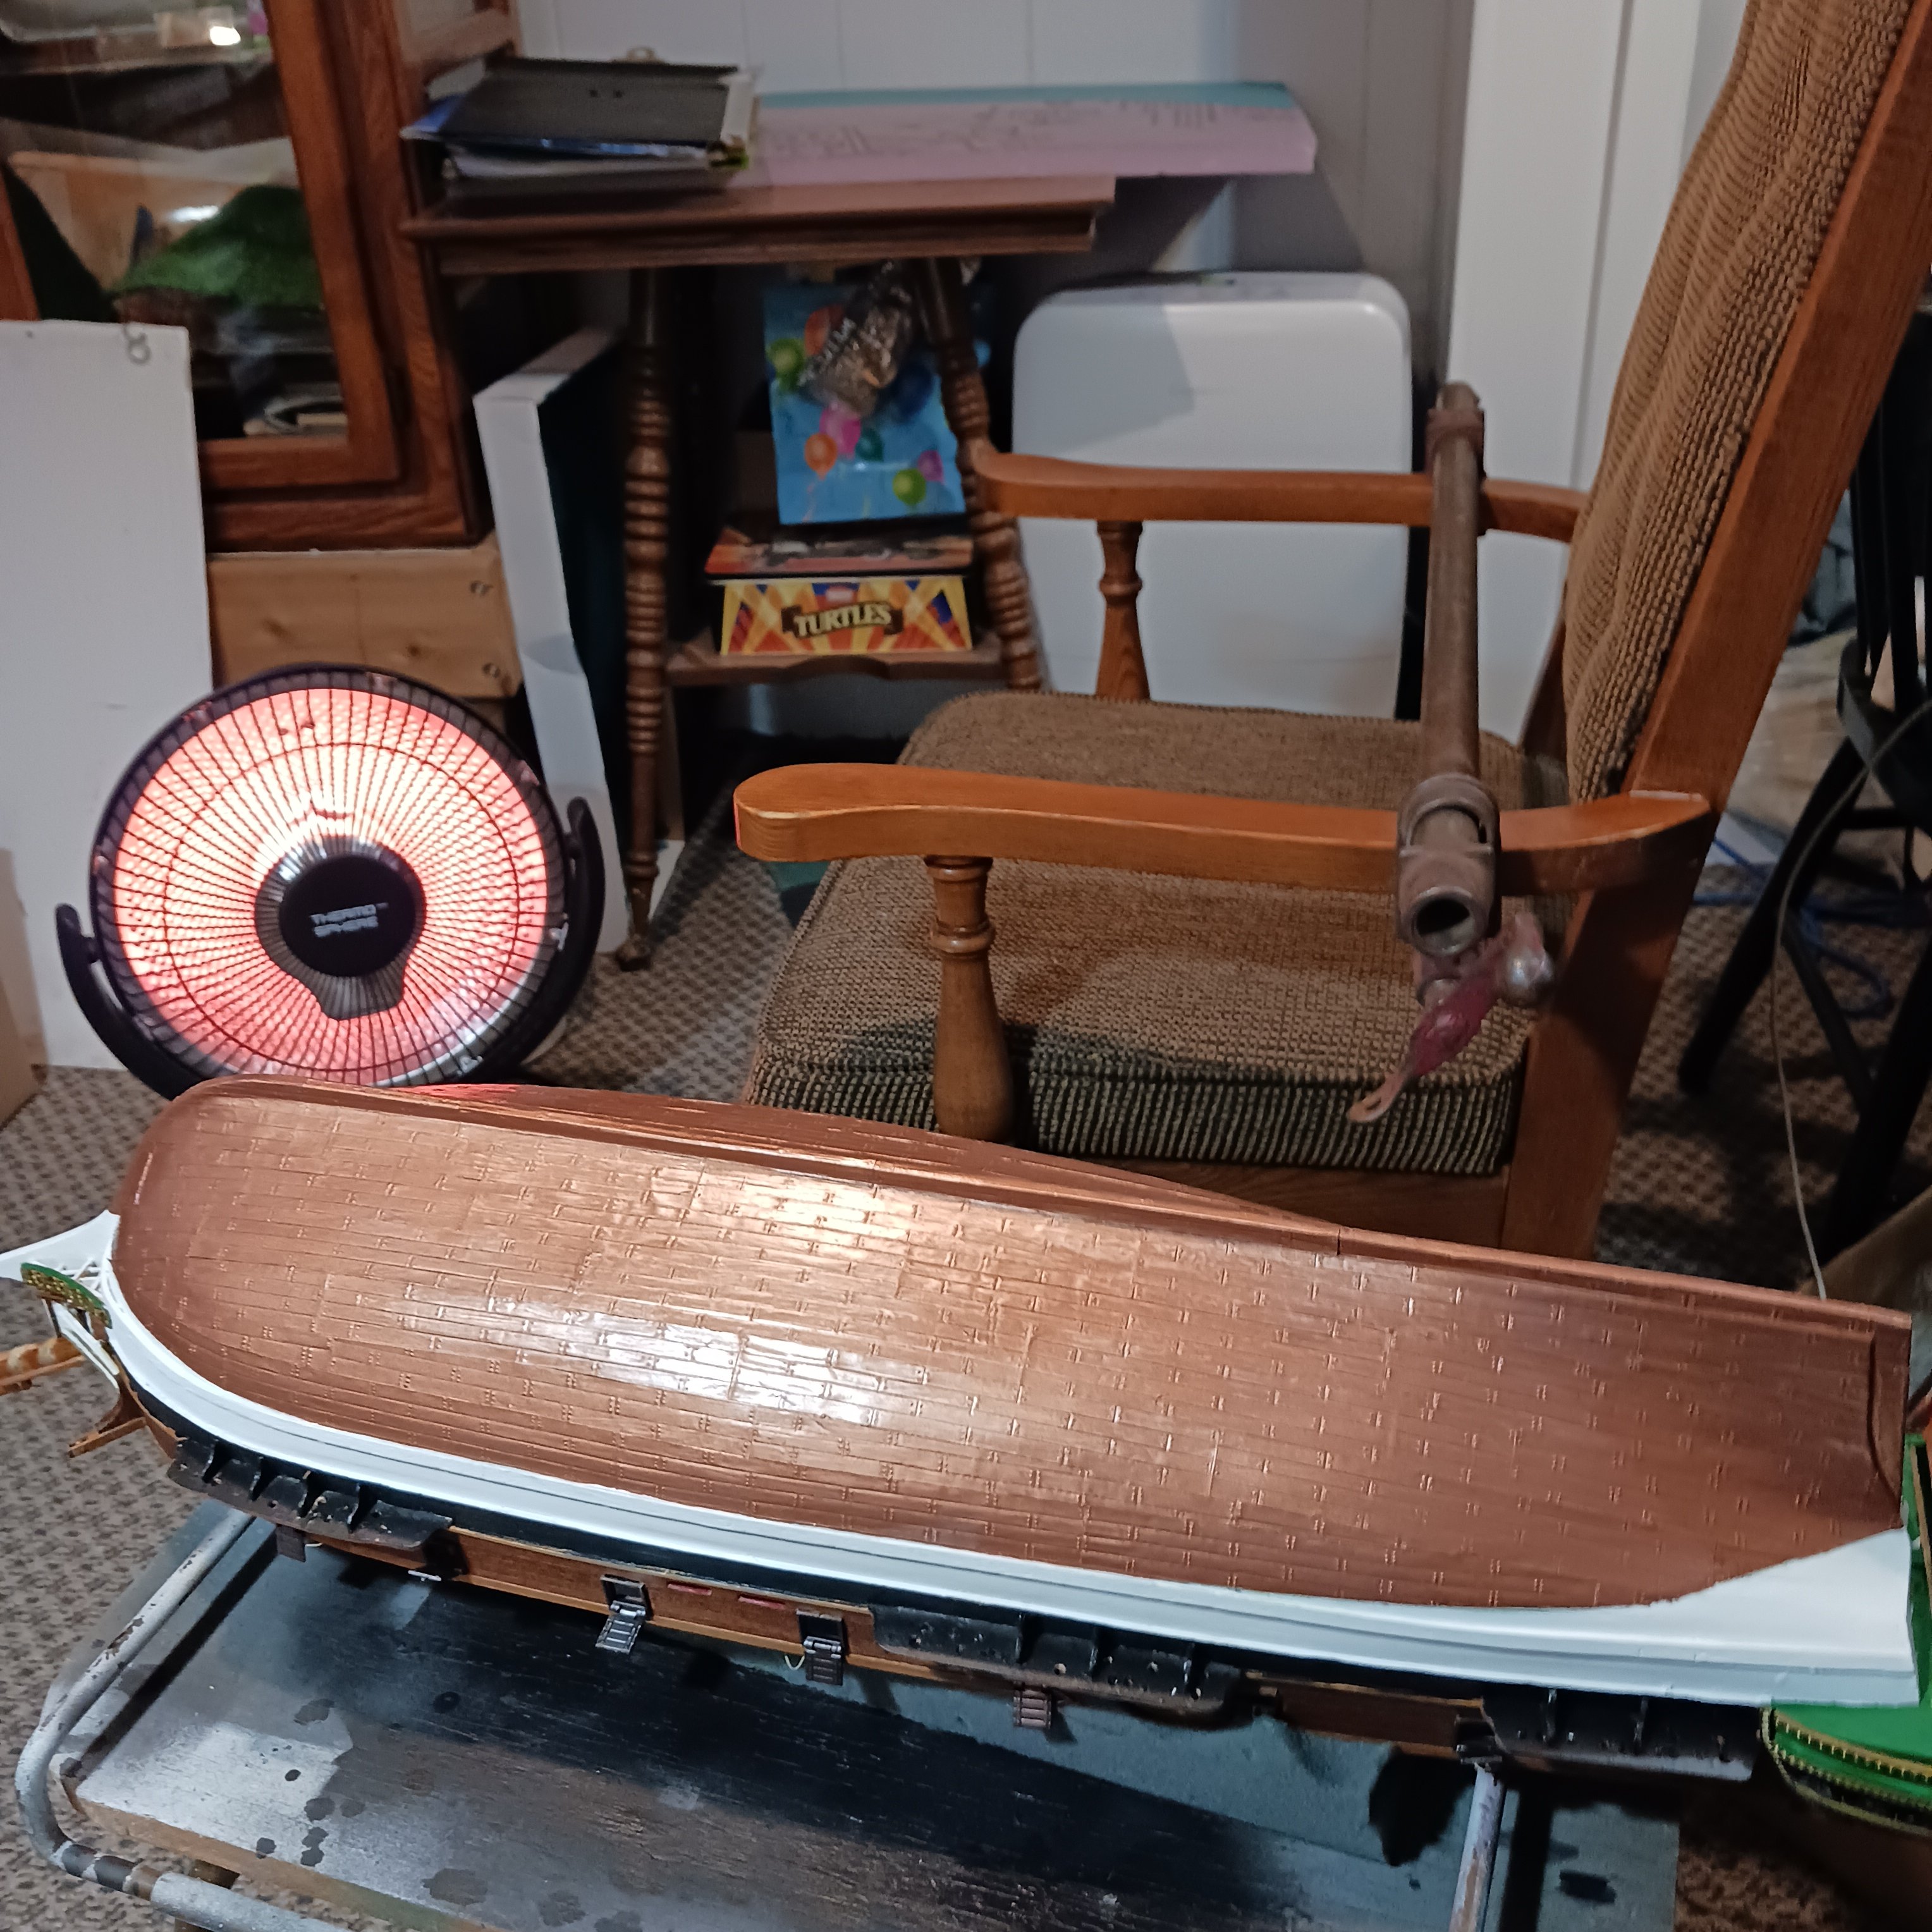
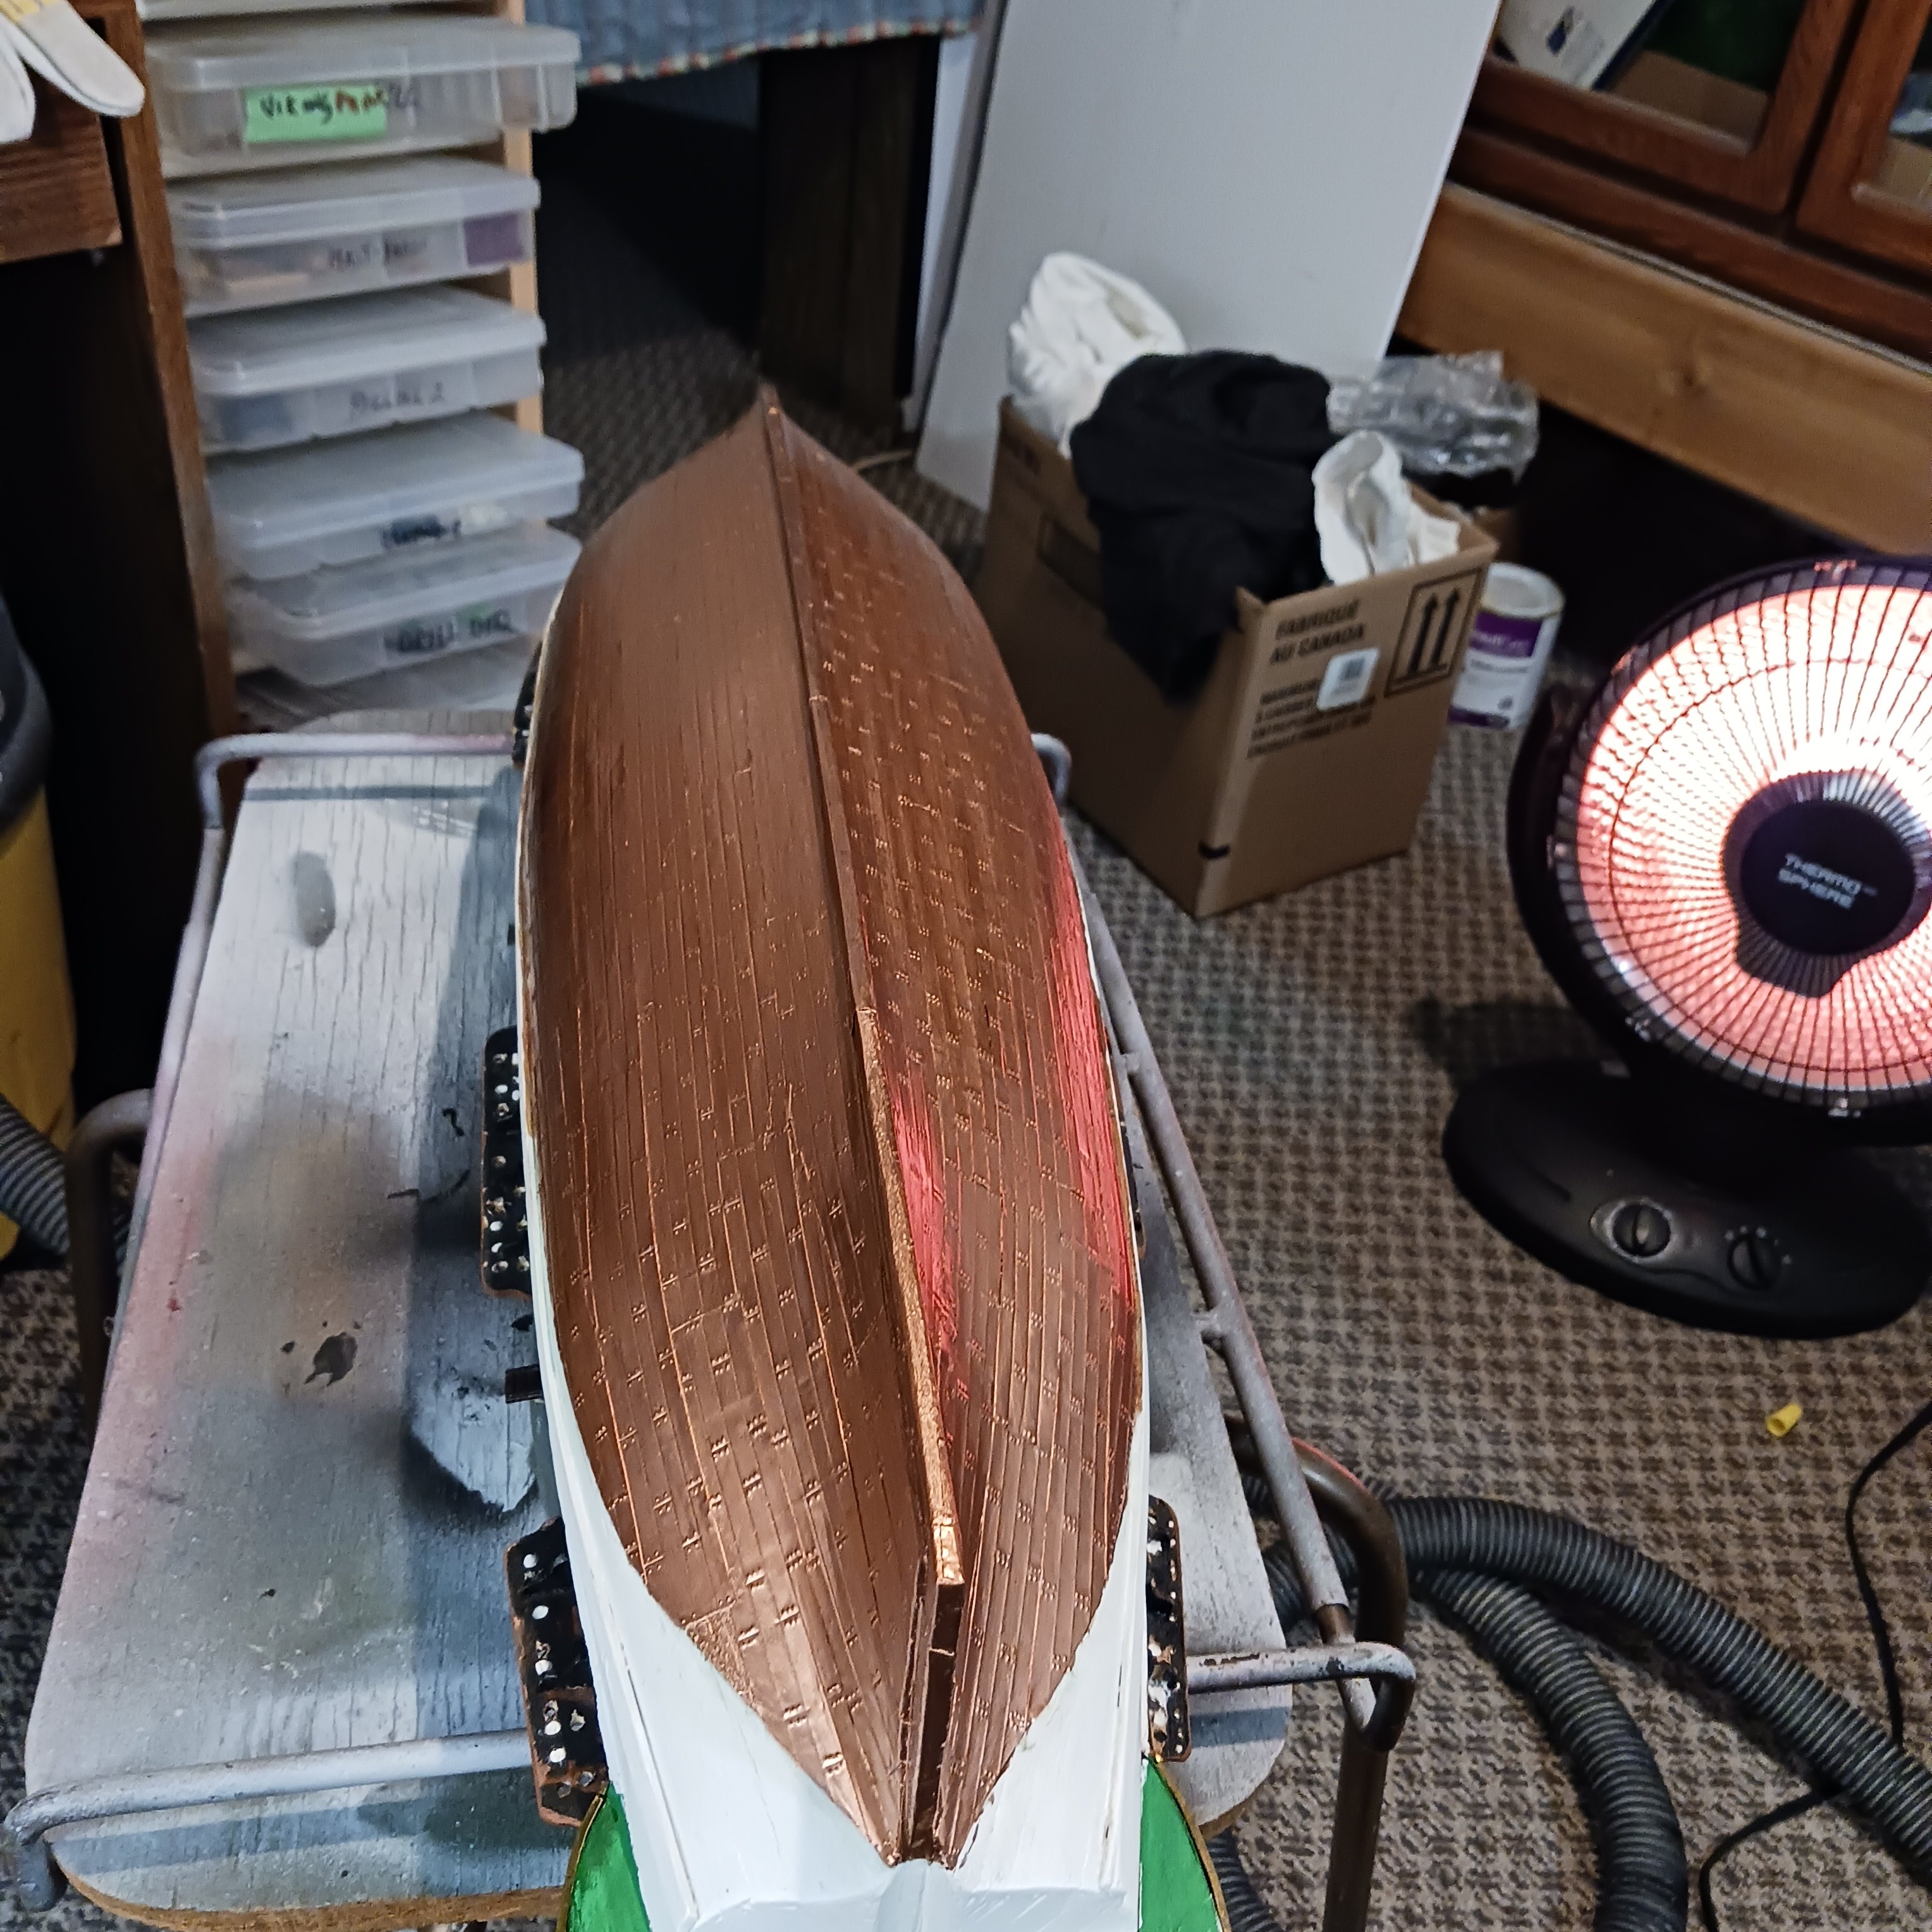
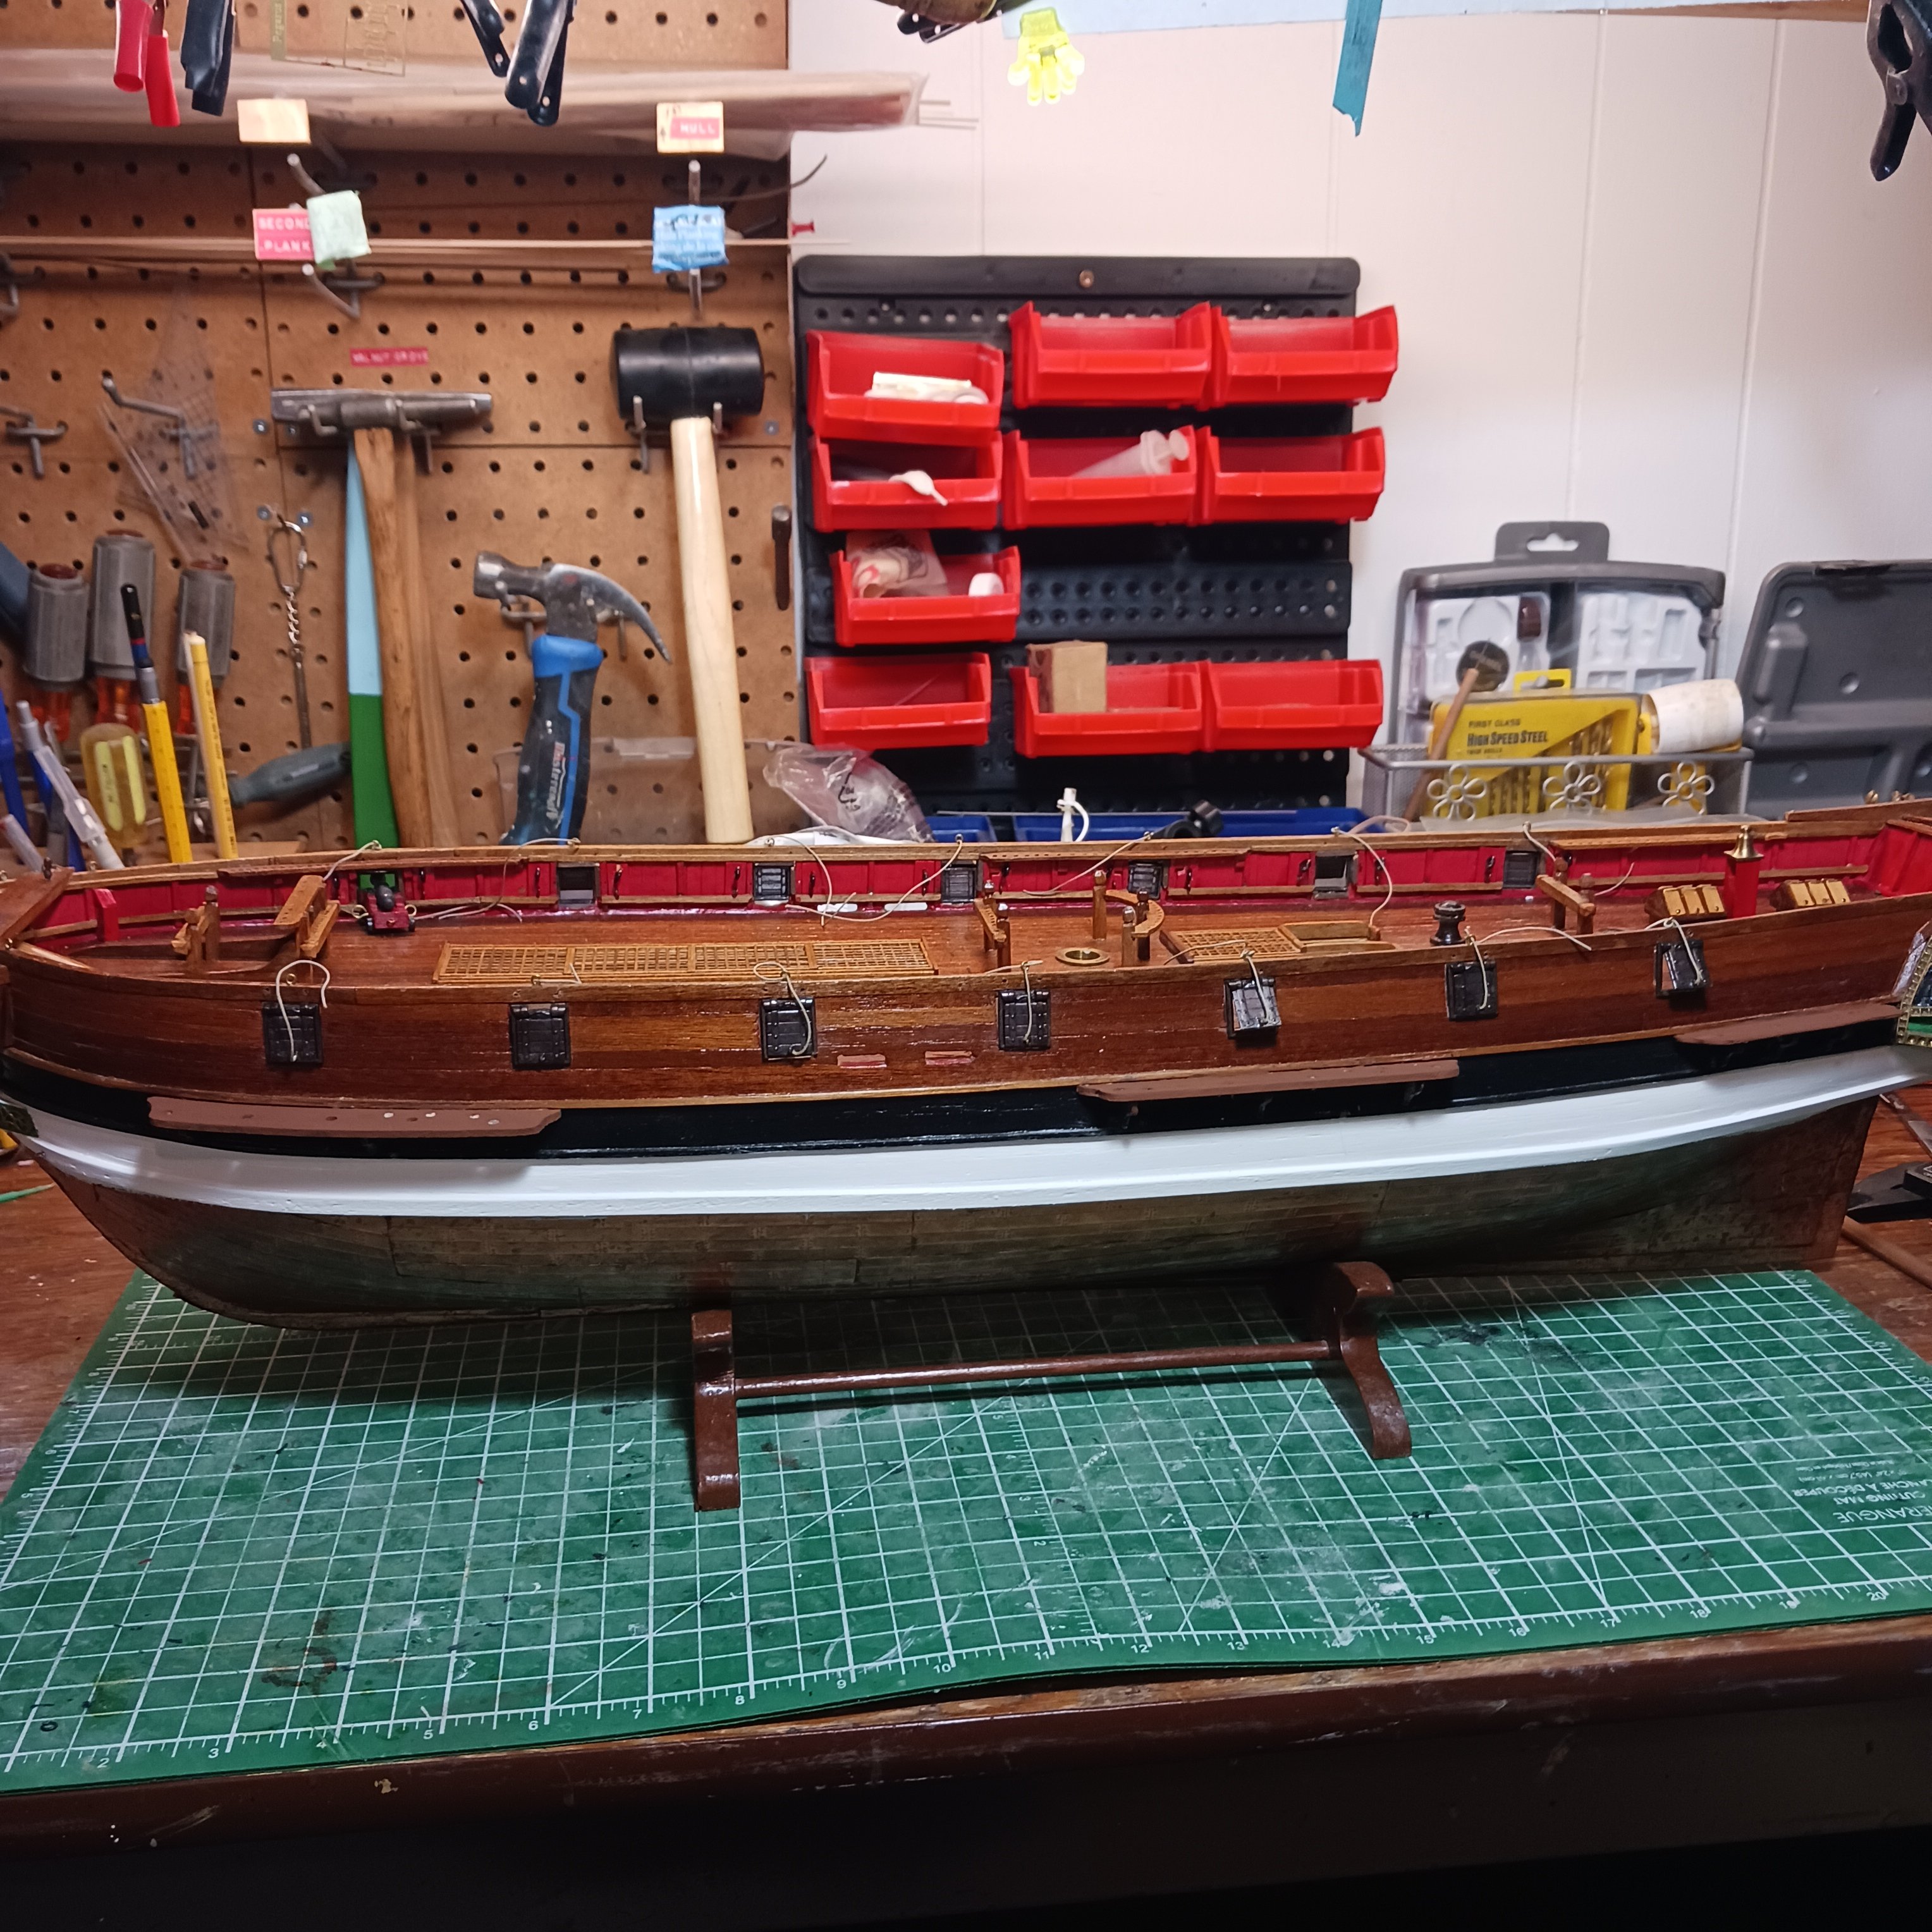
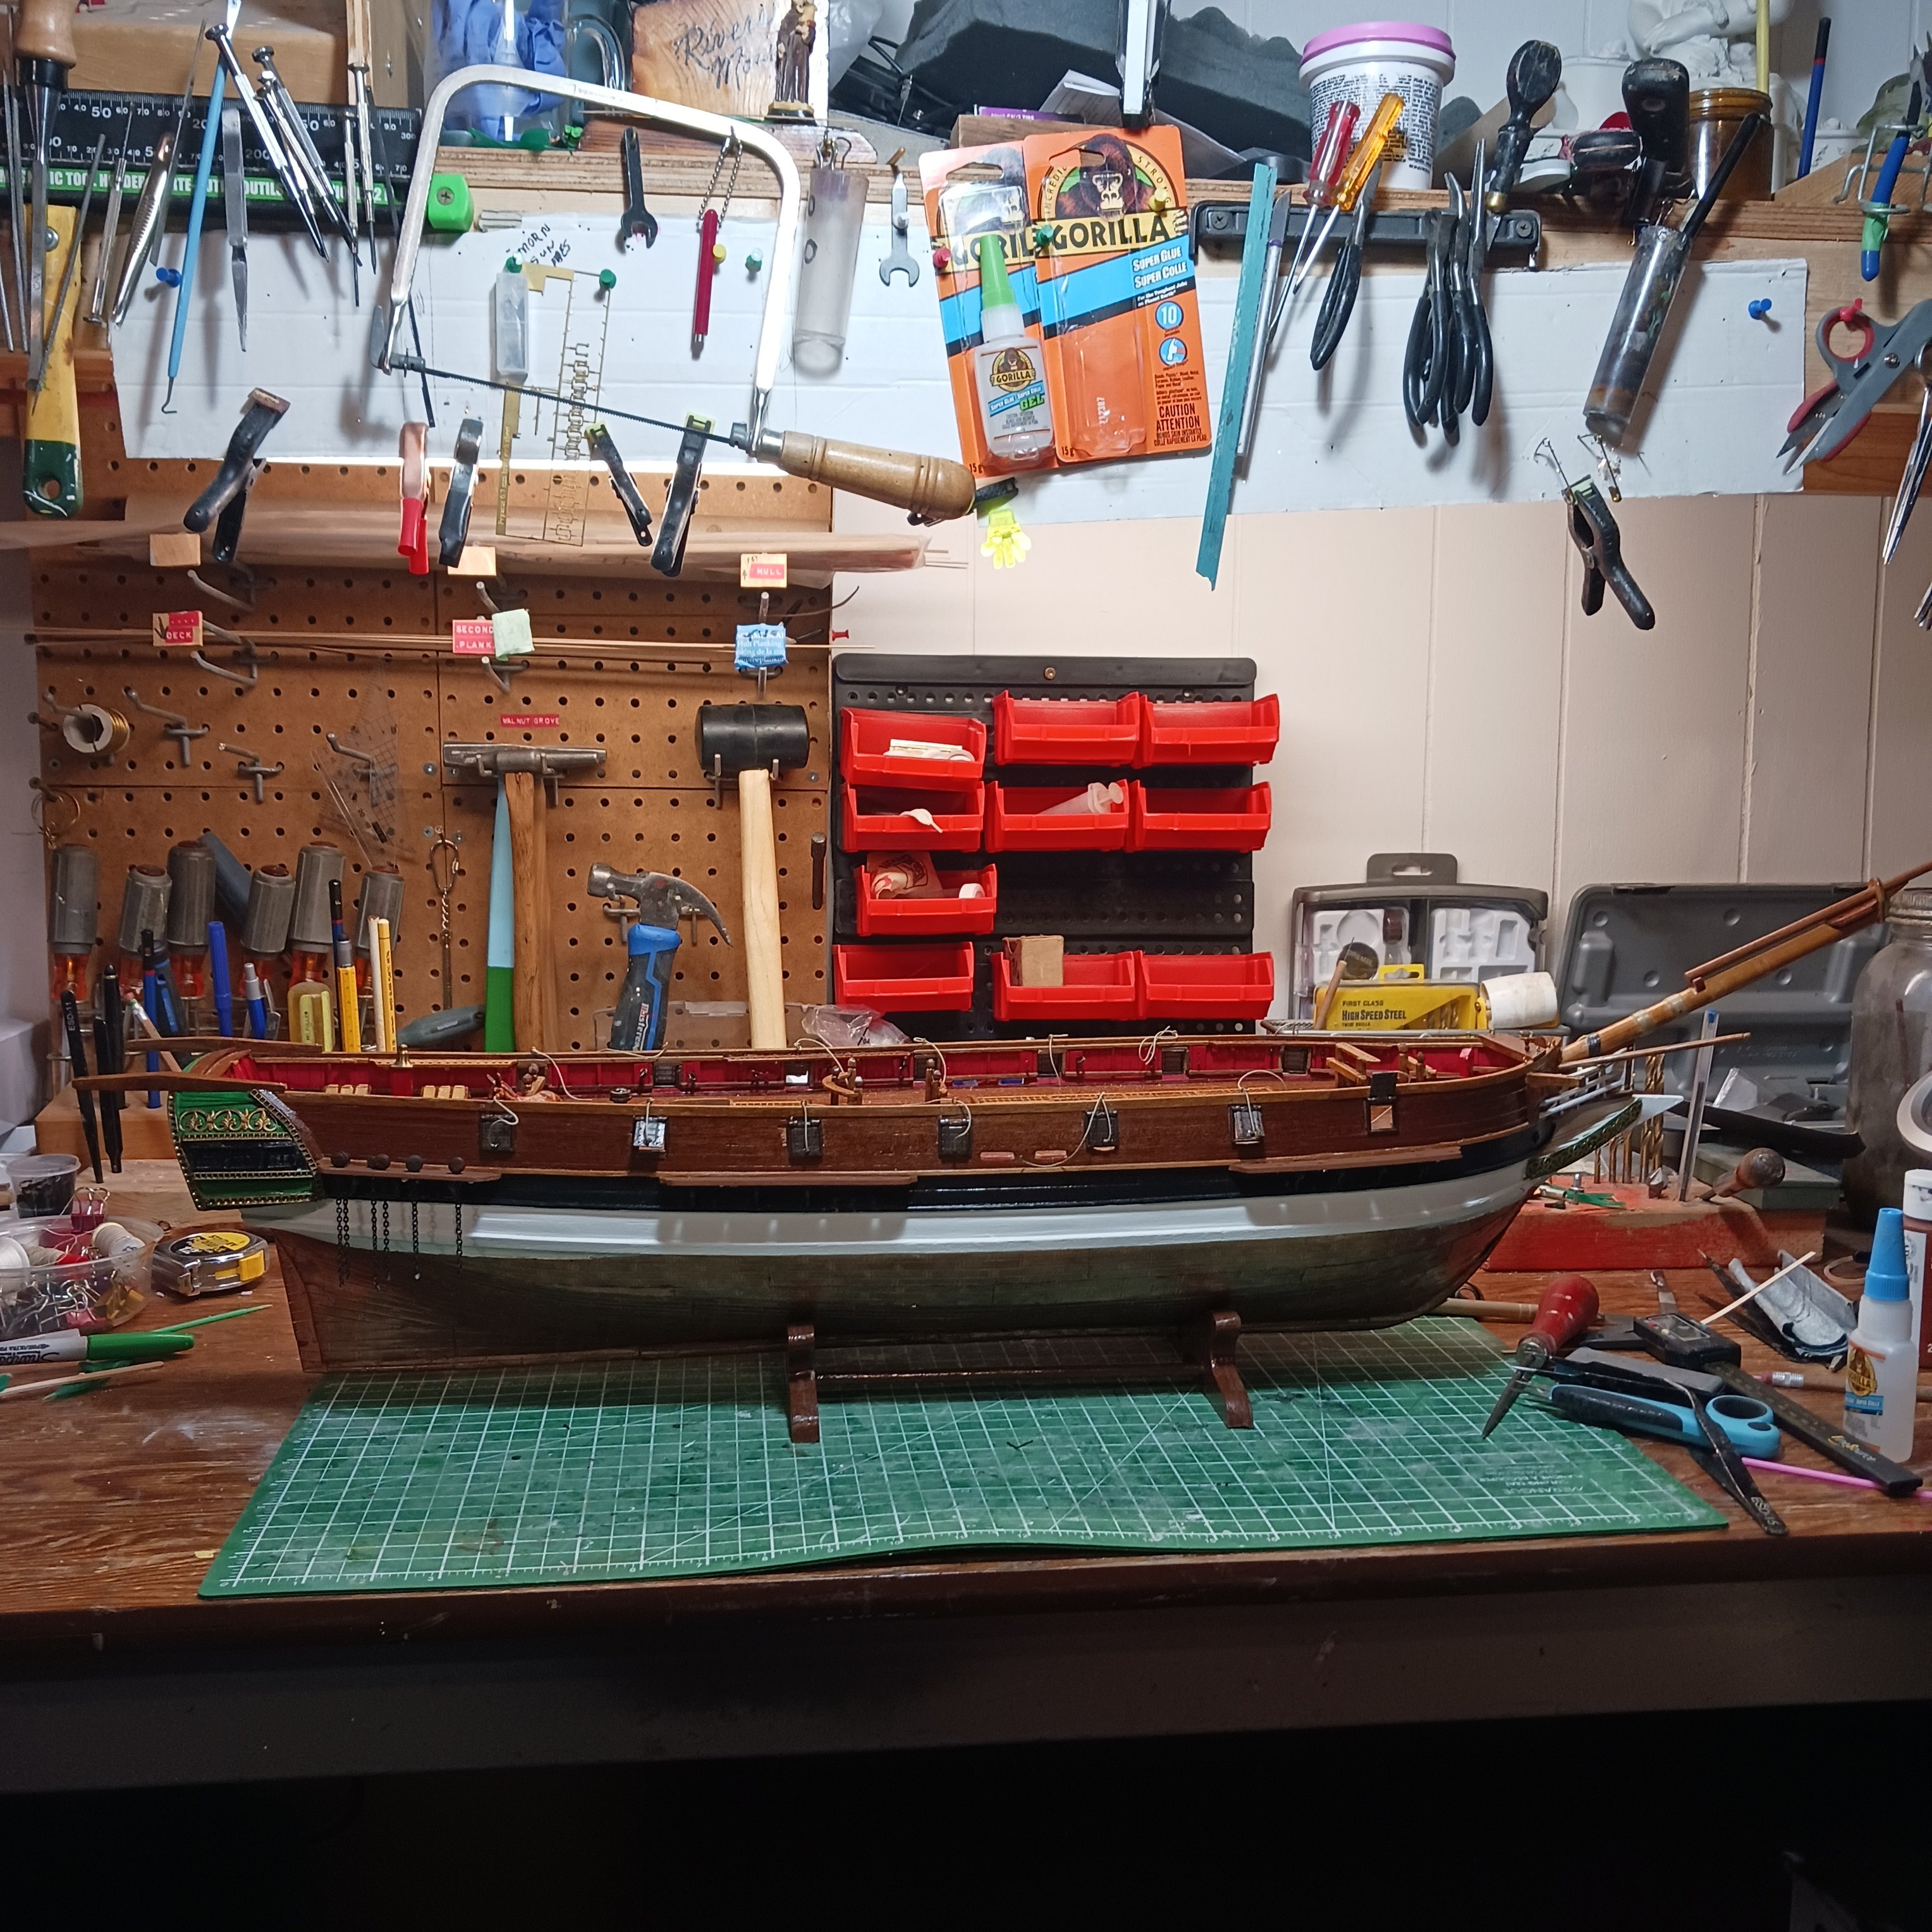
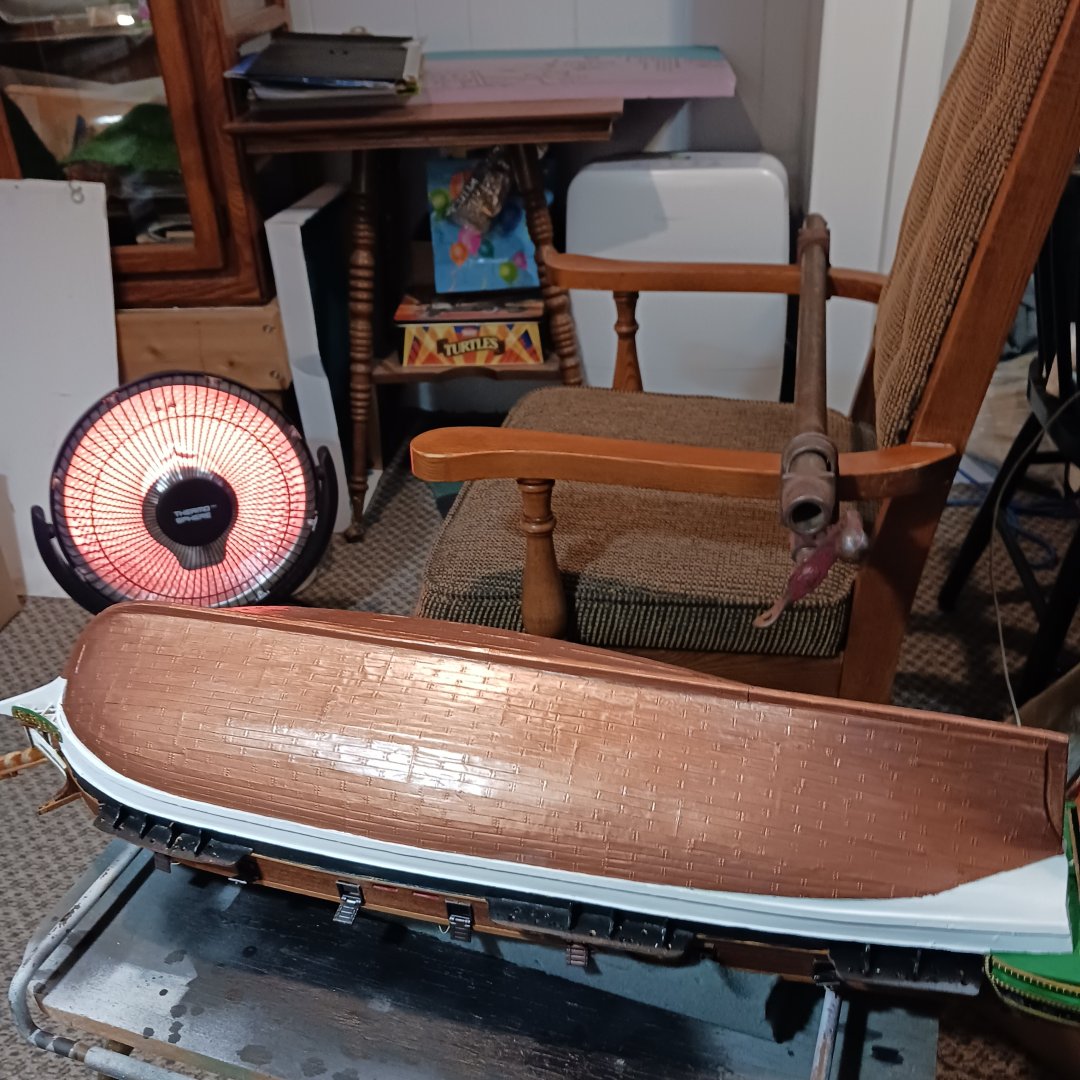
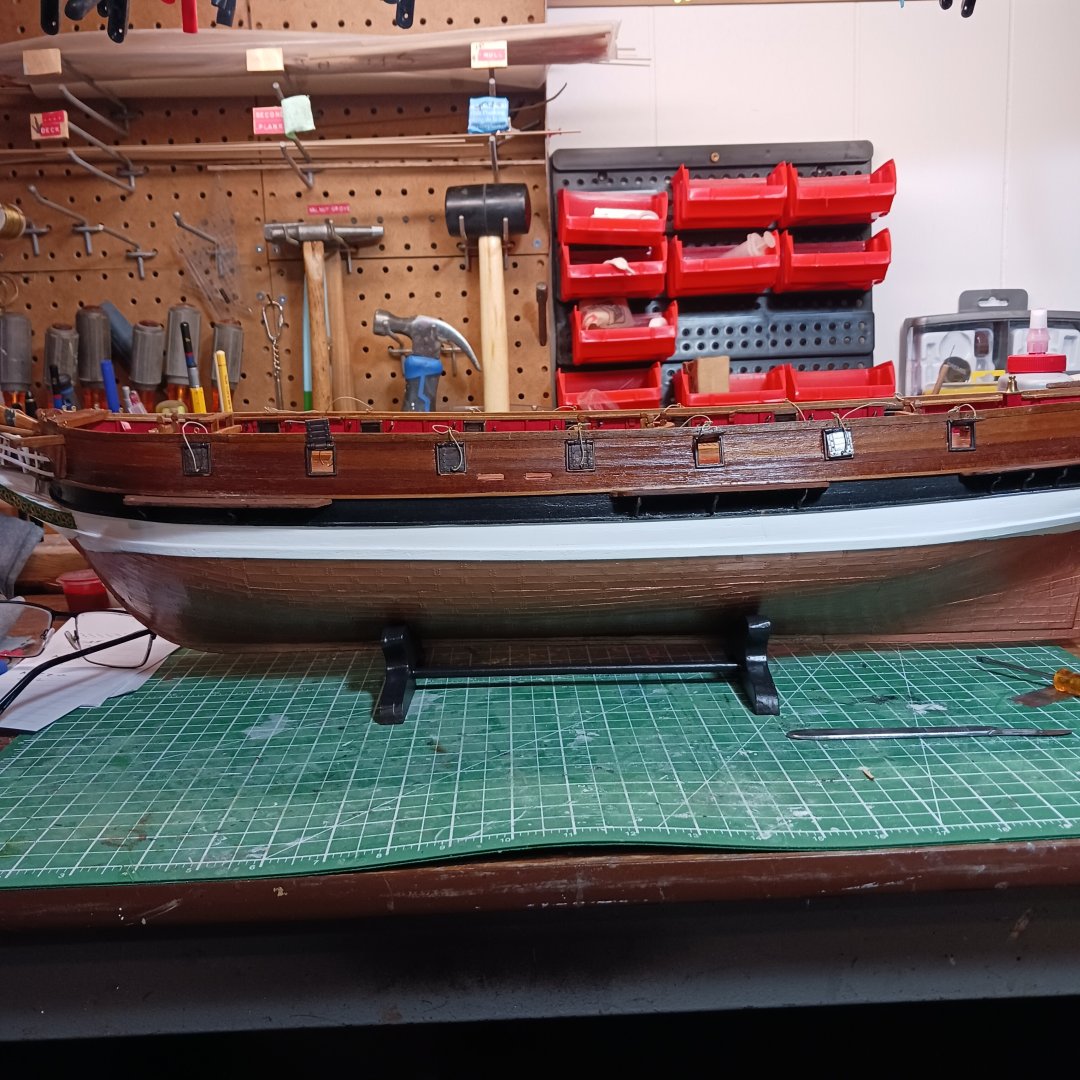
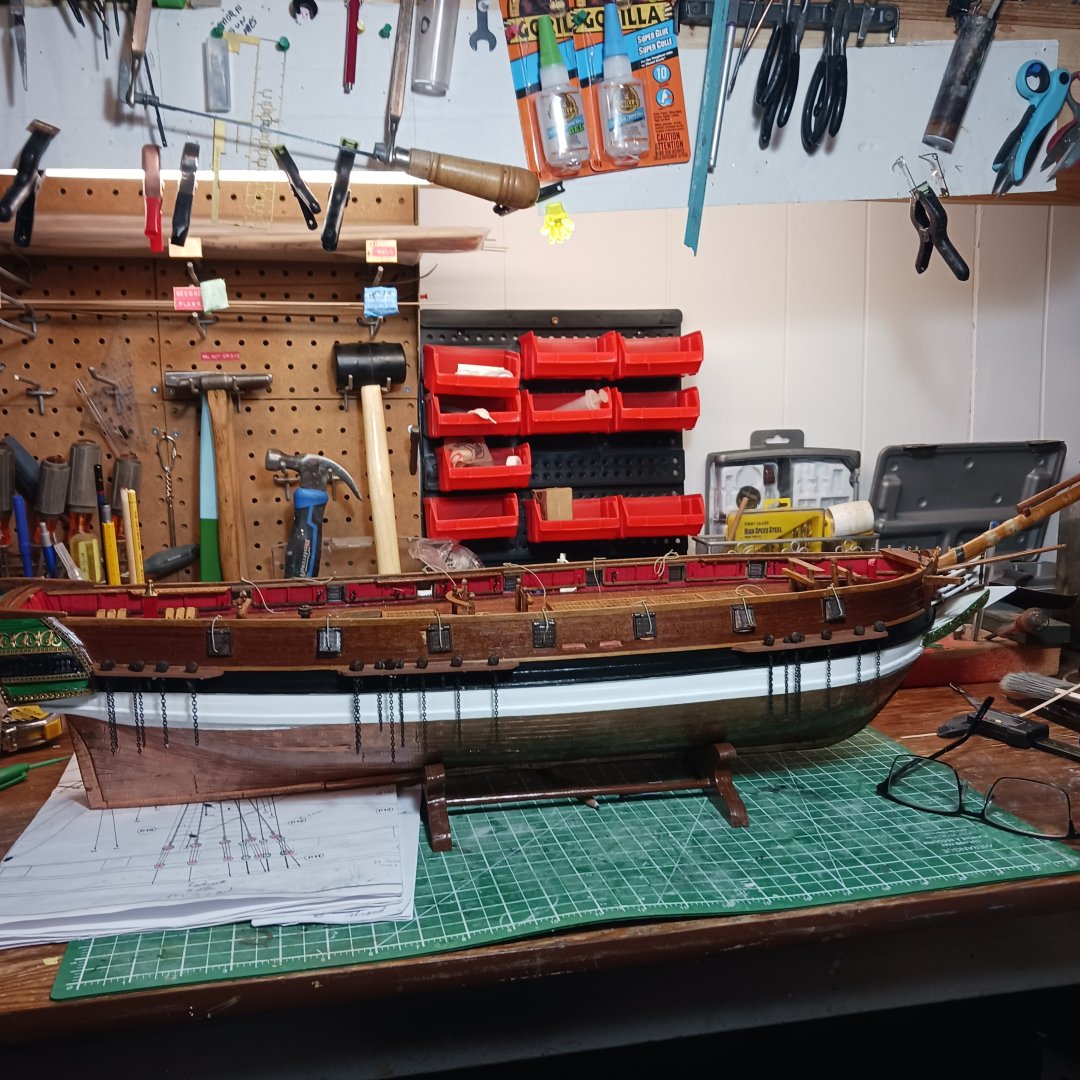
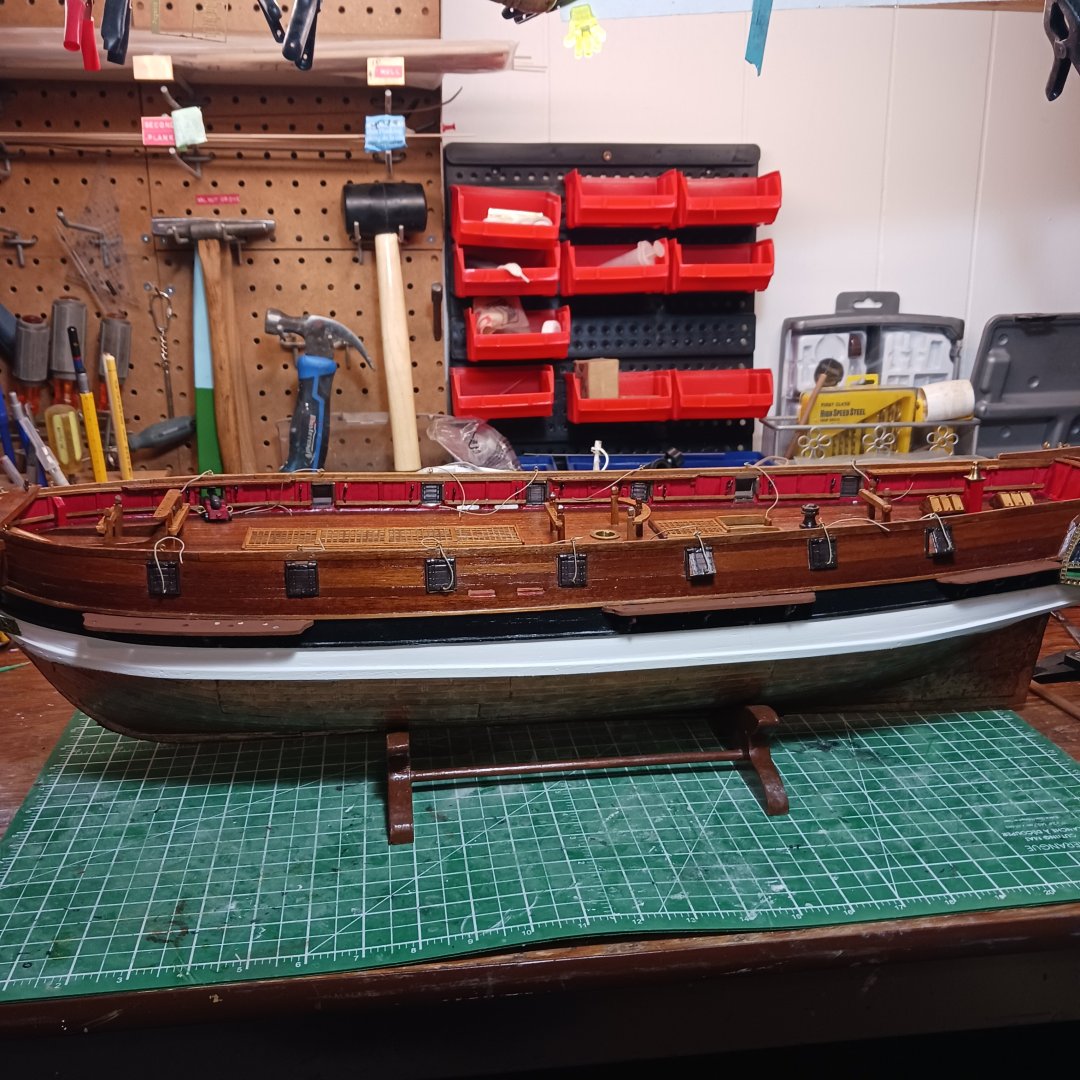
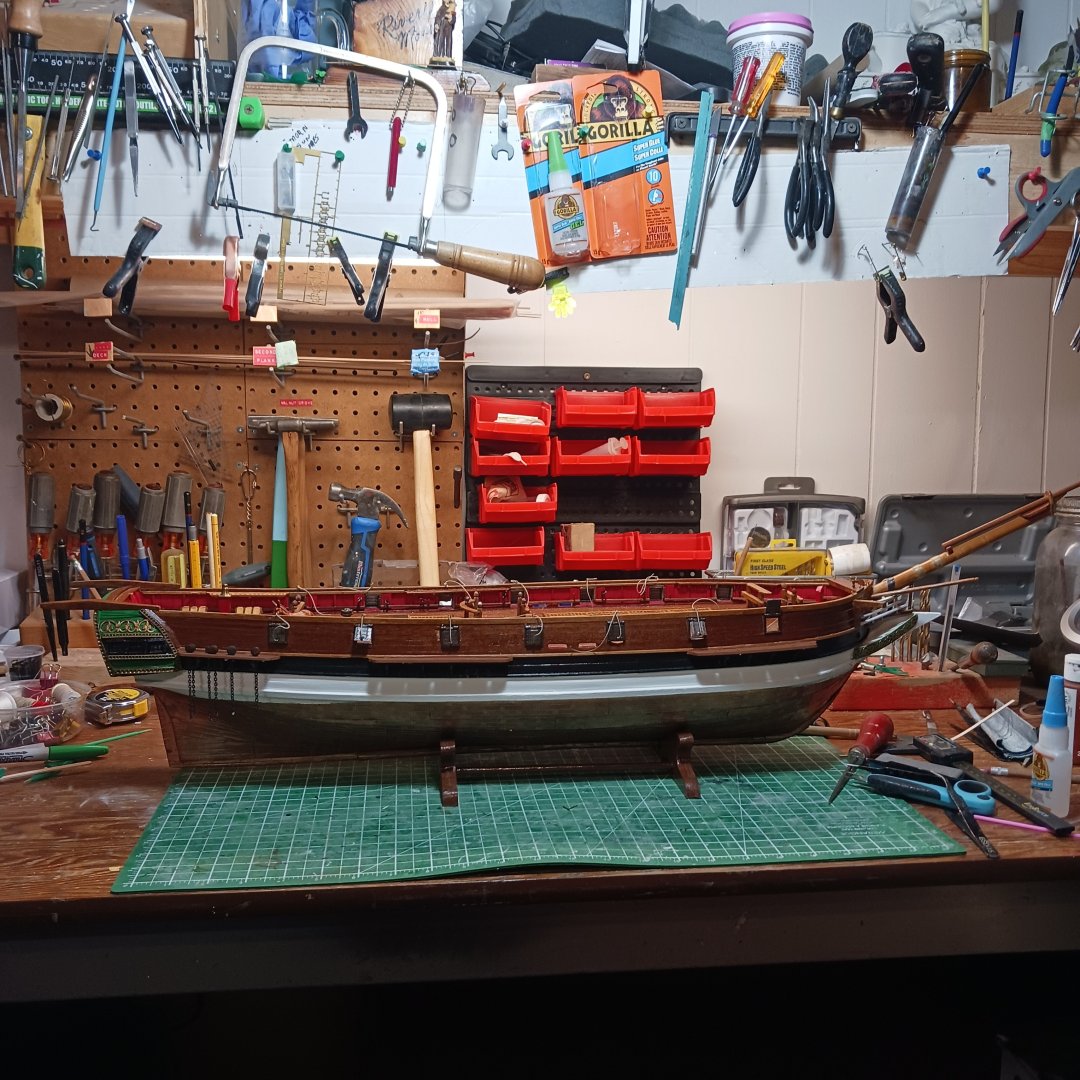
After an over night drying, I compared the Astrolabe hull to my Pegasus hull. The Astrolabe is lighter, but when viewed separately they look wonderful. I.think The stand got repainted black and today I put it on the stand. It looks really good at normal veiwing distance. So with that ,it is back on the bench with a nose gaurd for the Bowsprit mast, I seem to break them off easily 😳. so now that the nose guard is in place, it is time to get back to that little dish in front of nose guard, it is full of deadeyes and chains. . I am happy with the results of the copper, it'll do. Y'all take care now. 😎. .Bob M.


-
Just to let you know it's-34 with the wind chill 🥶. Enjoy the sun. Lol. I almost got to my Bluenose but this little Astrolabe got in my way lol. Next build for sure lol. Just love your work my friend, very nice details. Bob M.
- 165 replies
-
- 1
-

-
- Red Jacket
- Marine Model Company
- (and 2 more)
-
Bob M.
-
Welcome aboard. Vanguard Models are really fun to build Lots of help here at MSW/NRG , Look at the logs for the Sherbourne, there is loads of information on it. Good luck on your journey. !!! Bob M.
- 11 replies
-
- 1
-

-
- Sherbourne
- Vanguard Models
- (and 1 more)
-
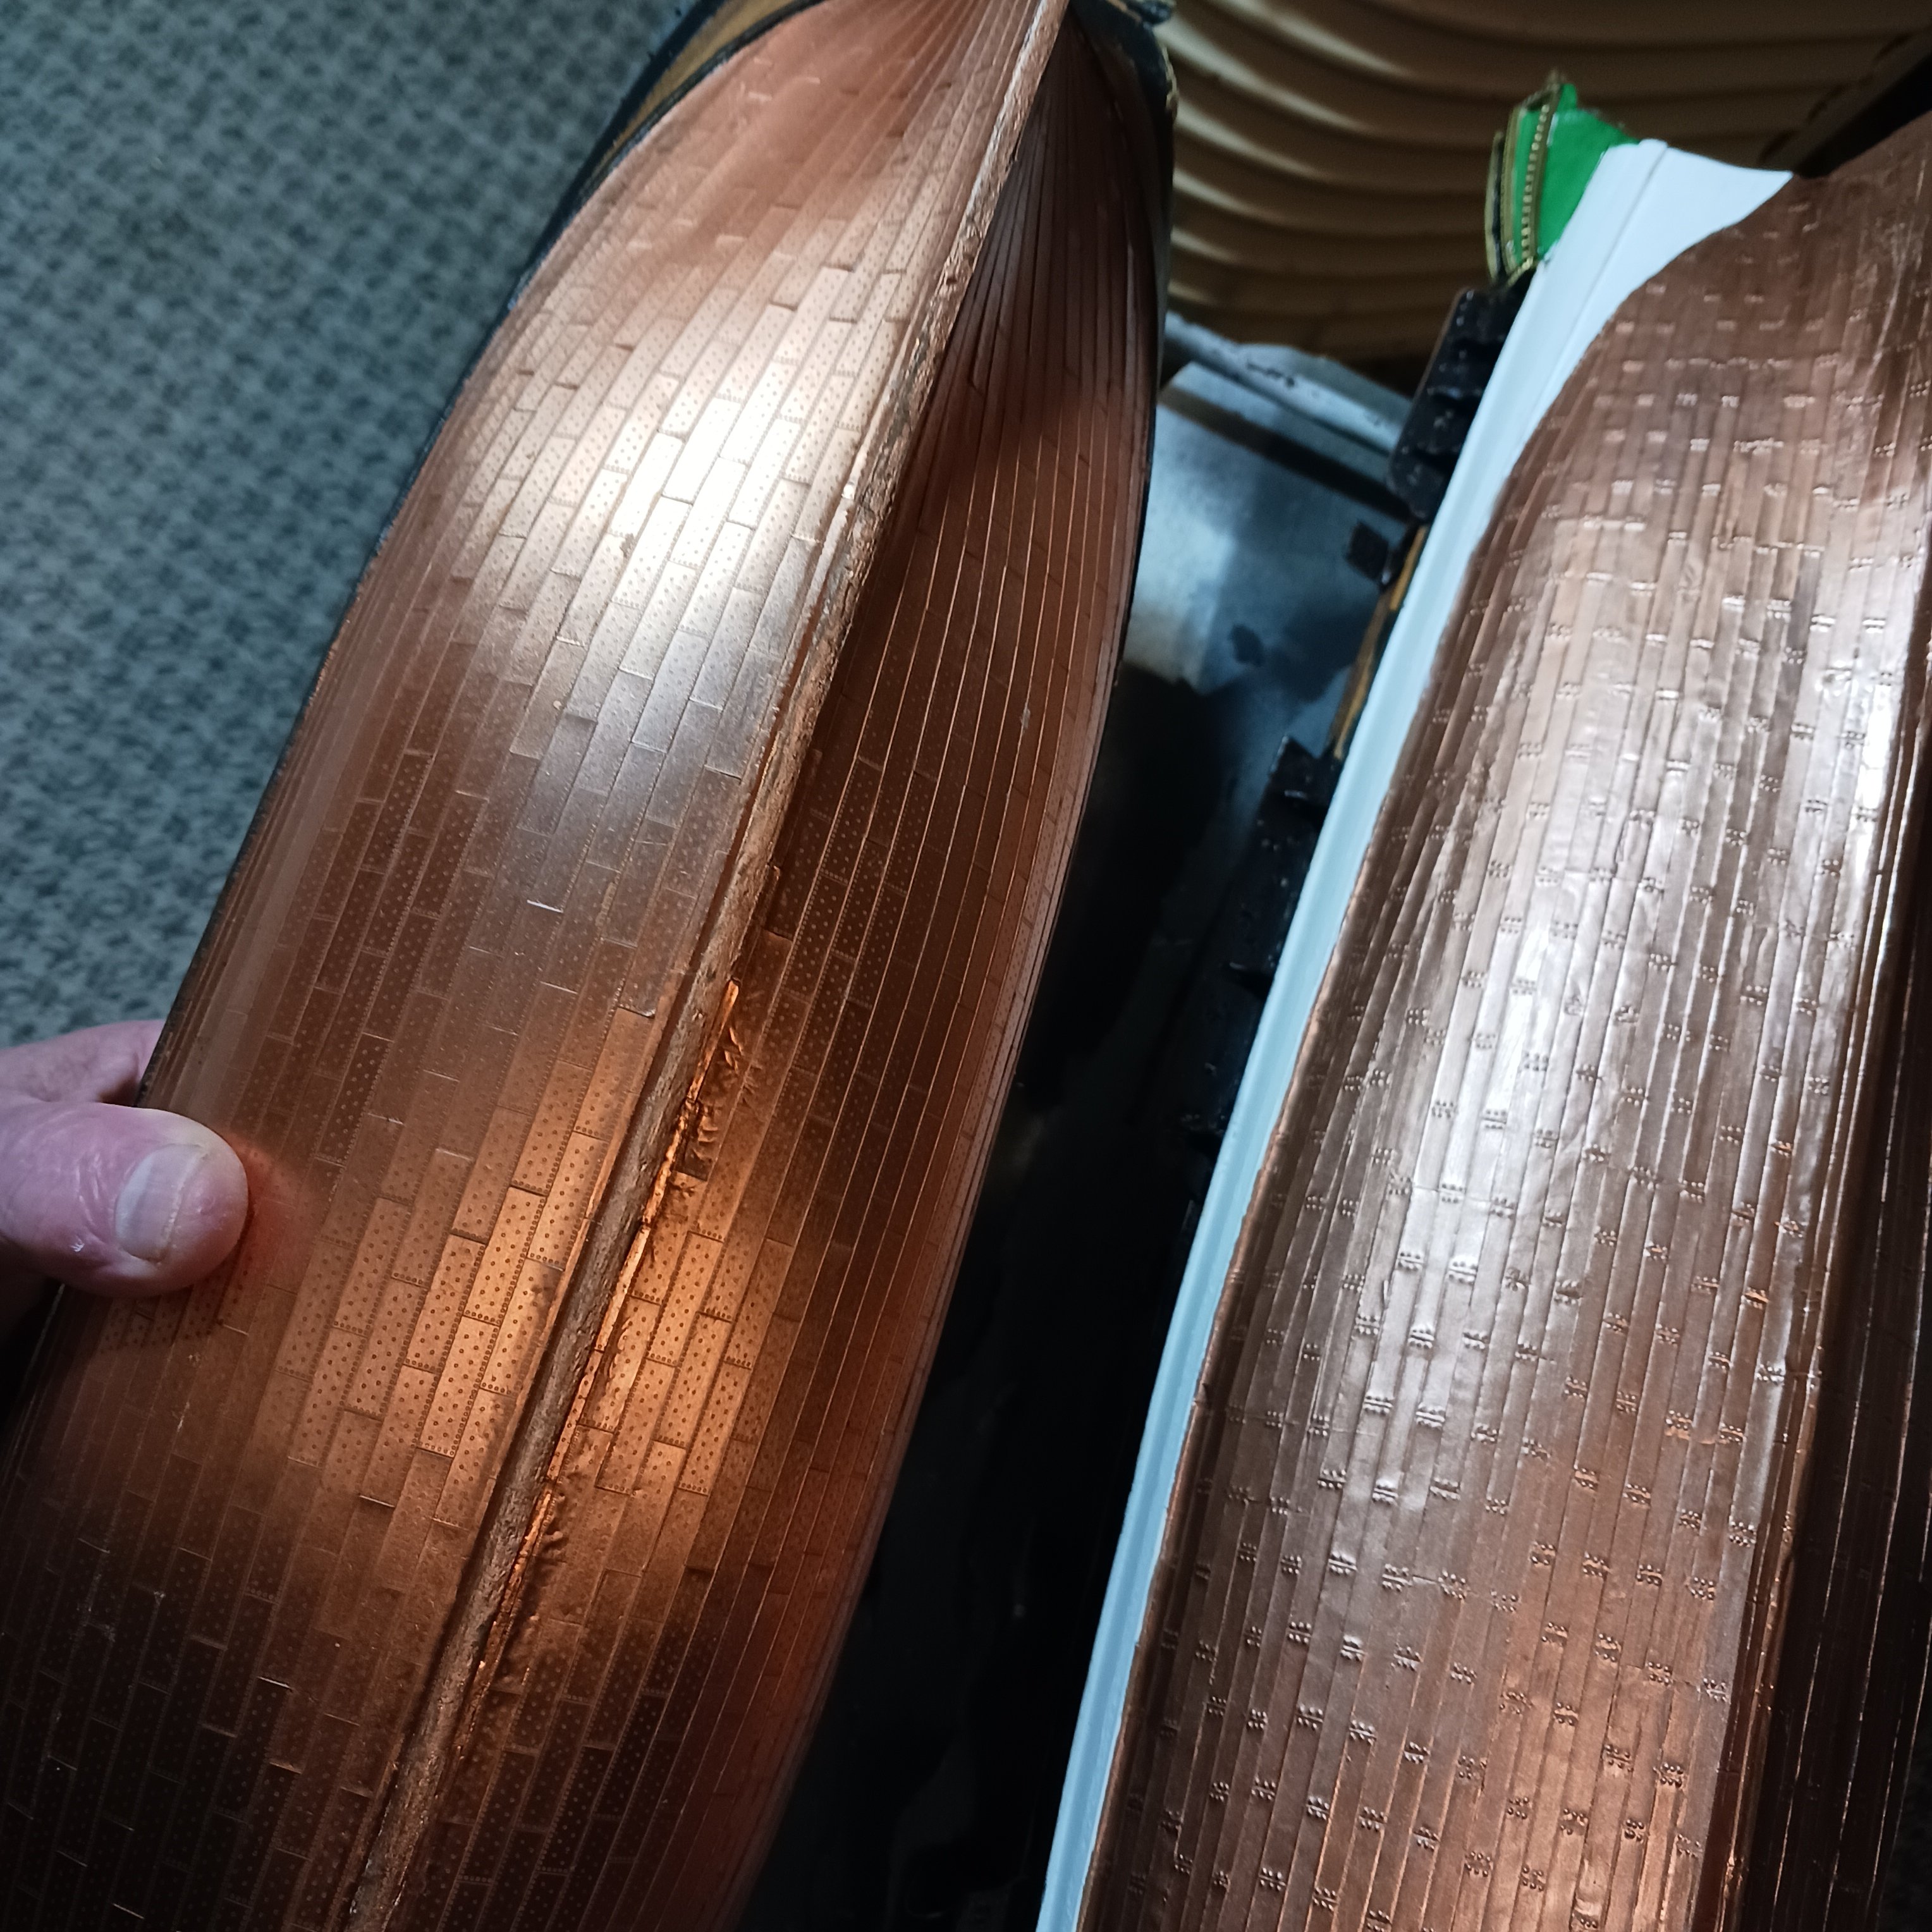
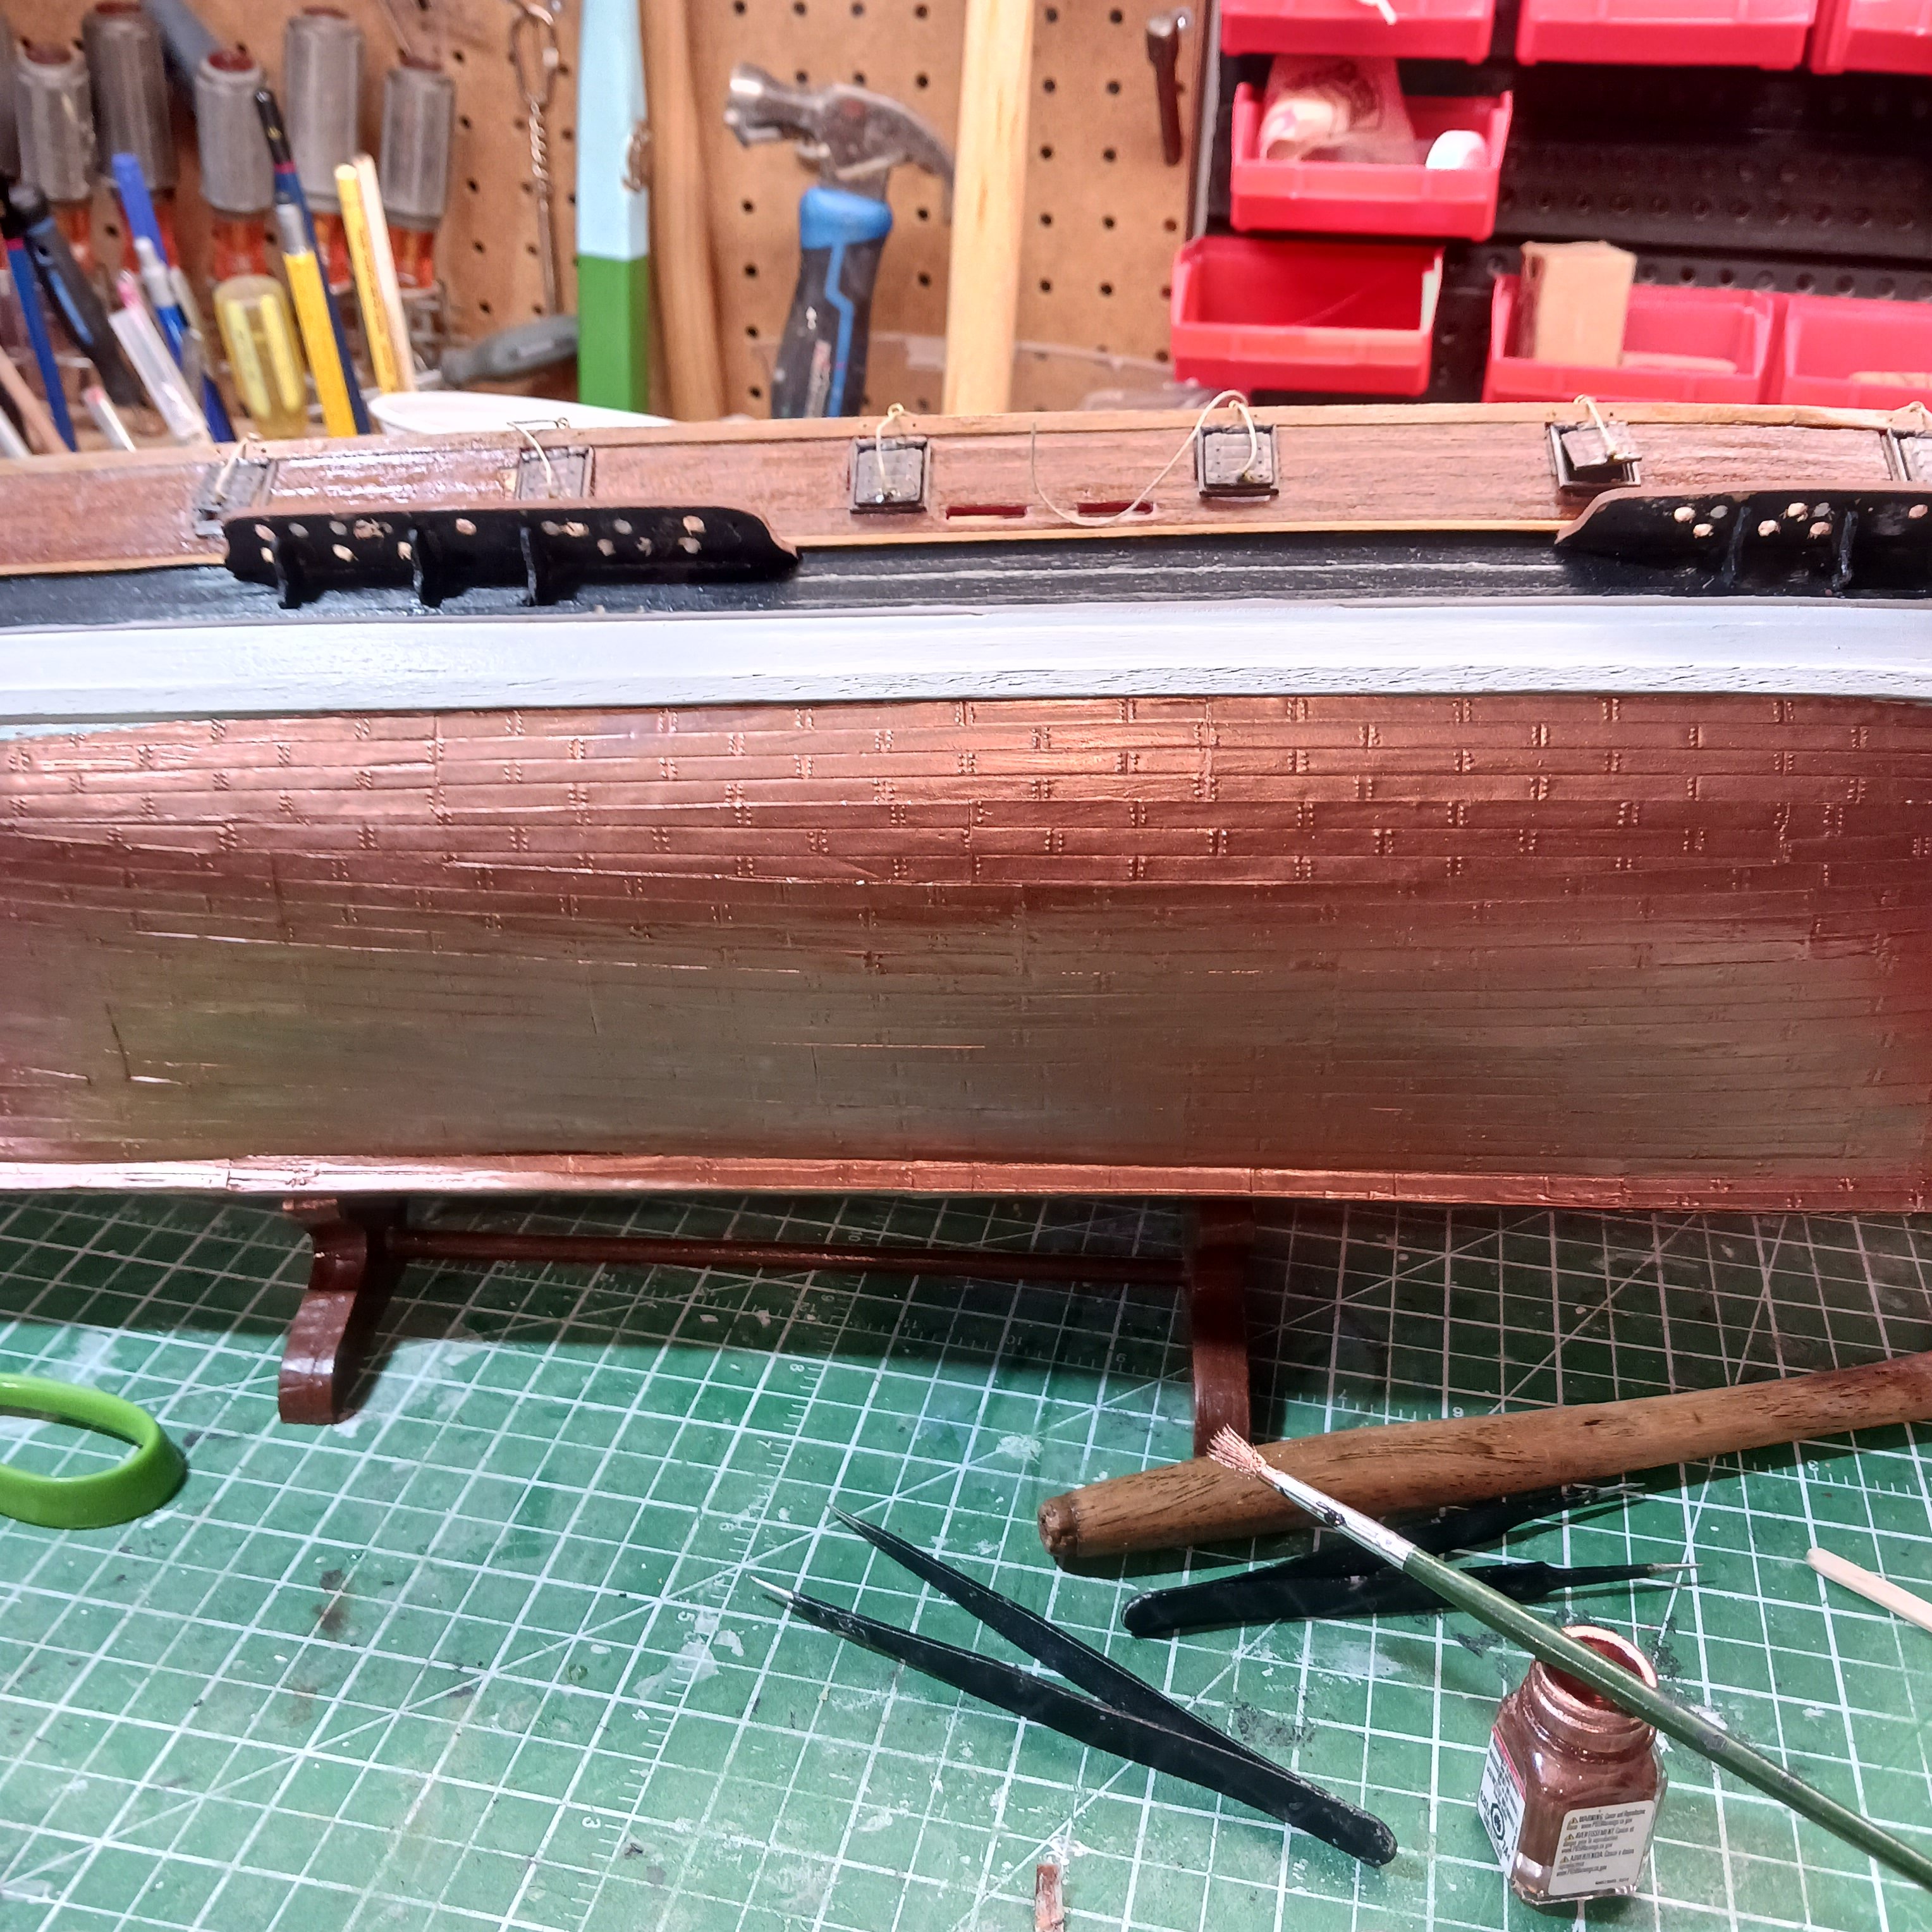
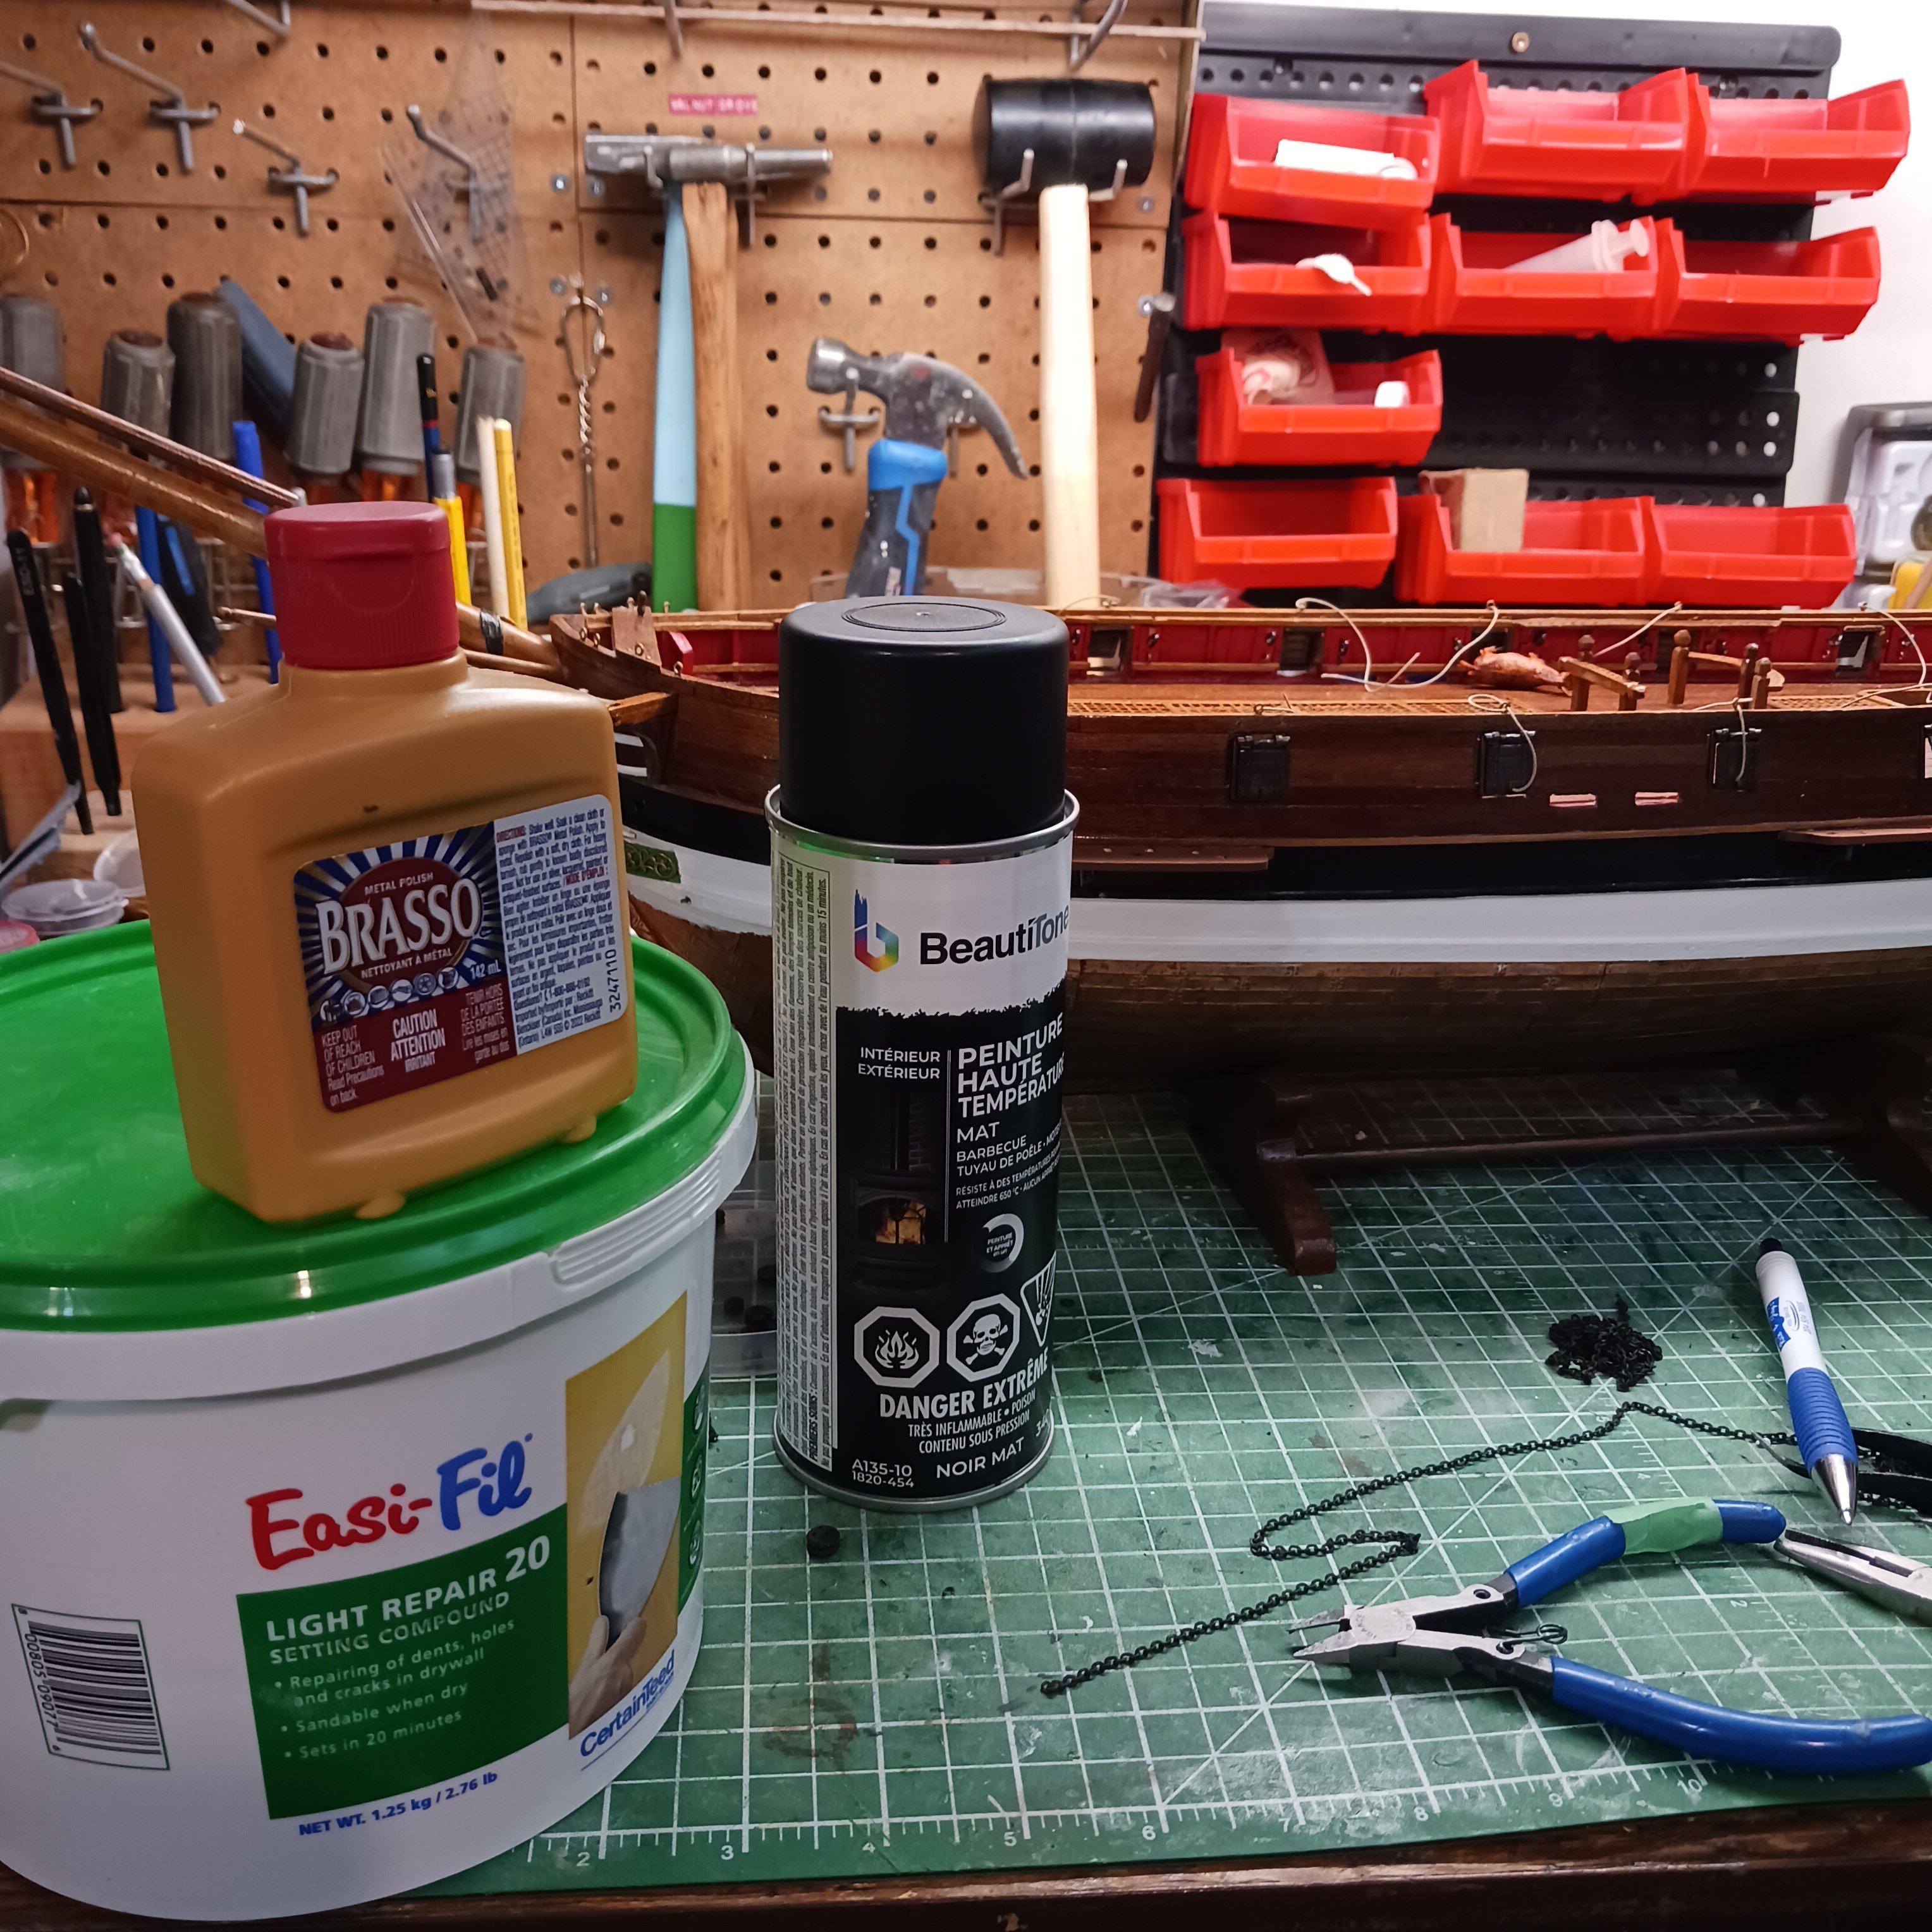
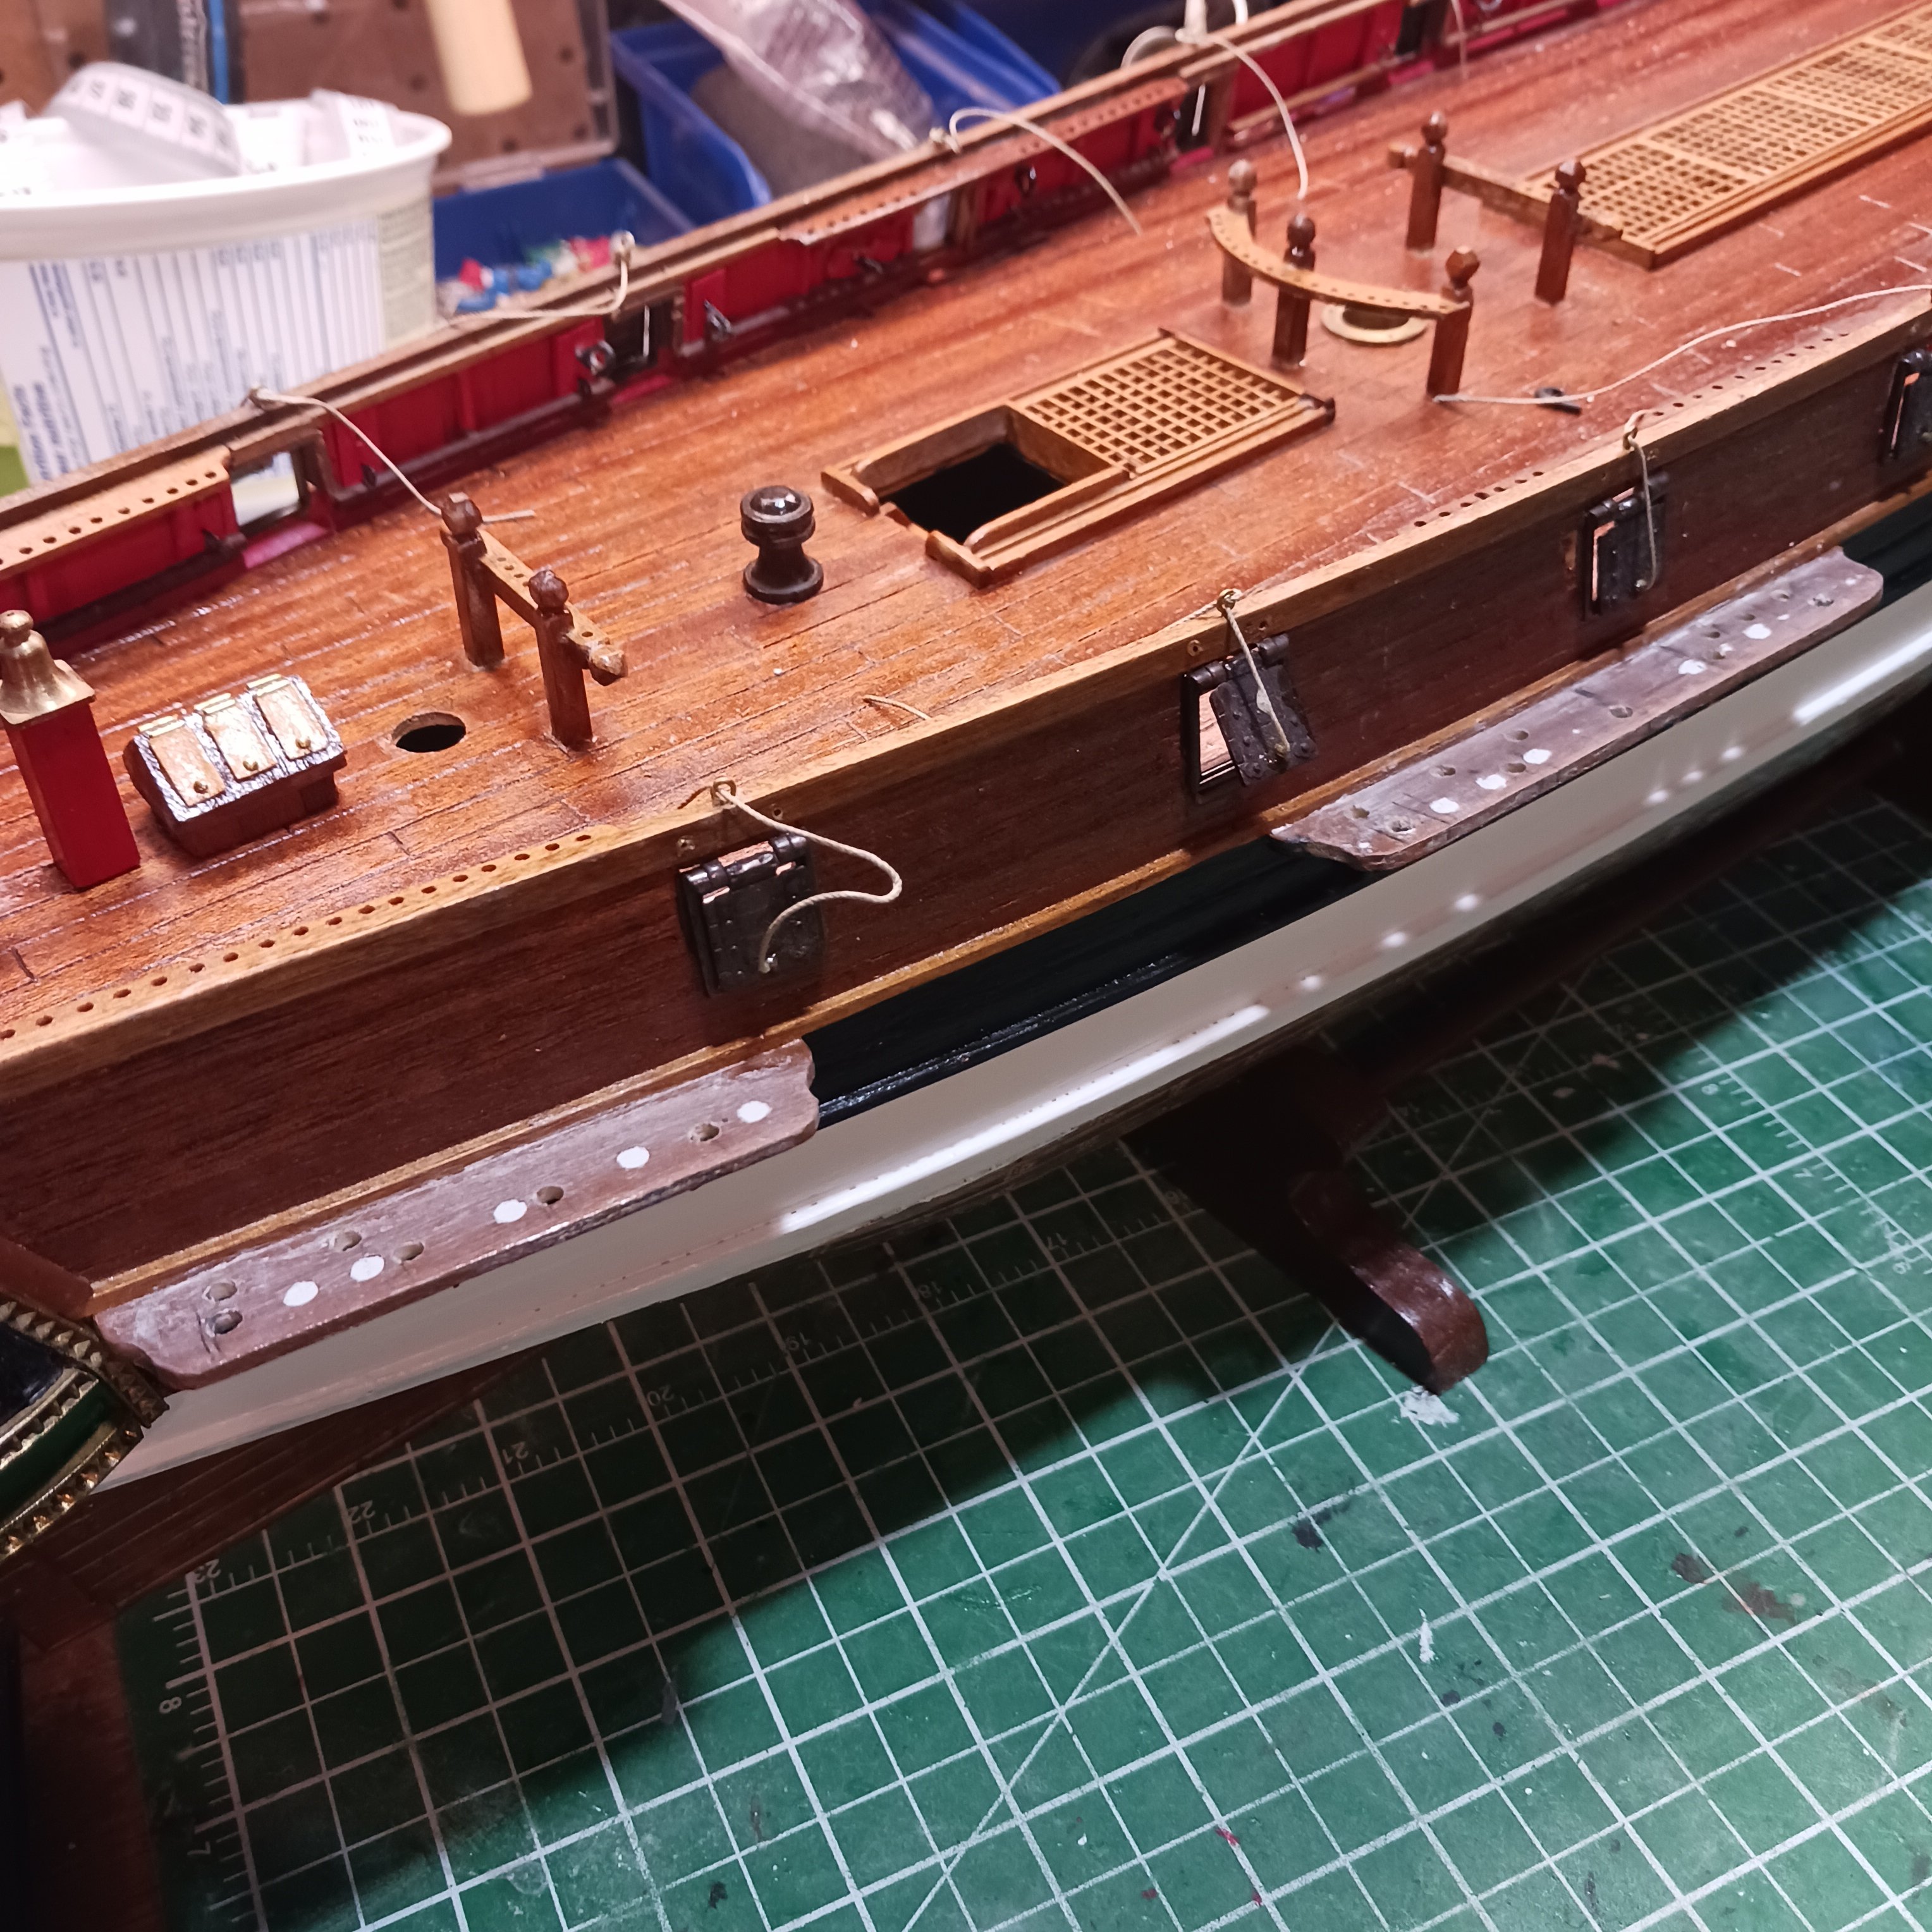
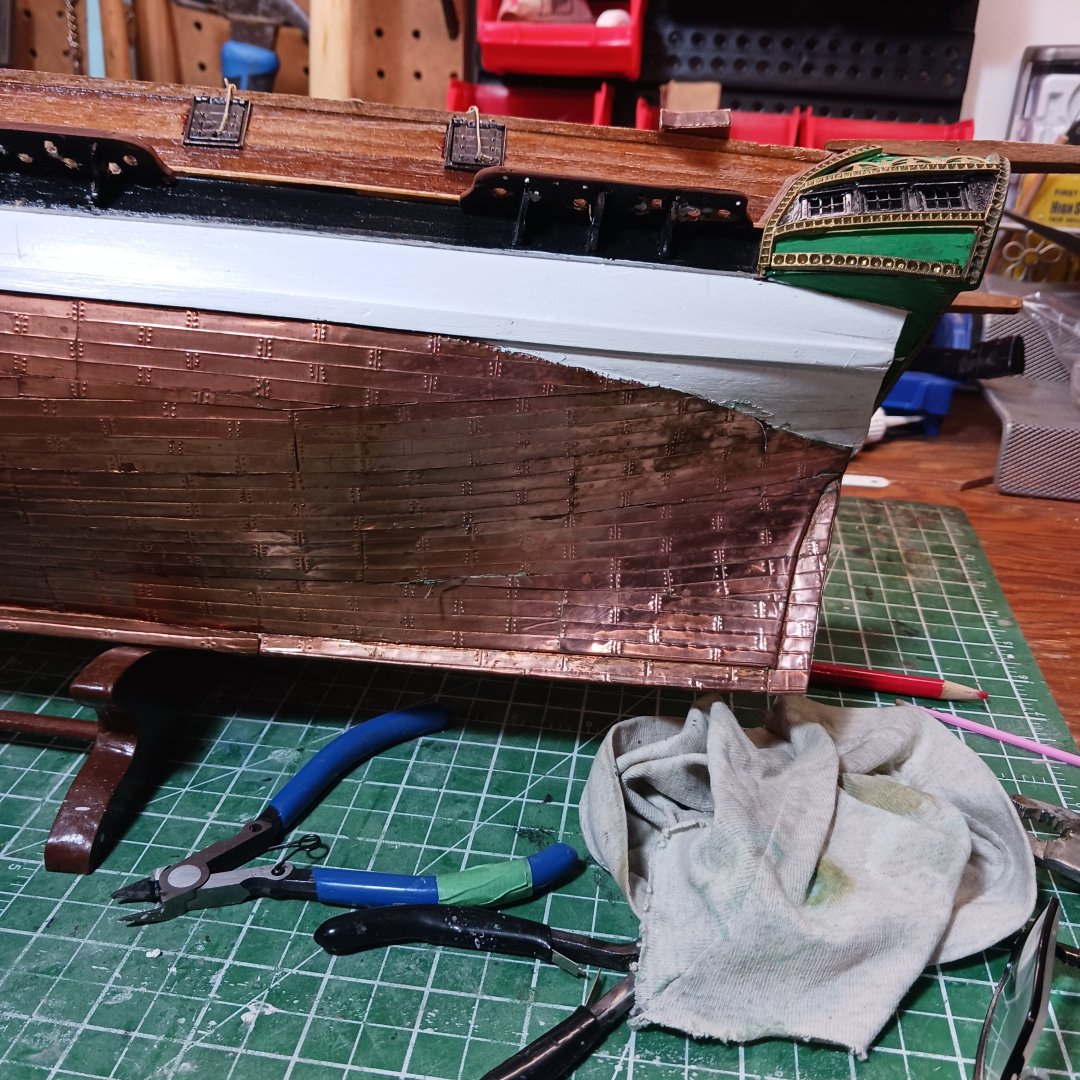
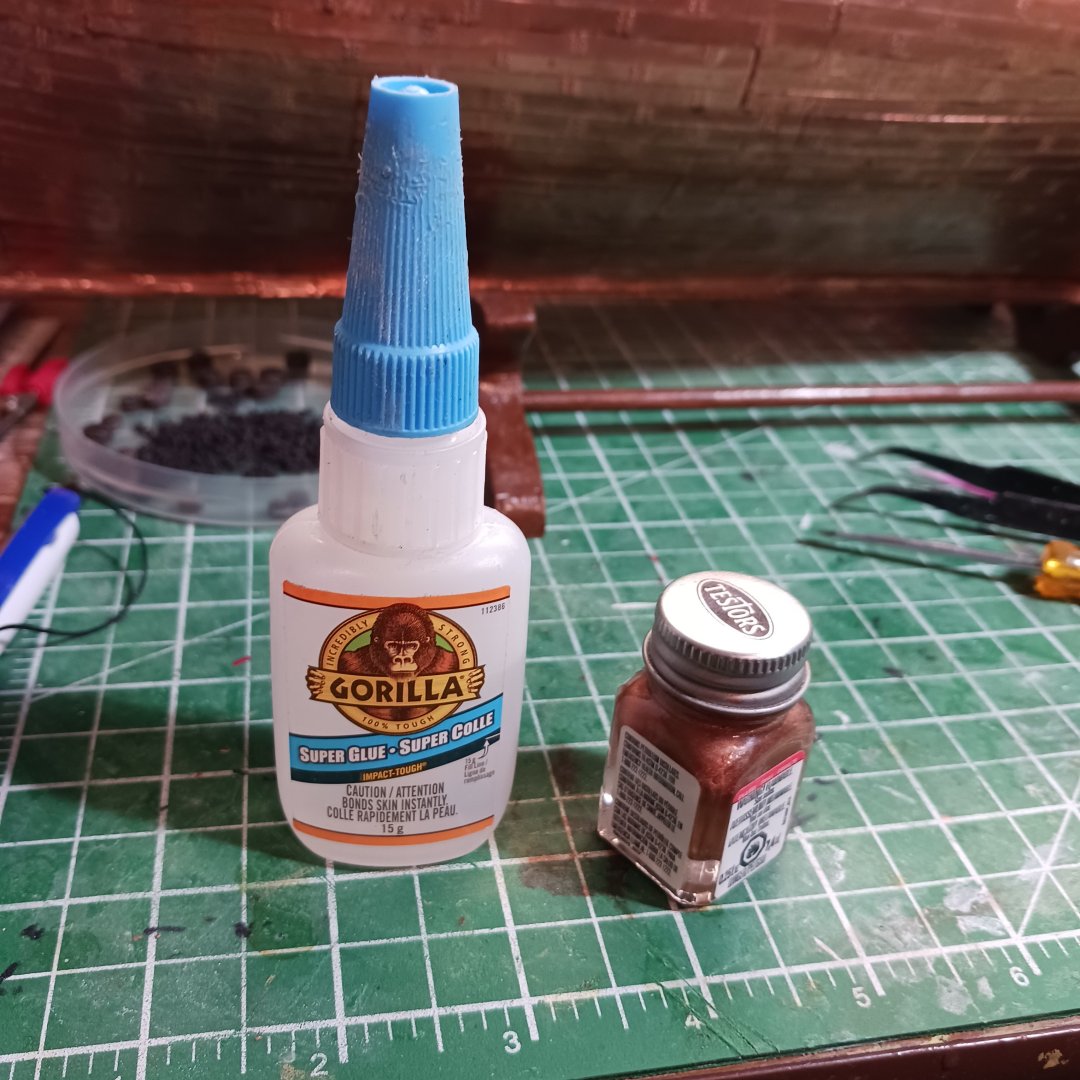
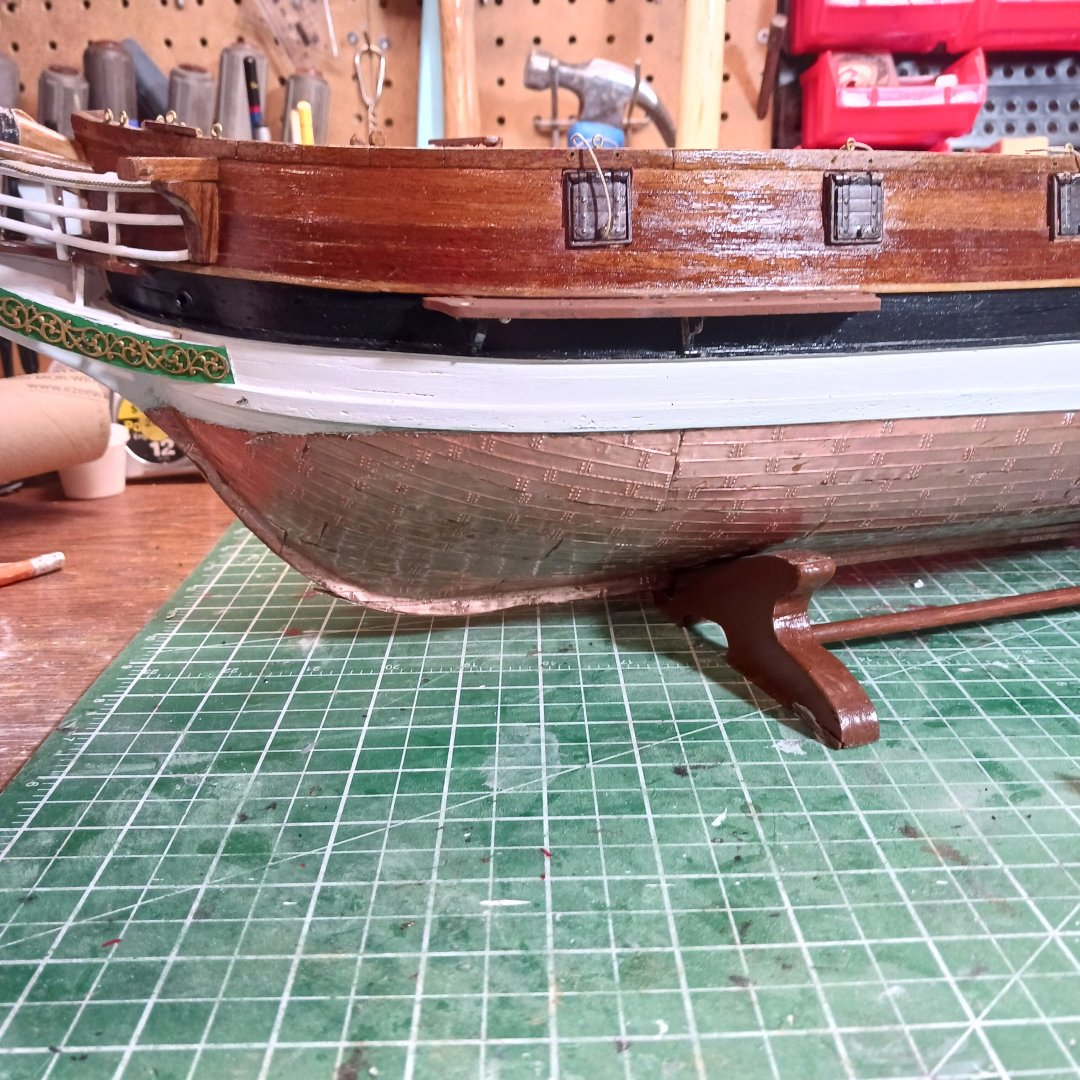
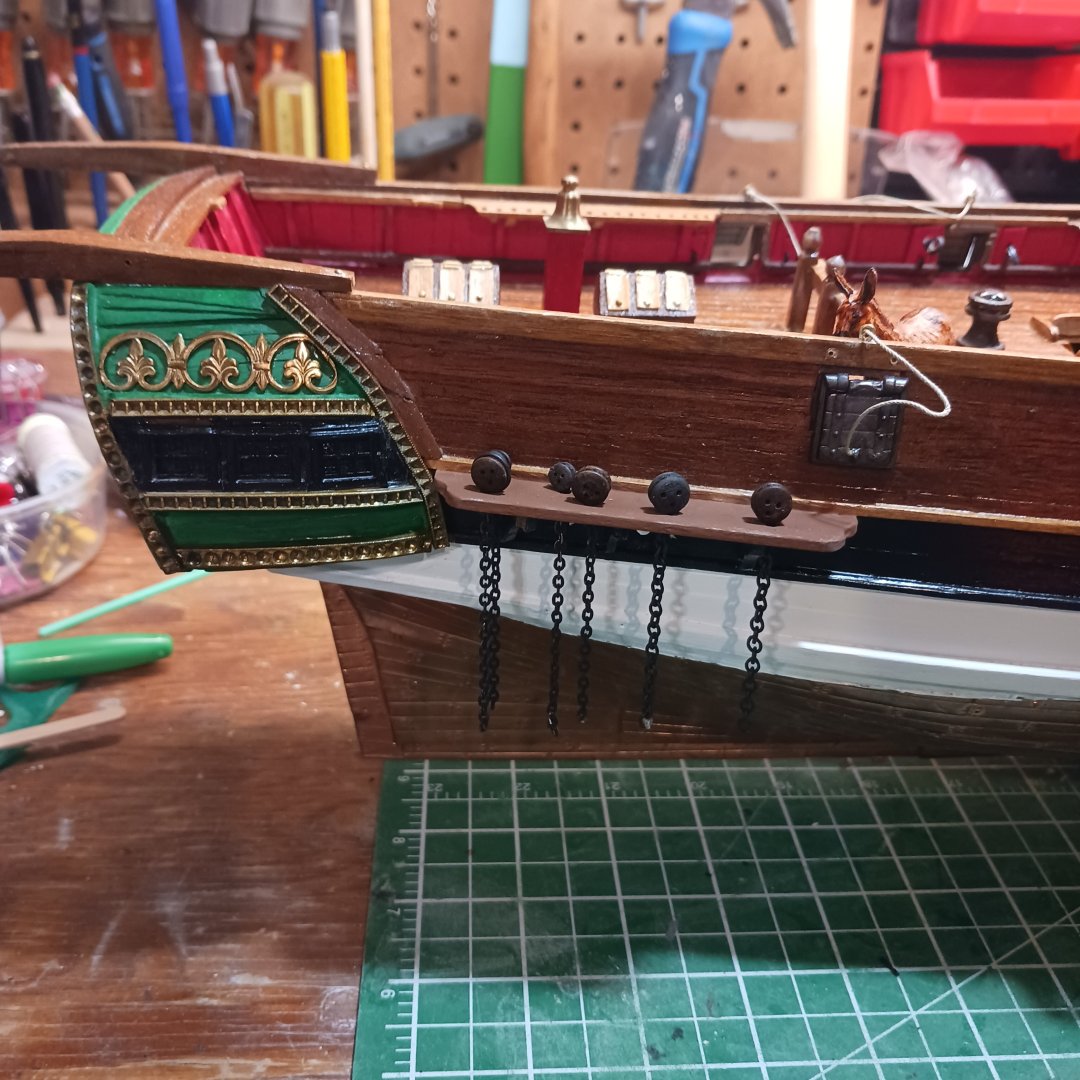
I could not look at the copper any more the way it looked. They put something on to cover it up. I used Brasso to clean it off. Once that was done the hull was spotted, lots of open seems that were green , Dang I am going to have to paint it. So I ca all the lose plates then brushed on a coat of Testor copper paint. Well I have to touch up the white latter but over all I like it. So while the paint drys over night it's back on the chain gang. lol. 😆. Thanks for the likes , and all your help. Knocklouder.


-
Good luck on your journey with this kit. It looks like it is full of blocks and deadeyes, and all the rest of the trinkets.Two ships wheels? I enjoyed your last build, pulling up a chair a will follow along. Best of luck. Knocklouder
-
Look at all those numbers wow, I could never do that. Great work it looks like it supposed to.
-
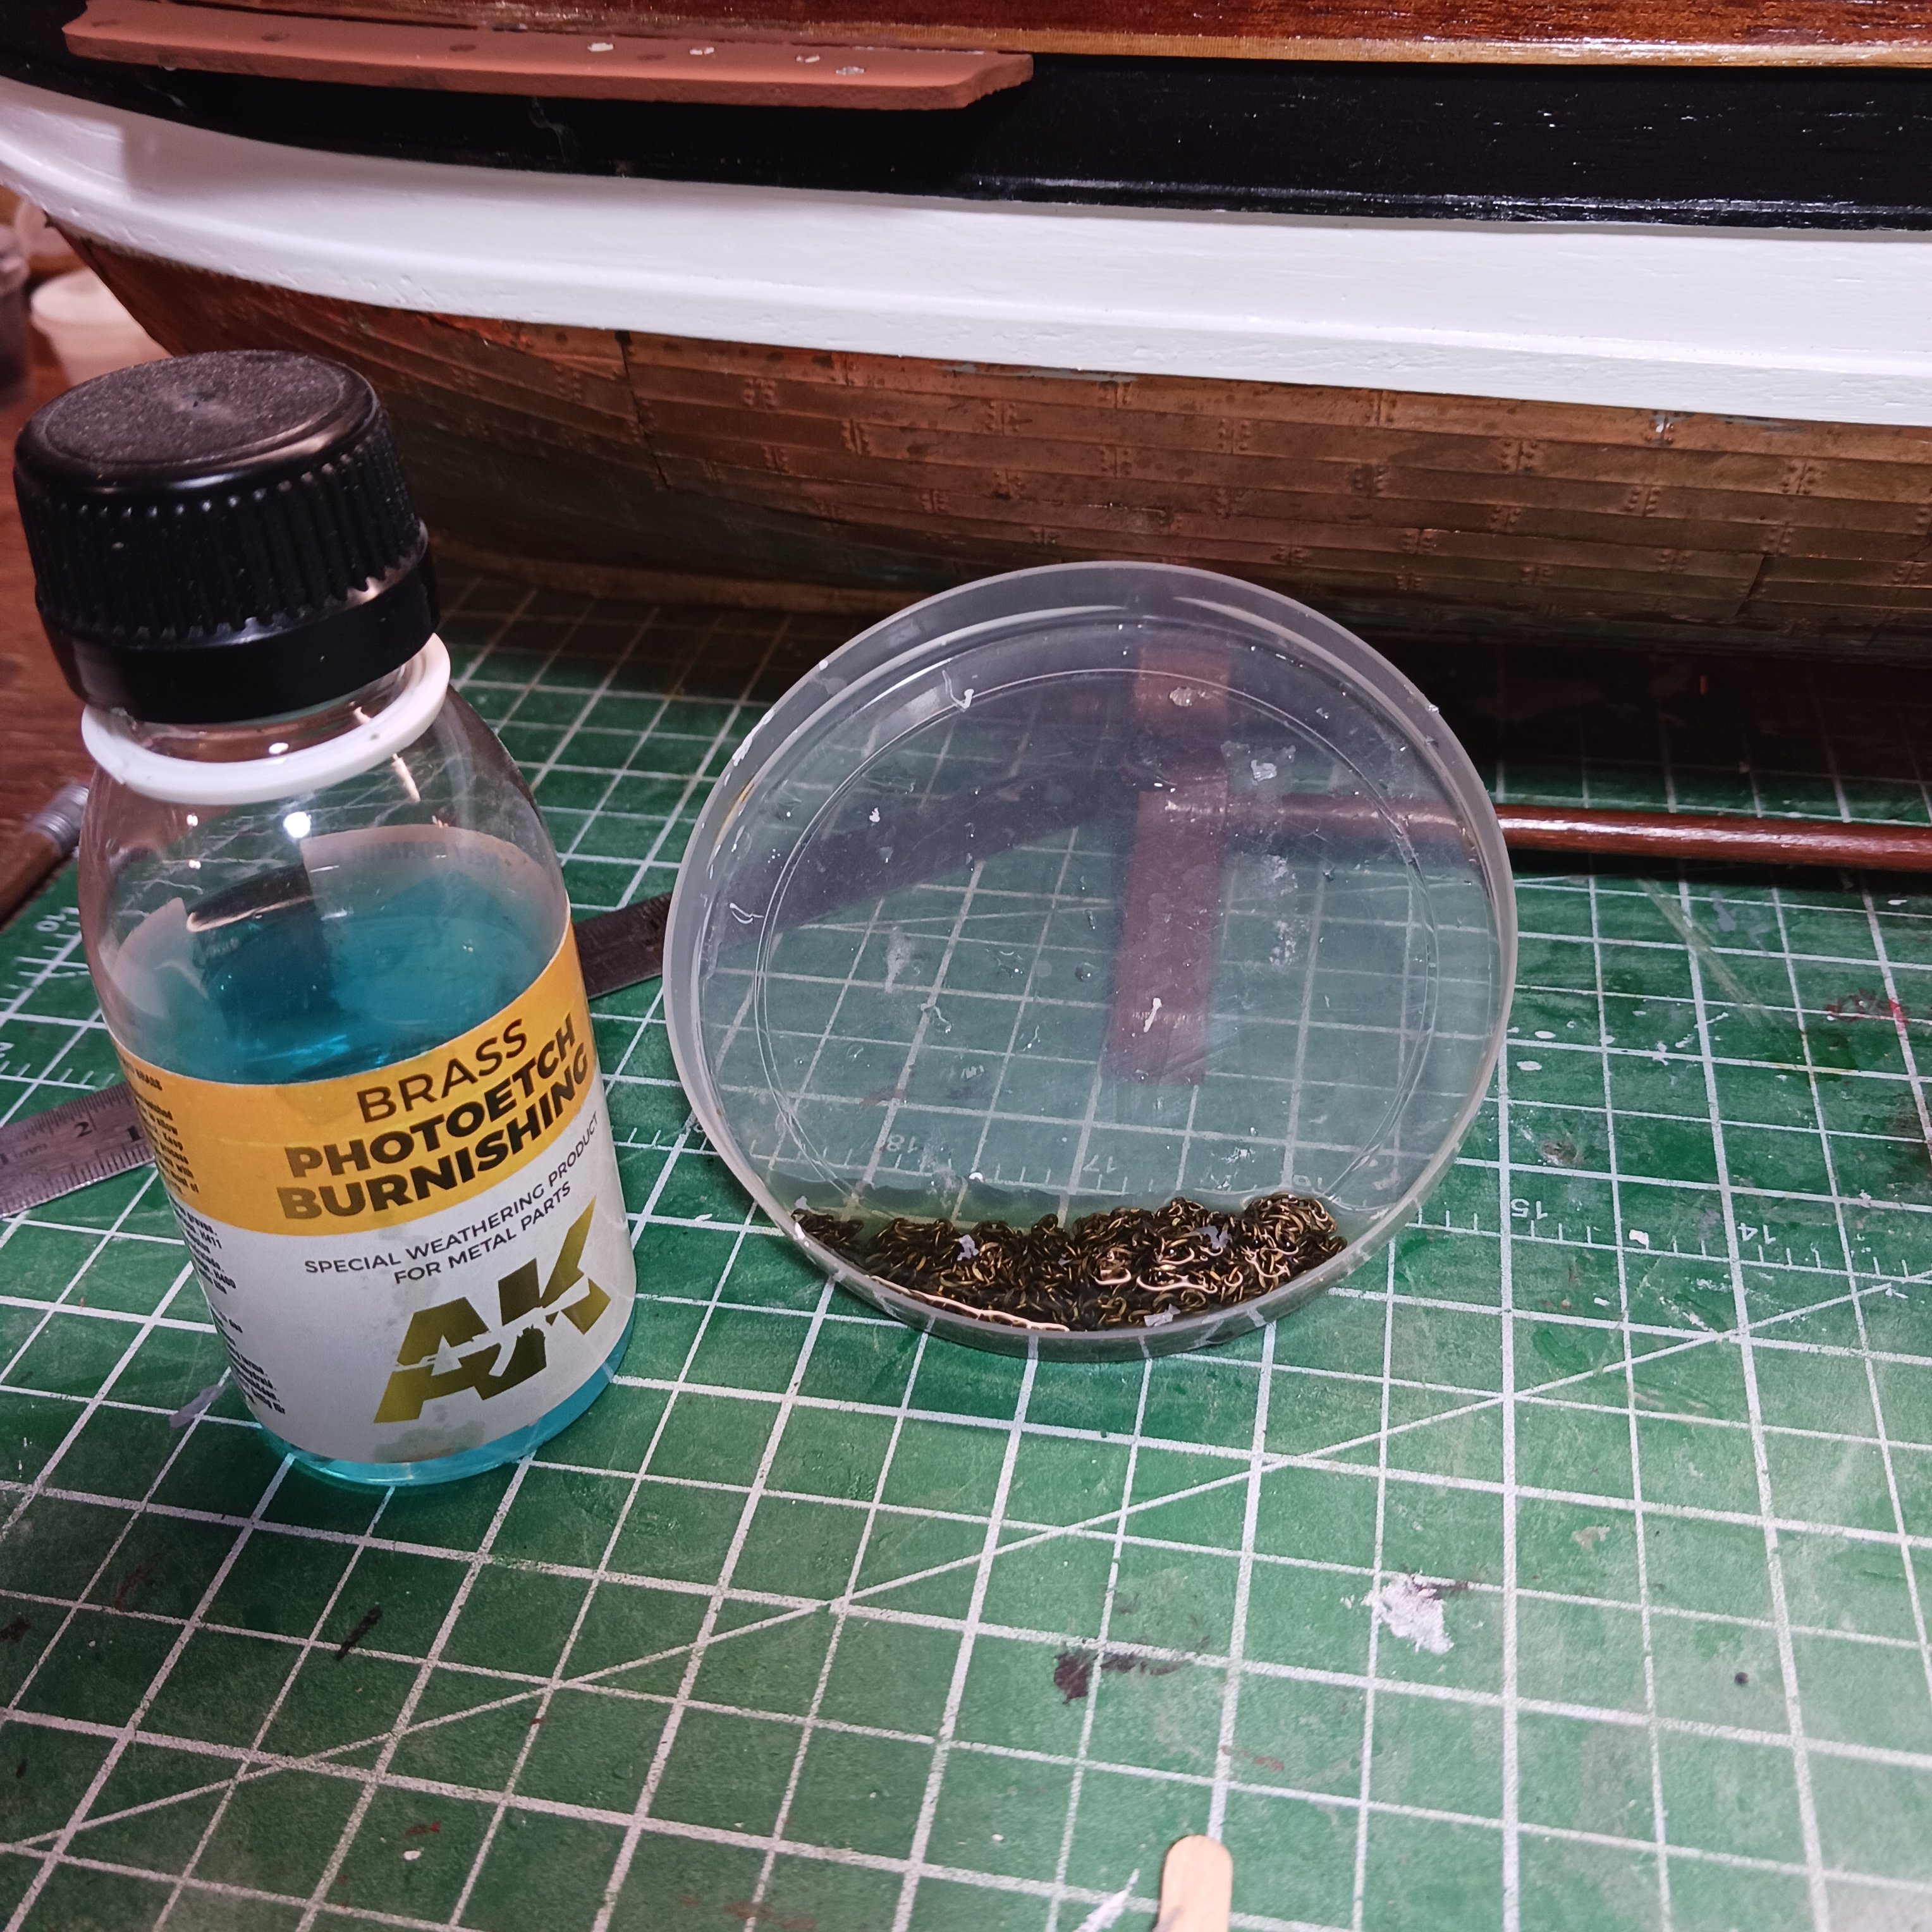
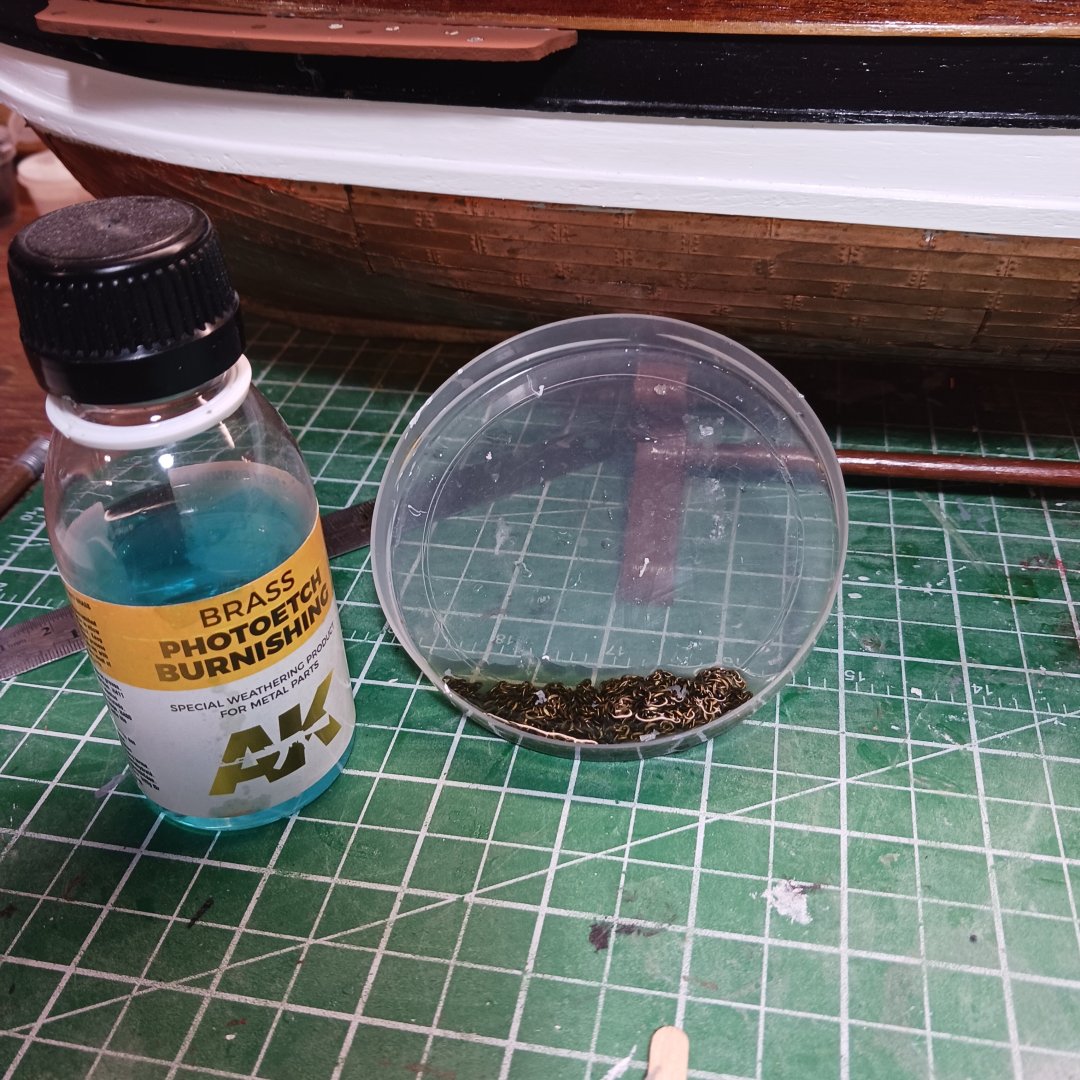
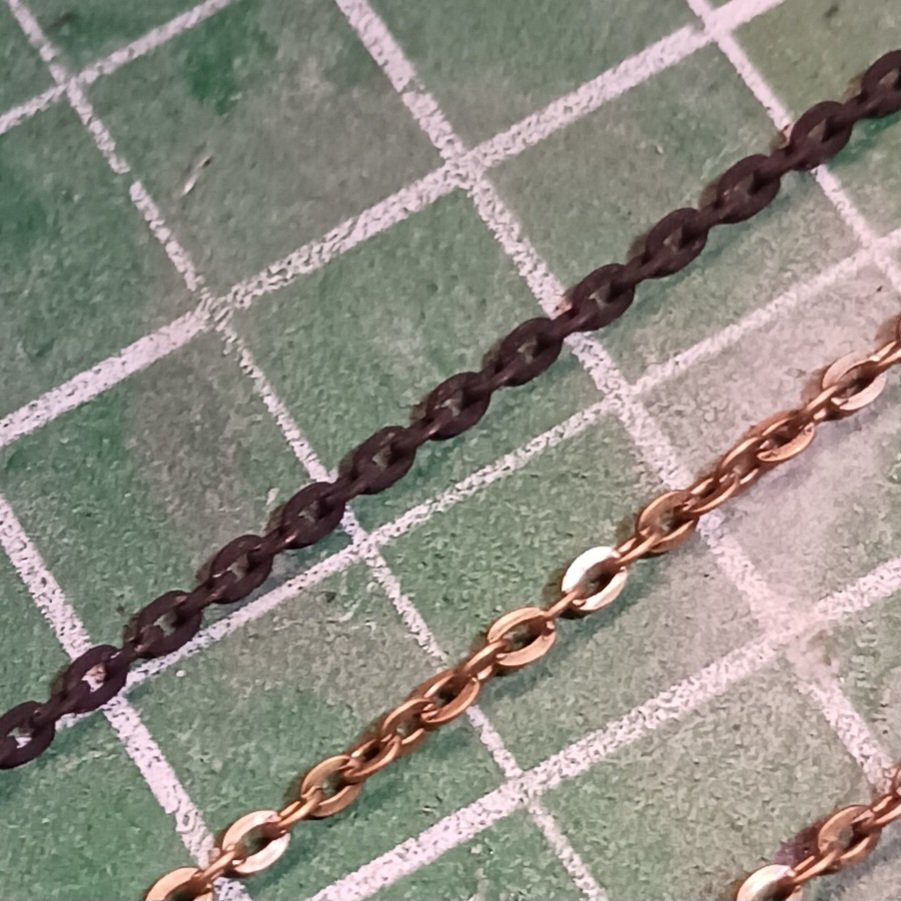
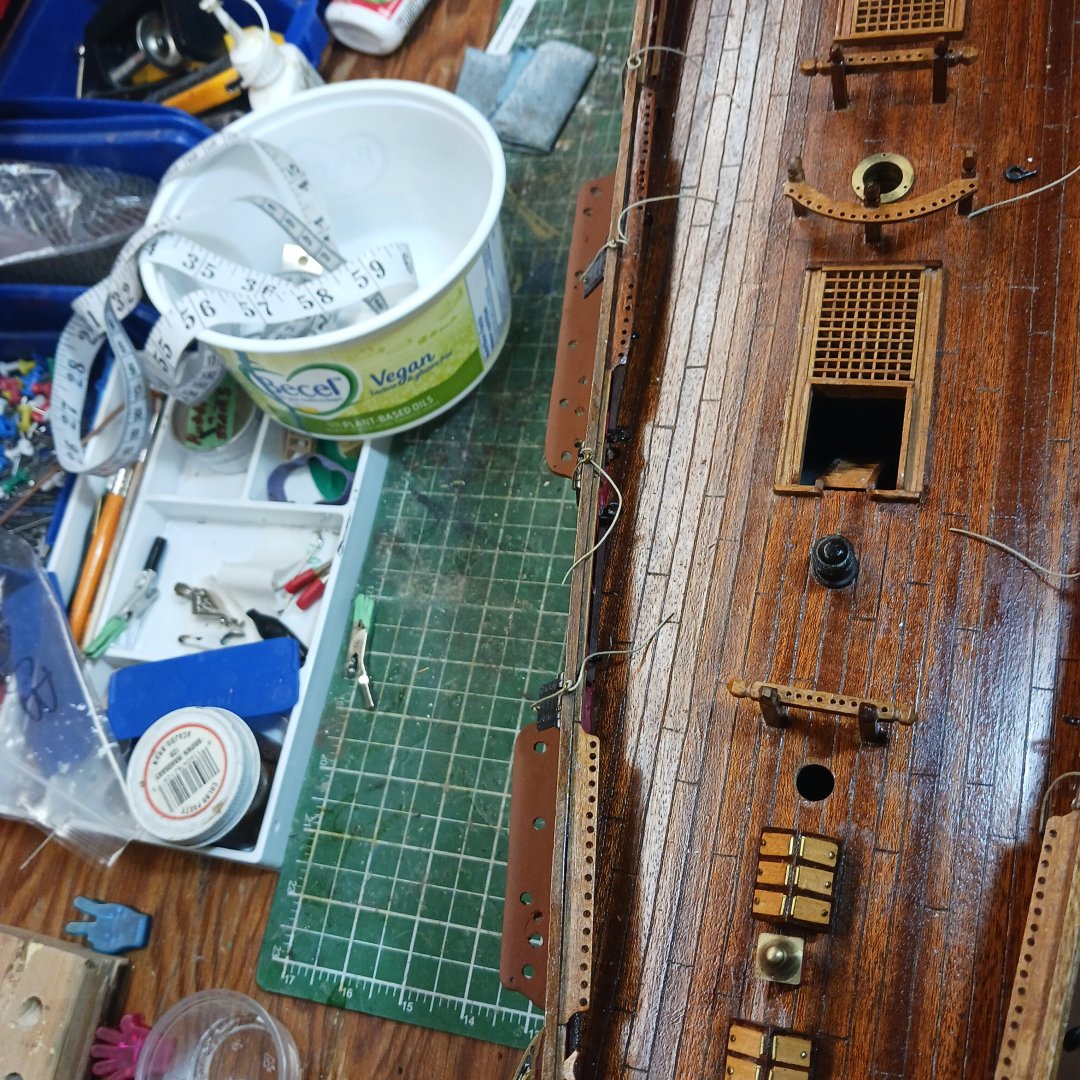
Today I have decided to clean the copper. I needed to blackin some more chain, @Gabek requmended Photo-etch AK and it works great. He is a man of many talents and Amazing with his printing figures, I am glad I have met him. Just a bit of buttering him up cause I am fixing to ask him to make and French captain figure. 😉 I cleaned them with Lacquer thinner soak them 5 minutes dryed them off waited 10 minutes then soaked them again for 5 minutes. Looks pretty good but I will spray high heat barbaq flat black , that makes them nice to my eye. I am awaiting plans for the LA Astrolabe aka LA Coquille Corvette , that a freind of mine said were better. He used it for his and its looking good. The best part is it has what blocks and what lines info that will be of great value. Boy look at me doing research lol . MSW/NRG has trained me well, let's see what I can do on this Astrolabe 1822. Thanks so much for take the time for me, and for forgiving me for all my typos and mistakes along the way. I look forward to making more mistakes and learning more. Thanks Knocklouder. Back to , The chain gang I go , lol 😆 🤣 Good bye 'Y"ll'

-
Hi, when I am making a post and leave than come back the text is still there but any pictures are not. Please don't ask what settings I use lol. Bob M.
-
Awesome work, it looks fantastic and that's all I have to stay about that. Lol Knocklouder.
- 301 replies
-
- 5
-

-
-
-
- Constitution
- Bluejacket Shipcrafters
- (and 1 more)
-
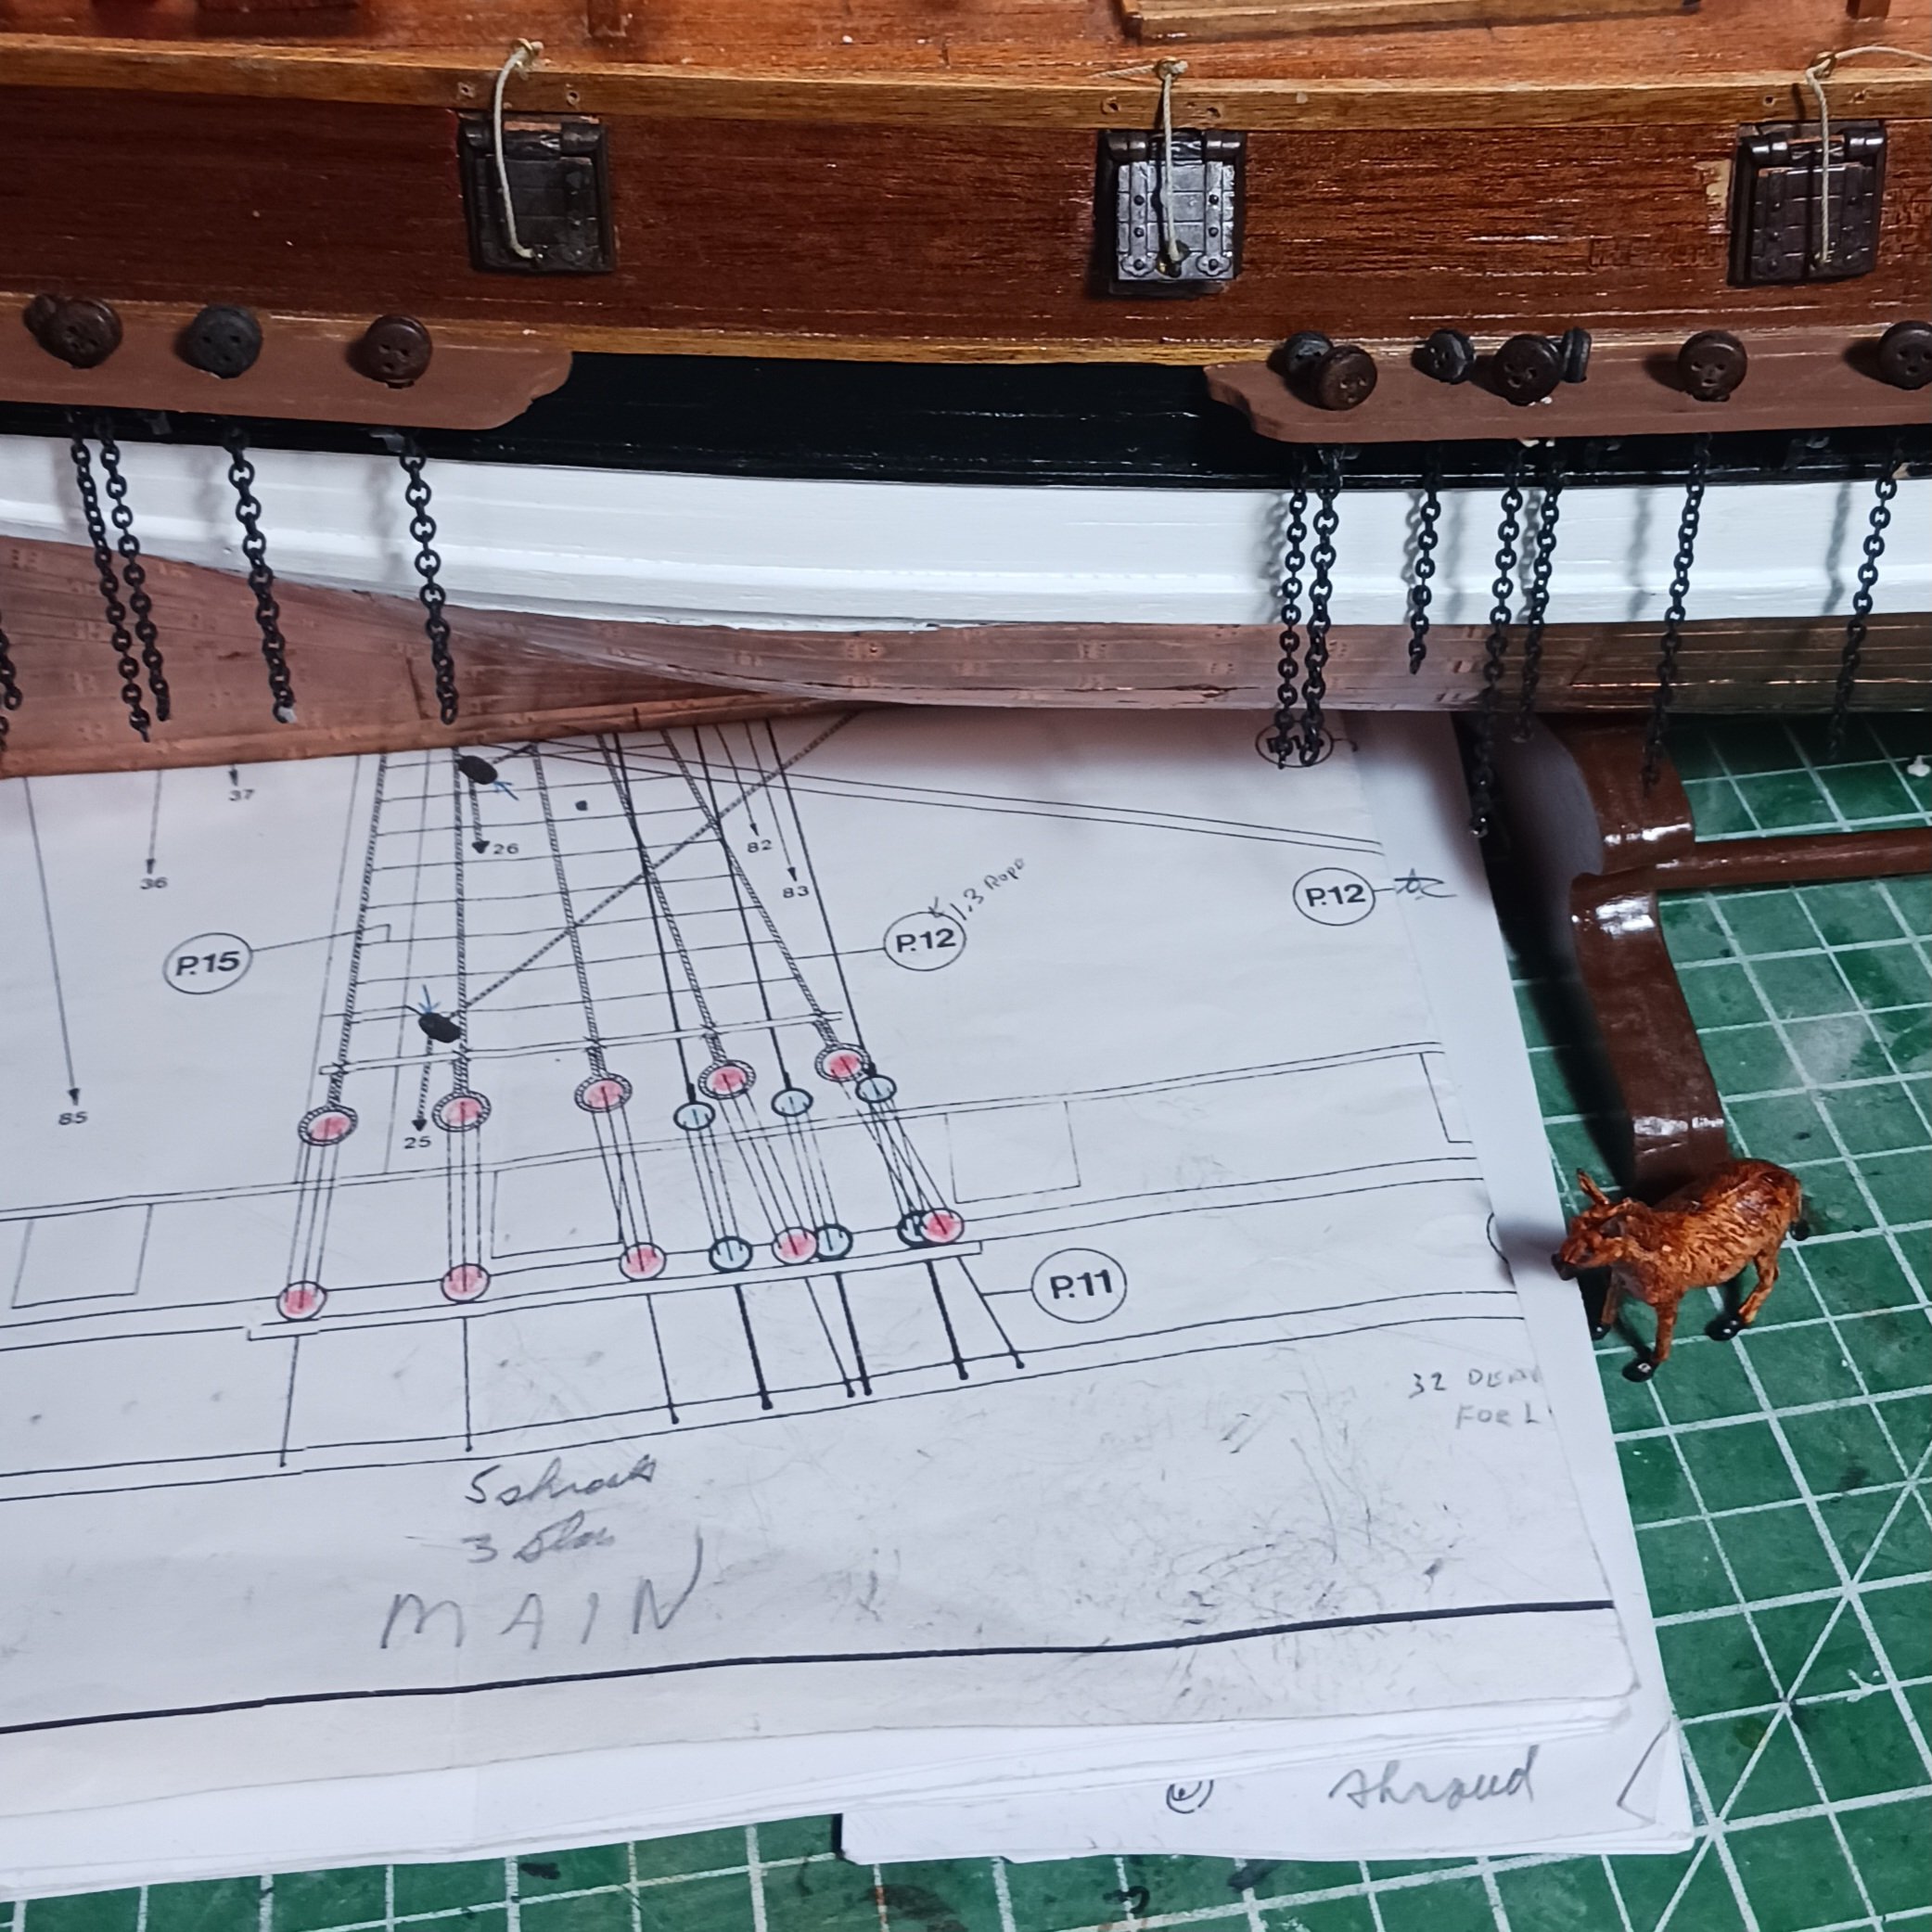
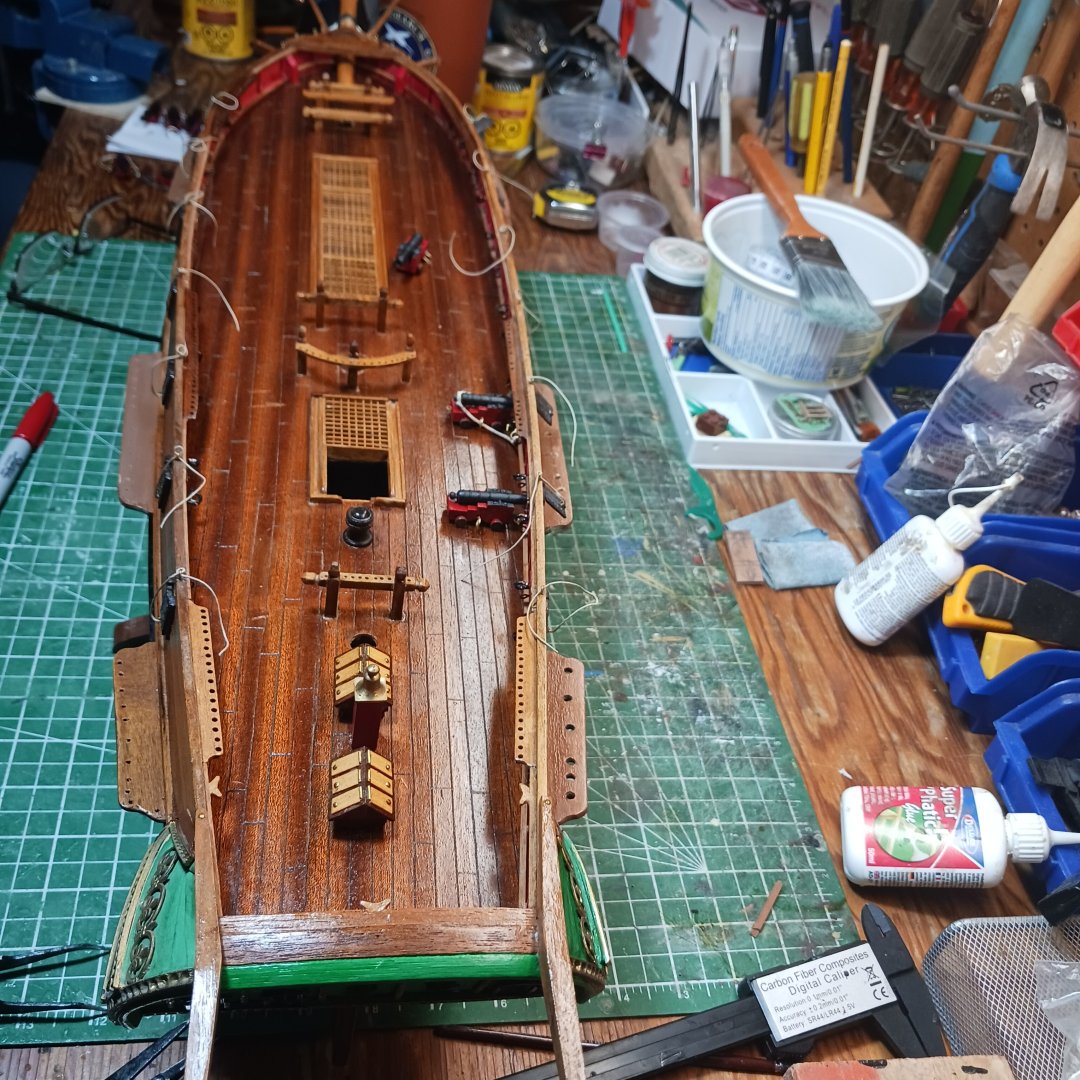
Well now that I have calmed down and did some research on this ship, I believe I am in for the time of my life once again. When I started this it was incredibly difficult to understand. I really almost gave up and started my Pegasus, looking at @Moonbug 's log didn't help matters , that is some ship he's got going , fantastic stuff to watch. Thanks for posting that valuable information, and pictures lol. Donkey said we better wait till PFCGP to get back , He can't understand the plans either. We really had to work to get it into shape , but I think we have it. It looks like the shrouds might still be a problem, but I think it should be OK. I install all the chains on the starboard side and will make up the chains for the side as well. But we won't nail them on until Pile gets back. We need confirmation from the inspector. A different set of plans for the Astrolabe are on the way, they are from a French museum when I get them I will tell you about them .ok keep modeling till you drop lol 😆 Knocklouder. PS Thinking of cleaning the copper or should I leave it.????


-
You diffinly have that party curise atmosphere looking good.. Bob M.
-
Looking very good, the paint job is fantastic, very nicely done.. I have glued pieces of planking to the jaws of the alligator clips, works good, I have to replace one every once in awhile , but I got lots of broken planks lol.. I even filed the jaws on one four hemostats that I have. Your boat is looking fantastic my friend. Very nice. Bob M.
- 55 replies
-
- 2
-
-
-
- Le Martegaou
- billing boats
- (and 1 more)
-
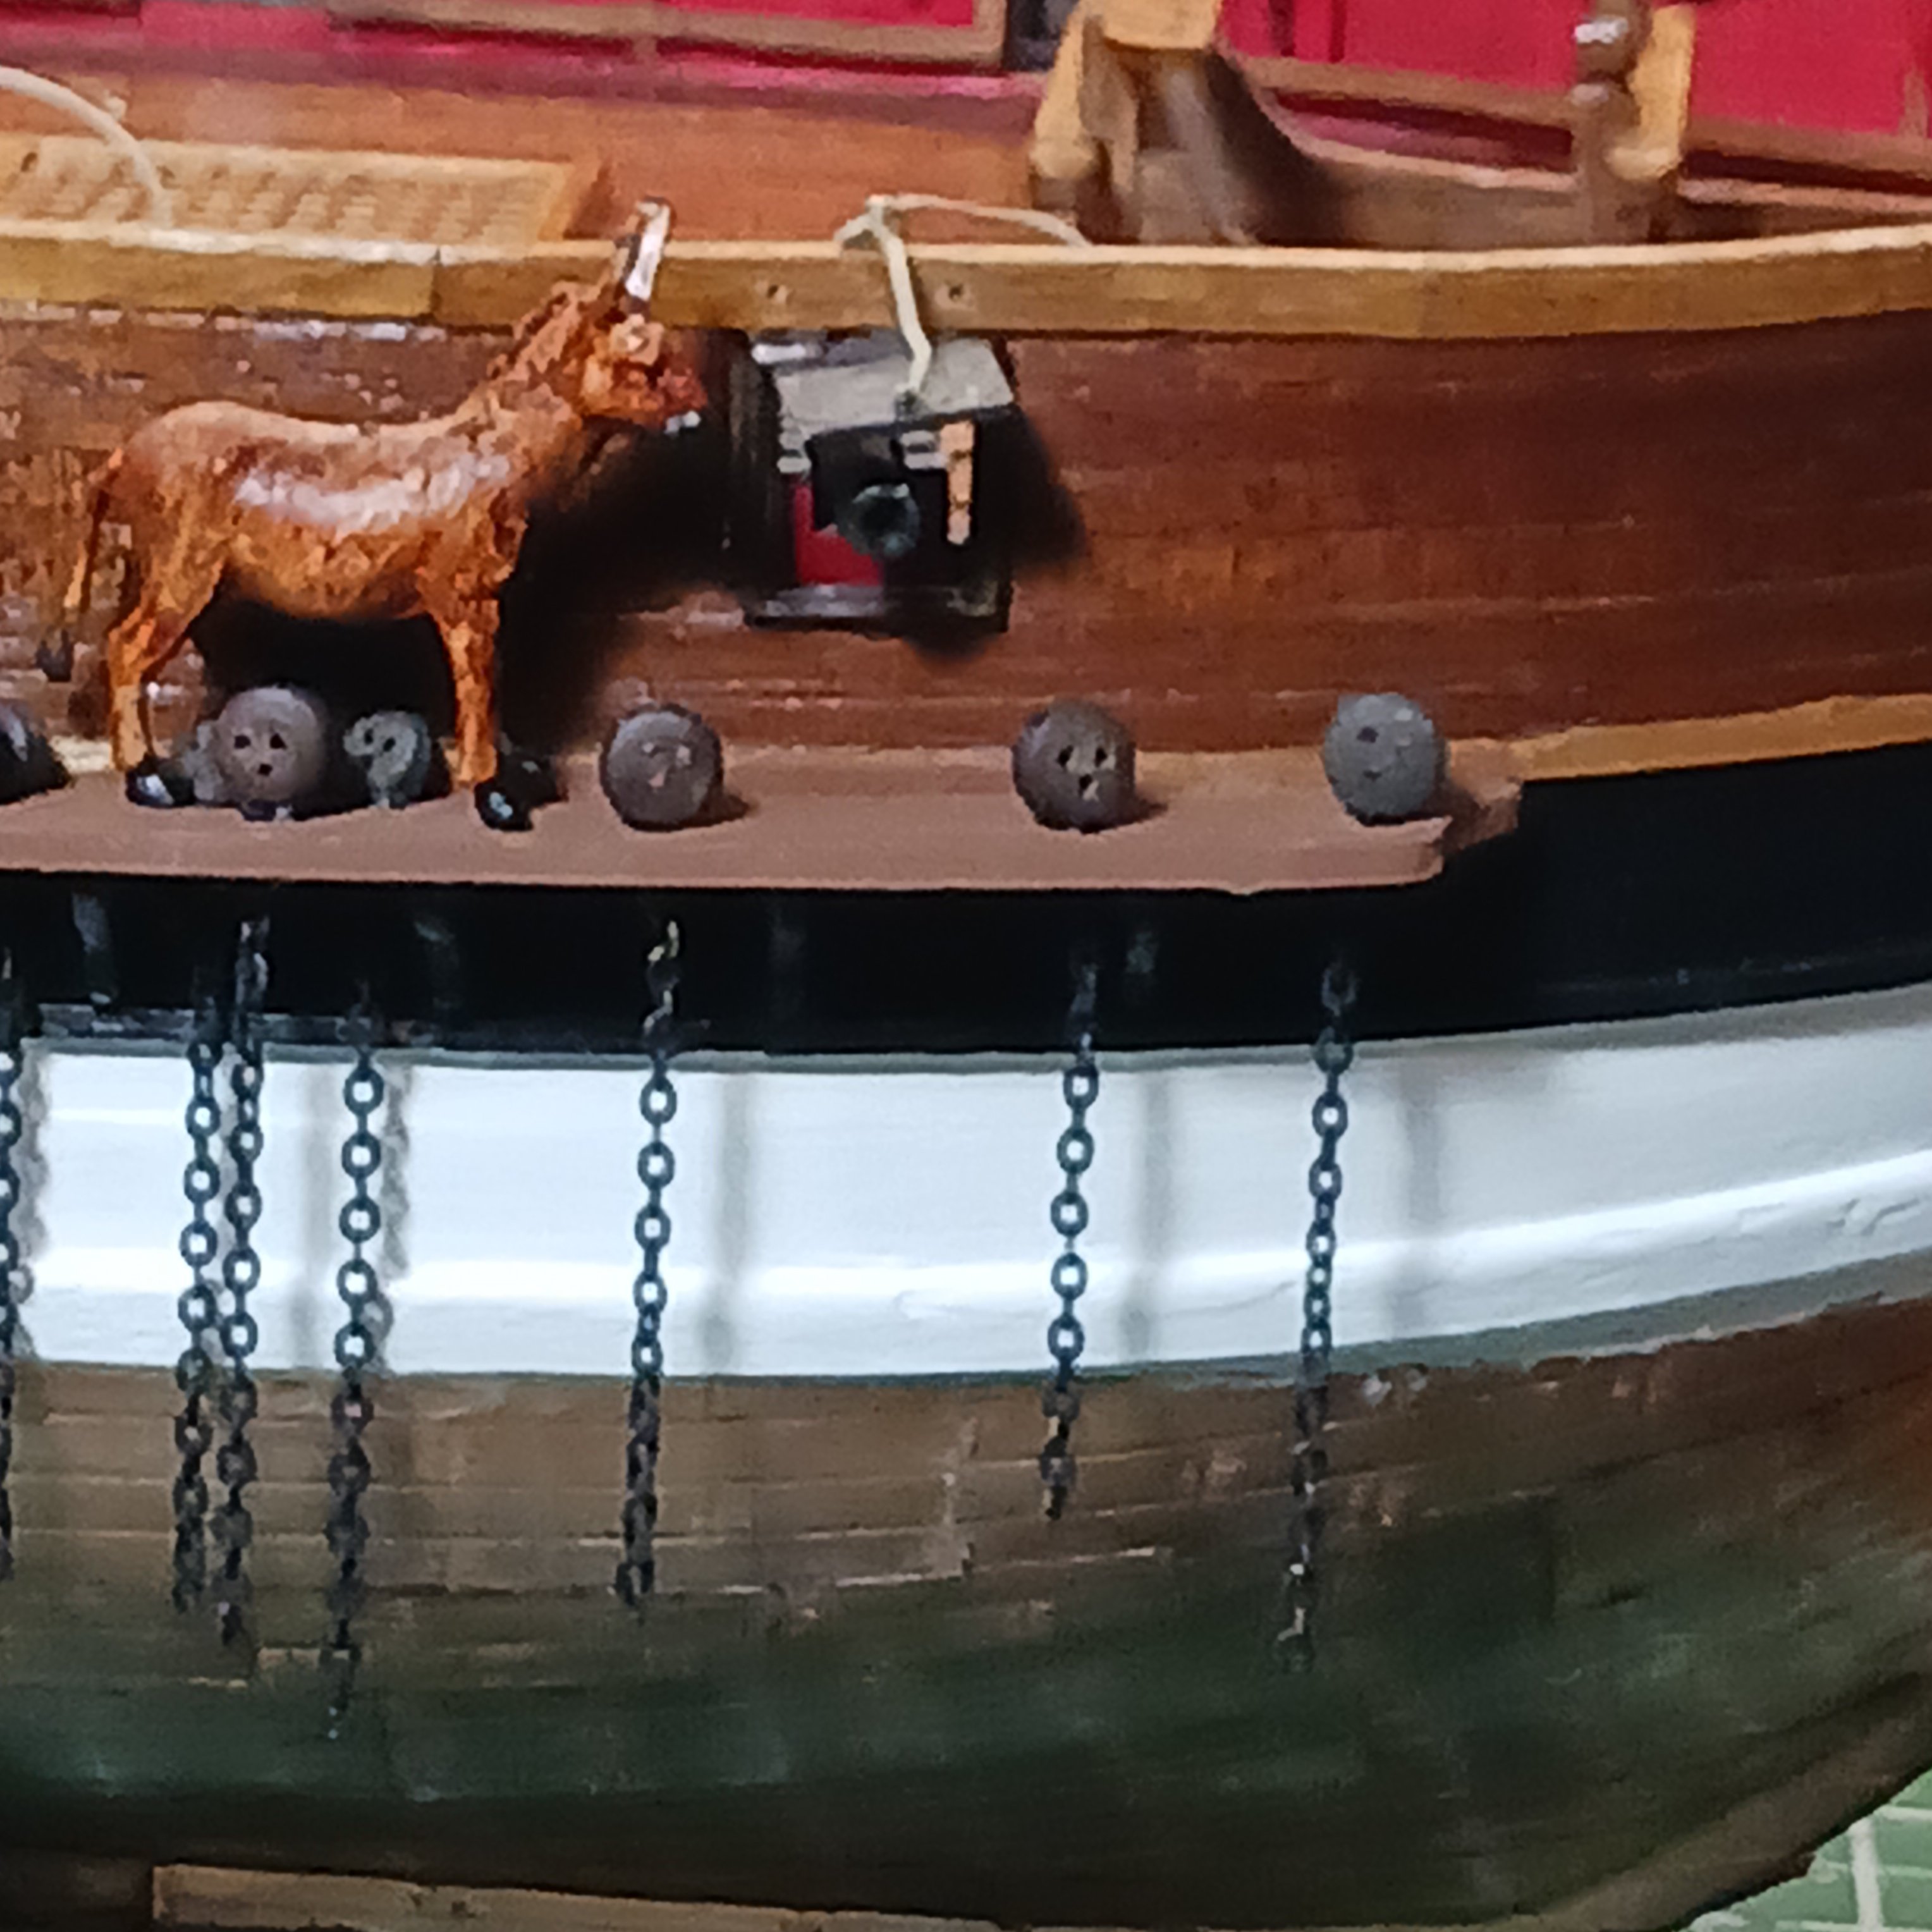
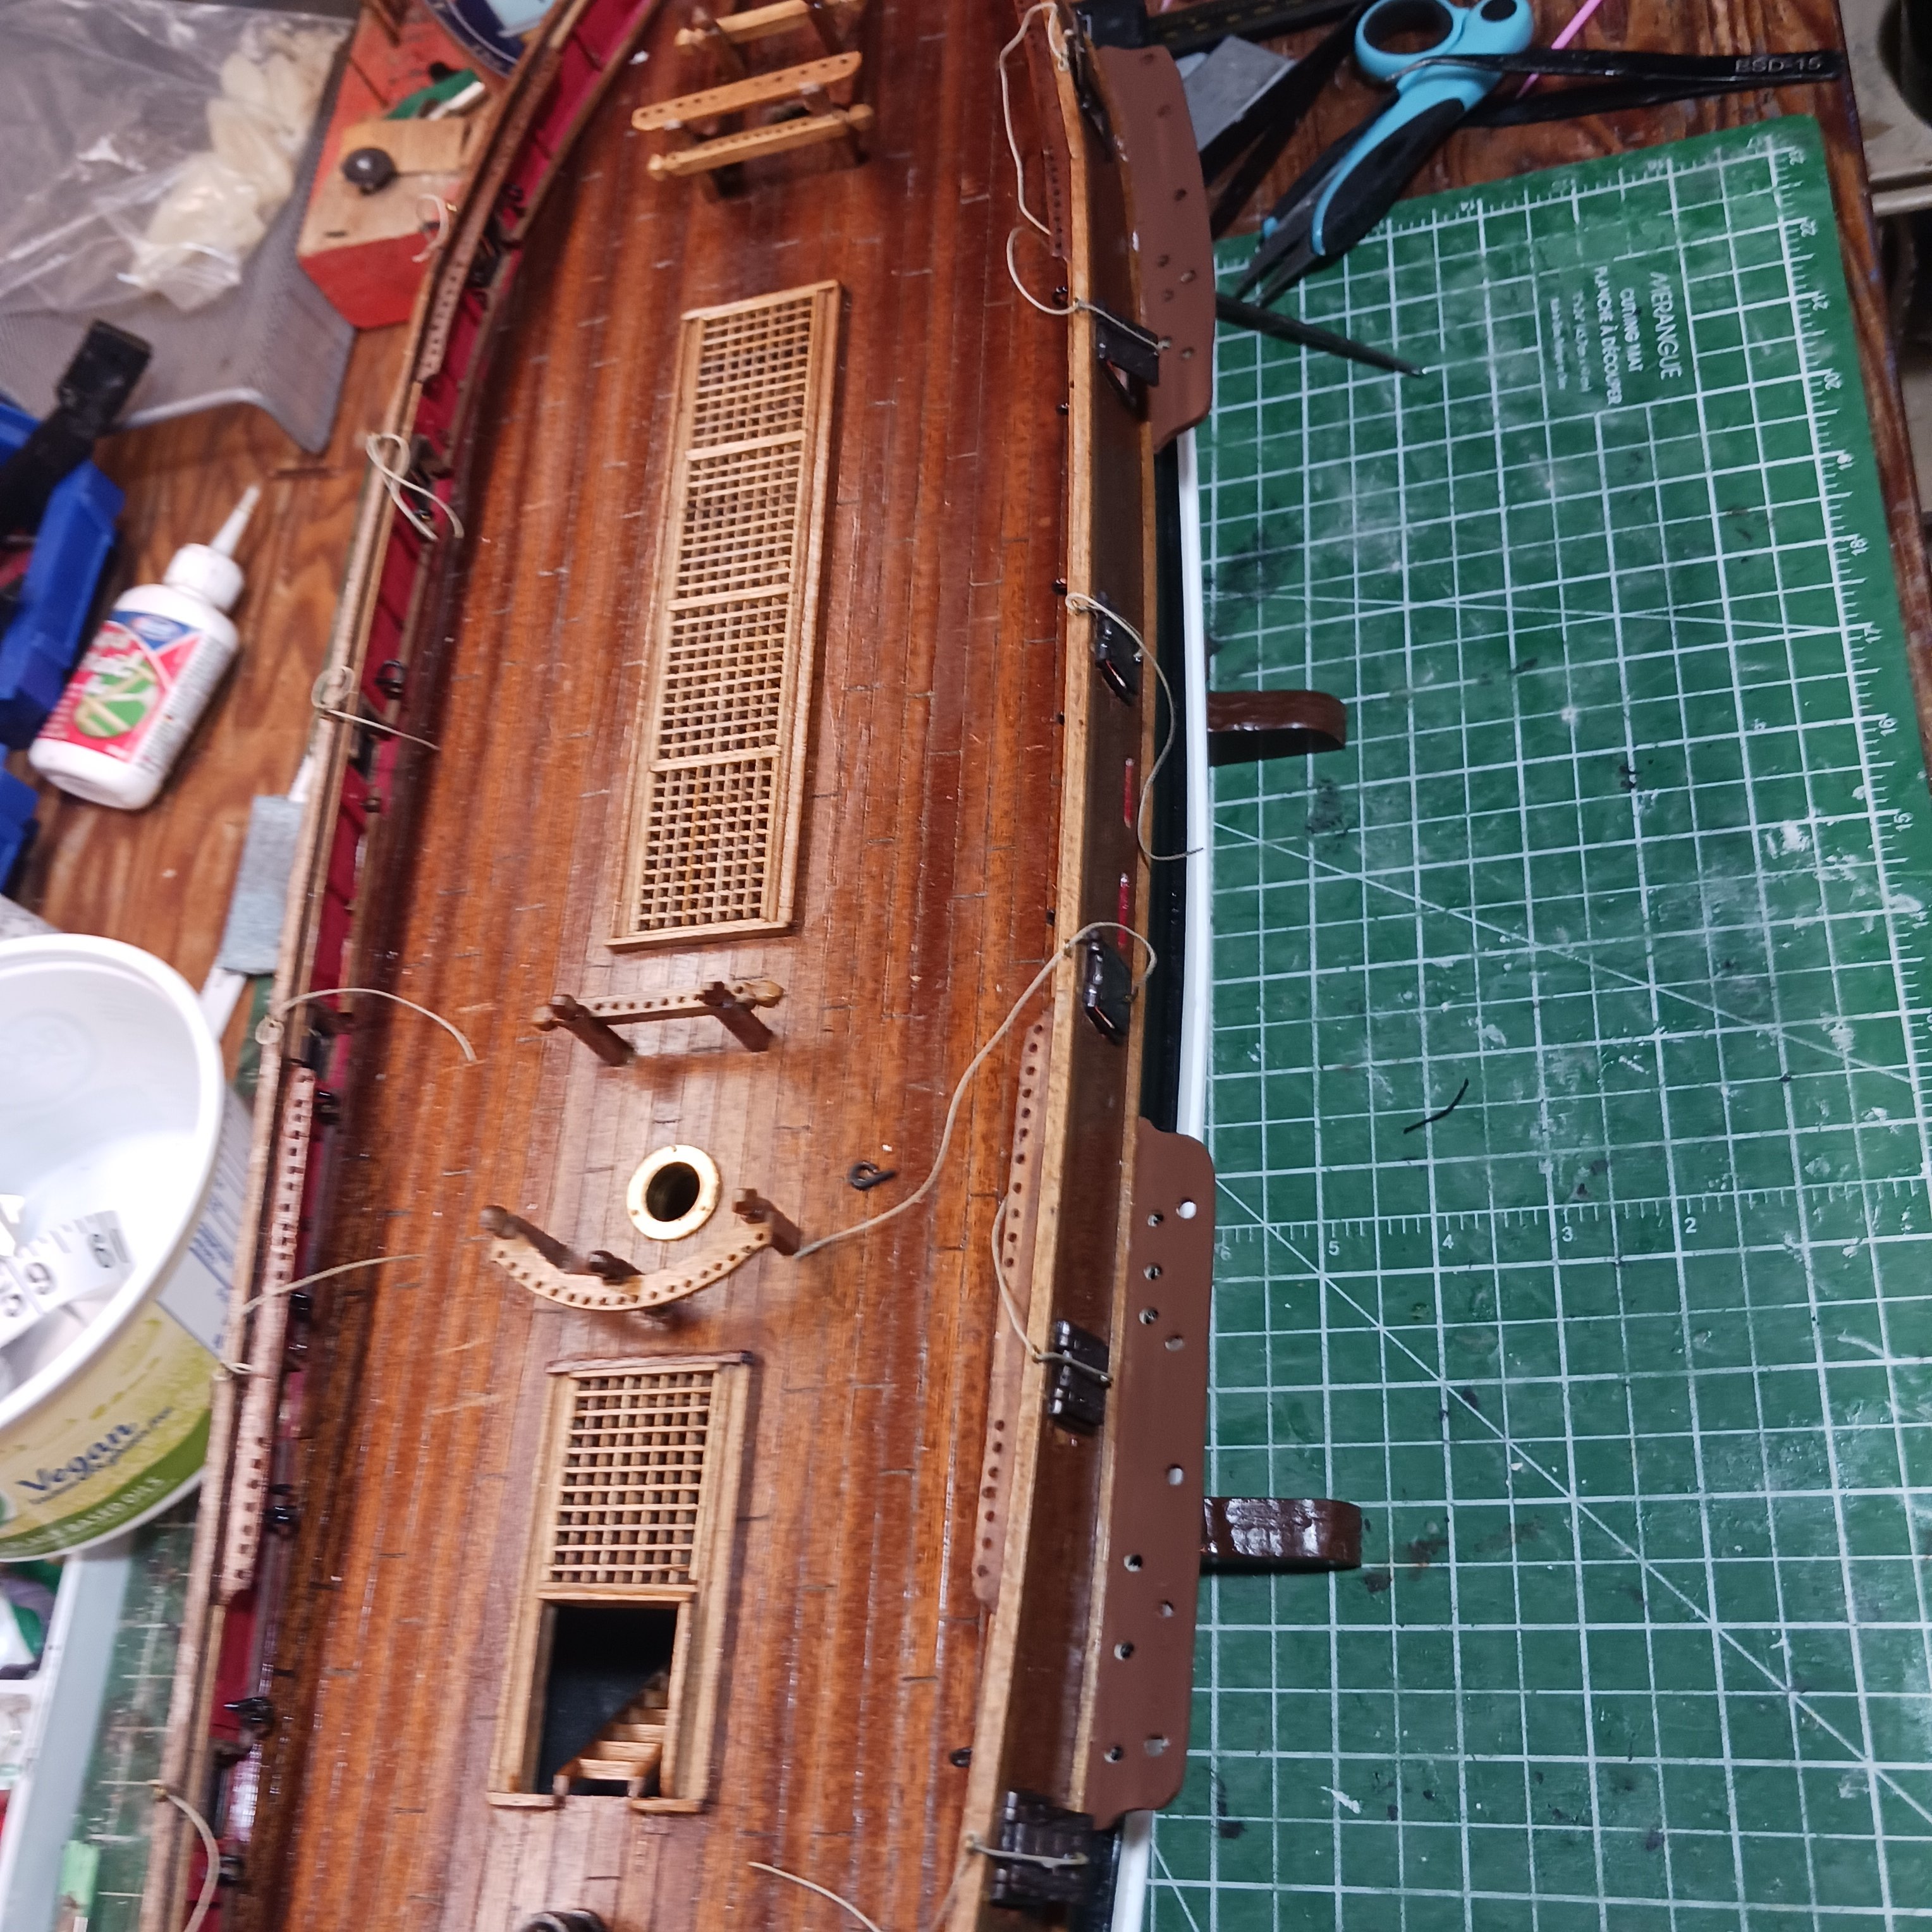
I am back in the saddle again. Great tune. I had to fix the channels and repaint them. There was way to many holes in some and not enough on others. The plans are of no help. I have got a couple of pictures of some idea for the chains. This is what I will do. Now that I got that all straight out we can continue. I will make up the chain nail them to the bottom whaler, done deal. Then on to the platforms, more questions there about the number of holes for the crowsfeet lines. We diffinly got the wind on our backs now full steam ahead. Thank you all. Knocklouder.


-
Those are fantastic, realistic right down to the eyeball. Wow. What paint did you use if you don't mind me asking? Bob M.
-
Great work my friend, did you find were to tie your lose end, I look at some of mine. They are tied to a eyehook on the channel , another to the hand rail, also one to a cleat on inside side rail . Not much help I am afraid 😕. Bob M.
- 301 replies
-
- 3
-
-
- Constitution
- Bluejacket Shipcrafters
- (and 1 more)
-
They say when you get bucked off a horse best to get back on and hold on lol. Well, I am back to this stage, eventually I will get this right. Remember I have a hard time with words& numbers. What I thought would work won't, I would not like the way the shrouds were looking. I have to fix the channels to many holes I am just going to replace it.and wait for it....start over lol. I have found 9 different pictures of this ship so far, on the computer. I find myself dreaming about how I would like it to look like, and in the back off my head what would the Captain want. I am trying to read his logs but can you belive it his grammar is worse than mine. Lol 😆 This journey that I started over 3 and half years ago is incredible. I am hooked lol. Rodney's work is amazing so far just little things, but between the two of us we are going to make a beautiful ship. Lol the First Mate was not impressed about the idea of me wanting to change the build in book case into a display case. I said why do we have all these books , instead of boxing my models why not box the books. Lol 😆 I have sent word out to PFCGP that I could use his help. No reply yet lol. This is going to be fun the rigging is intense. But at least it doesn't have parallels, the French tried them on , I write the name of in latter. Thanks so much for following along I couldn't have gotten this far with out you all . Thanks. Knocklouder.
-
Very nice paint work. Awesome. And your copper is amazing as well. Bob M.
- 73 replies
-
- 2
-
-
- Harpy
- Vanguard Models
- (and 1 more)
-
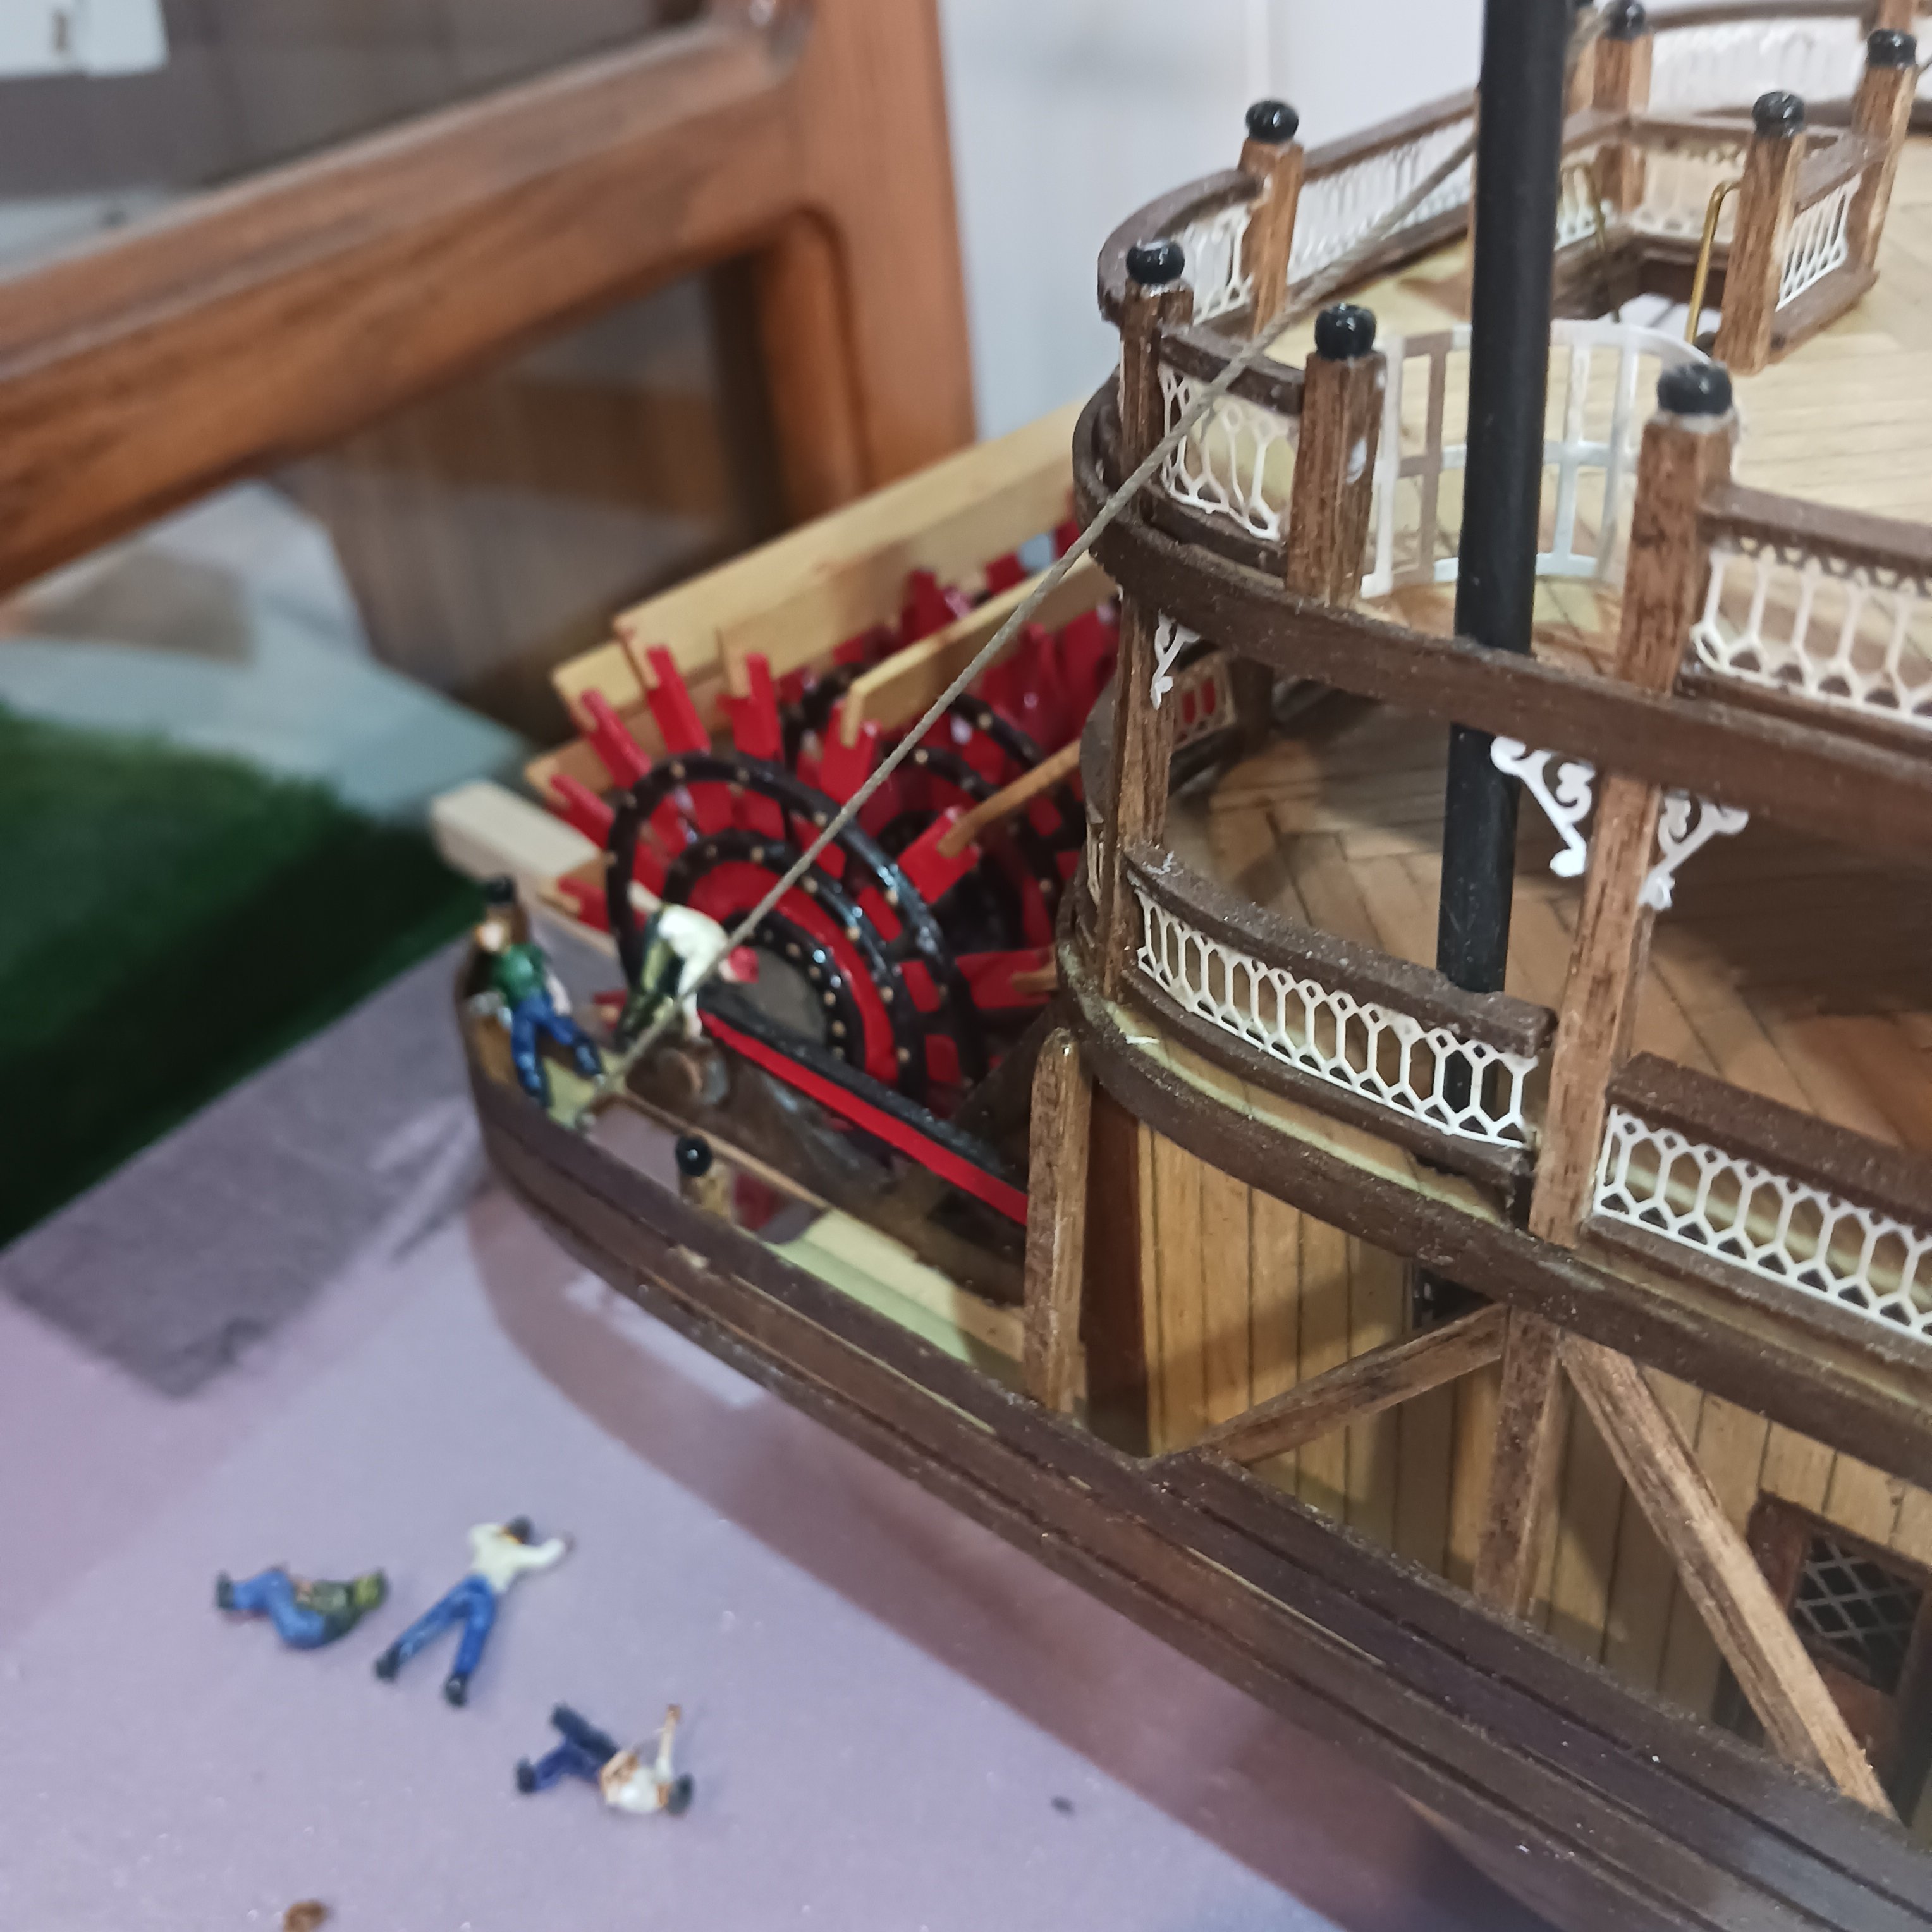
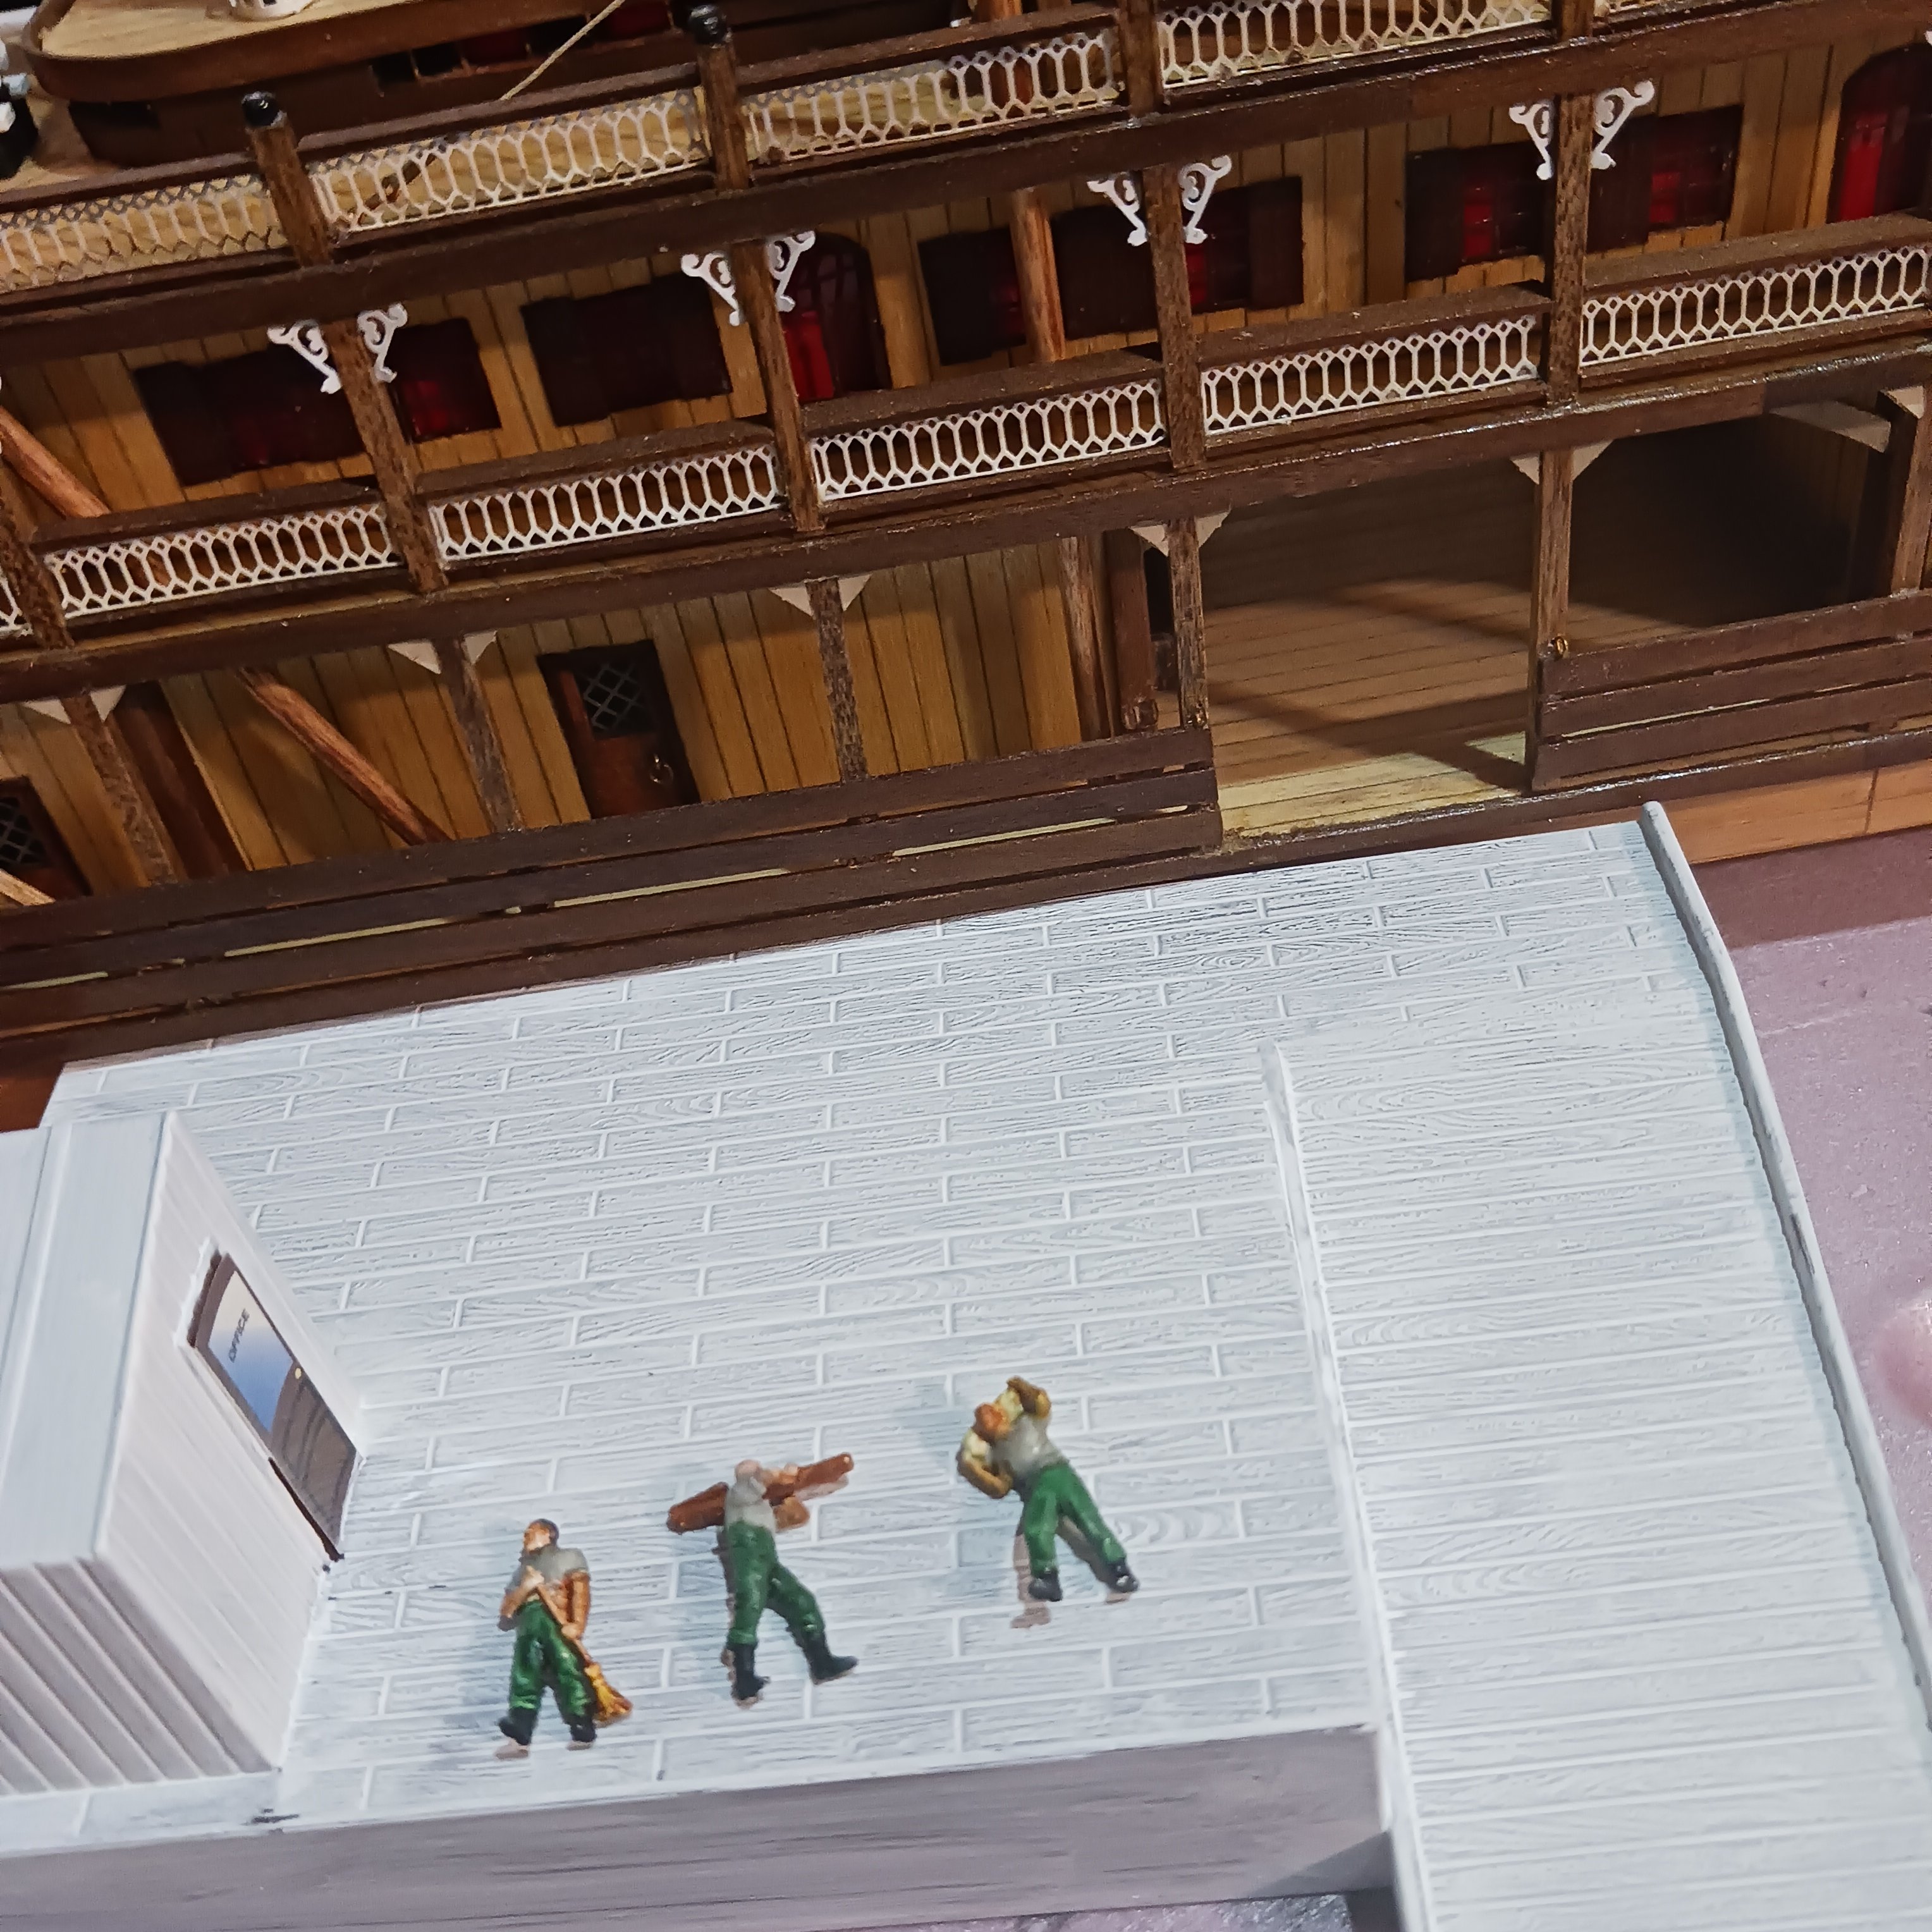
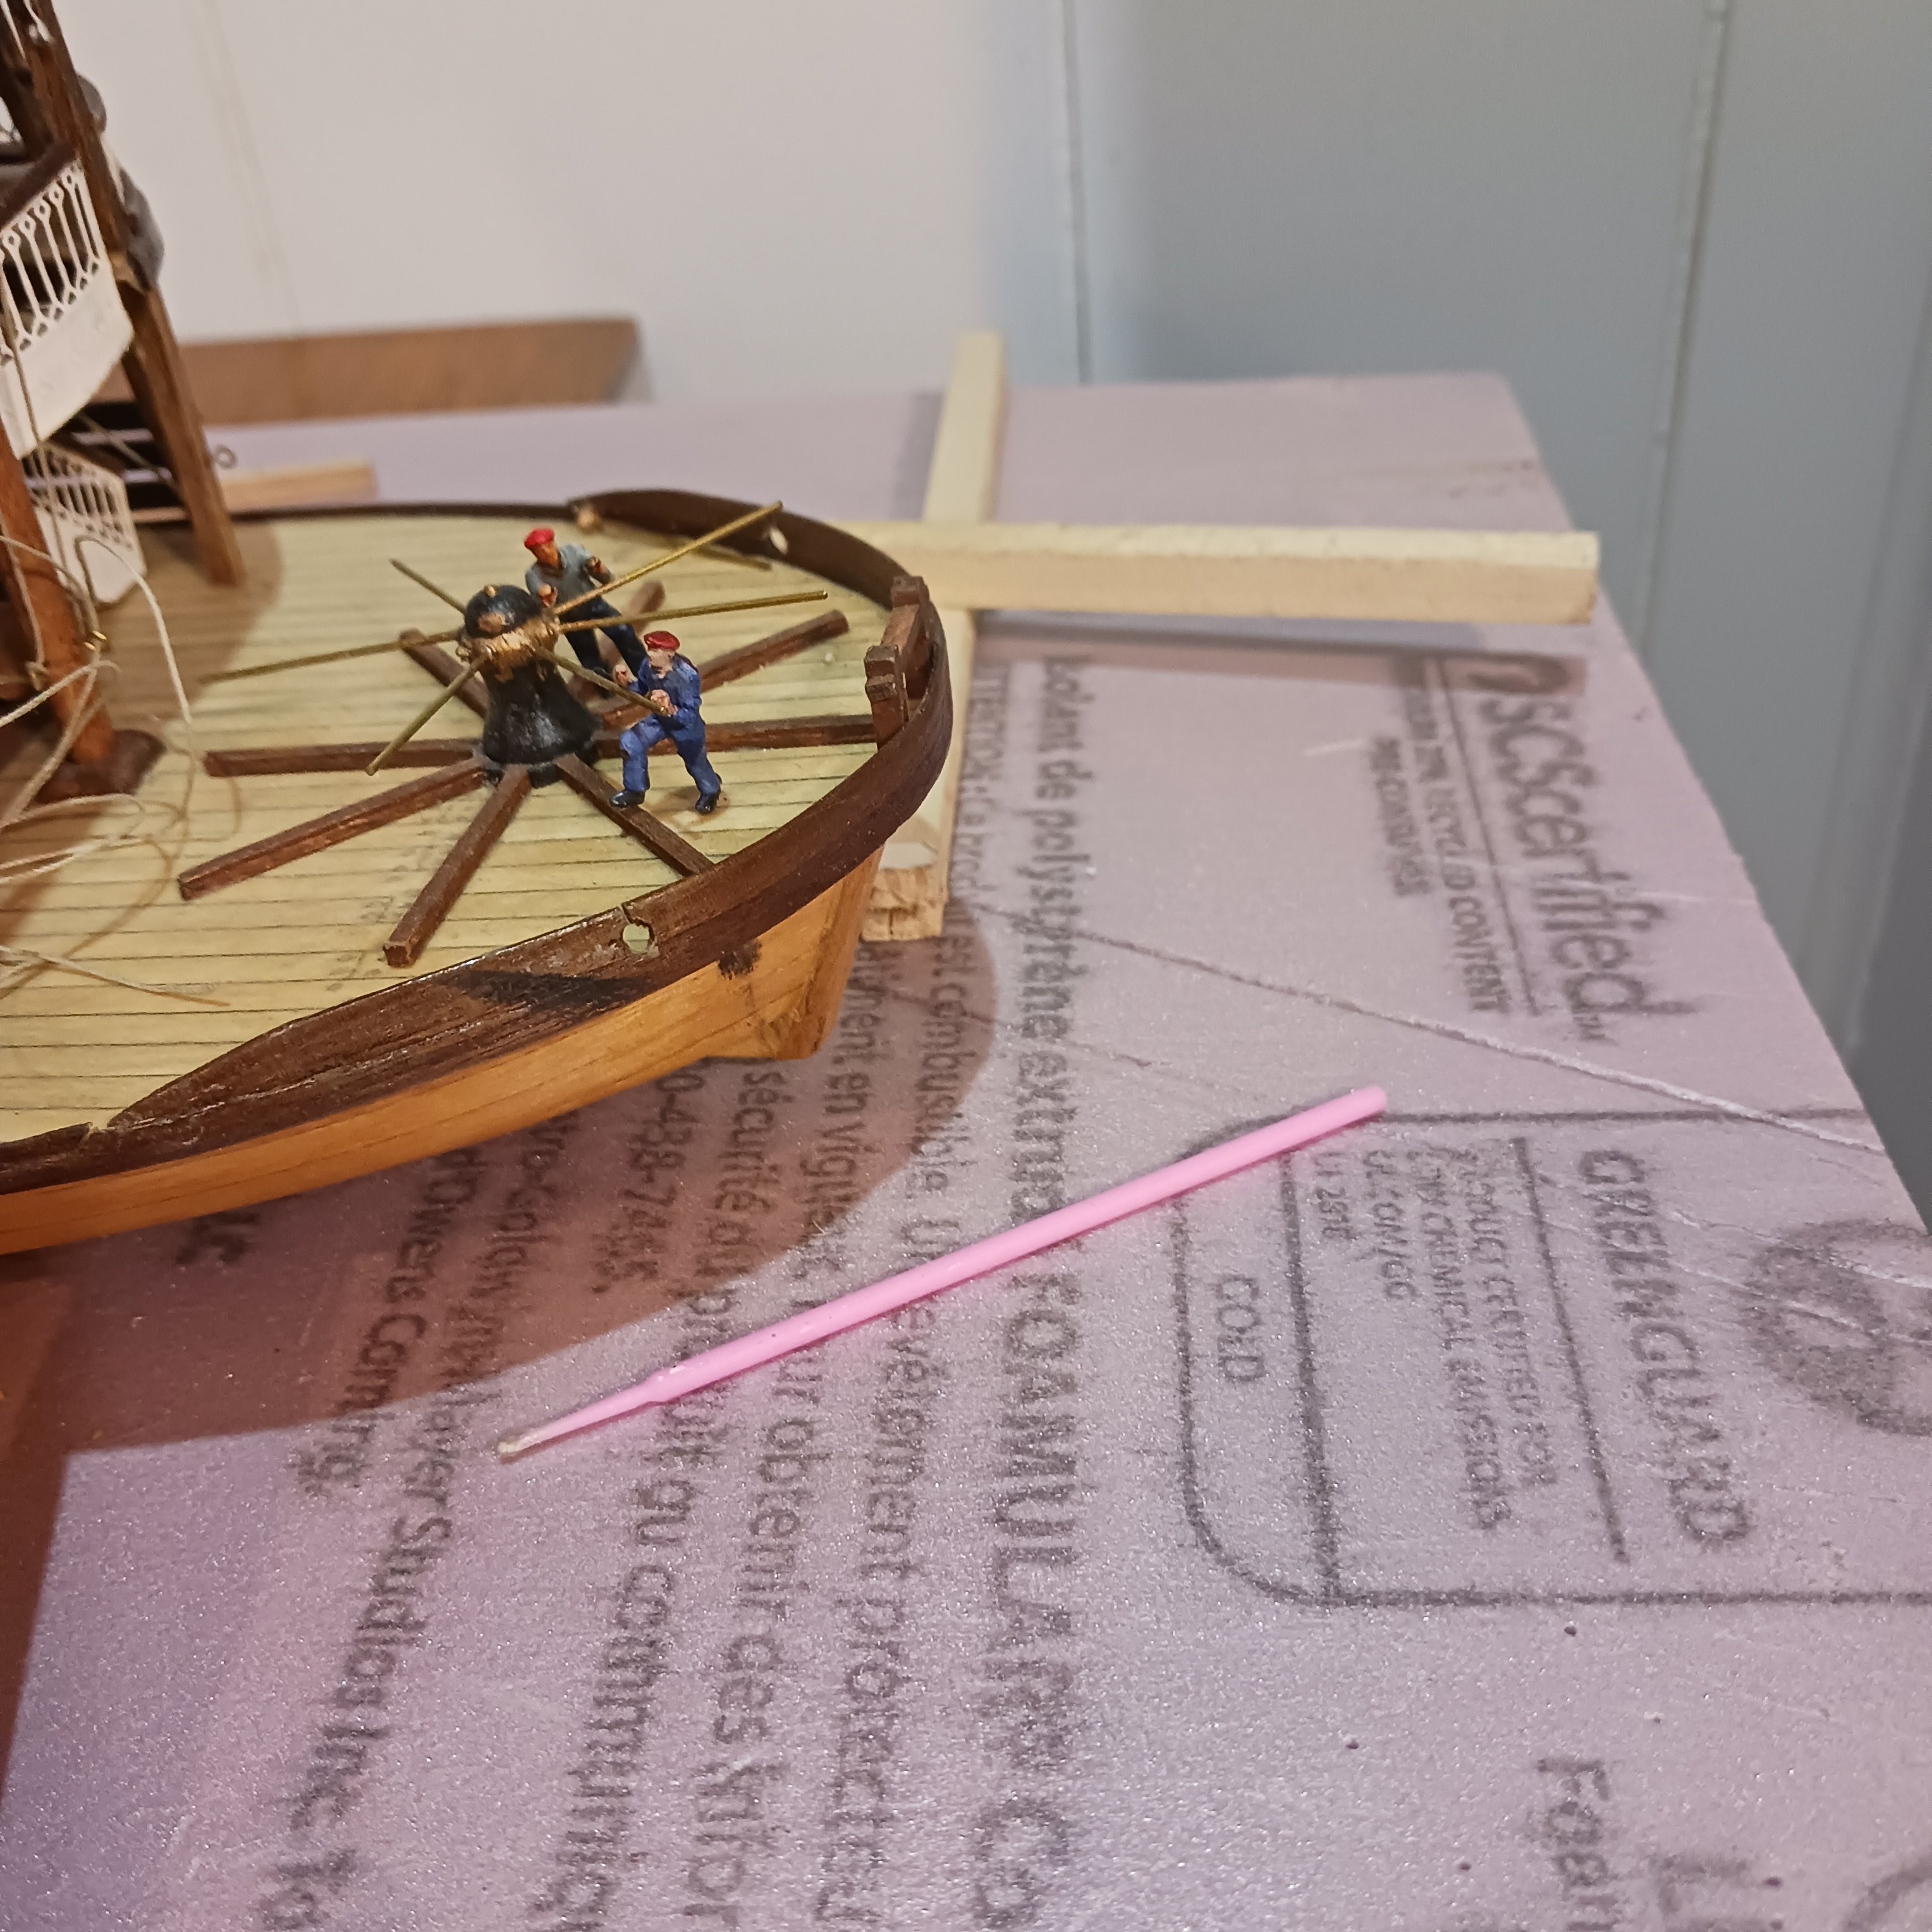
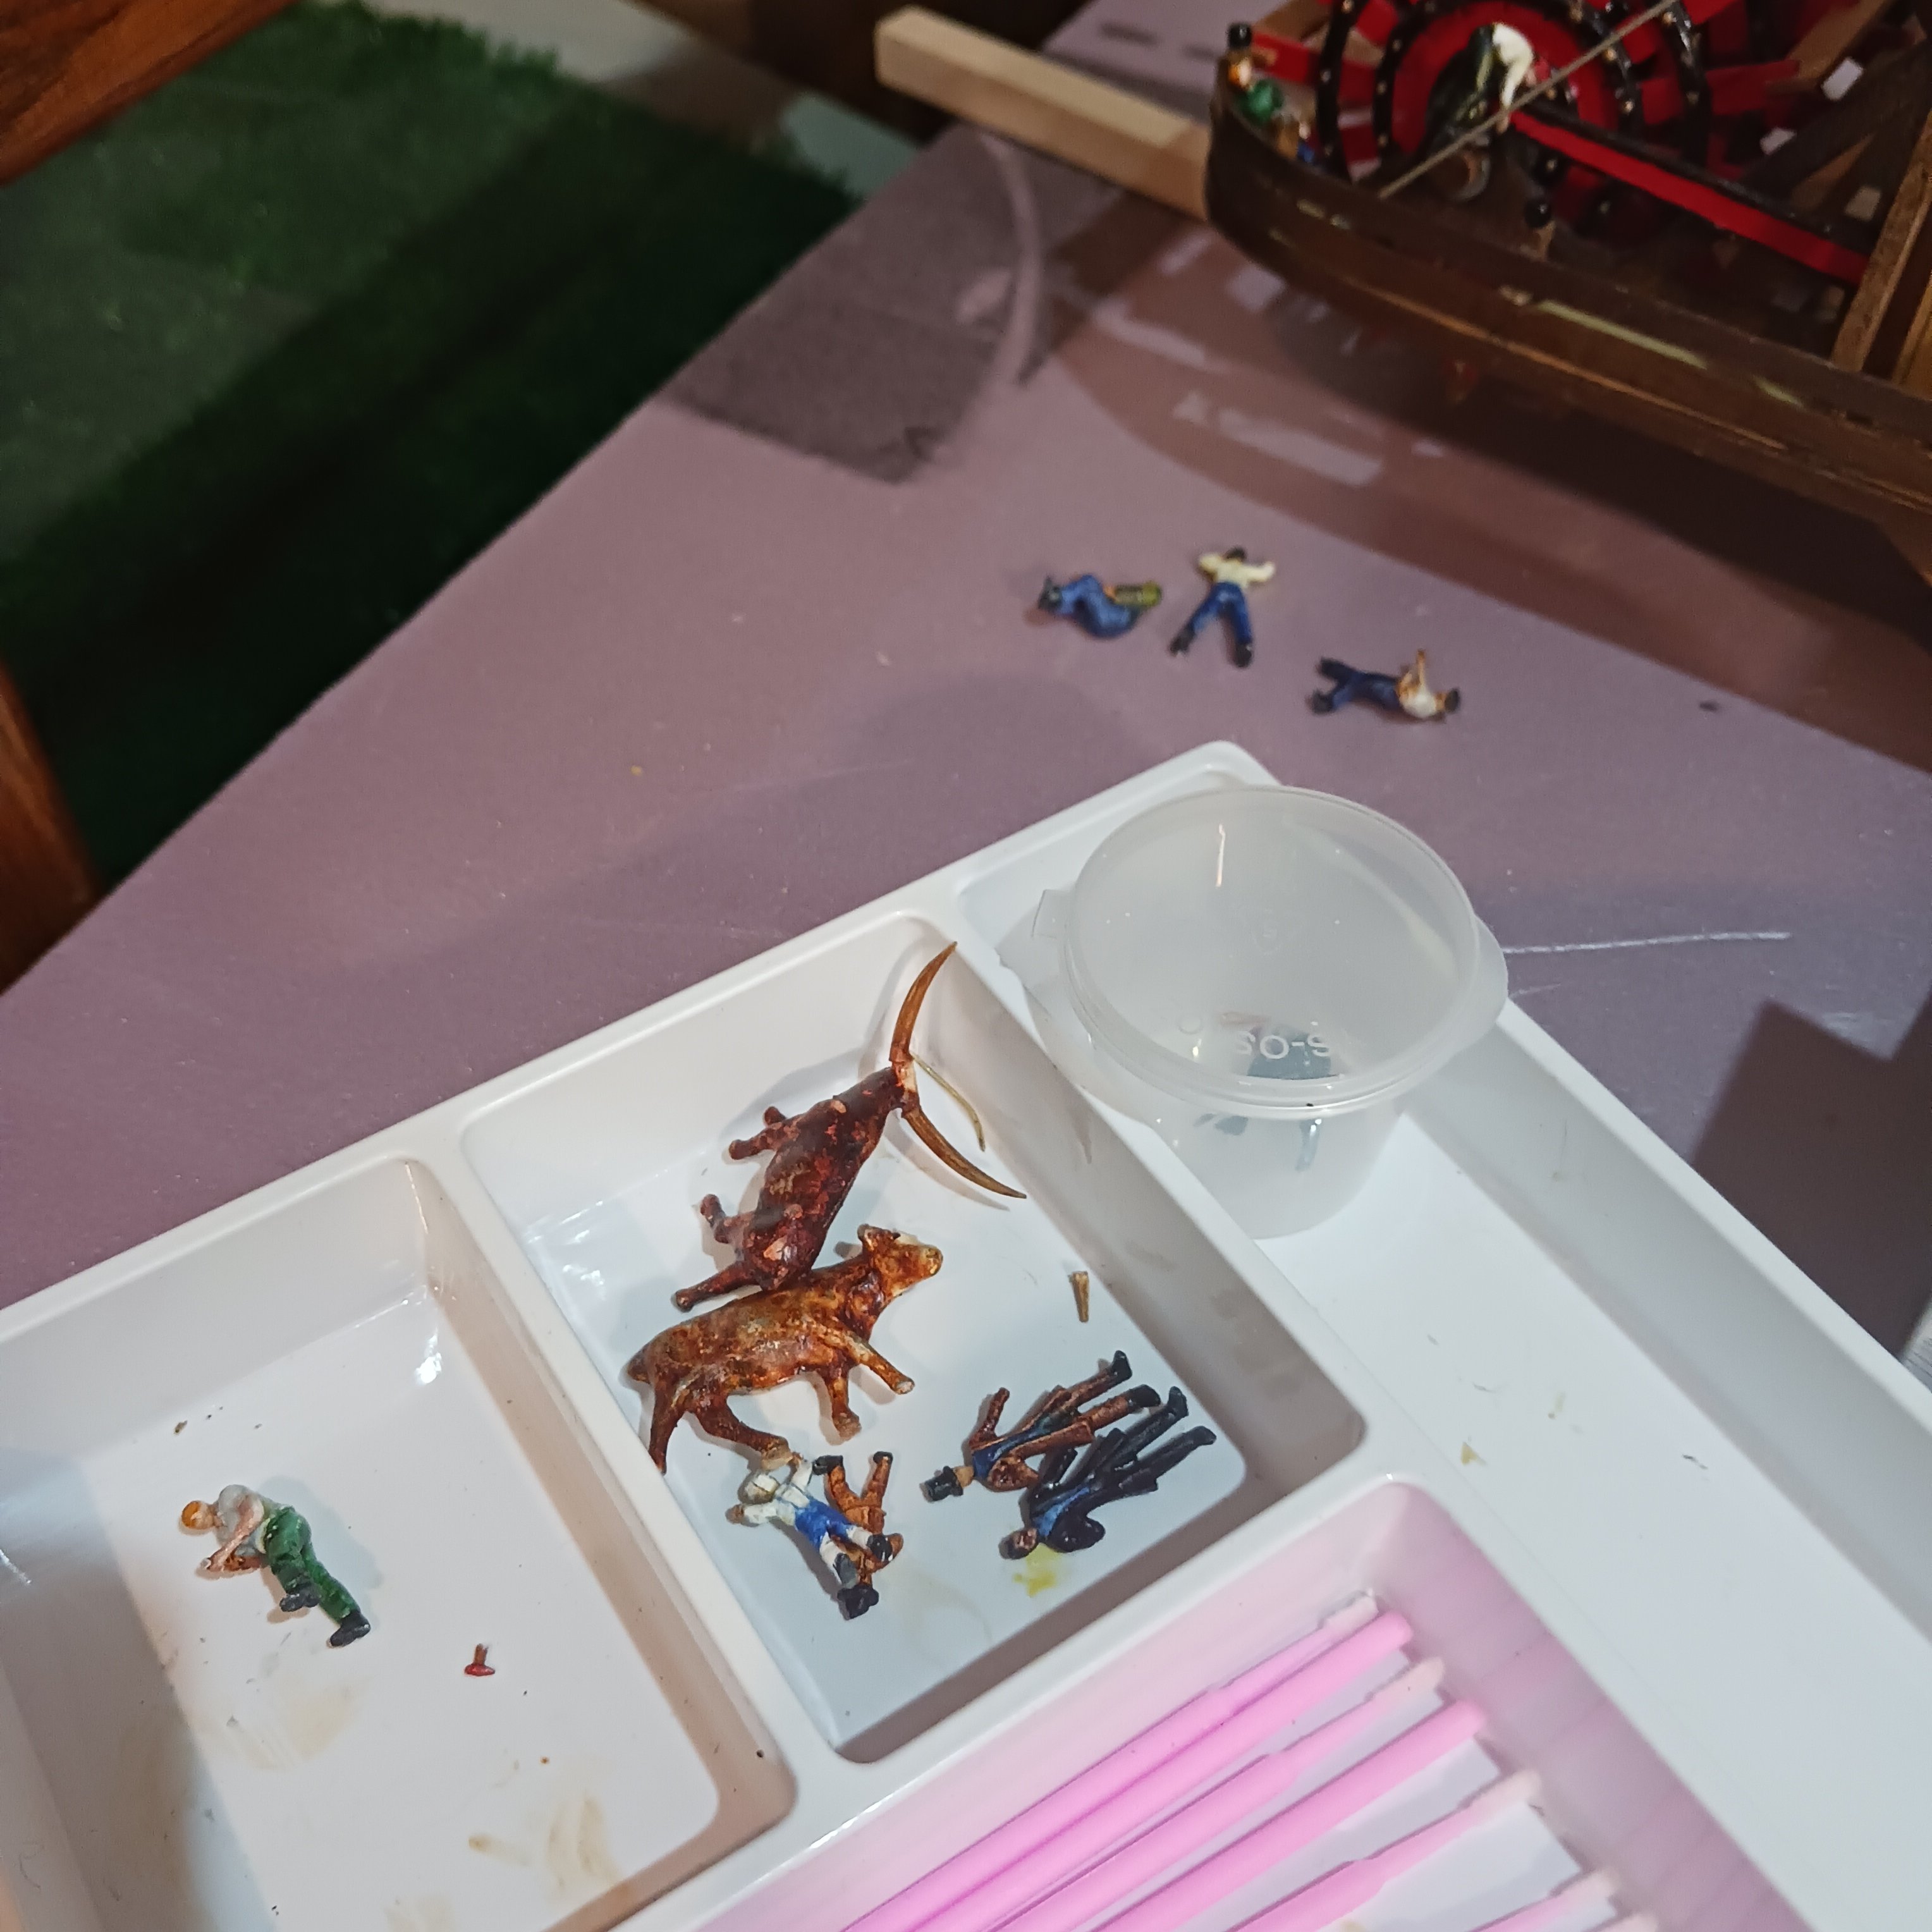
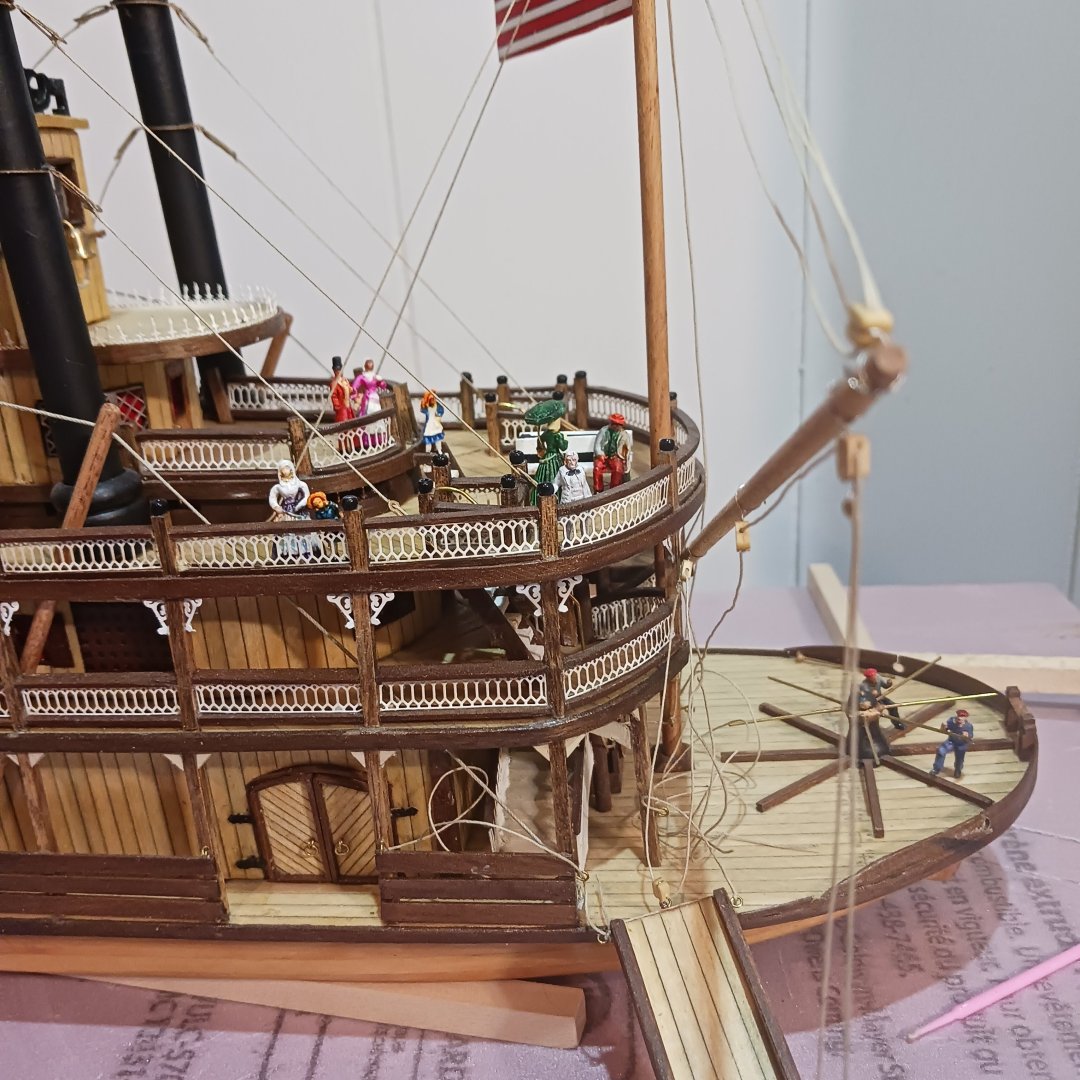
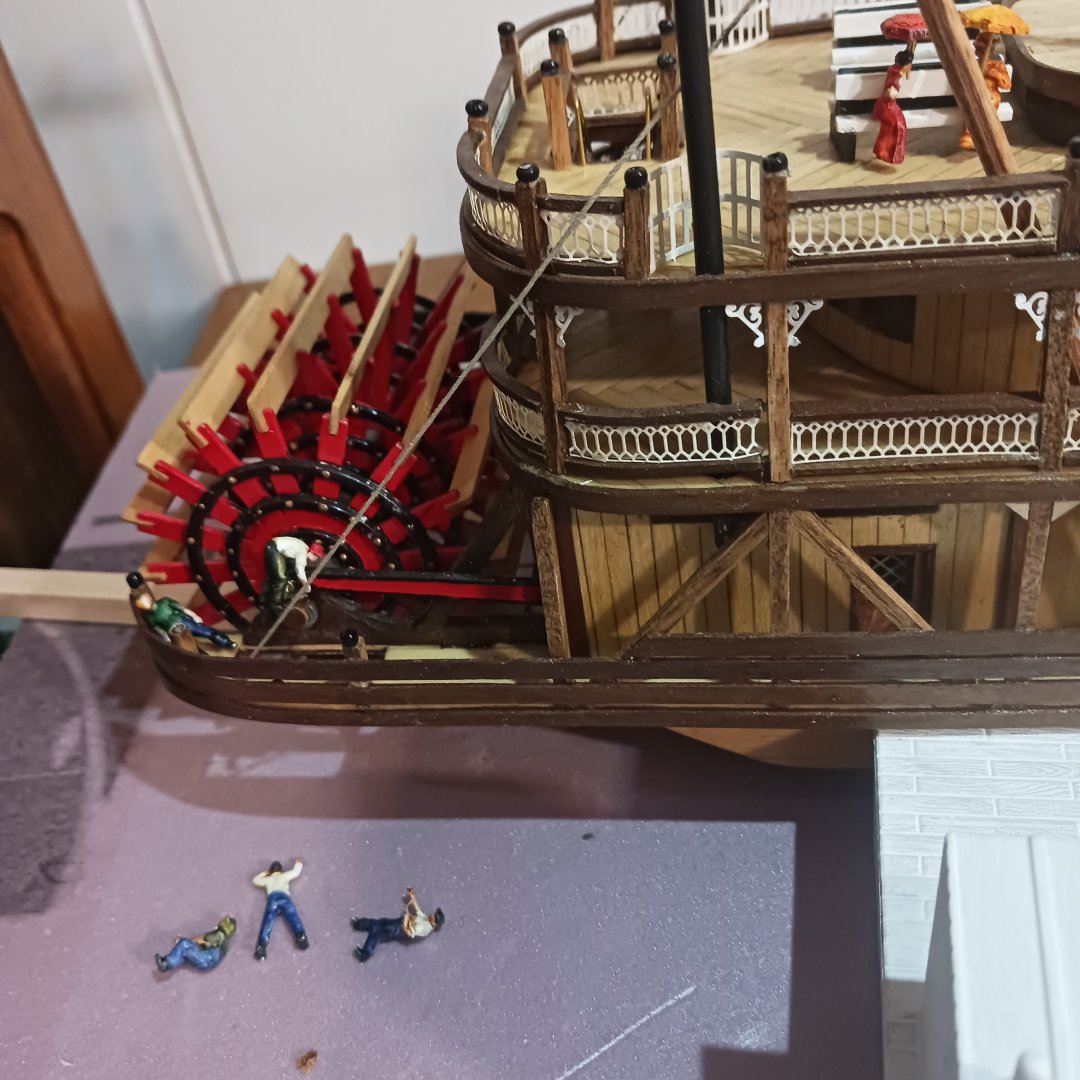
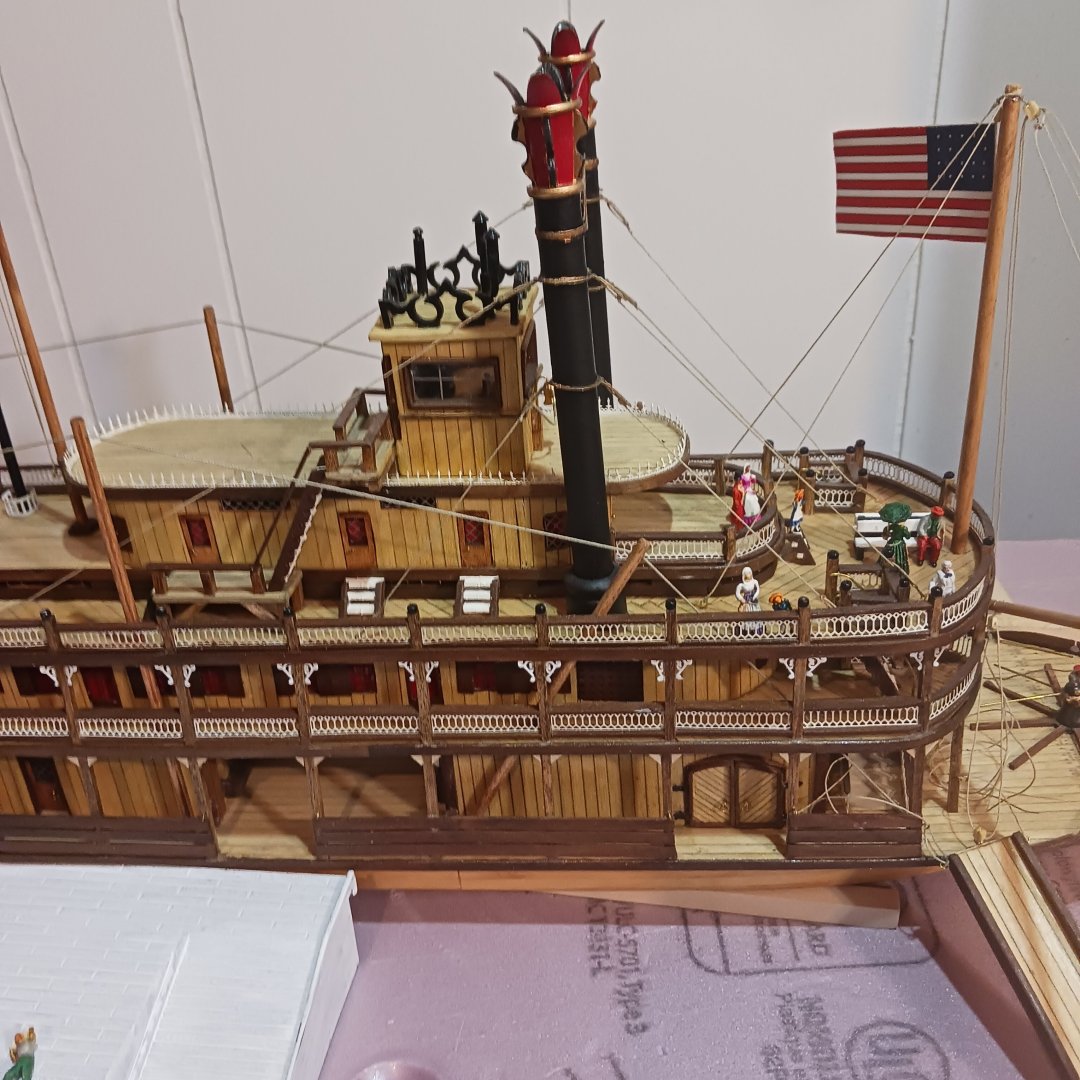
@WGibson welcome aboard 😀, Thus is a fun model to put together, the Instructions are a bit wanting I guess. So if I can help you with anything I will try. The boat is finished, but I have a niece who comes over on Wednesday afternoon and every other weekend. So today we were putting figures on and got a few messages from @Gabek she asked who is that lol. She heard the ping lol.I told her it was my friend that made me the Mark Twain figure. Lol.next question was who is Mark Twian lol. We have been working on the King of the Mississippi when she comes over. Today is a great day to do this, it got my mined off the Astrolabe lol. The niece and I are decision-making for the boat, who go's were and what animals we are going to put on, plus a Farris wheel and the river. She wants to make the river next week. She got a little ruff with the long horns and we need to fix his horn and she broke the maintenance man hammer. So we decide to quit for today. one thing we will do is make these maintenance workers look like they are replacing the broken cam shaft.These will be the dock workers. I told the niece that @hollowneck has a video on how to make water. We will watch it on Wednesday and see if we can get started. Ok fun and games. Good bye from both of us. Uncle Bob and the niece. 🧝♂️


- 87 replies
-
- 11
-
-
- King of the Mississippi
- Artesania Latina
- (and 2 more)