HOLIDAY DONATION DRIVE - SUPPORT MSW - DO YOUR PART TO KEEP THIS GREAT FORUM GOING! (78 donations so far out of 49,000 members - C'mon guys!)
×


Knocklouder
-
Posts
2,943 -
Joined
-
Last visited
Content Type
Profiles
Forums
Gallery
Events
Everything posted by Knocklouder
-
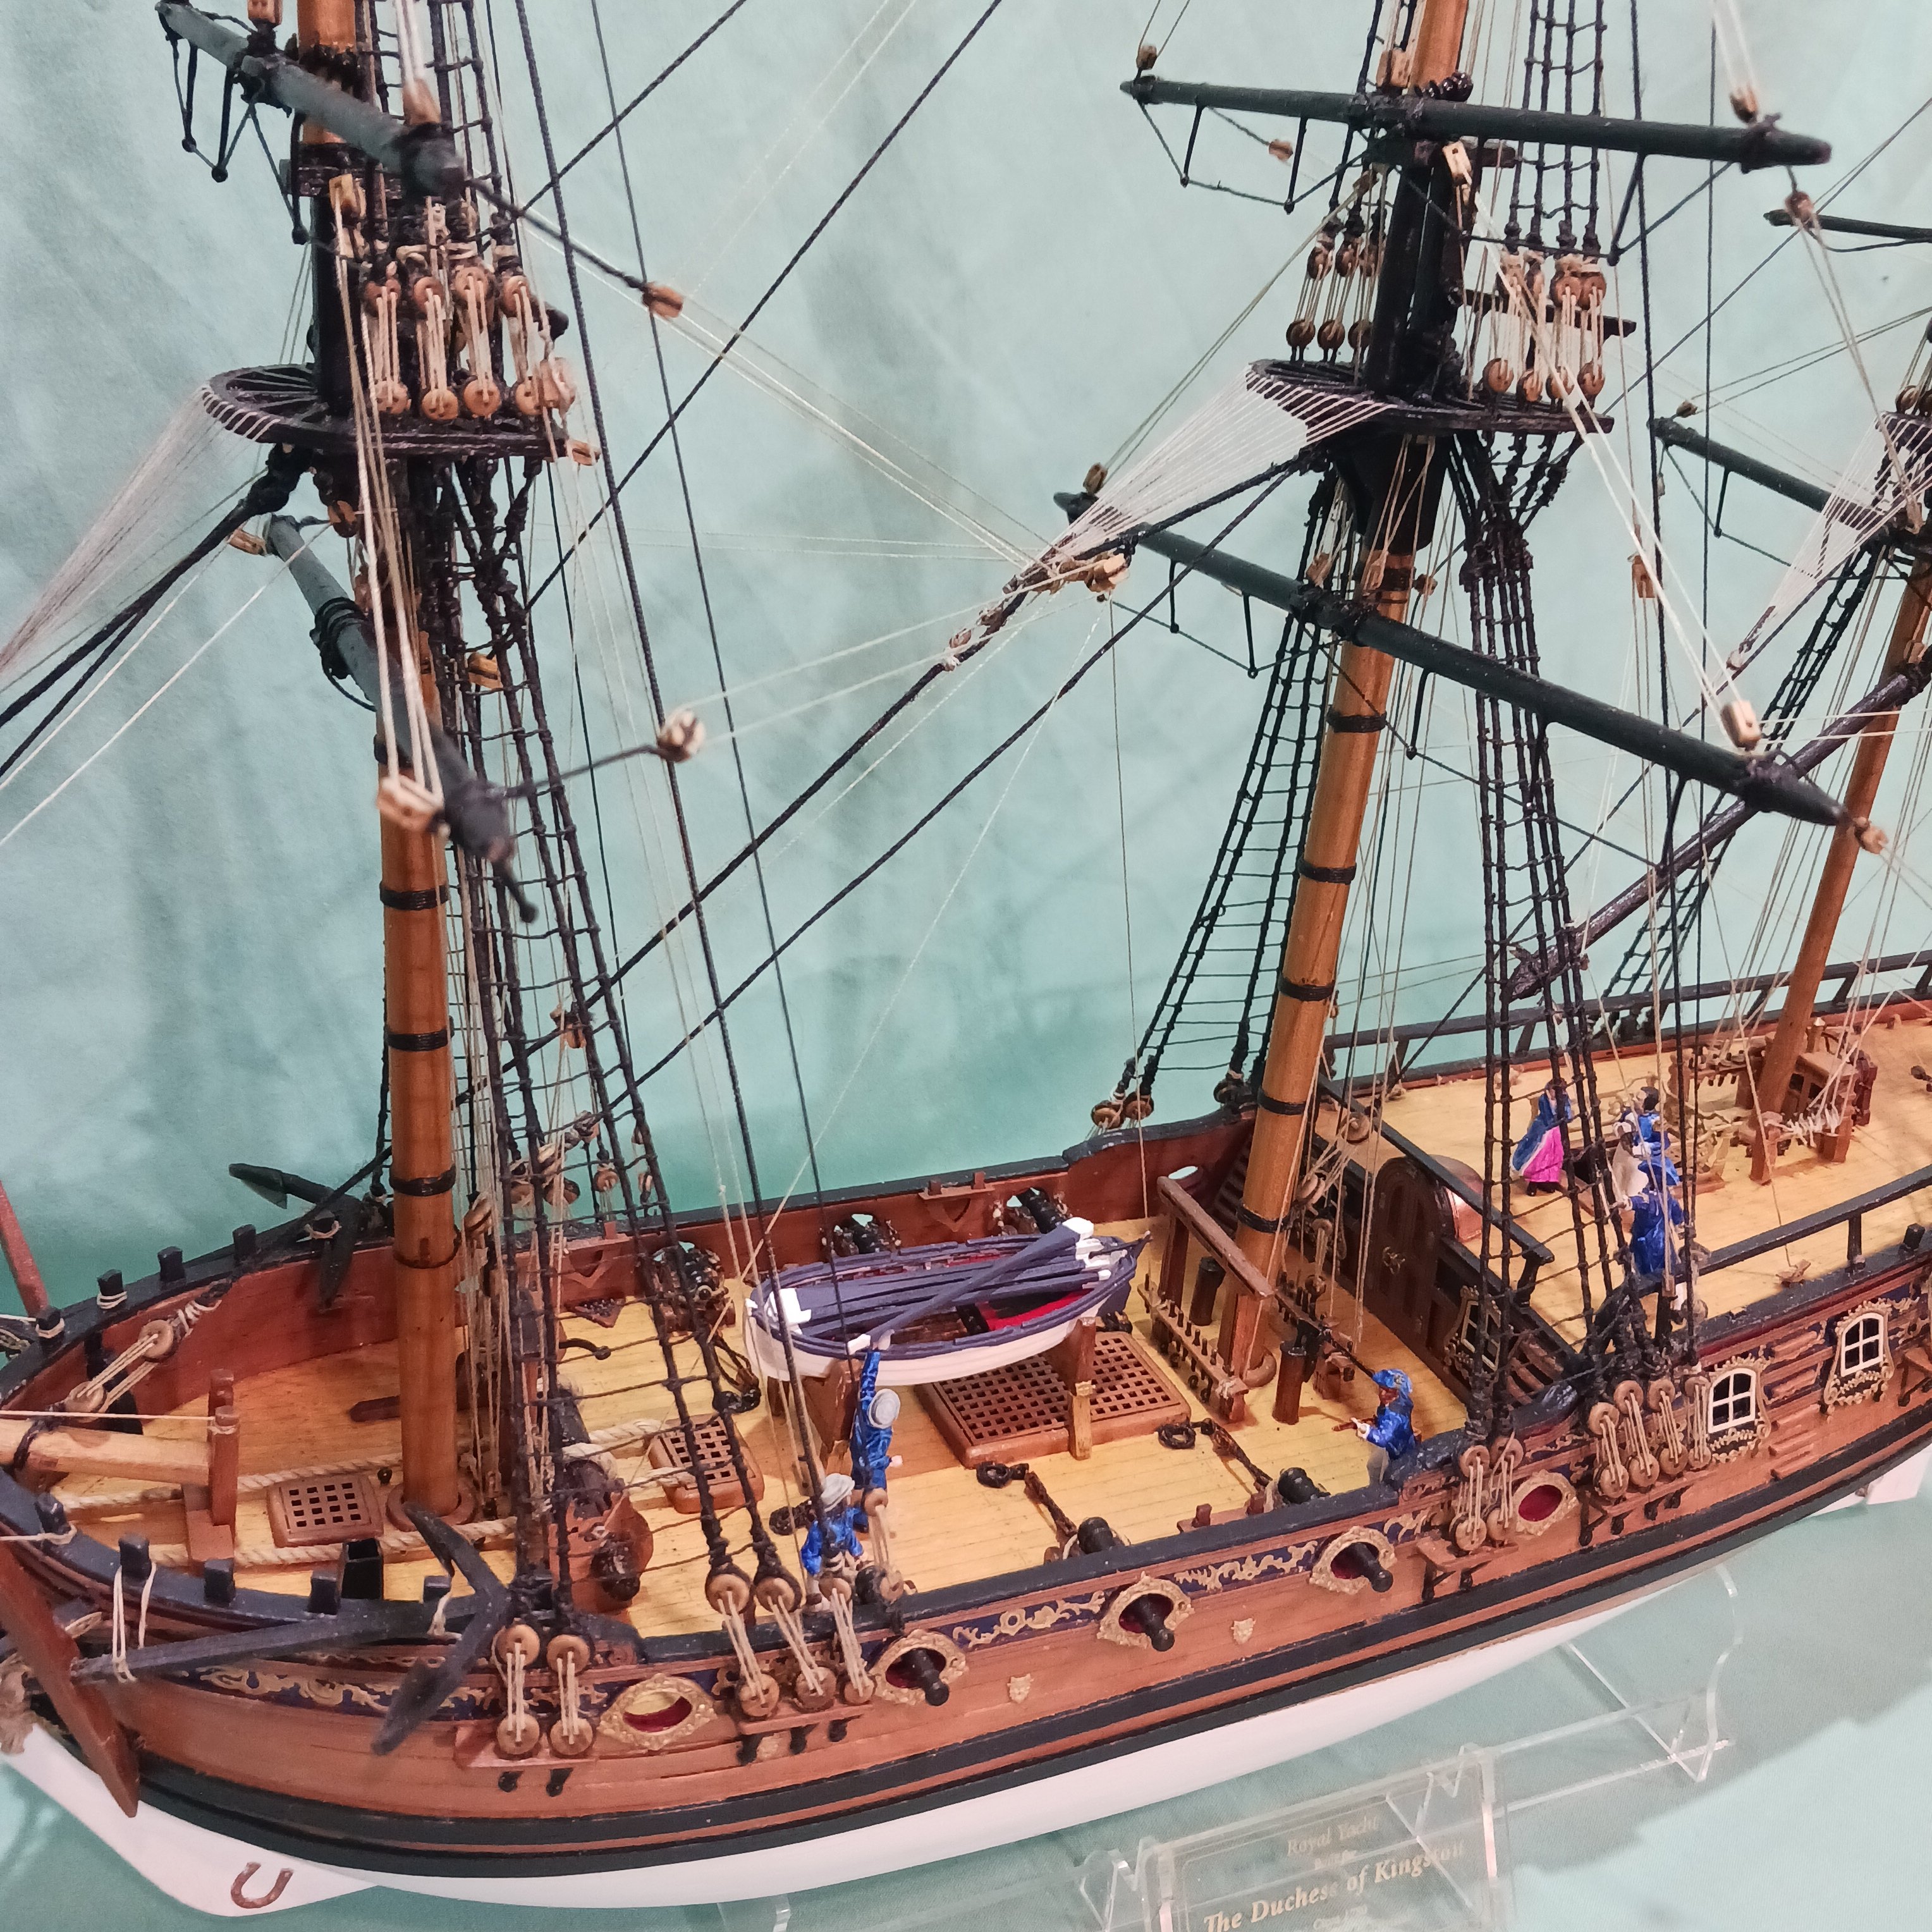
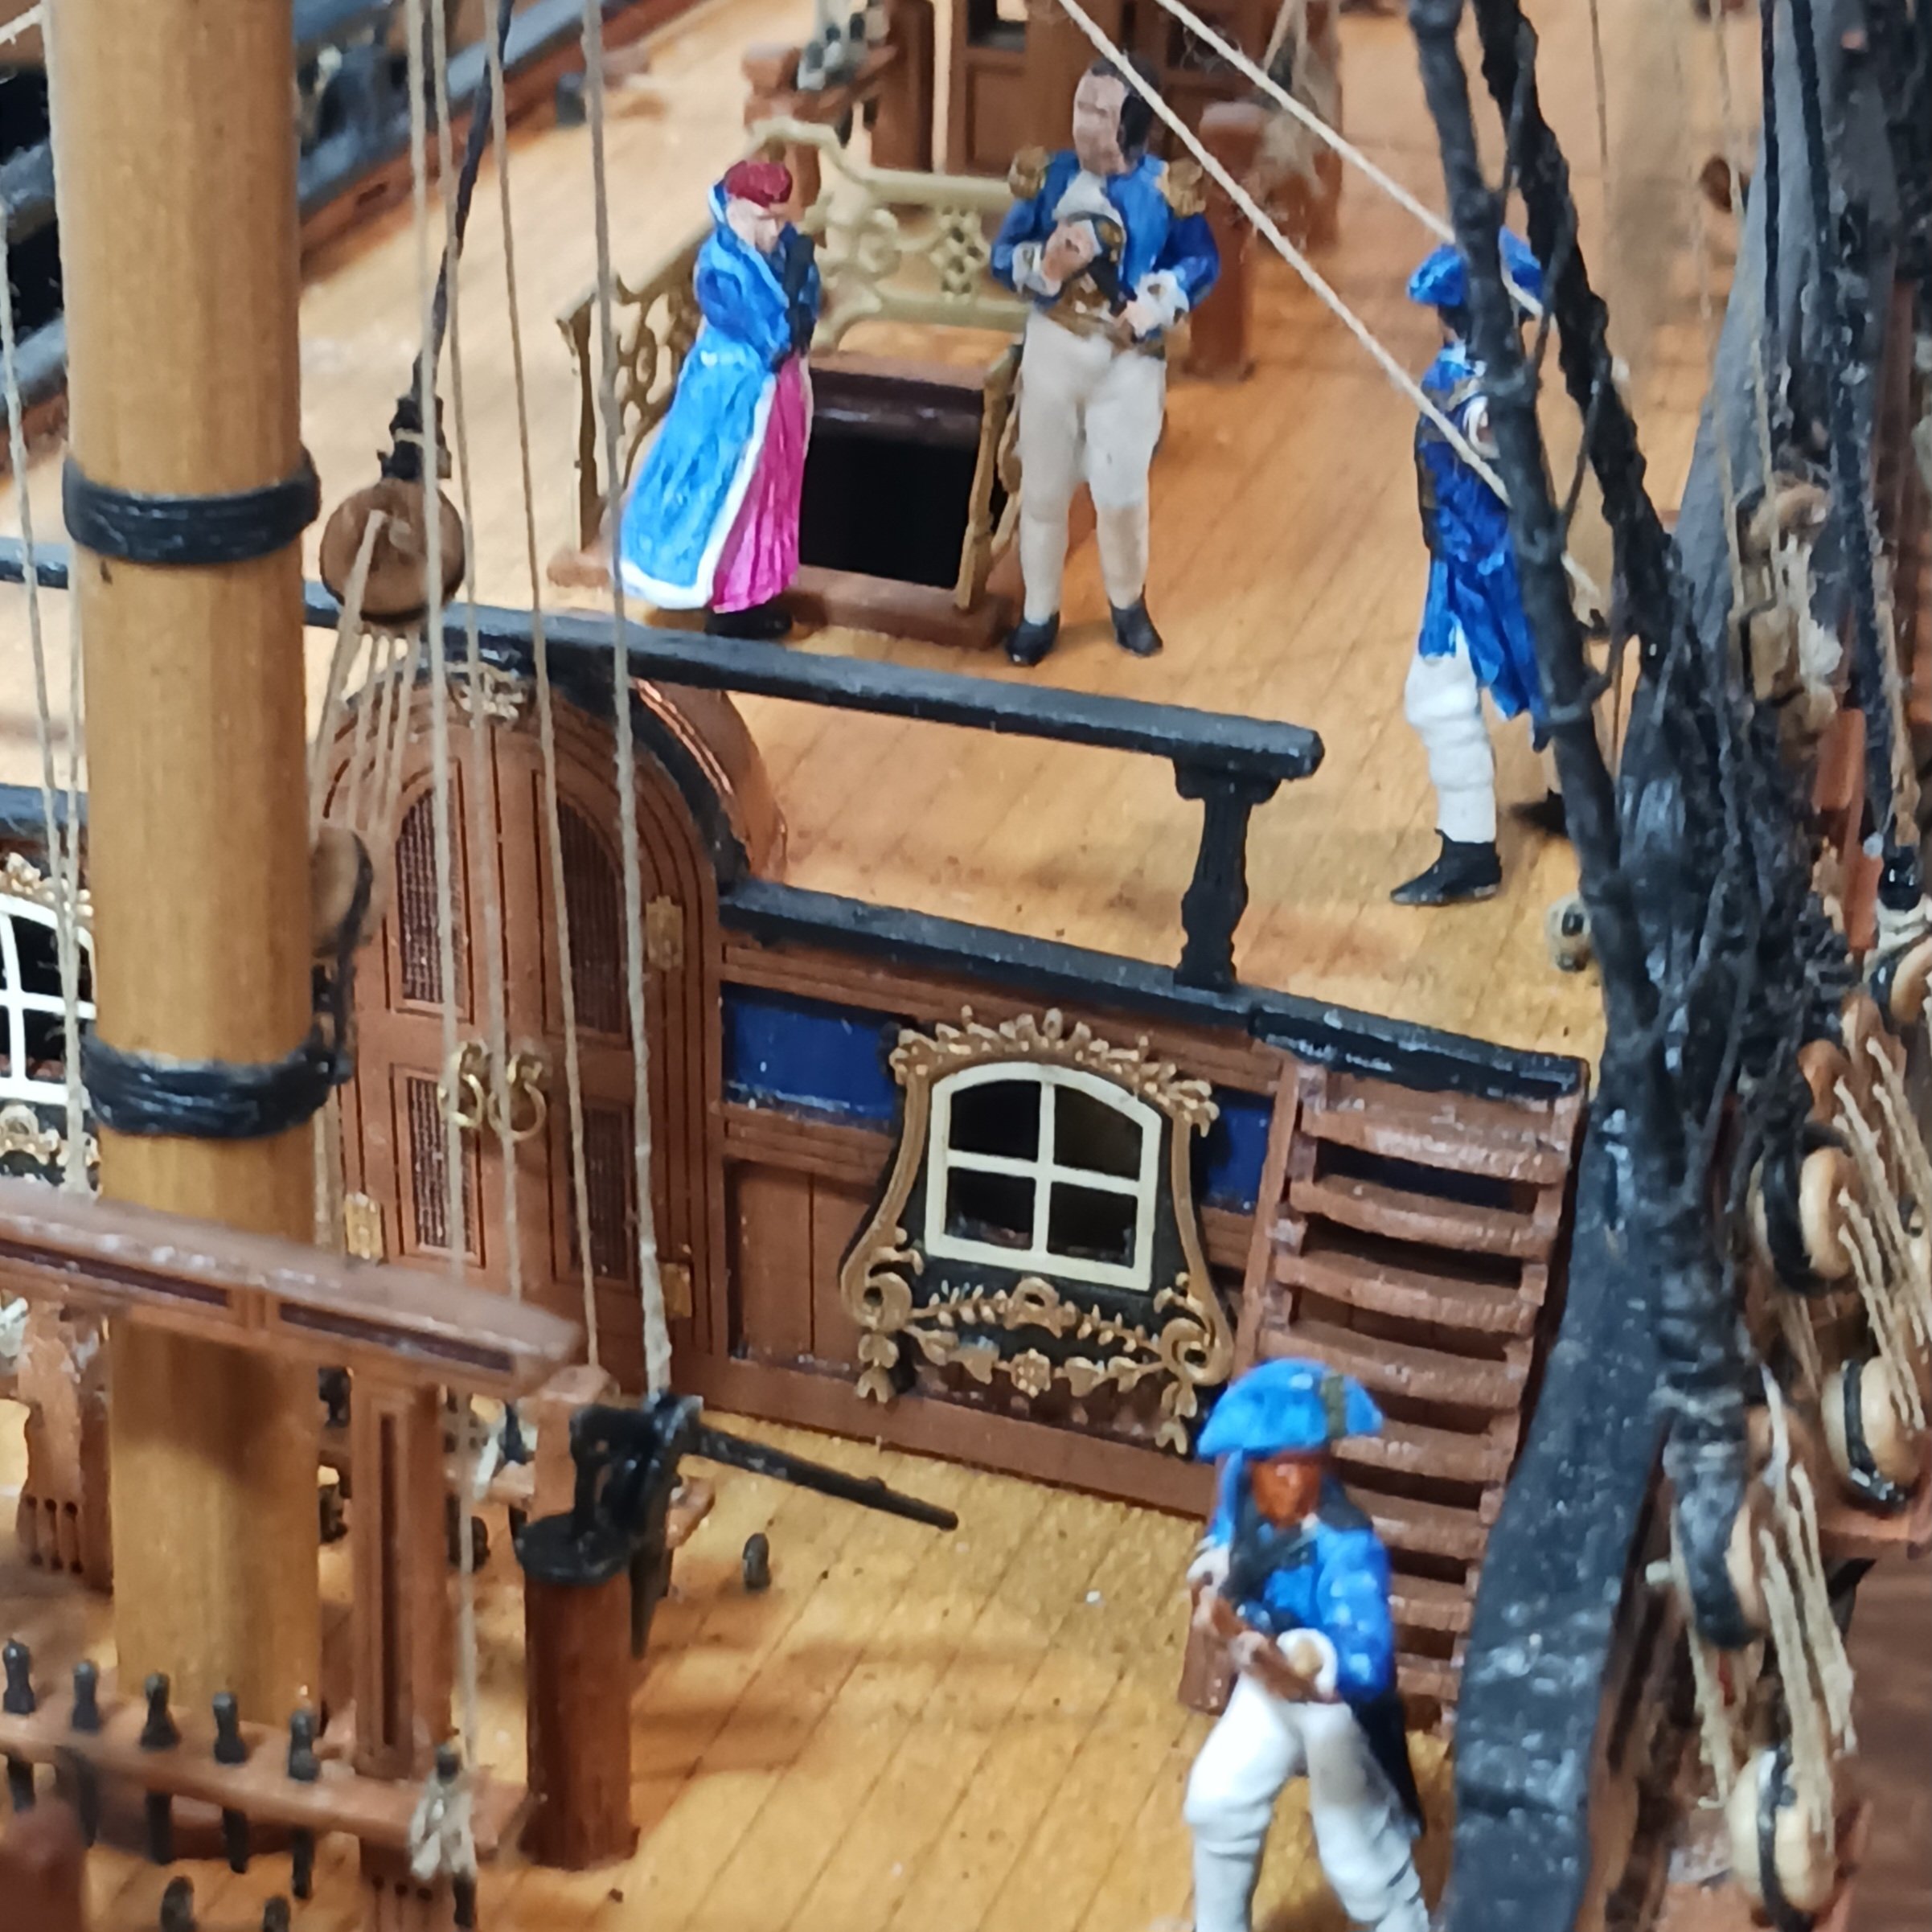
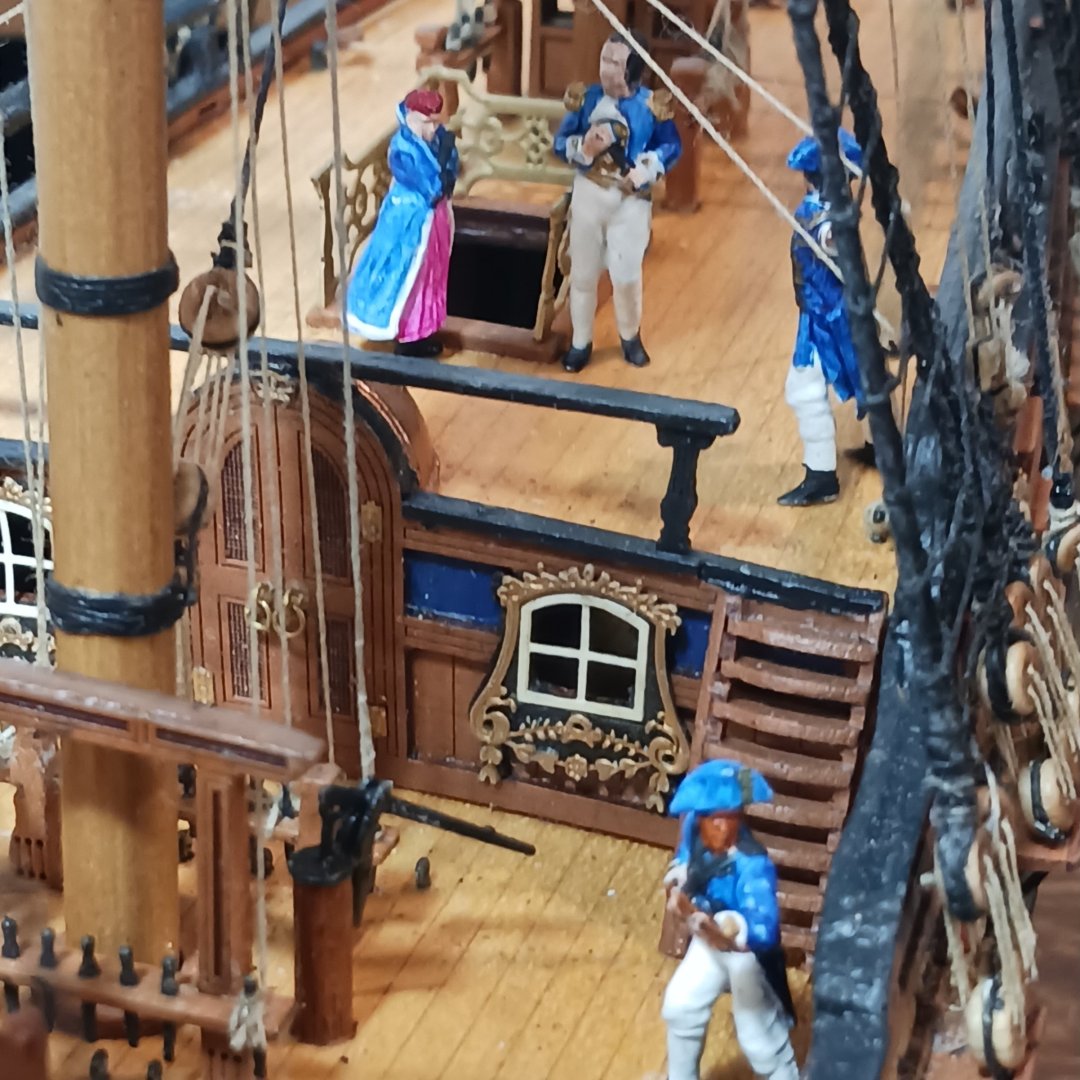
 I went for lunch with my good friend @Gabek the other day, he made me these oars for my Duchess of Kingston ships boat, and they fit perfectly. Thanks again my friend you made this ship come to life. The crew man actually looks like he is loading up the oars as the Royal gaurd stands ready. Some figures are Vanguard Models and some are Gabes , all together it makes a good story when I tell the grandkids about her and her ship lol. This is now officially finished, even put her in the gallery today, but please you all have said great things about her and my build. It just wasn't finished, now it is. I Just wanted to update the pictures to a finished Ship. Thank you all again. The grin on my face is just as big as ever, it only gets bigger when there is a Surprise 😮 update. Lol. Bob M . P.S. Back in the display case with the Bowsprit mast Still ON lol.
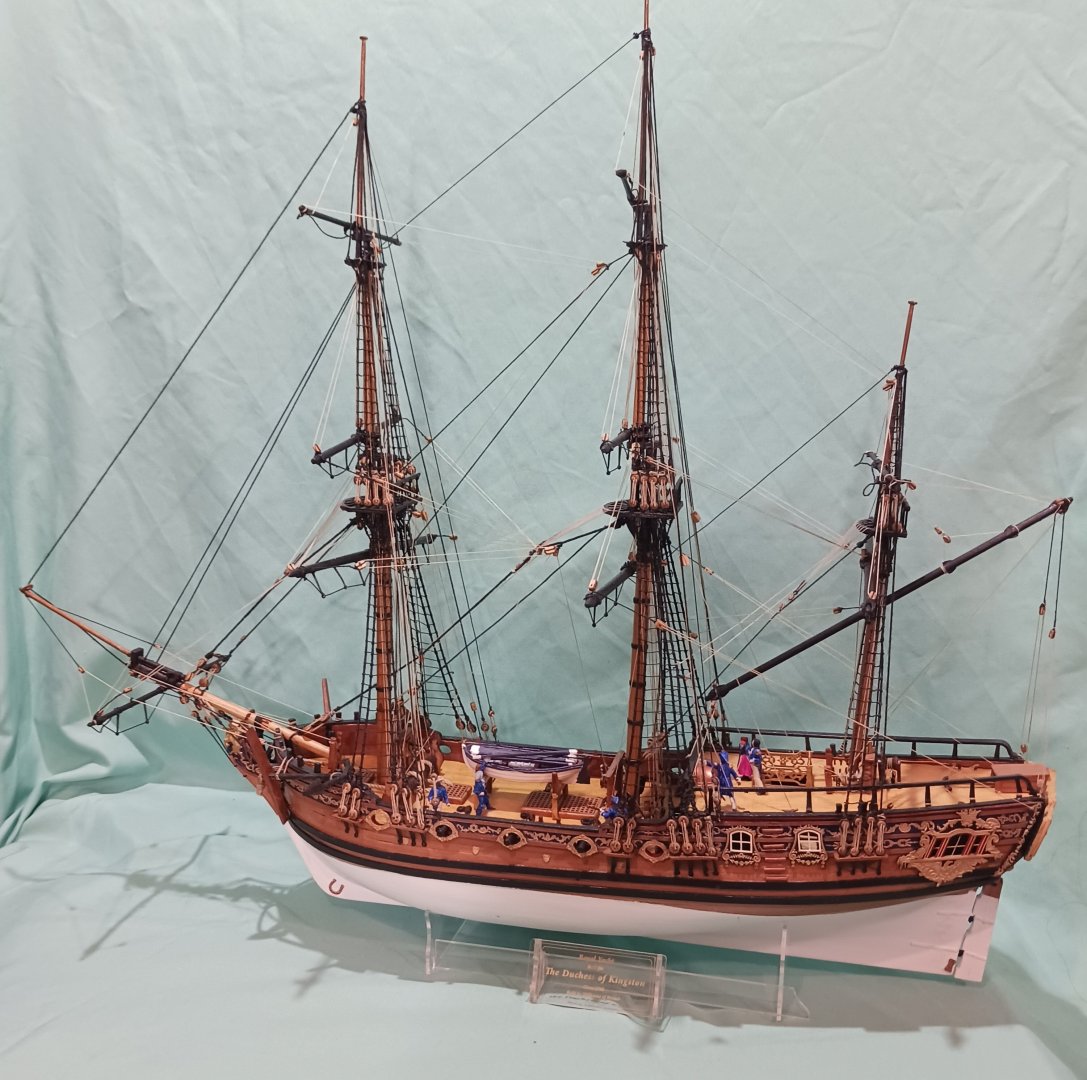


- 207 replies
-
- 17
-

-

-
- vanguard models
- Duchess of Kingston
- (and 1 more)
-
Nice work , Julian. How long and how high will the ship be when finished? Bob M.
-
Bob M.
-
Hello, would trying a different glue make any difference? I was told to use Super Phatic glue for the copper on my Pegasus. It seem to work really well for me.. Bob M.
-
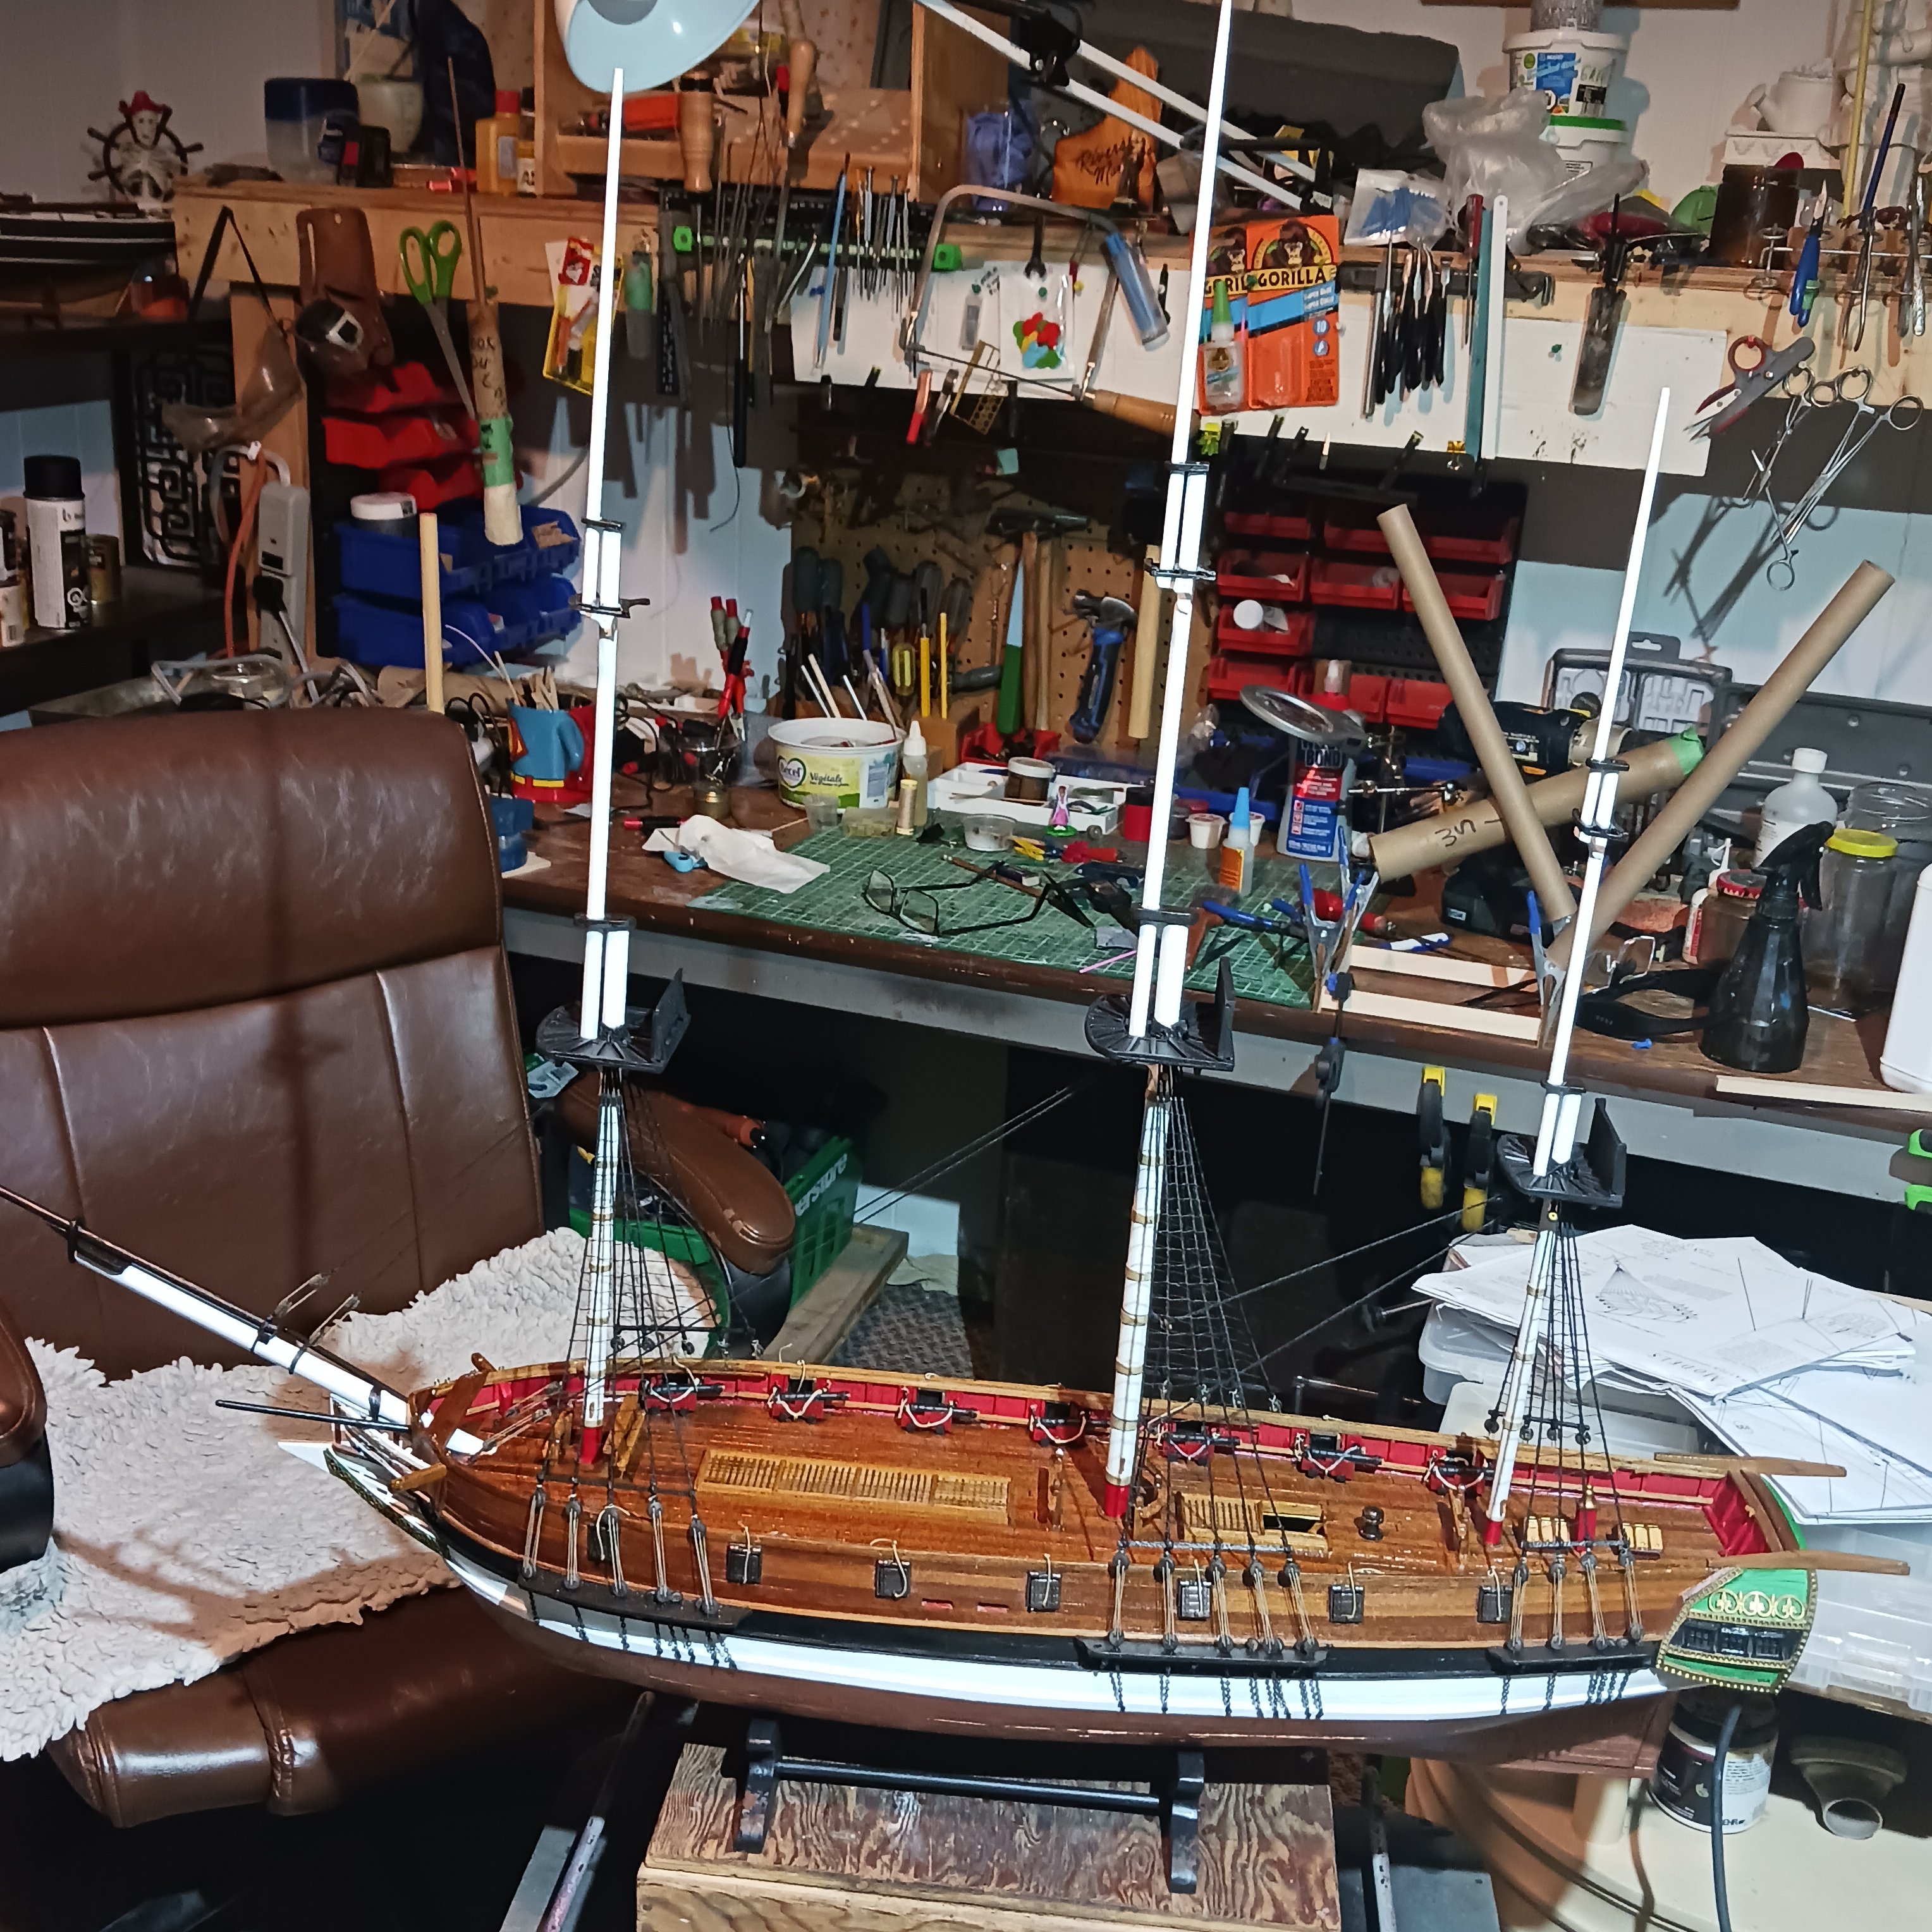
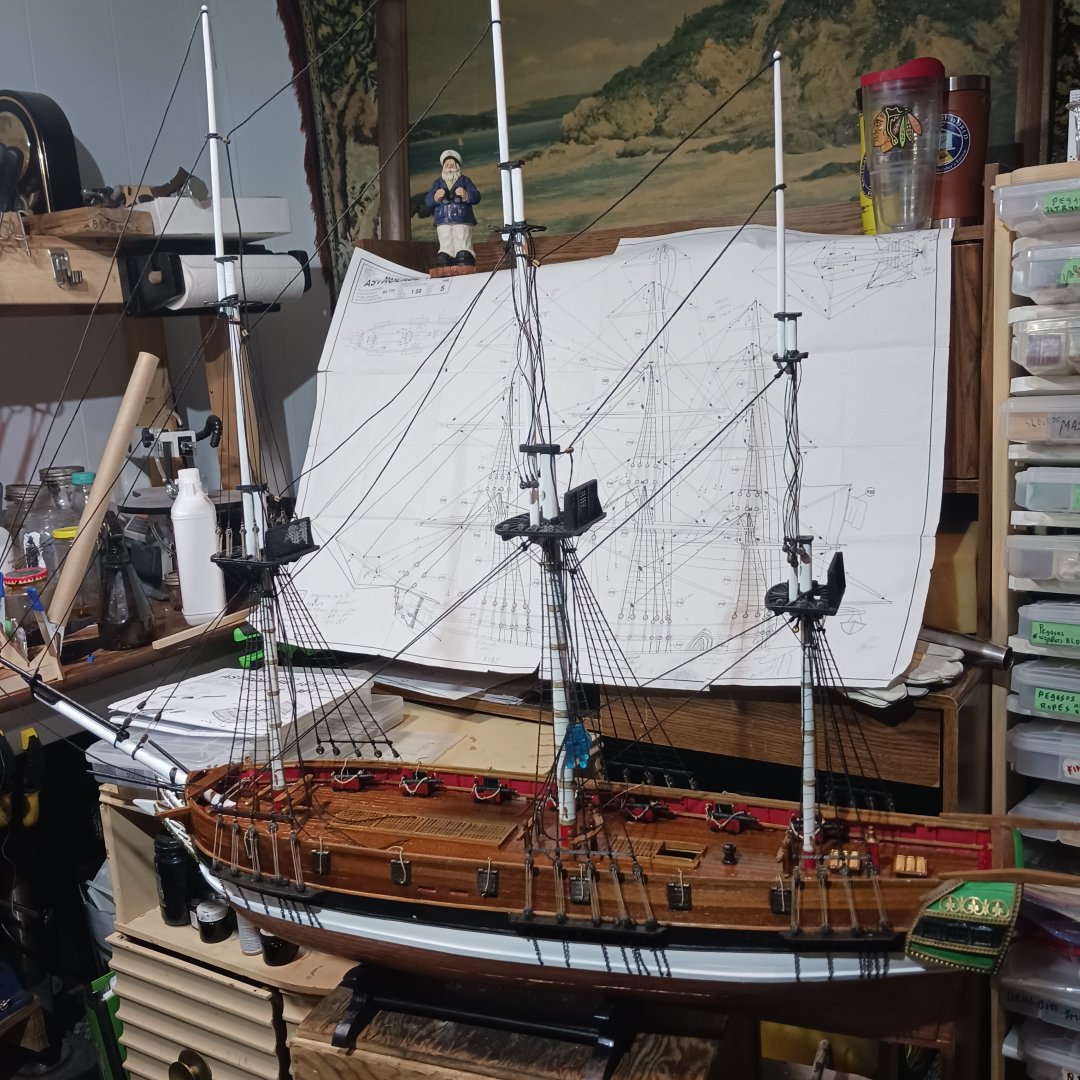
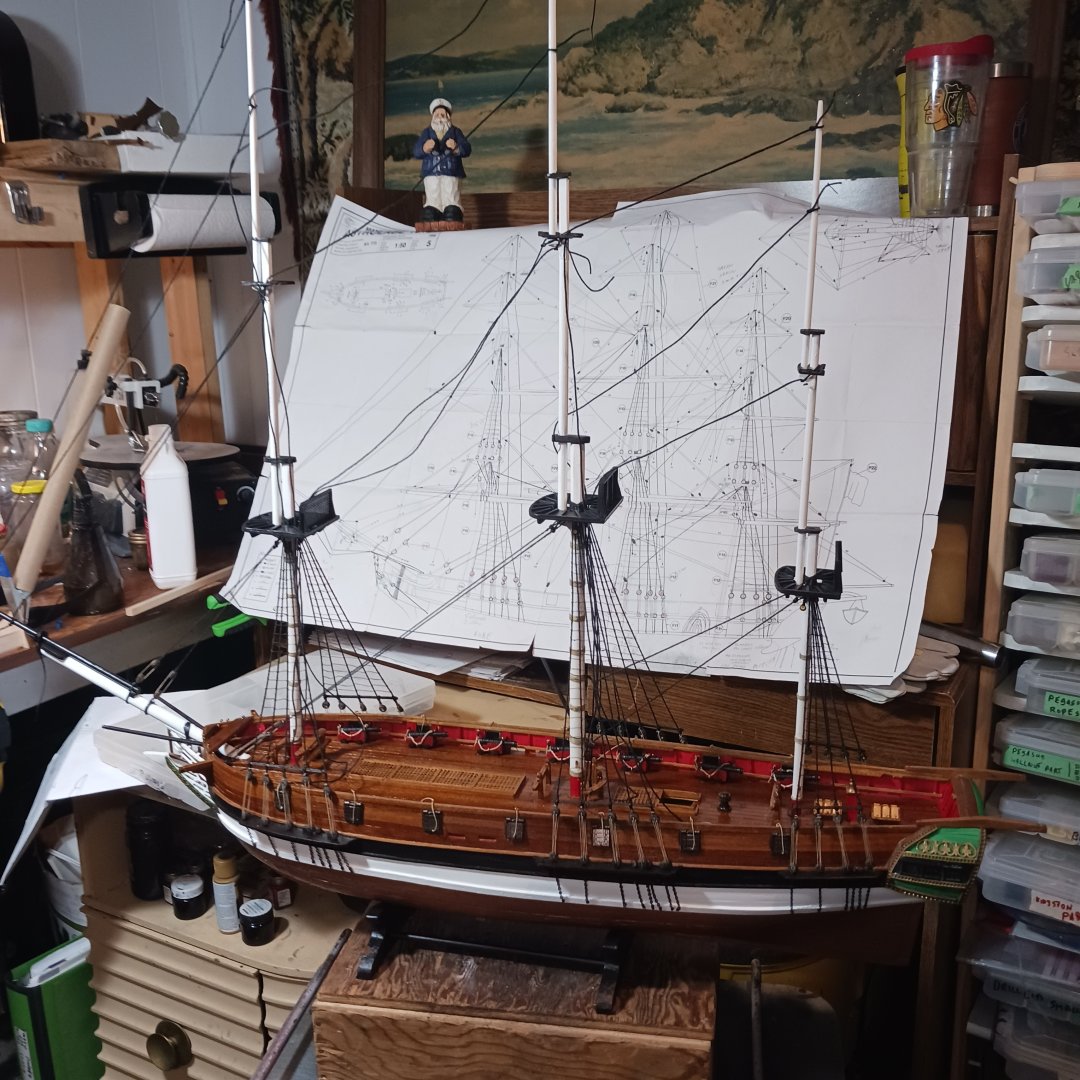
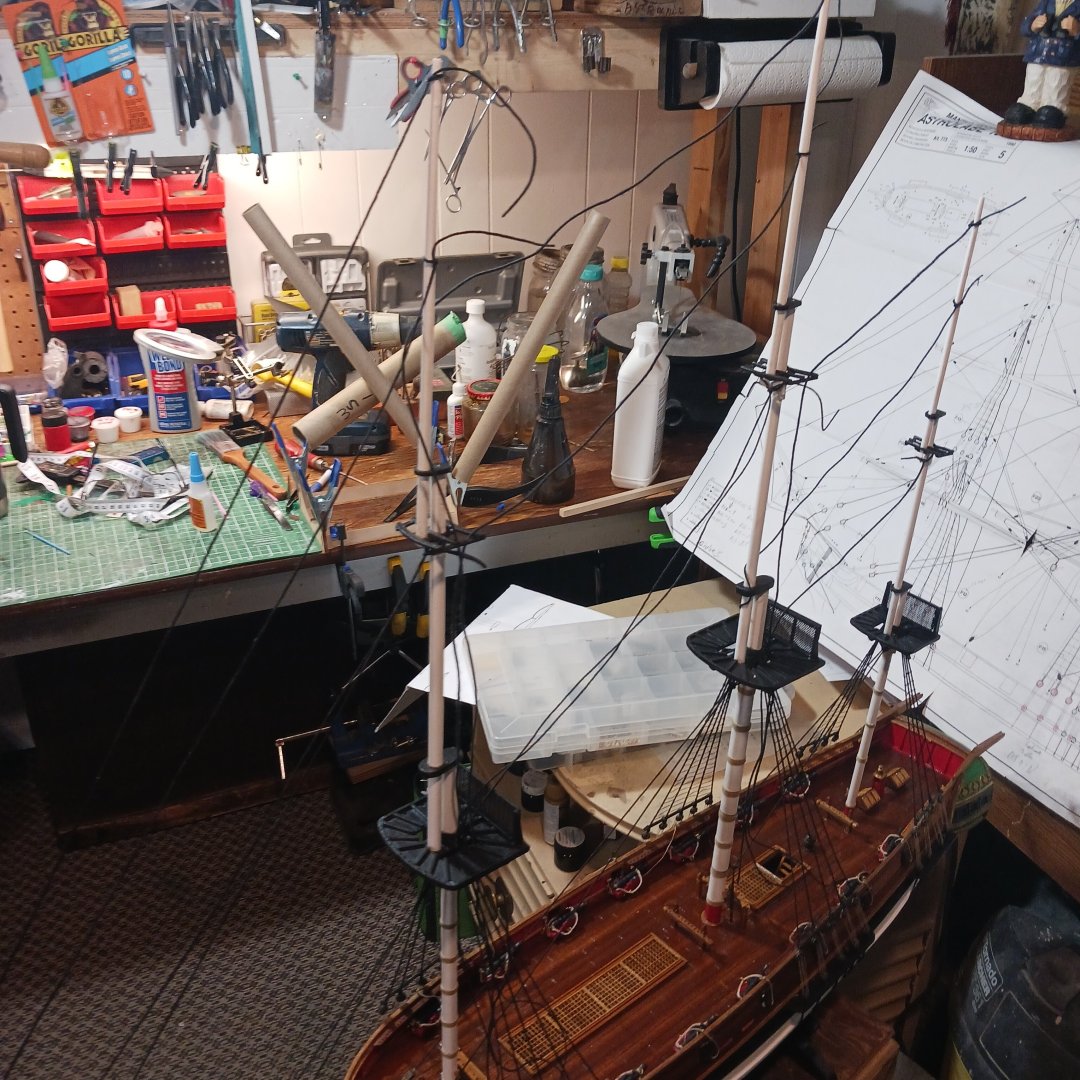
Most of the forestays are run, they just have to be snuged up. The upper main and foremast deadeyes are done I just have to tie them on, and then do the ratlines. Lots of work. I am having a bit of trouble with the four upper foremast stays. The plan and the manual don't line up. And the new plan from Paris is different from all of them . So I going to work on the stren for awhile, fix the widows hang the boat and install the rudder. Then I go back and finish the stays. A change is a good as a rest they say. Lol 😆 🤣. Work continues , soon I will be down to just the yards, I have not even begun to see what I need to do there, but it will be a piece of cake. Lol. Thanks for looking in on the old horse barge 🐎 . Take care my friends Bob M. Knocklouder.


-
Good luck on this build Bob M.
-
Your sails look awesome, Bob M.
-
Bob M.
-
Thank you for your like my friends. Today I managed to make up the forestays all 17, which is about 18 feet of served # 1.3 rope. I guess I did put it into warp drive, the handle came right off my server machine lol. I did get to the last of the serving before it broke. So I glued it all back together and put it away for awhile. I find standing is the best for working on the Astrolabe. All the forestays are served and run, now I have to tie them up and seizing the ends. Then it is off to do the 17 back stays which are tied off to deadeyes. By that time I should be ready to do the crowsfeet lines, parts are on order for them pick up on Thursday lol. After serving 18 feet of line I am happy there is a hockey game tonight 😀 😄. Stays tune for updates lol. Thank you all for showing me that " This is the Way" to build models. I will be for ever grateful Thanks 😊 Bob M.

-
Very nicely done, and all those little details are amazing. Nice work, Congratulations on a very fine build. Bob M.
-
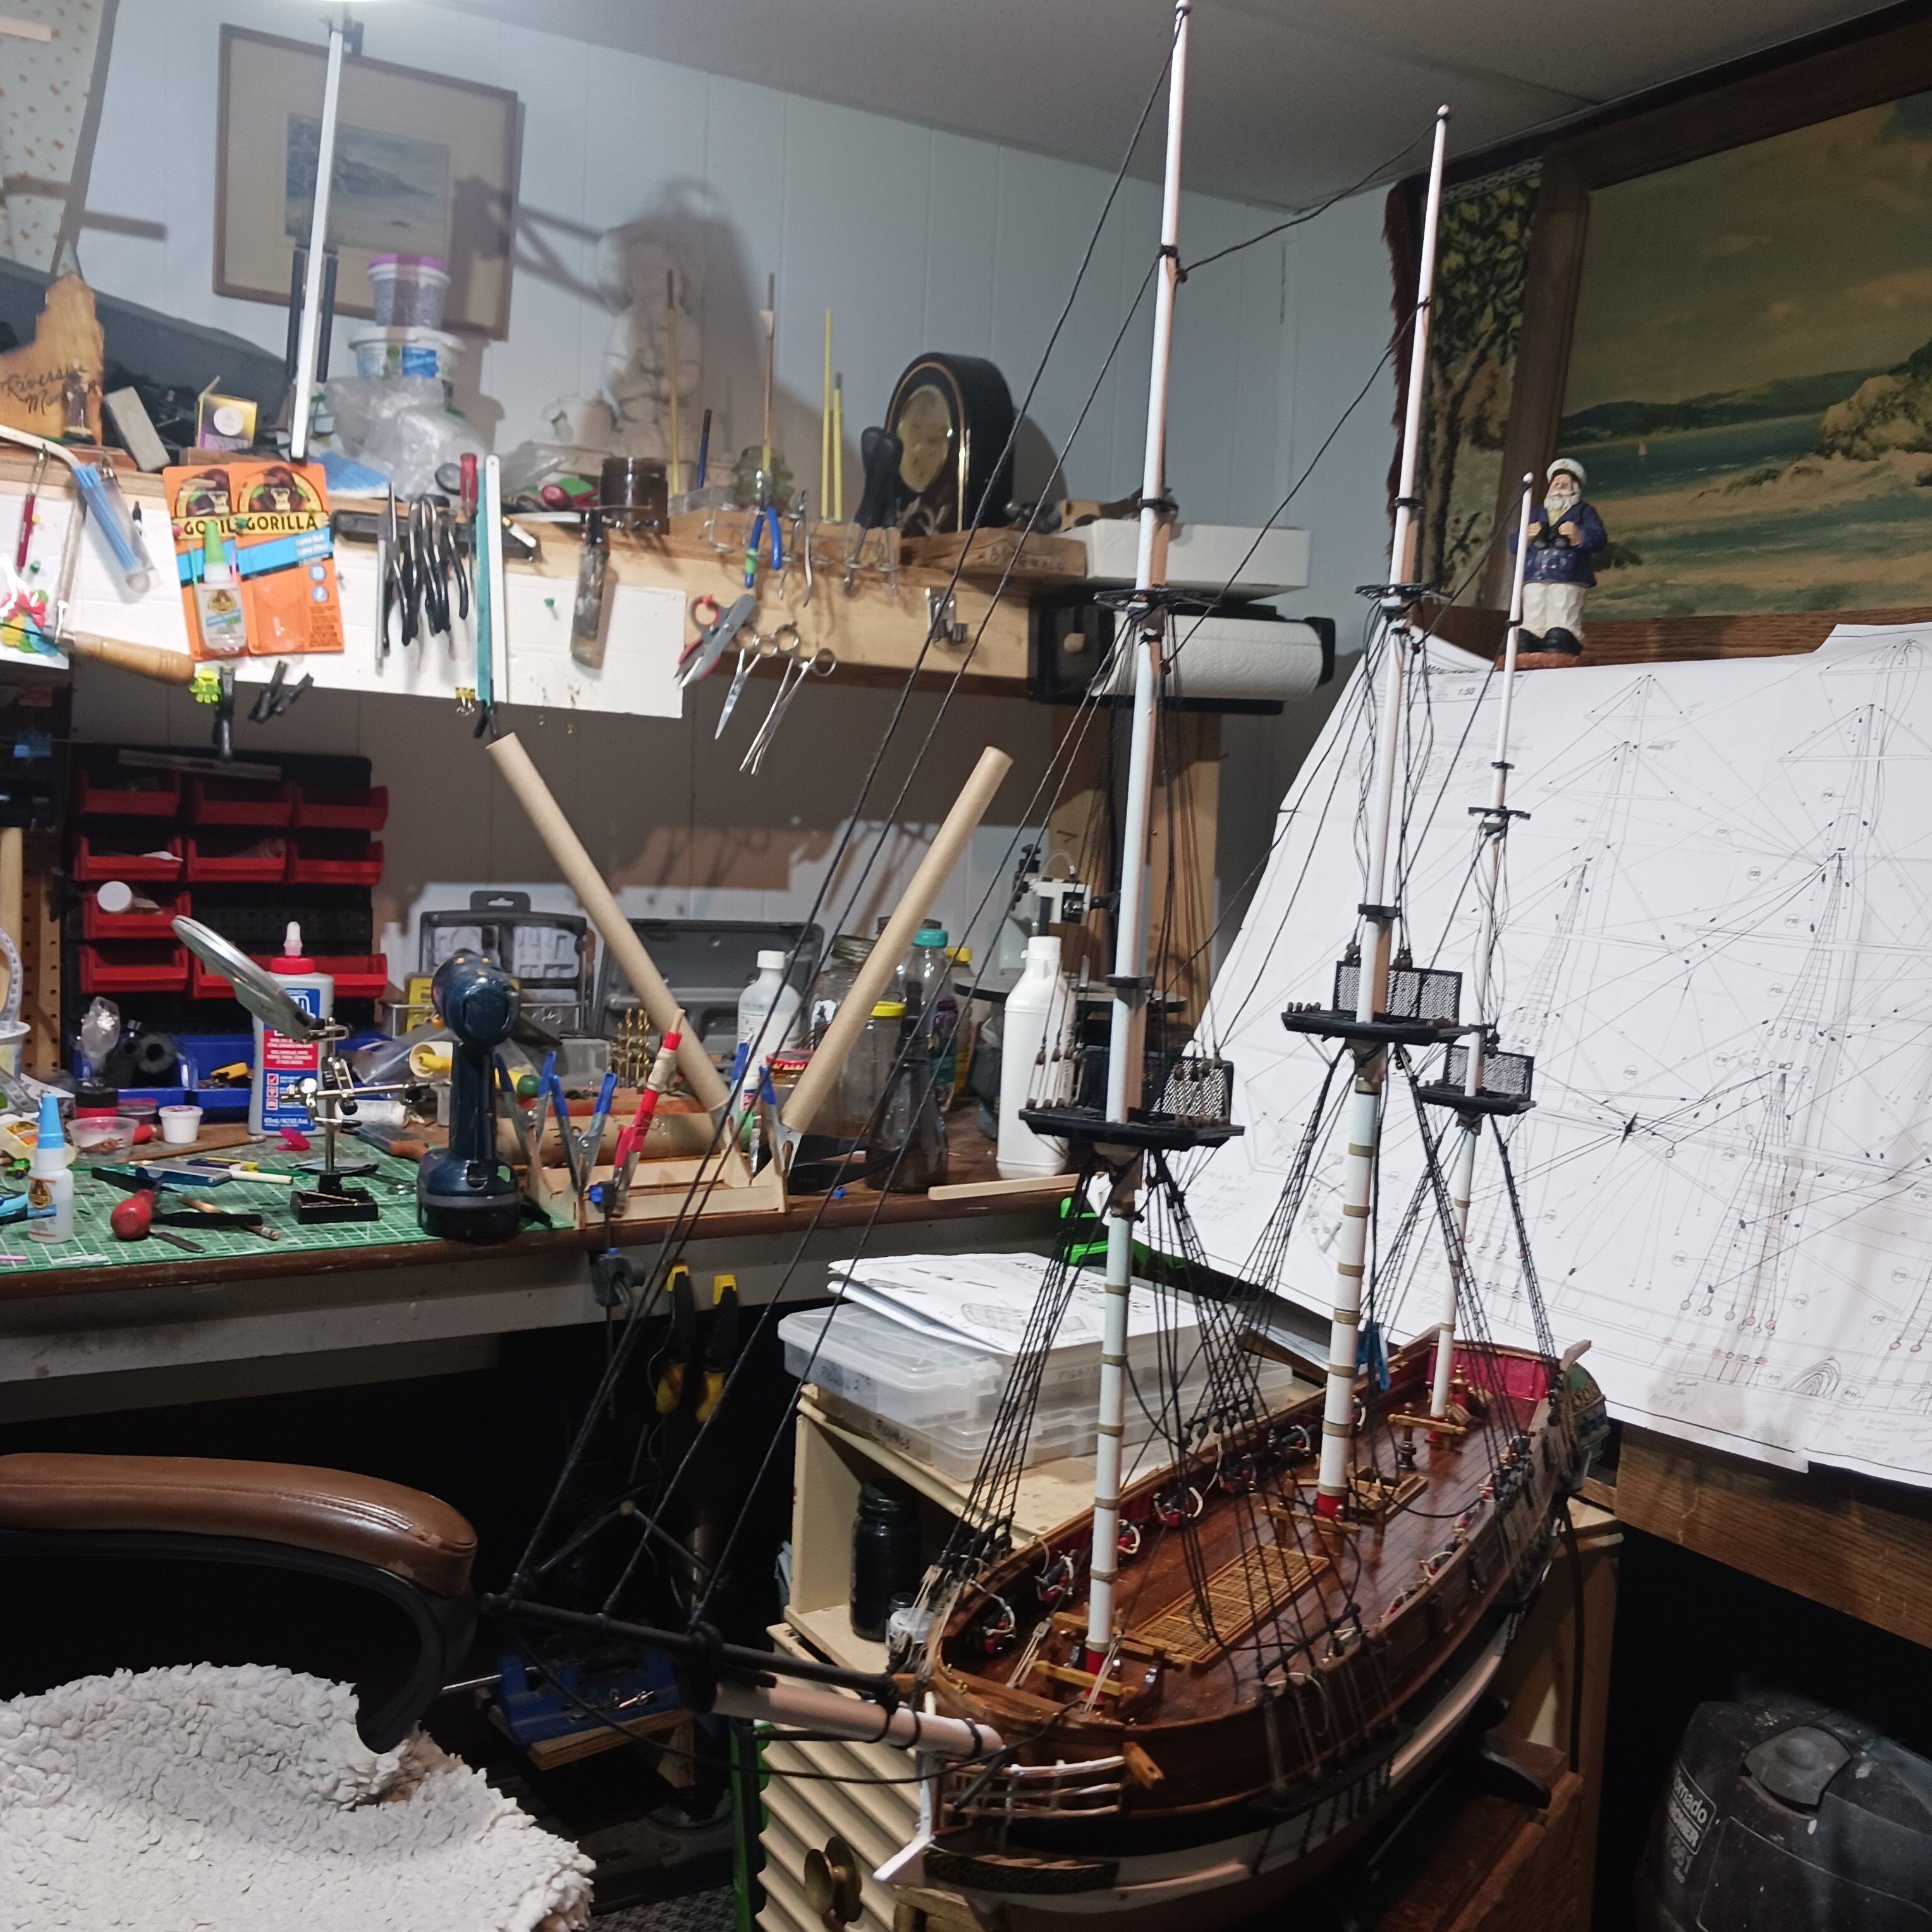
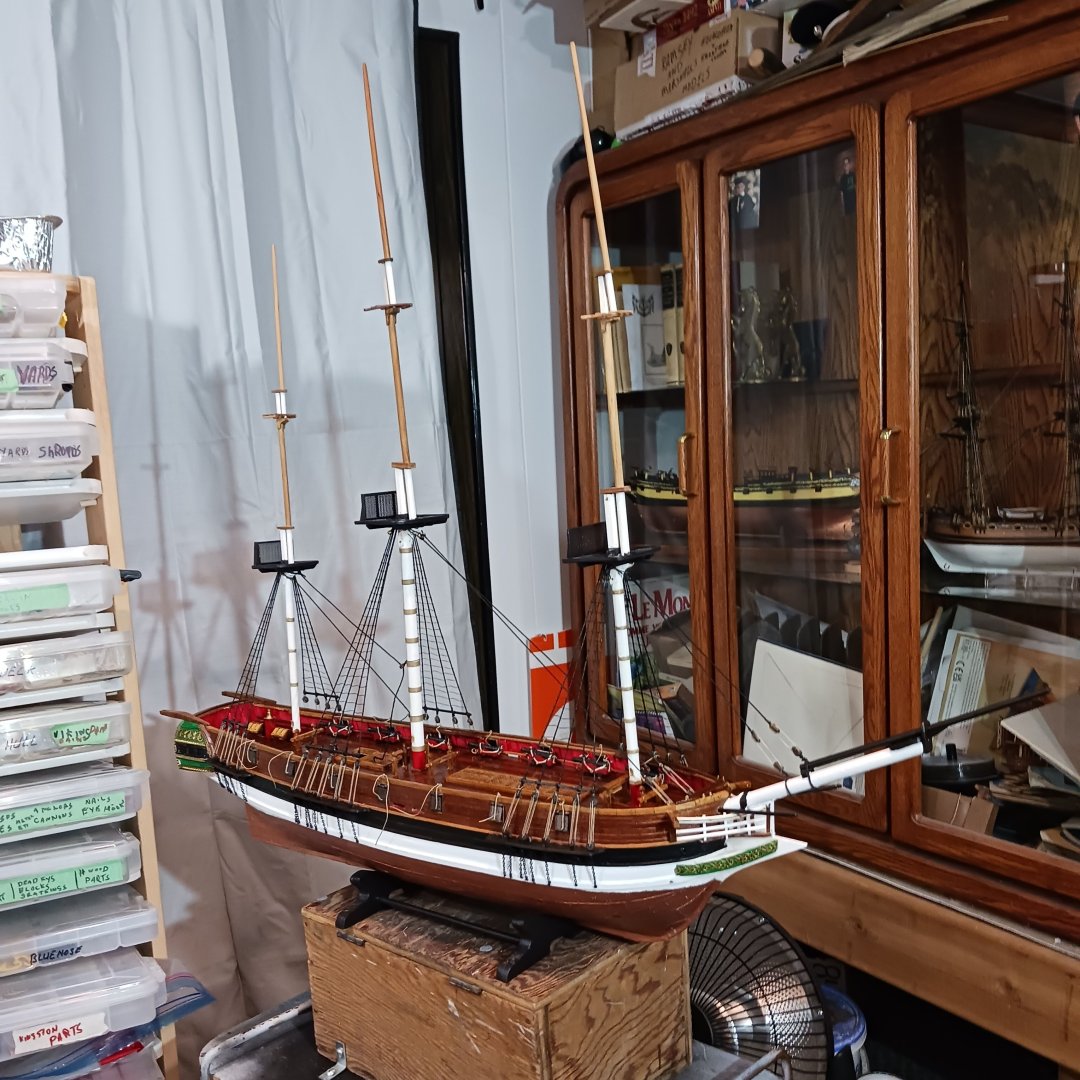
An attempt was made at the making of the euphroes blocks for the crowsfeet lines.... And a call to my favorite 3-D printer was made lol. I get them in a week 🤪. Now that all the masts are painted and installed, I have no room left in the shipyard lol. I may try putting it into this display case it will be to only thing in the case thats for sure. I had it in there before but not sure it will fit back in after the yards are installed. We will see. Now for all the stays and work on the ships boat , and the stern needs some work, but making great progress . Thanks for looking in. Bob M.

-
Bob M.
-
Good morning Digitalis, I mostly use woodglue for planking, with a bottle of CA for stubborn pieces. I will start a plank, or end one with CA, but mostly wood glue. This is one of those questions that it your preference on which one you like. I have had great luck with wood glue and clamps .Good luck. Bob M.
- 47 replies
-
- 1
-
-
- La Nina
- Artesania Latina
- (and 1 more)
-
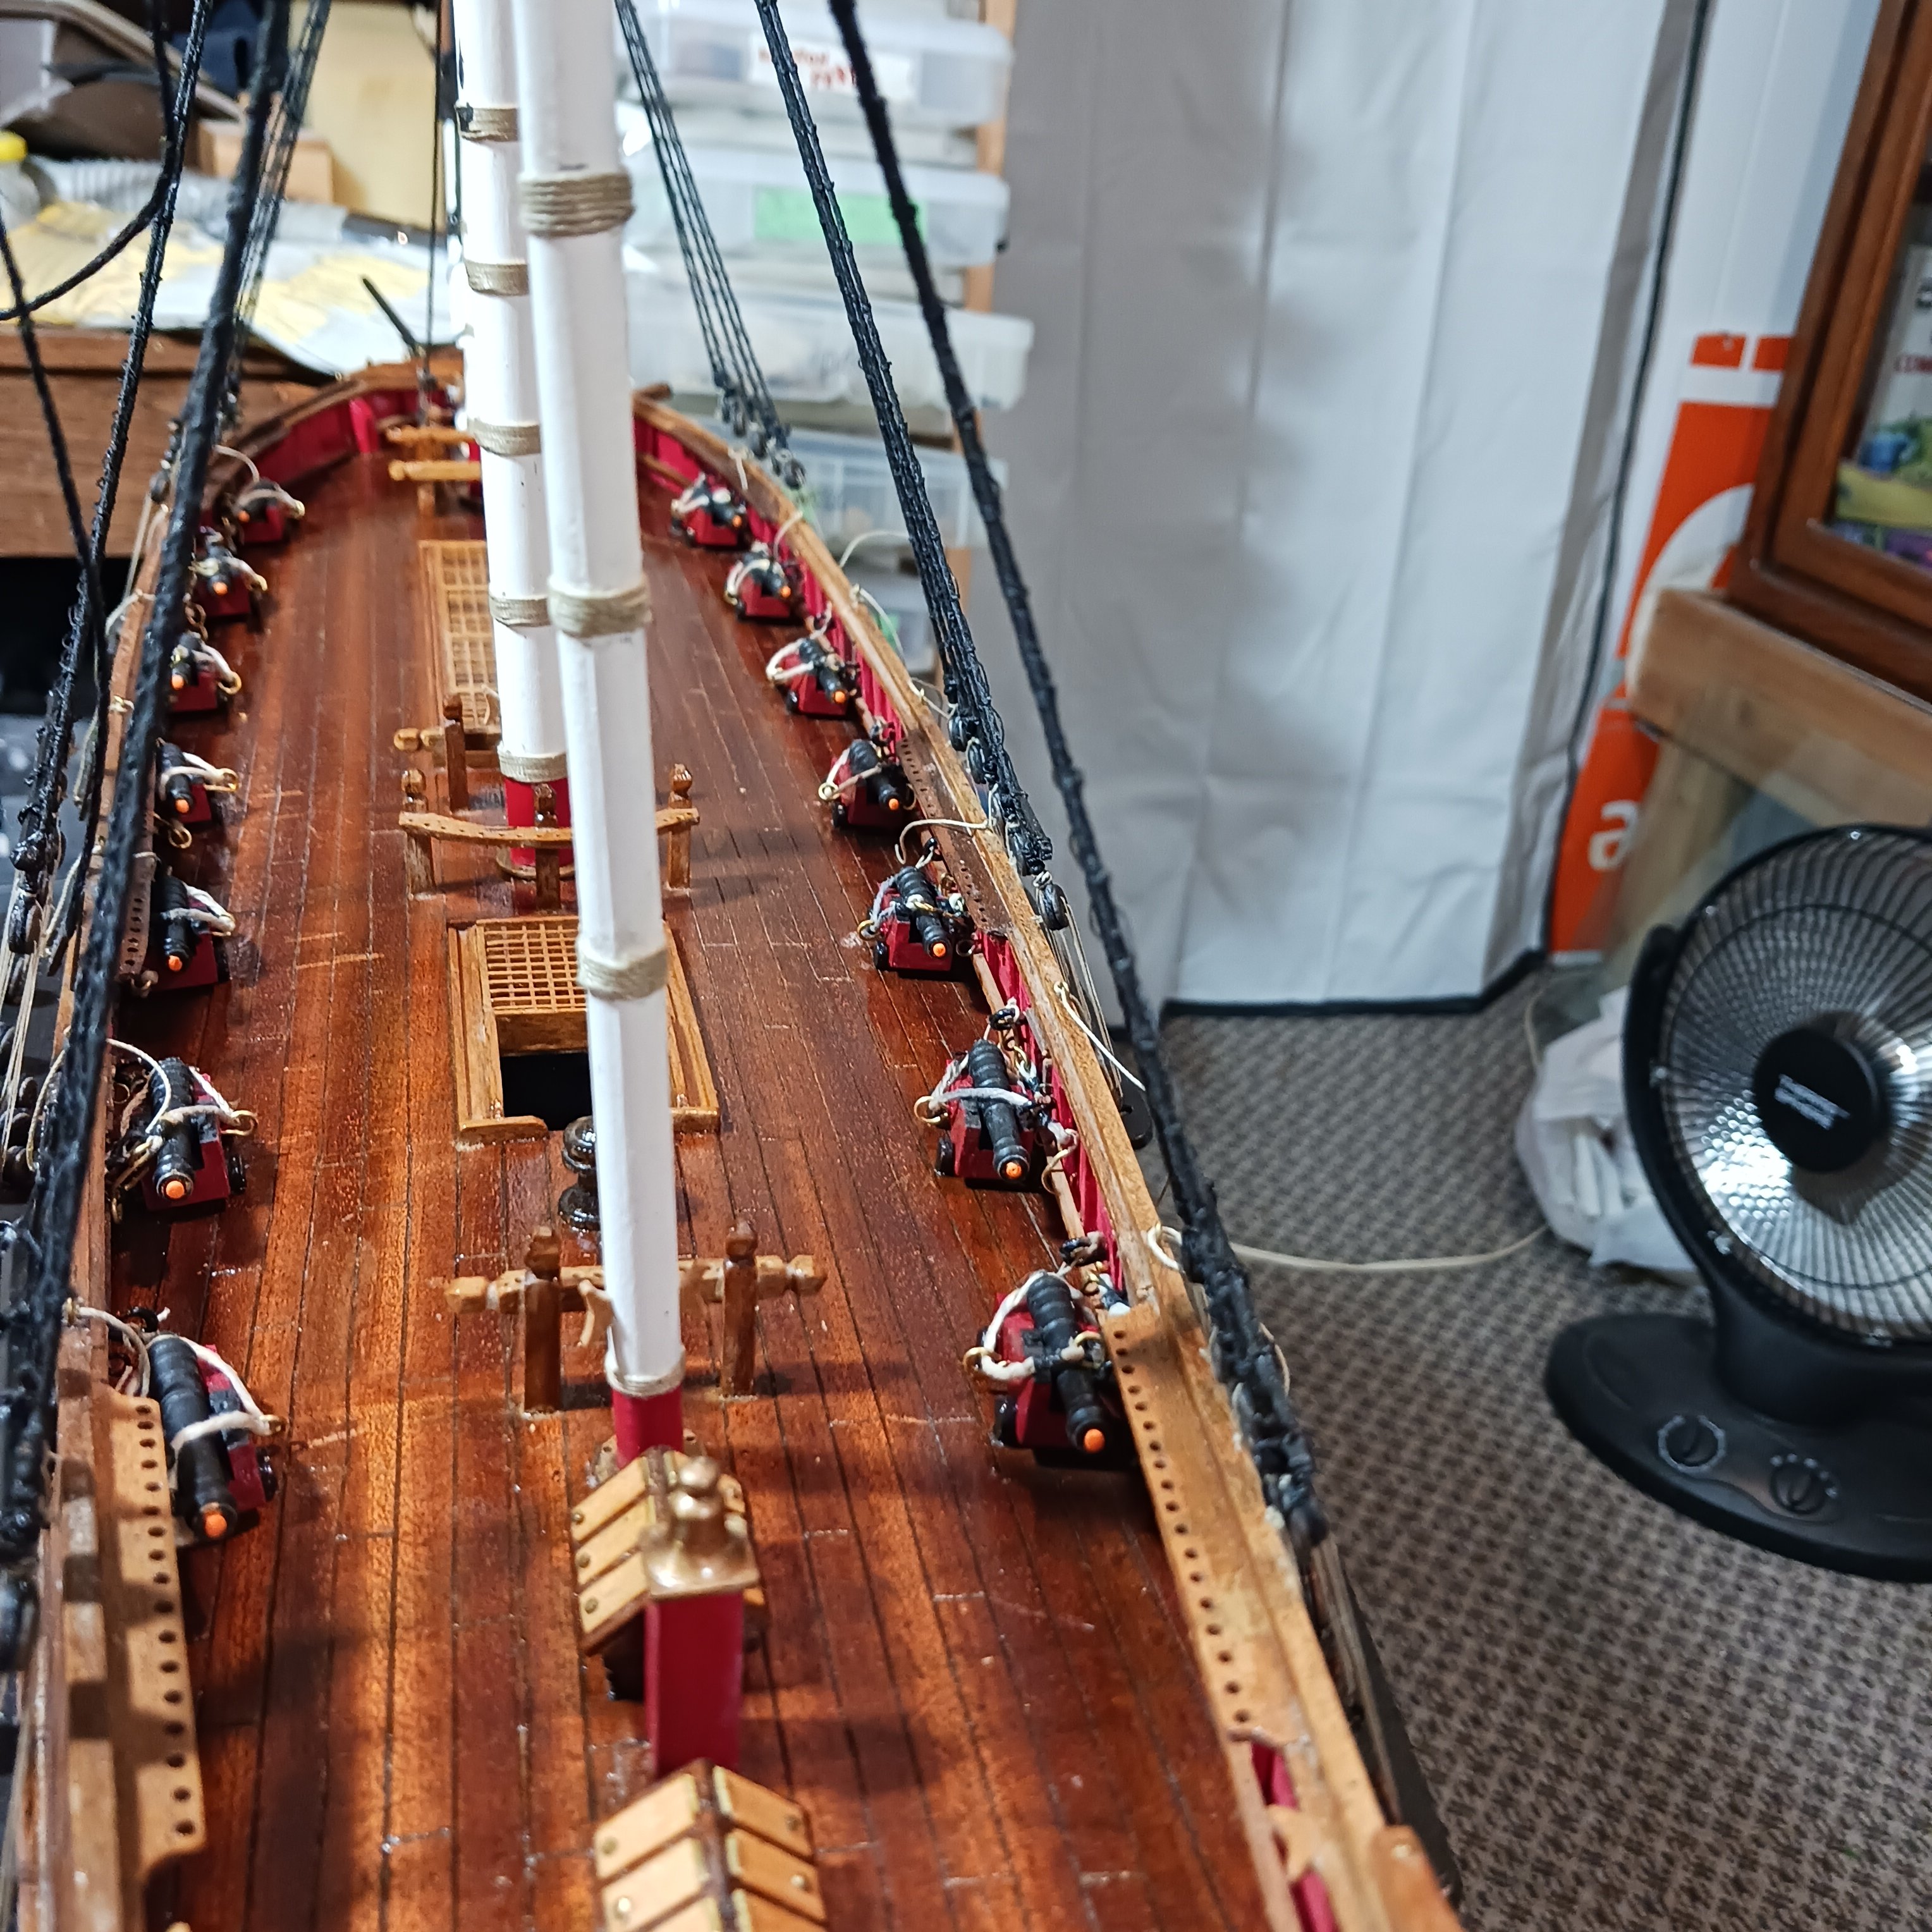
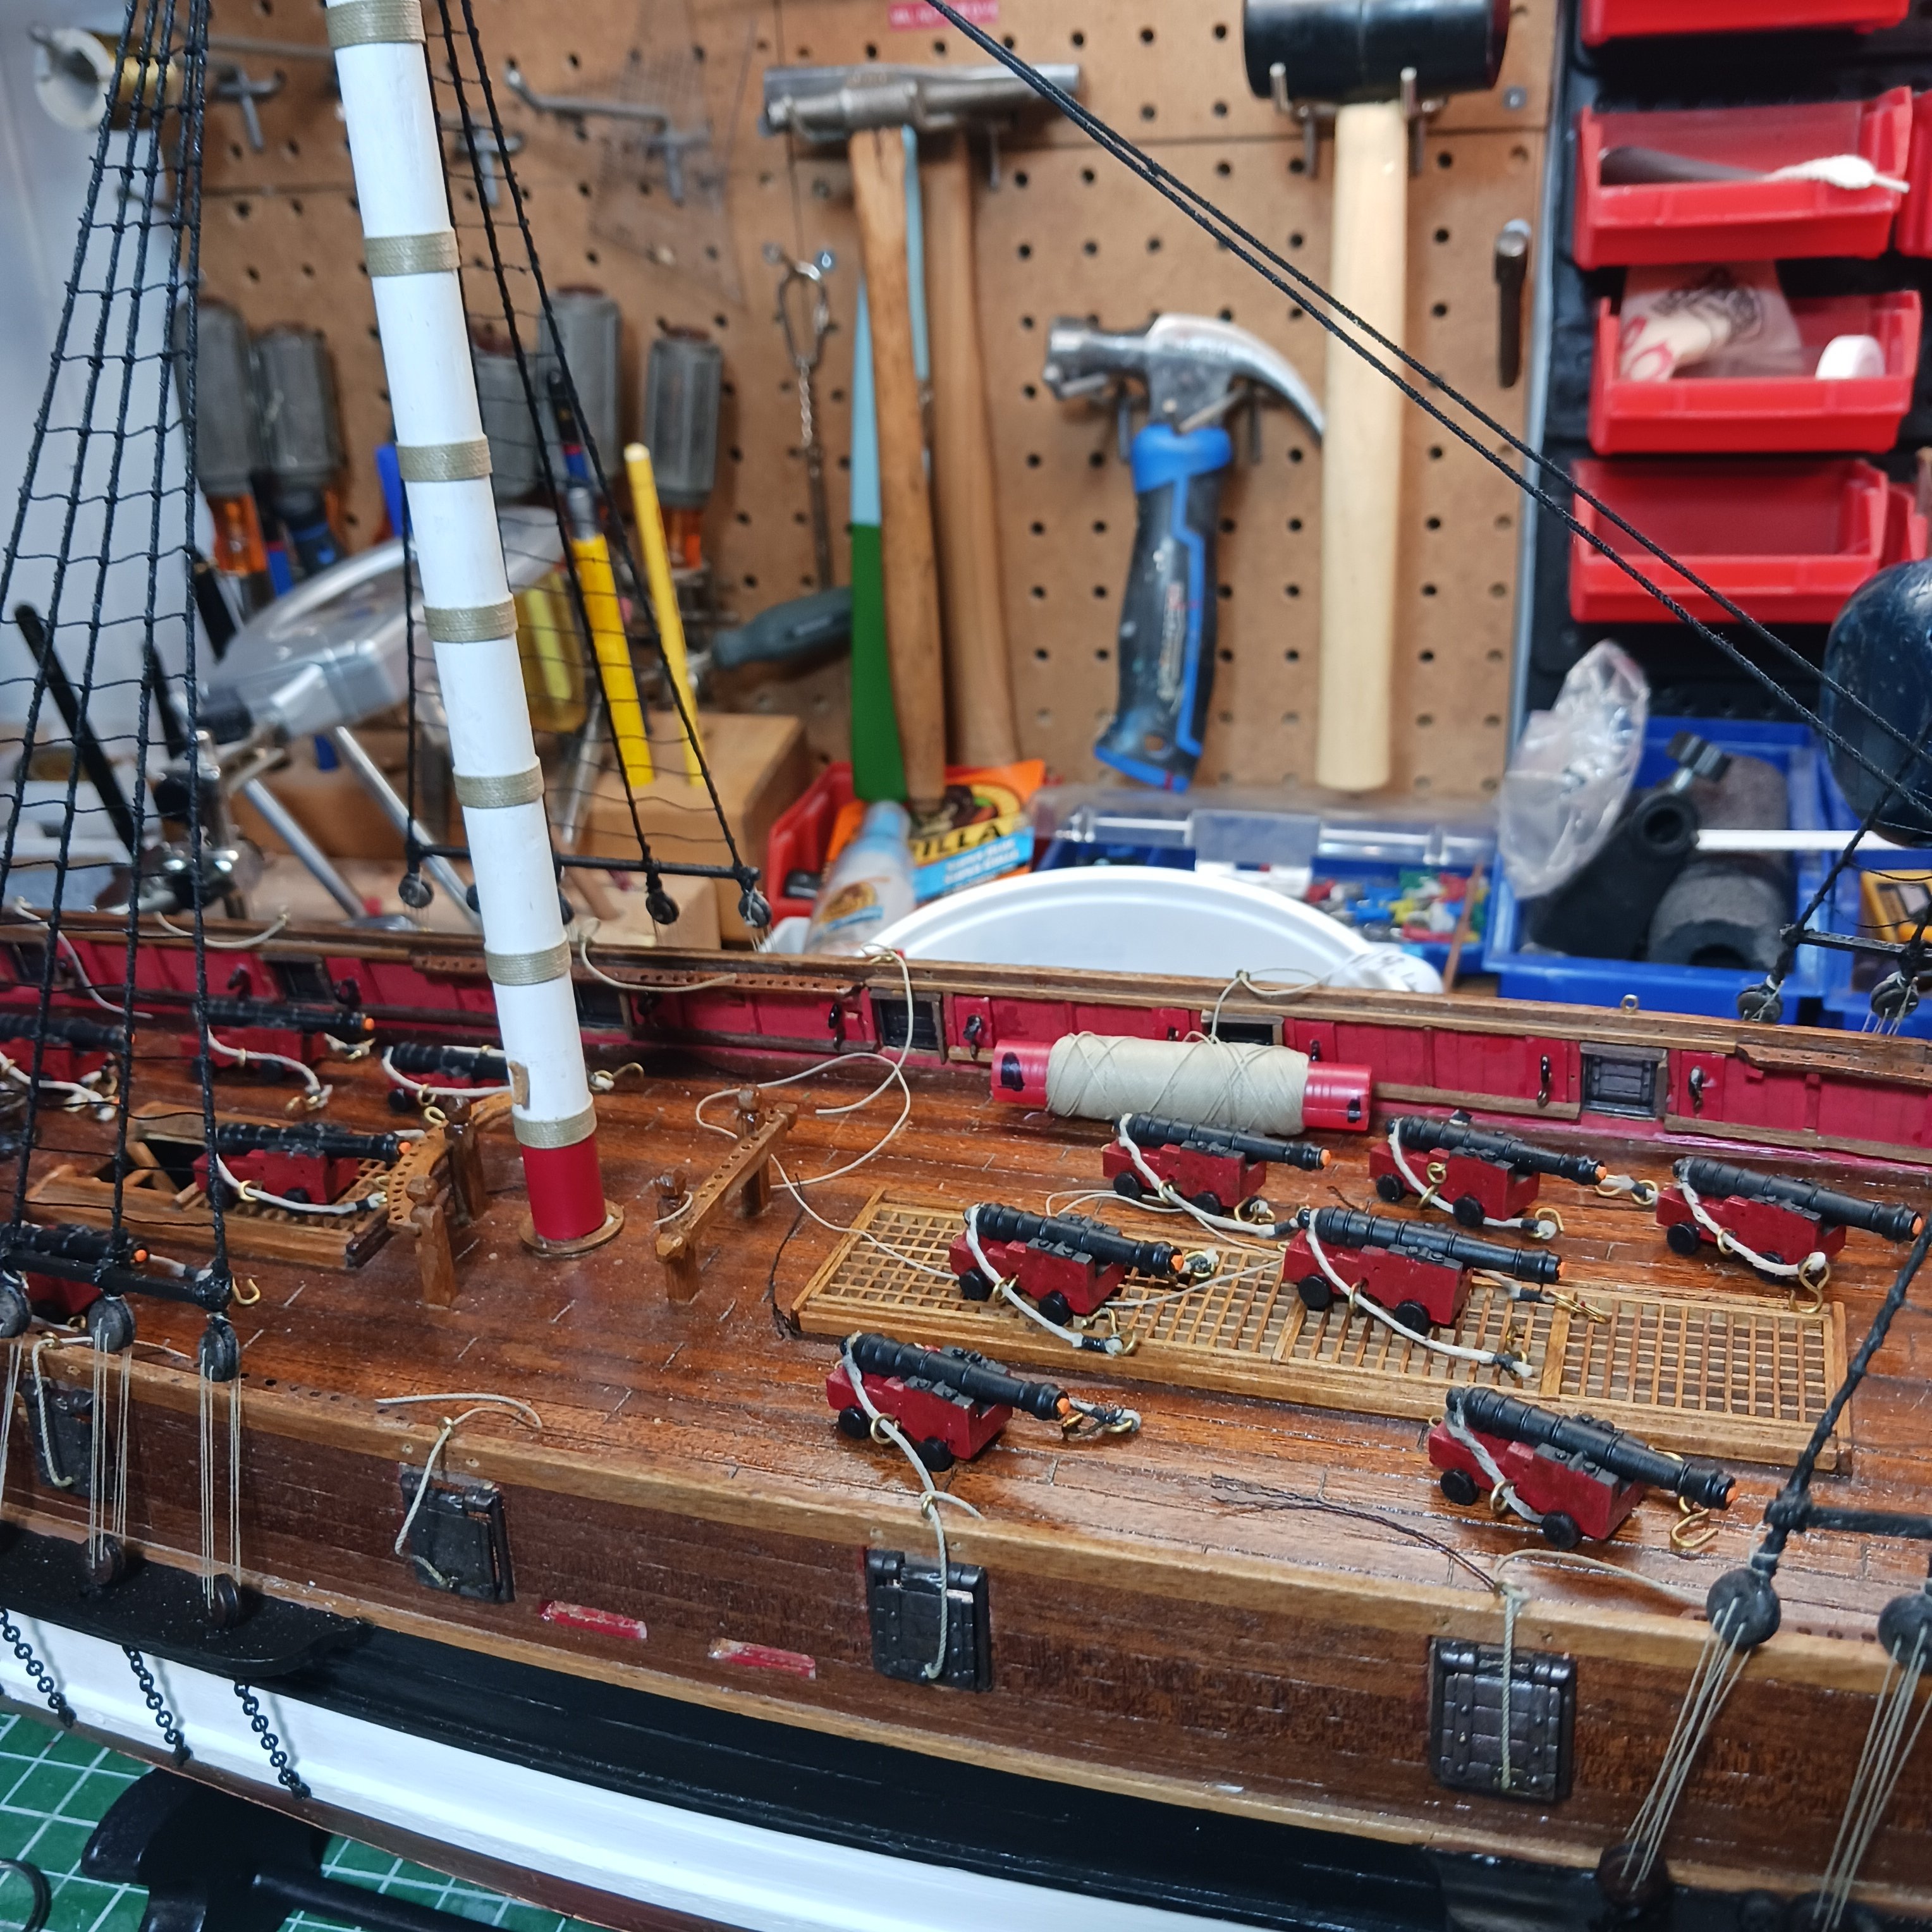
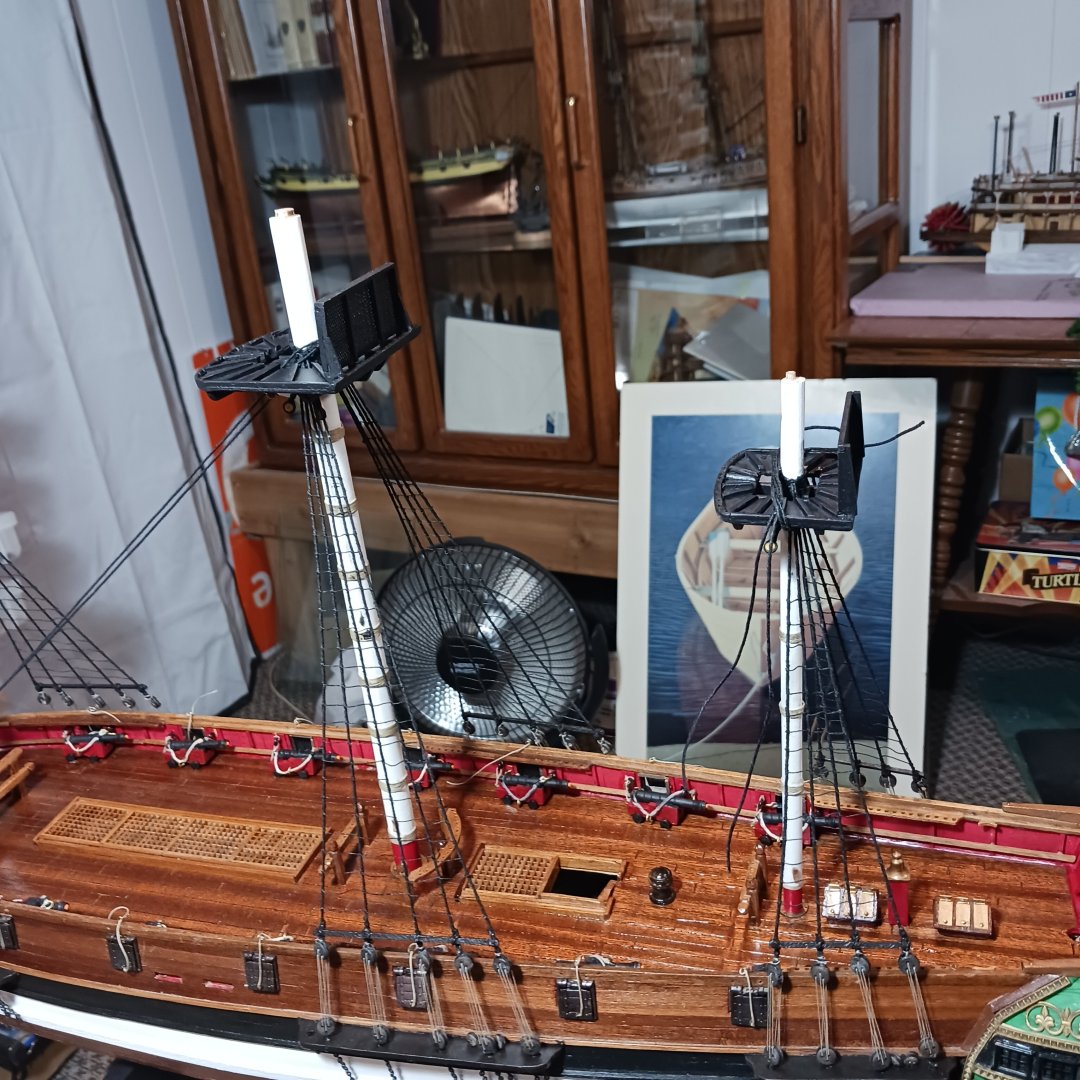
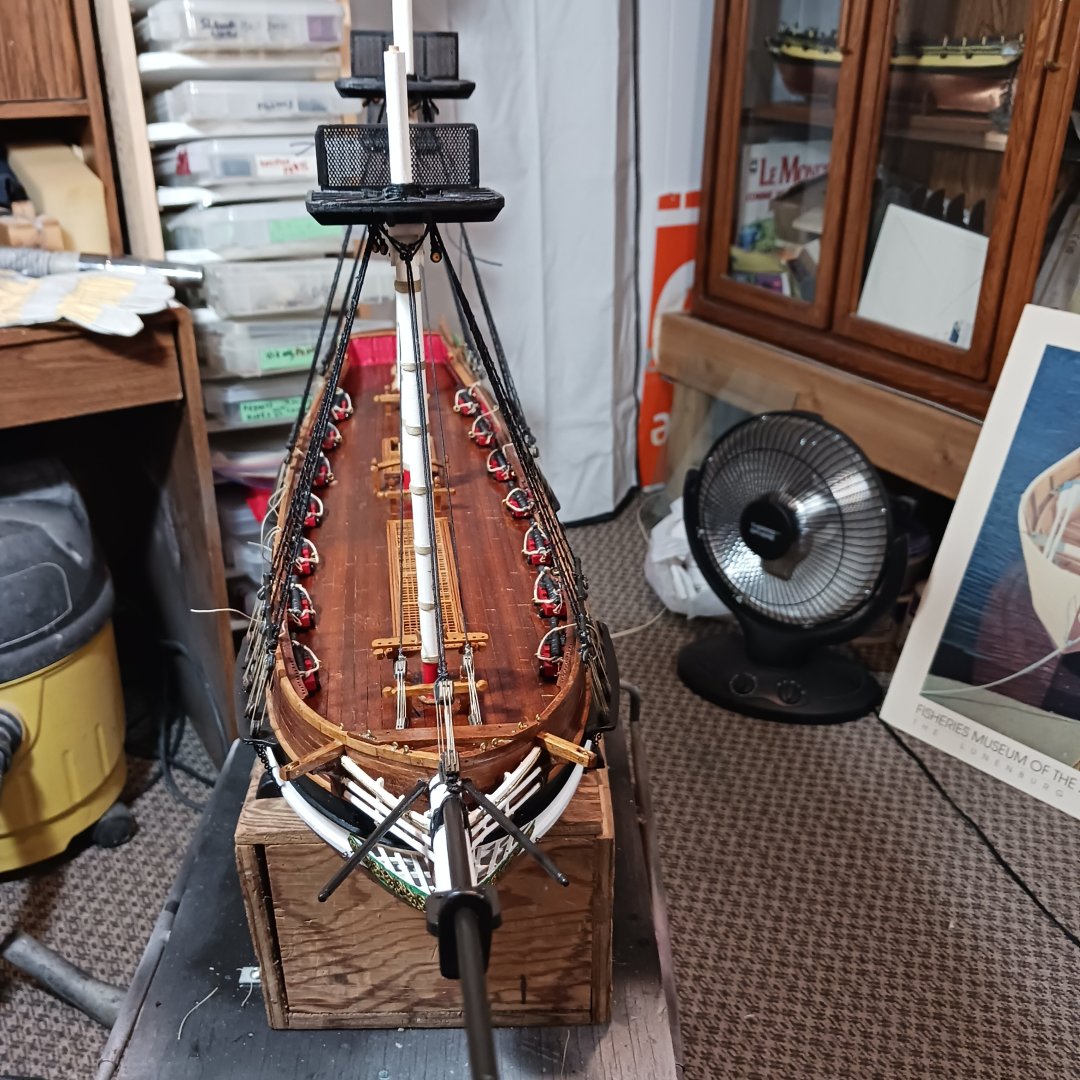
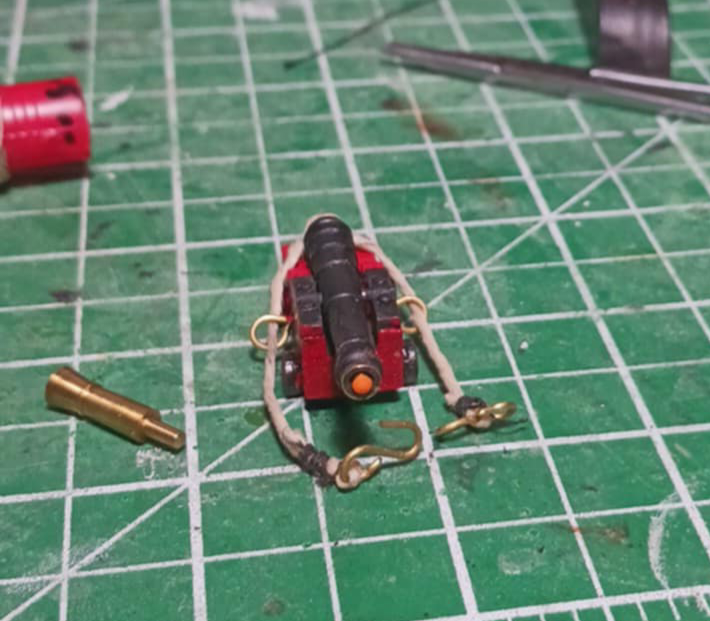
Making great progress on the cannons, I have them all stowed away, waiting for the voyage to the Artic. I played with the Tampions, I put them in but no pull chains to tiny. But they are a conversion piece. Lol Belive me the picture makes the Tampions apear larger than they really are So now that they are stowed I will be turning my attention to the crowsfeet lines. But not tonight, yes you guessed it curling lol. I could use the break from rigging cannons anyway lol Talk soon , thanks for peeking at the old barge. Bob M.

-
The King of the Mississippi is a fun model to build, I agree about starting a log , so many help me to make mine. Good luck on yours !! Bob M.
-
Good looking sails, a suggestion, look up a product call GAC 400. It is a fabric stiffener that works really good for making wind in the sails. Not sure if you can get it there but I really like it. Good luck my friend. Bob M.
-
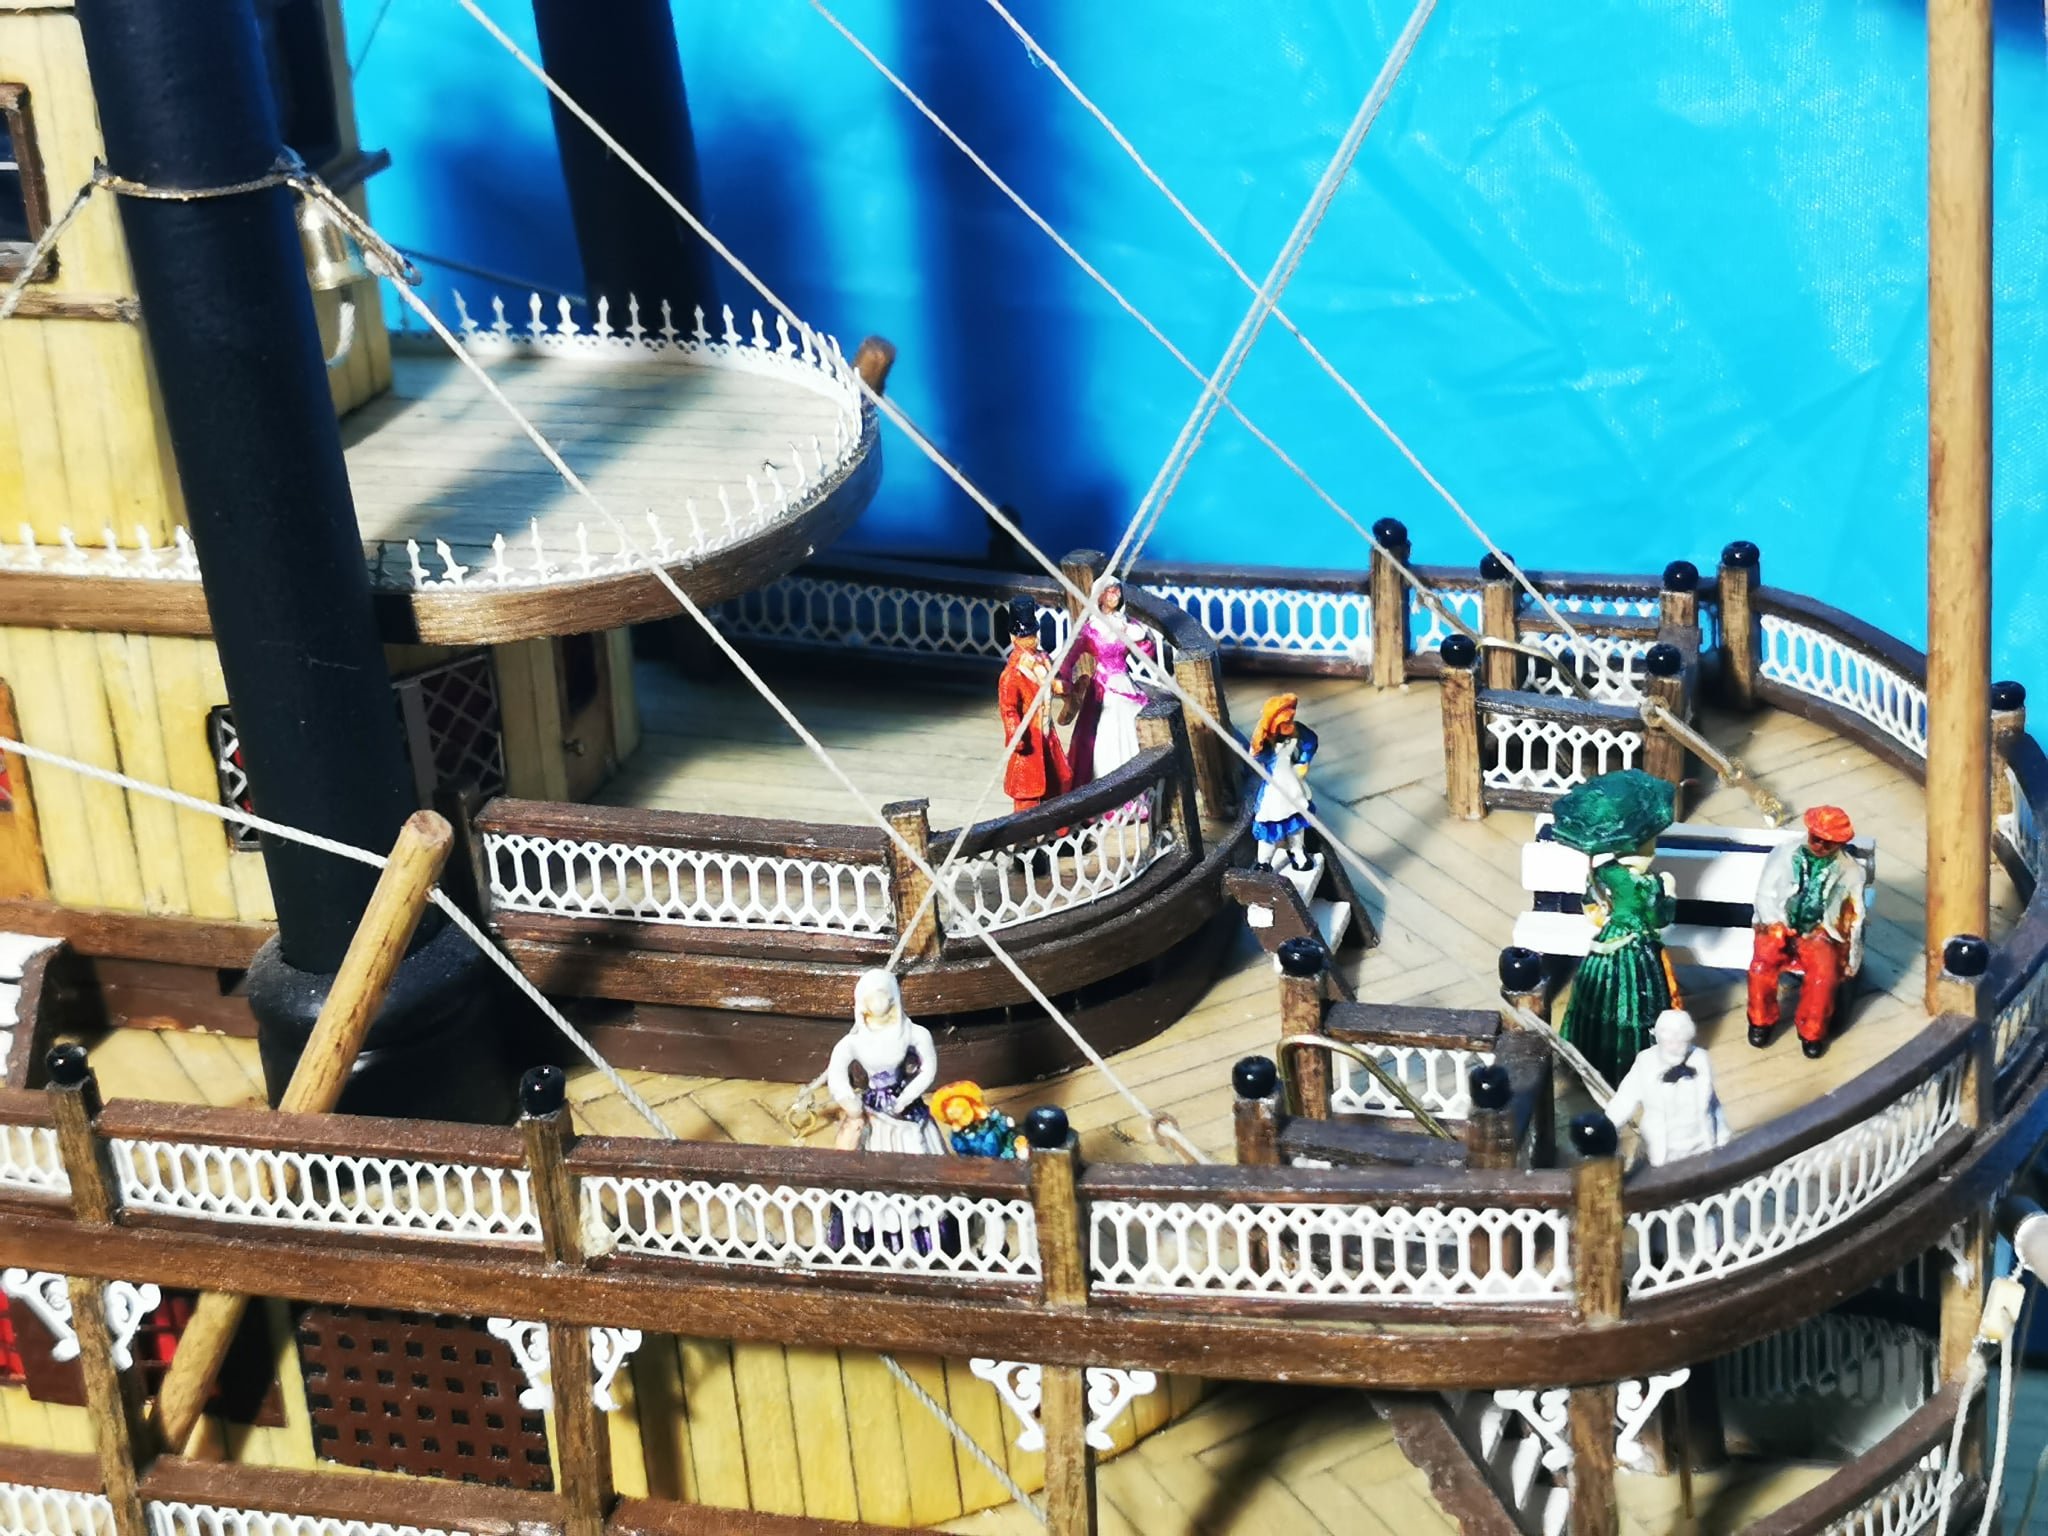
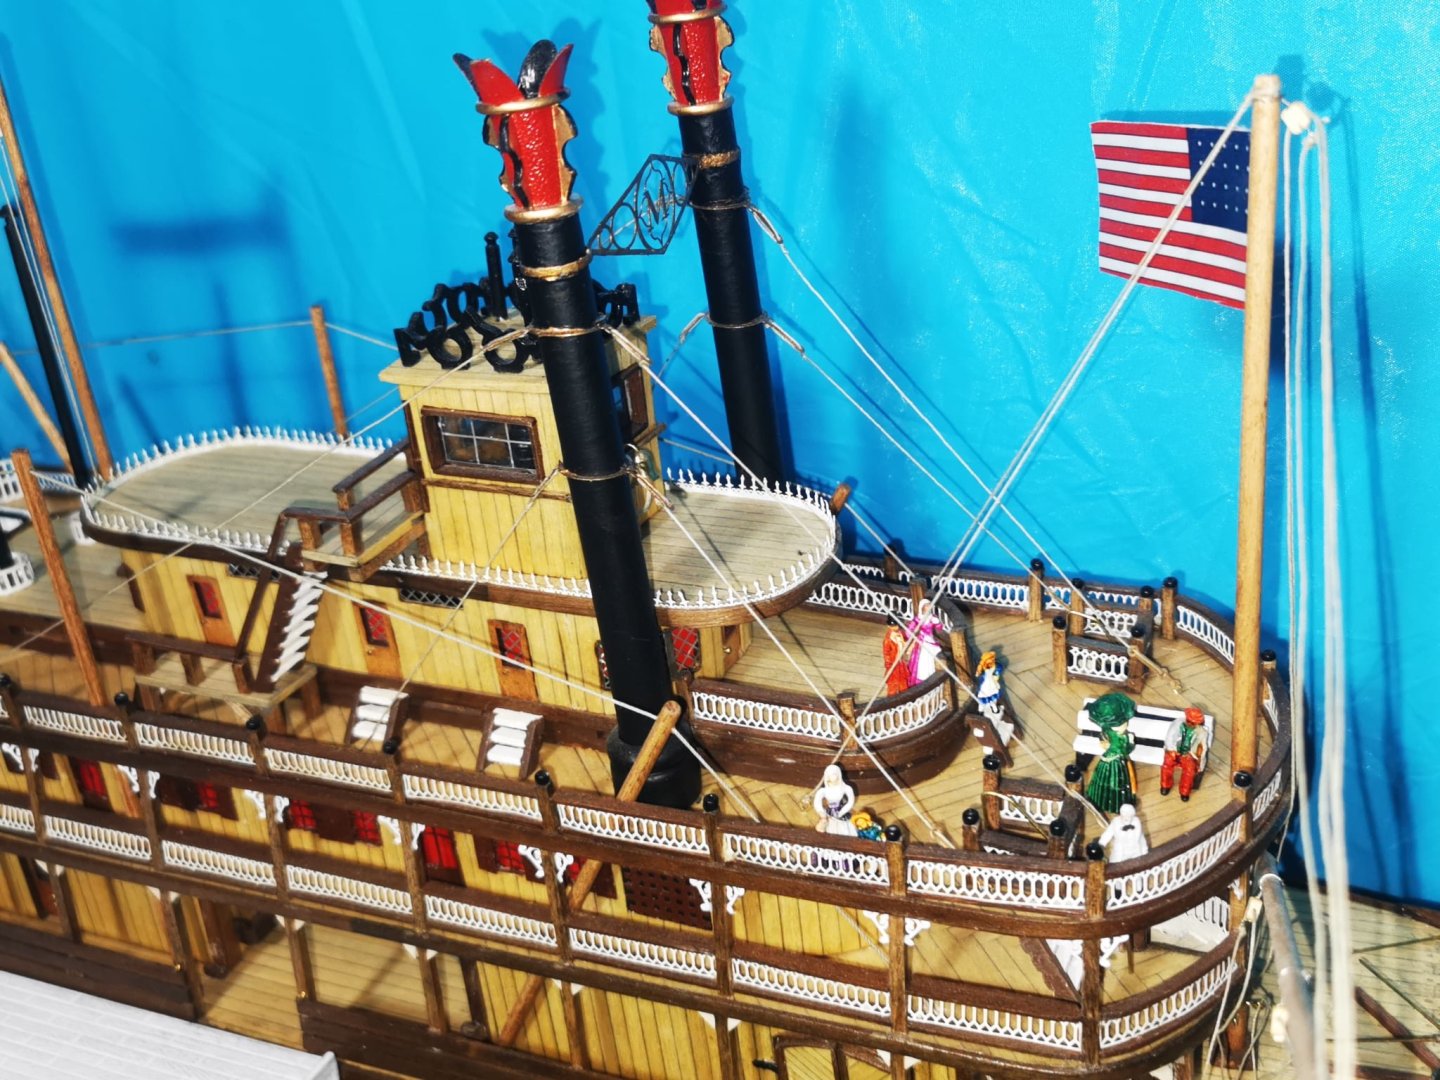
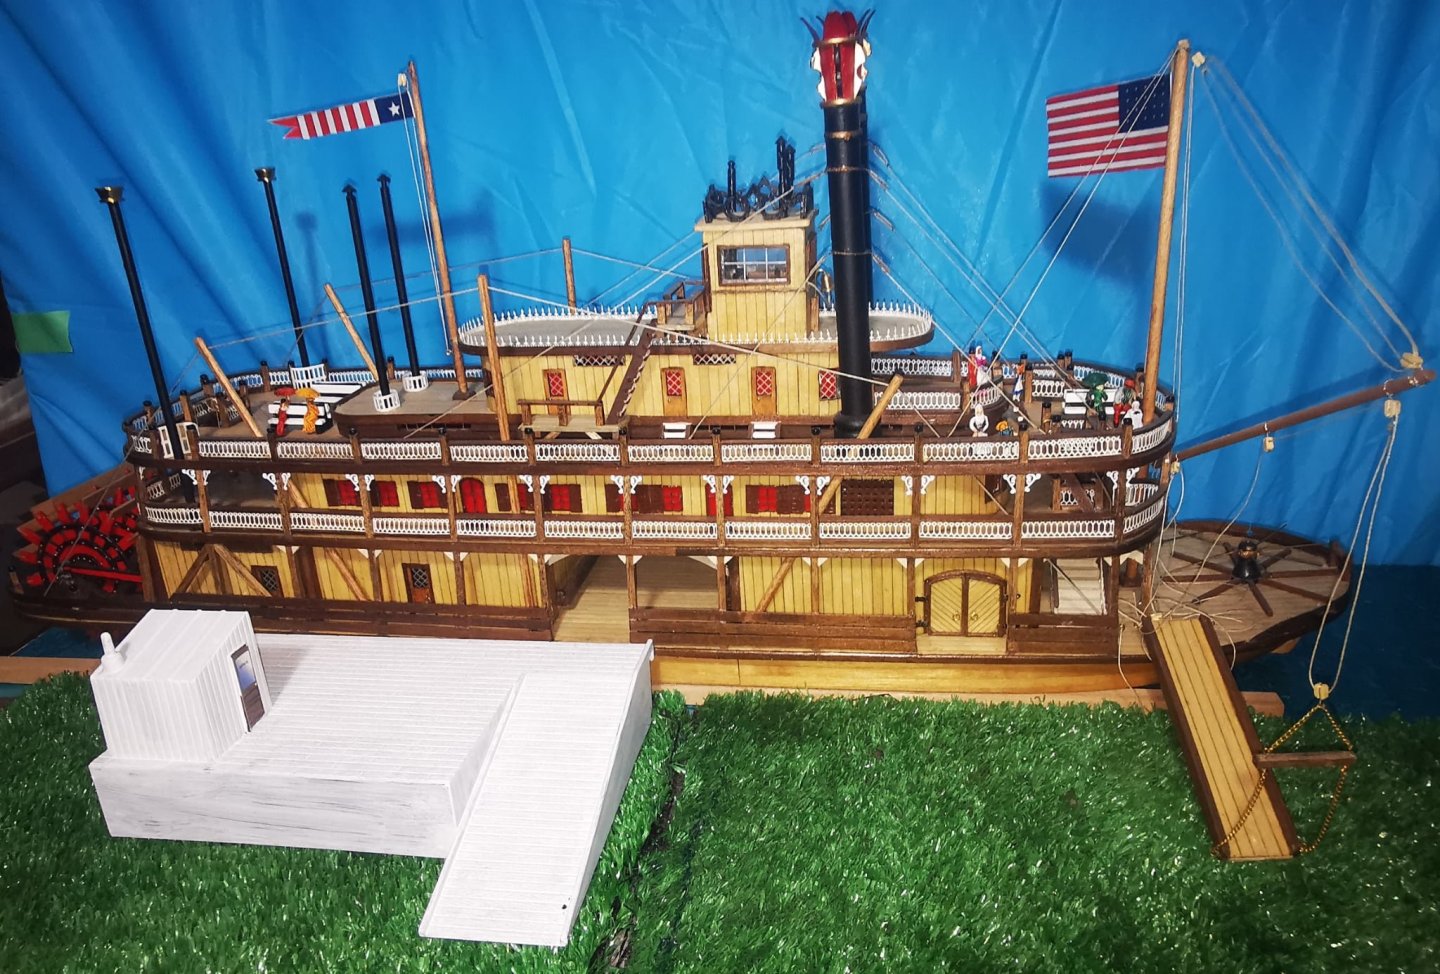
More passengers have been boarded, and one pretty famous fellow up front. Mark Twain, made by my good friend @Gabek. I may touch up his face a bit but he looks like he is in awe of the ferris wheel. Which is still in the box. Time to break out my air brush and try to immulate @Cathead grainery it's amazing you should look it up , great stuff. After we get the office, dock all painted, I will install some white fences and a creek just to the right of the dock. You can make out the depression, but I cut it out and have a few ducks nesting or floating around. Or maybe a pelican slide how knows lol. That's it for now can't wait for my shipmate to come over Wednesday and for a few hours, hopefully we will start the wheel. Take care , thanks for looking in. Bob M.

- 87 replies
-
- 10
-
-
-
- King of the Mississippi
- Artesania Latina
- (and 2 more)
-
Like Peanut butter and Jelly, and that's all I got to stay about that. Amazing work Keith, are we getting ready for the river yet? Bob M.
- 732 replies
-
- 4
-
-

-
- Lula
- sternwheeler
- (and 1 more)
-
Awesome work, can't wait to start working on mine. Great job. Bob M.
-
The cannons all have thier Tampoin on, and are all thouch up ready to be stowed tomorrow. I had 50 of these cannons extensions pieces, I inserted in the barrel and cut them off. A touch of international orange for the plugs and we are ready to go. After the cannons are stowed it's on to the crowsfeet lines, then upper deadeyes A very special thanks to @archjofo for all his help, I know I won't come close to his work , it is unbelievable I am learning so much from him thanks my friend. Bob M.

-
Very nice work, I got to try that some day. They actually look like grain elevators. When I was young I work for the railroad and live in that very same yellow and green building, amazing what paint can do. We'll done. Bob M.
-
Congratulations, very nicely done, Bob M.
- 81 replies
-
- 2
-
-
- Norwegian Sailing Pram
- Model Shipways
- (and 1 more)