HOLIDAY DONATION DRIVE - SUPPORT MSW - DO YOUR PART TO KEEP THIS GREAT FORUM GOING! (78 donations so far out of 49,000 members - C'mon guys!)
×

Knocklouder
-
Posts
2,943 -
Joined
-
Last visited
Content Type
Profiles
Forums
Gallery
Events
Everything posted by Knocklouder
-
 Yes that's it. I forgot to trace the bow and stern peices. And you know me when it comes to figuring out things lol. Bob.
 -
Fantastic work my friend you have a lot more details than I have on my ship. Maybe that's why it seem that I am going warp speed. . Every line looks fantastic great work, like I said before it will be hard to giver back. Carson definately will be pleased, it gobsmacked beautiful. Bob M.
- 301 replies
-
- 5
-

-

-
- Constitution
- Bluejacket Shipcrafters
- (and 1 more)
-
Great progress sir? I love ratlines, did 294 of them just today. Your ship is looking awesome. Bob M.
- 36 replies
-
- 1
-
-
- Duchess of Kingston
- Vanguard Models
- (and 1 more)
-
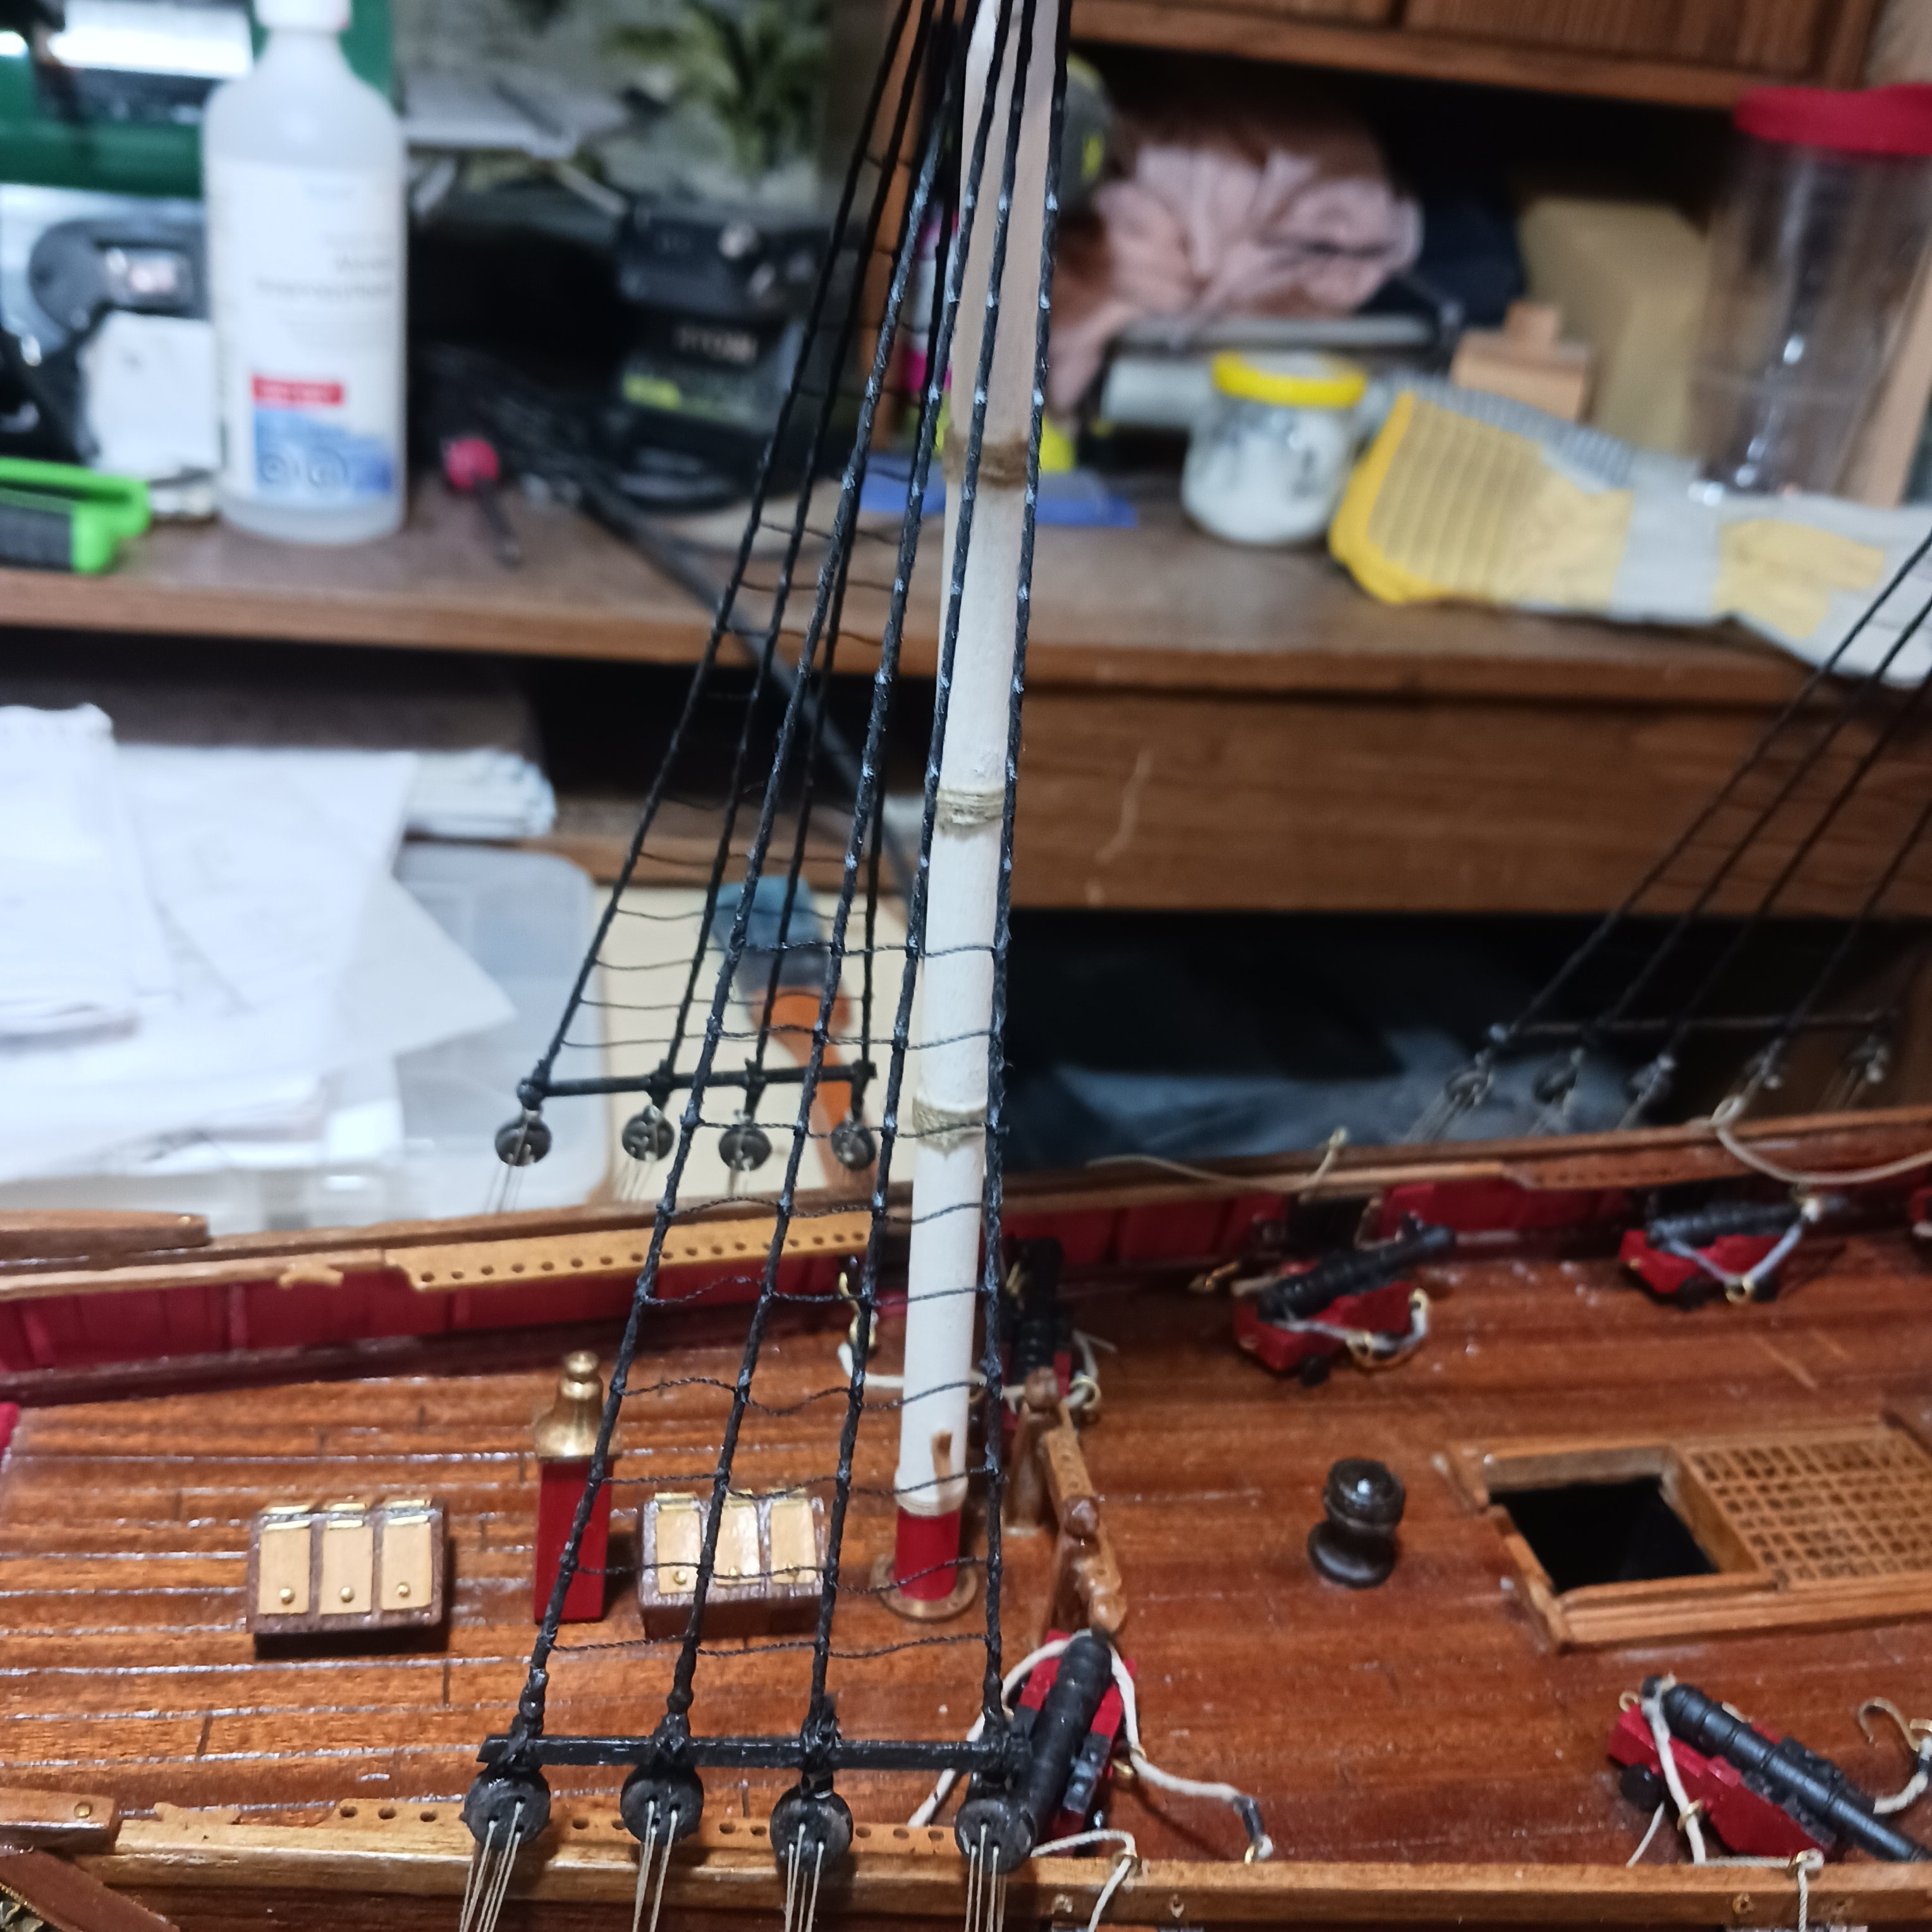
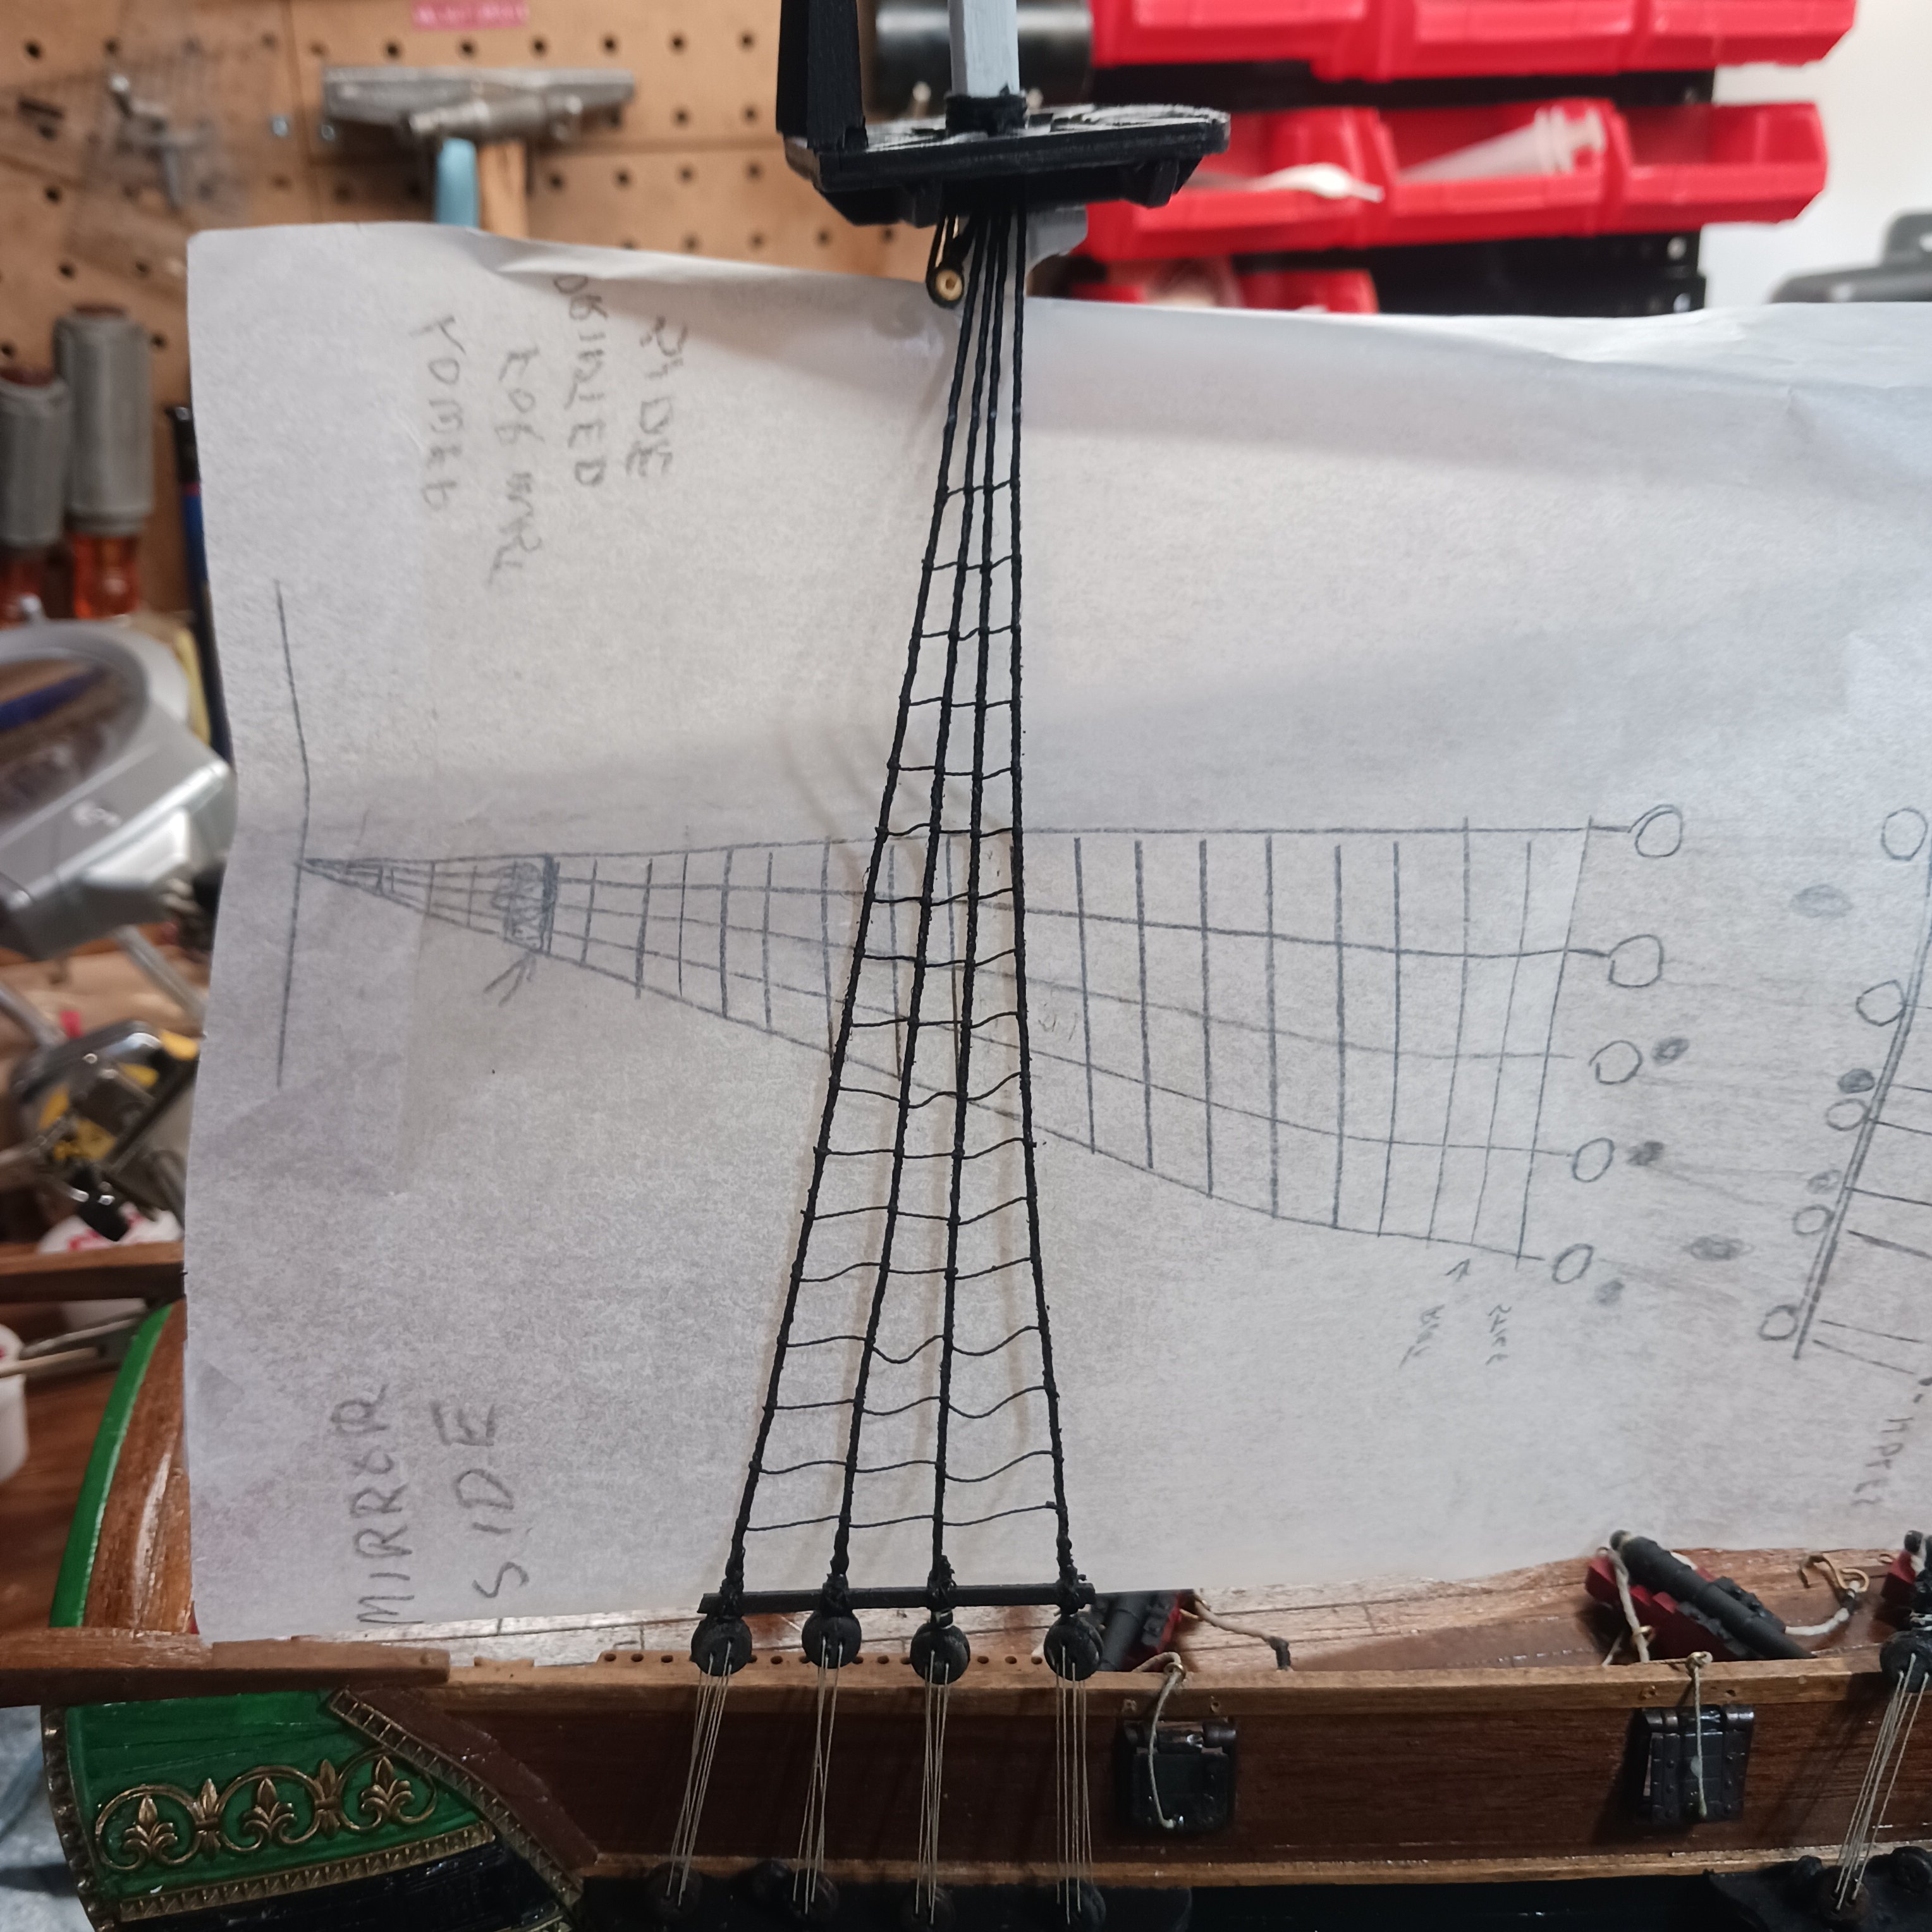
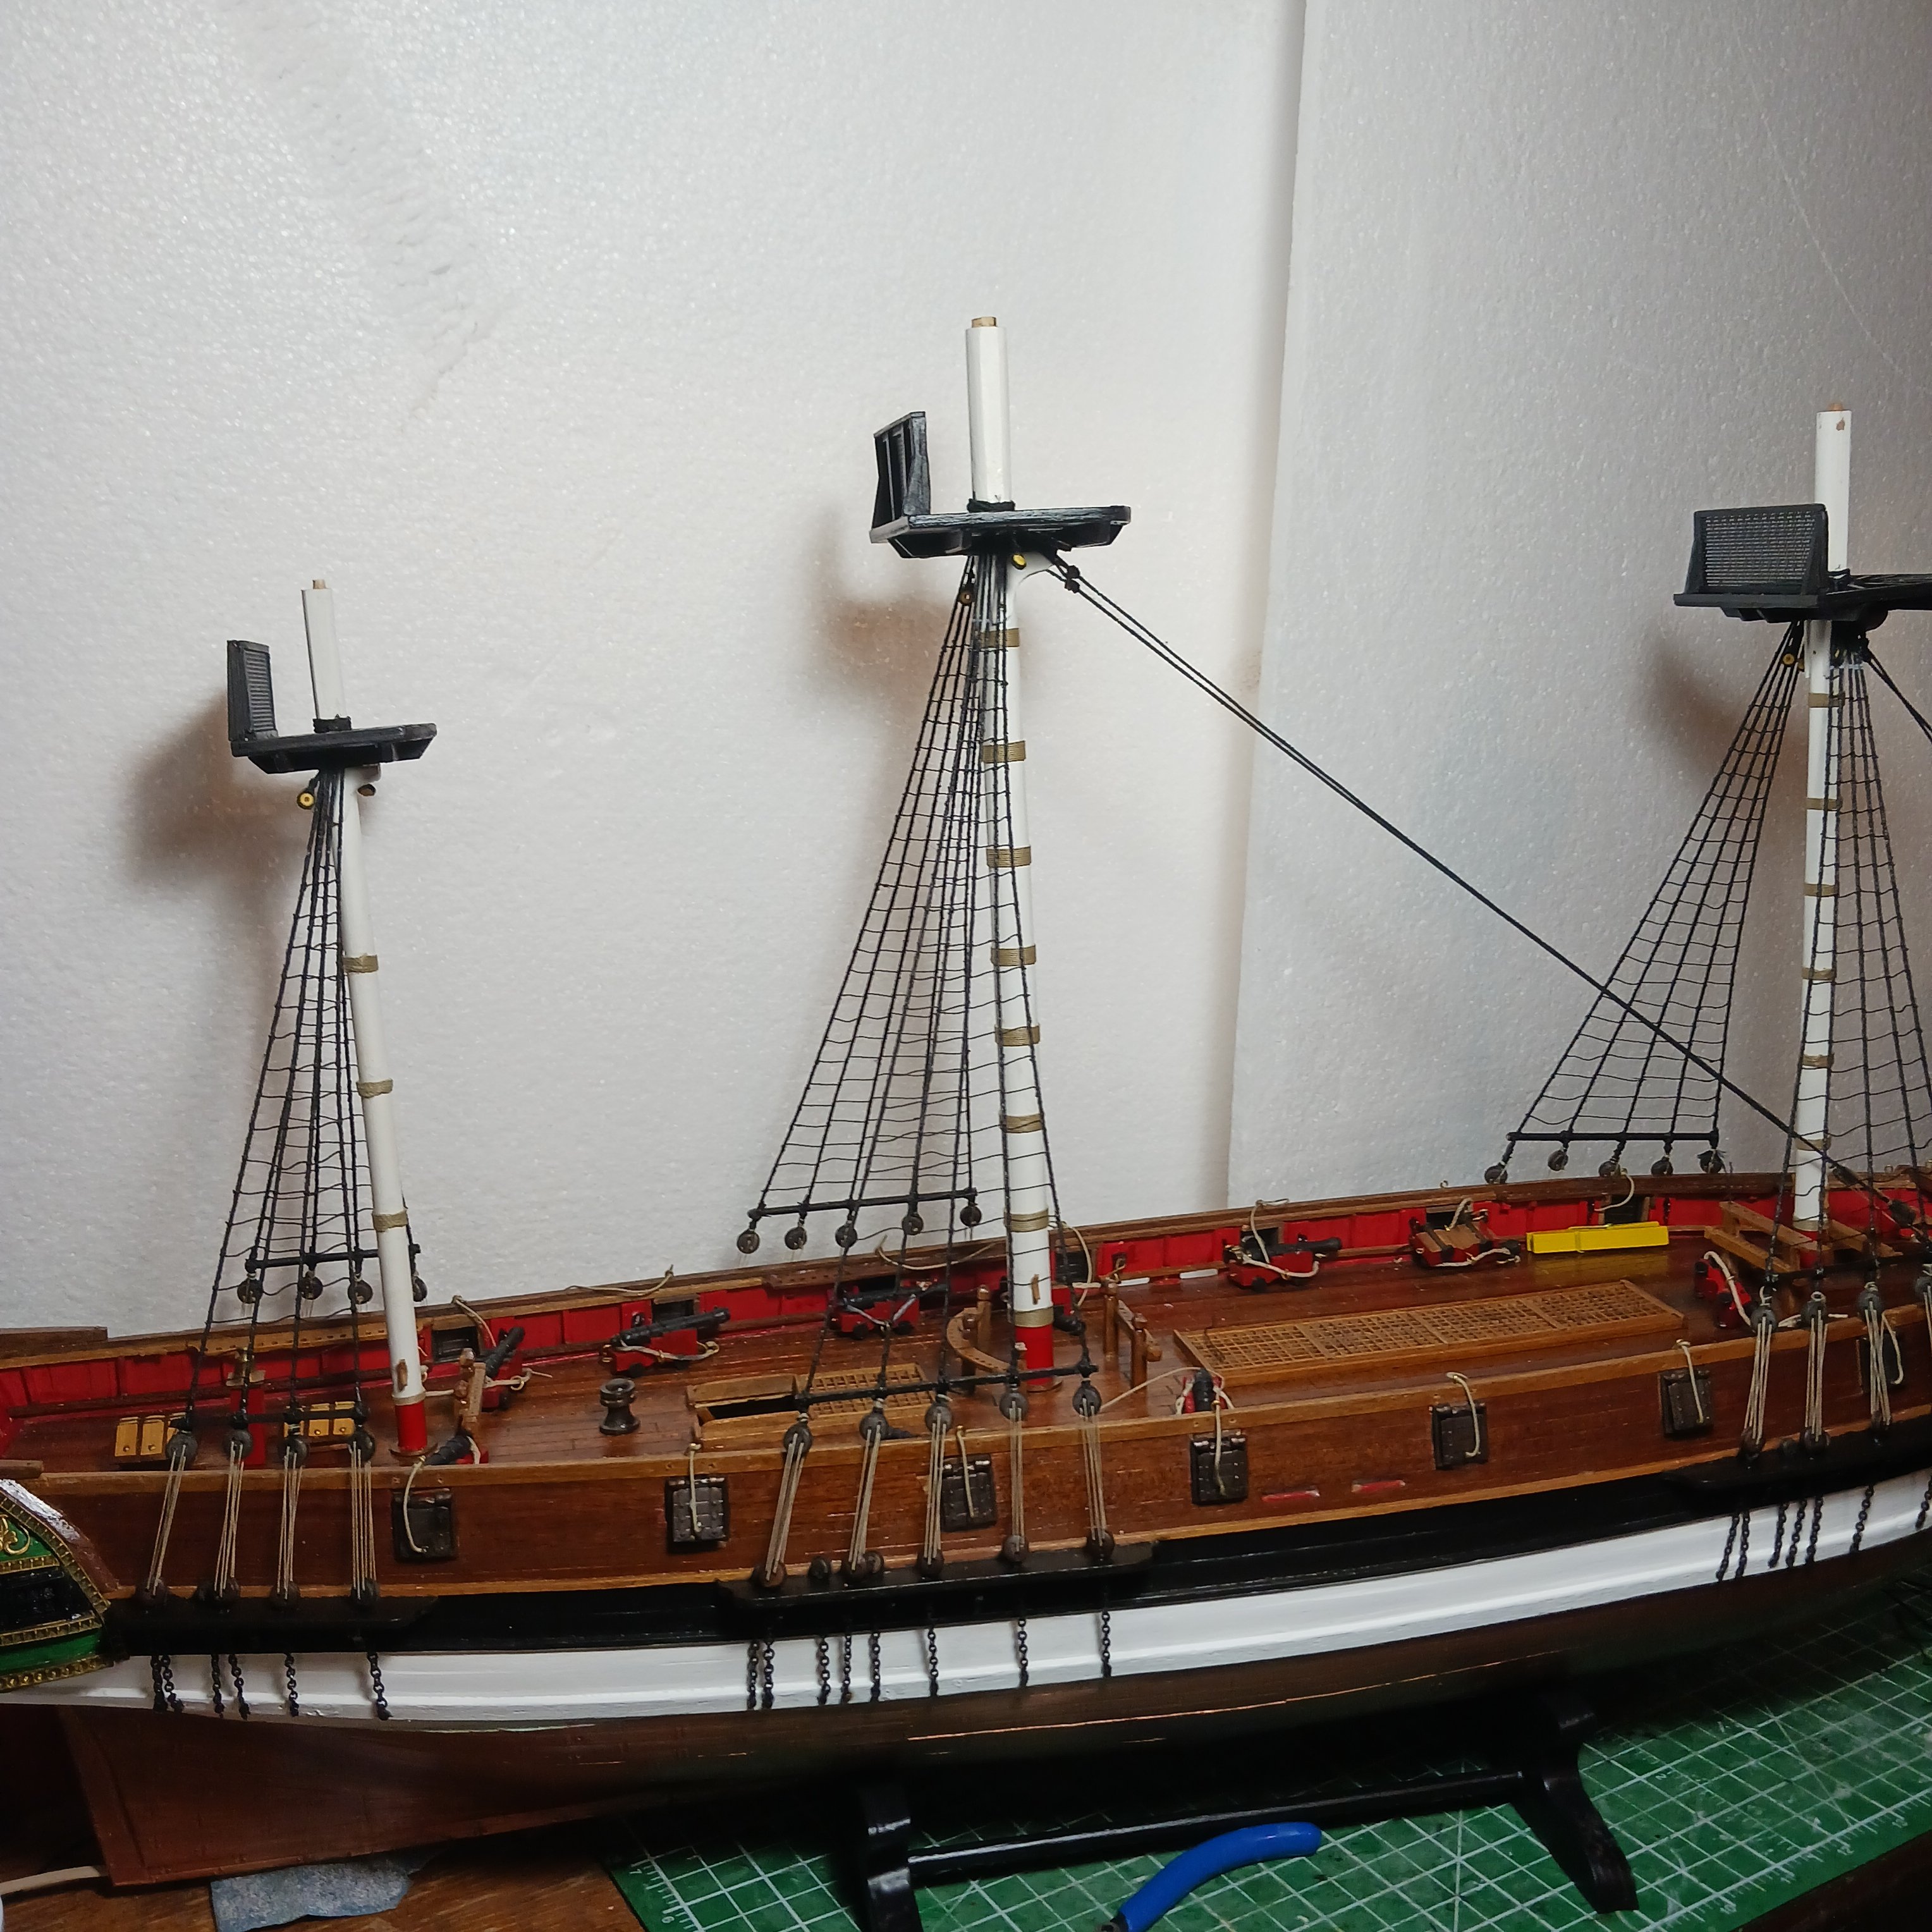
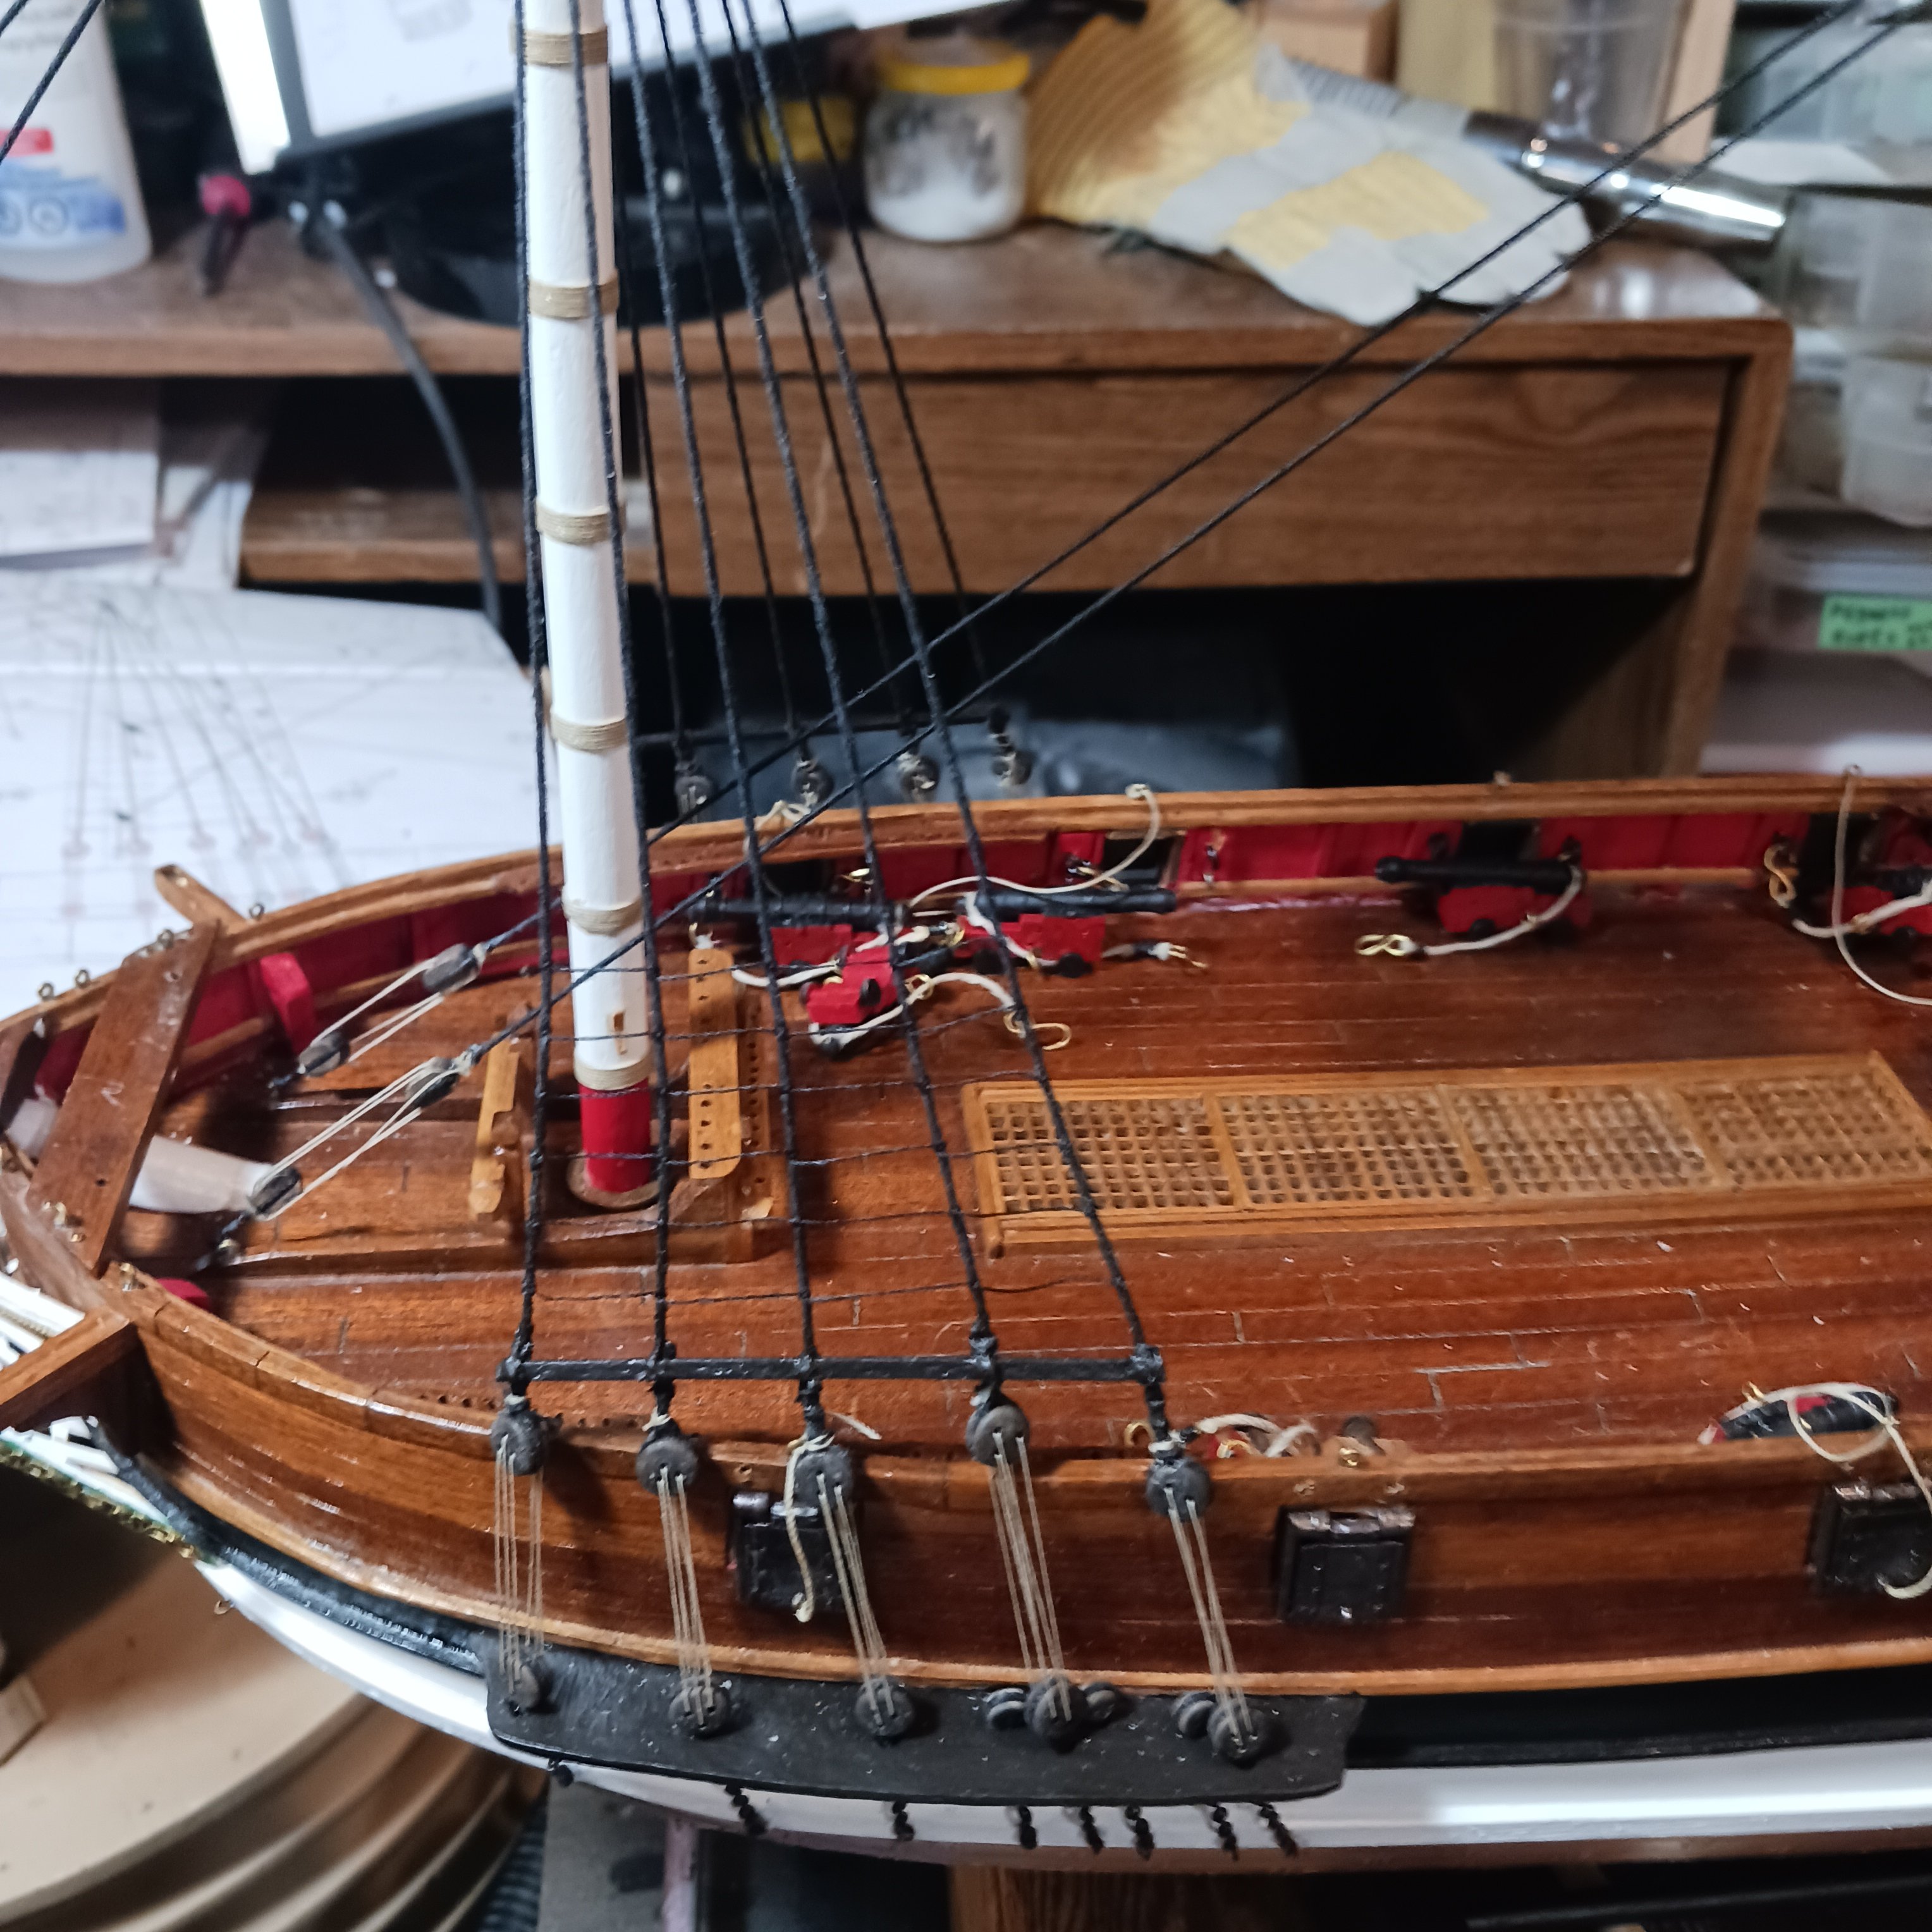
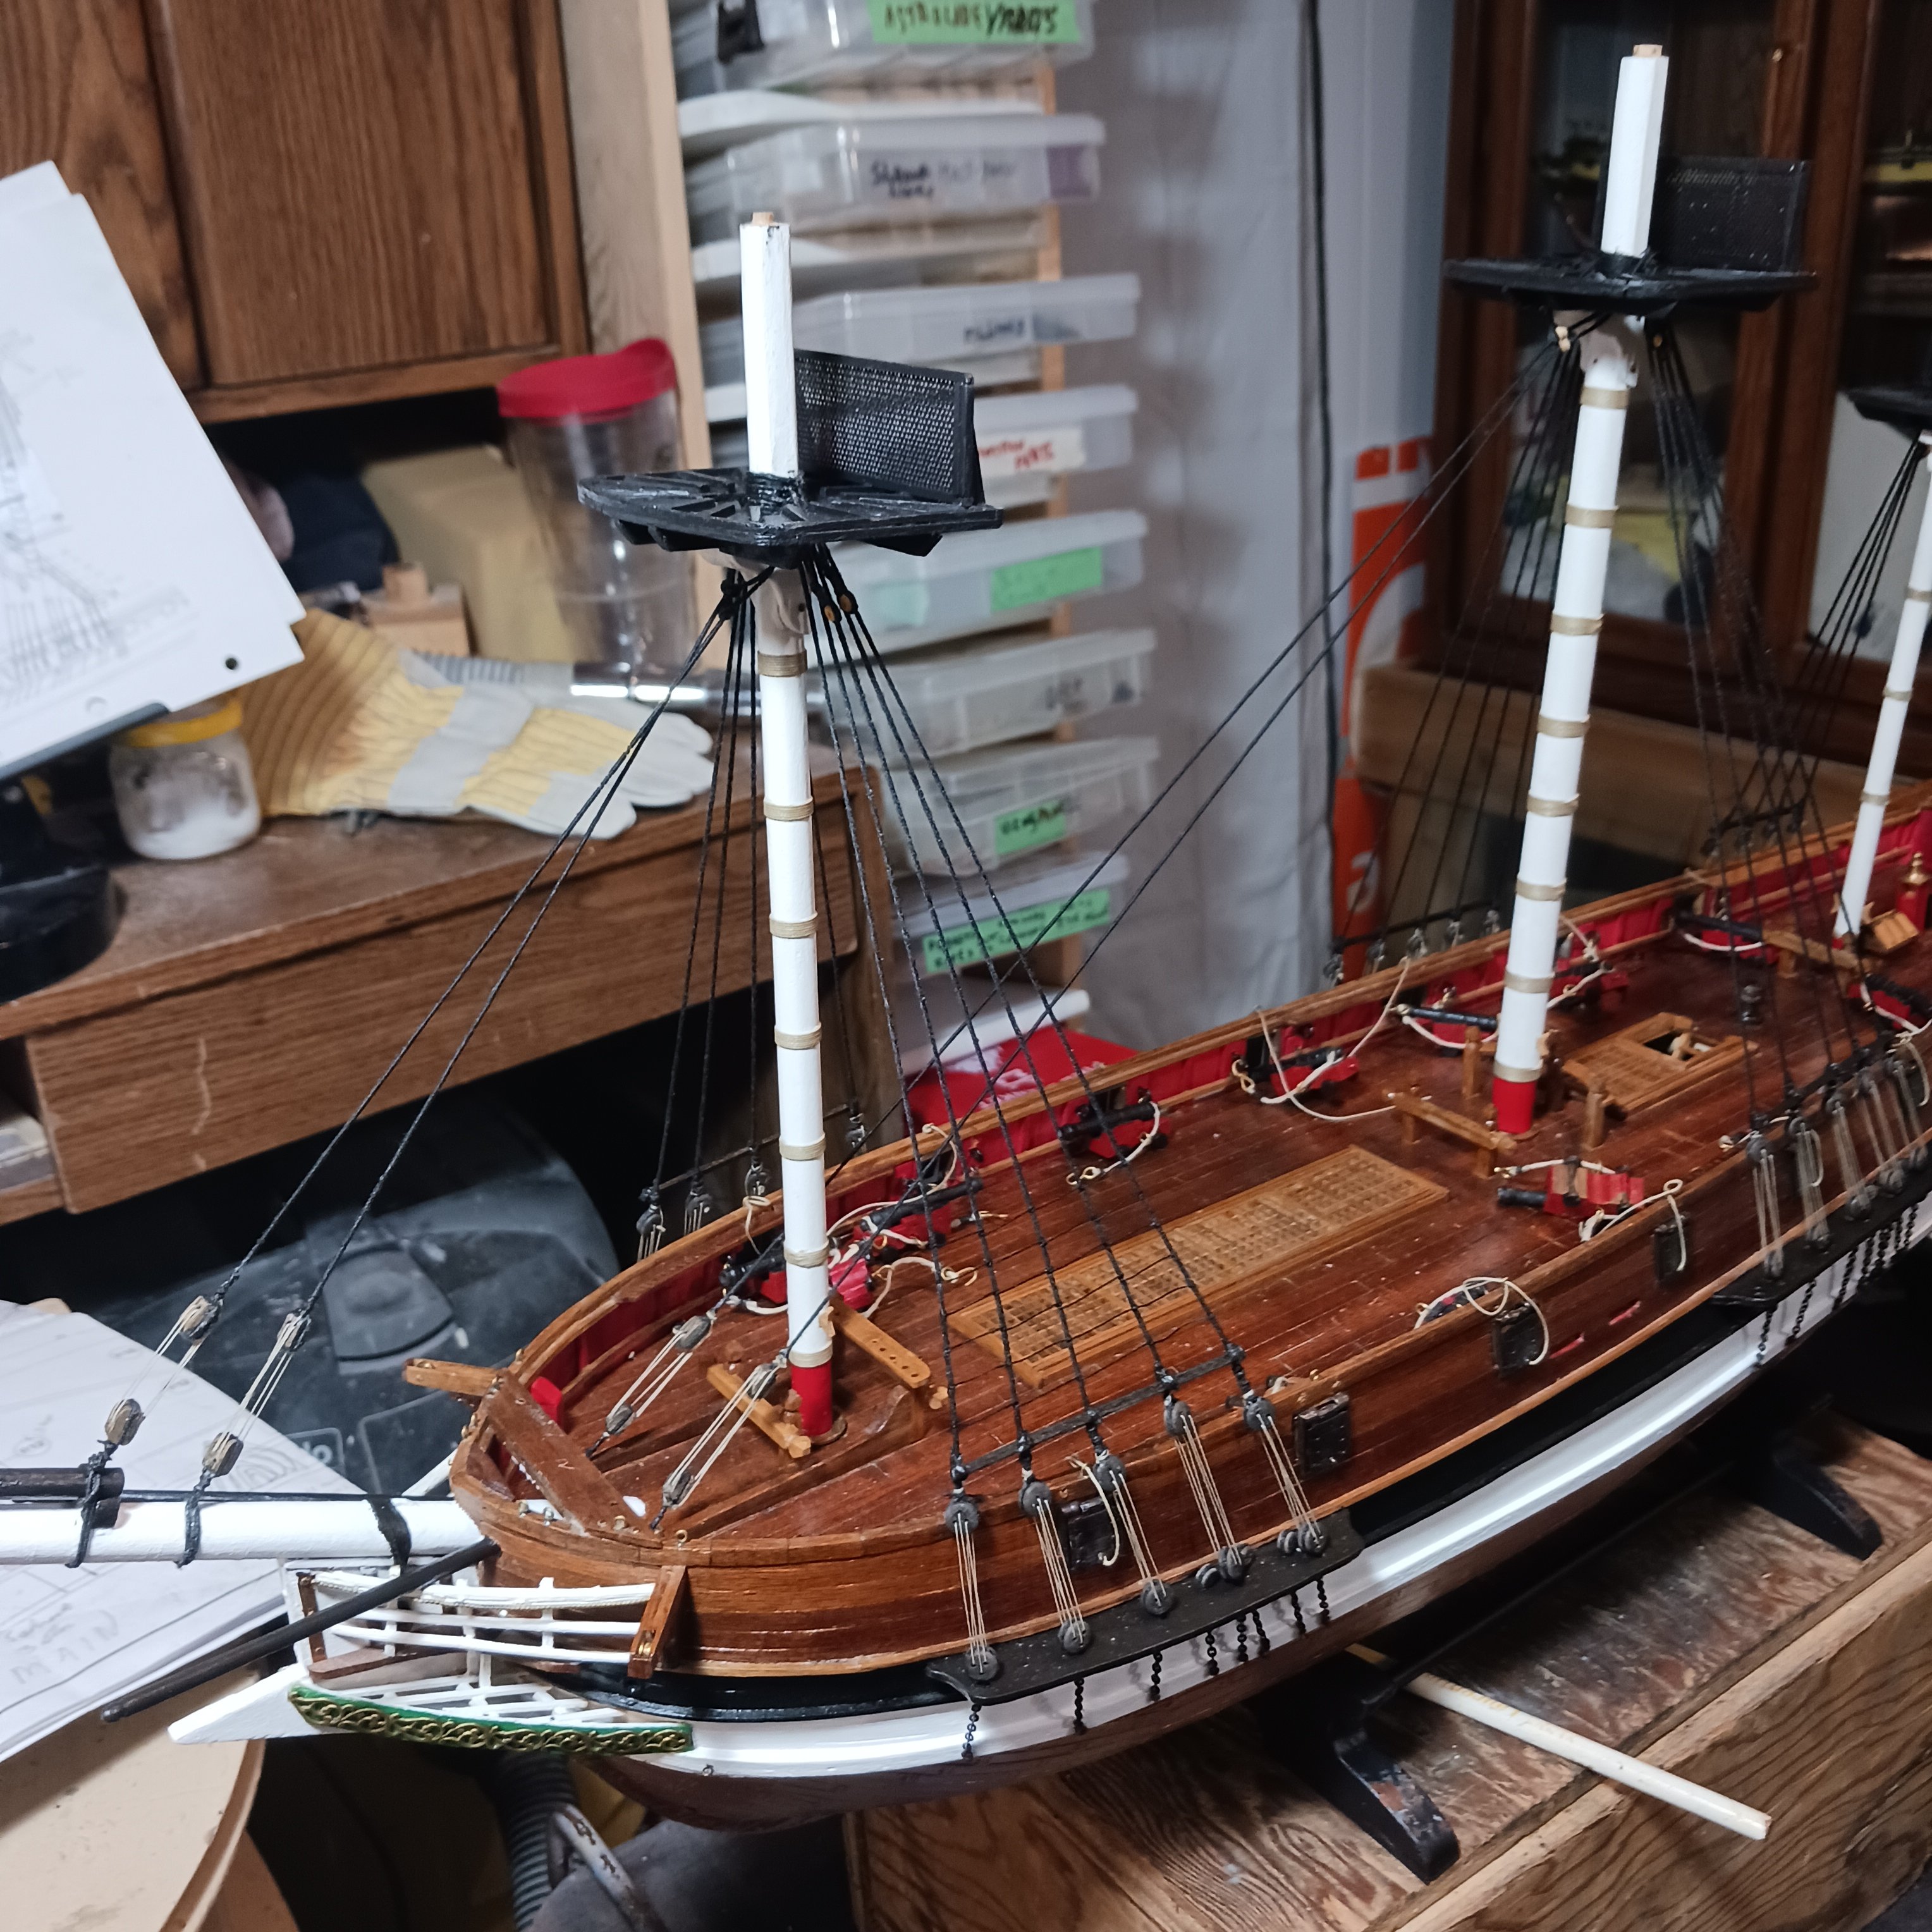
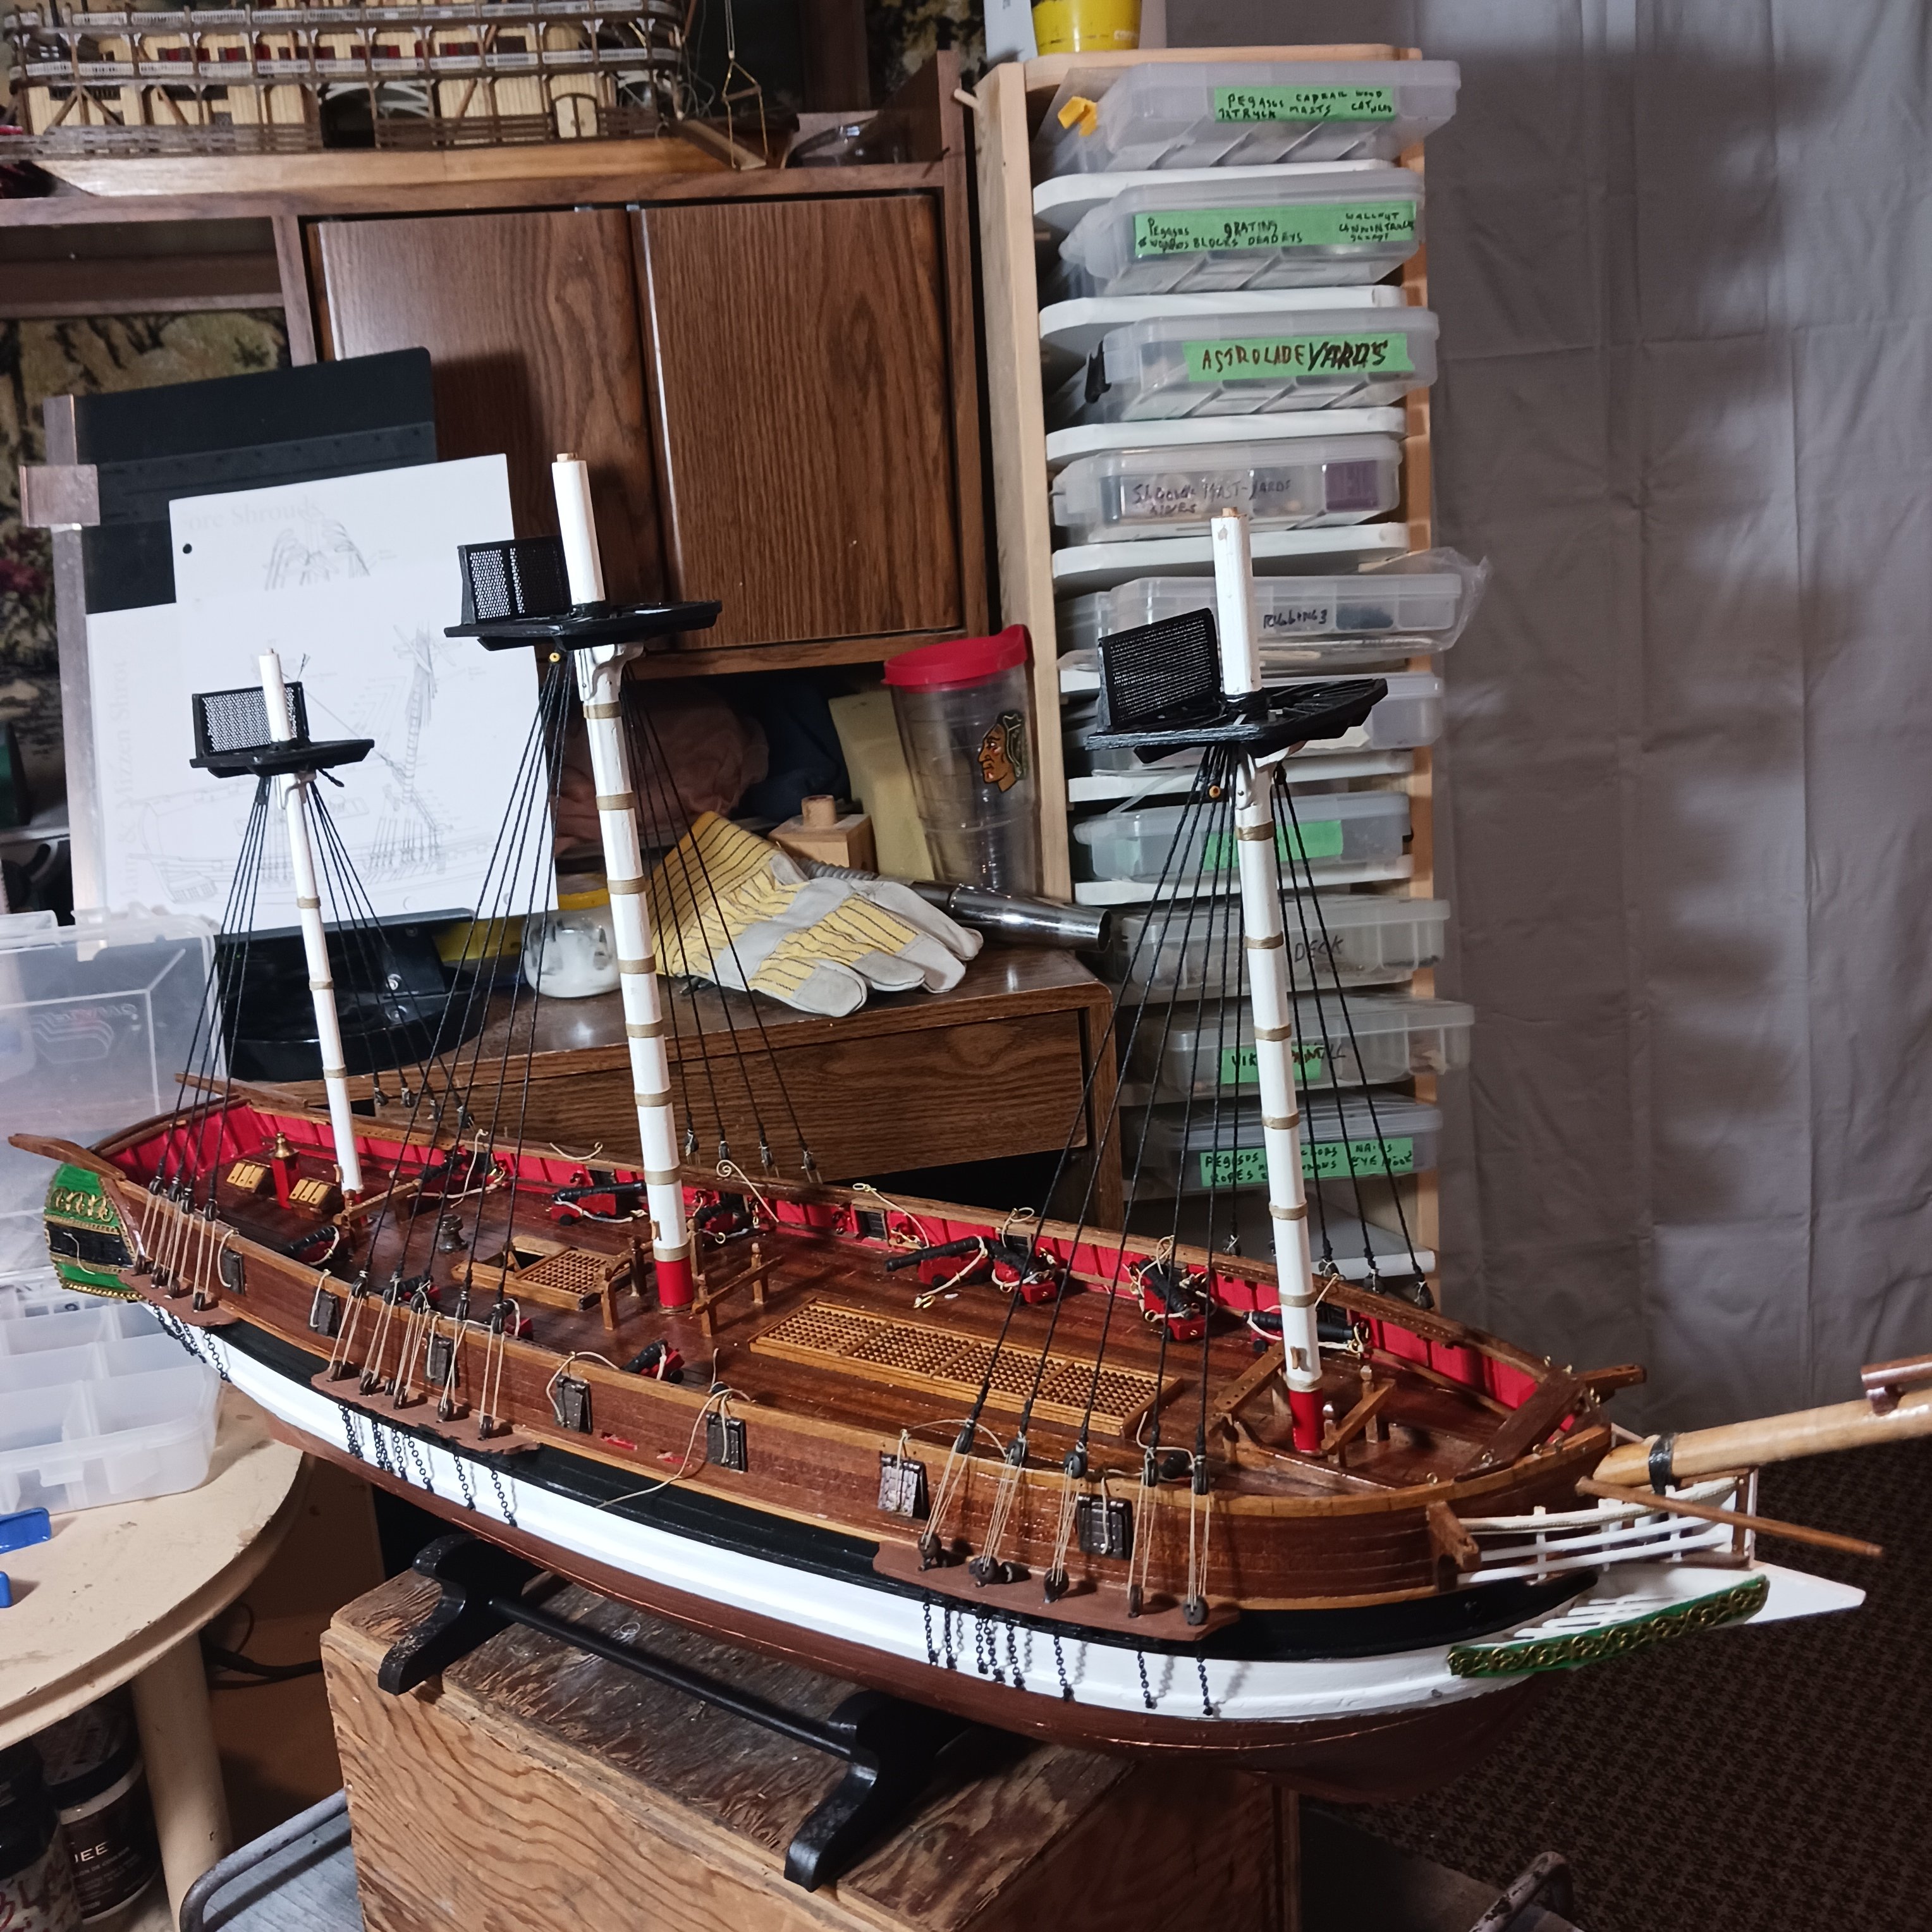
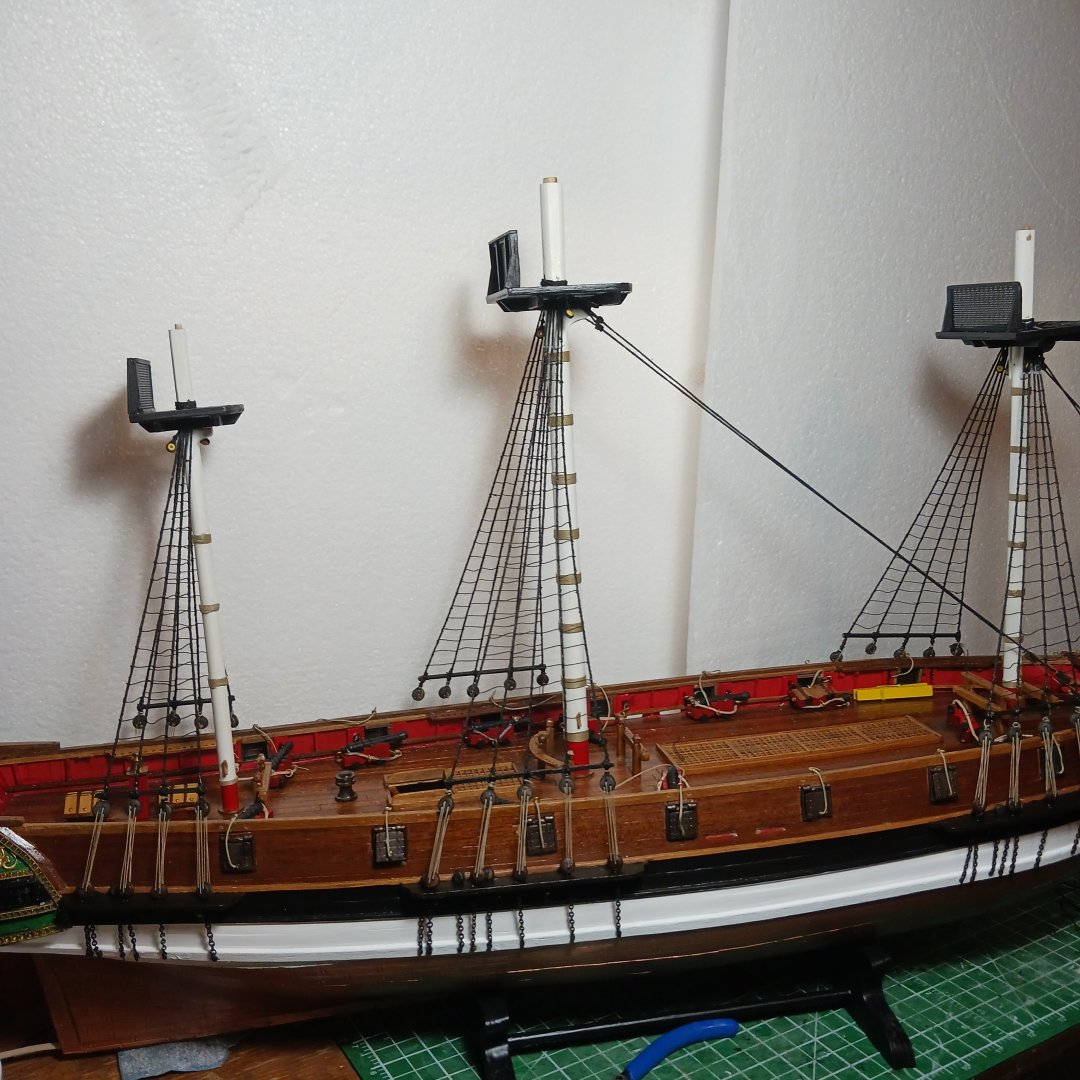
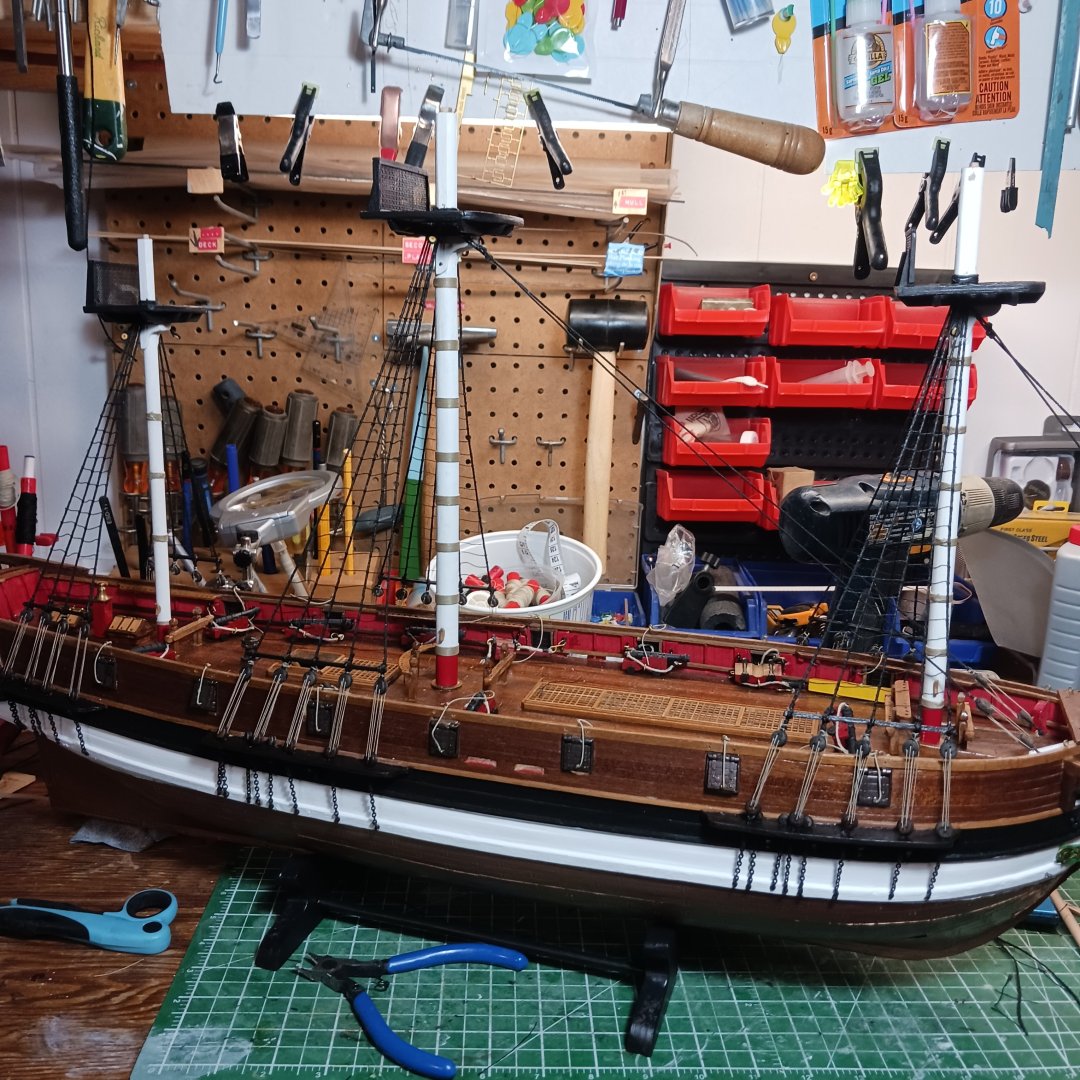
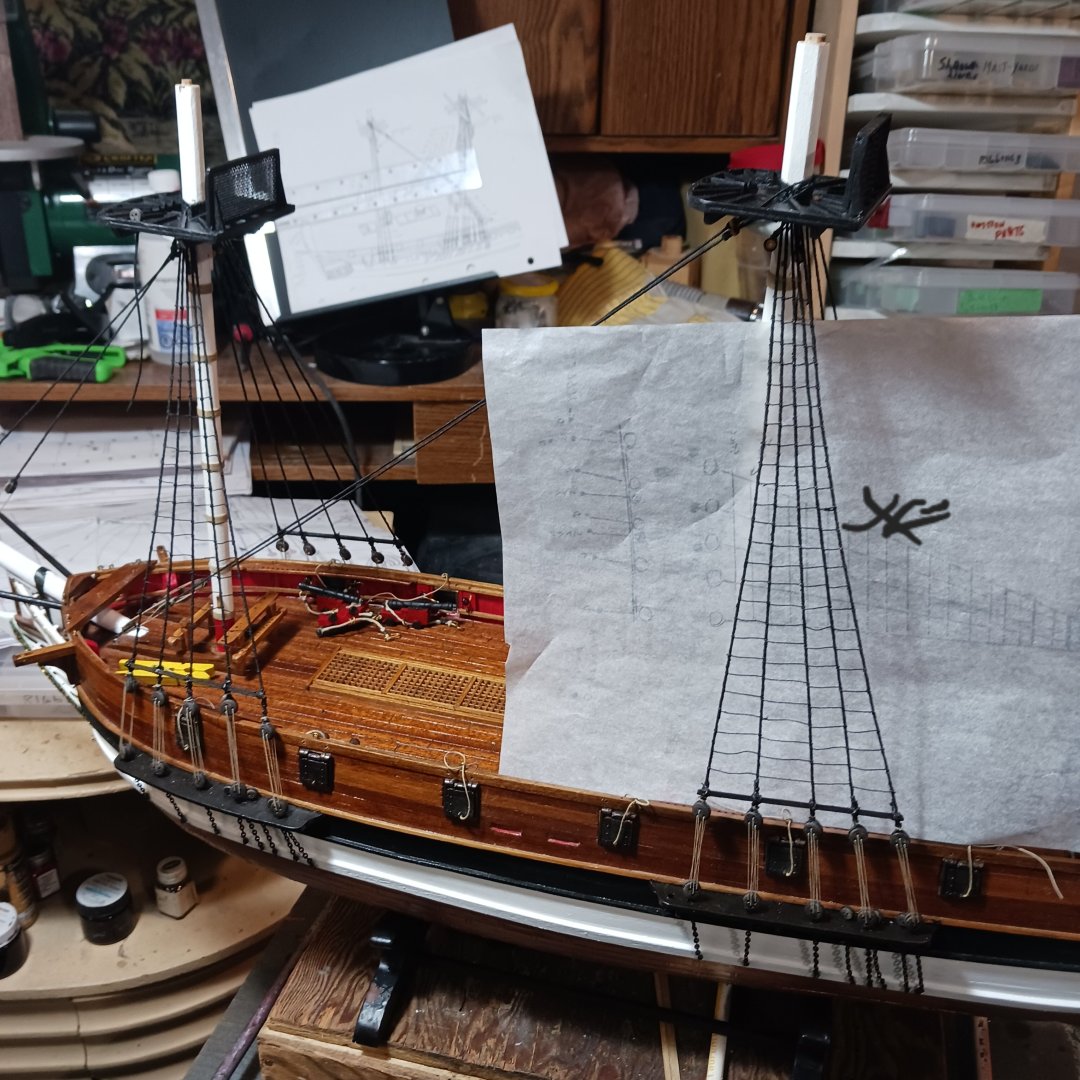
Best day ever for ratlines, 294 clove hitches in five hours. One came untied so a dab of the glue fixed it. I started using a white pencil to mark the ratlines. After making the spacer, and holding it on with one hand drawing the white line with the other, then it's just a matter of tieing them on. Up next is the Futtock staves and deadeyes, crowsfeet lines, and the Mizzen stays. But not today, yep going to a hockey game. Well upstairs on the big screen 😆 🤣. Thanks for looking in. Deadeye Bob.


-
Very nice work Bryan, Bob M.
-
This happen to me last year, I changed my browser and no problems since. Bob M
-
Today the ratlines continues, all went well with the main rats, only one came lose but it was eazlie fixed. The Mizzen rats went on with no problems 😊. So with the lower ratlines finished on the port side , a little cleaning up of the ship yard is needed. Today I only got to tie 189 clove hitches, 190 if you count the do-over lol. Absolutely in heaven here, On to the starboard side tomorrow. Thanks for looking in on the old horse barge. 🐎 Bob M.


-
Nice work, it looks awesome!! Bob M.
-
You think your a bad fisherman lol I had to look up what a bluegill was lol. Nope never caught one either .lol. But pike are a dime a dozen up here 😁. Knocklouder.
-
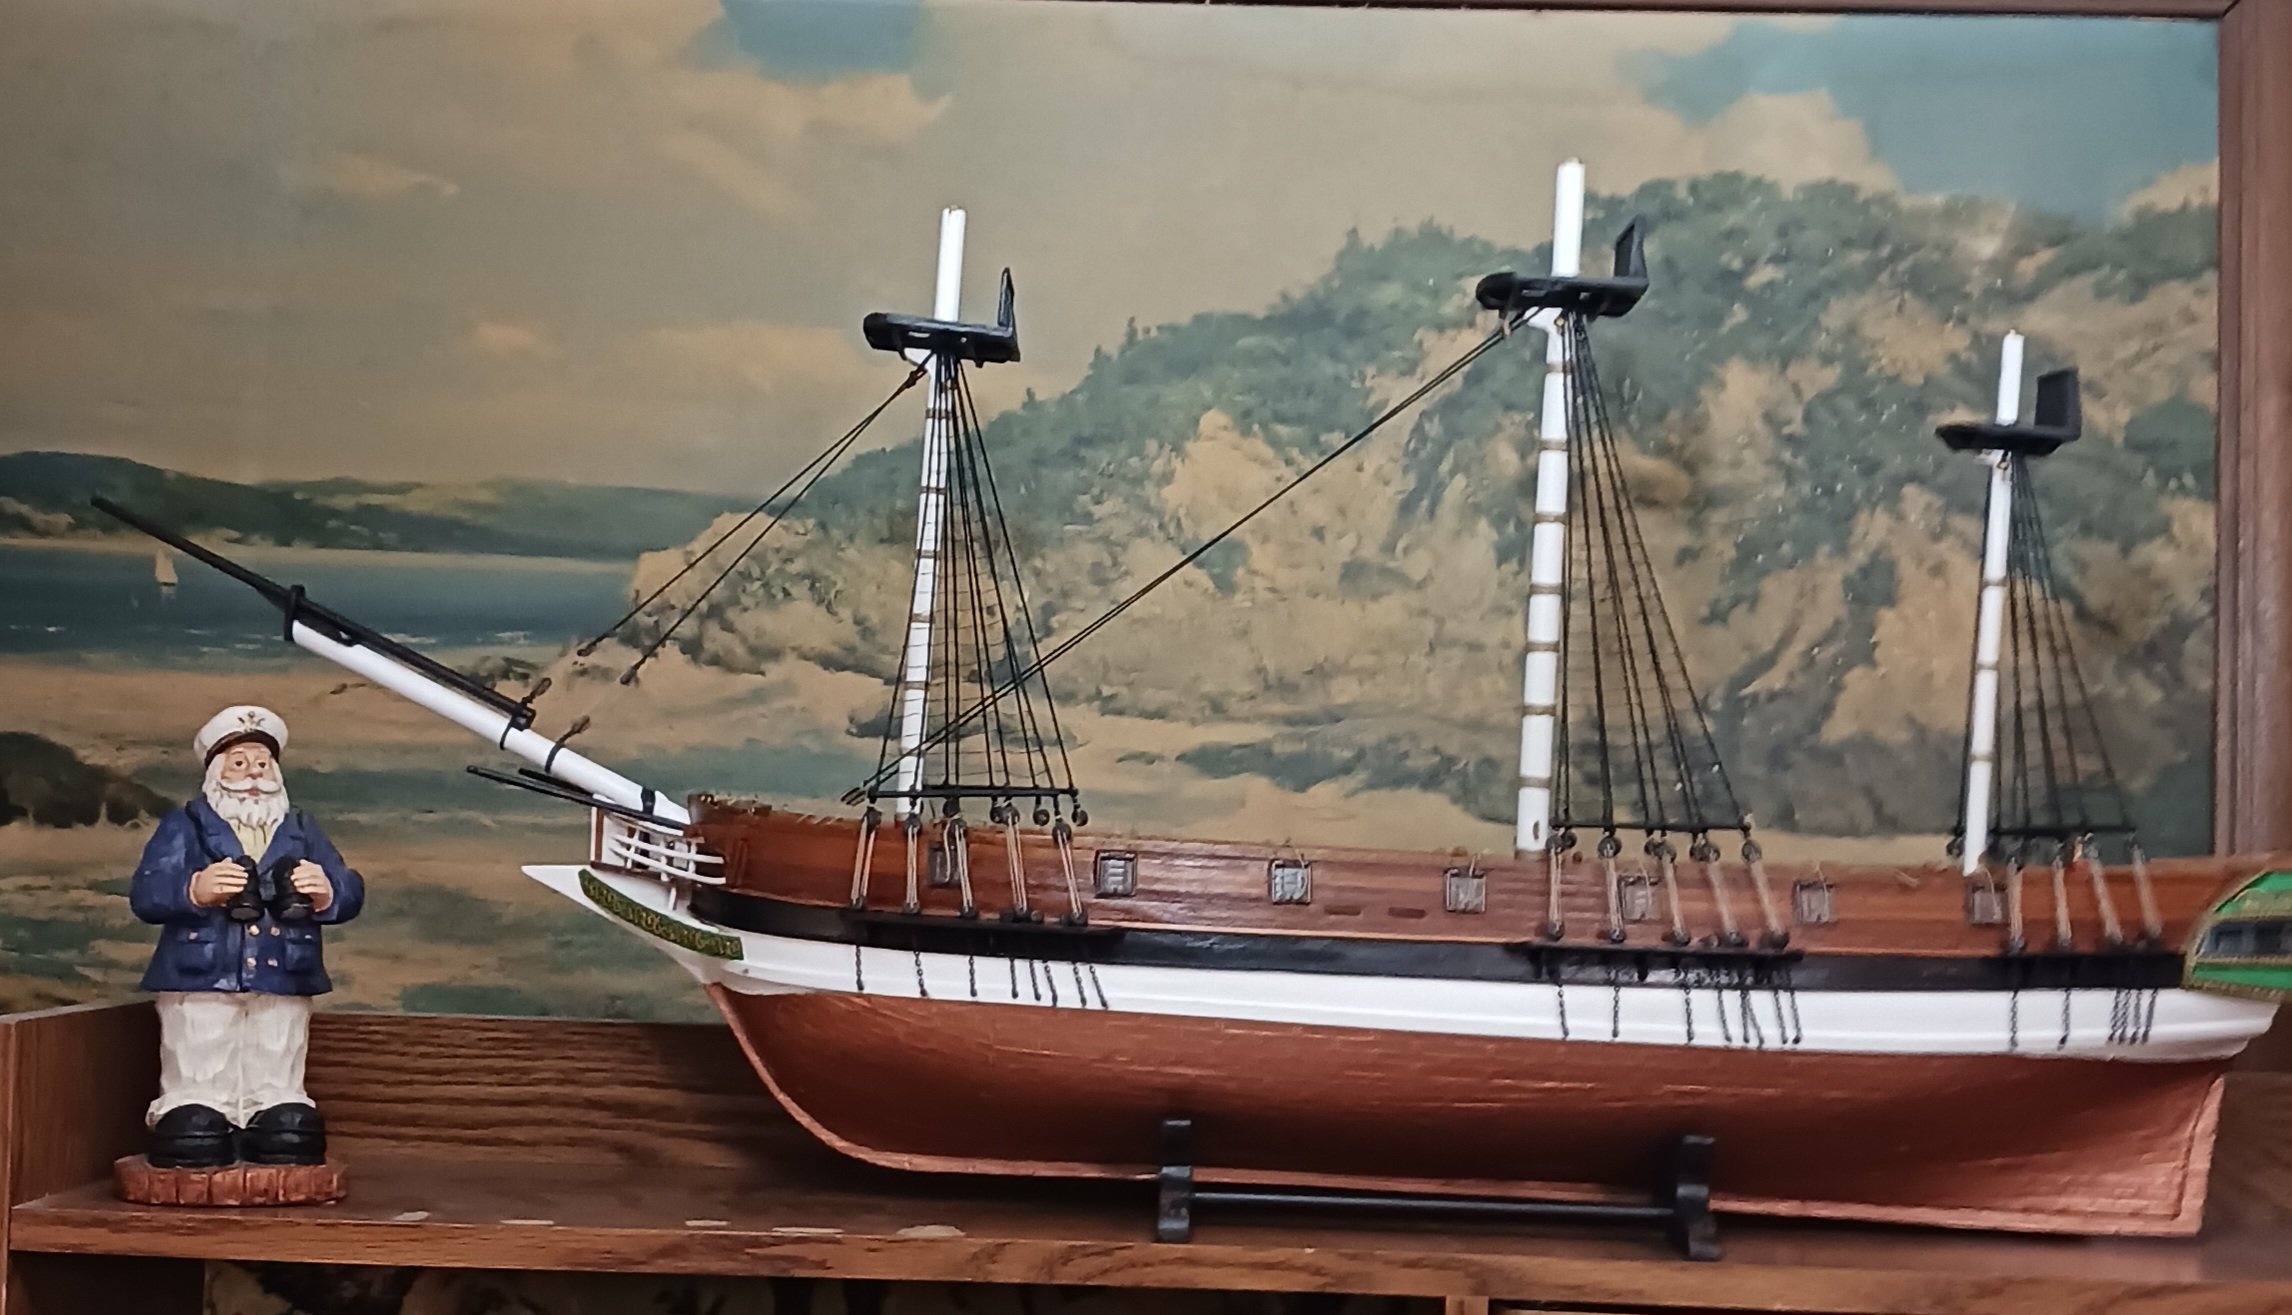
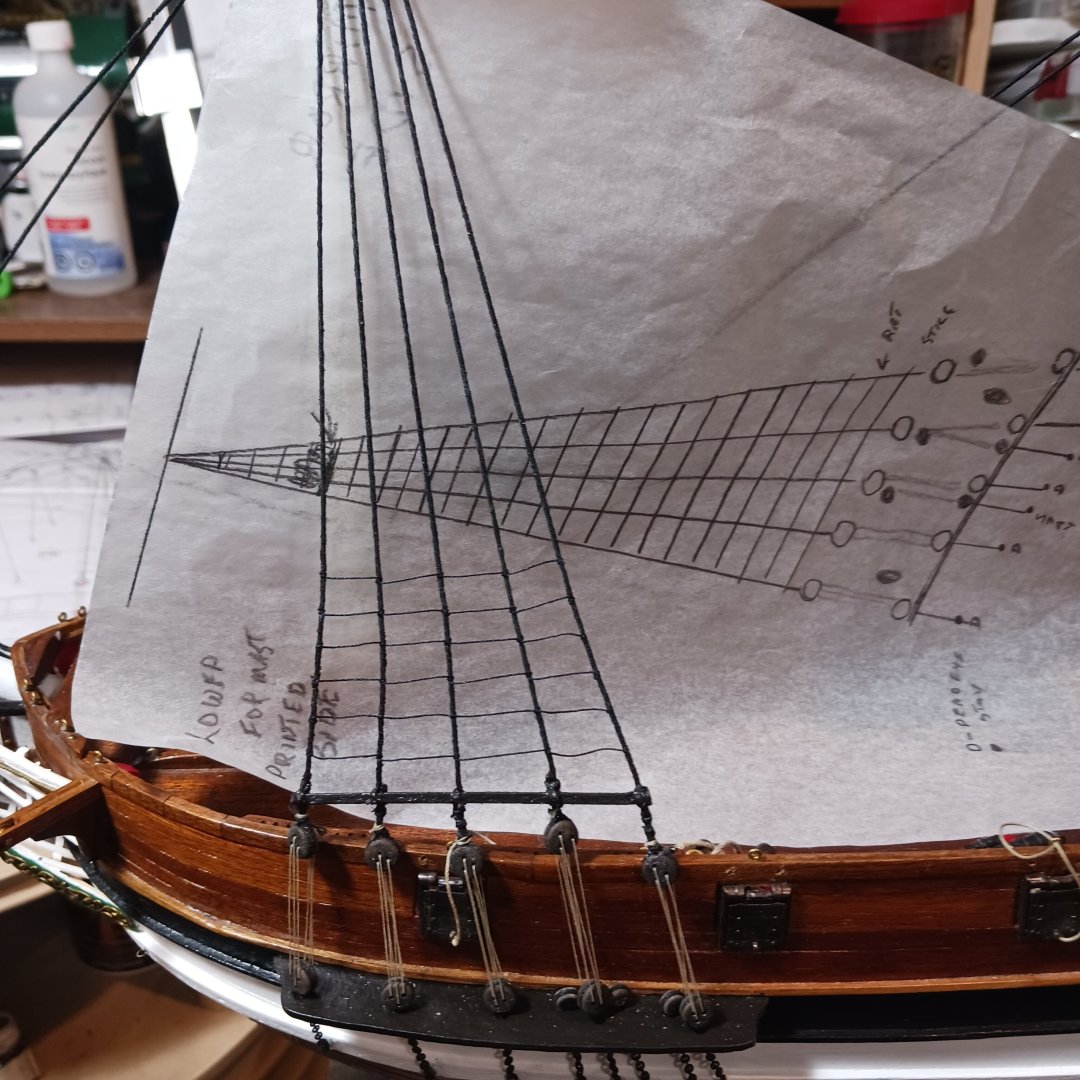
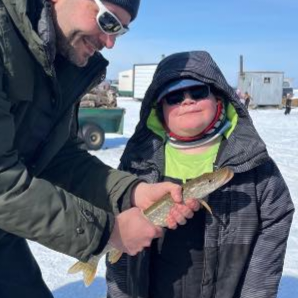
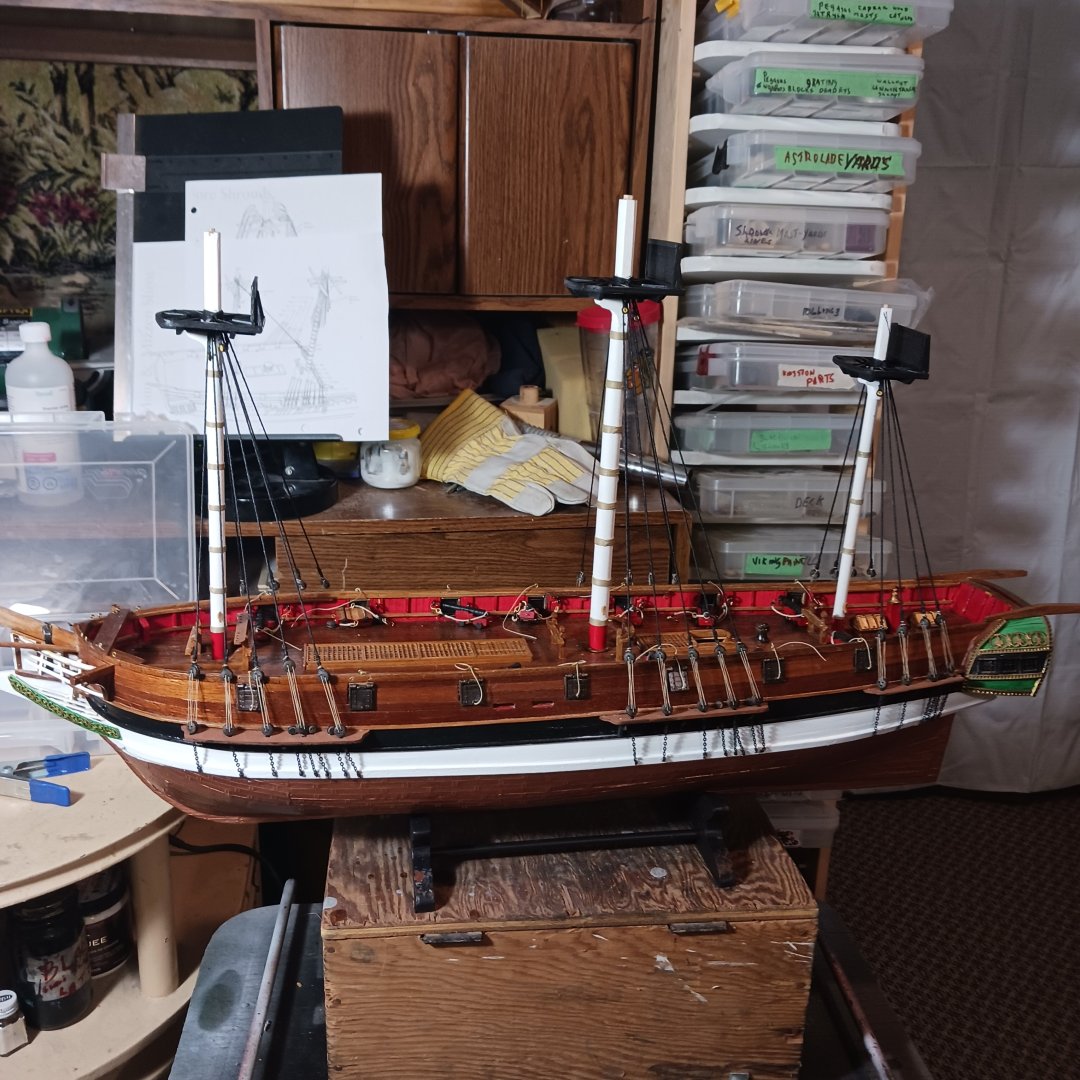
@GrandpaPhil they might be AAMM plans I dont know. A fellow ship mate from Scotland sent them to me, he has build an Astrolabe and said they helped him lots. ME not so much , between the two sets of plans I should be able to make it look good. One thing is it is good practice for rigging. I started the ratlines this morning. All the tracing of the shrouds plans are poop. But they are good for back drop to see the ratlines lol. I had a long conversation with Rodney about his ship, I really don't know what he was intending to make it look like. I do know the work he has done is awesome. The ship will look beautiful, but he buildt it I only am putting it together and rigging it. We have decided to make this Astrolabe 1812 look like the ship Atrops . I am confused about the names , best I can come up with is it is an English Corvette, La Lionne. I told Rodney that I can't read much, some how I feel it ok to make it this way. I like the look of it. Many ratlines to tie as well as the crowsfeet lines, plus the Mizzen stays as well. So there is lots of fun and happiness ahead. Then yard work, lots of yard work 🙄. The family fishing derby was a success, double the amount of people this year over 120 registration. Wow. Both grand sons caught their first Pikes, the one below is the youngest with his 18" fish. The other cought a 20 " pike. Or Jack fish some call them lol. 😆 🤣 The cell phone lost power and we didn't think to have someone else take the picture of his fish, and he put it back right away before we could take it anyway lol. It was a great day. Thanks for stopping by, I know I couldn't not have been able to get this far with this ship if it was not for MSW/NRG helping me along my journey 😀. Talk again soon, lots of smiles ahead. Thanks everyone. Bob M.


-
Good luck on your journey with this ship. I have one to do someday myself. I will follow along to see how it's done. Nice work on the hull Good luck with the sails. Knocklouder
-
Very glad to hear your getting back Mark Bob M.
- 11 replies
-
- 4
-
-
- half hull
- half hull planking project
- (and 1 more)
-
Welcome to MSW, BOB M.
-
Acrylic washes should be ok, latex varnish, solvent based sanding sealer anything but alcohol. I stopped using sharpies and started using HB #5 or 6 pencils to darken the edges of the planks. Looks just as nice as sharpies. IMHO , Bob M.
- 47 replies
-
- 1
-
-
- La Nina
- Artesania Latina
- (and 1 more)
-
Looking good, careful with what you seal it with . Alcohol base sealer like shelac will make the sharpie bleed. Bob M.
-
'Scientific' Kit. No. 164 - 'Bluenose'
Knocklouder replied to UrkVisser's topic in Wood ship model kits
Hello, I have this kit of the Bluenose Scientific #164, dated 1968, it sold for 16.95 back then. It says over all length is 24". I paid 10 bucks for mine. Good luck with your adventure with this, I will follow along to see how it's done. I have a couple of little ships to rig, then it's next. Bob M. You should start a log under the right Year, more people will see it. -
This is what I use to figure out my decks. It help me out. DECK PLANKING.pdf Hope it helps. Knocklouder.
-
Good luck on your journey, Bob M.
-
Get well soon, we will add you to the growing list of members who are in my " thoughts and pray list. Bob M. Knocklouder
- 714 replies
-
- 1
-
-
- lady nelson
- victory models
- (and 1 more)
-
Good luck on your journey !! There are some really great logs for this ship here, and all the help in the world. I agree that it would be nice to have a 1:1 plan, best of luck. Bob M.
- 47 replies
-
- 1
-
-
- La Nina
- Artesania Latina
- (and 1 more)
-
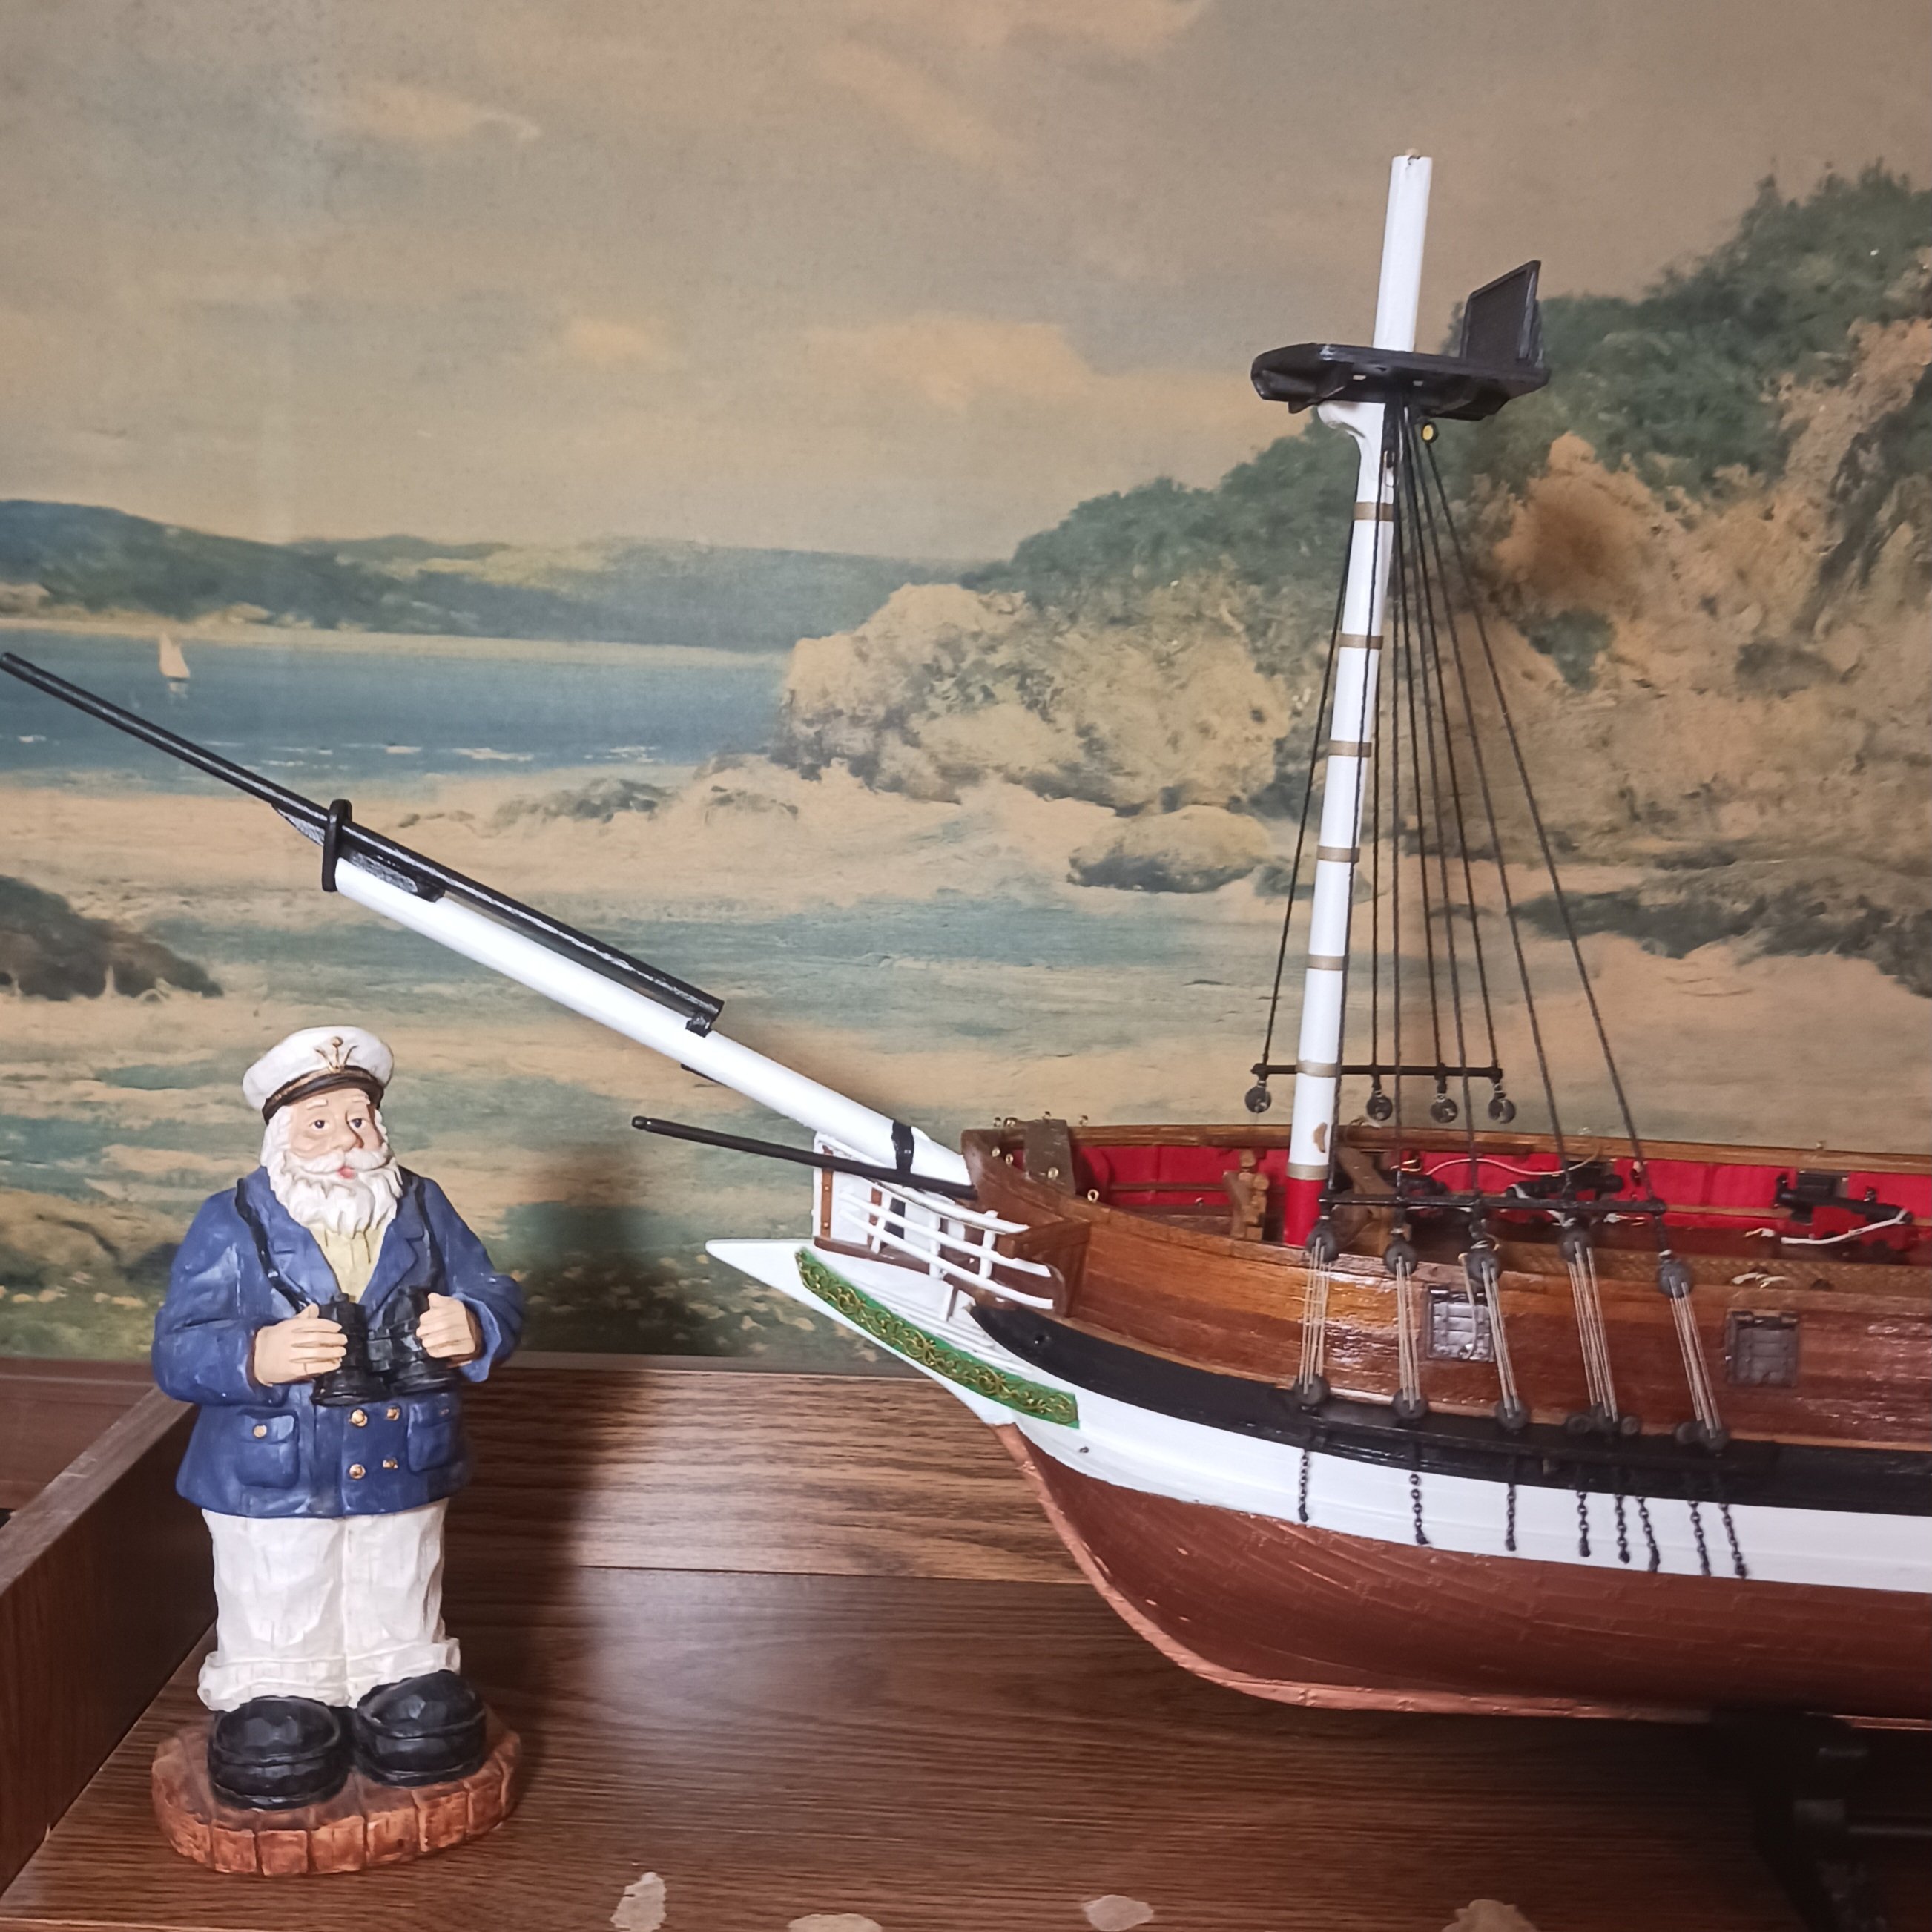
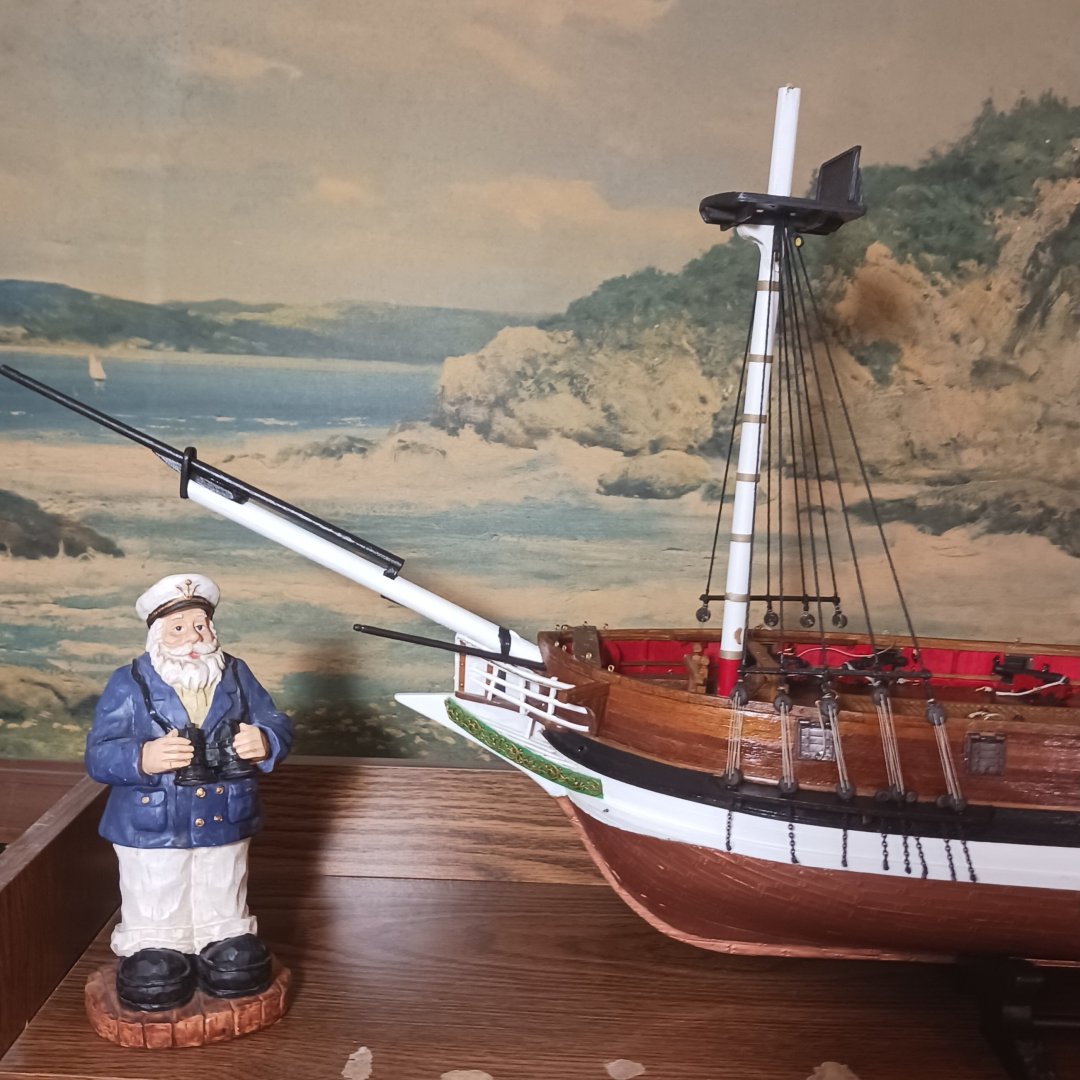
Ratlines are on the horizon , I can't wait. Finally. Lol. But I am going to hold off till I serv some lines and make some blocks and things . After tieing the shrouds a dab of glue and then trim them up. Then I add all the shear poles, I also decided to change the look of the Bowsprit. I painted black and white, the yards will all be black as well. I put it up on the self to dry while I go do some yard work and line making. Up next is the serving of the stays. I won't be able to work on the ship till after the weekend, got to take the grand kids to the family fishing derby and of course the finals for curling and a few hockey games are also in the way. Thanks for popping in and the support I am getting here on MSW. Thanks Knocklouder

-
I am not good with words, but shearch for "shrouds " look at the second log there it shows what I mean hope it helps. They lots of information about shrouds and how to tie them on. And many different ways as well. Those tools lead to frustration and a waste of time and money, again this is only my opinion.. Knocklouder https://modelshipworld.com/topic/316-hms-victory-by-edt-finished-196-pob/?do=findComment&comment=50439 This is were to look for one way.
-
Those are not real popular tools. You would be better off drawing your own on paper, then clip it to the shrouds.. This is my opinion, other's may have better advice.. Knocklouder