Thukydides
-
Posts
1,362 -
Joined
-
Last visited
Content Type
Profiles
Forums
Gallery
Events
Everything posted by Thukydides
-
 Thanks though I can't claim credit. I got the idea from @Blue Ensign's alert log.
- 562 replies
-
- 3
-

-
- vanguard models
- alert
- (and 2 more)
-
Have you tried cleaning the foil with isopropyl or acetone? If all else fails you could go for a painted aged look. To be honest if I was going to do aged copper that is probably the way I would go. You have a lot more control over where you add the tarnish. There was one poster on here at one point who discussed using urine to great effect. You can find his discussion of it here.
-
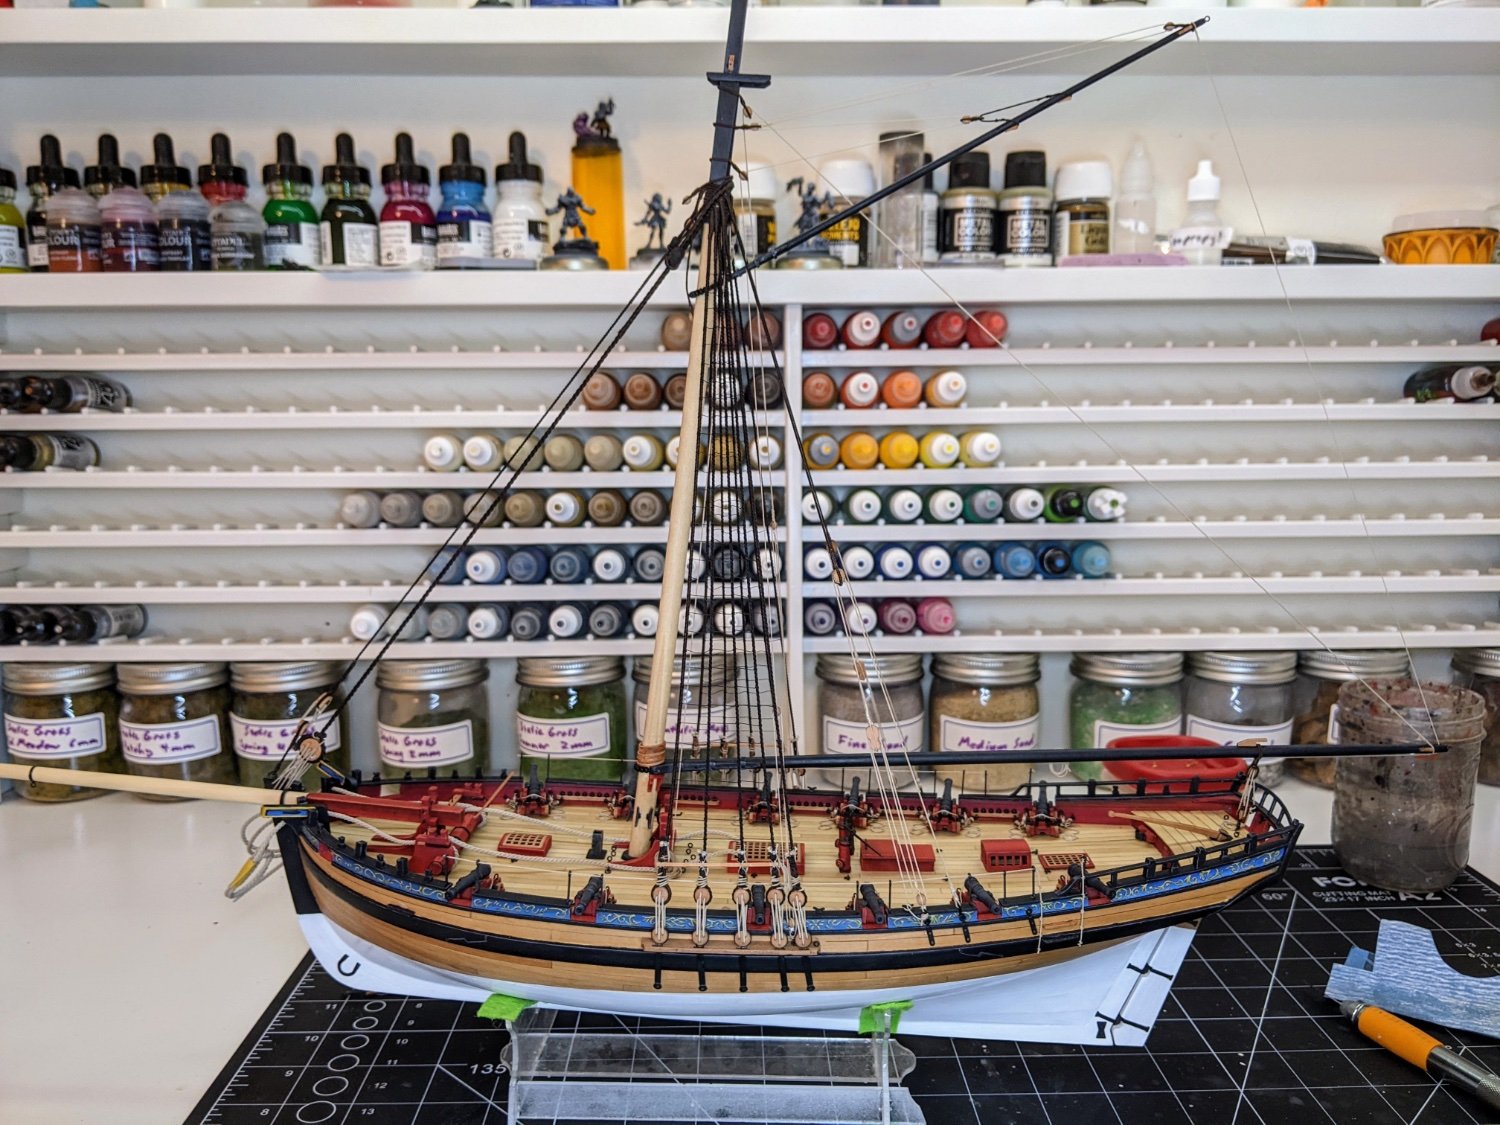
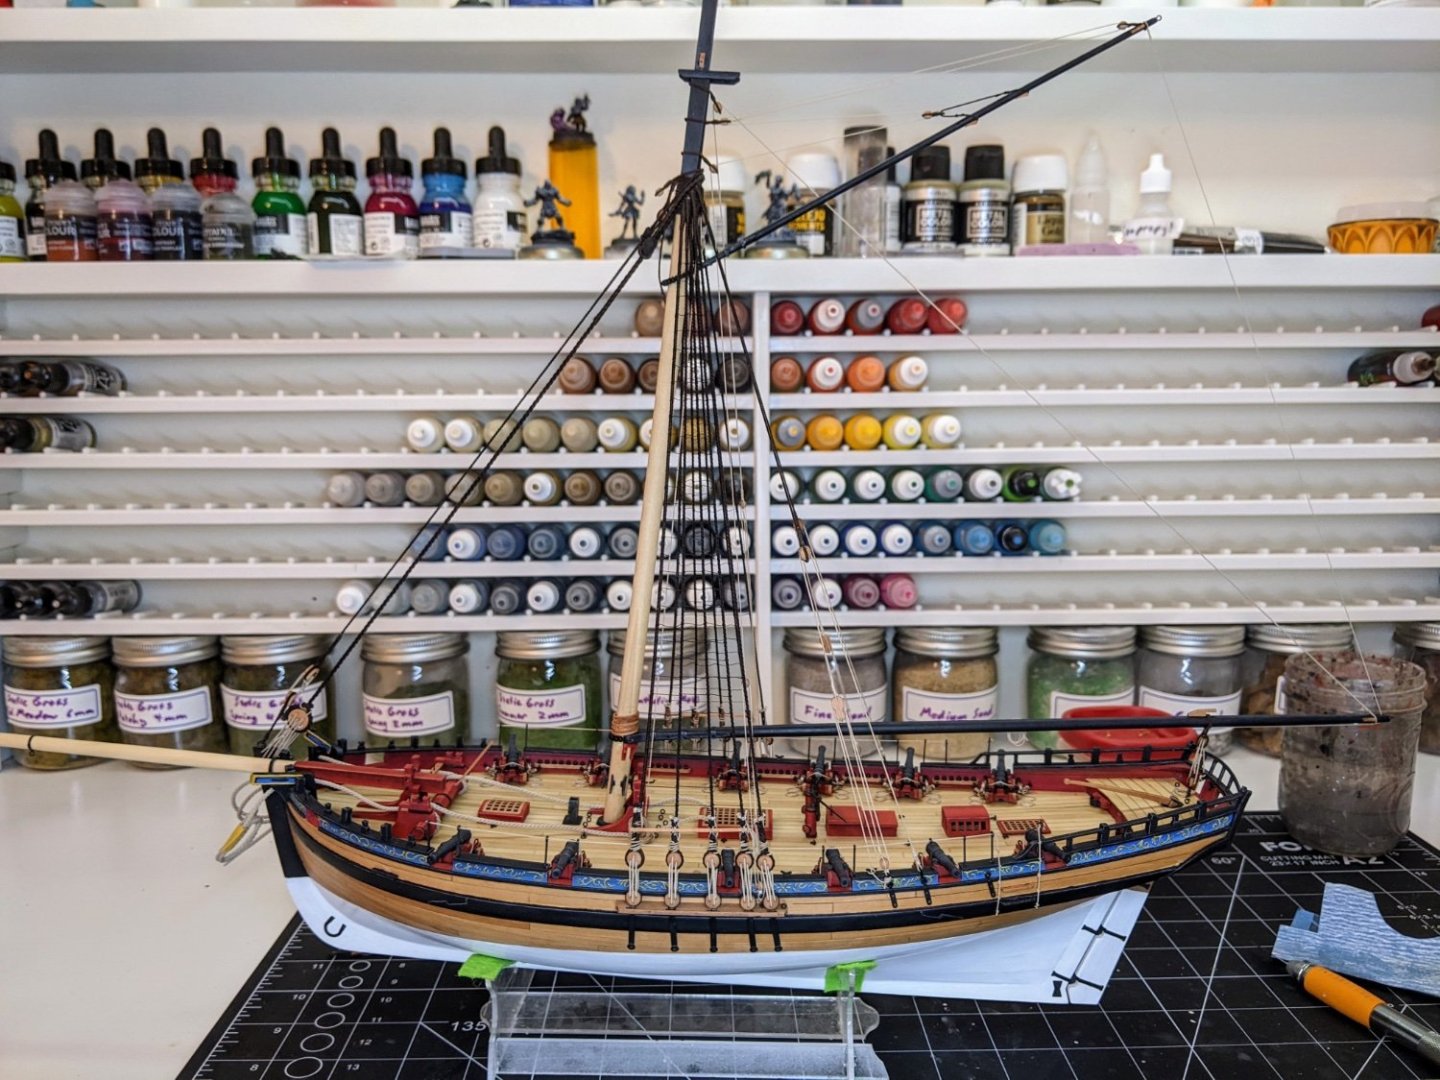
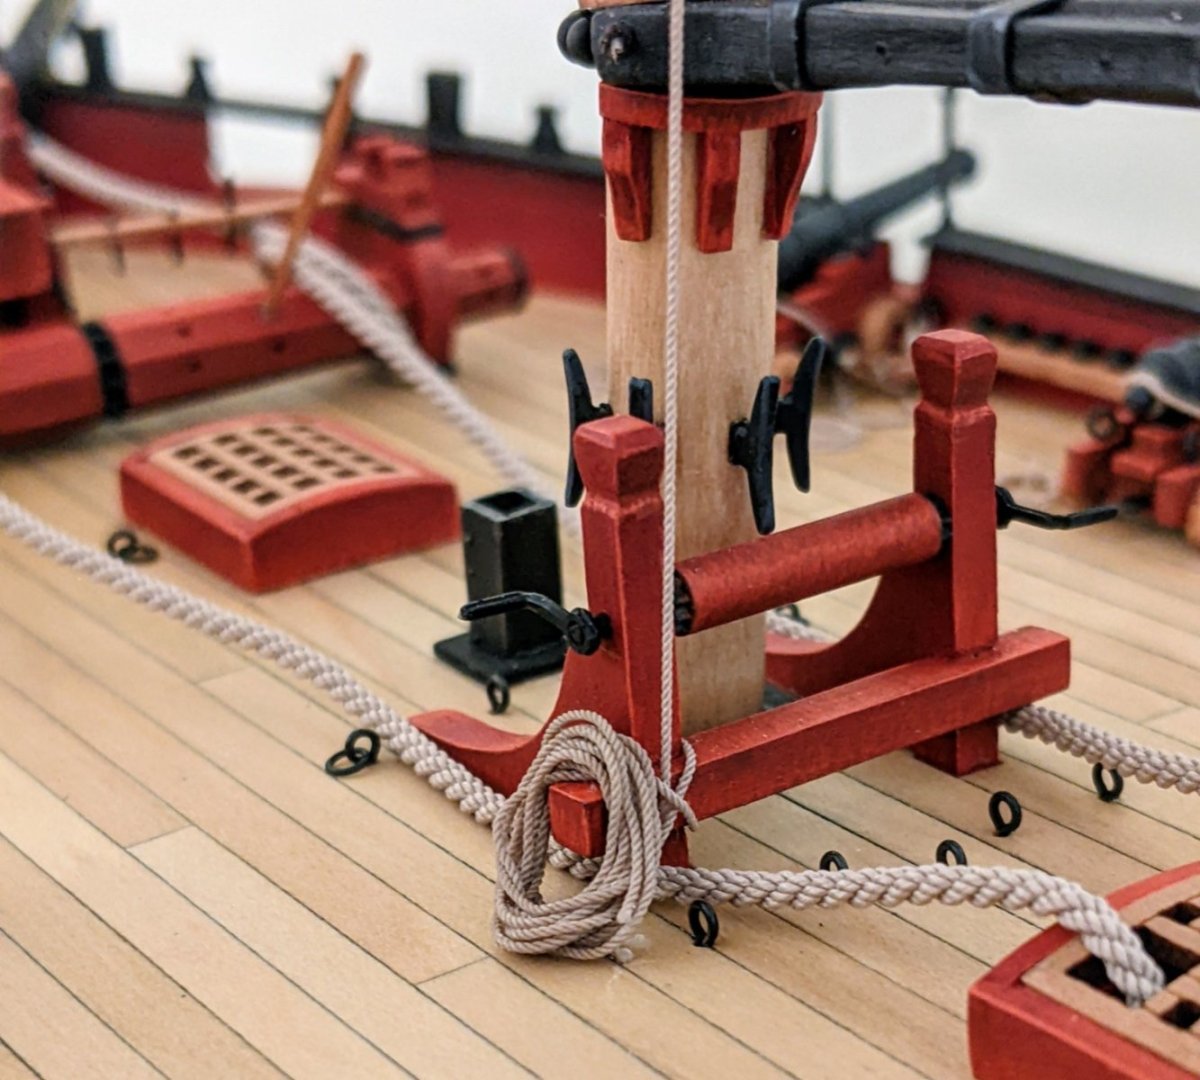
Log #76: Anchor Cable & Rails I have a fairly small update for today. I had intended to show pictures of my work on the yards, but after two days of work and 6 failed attempts at rigging blocks to a standard I am willing to accept I decided I would postpone an update on them till the next log post. In the meantime I decided to secure the anchor cable to the windlass before too many ropes start to clutter the deck. It is delicate work at this point trying to do this sort of thing without catching anything. I have to make sure I am fully in the zone for this and at all times am aware of where my hands are. At this point I also replaced the belaying pins which I had previously broken when trying to get the bowsprit in place. I also decided to get the rope that runs through the stantions in place and to add some knotted ropes to help with anyone trying to get on the ship. And here is the current status of her. Thanks for stopping by.


- 562 replies
-
- 25
-
-
- vanguard models
- alert
- (and 2 more)
-
Hi @AmateurModelBuilder, welcome to the forums. Your question is a very broad one and there is no way I can answer it in a post, but what I would suggest is the following: Start a build log, this is a great way to get help as you go along. Look for build logs of others who have done your kit and read them all. Search in this section of the forum for specific questions regarding painting. Navigate to here and then in the top right corner there is a search function. Search for the topic in question for example you could search "primer" and you will find lots of posts on the subject. A quick summary of what you might want to think about with regard to painting is below: In general when it comes specifically to painting you first need to seal the wood in some way. This can be accomplished through some sort of sanding sealer or by using an acrylic primer. After you prime you need to sand and then add another smooth coat and then sand again and so on. If you want to achieve a look a bit like on the box you will need some masking tape (I use tamiya). As a general rule I use a little bit of acrylic varnish to seal the gap when painting wood as otherwise sometimes it runs down the grain. If you use a sanding sealer this step may not be necessary. For painting use thinned acrylic paint designed for miniature painting or artist grade acrylics (don't use cheap paint). My rule of thumb is two thin coats, though depending on the colour you may need a third. Always make sure you let the previous coat fully dry before adding the next and sand as necessary. Take your time, model making is a marathon not a sprint. Treat each step as its own project, I have never regretted taking more time on something, but have frequently regretted rushing.
-
This looks like a really nice little kit. Enjoy.
-
Yes, that is correct. As Alan said you could probably just drill a new hole as that might be easier than removing the block and reattaching it.
- 152 replies
-
- 3
-
-
- Flirt
- Vanguard Models
- (and 1 more)
-
For the second planking a good idea is to go through all the strips and sort them by size and colour. For alert I didn’t find the differences to be huge, but there were enough to make a difference. I then paired them so I was using the same size of strip for the same strake on both sides. I also tried to make the colour have a gradient (so you don’t get the striped look).
- 422 replies
-
- 4
-
-
- Vanguard Models
- Sphinx
- (and 1 more)
-
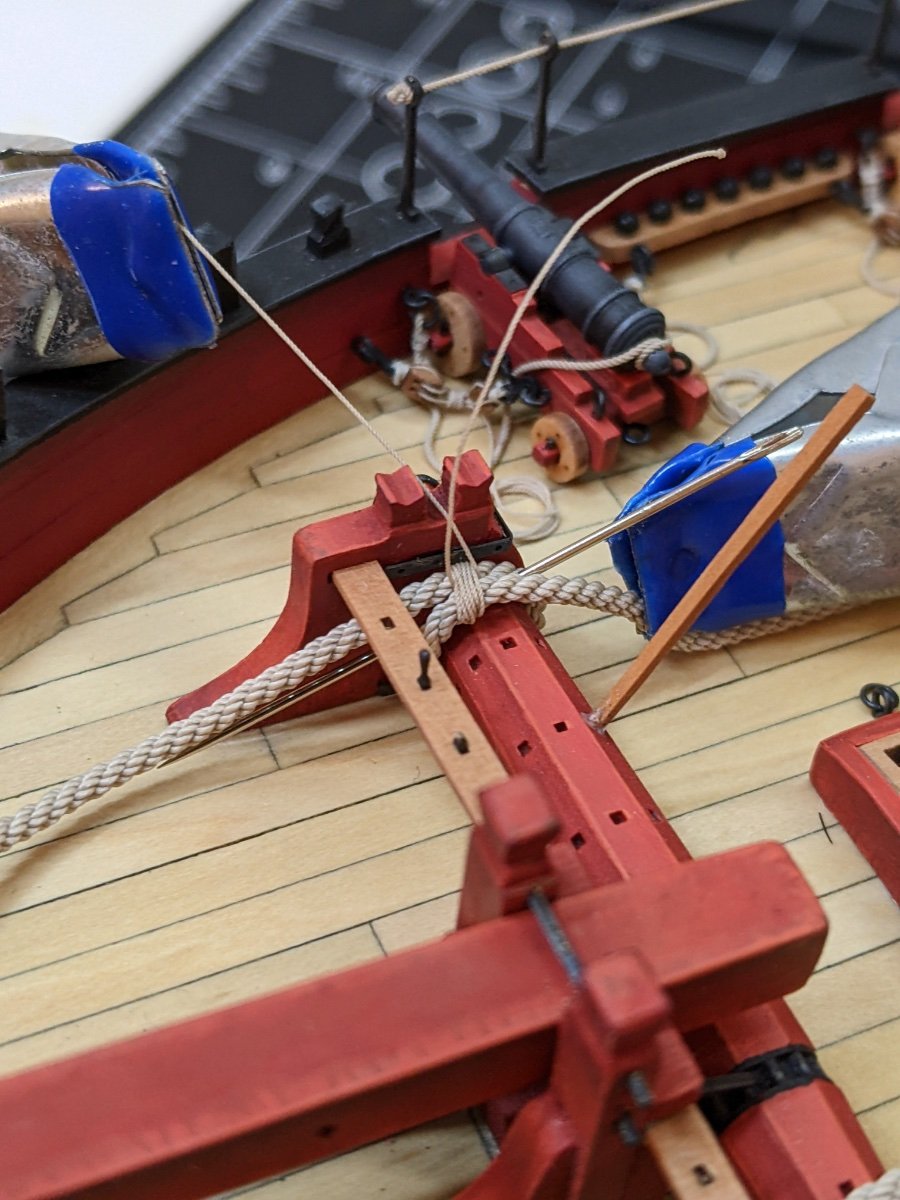
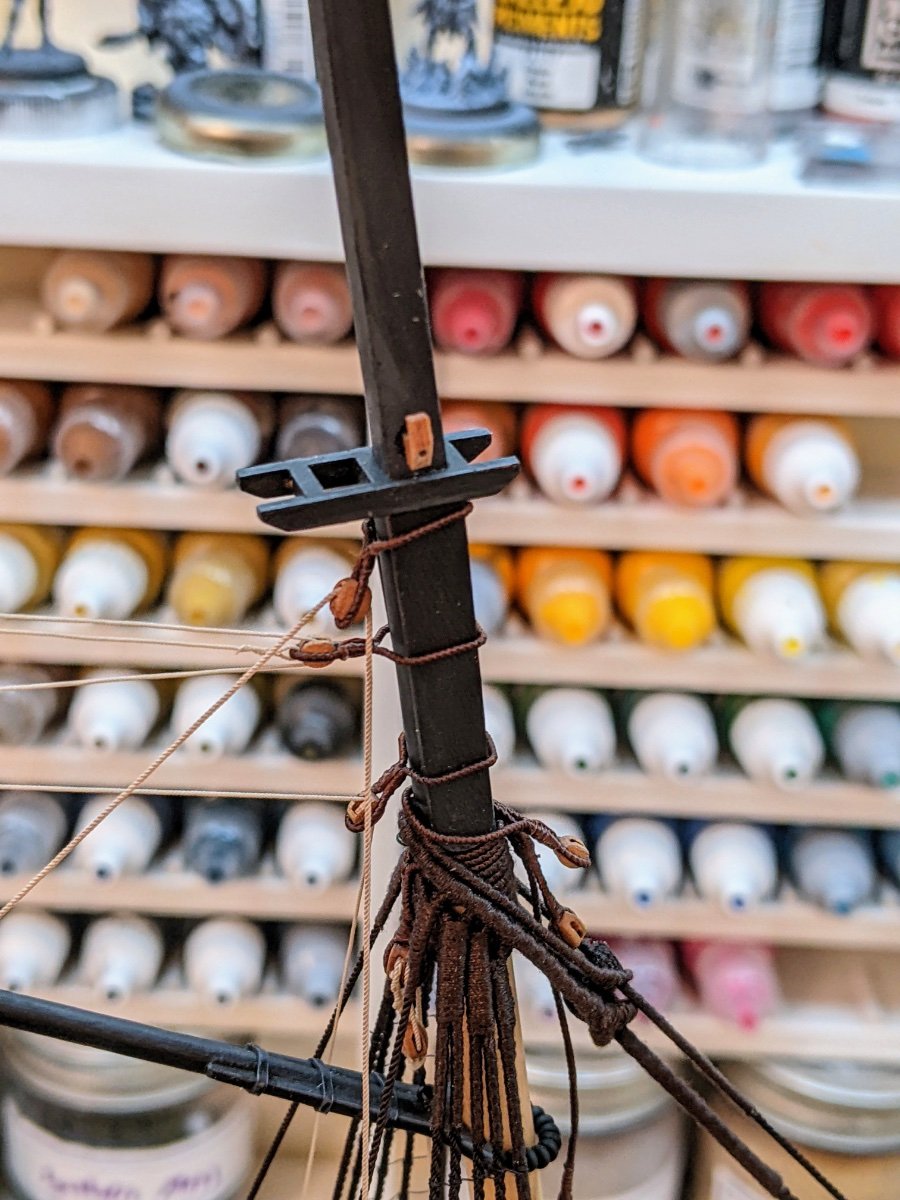
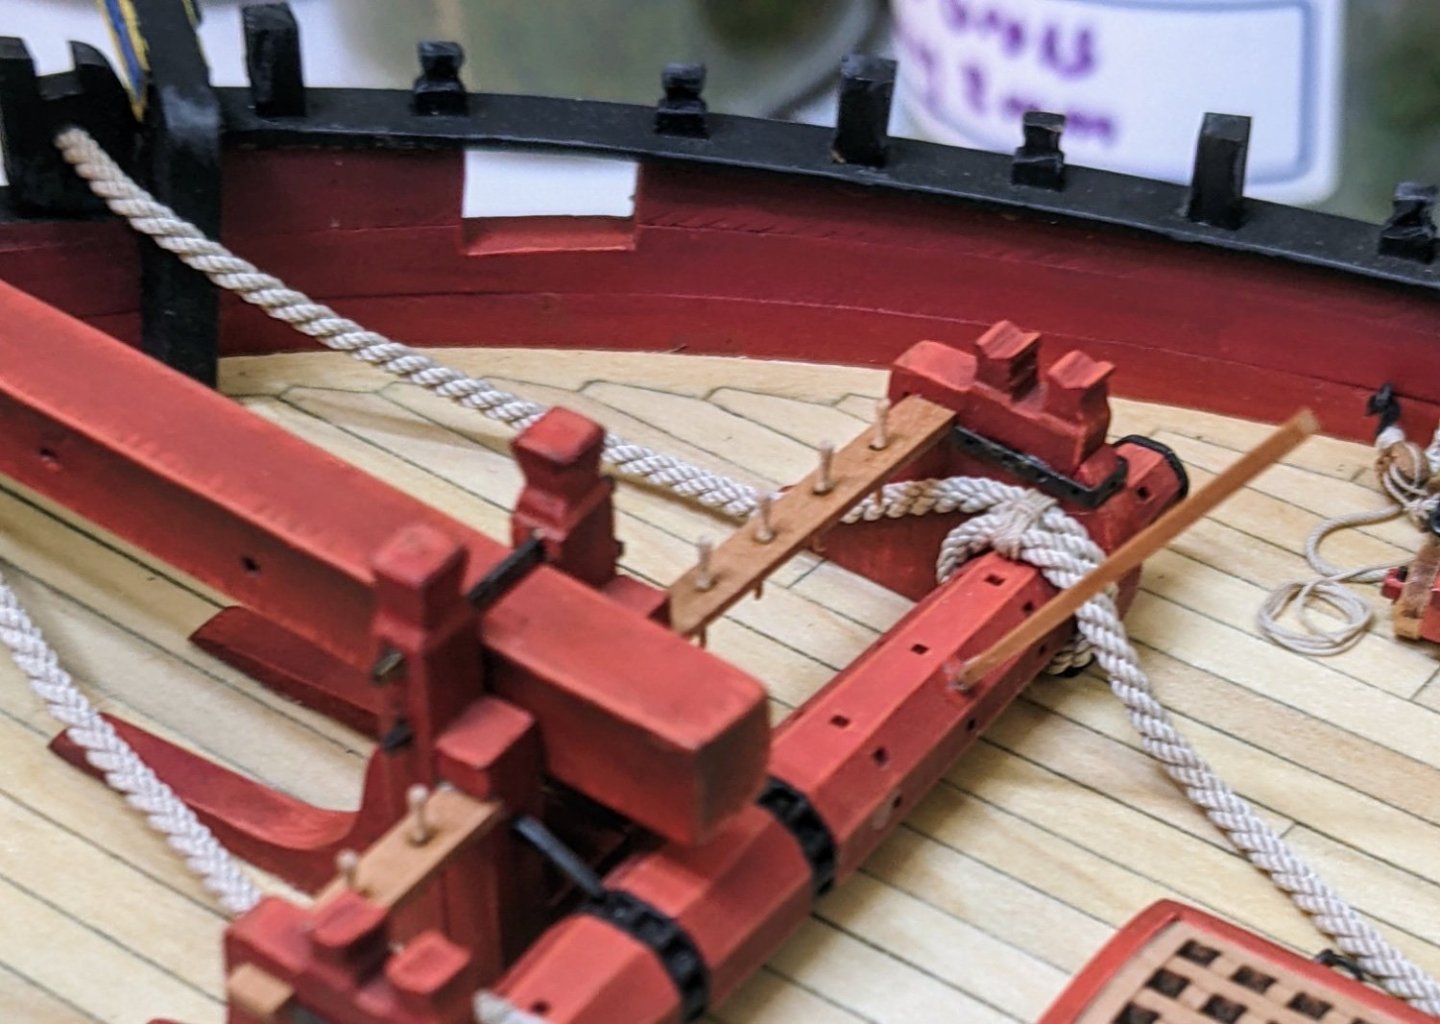
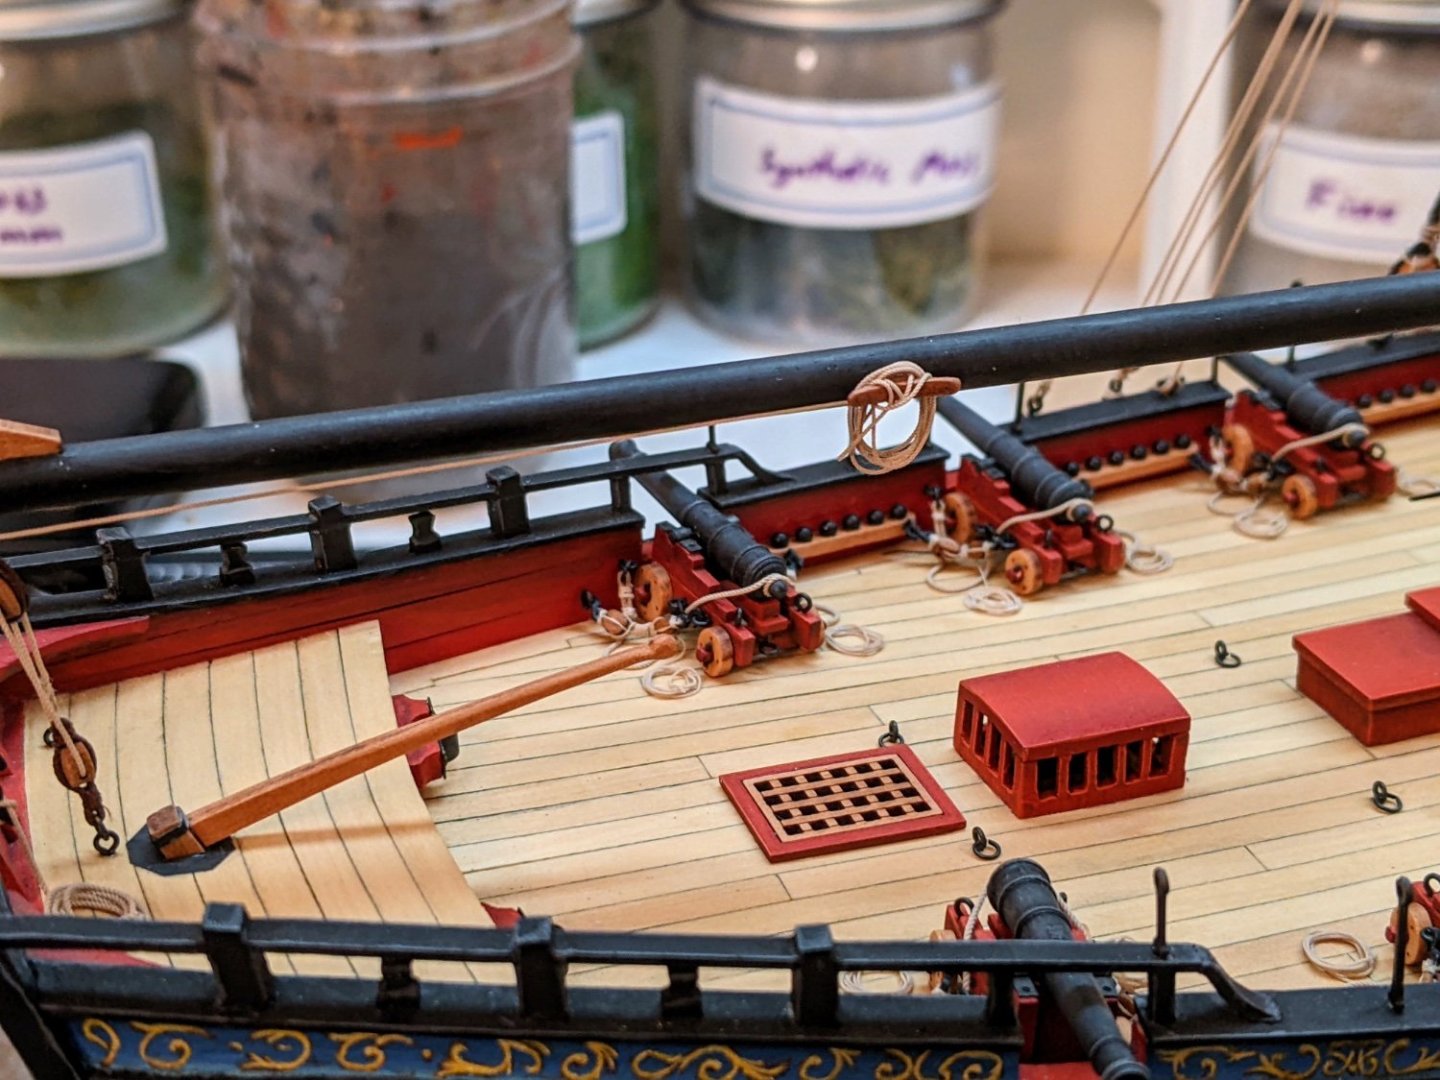
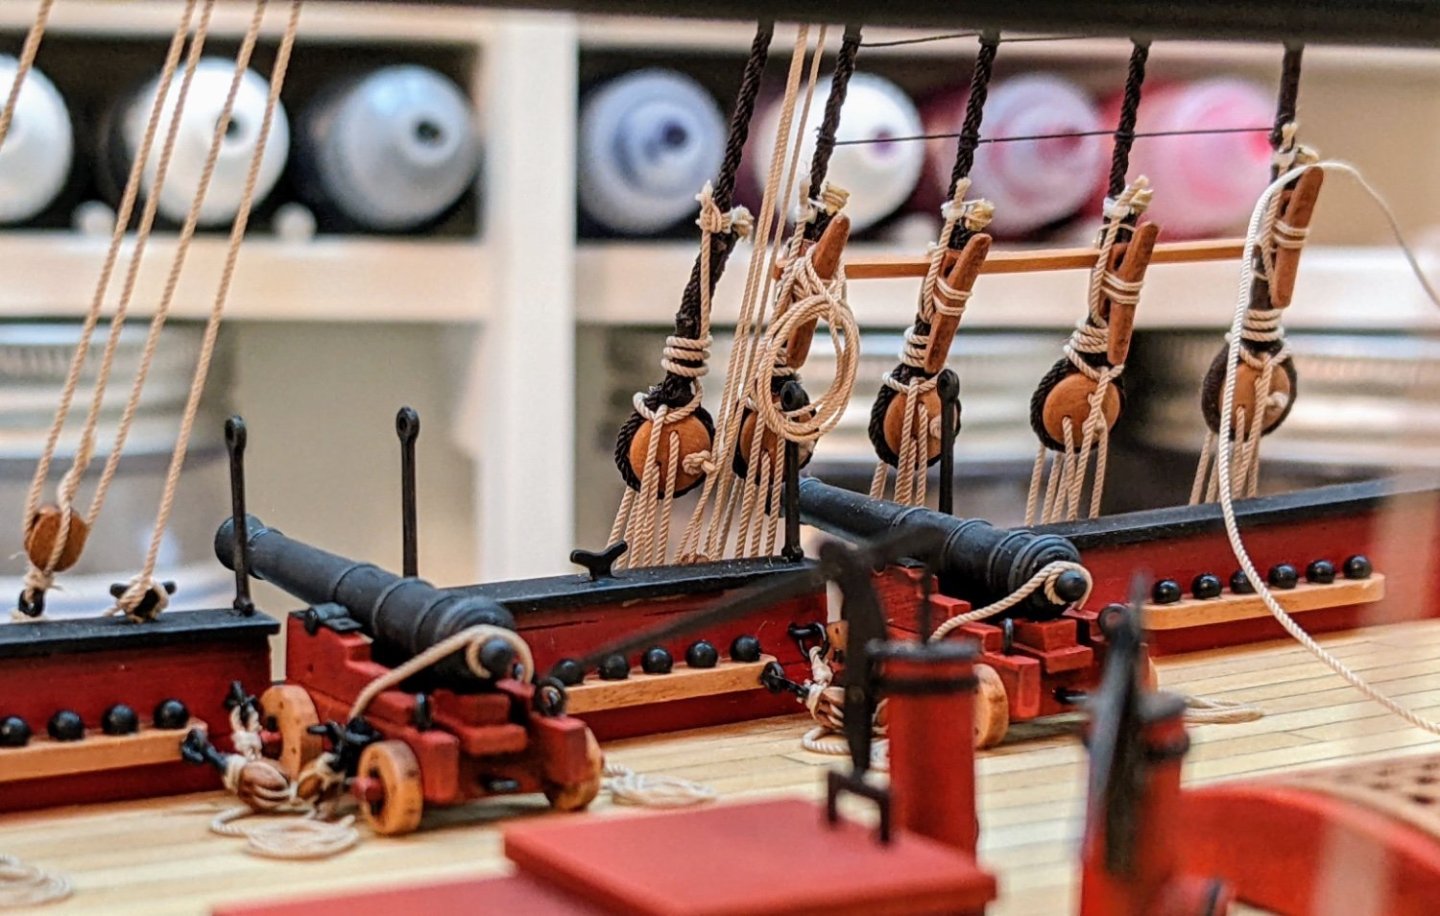
Log #75: Odds and Ends Thanks to everyone that stopped by and for the suggestions. I still have not decided what to do with the spare spars, but based on @druxey’s advice I am not going to stick them on the deck. Likely some combination of lashed to the shrouds or potentially putting the storm topgallant on the railing sticking out the back. In the meantime I have been finishing up some odds and ends in preparation for work on the upper mainmast moving towards the topgallant. First up, the yards themselves are finished now and ready to start having the rigging attached to them. I had some issues attaching the cleats? or whatever they are called at the ends of the yards as they are so small. I think in the future despite the fact that it makes painting more difficult I would make sure all the shaping is fully done before I start painting. I also prepared the top of the mainmast to add the pendant for the topsail yard. As this will be quite visible at the top of the model I gave them a bit more care and decided to add in a simulated bolt. Finally I finished securing and adding rope coils for the remaining lines I had not yet done. The inner tie was secured to the bits and I laid a coil against them. The inspiration for this came from a painting of a cutter that I saw in someone’s build log, but can’t remember which one anymore. You can see I have put the cable for the anchor in place, but I have not fixed it down as I want to be able to move it if necessary as I do the rigging. The sheet for the mainsail was coiled around the cleat on the boom. And finally I started experimenting with rope hanks. This is for the outer tie or peak halliard which is secured with two single blocks attached with a hook to an eyebolt on the larboard channels. The excess rope was coiled in a hank on the nearest shroud cleat. Still not entirely pleased with it, but I learned a lot. Once I get my method figured out I will probably post about it in more detail.

- 562 replies
-
- 24
-
-

-
- vanguard models
- alert
- (and 2 more)
-
You are making quick progress. At this rate you will pass me soon.
-
A bit of damage is inevitable. I also had trouble on alert. I just used pliers gently to pry it apart and then touched up the damaged parts with black paint afterwards. I believe some people blacken with the deadeyes on, but you probably want to test this before committing.
-
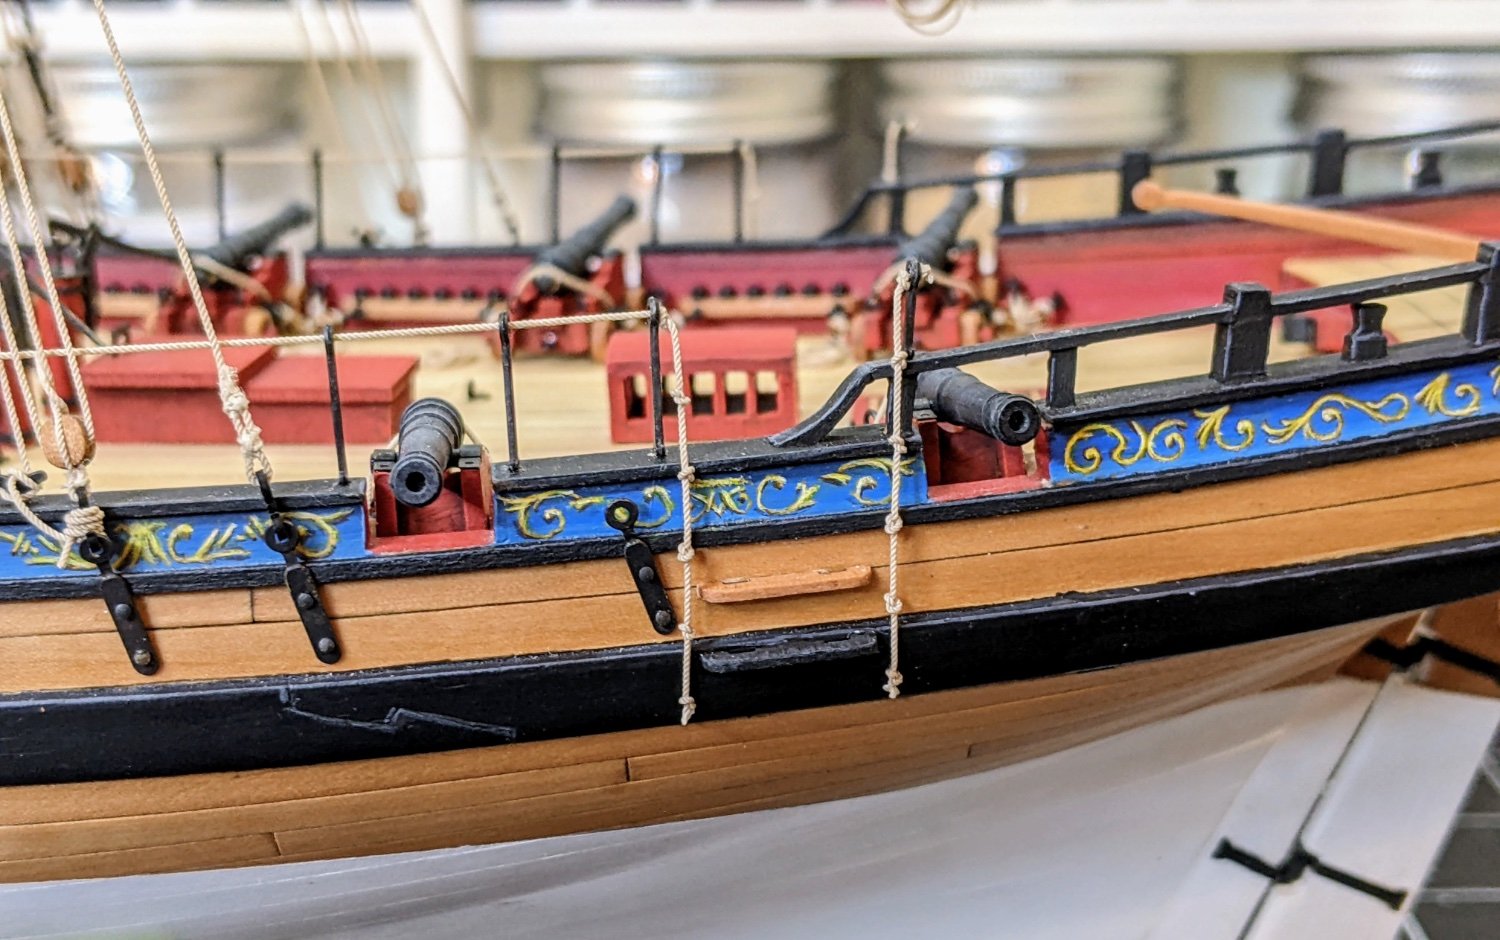
Great job, I always appreciate seeing people have the courage to try and paint directly on the model. If I may make a small suggestion, a bit of colour variation on the blue would really add to it. You have this nice contrast on the yellow, but the blue stands out where it is just one flat colour.
-
I think it looks good. You could also use a brown wash built up in multiple thin layers to tone down the copper colour some more and boost the contrast.
-
The varnish layer is usually used to do one of two things: A gloss layer to allow the washes to better flow (for example when you want to do panel lining). (I personally have never bothered with this as I found that if you let the paint dry fully then as long as you are careful with the oil wash, it is never a problem cleaning up spills). To protect the layer beneath if you need to clean off overspill or are going to be rubbing it off in the case of say an oil wash. For the everyday run of the mill base coat - wash - drybrush you don't need to seal the layers. There are also cases when you are doing a competition piece where you might want to have a save point you can revert to, but that is for models that you are putting hundreds of hours into painting. I have painted hundreds of model figures, some to a fairly high standard and I have never sealed them except as a very last step to protect the paint job from handling and adjust the sheen. The only exception to this is I seal the area before applying decals.
-
Really nice clean work. Usually when you zoom in the flaws start to appear, but I don’t see any on your work.
-
Thanks druxey, is it possible that maybe some of them could have been lashed to the boom as well? I am mostly concerned with the storm topgallant mast as it is much thicker and presumably heavier than the mizen mast and spars and it looks a bit much for the shrouds. I could also try lashing the storm topgallant to the stern railing and let it hang out over the back on the boom crutch, I don’t know if you have any info which would suggest if it was ever practice to let the end stick out the stern like that.
- 562 replies
-
- 1
-
-
- vanguard models
- alert
- (and 2 more)
-
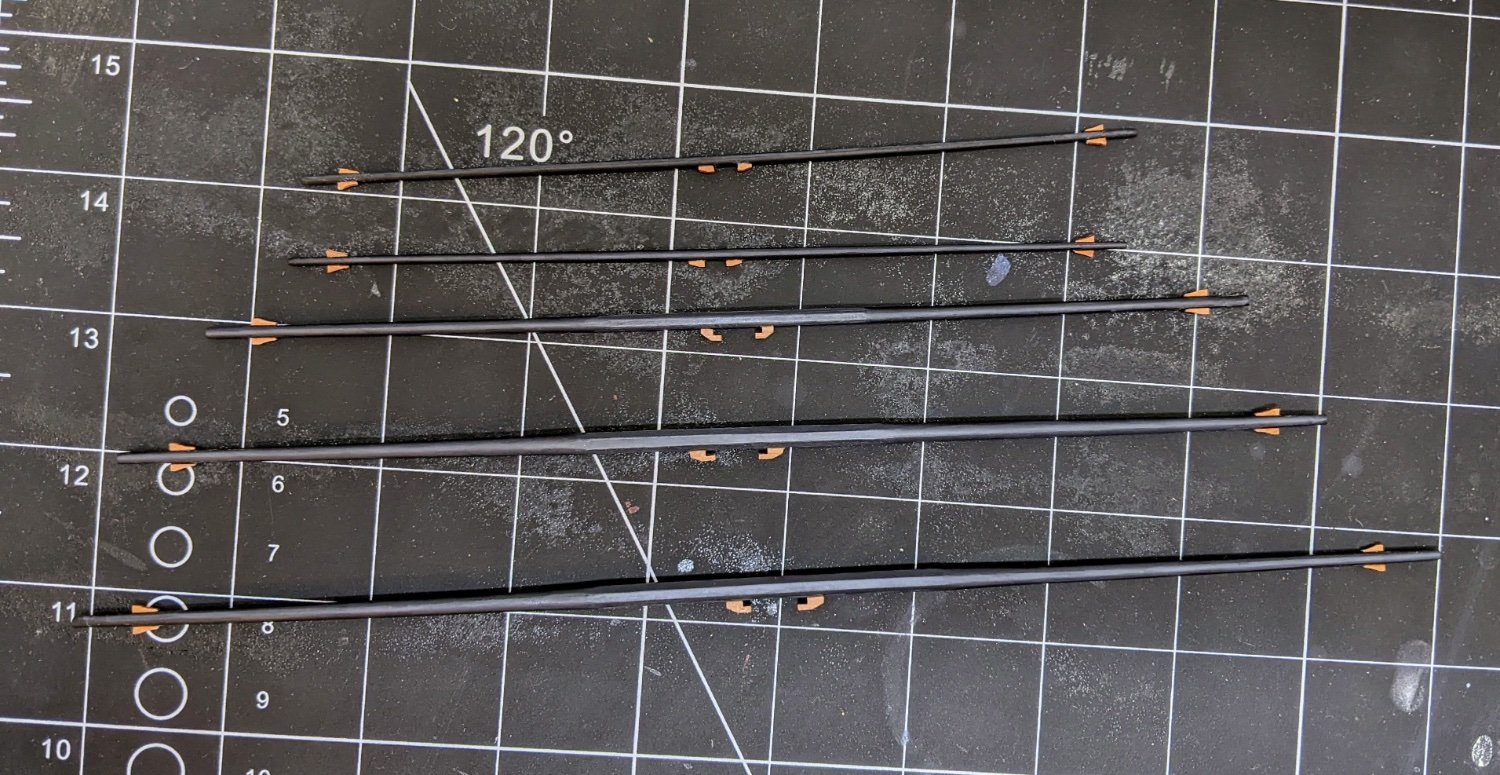
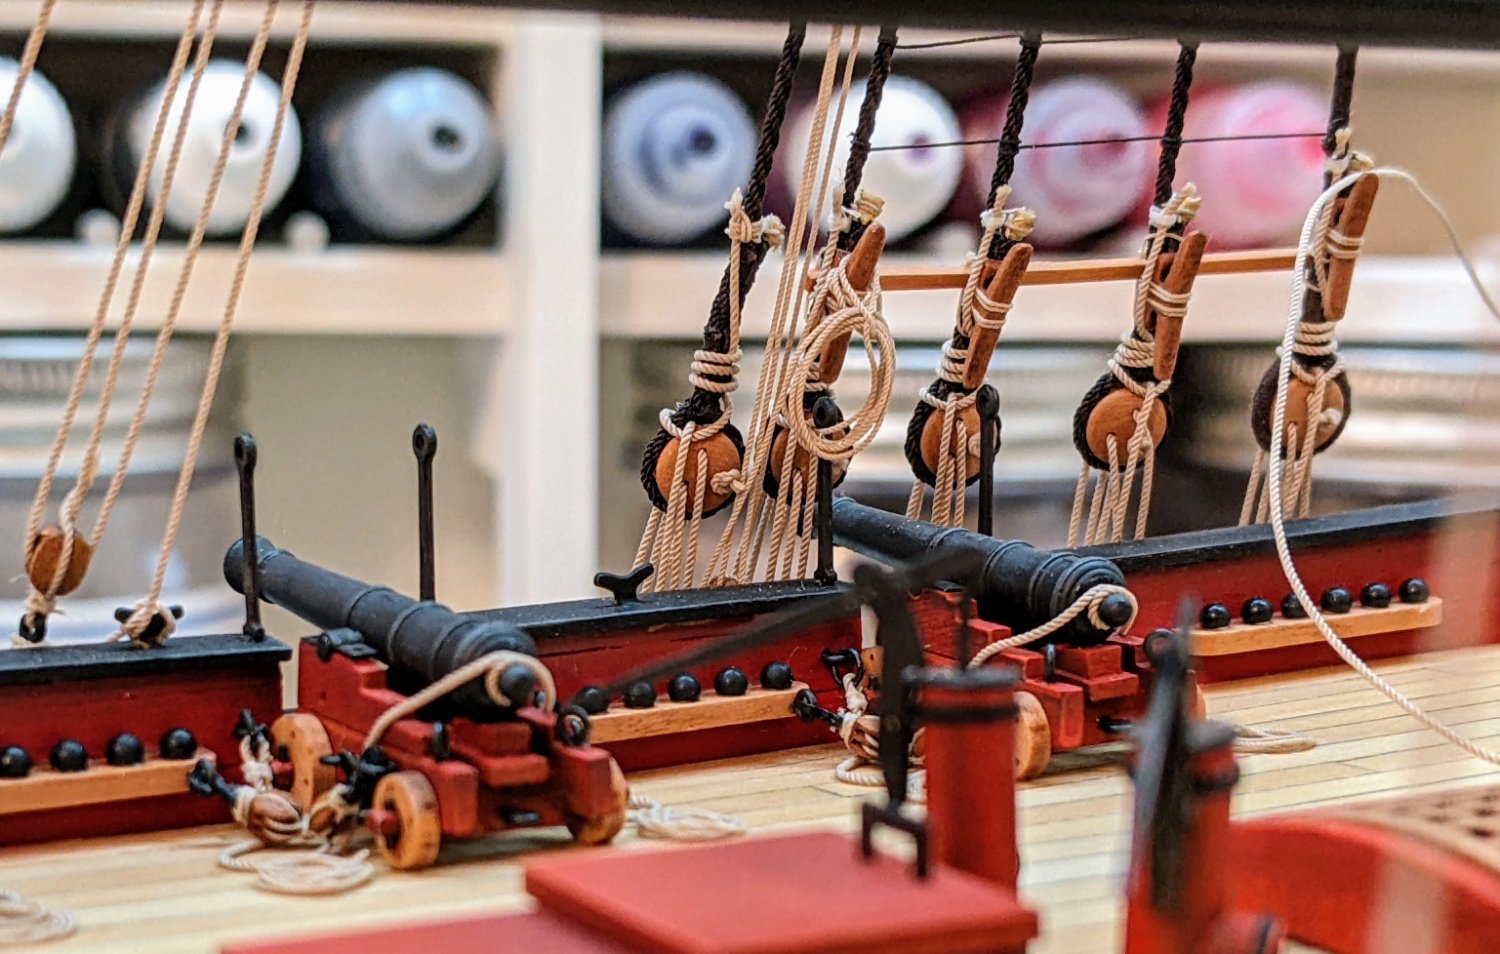
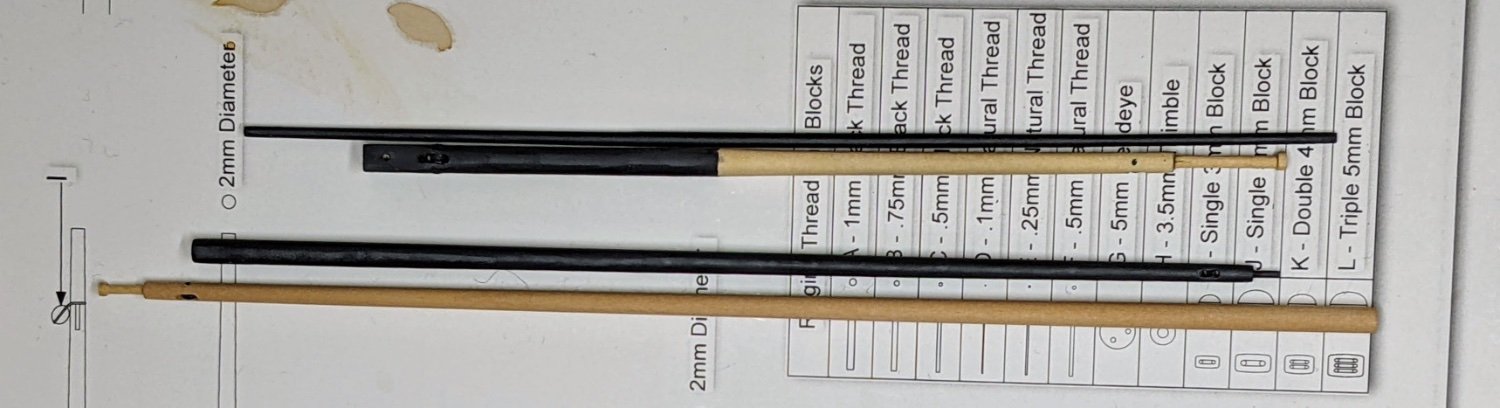
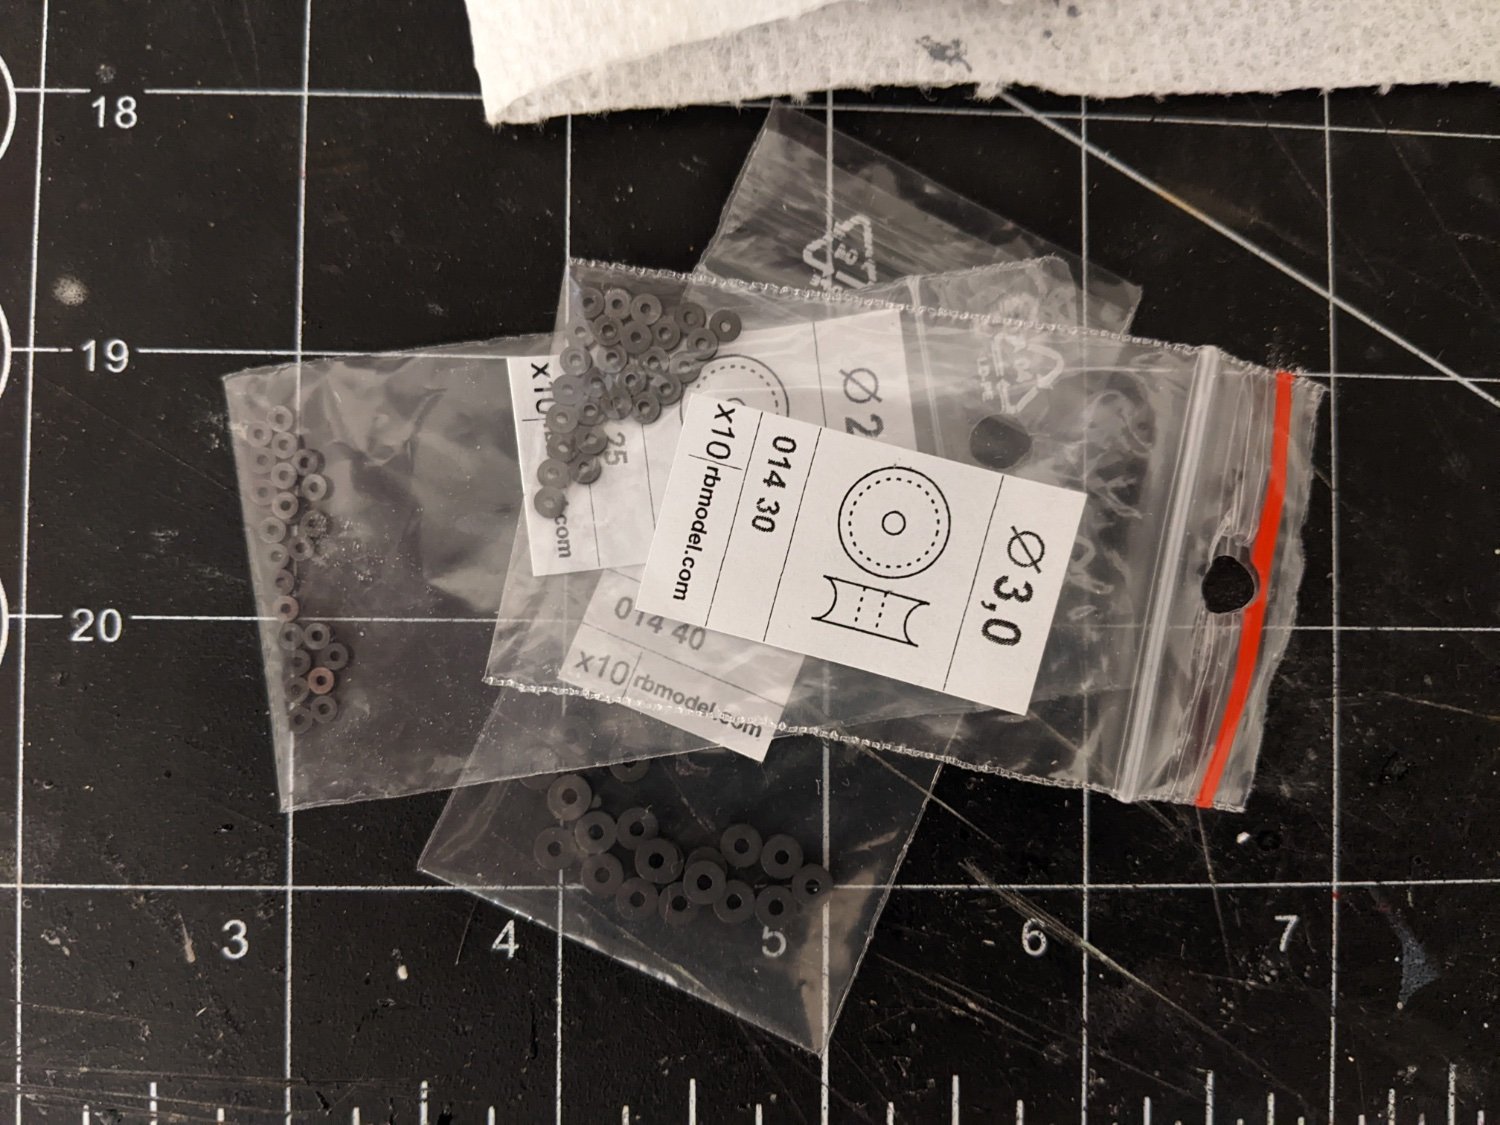
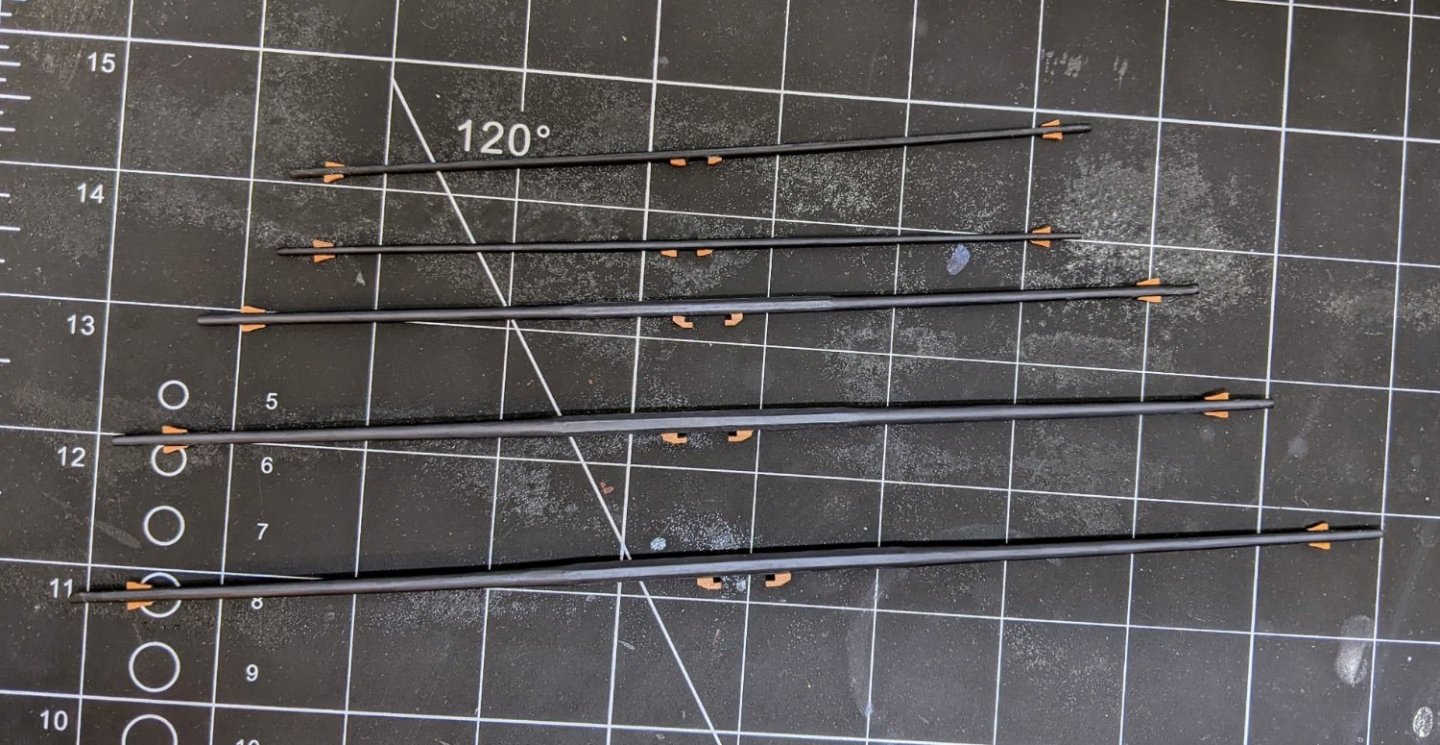
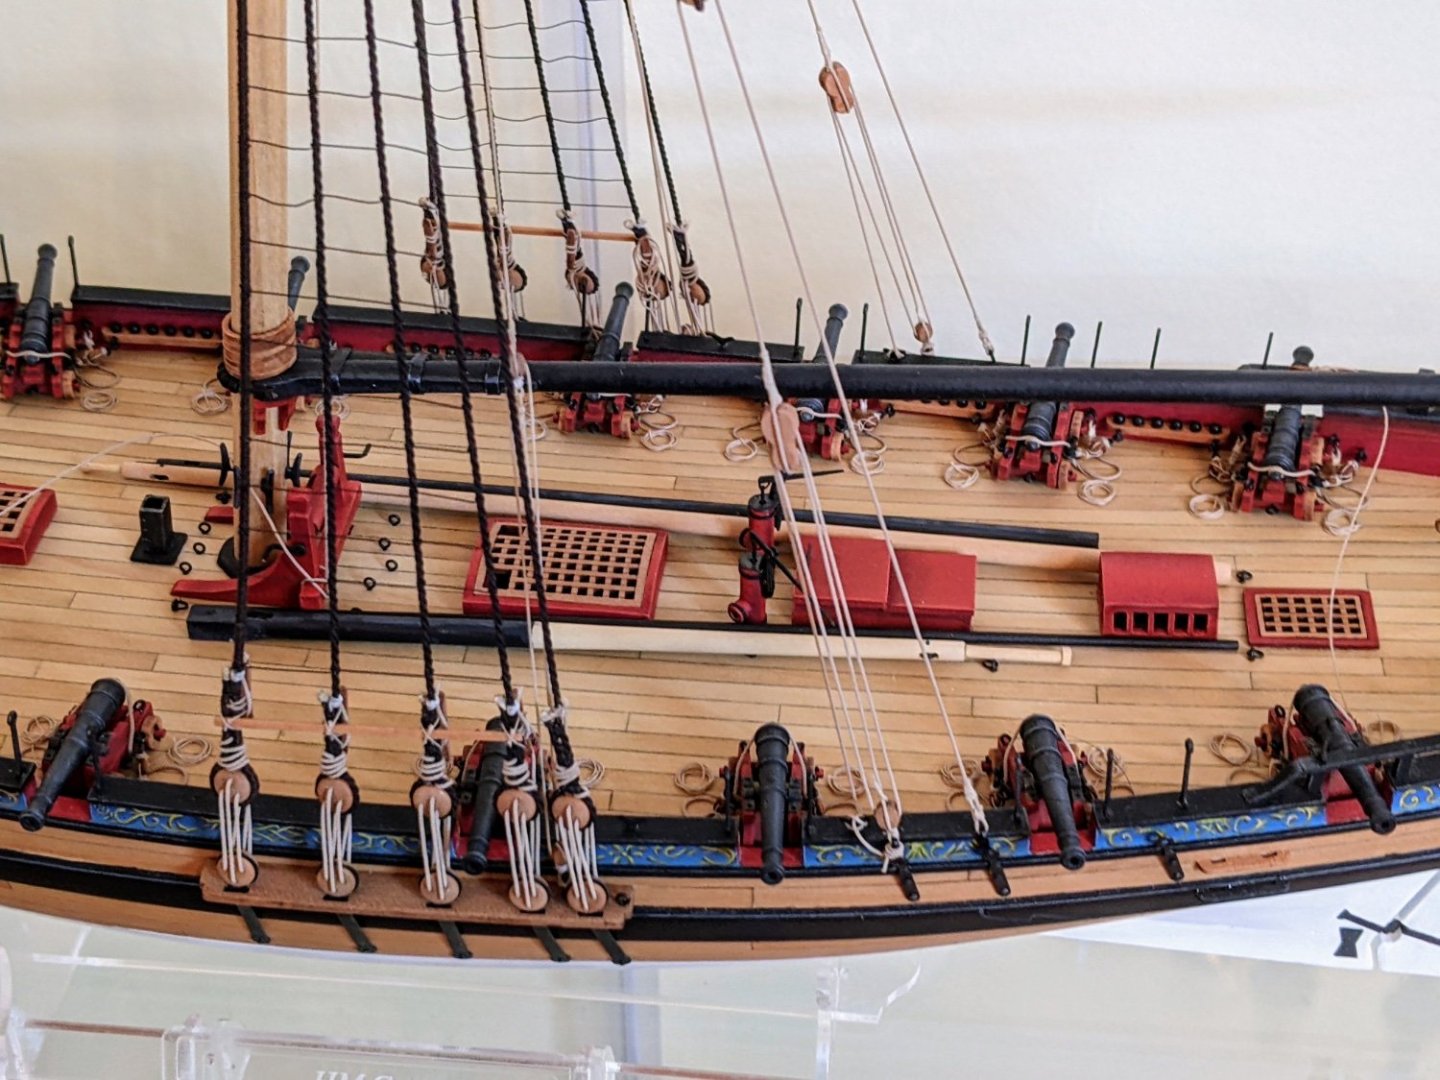
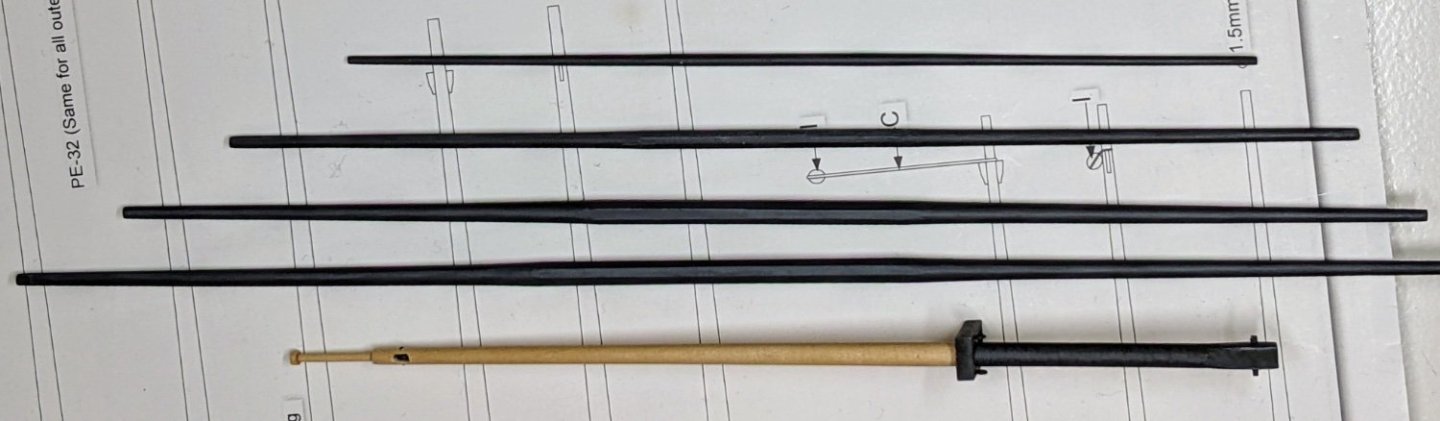
Log #74: Painting the Yards I have been slowly picking away at finishing up the painting and shaping of the yards and masts. I had acquired some brass sheeves for putting in the masts. Ideally I would have thought of this earlier, but trying to adjust the holes on the spars already on the model struck me as a bad idea. I blackened them all in one go and it went will with no issues with flaking that I usually have blackening things. The next step was to paint all the proper parts black using some primer. As usual this required several coats with sanding inbetween each to get a smooth surface. Then using a similar method to that discussed previously with the boom and gaff I highlighted them all. You can see here the spars to be rigged: And the spars that will go on the deck: The highlighting is fairly gradual as I want them to still read as black even though the upper highlights are actually a medium grey. The main benefit is probably on the spars with the octagonal section in the middle as this makes that much more visible. And here are the spare spars tested on the model. I am still not sure exactly how to secure them and where exactly to put them. Where they are they are obscuring the eye bolts for the rear gun tackle. If anyone has any suggestions for the proper placing of them I would appreciate any advice you can offer.


- 562 replies
-
- 15
-
-
- vanguard models
- alert
- (and 2 more)
-
Looking good, nice careful work.
-
Welcome to MSW. Good luck on your journey here. I also came from the sci-fi plastic modelling world and while some of it translates, working with wood is a different beast and you will make a lot of mistakes along the way. A few suggestions to help you get the most out of MSW and help you on your way: Read all the other logs on your ship you can. Many will talk about the challenges they encountered helping you to avoid them. If you run into issues contact the authors of those logs, most are usually happy to help. Don’t only post in your log. Look around, see what others are doing and encourage them as well. Treat every step as its own project. You will never regret going too slow, but you might regret rushing through something. This is a marathon not a sprint. I have been working on my first build for almost three years and my only regrets relate to the times I decided it was good enough instead of going back to fix something. Good luck
-
You will likely find that the rigging will be easier if you pin and glue them to the mast. You don't technically have to, but you will make your life easier if you do. Just make sure you measure many times before you start drilling holes. Also on a related note do as much work off the model as you can, so attach as many blocks to the yards etc off the model as possible.
-
Rigging Cutter Square Sail Sheets and Tack
Thukydides replied to Thukydides's topic in Masting, rigging and sails
Not sure on this one, I would guess because the stays get in the way of the topsail so you need to make it with a curved bottom as opposed to a straight one. Then there is a gap which more sail could be put in so you raise the square sail higher. You can see the arrangement in this contemporary model of hawke from RMG: -
Fantastic, presentation is great, weathering is well done. For someone who doesn't have a lot of experience painting figures you have done a good job.
- 13 replies
-
- 3
-
-
- Model Shipways
- Finished
- (and 2 more)