
Tobias
-
Posts
197 -
Joined
-
Last visited
Content Type
Profiles
Forums
Gallery
Events
Posts posted by Tobias
-
-
On 12/28/2022 at 12:34 AM, Peter6172 said:
Yes Tobias, a nice selection but they too do not post to Australia.
Hello Peter, that's a pity to hear, I only read this paragraph.
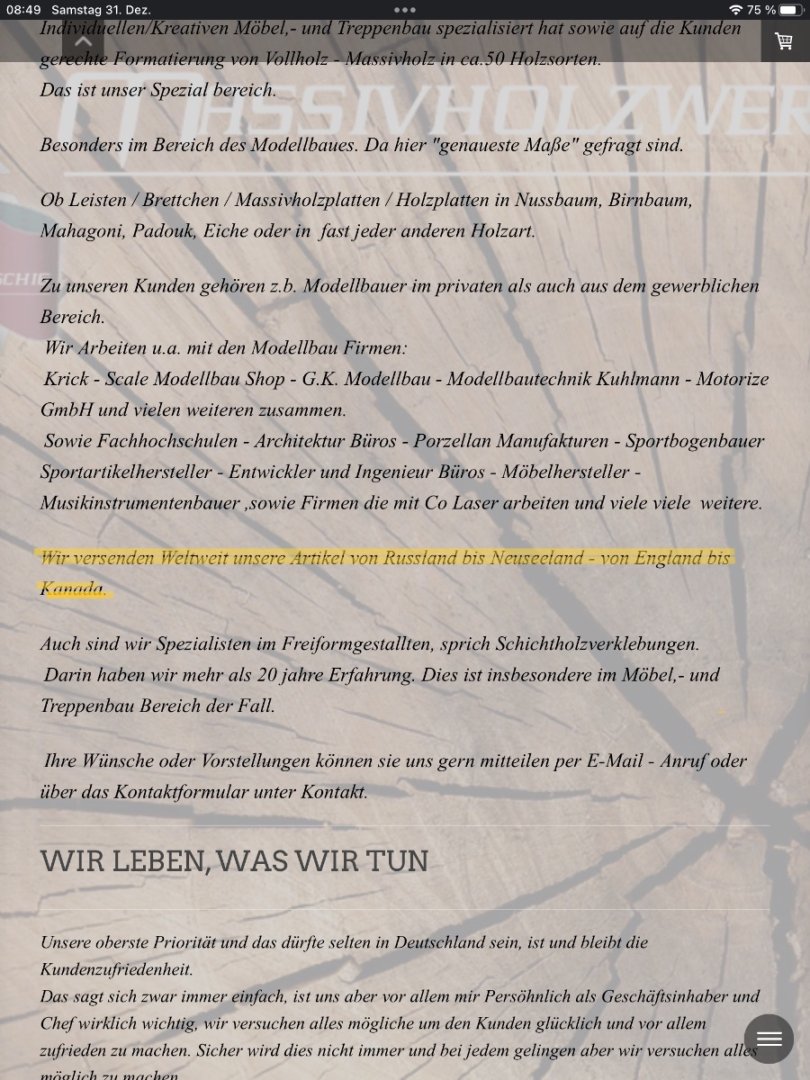
If you want, I can get in touch with Frank.We ship our items worldwide from Russia to New Zealand - from England to Canada.
-
Hello Peter it is sad to hear such news.
As far as wood is concerned, a supplier from Germany would be OK for you, he delivers worldwide and he has cherry. That would be the link.
-
I wish everyone a Merry Christmas.
- French Mr Bean, GrandpaPhil, Dave_E and 5 others
-
 7
7
-
 1
1
-
-
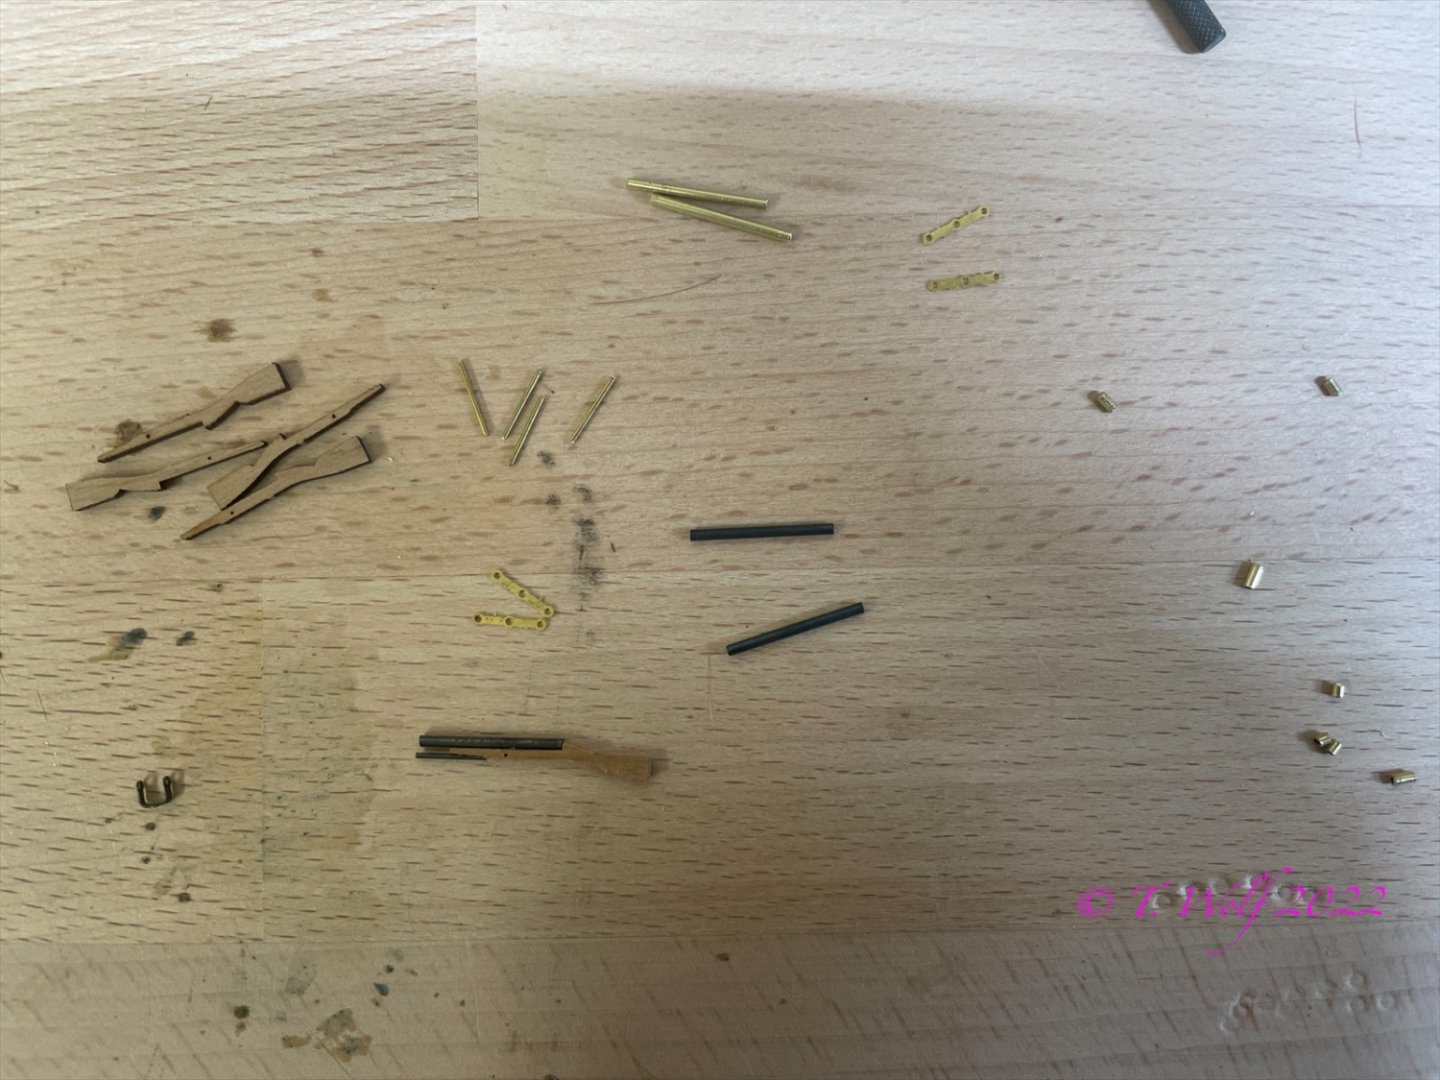
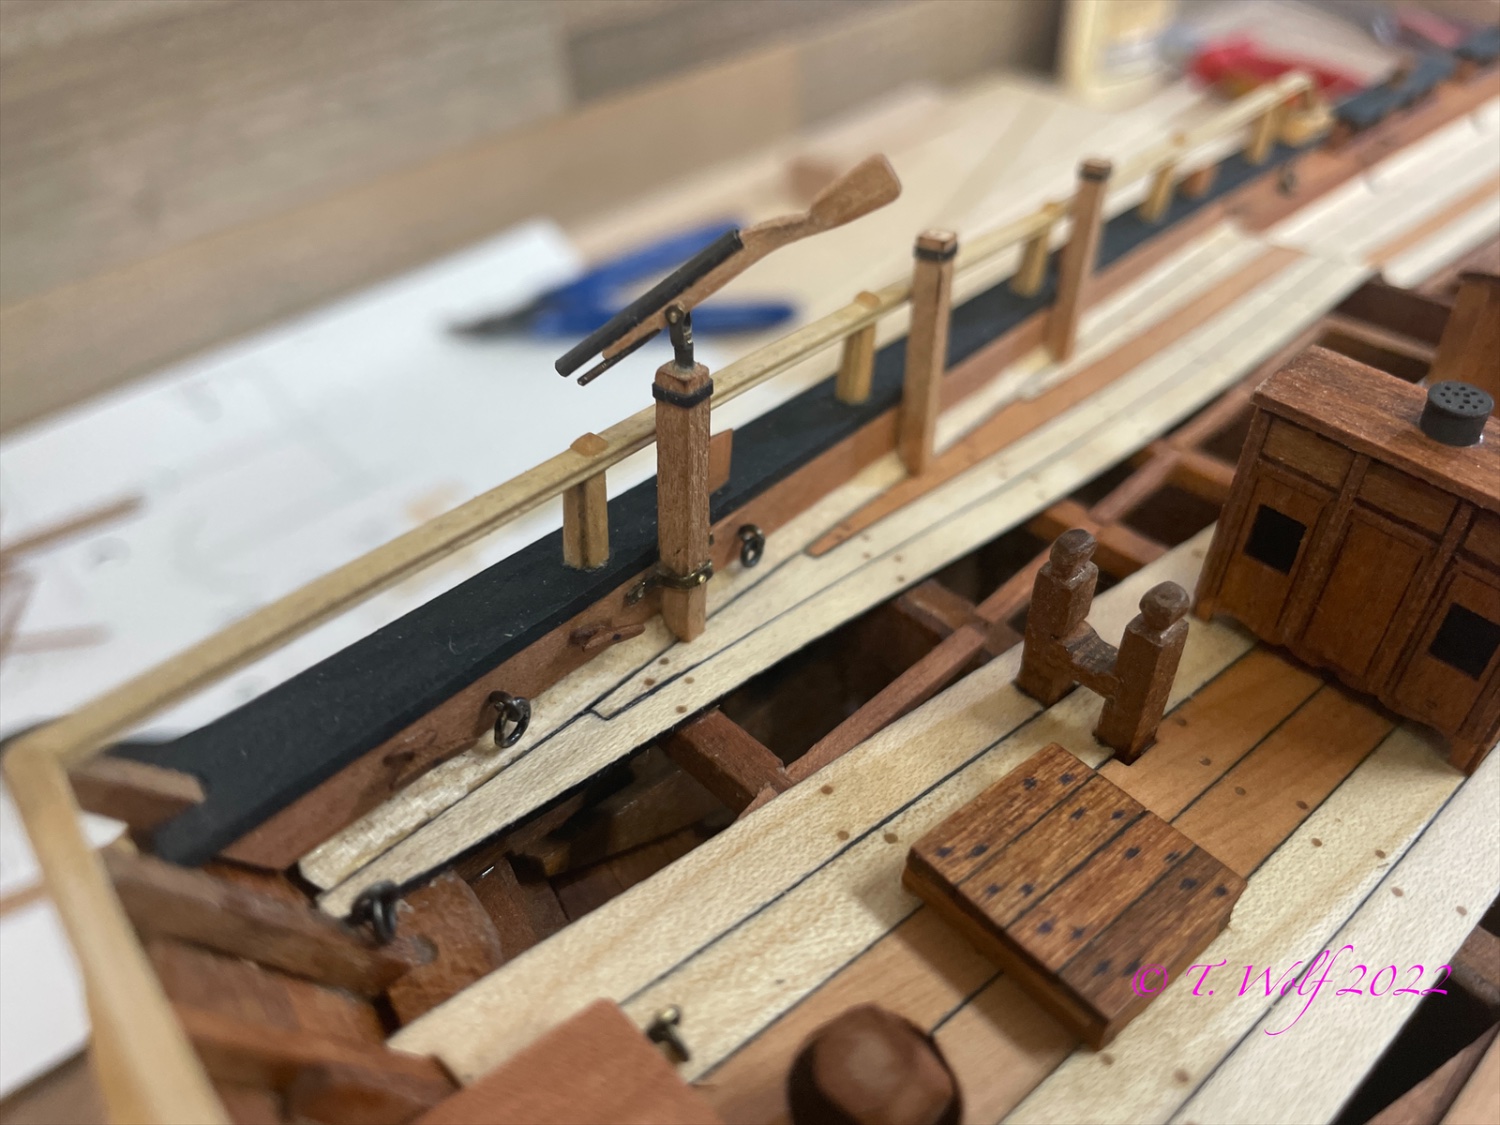
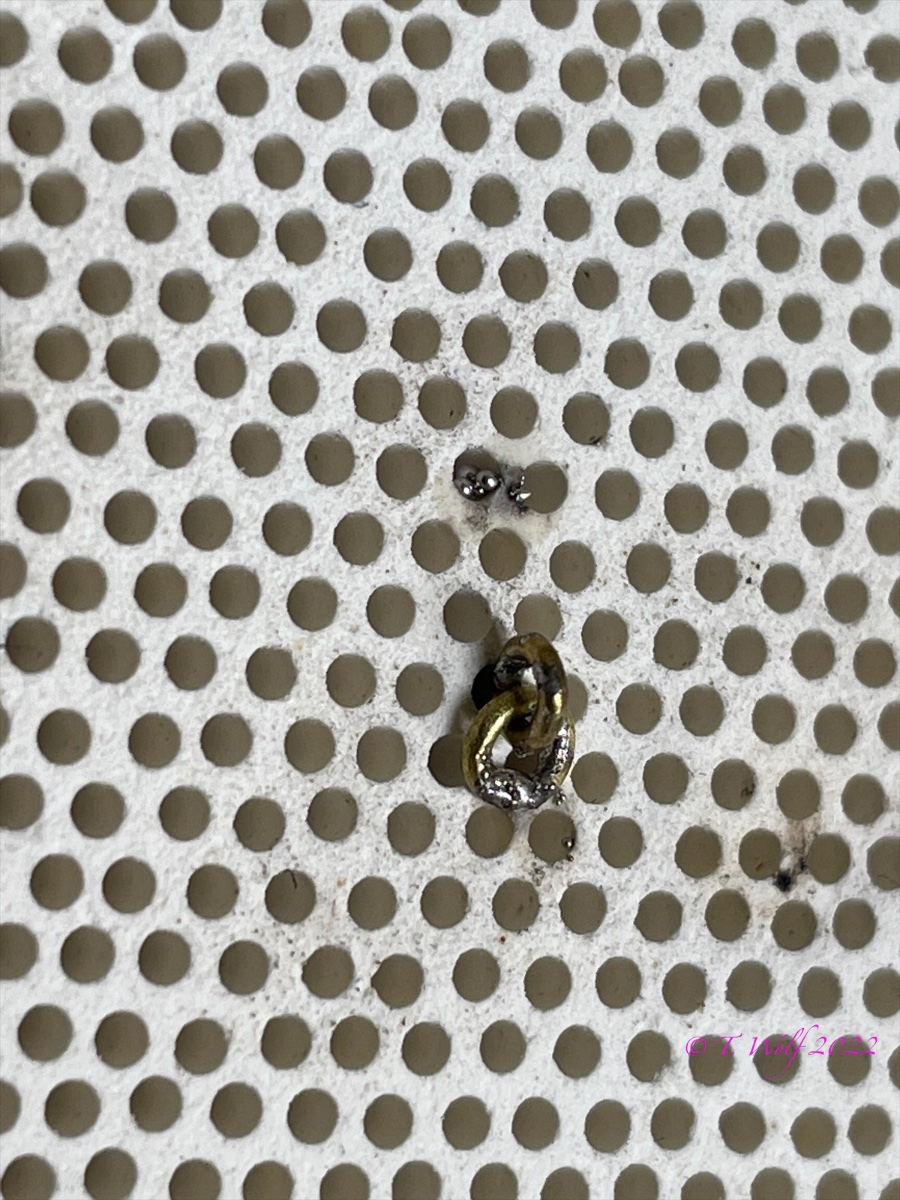
The first weapons find their place.


- JpR62, scrubbyj427, VTHokiEE and 5 others
-
8
-
Oliver it's amazing every time.
- mtaylor and Oliver1973
-
2
-
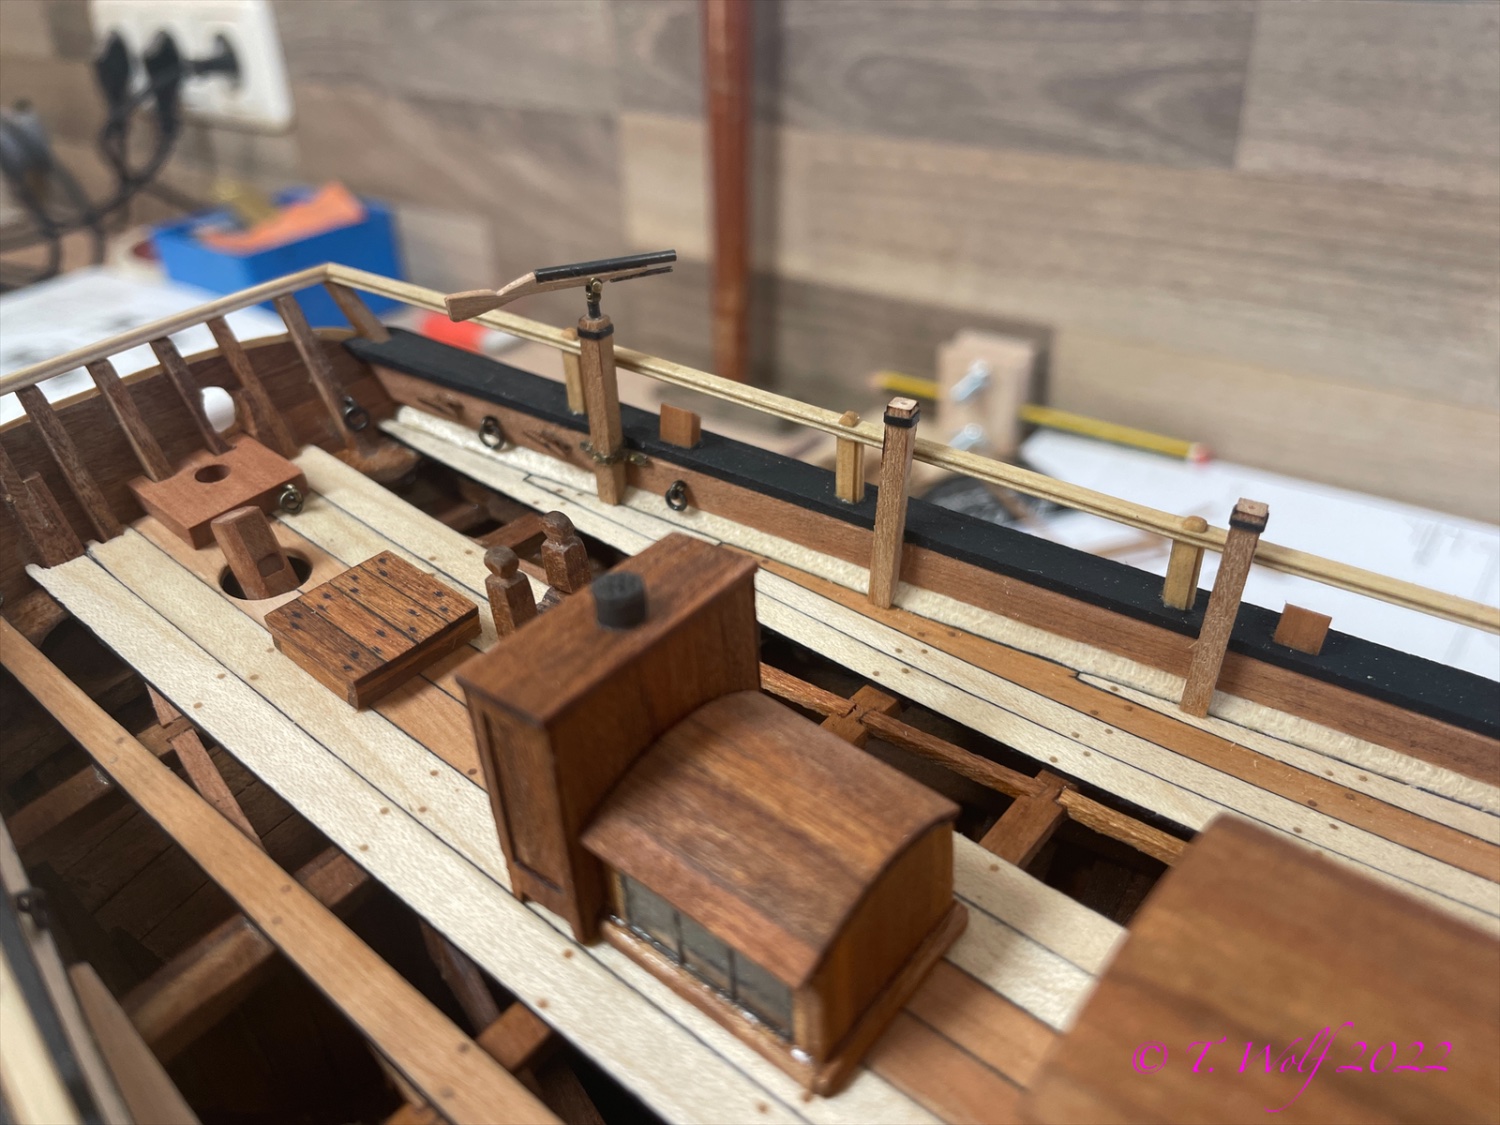
Good evening everyone,
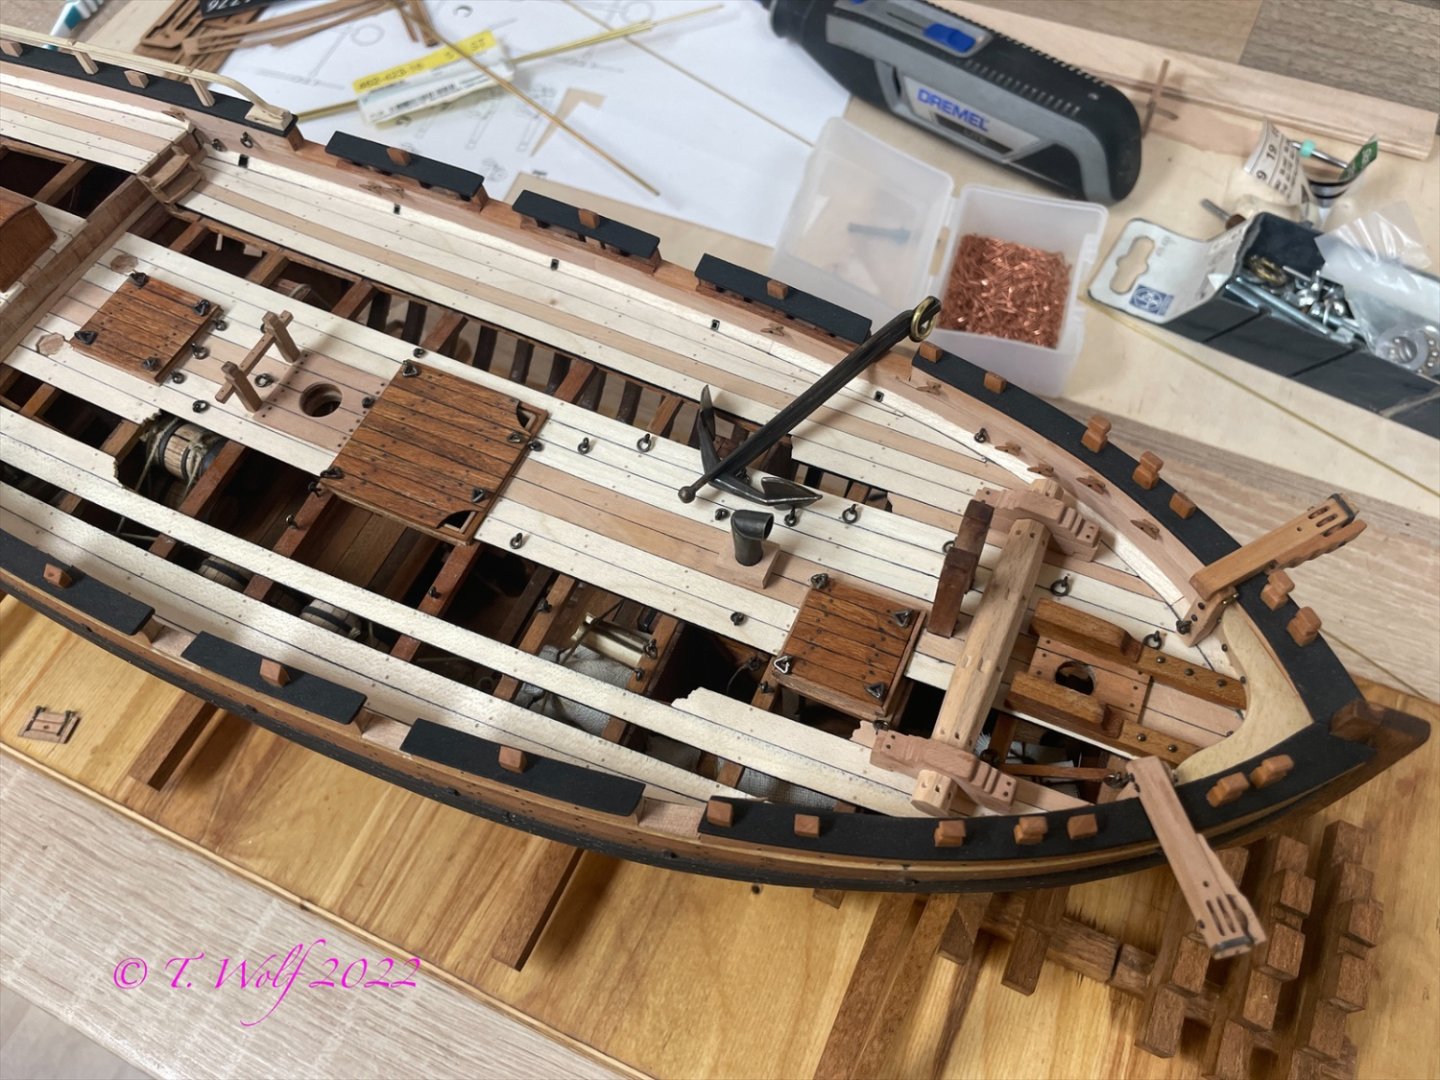
The little runner is growing very slowly with all the little brass work and other little details. Today I treated the deck with tung oil, put the dinghy brackets in place, installed the little stairs and did all sorts of small details.
-
Beautiful work Greg, congratulations on the completion.
- billocrates, Keith Black, mtaylor and 3 others
-
5
-
1
-
-
-
-
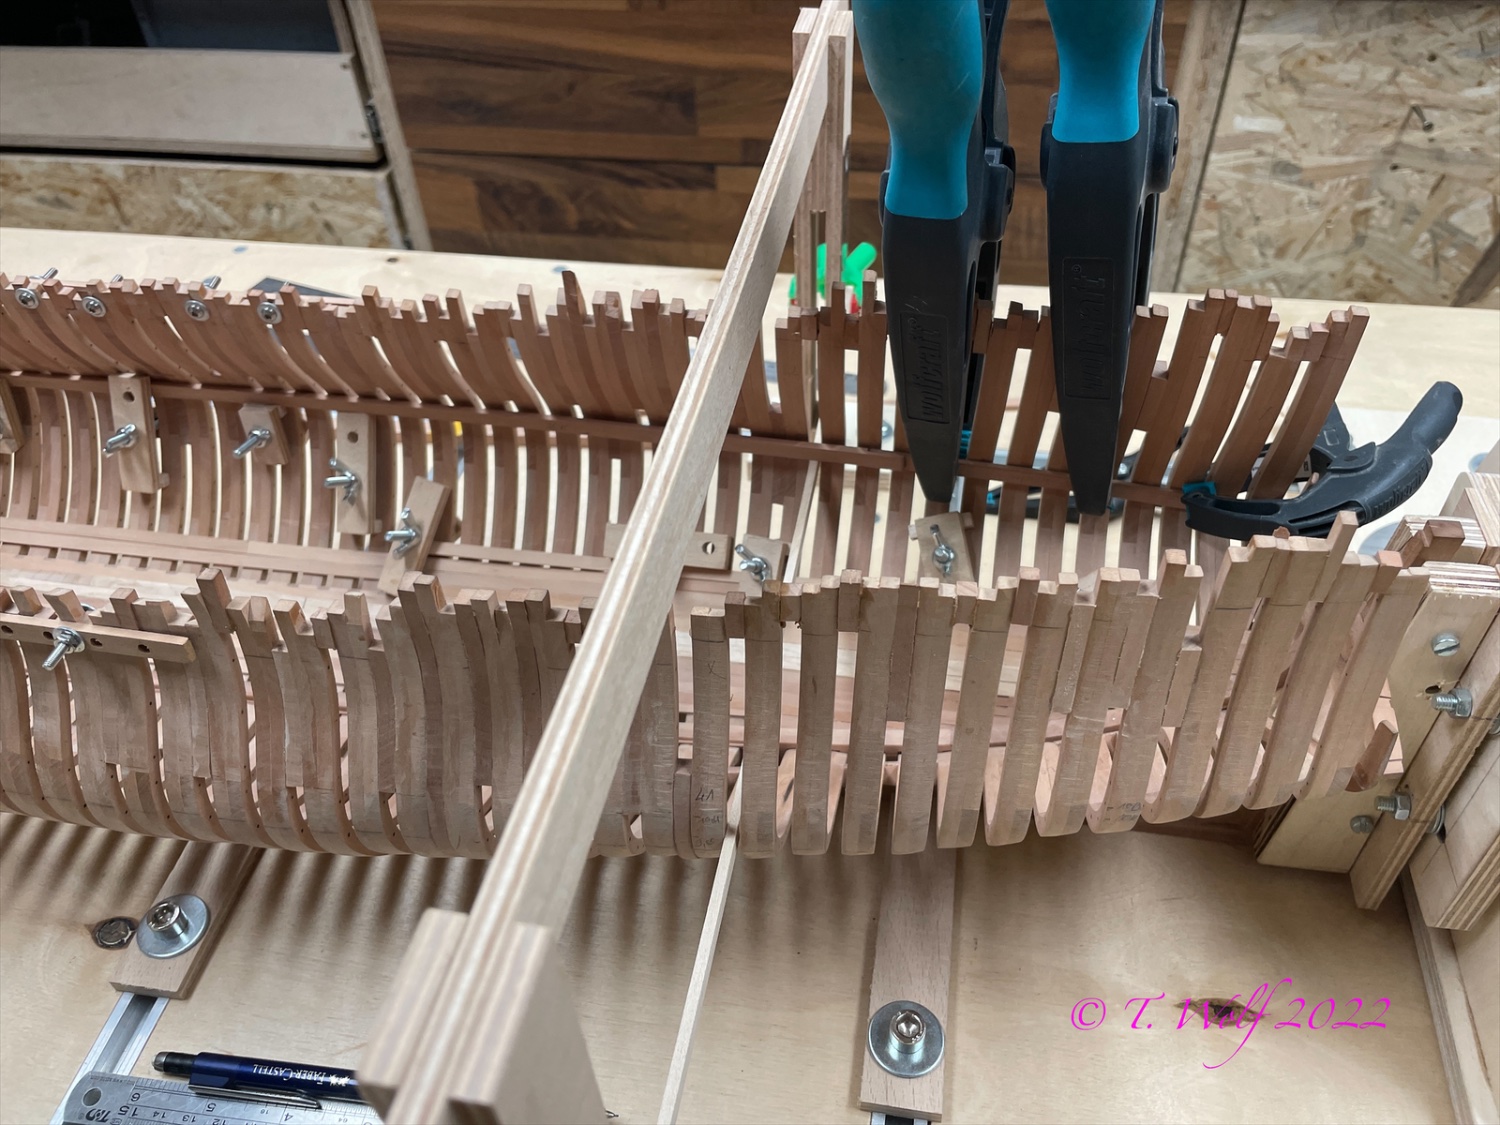
Hello and good morning,
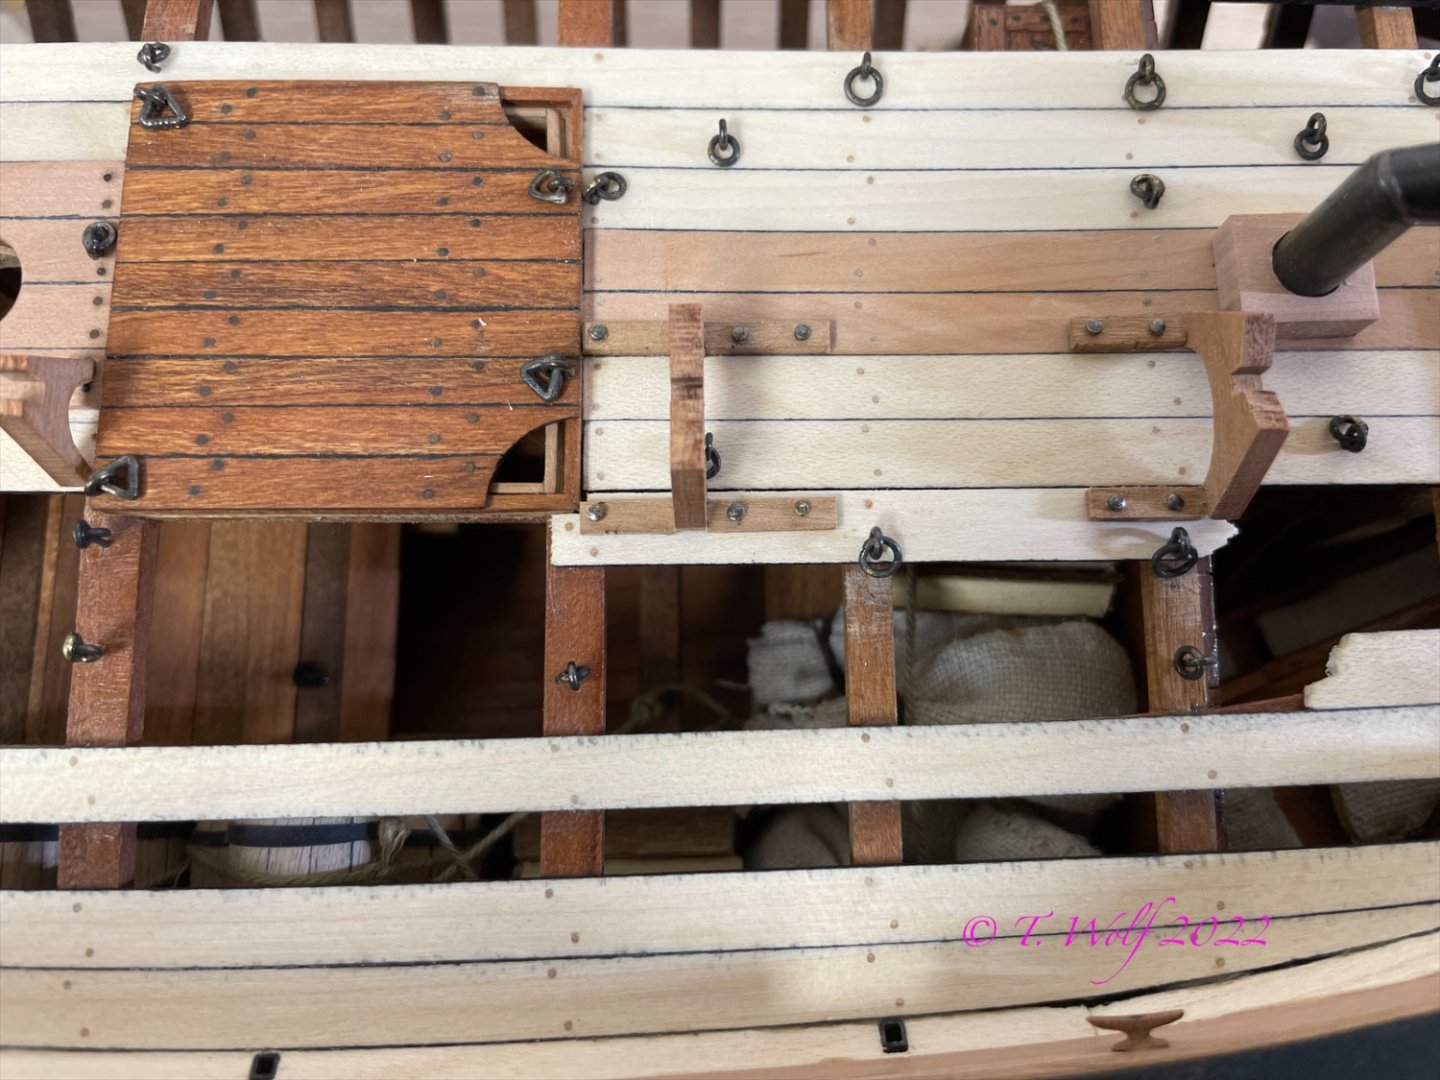
The starboard side is planked up to deck height.
Thank you for your interest and all the likes received, much appreciated.
@No Idea about your question, there are slight translation problems and I hope I understand it correctly. I tapered the individual planks with a plane. For reference, there is a plan page with 6 cross sections, I used this to determine the width of the individual boards. I hope I have understood your question correctly and could answer it.


From January I will start a small side project, Le Rochefort.
-
Hello Jan, congratulations on the completion of your Hayling Hoy. It has turned out beautifully.
- Seventynet, mtaylor, Keith Black and 1 other
-
4
-
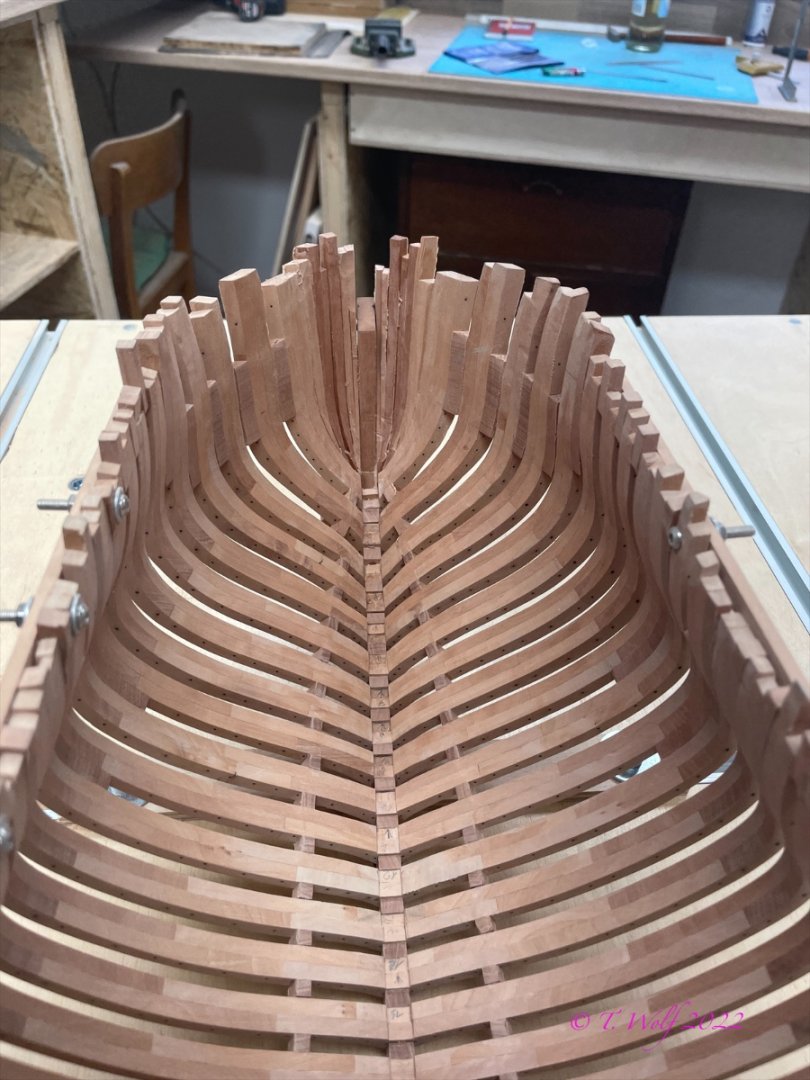
A small update.
Thank you for your likes and encouragement.
Slowly but steadily there are more rows.


- ChrisLBren, tlevine, Keith Black and 12 others
-
15
-
On 12/1/2022 at 7:50 AM, Richard Dunn said:
Anybody know where the Ancre build forums is?, I can't see it anywhere, wondering if it's invite only or on another site or something
Unless you mean this
model at 1/24th scale by Alain. F. BERTRANDHello Richard,
wonderful to see you building Le Gros especially in this impressive scale. Here is the link to the French forum.
Good luck I stay tuned, greetings Tobias -
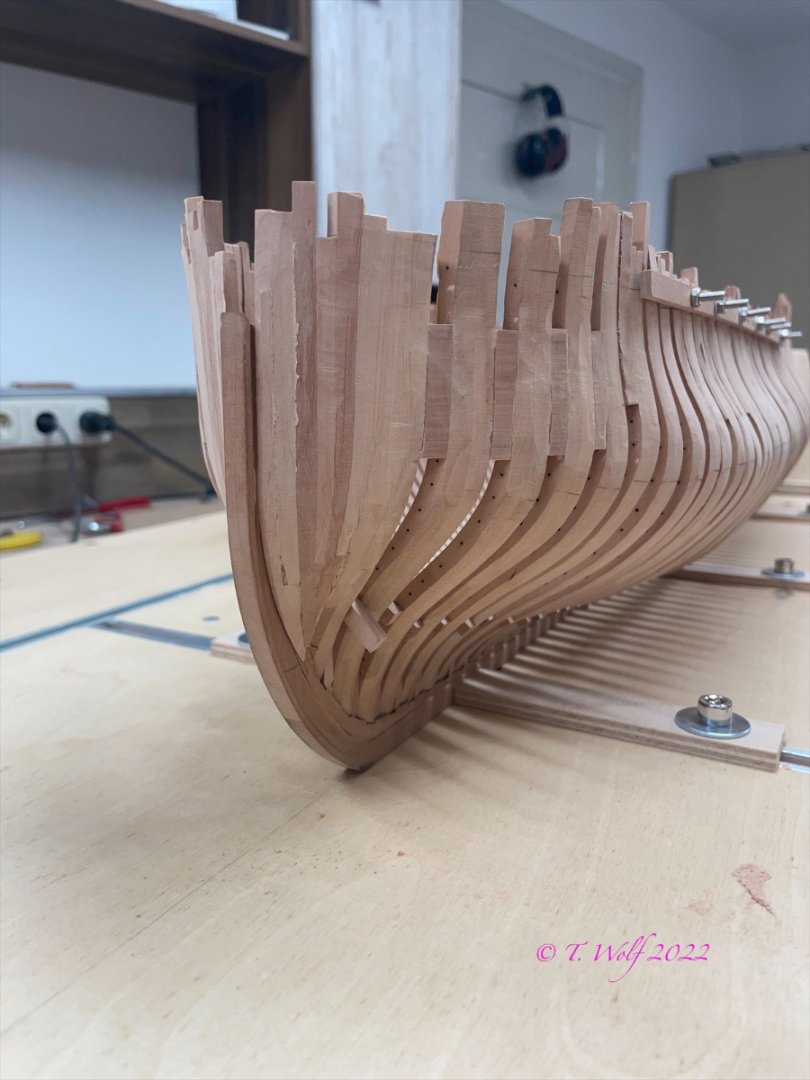
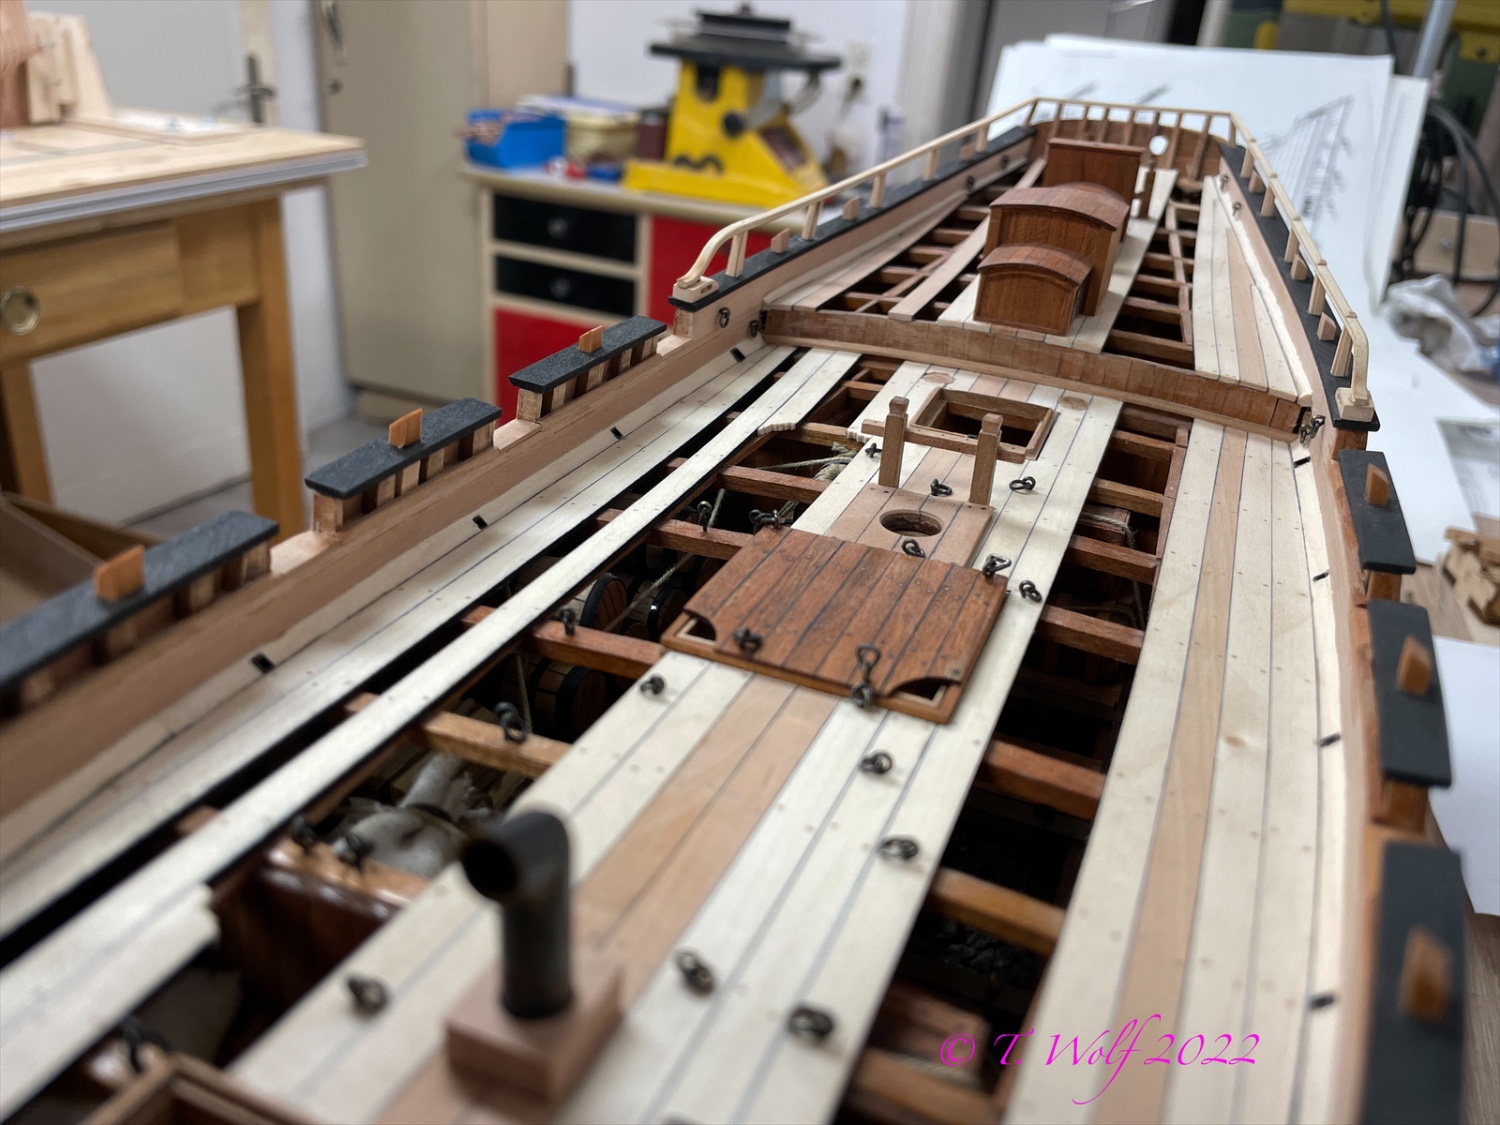
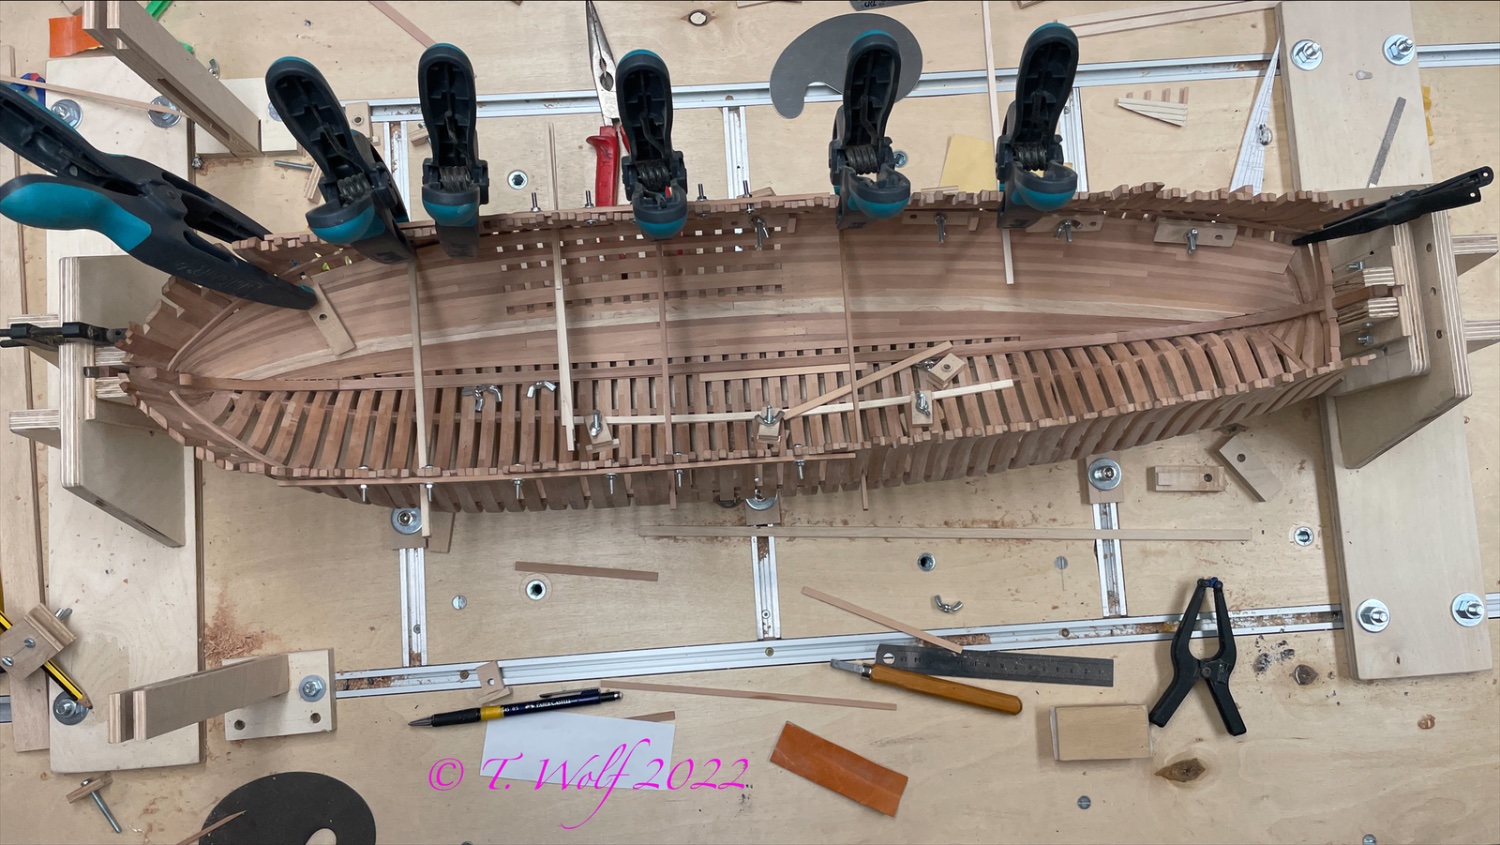
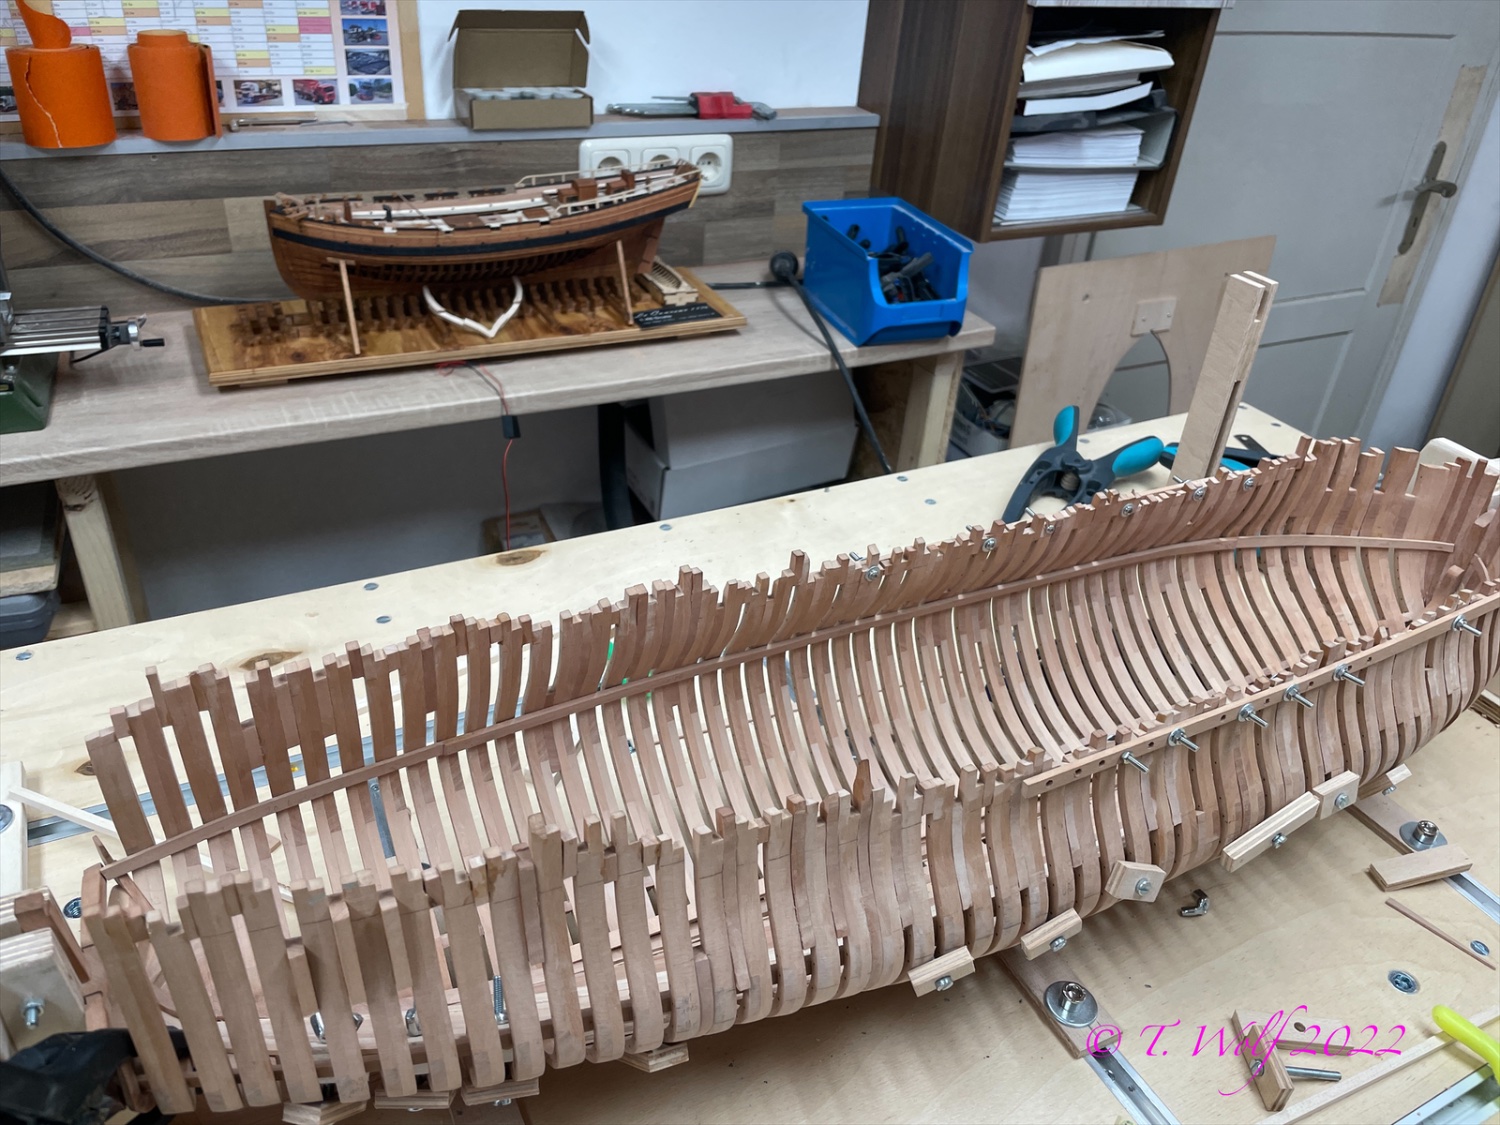
A small update for the weekend.
The battens for the deck beams were attached on both sides. To determine the height, I used the plan with the cross-sections of the frames and marked them, then attached braces and watered and fitted the battens.


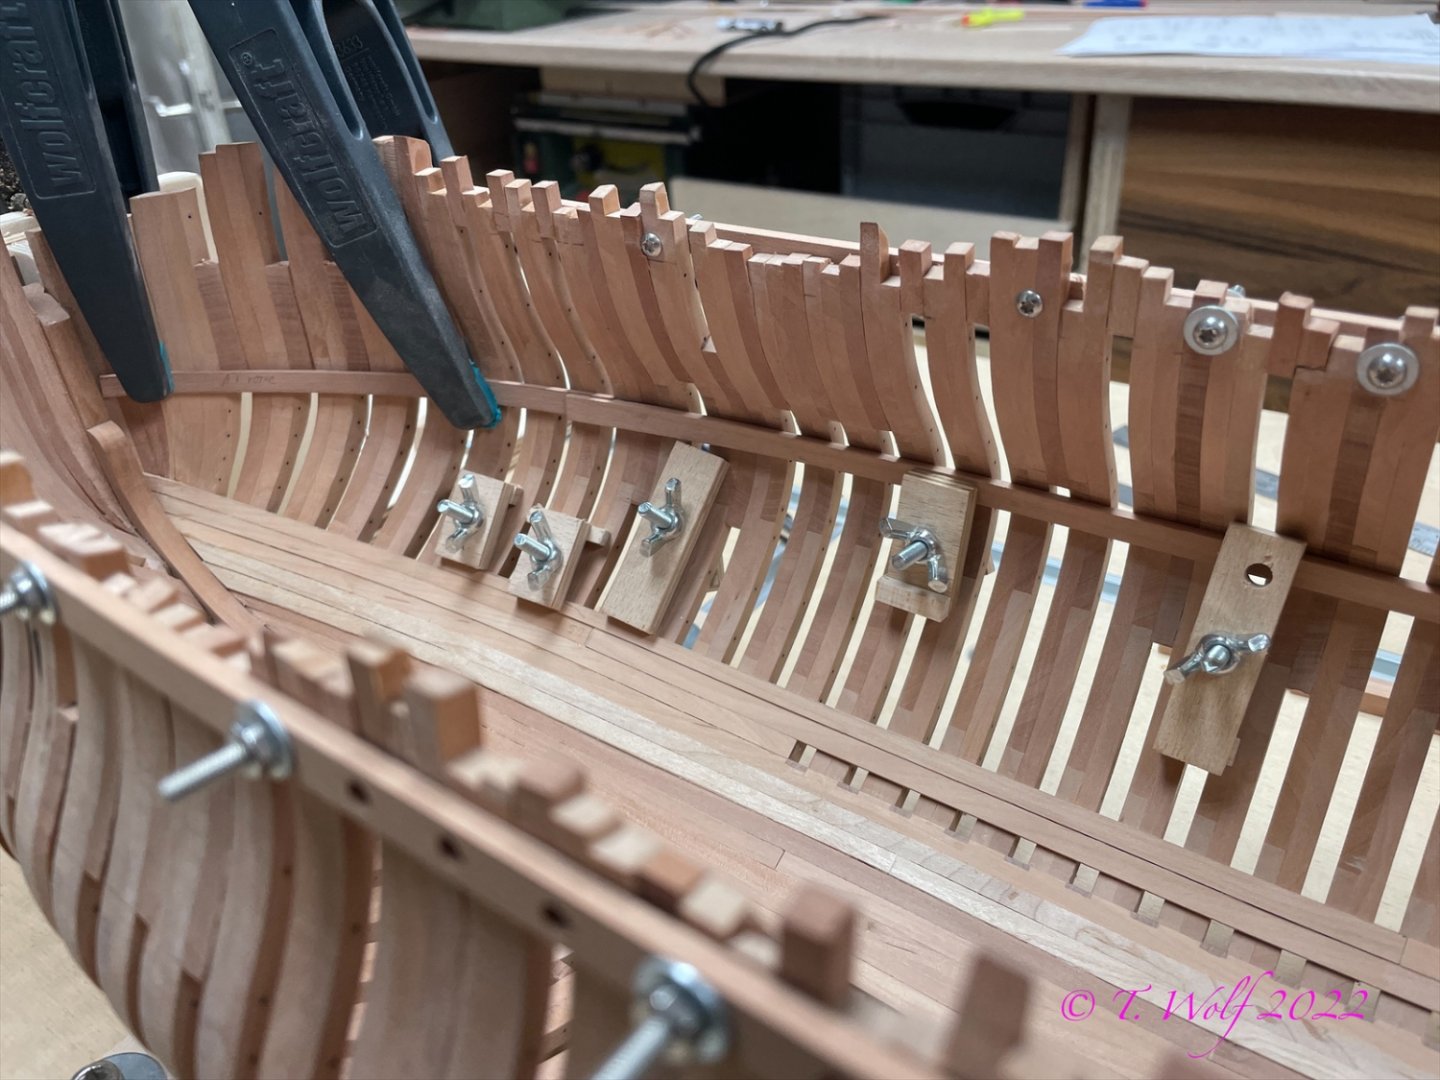
I let the whole thing dry for 24 hours and then fixed it.

A few planks were attached and during the drying time I started with the oven.

- KentM, ChrisLBren, mtaylor and 15 others
-
18
-
On 1.9.2022 at 12:47, Tonphil1960 said:
Sieht toll aus Markus. Was ist der Grund für die zwei unterschiedlichen Nägel? ein bisschen schwarz, ein bisschen weiß! Wie lange ist sie in 1/24?
Hi Tony, yes it is true that the French ships use two types of nails in the offset, but only below the waterline, above they are only iron nails.
- druxey, mtaylor, Seventynet and 1 other
-
4
-
Hi Ian,
I've blackened all of my built-in nails so far. Black Brass is too aggressive and stains the wood. However, I have had very good results with Baristol blueing.
Post #21

this is what i have used so far i hope you get this in america
I did it like this:
1. Insert and file the nail.
2. Dip the tip of a toothpick into the Baristol and gently dab onto the nail.
3. Leave on for about 10-15 seconds and dab very carefully with a damp cloth, never wipe.I applied the same principle to Le Coureur.
post 19
- Keith Black, JpR62, James G and 3 others
-
6
-
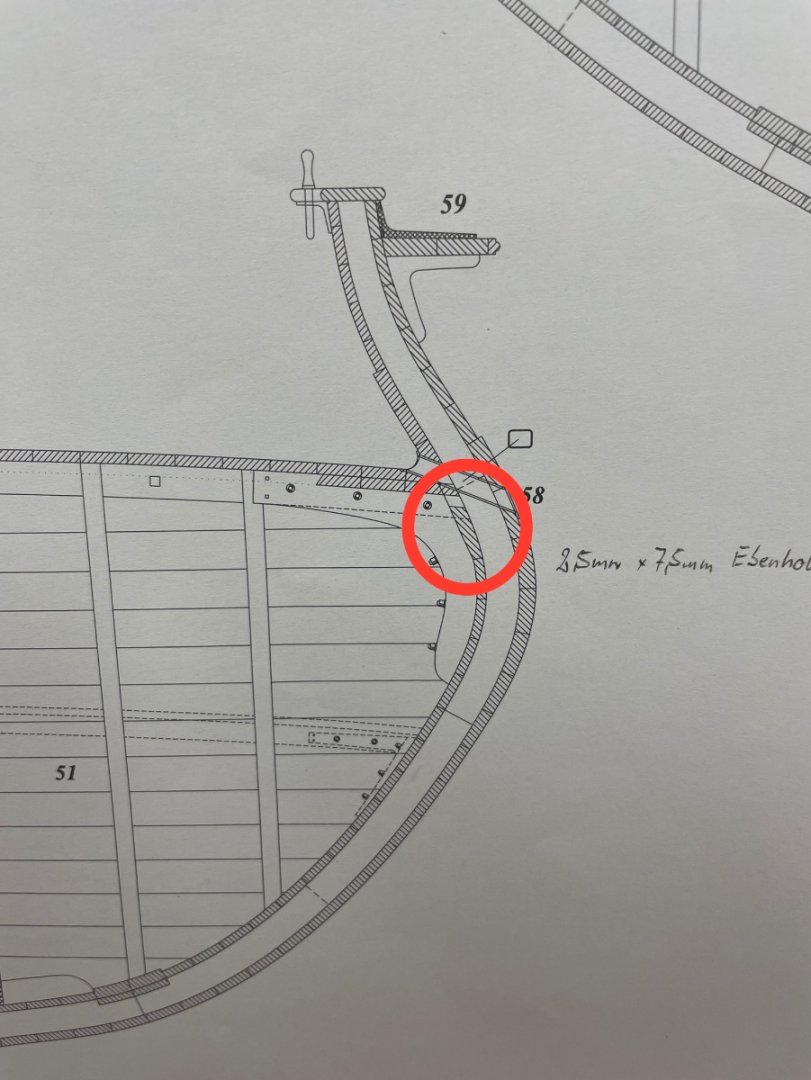
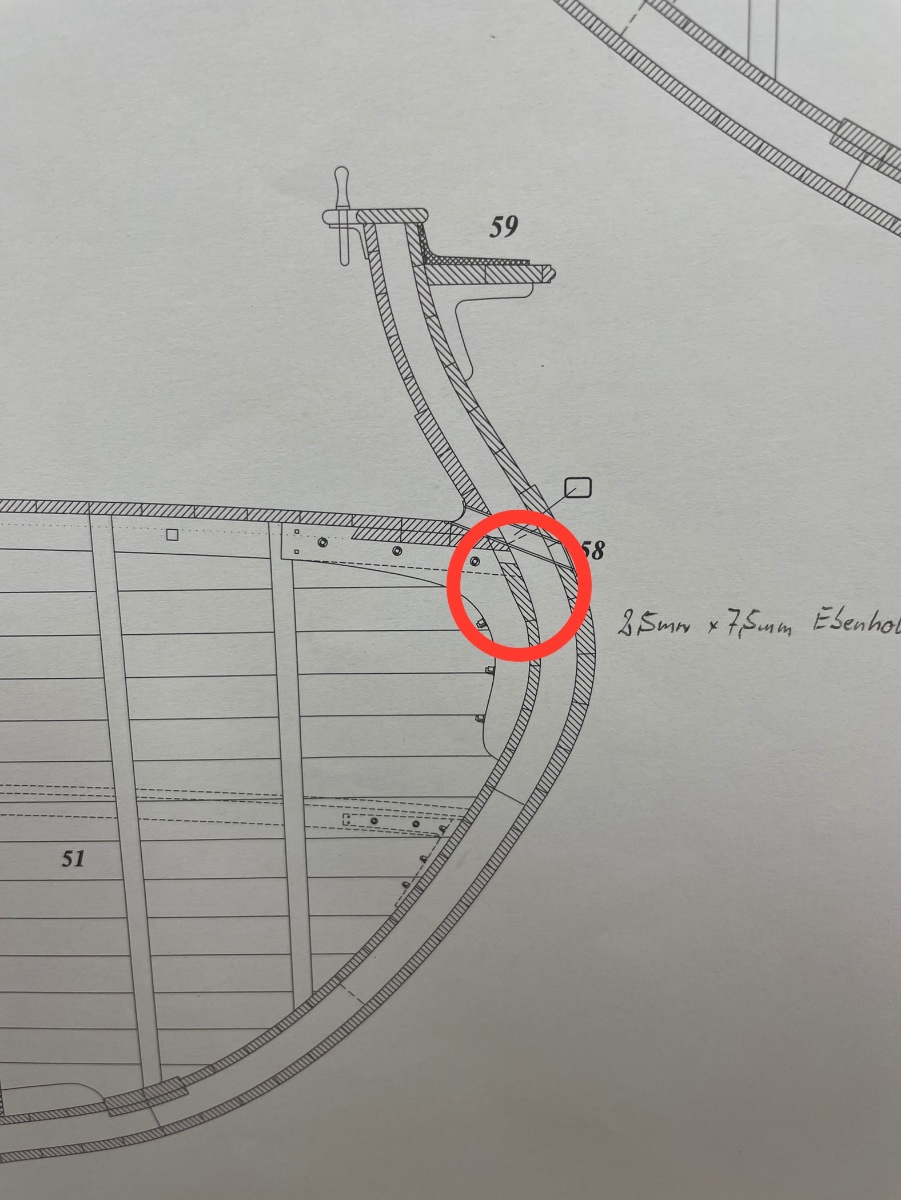
Hello everyone, an error happened to me that GD drew my attention to in the French forum, see for yourself with the drawing by @G. Delacroix.
 Unfortunately I couldn't correct my mistake, the glue sticks too well and unfortunately it's not water-soluble. I've decided to let it go before I do too much damage.
In the last few days I went to bed a bit, my grandchild infected me with a cough, snotty nose and everything that belongs to a real cold and so I had enough time to do some research.
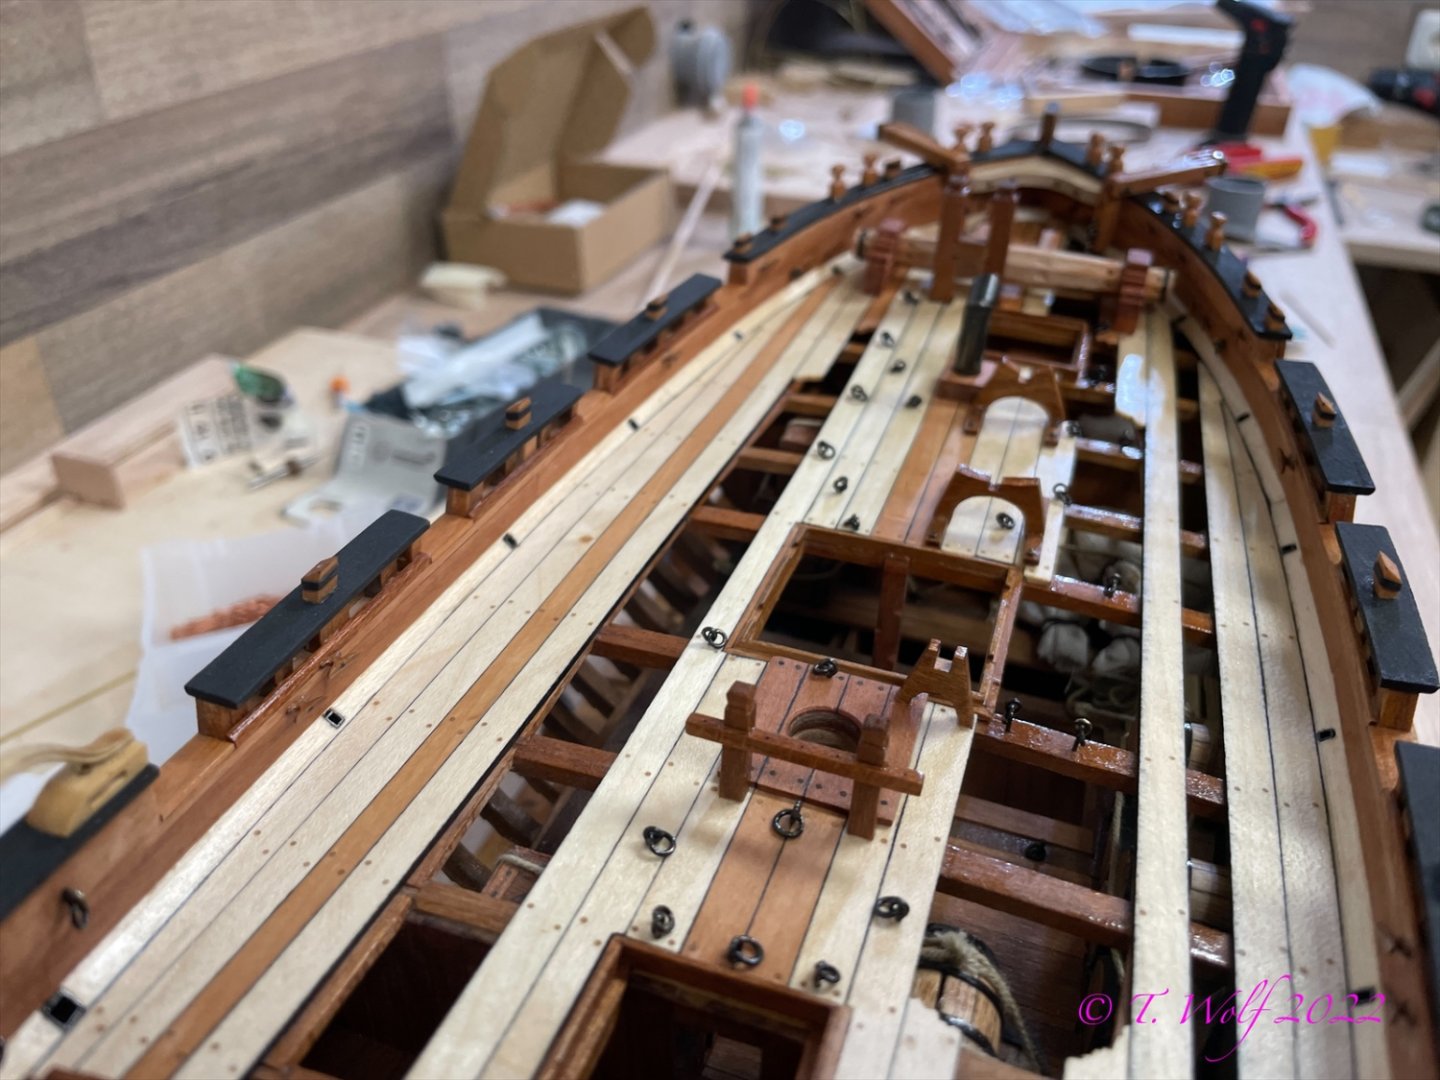
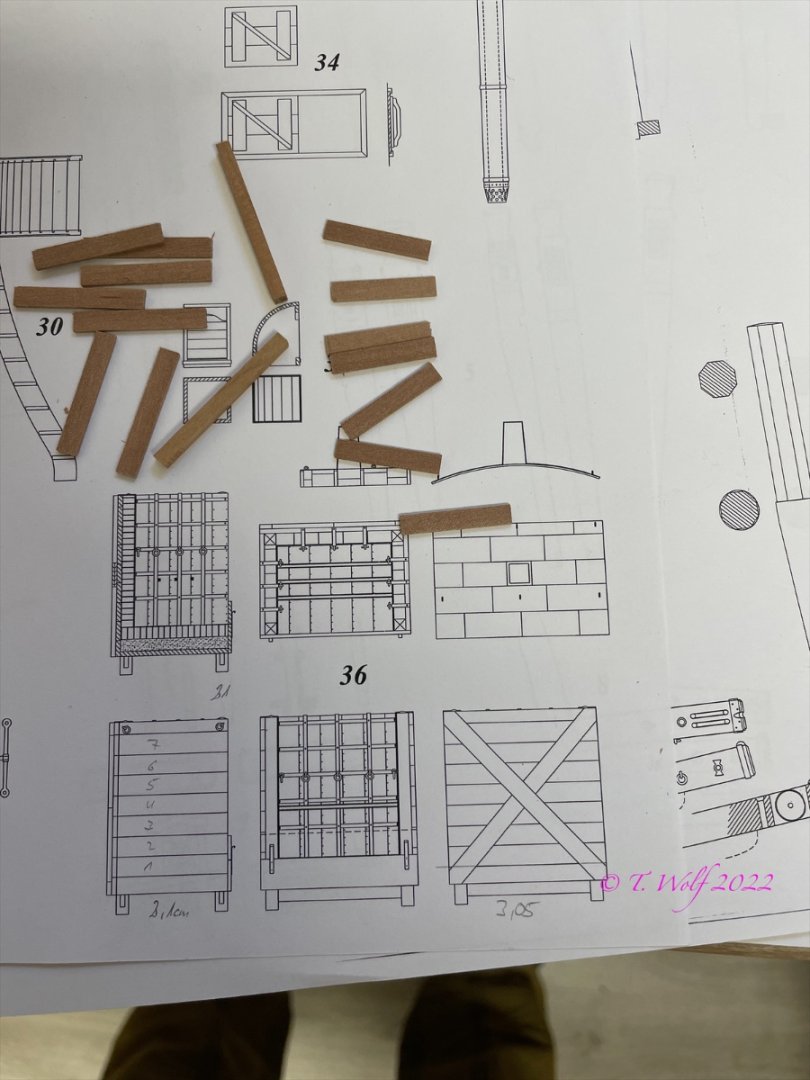
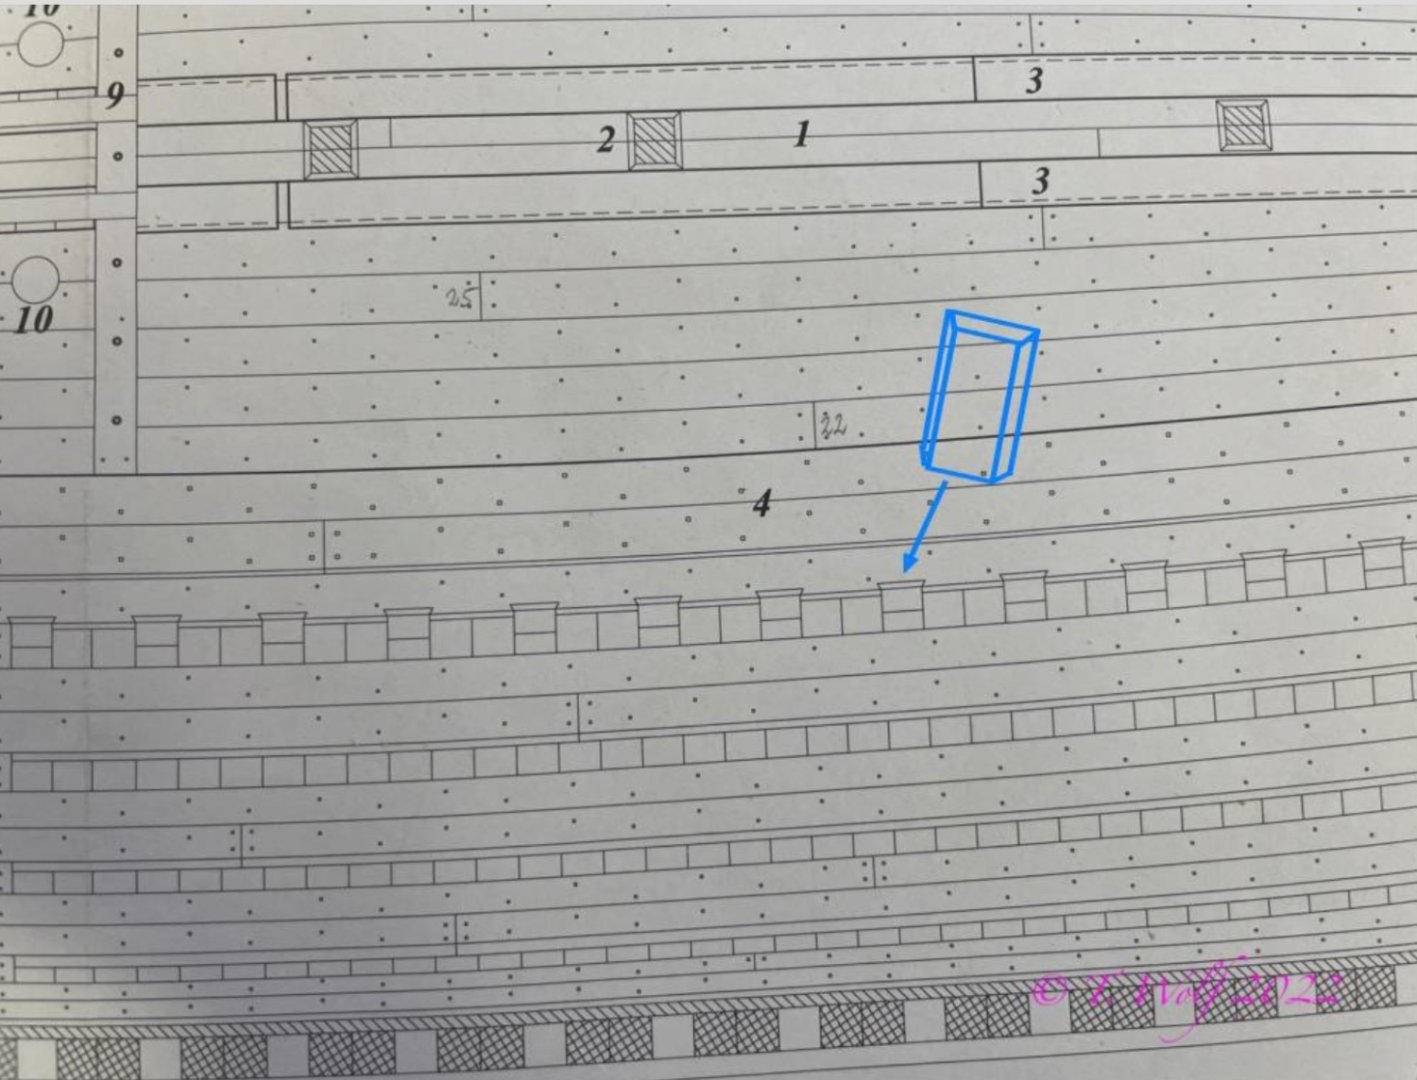
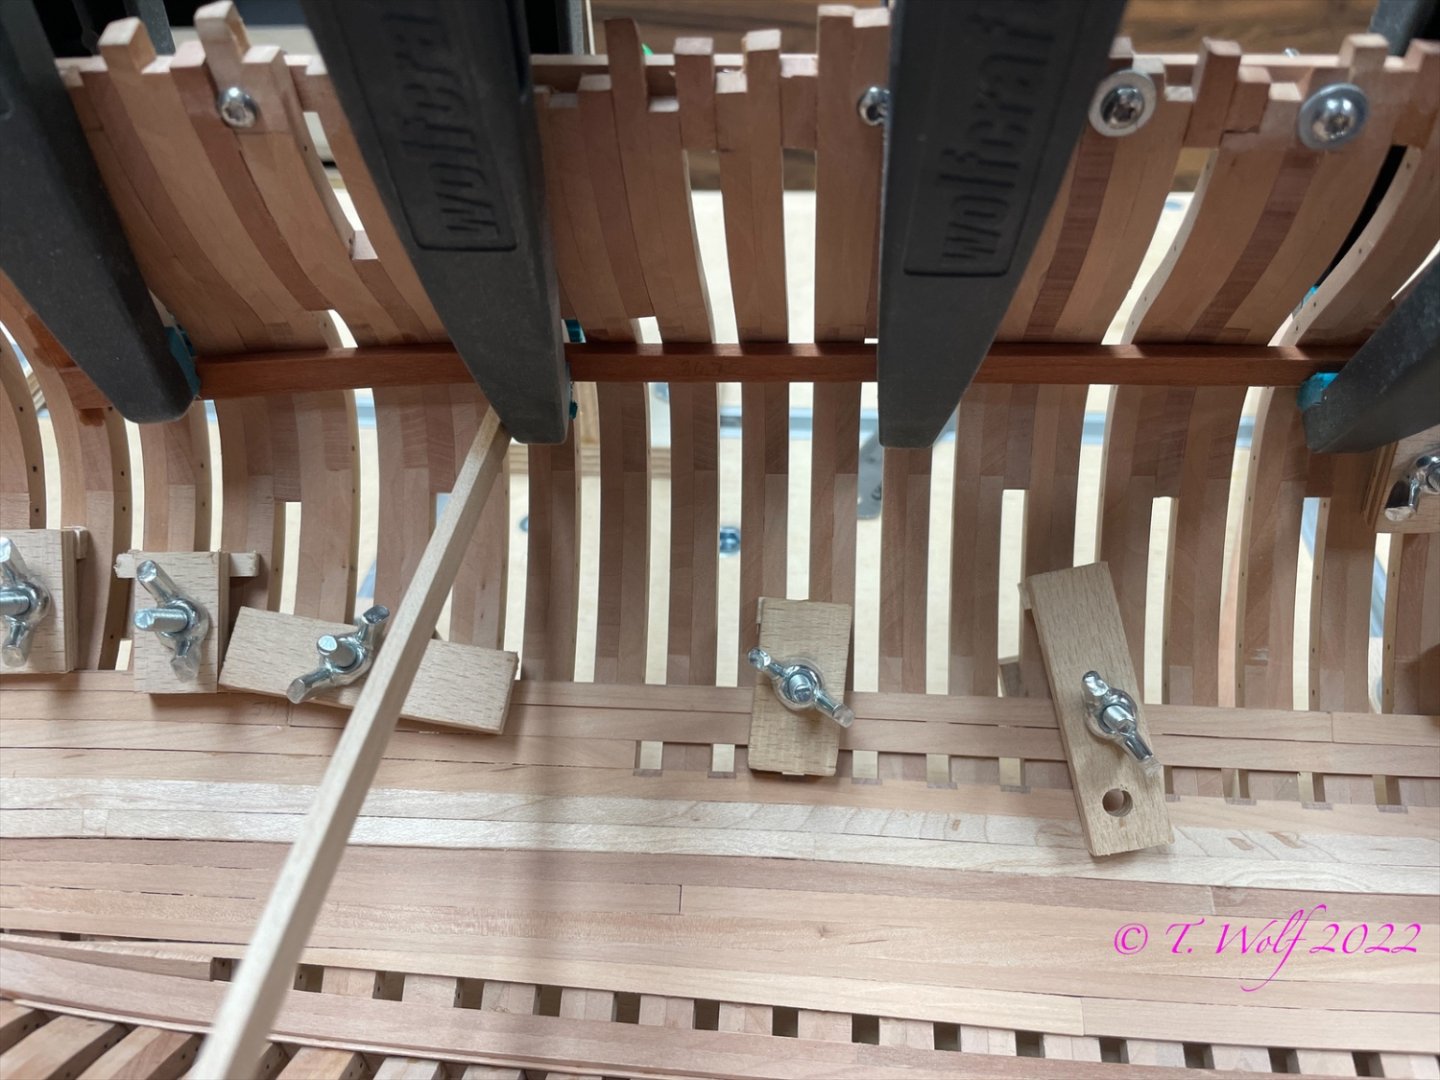
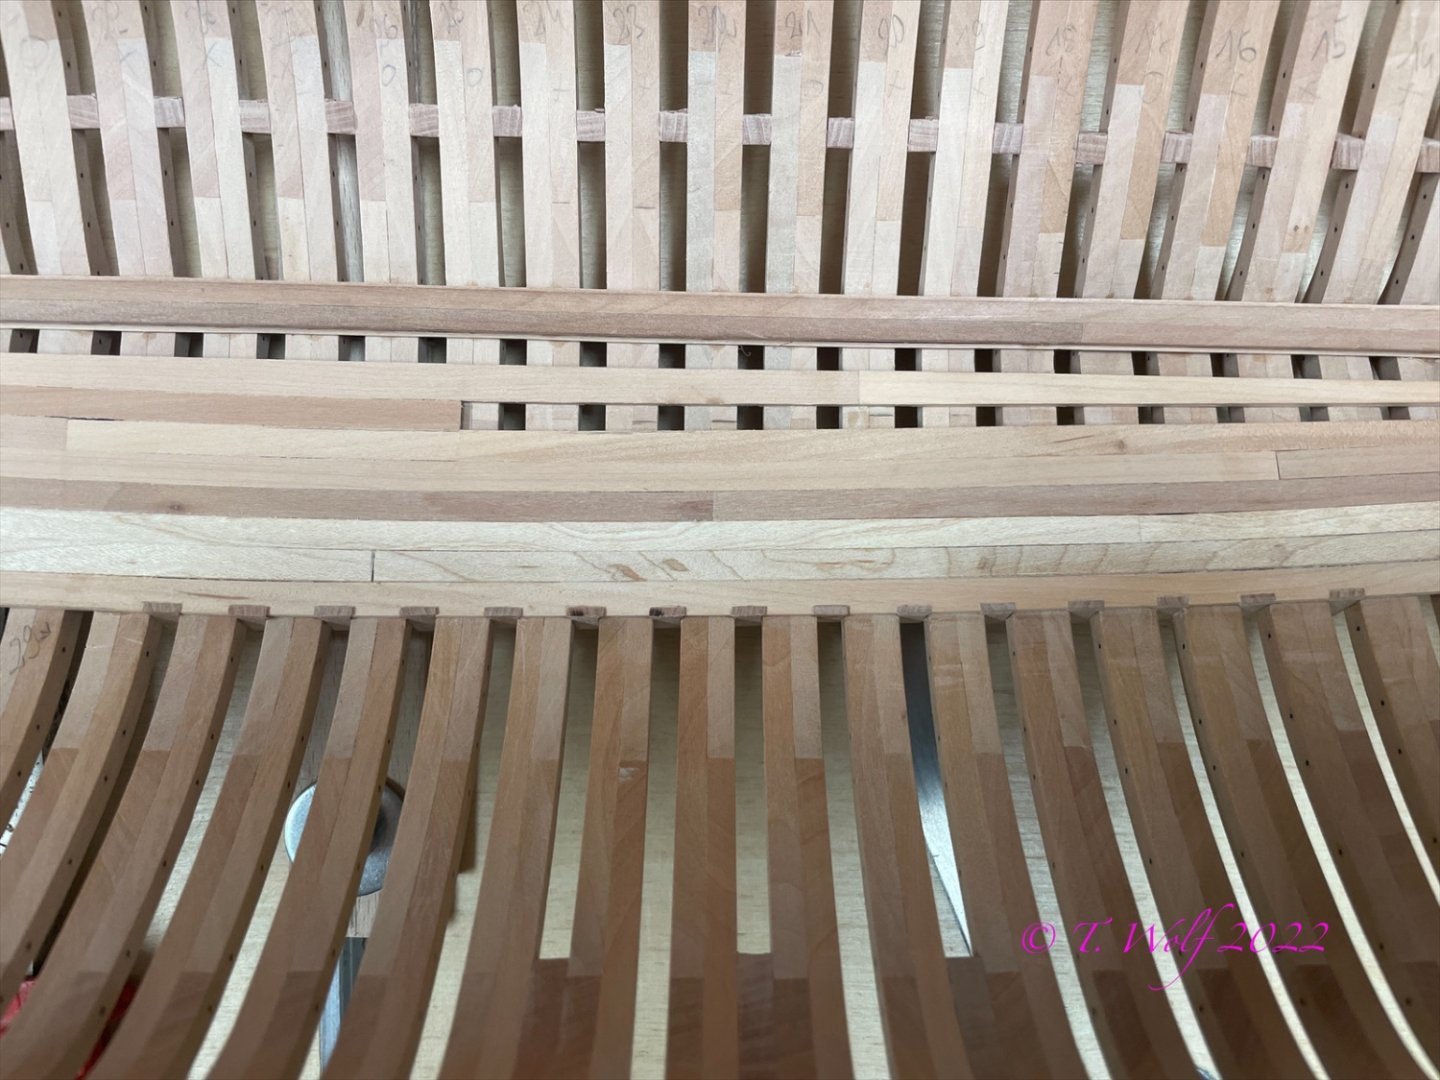
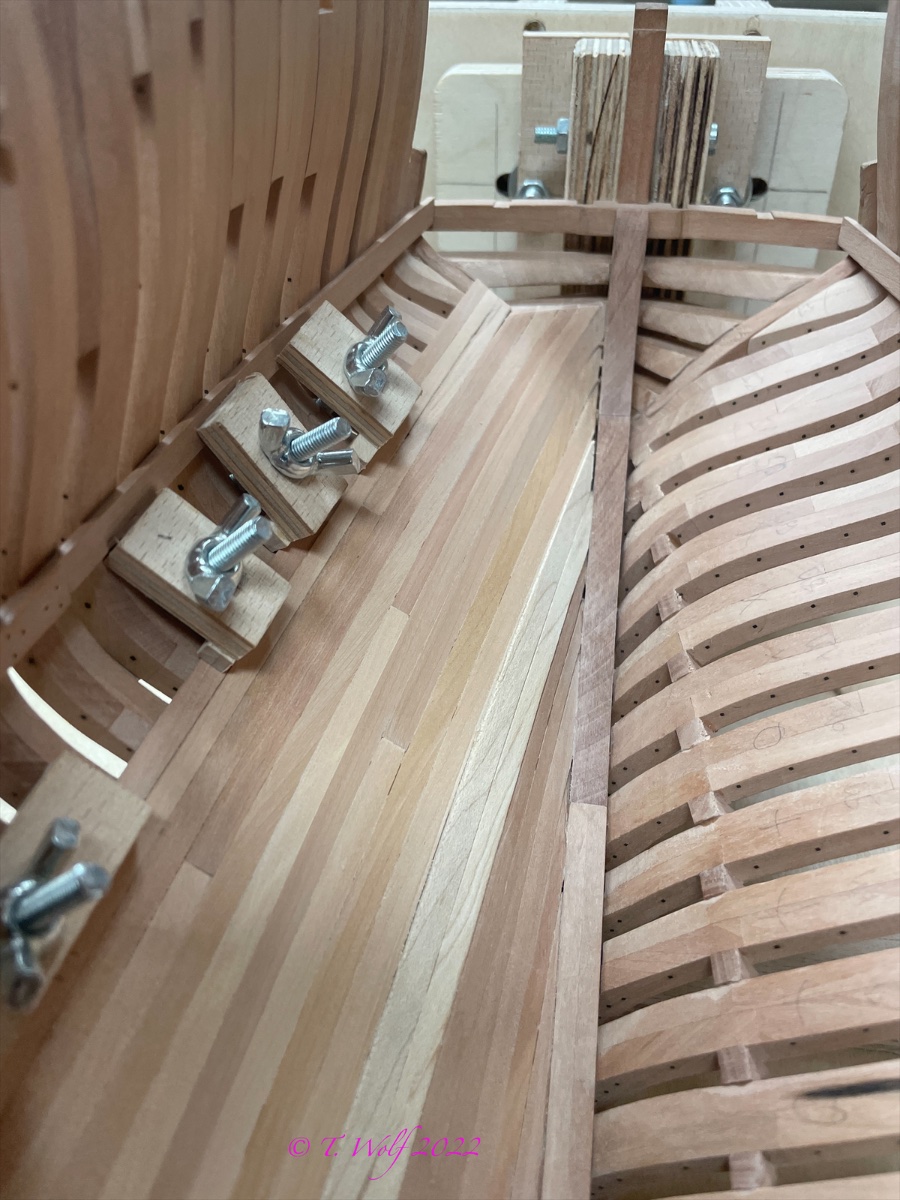
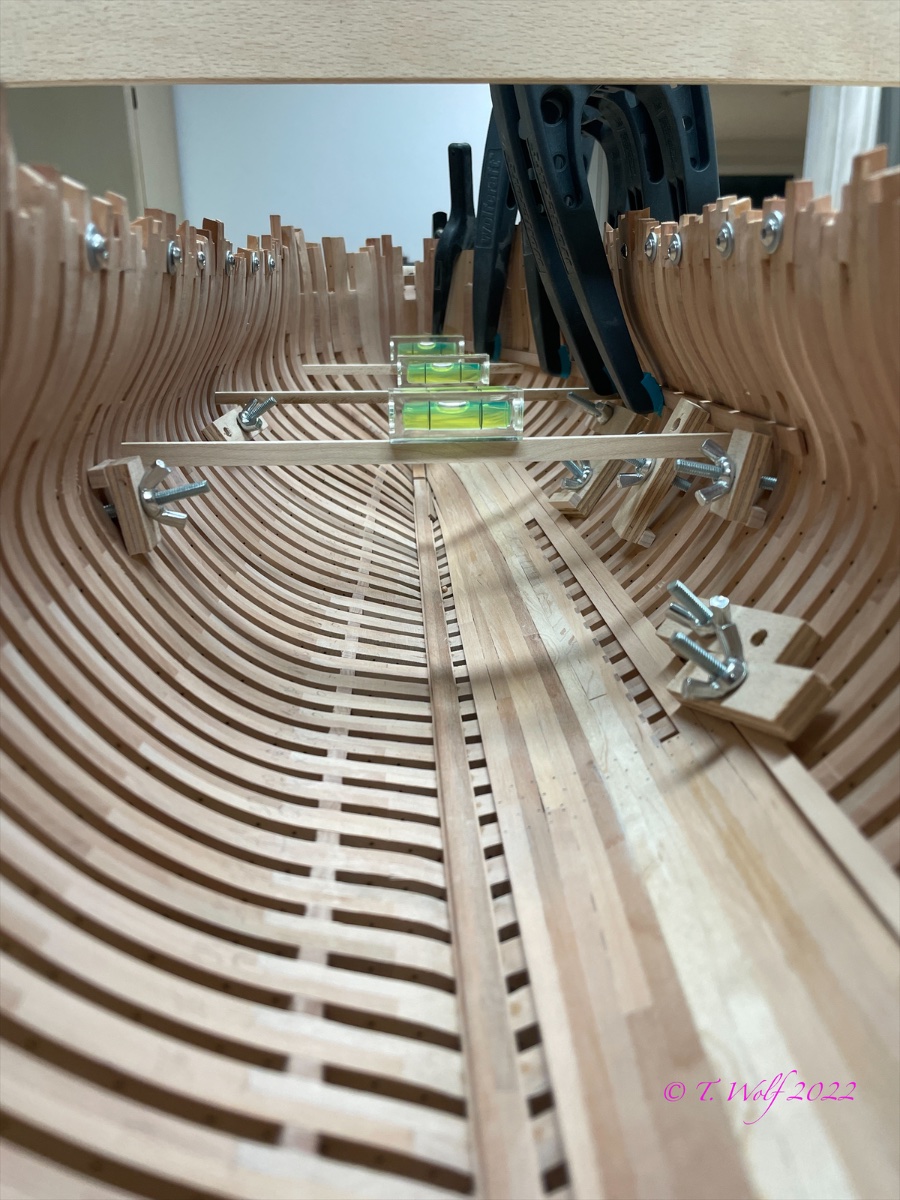
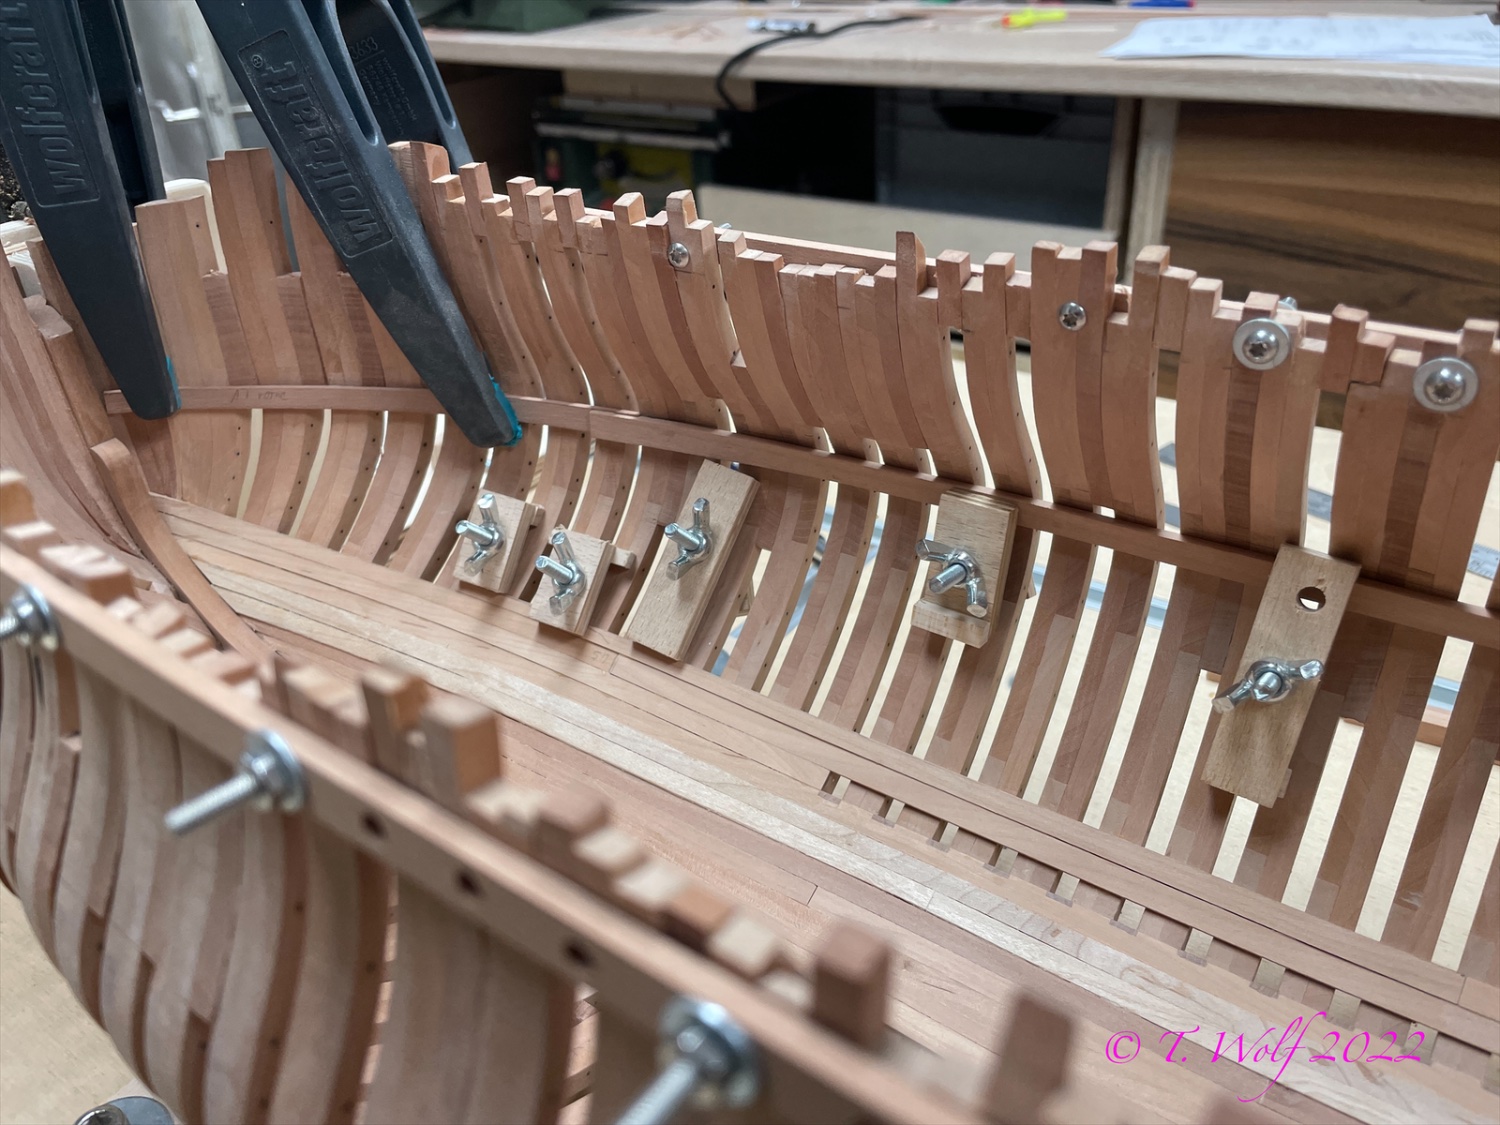
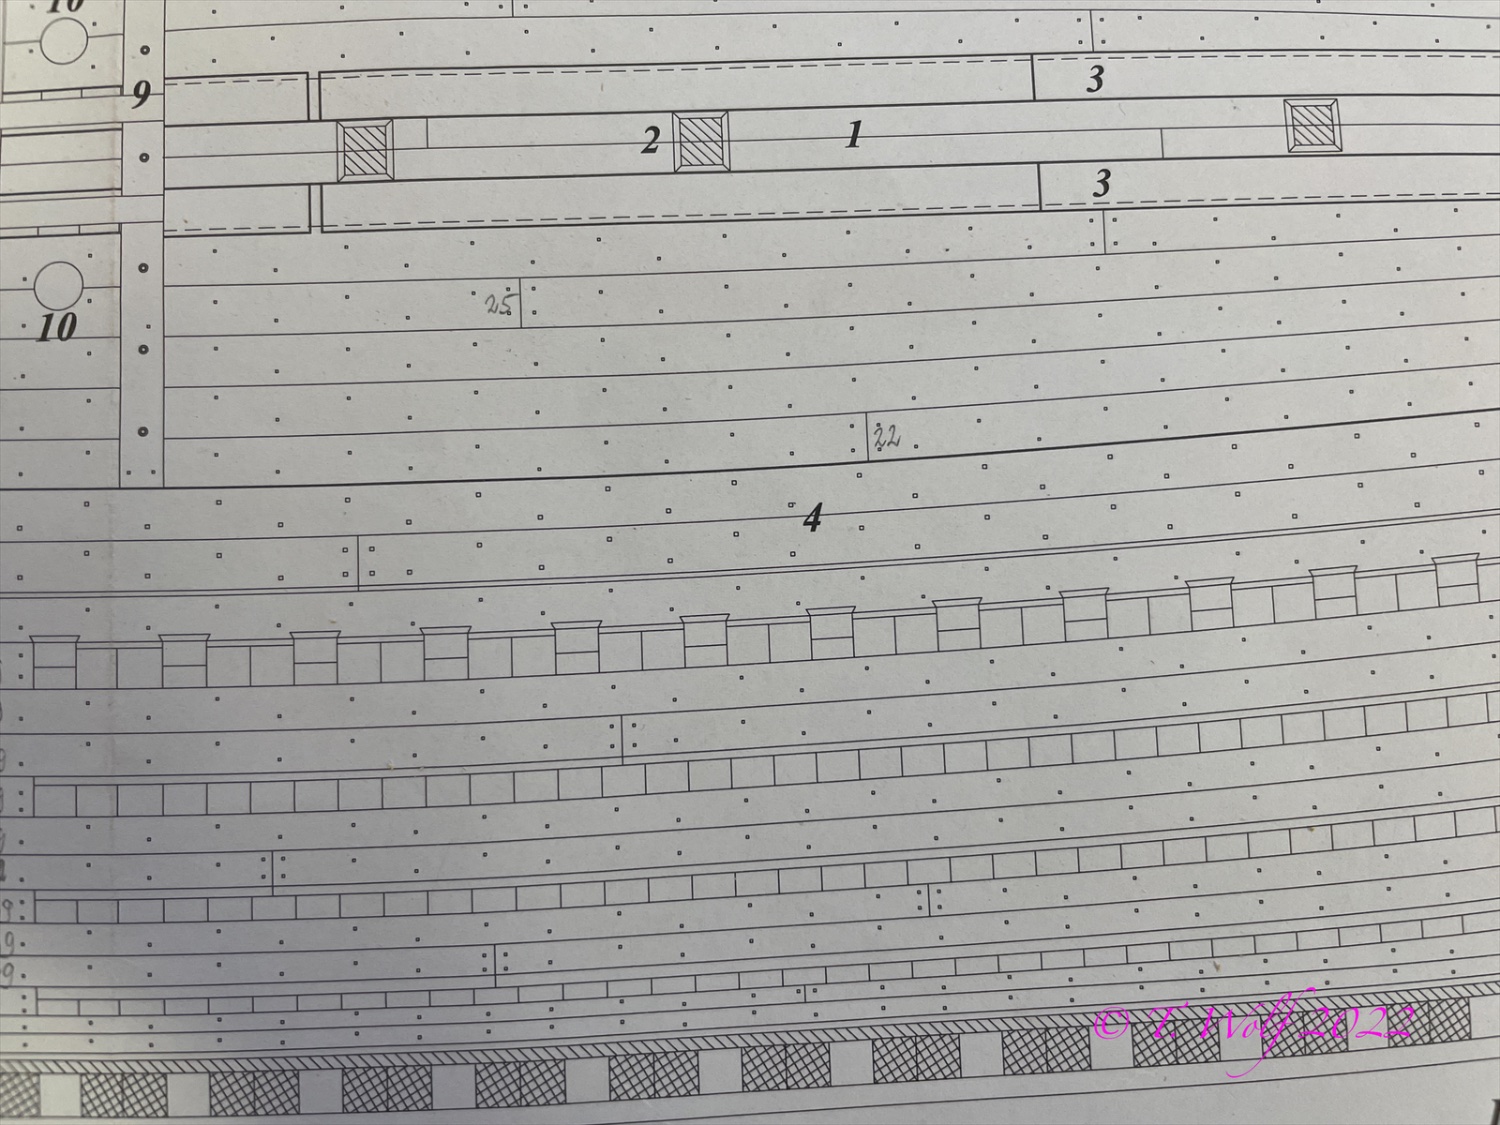
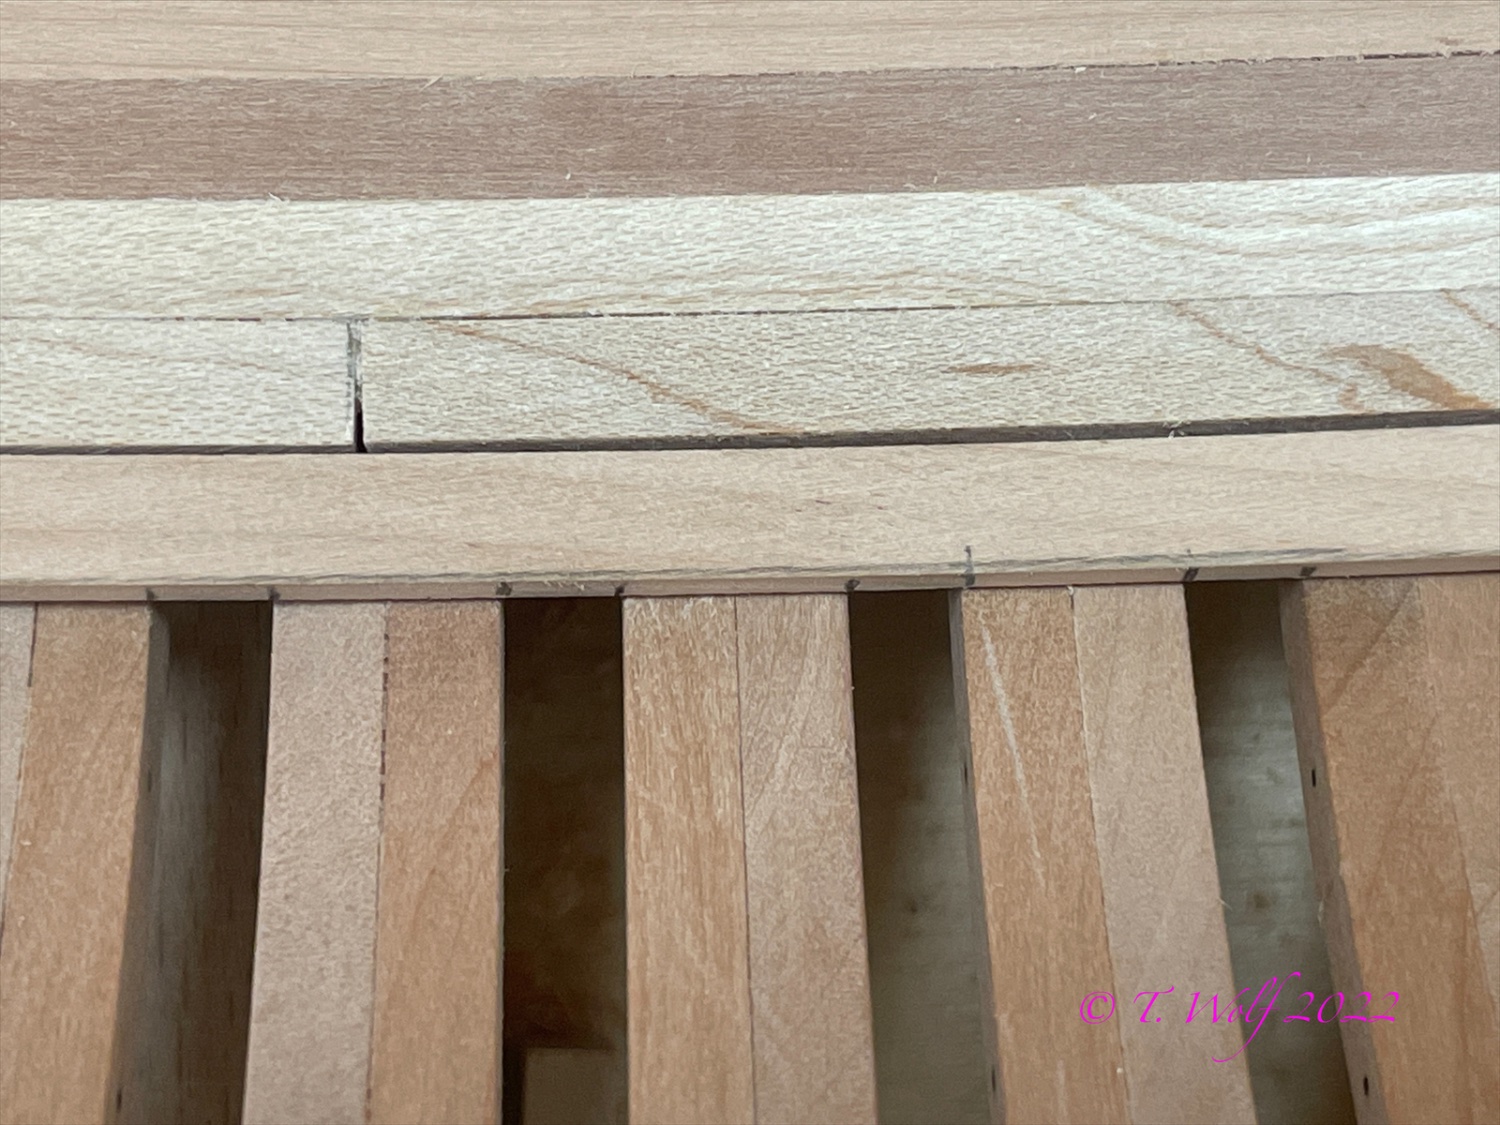
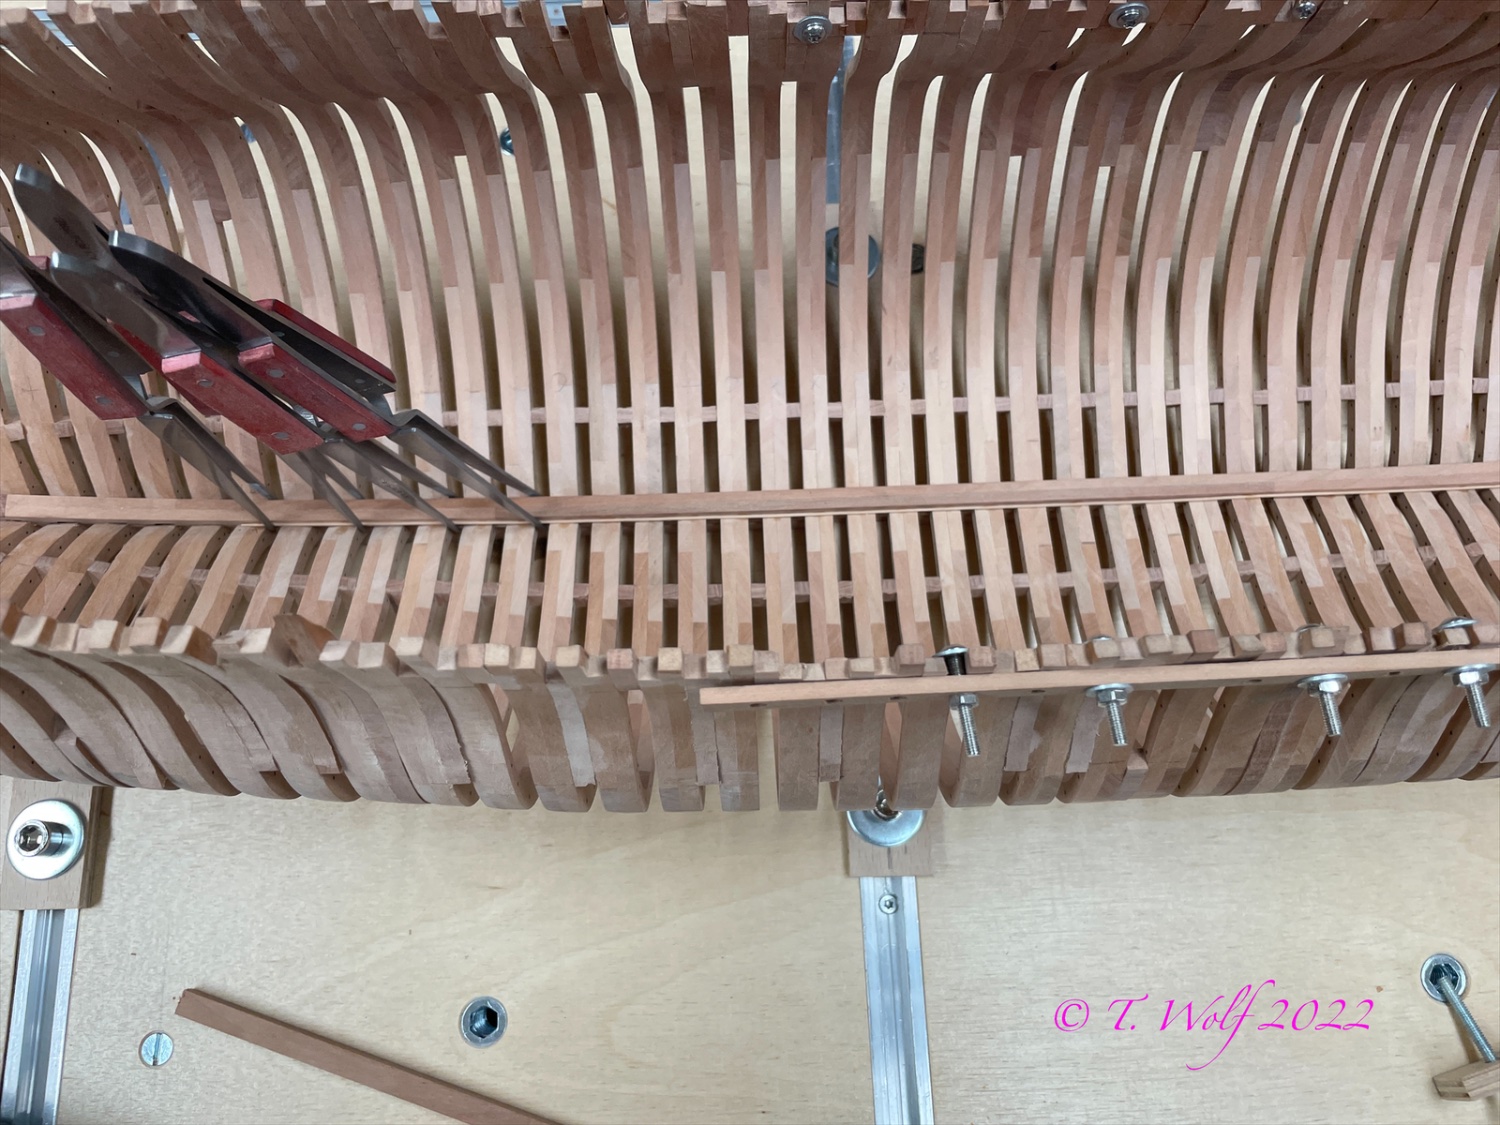
The inner floorboards:
There is a slightly thicker and wider board at the level of the ramparts (inside), which is also provided with teeth and serves as a support for the crossbeams. I have now made these and gone through the plans with GD.
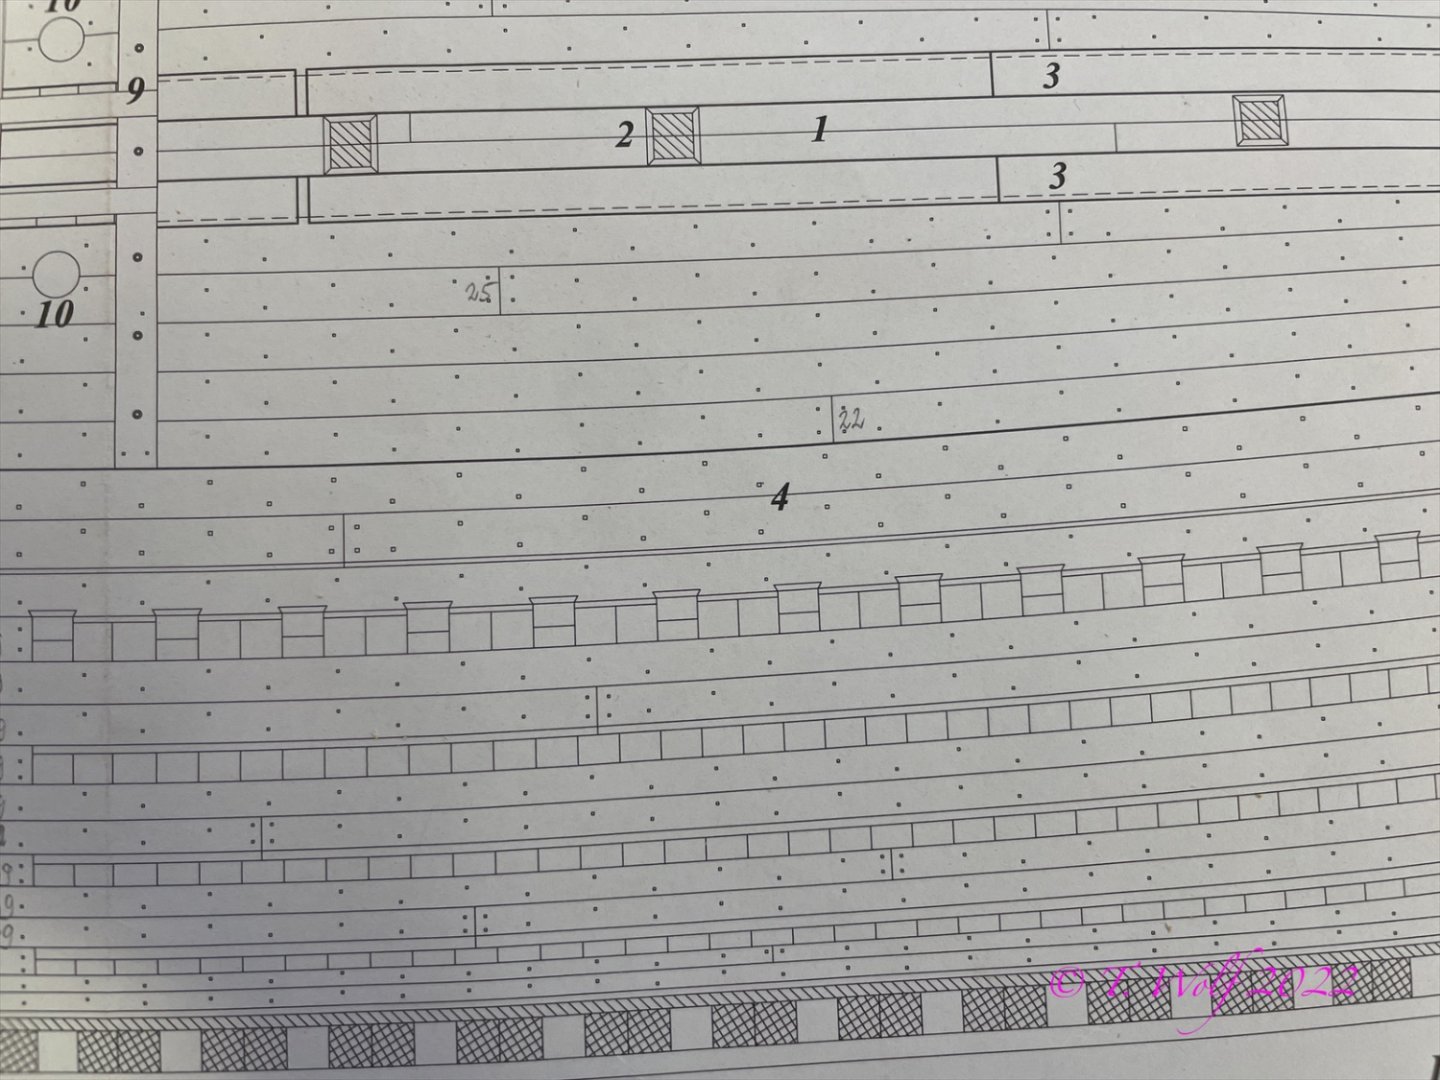
There is a planning board on which various cross-sections can be seen, which I use as height reference points, the longitudinal section is not suitable for this, I get a different height ratio.

- B-Ram, Archi, ChrisLBren and 13 others
-
16
-
Very impressive work, great woodwork.
- mtaylor, hollowneck, Seventynet and 2 others
-
5
-
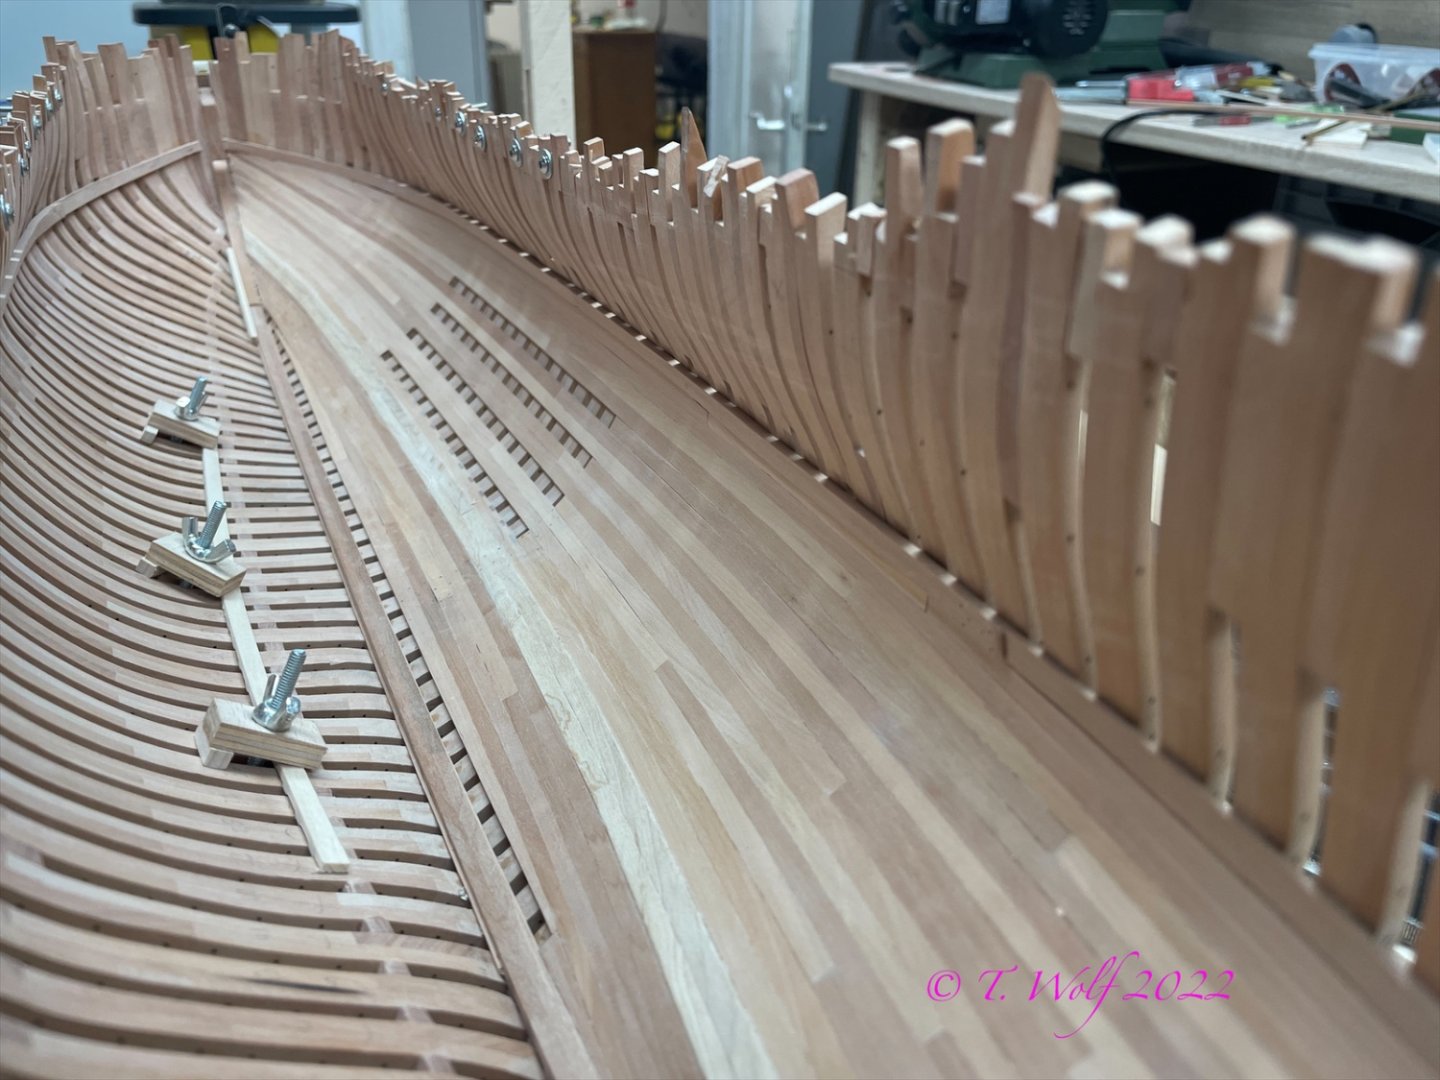
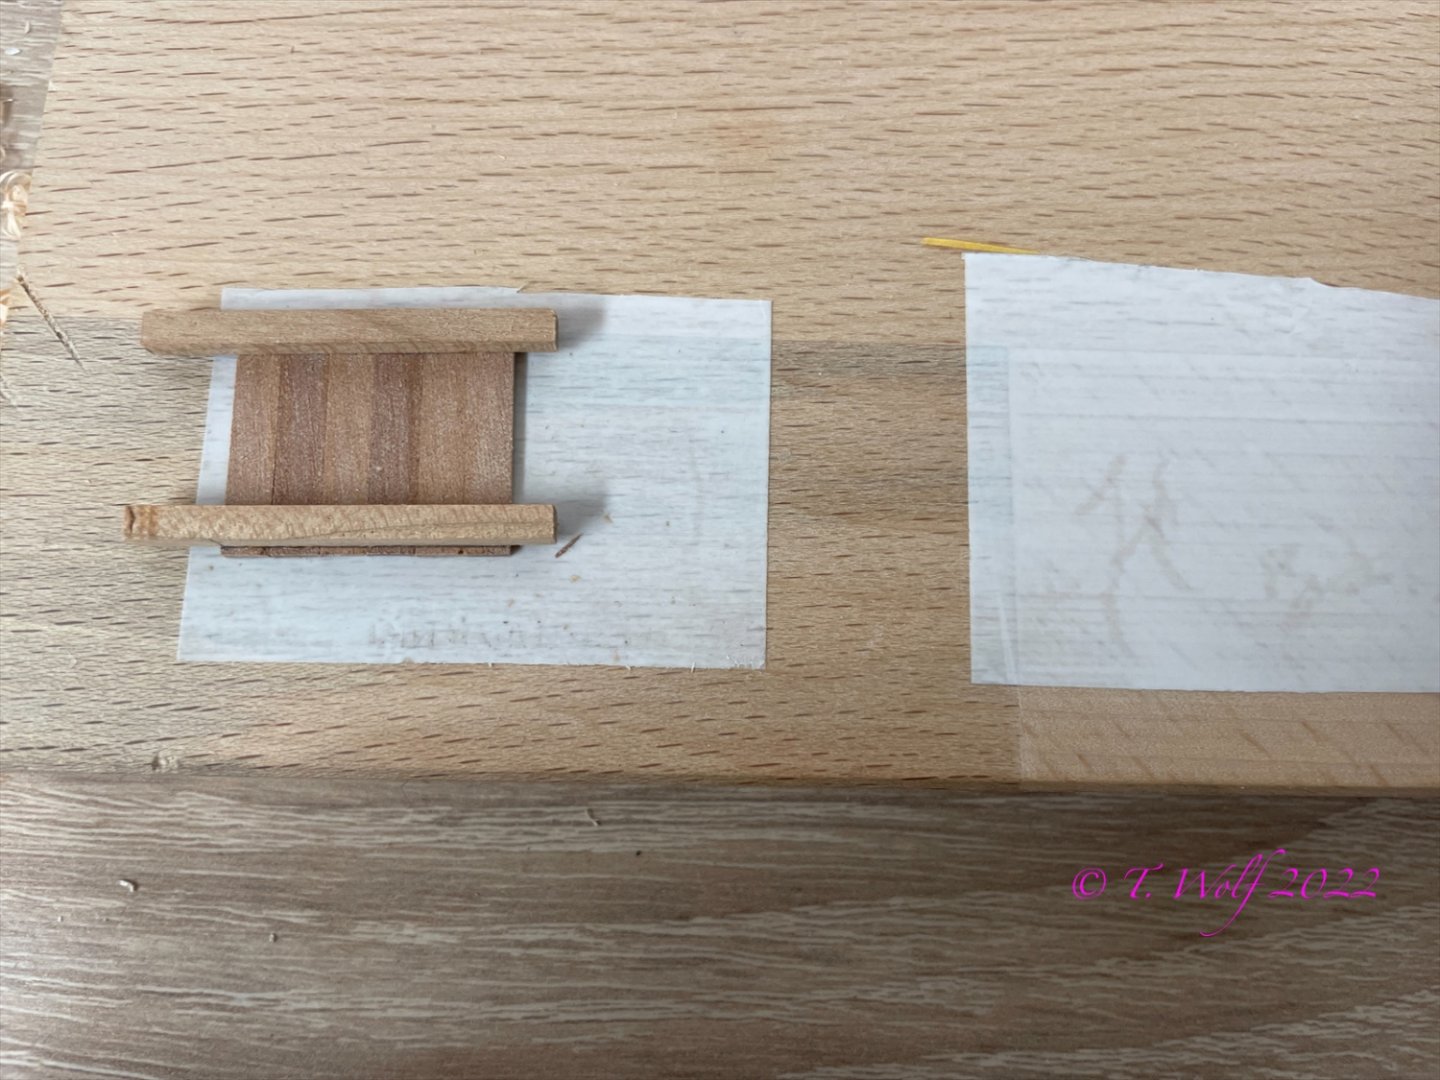
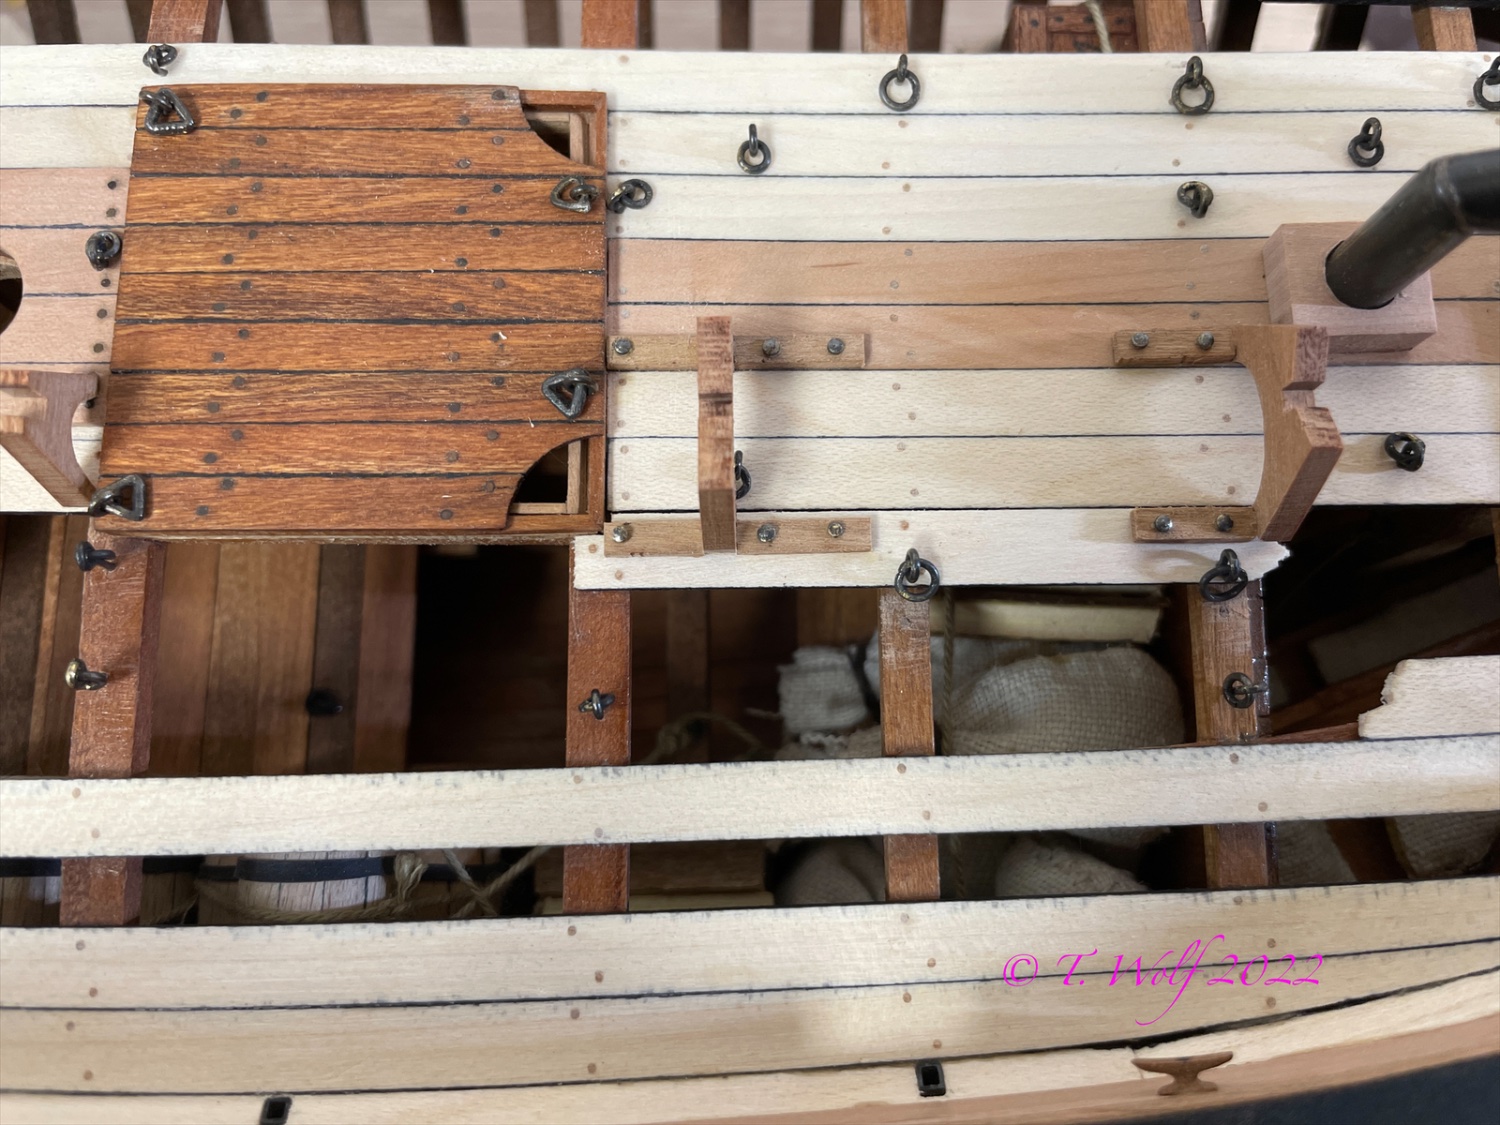
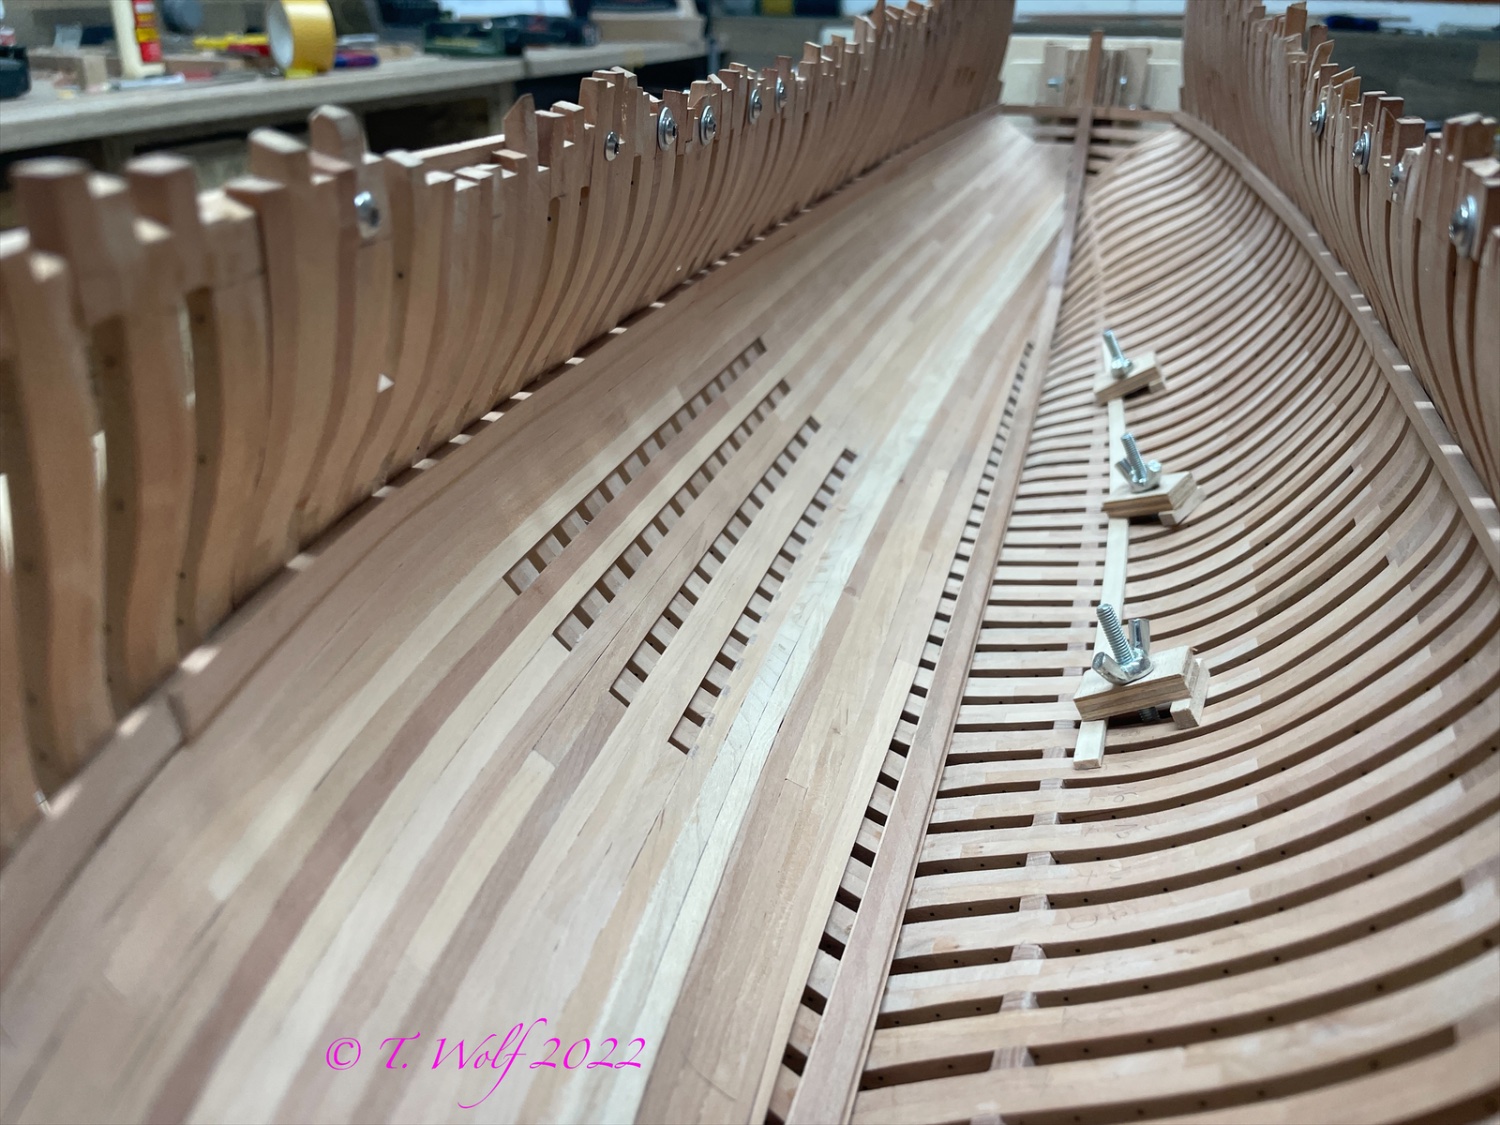
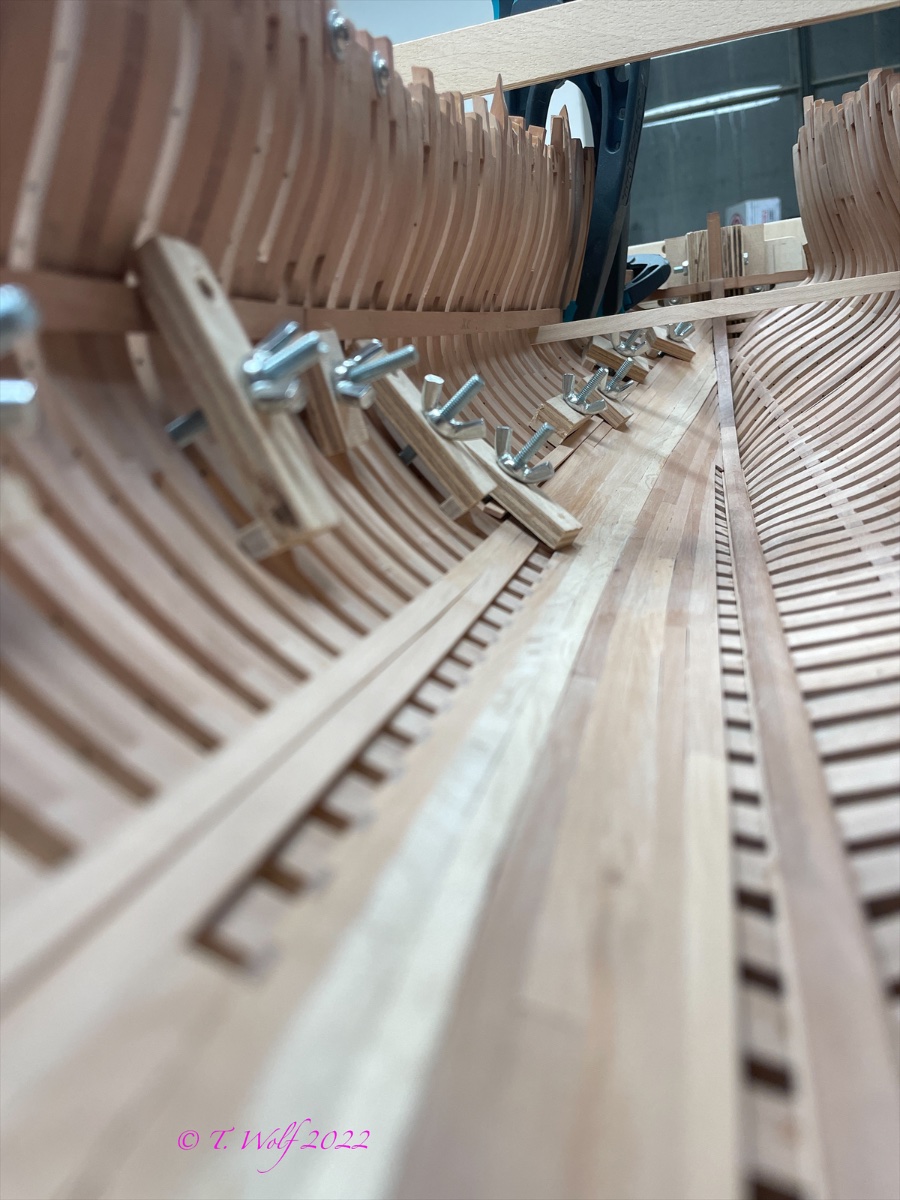
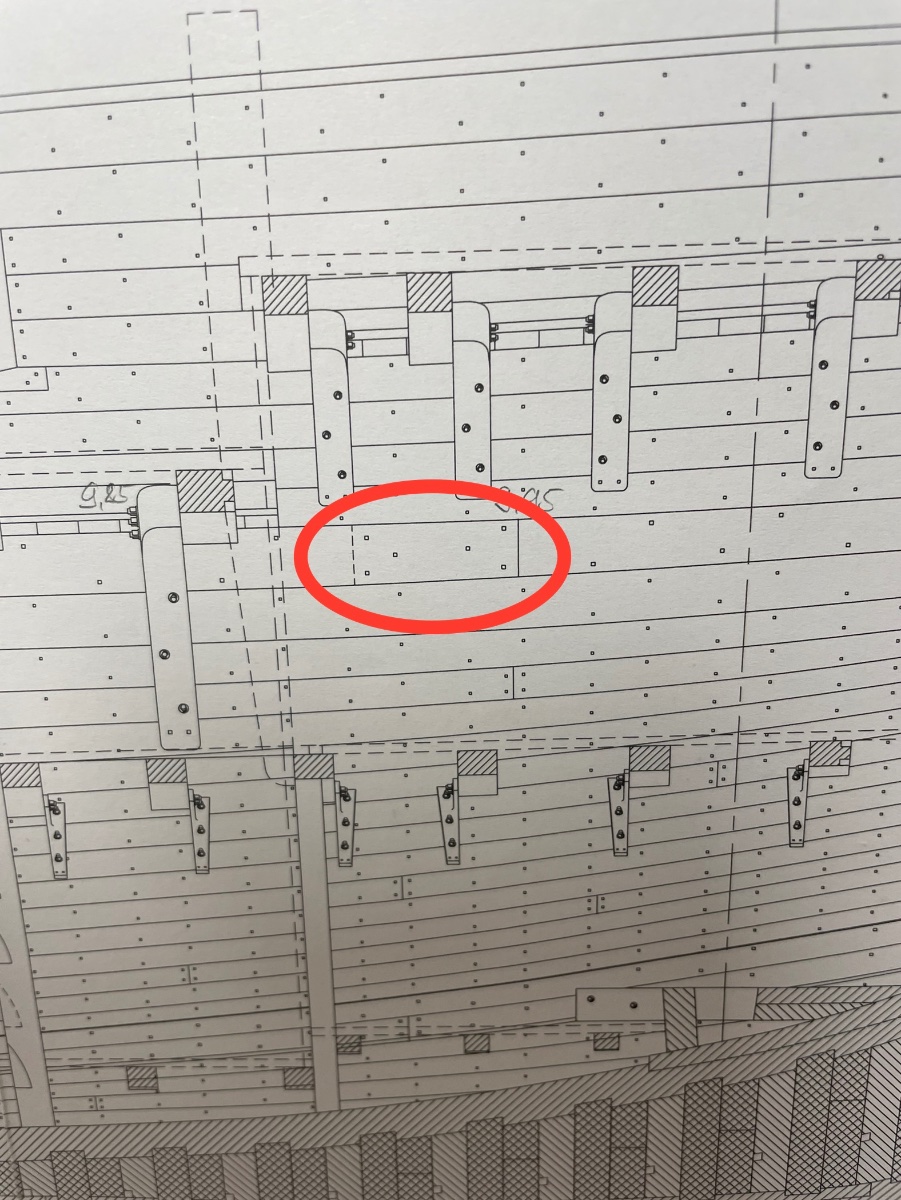
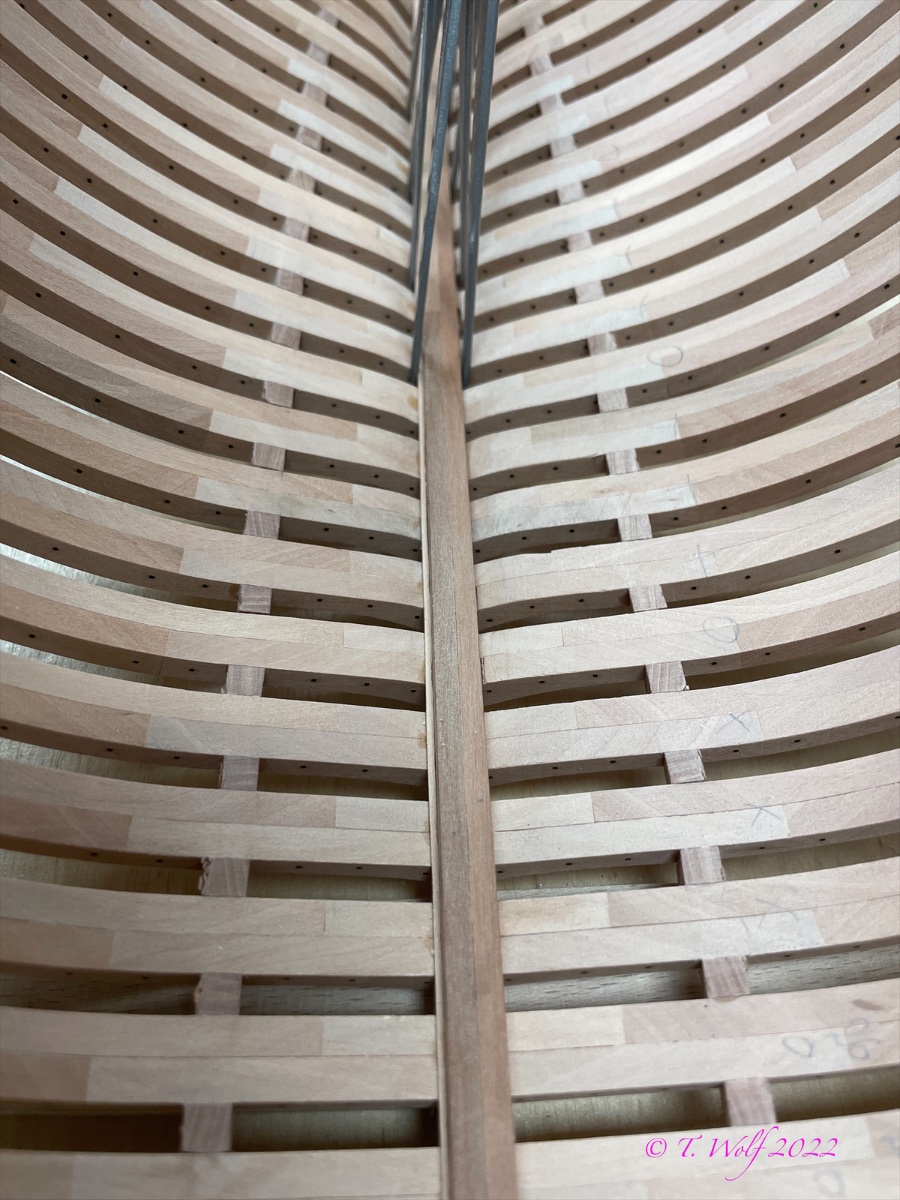
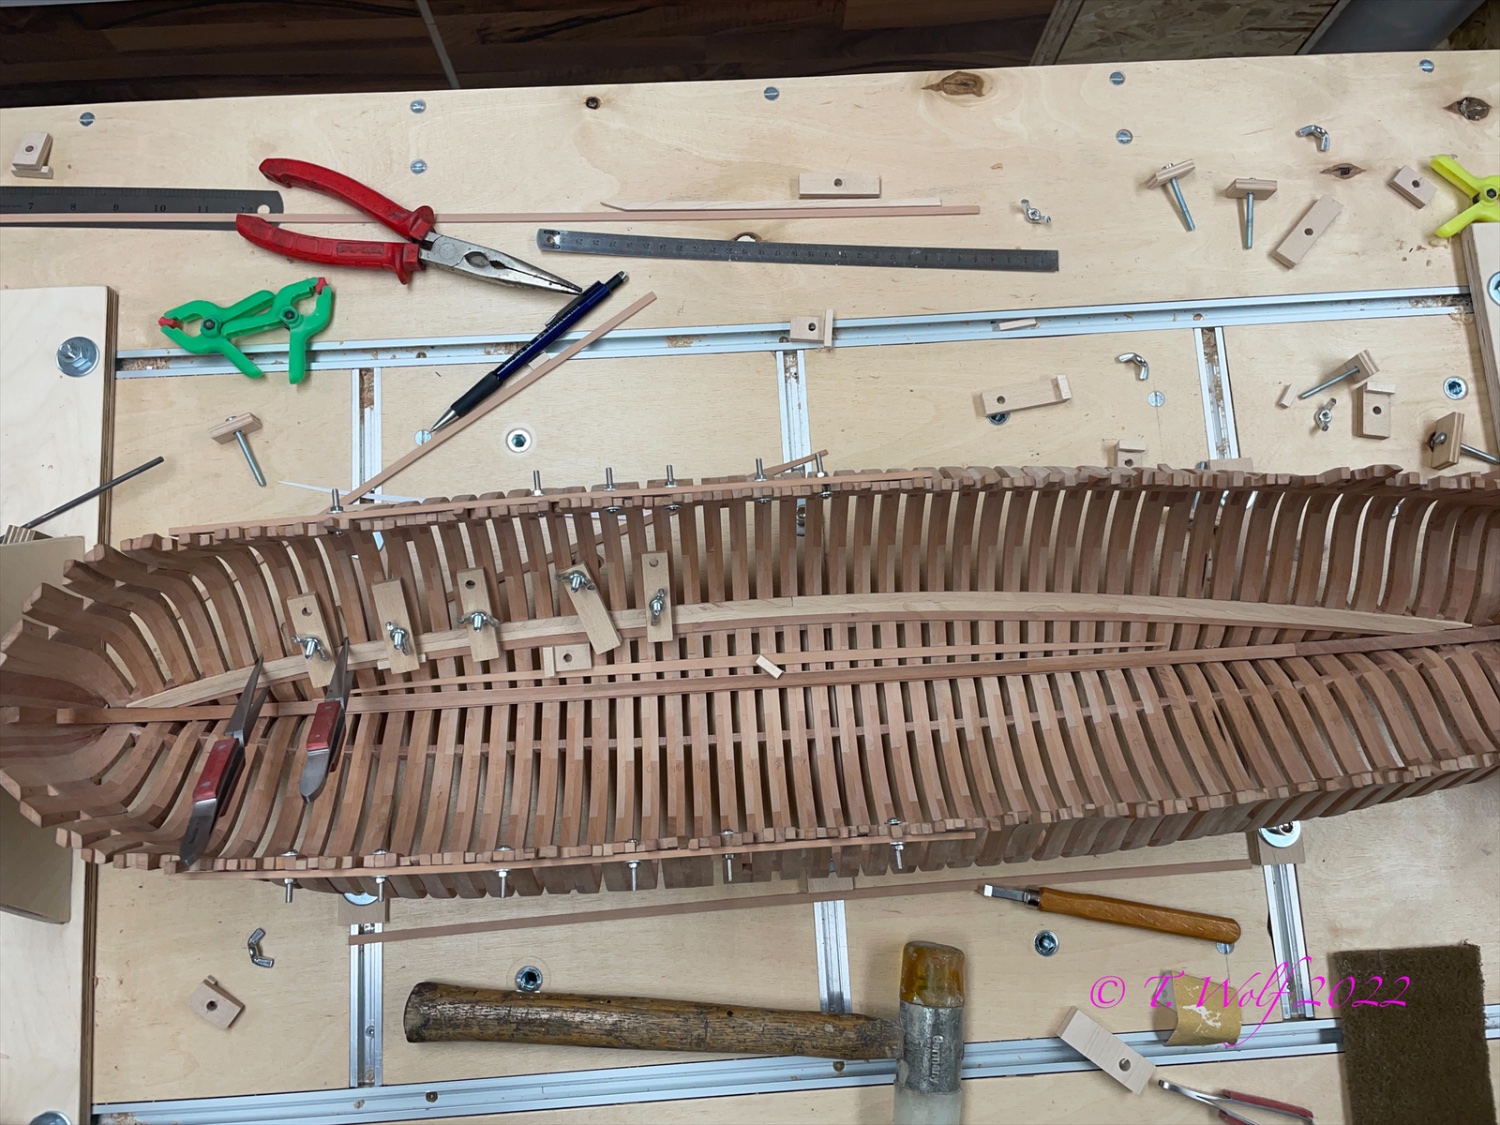
Hello all,
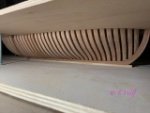
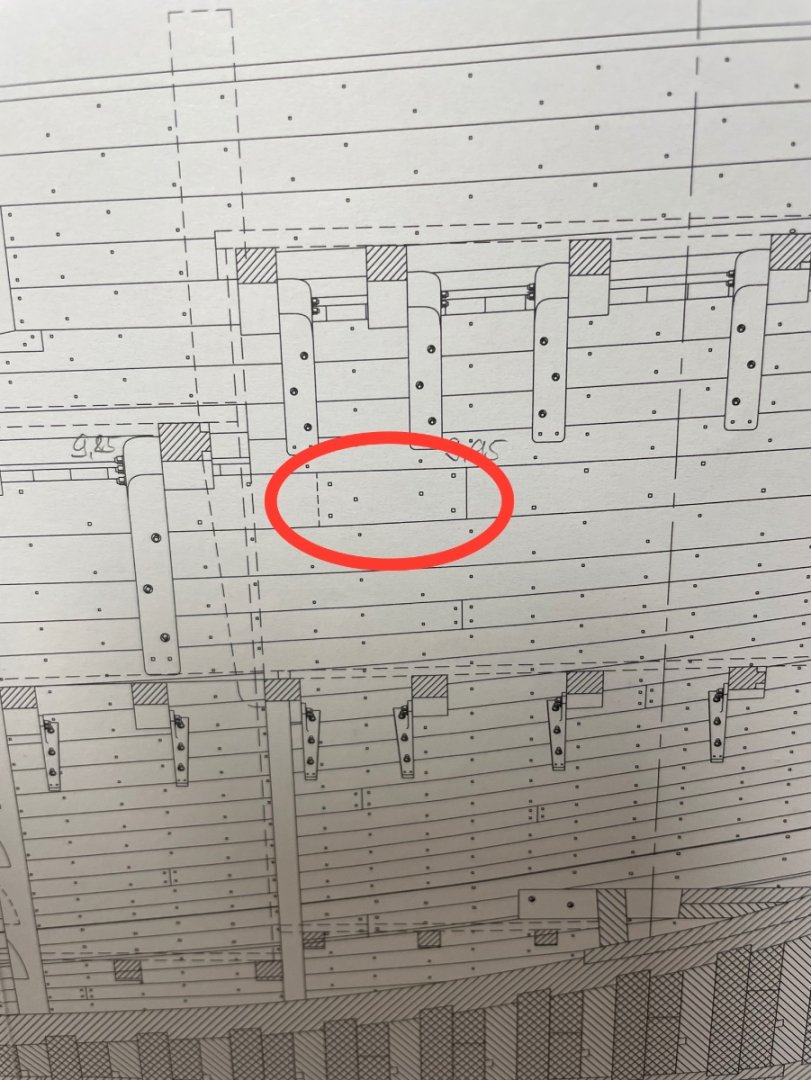
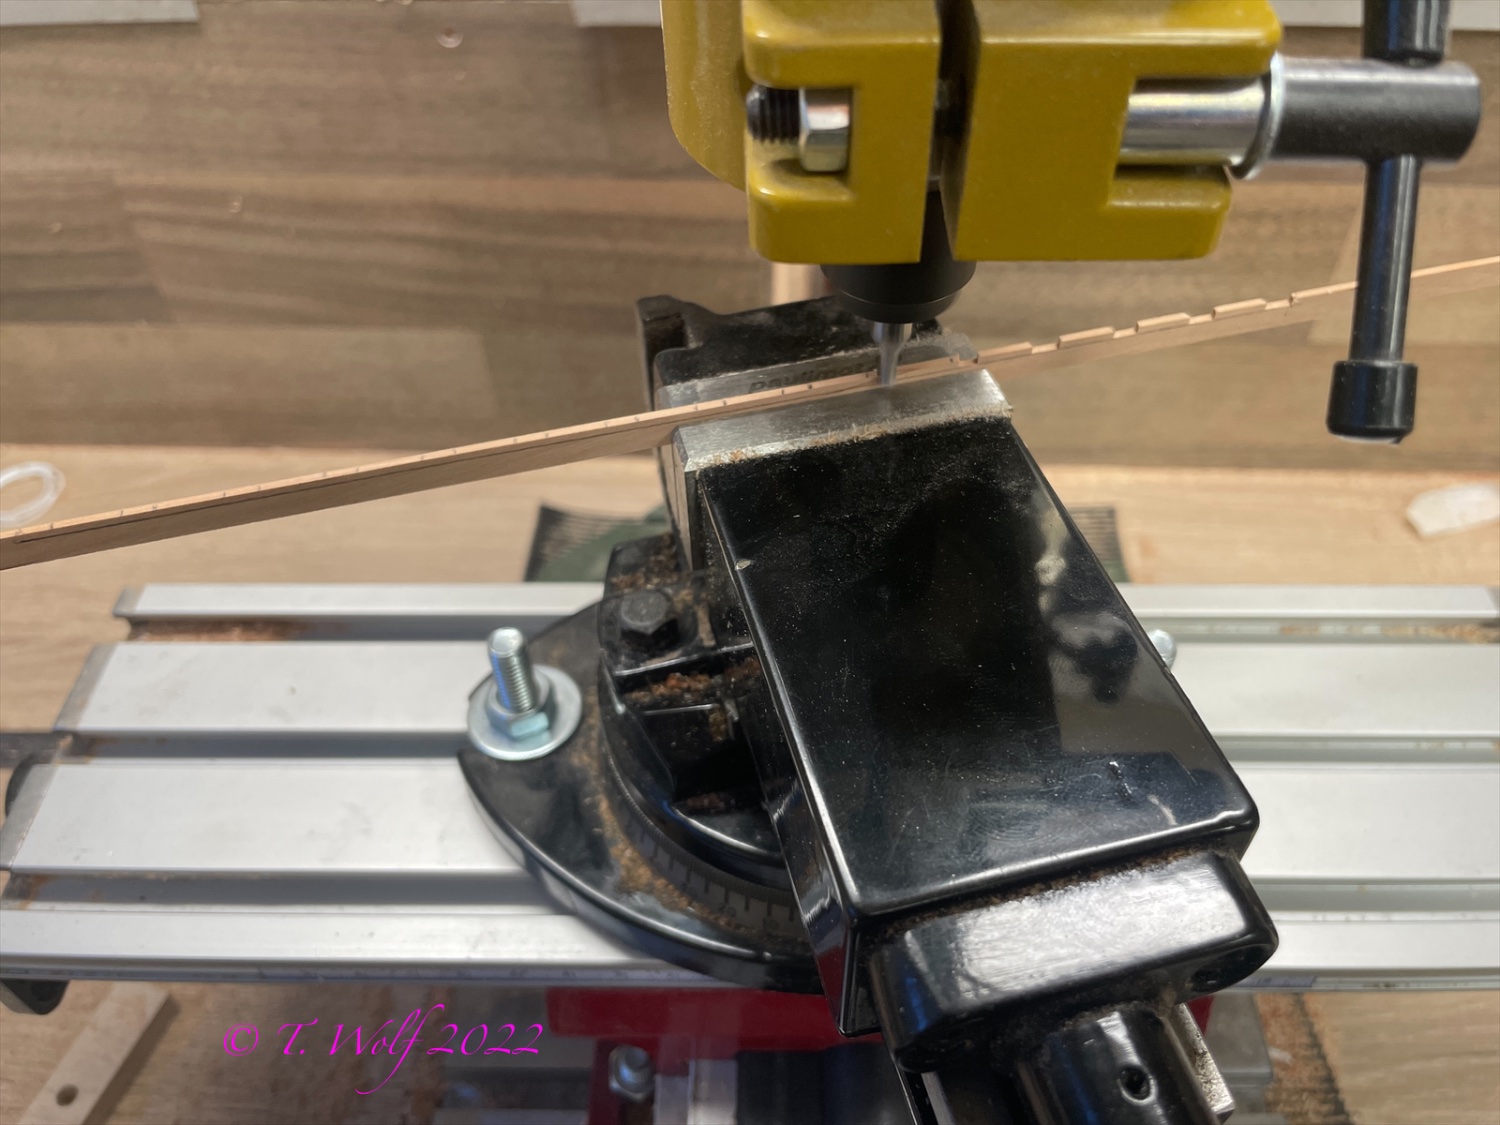
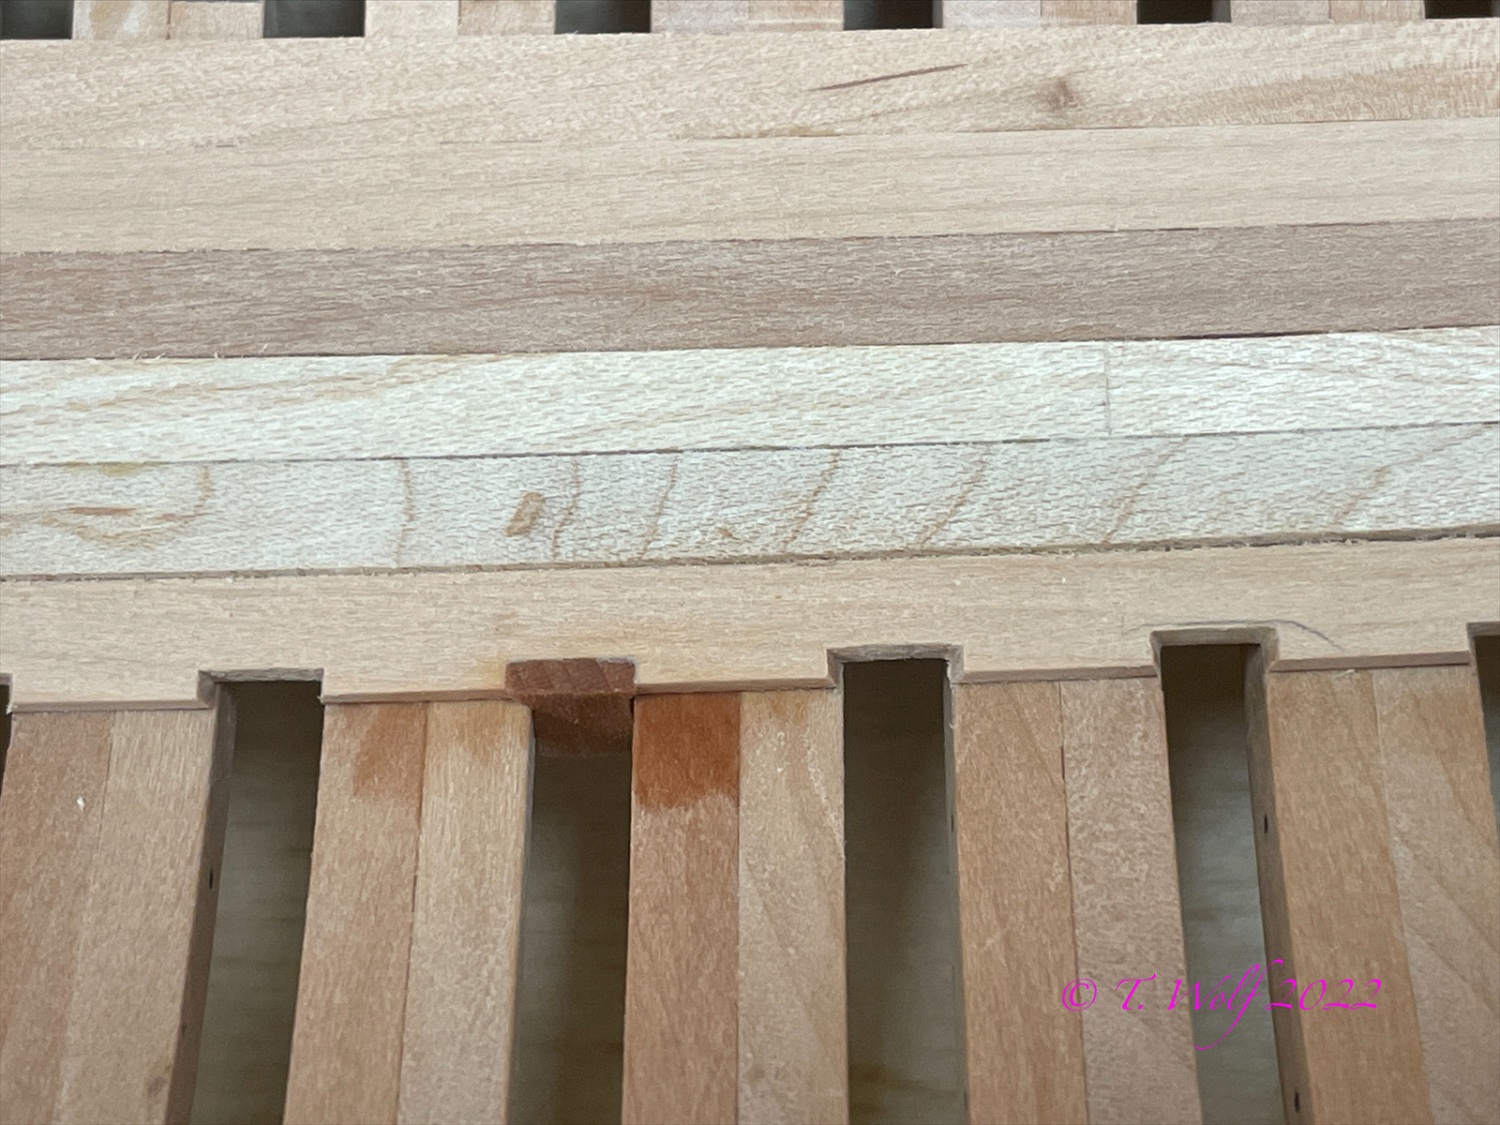
I have continued with the inner boards, one board has to be partially interlocked by inserting boards to prevent dirt from falling between the inner and outer boards.
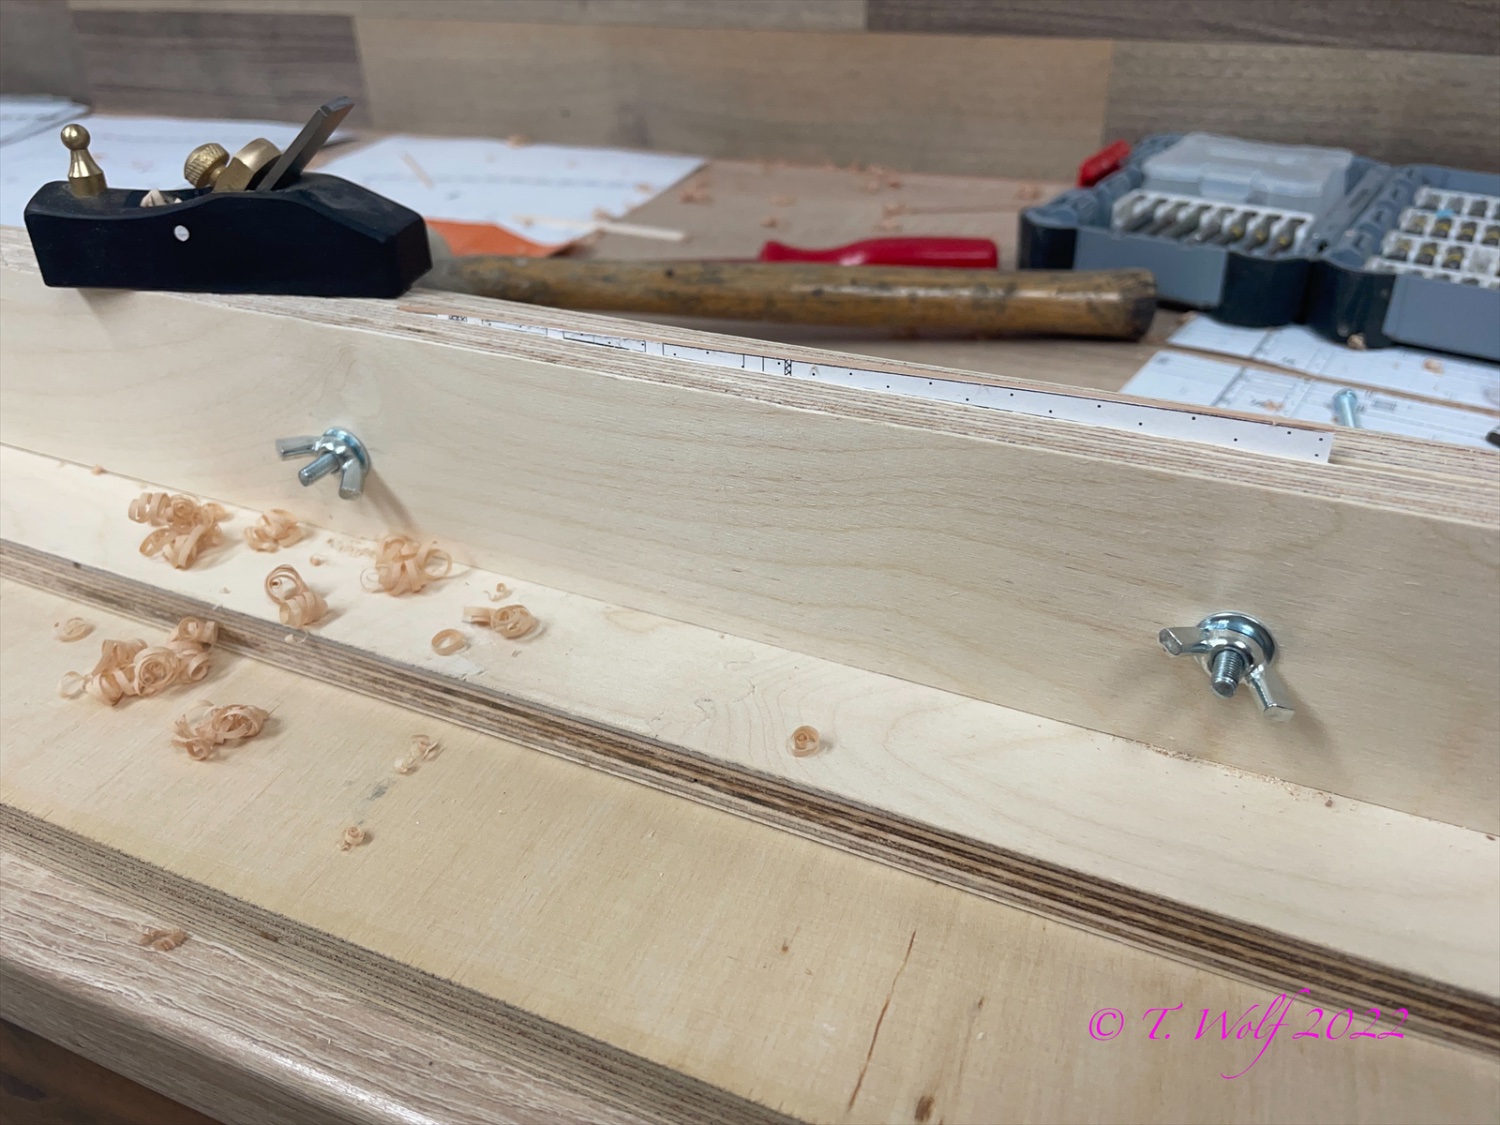
First the plan of the inner planks
Fit the plank and mill grooves at a 15 degree angle.
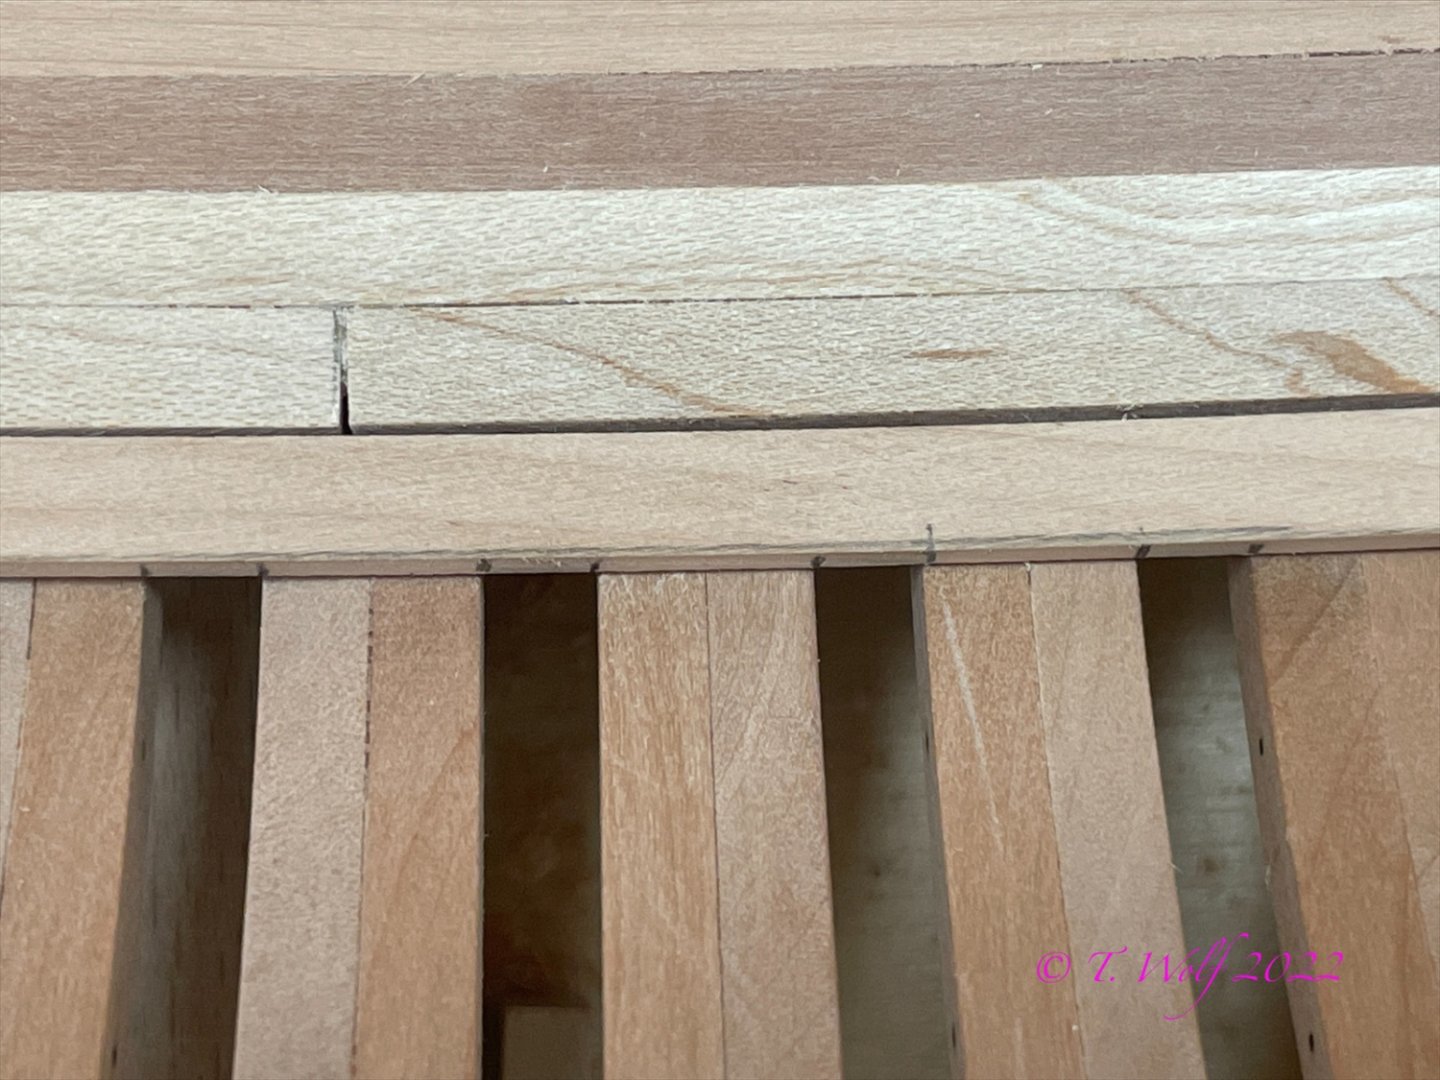

Glue in the plank and wait while I made the inlay boards.
Attach and glue the planks.
Thanks for all your likes and comments, have a nice Sunday.
-
-
-
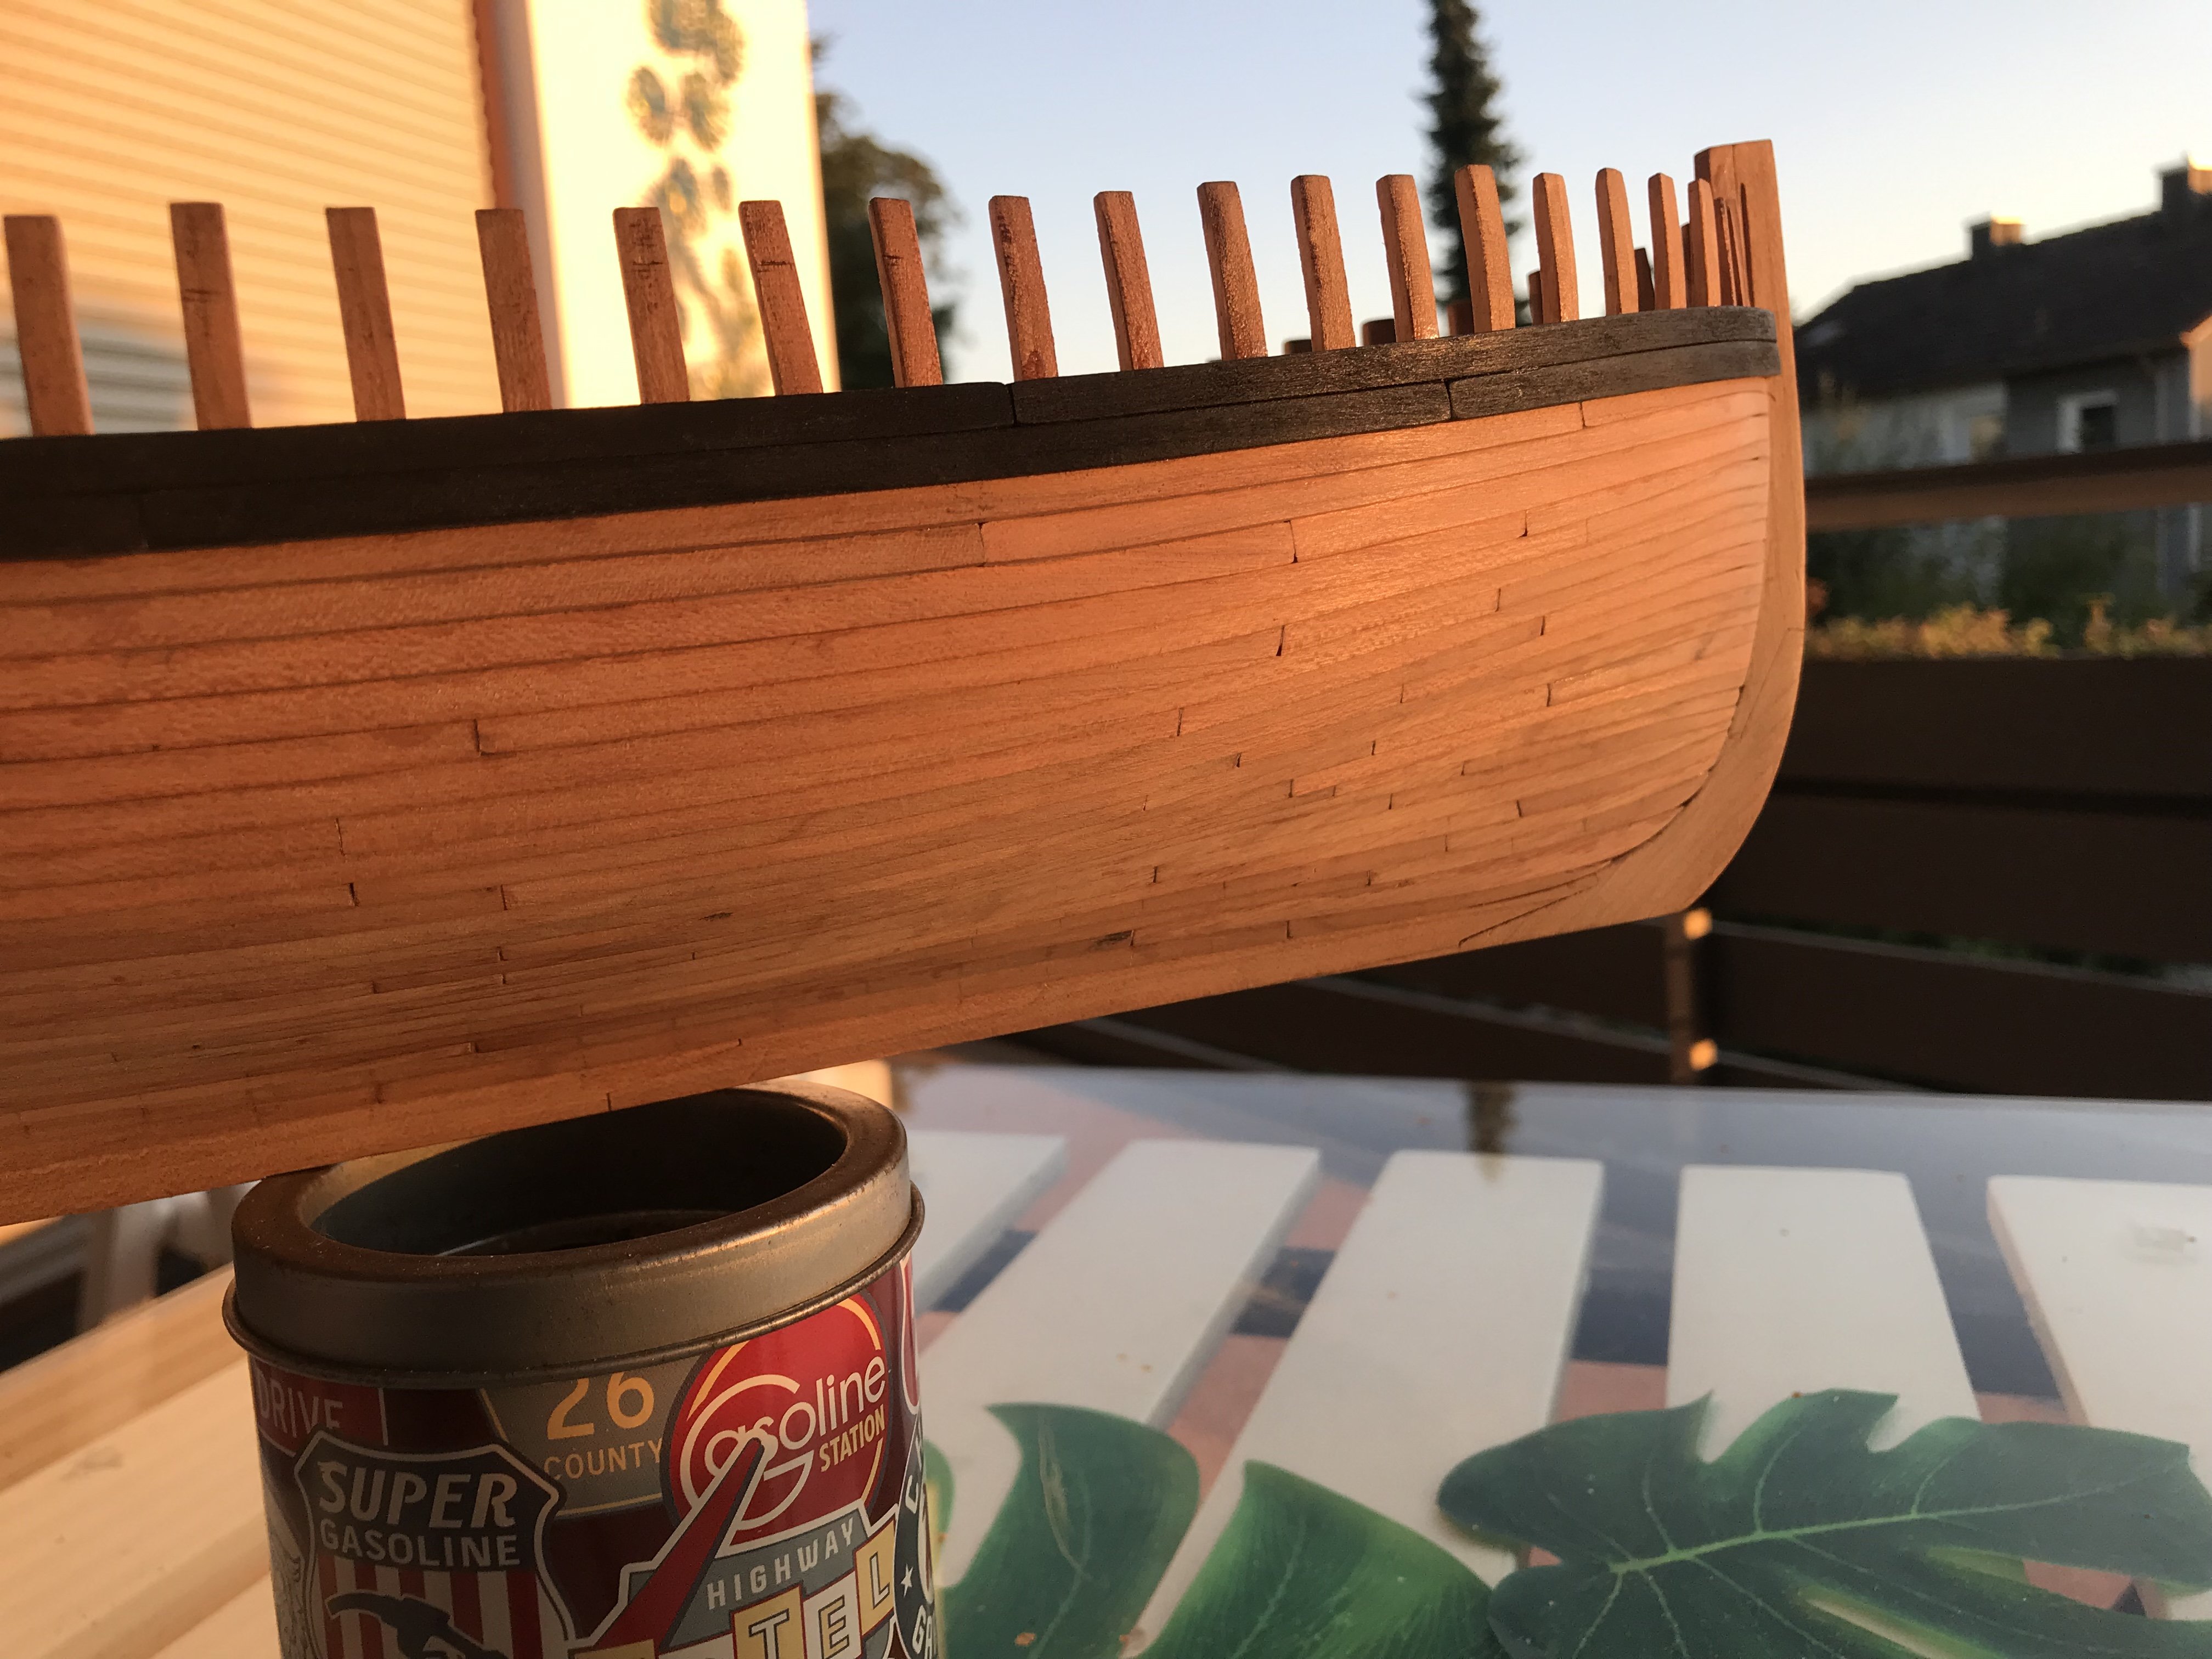
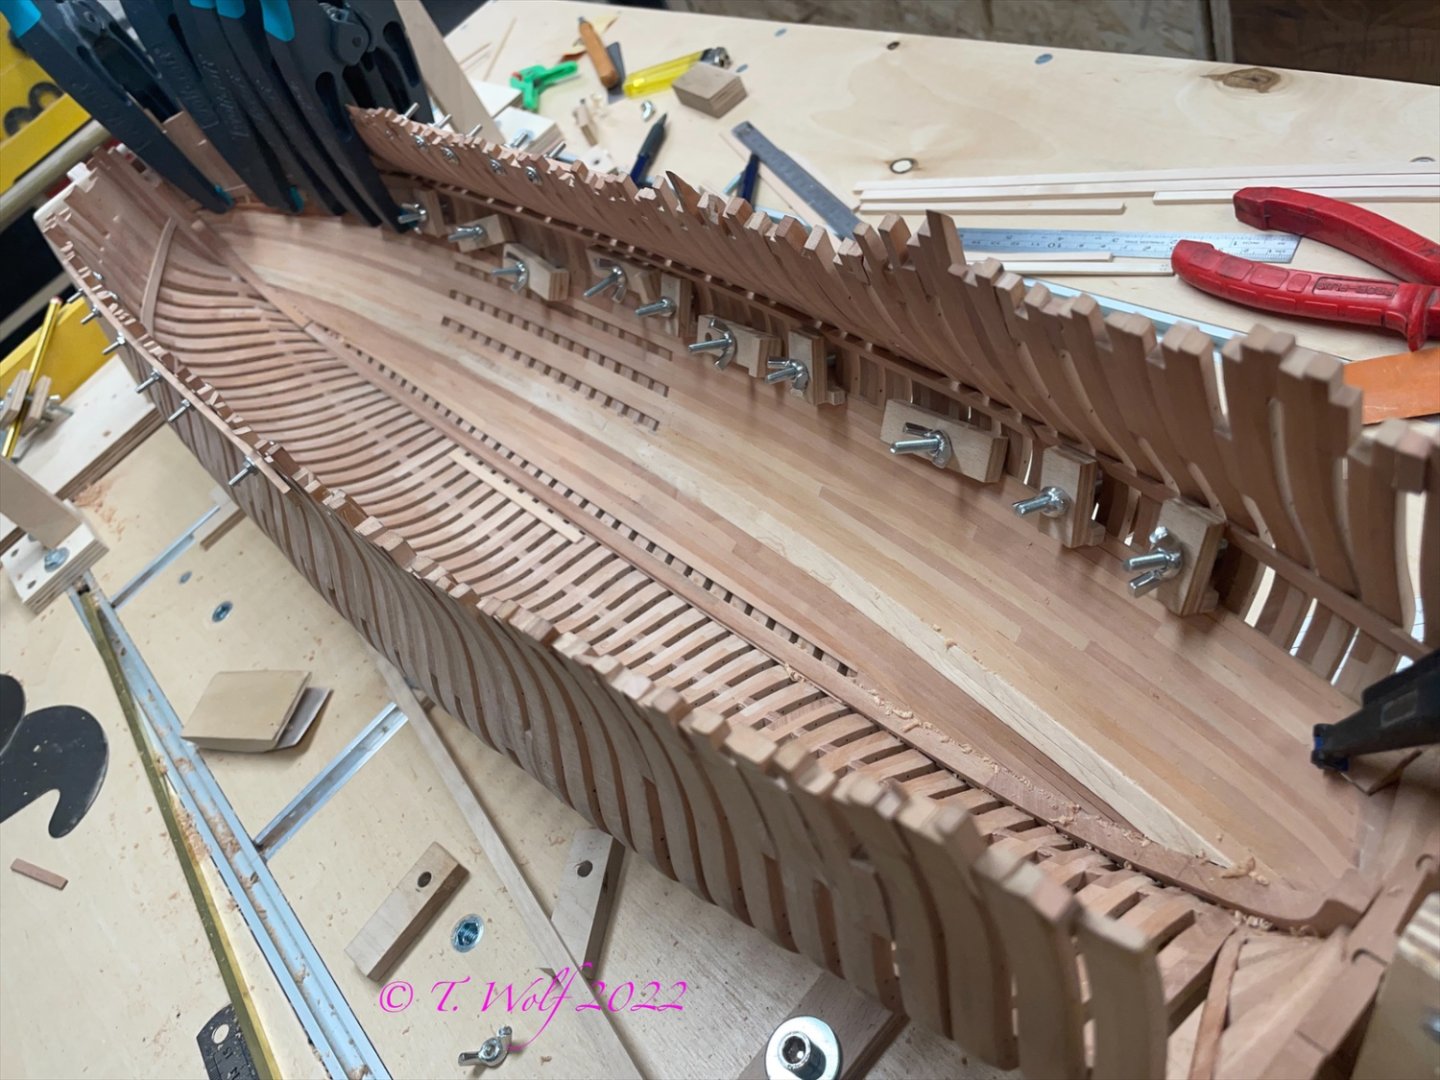
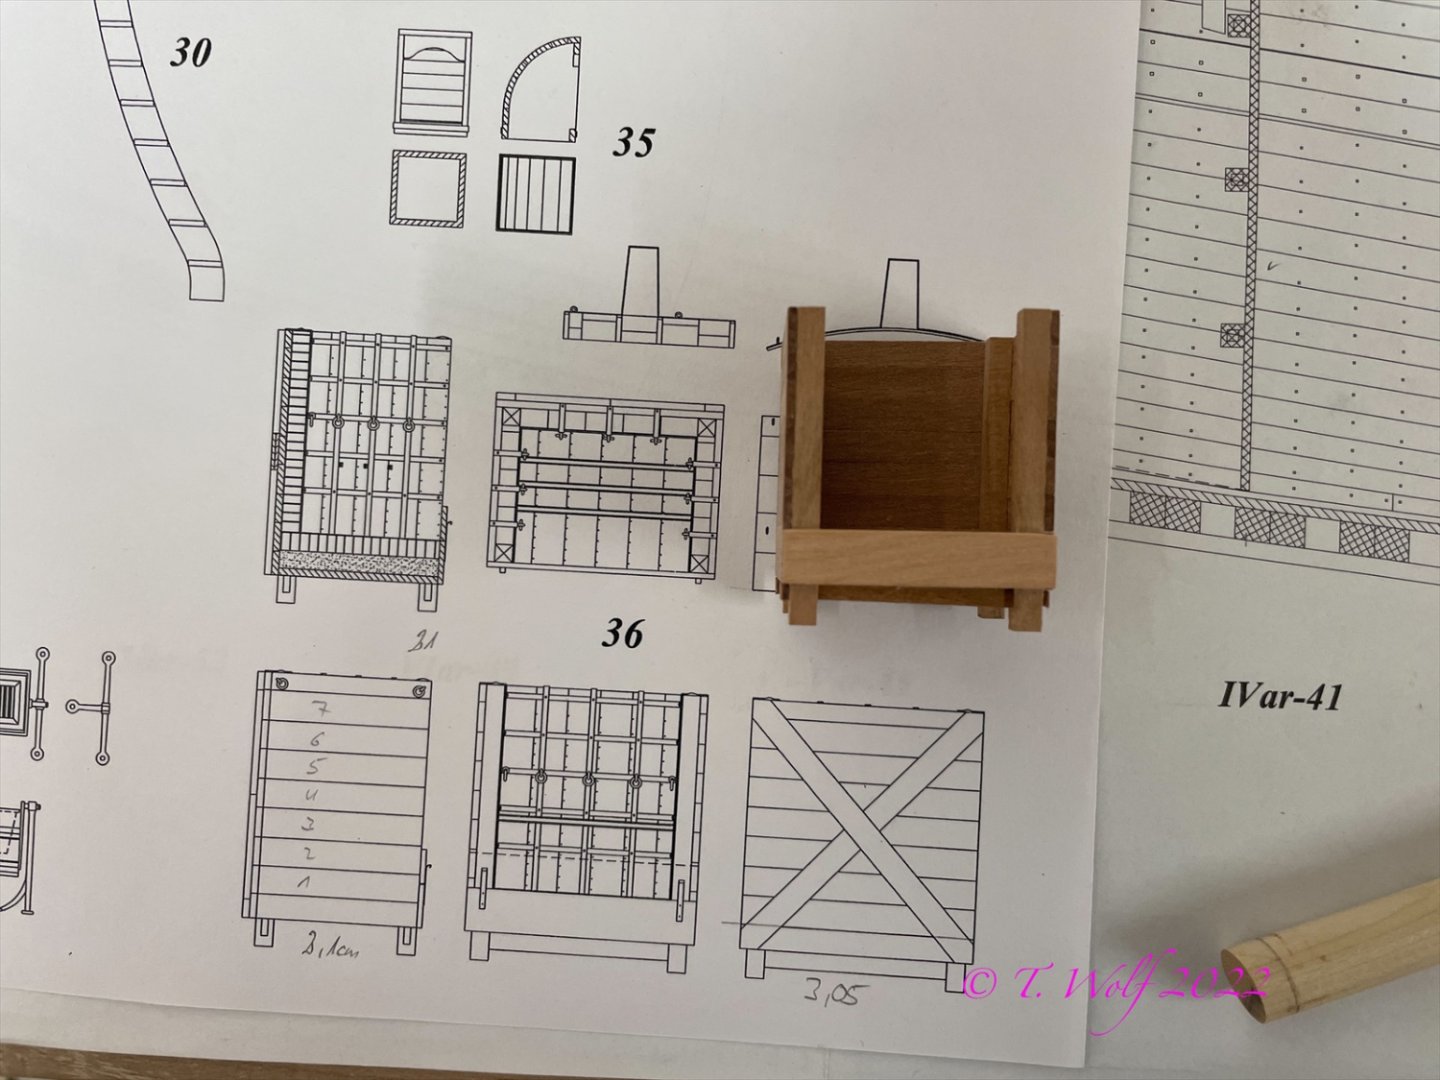
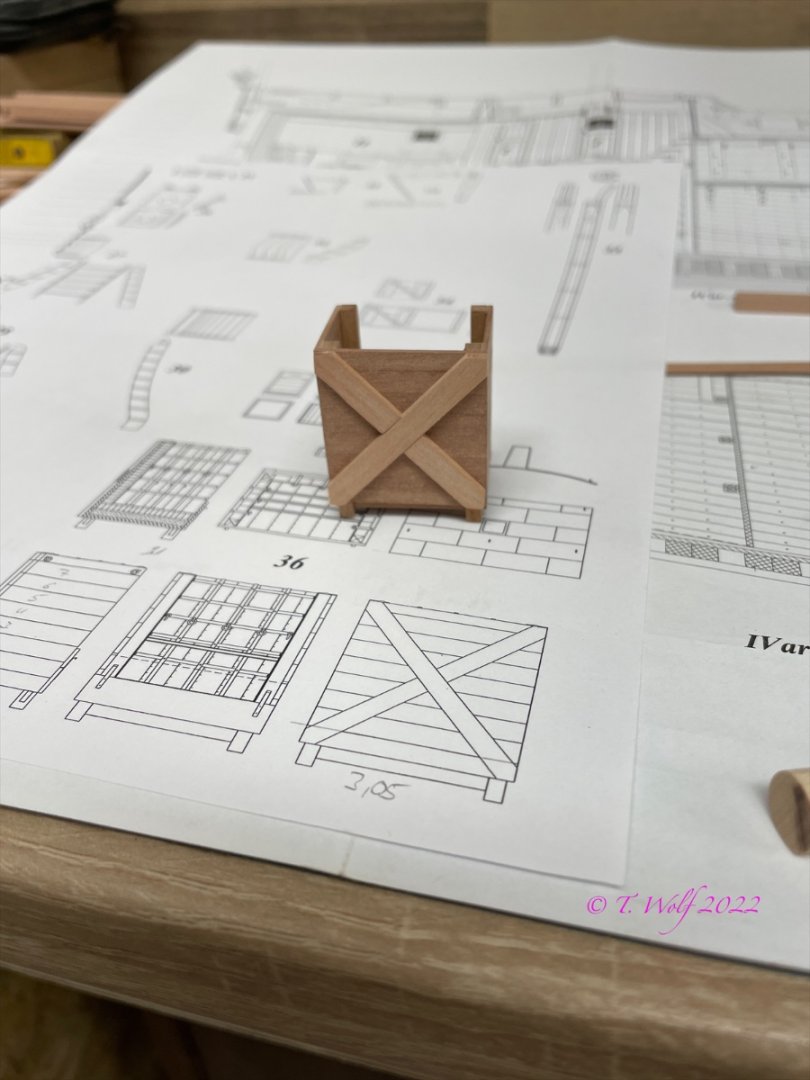
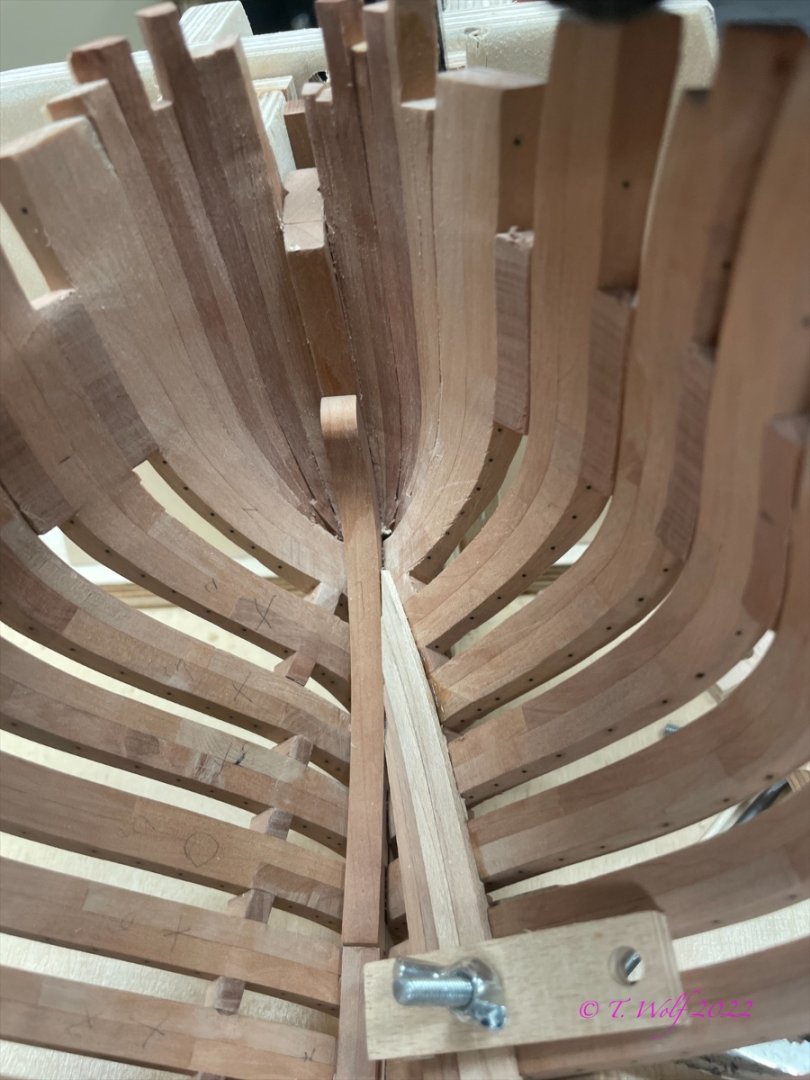
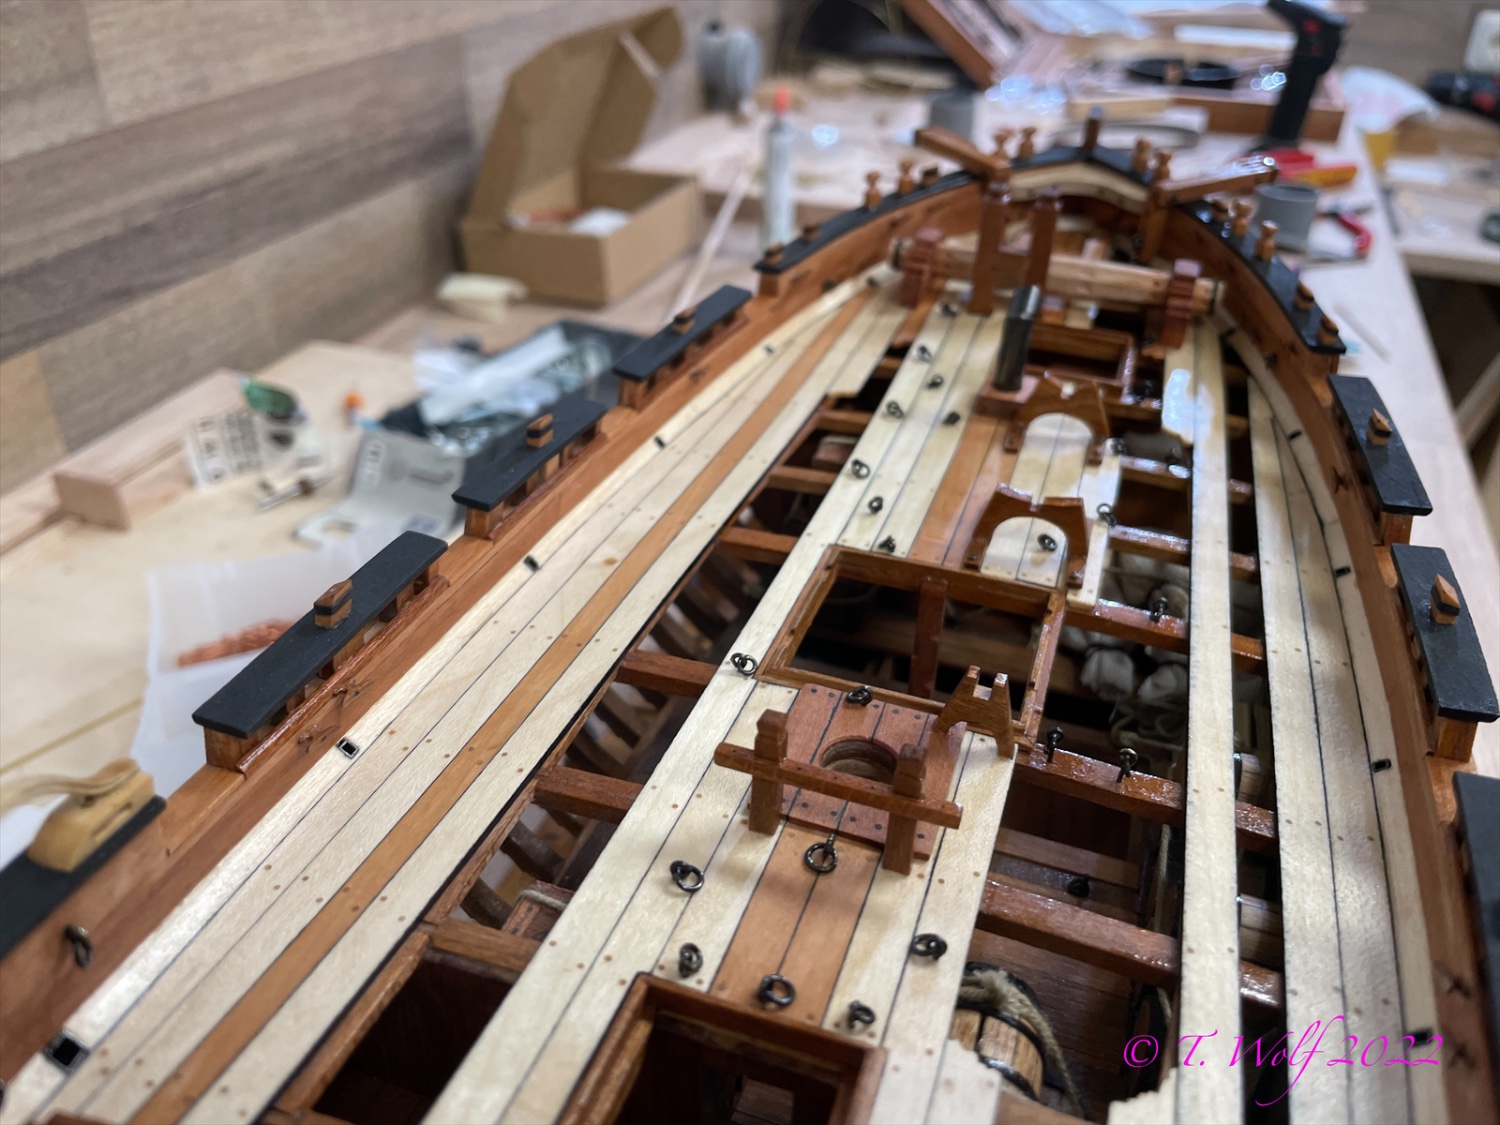
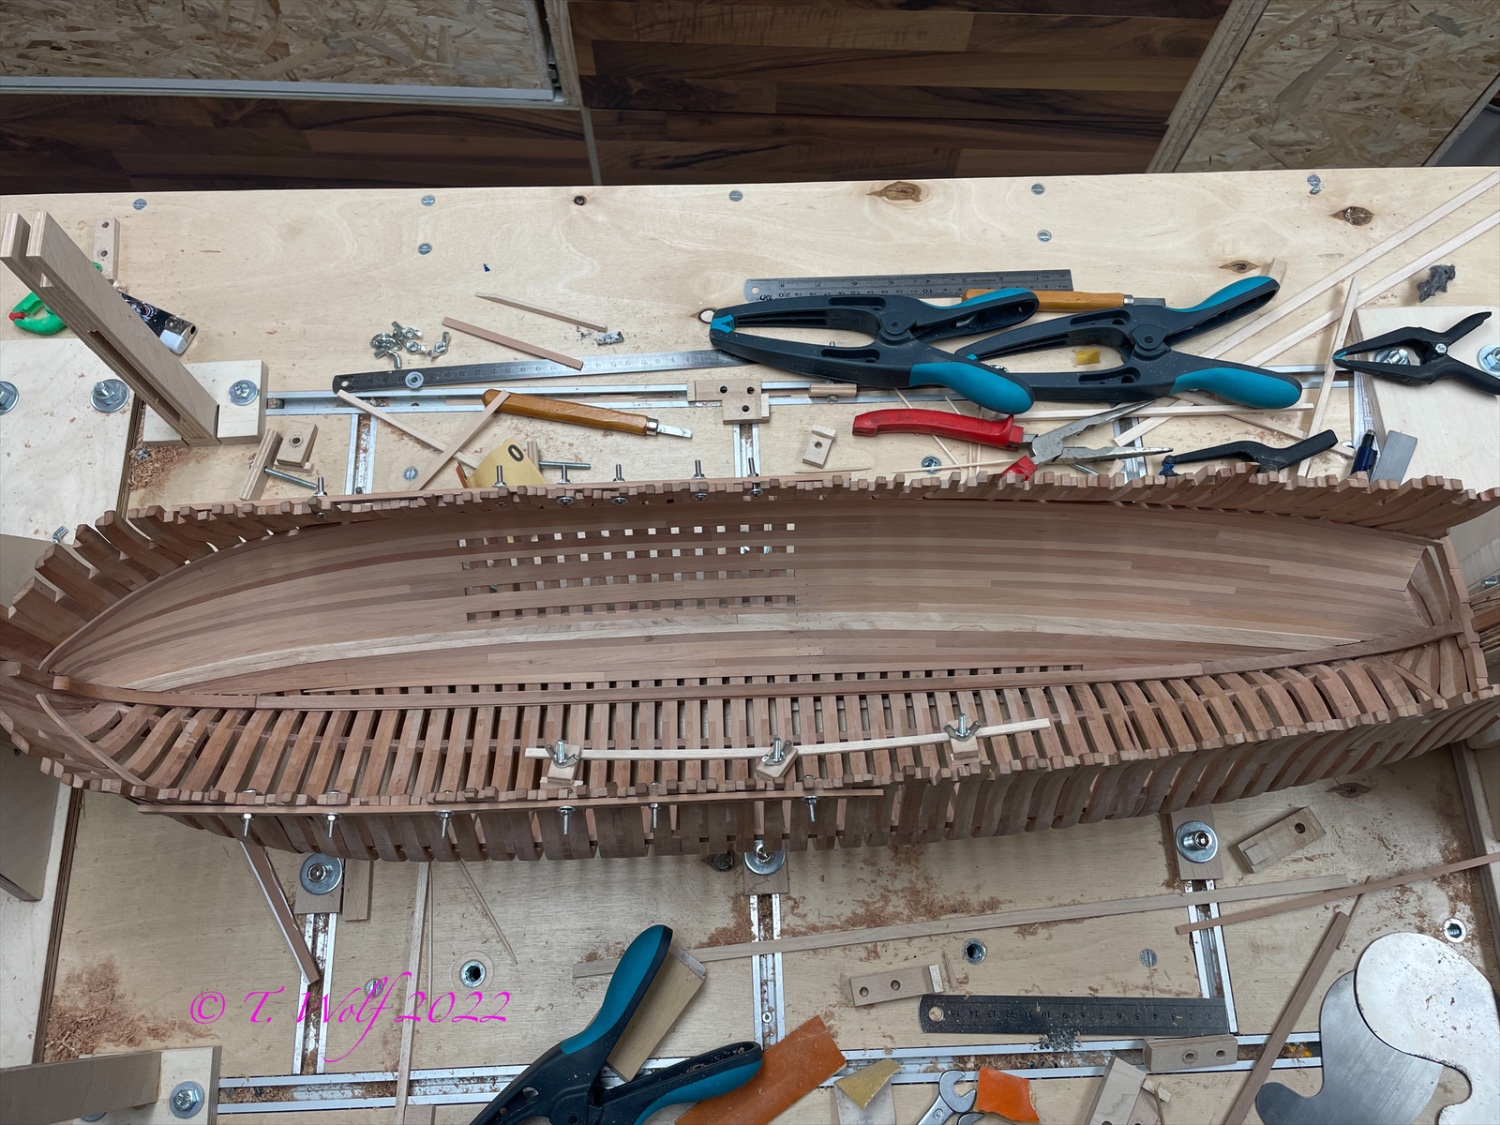
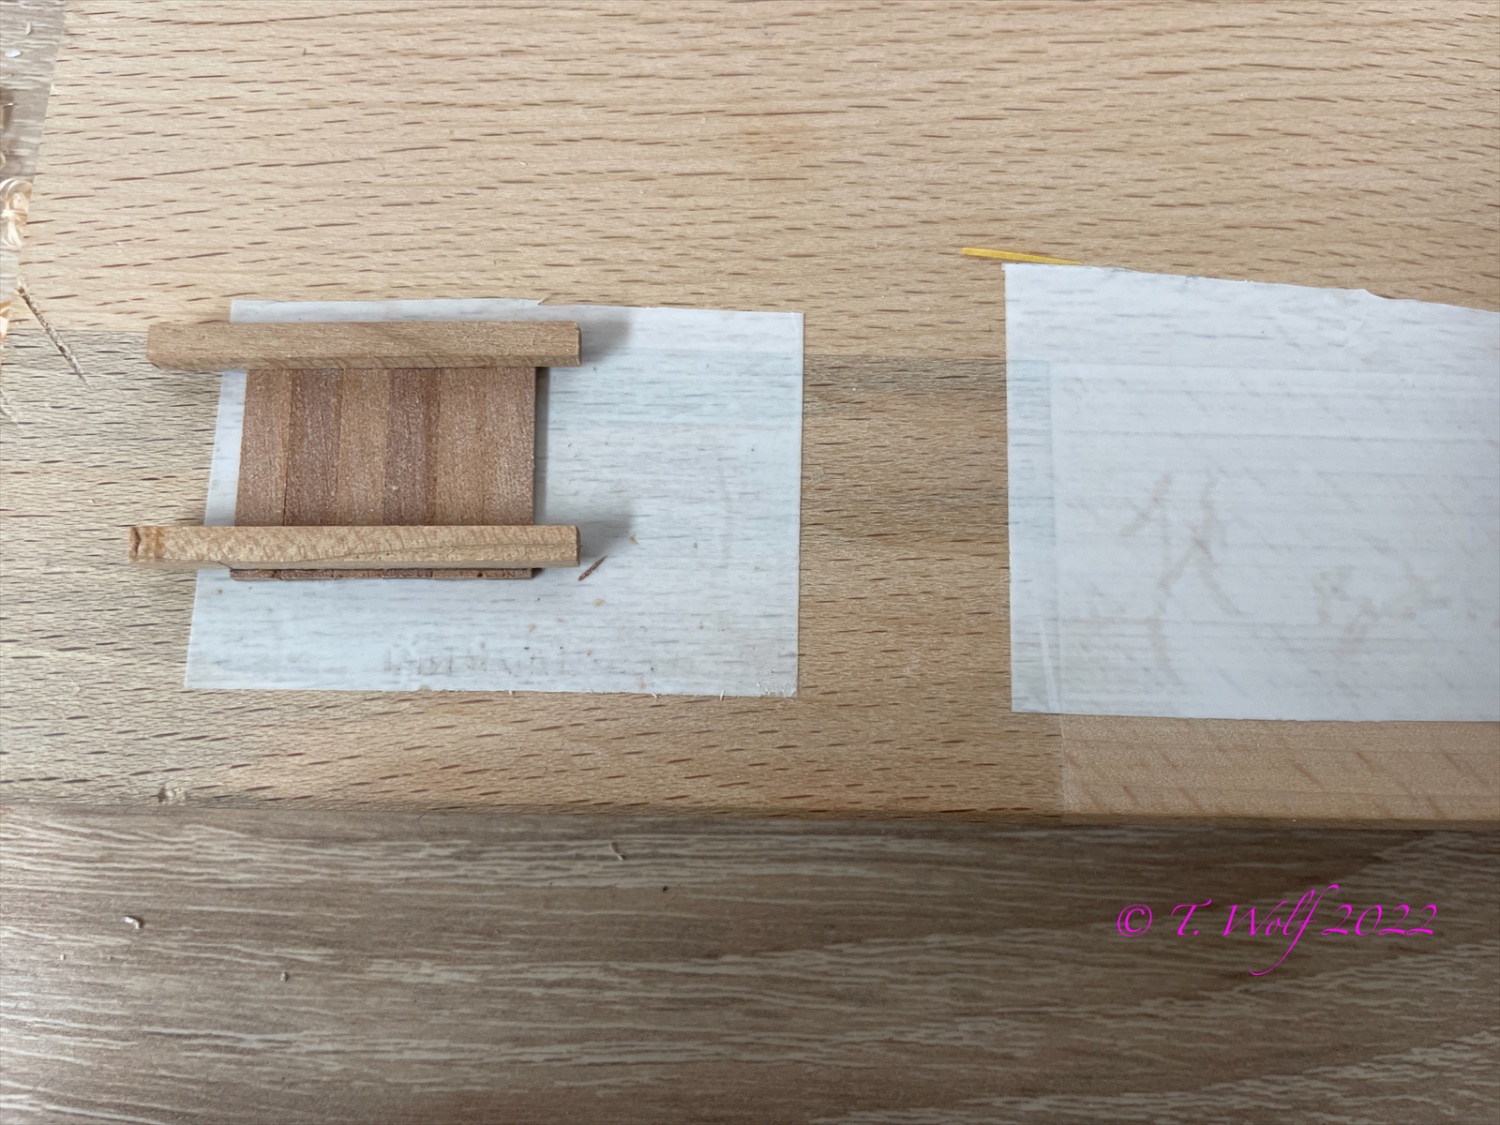
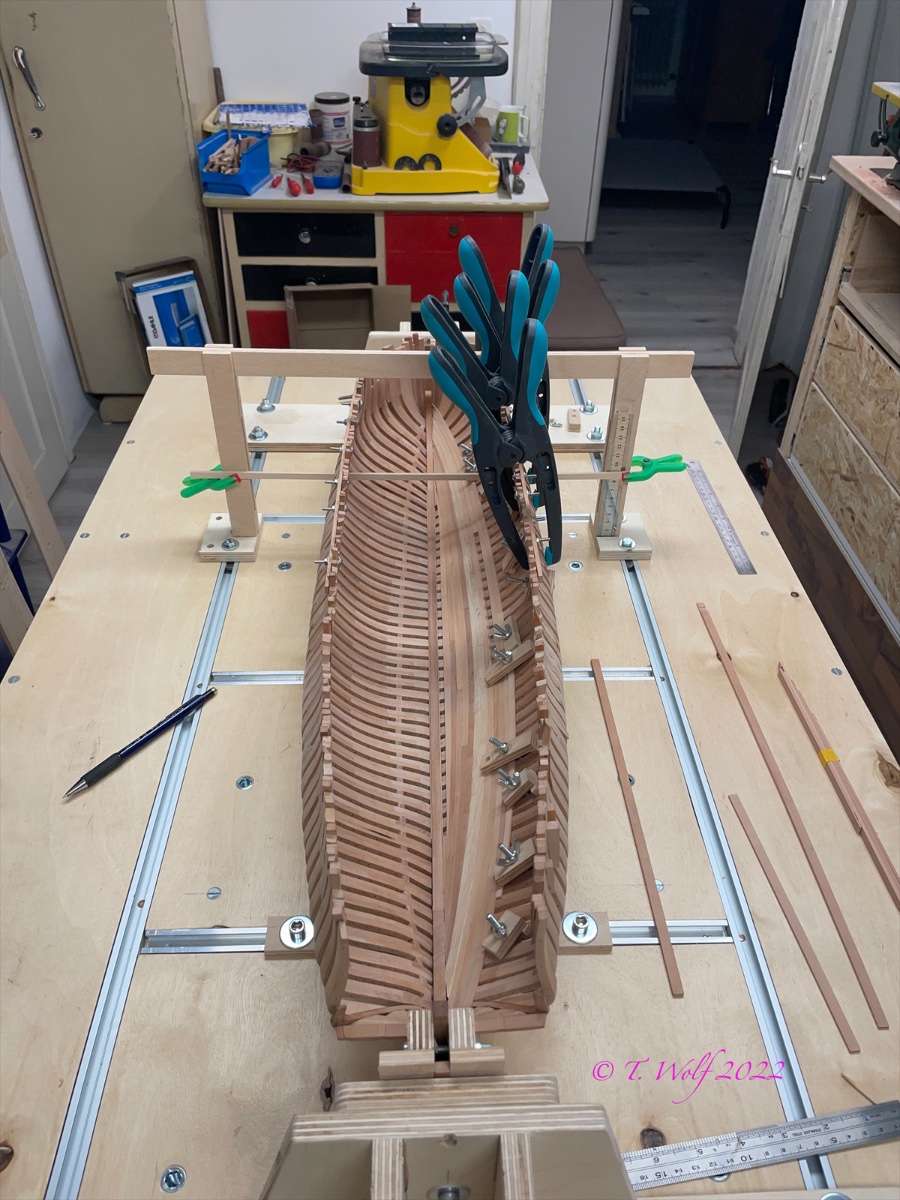
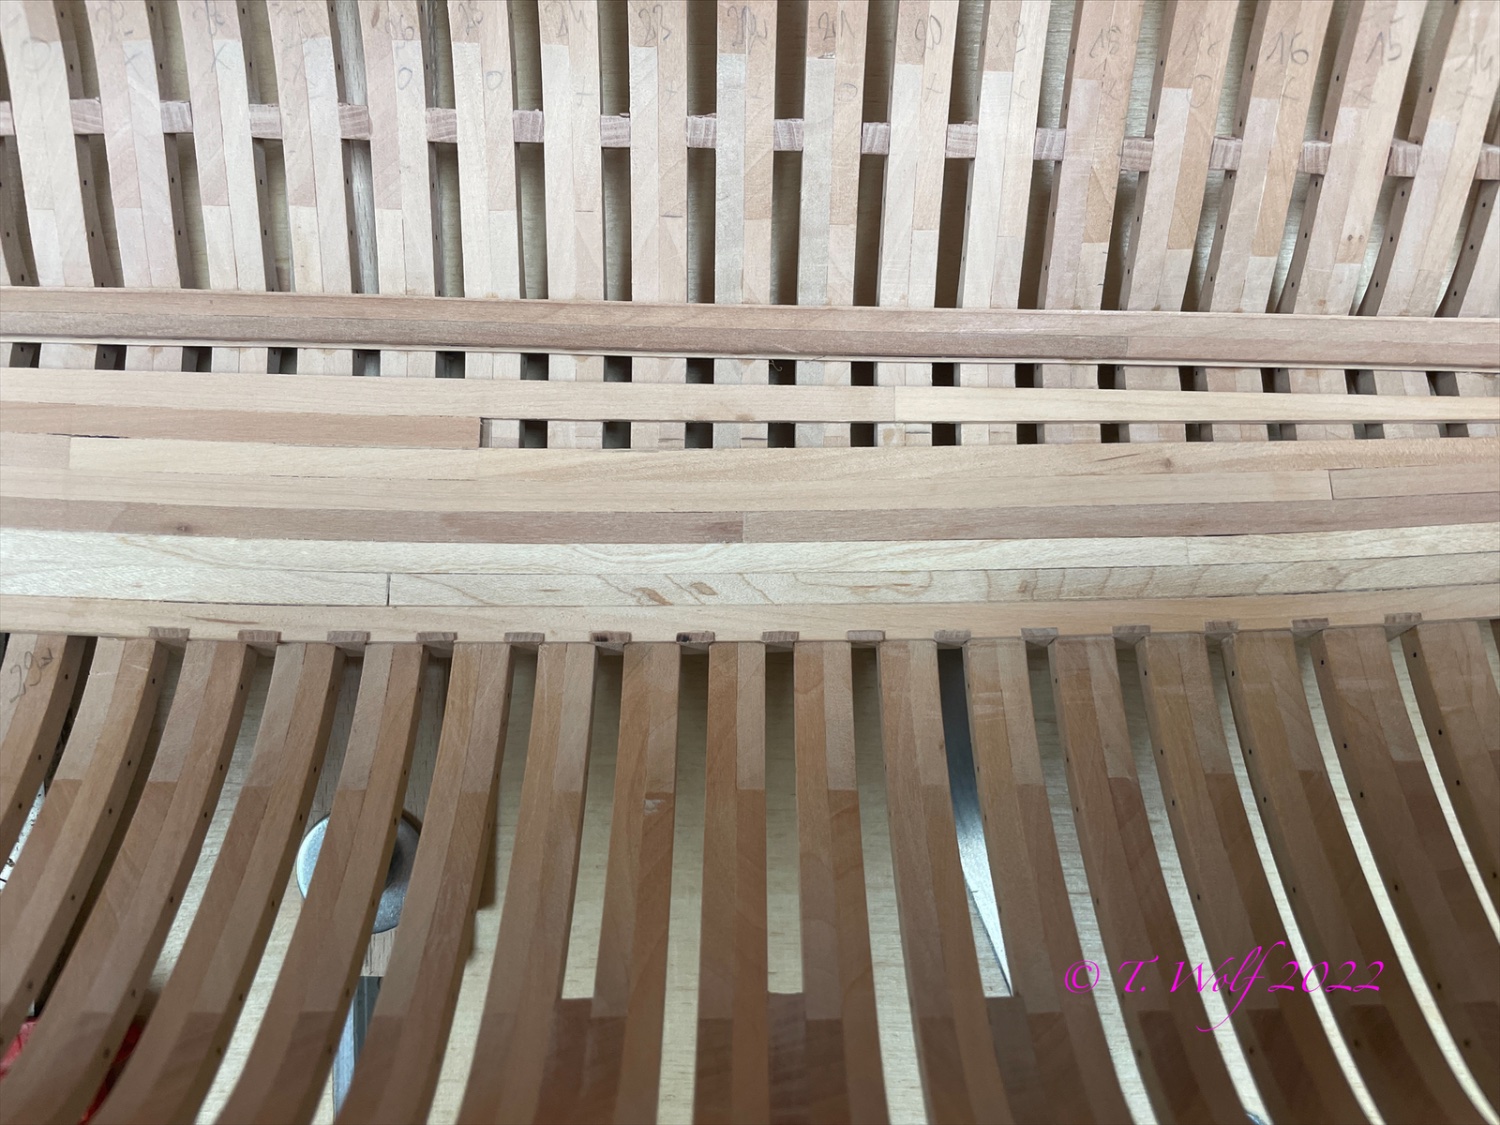
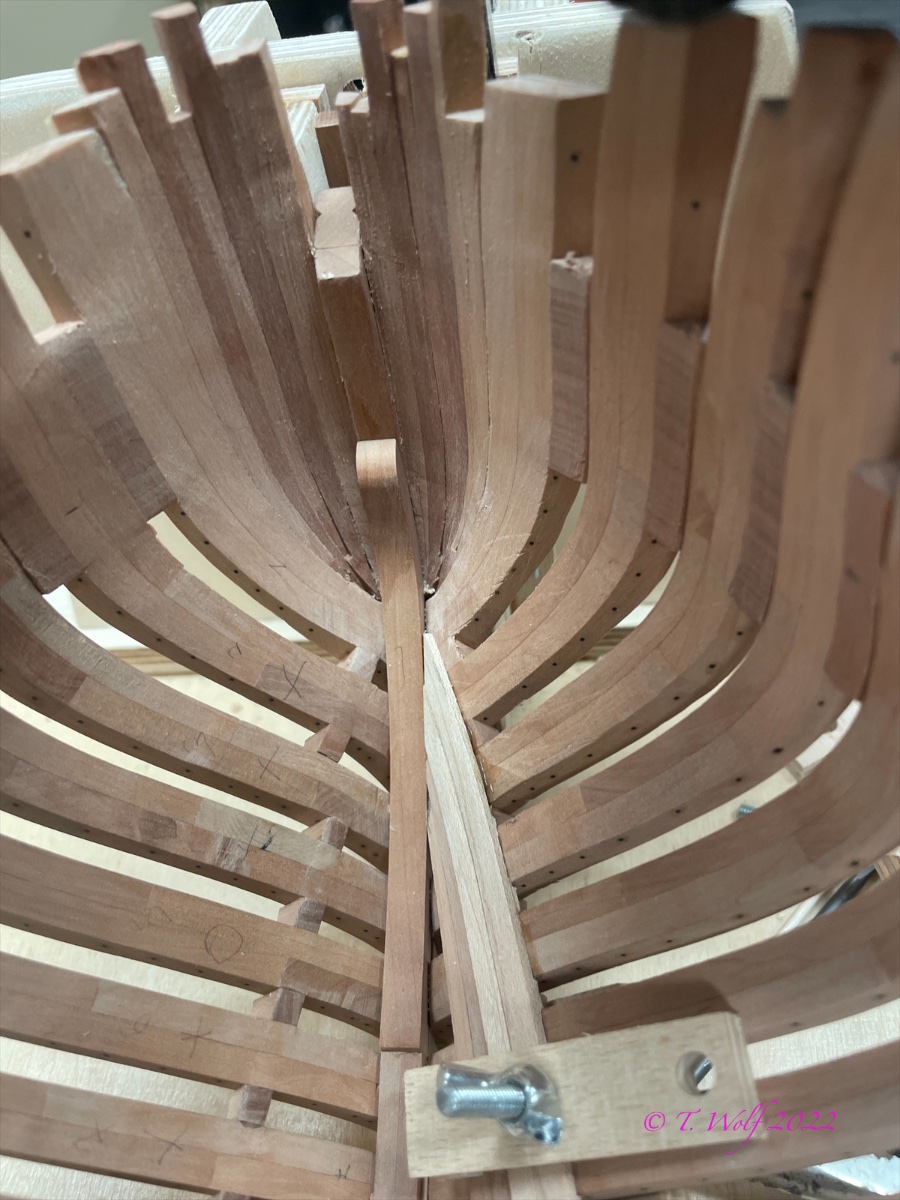
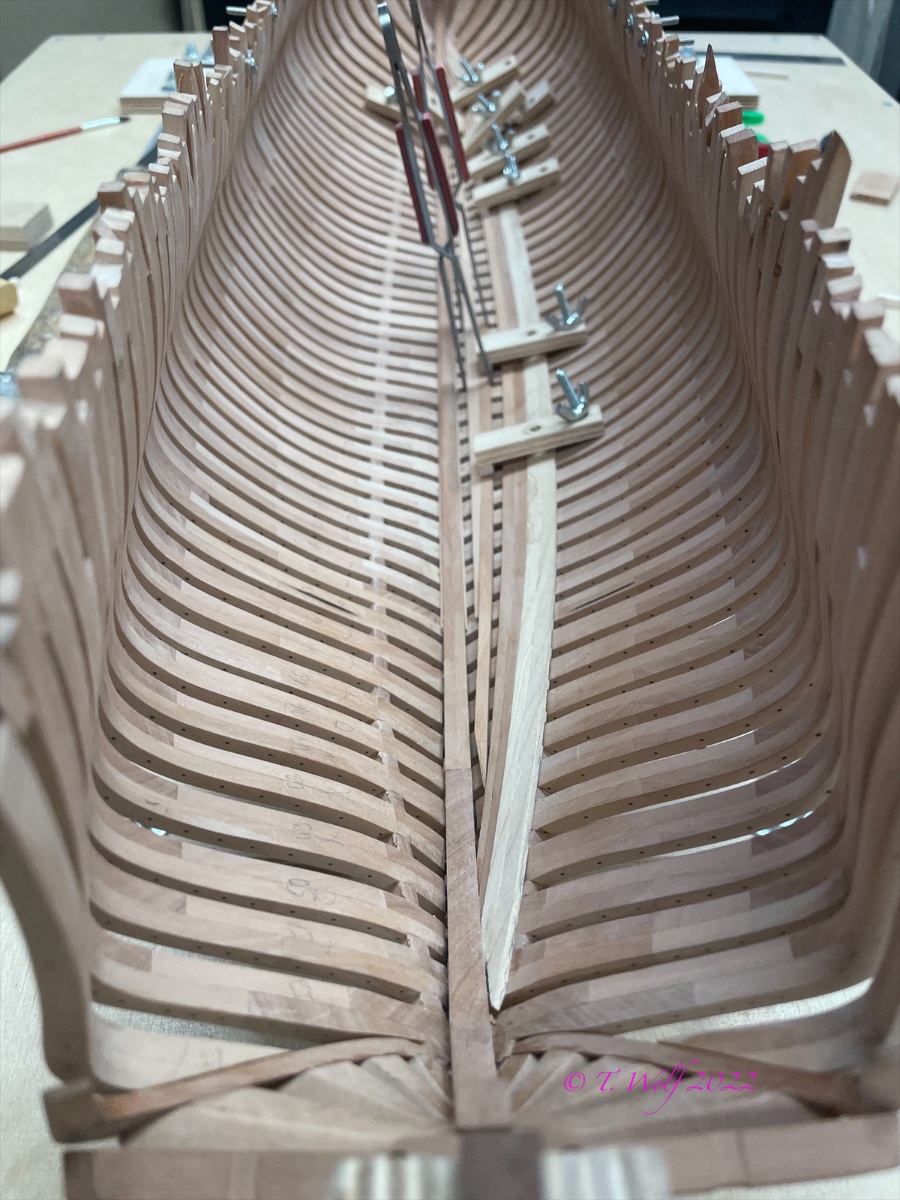
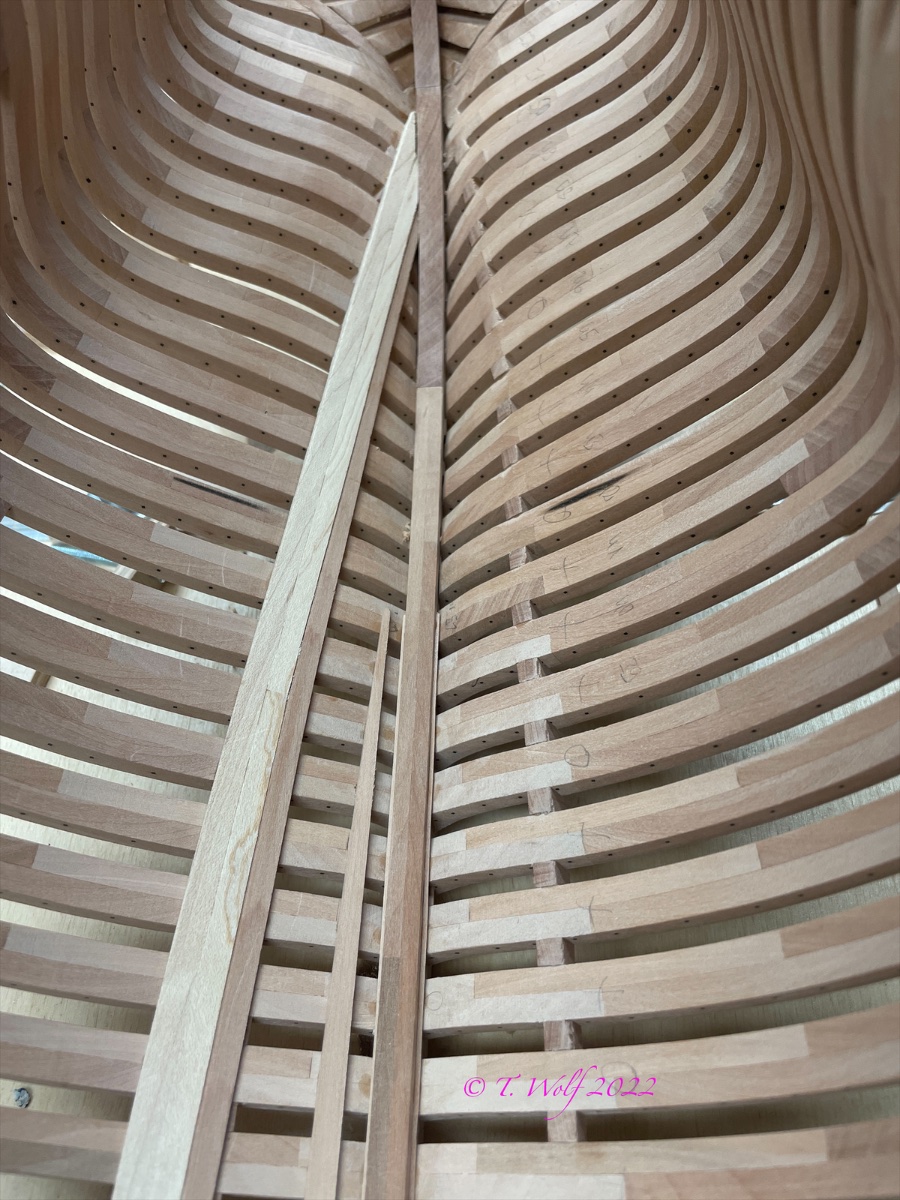
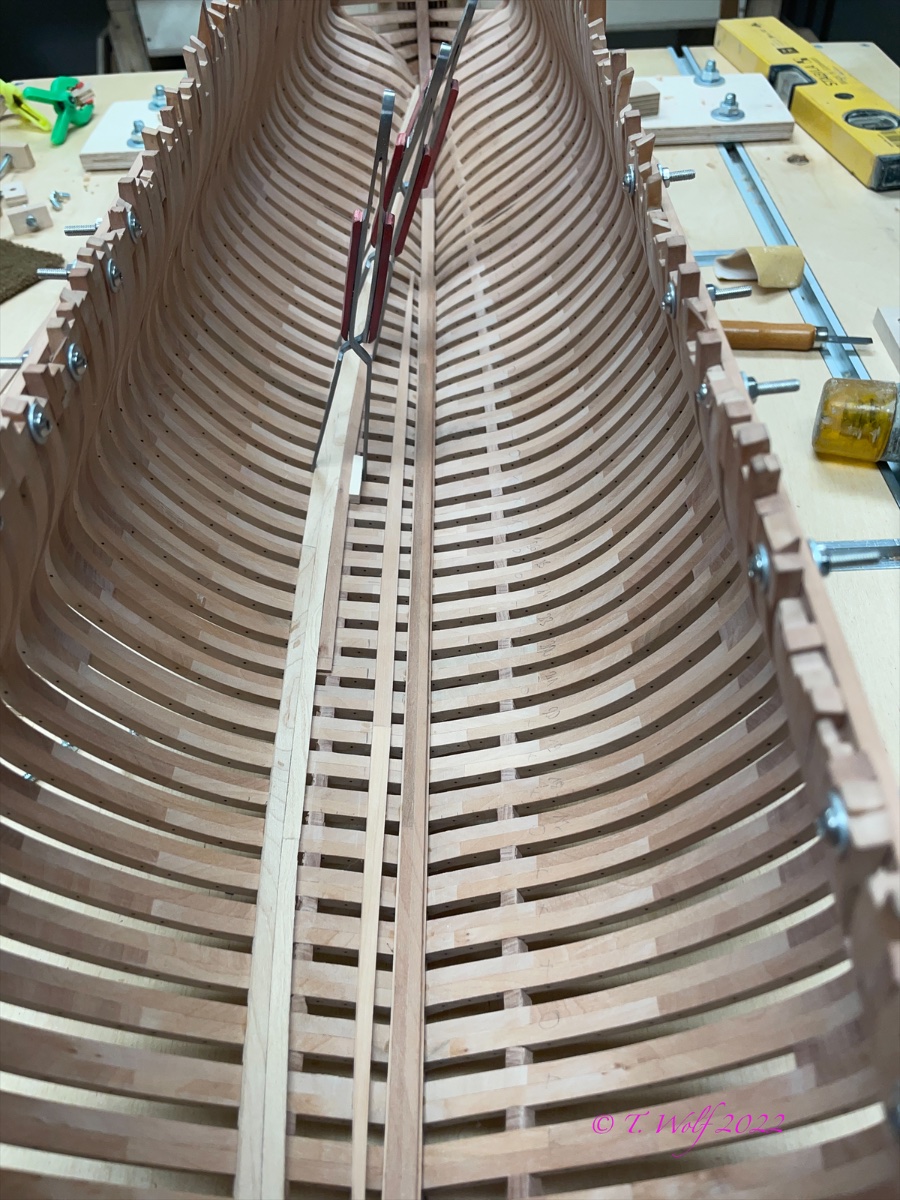
Good day gentlemen, it took some time and several attempts to make the bug. Yes, you could say it almost drove me to despair, but giving up is not my thing. It wasn't so much the understanding of how to make it that didn't stop me, but the putting together of the individual parts. I also started with the interior planking.
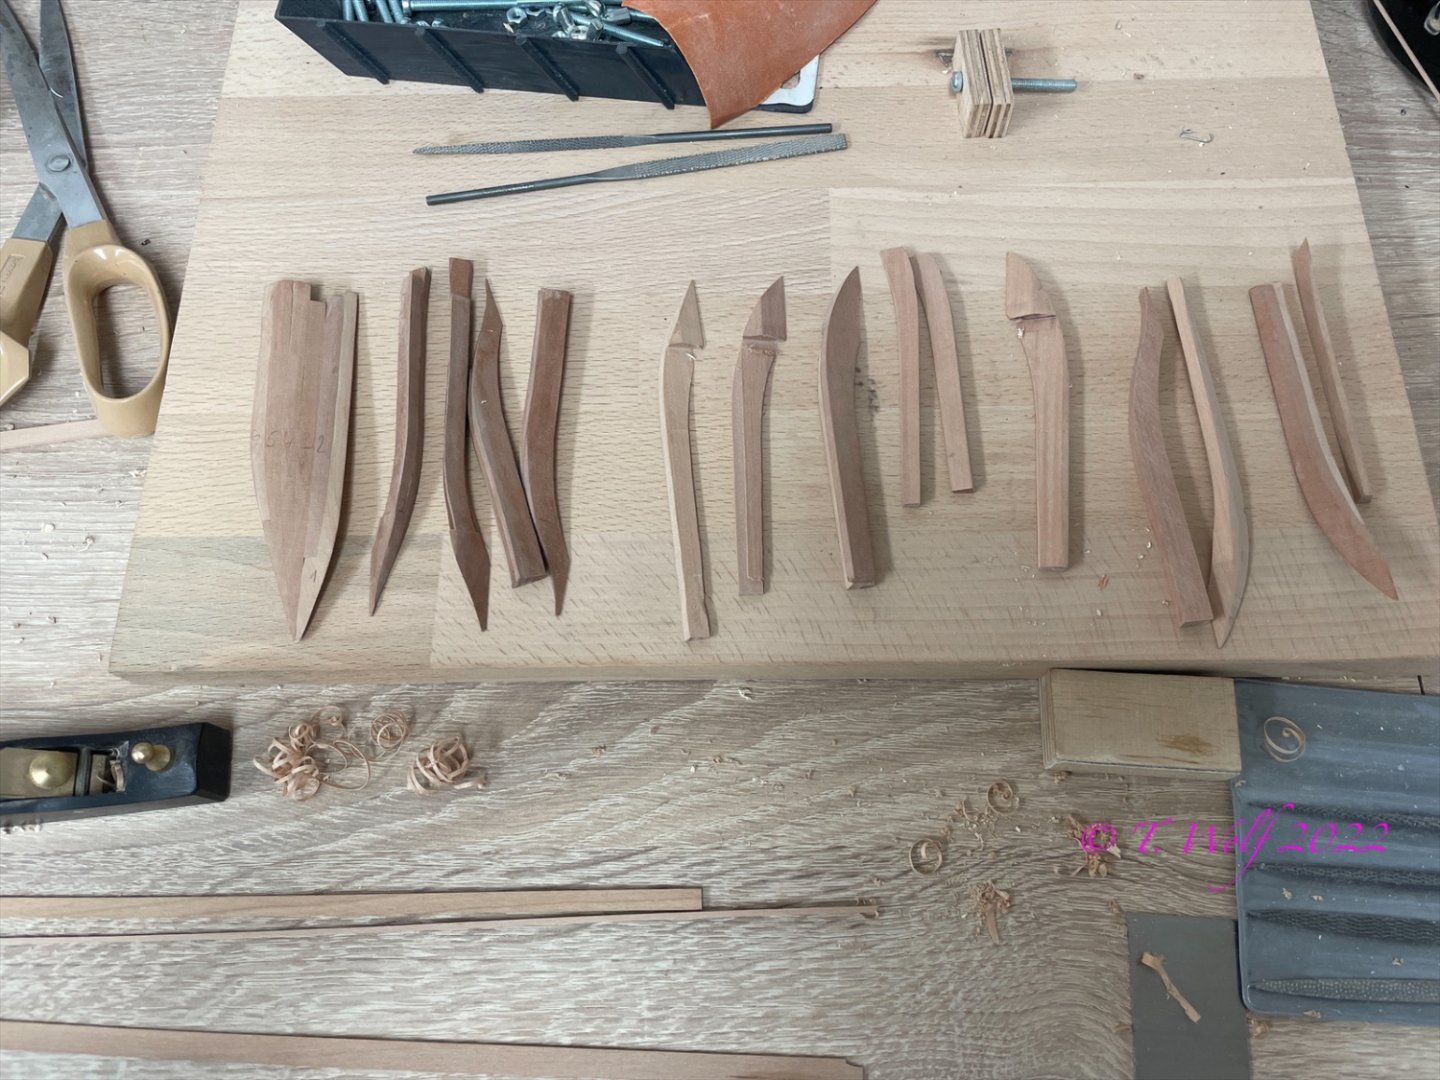
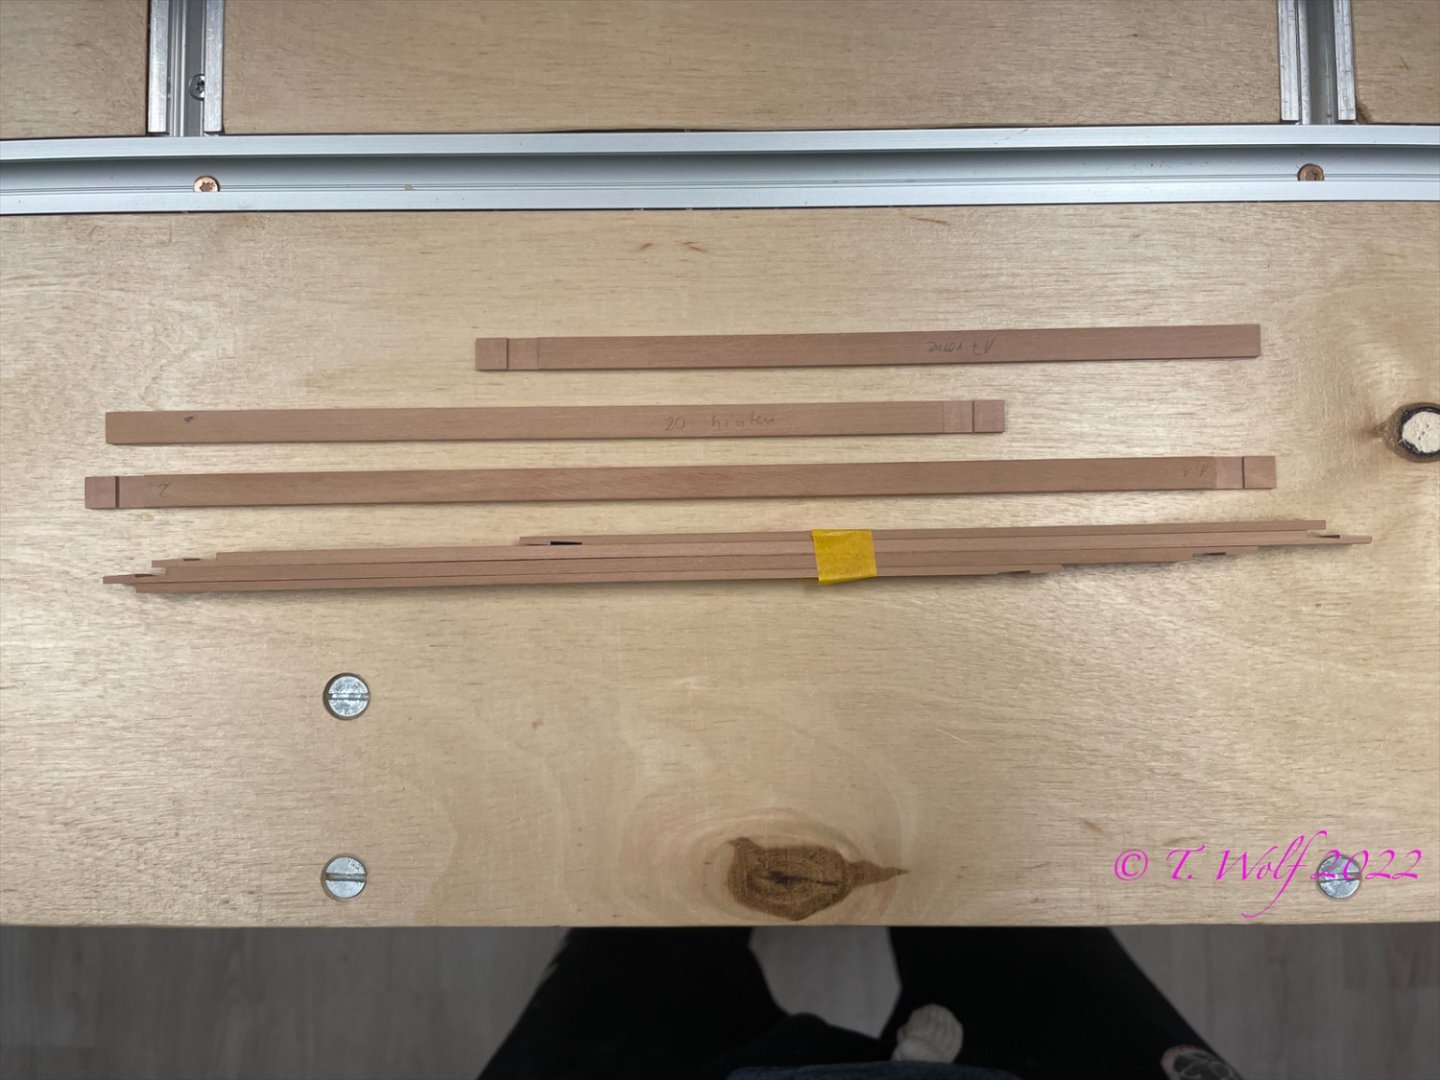
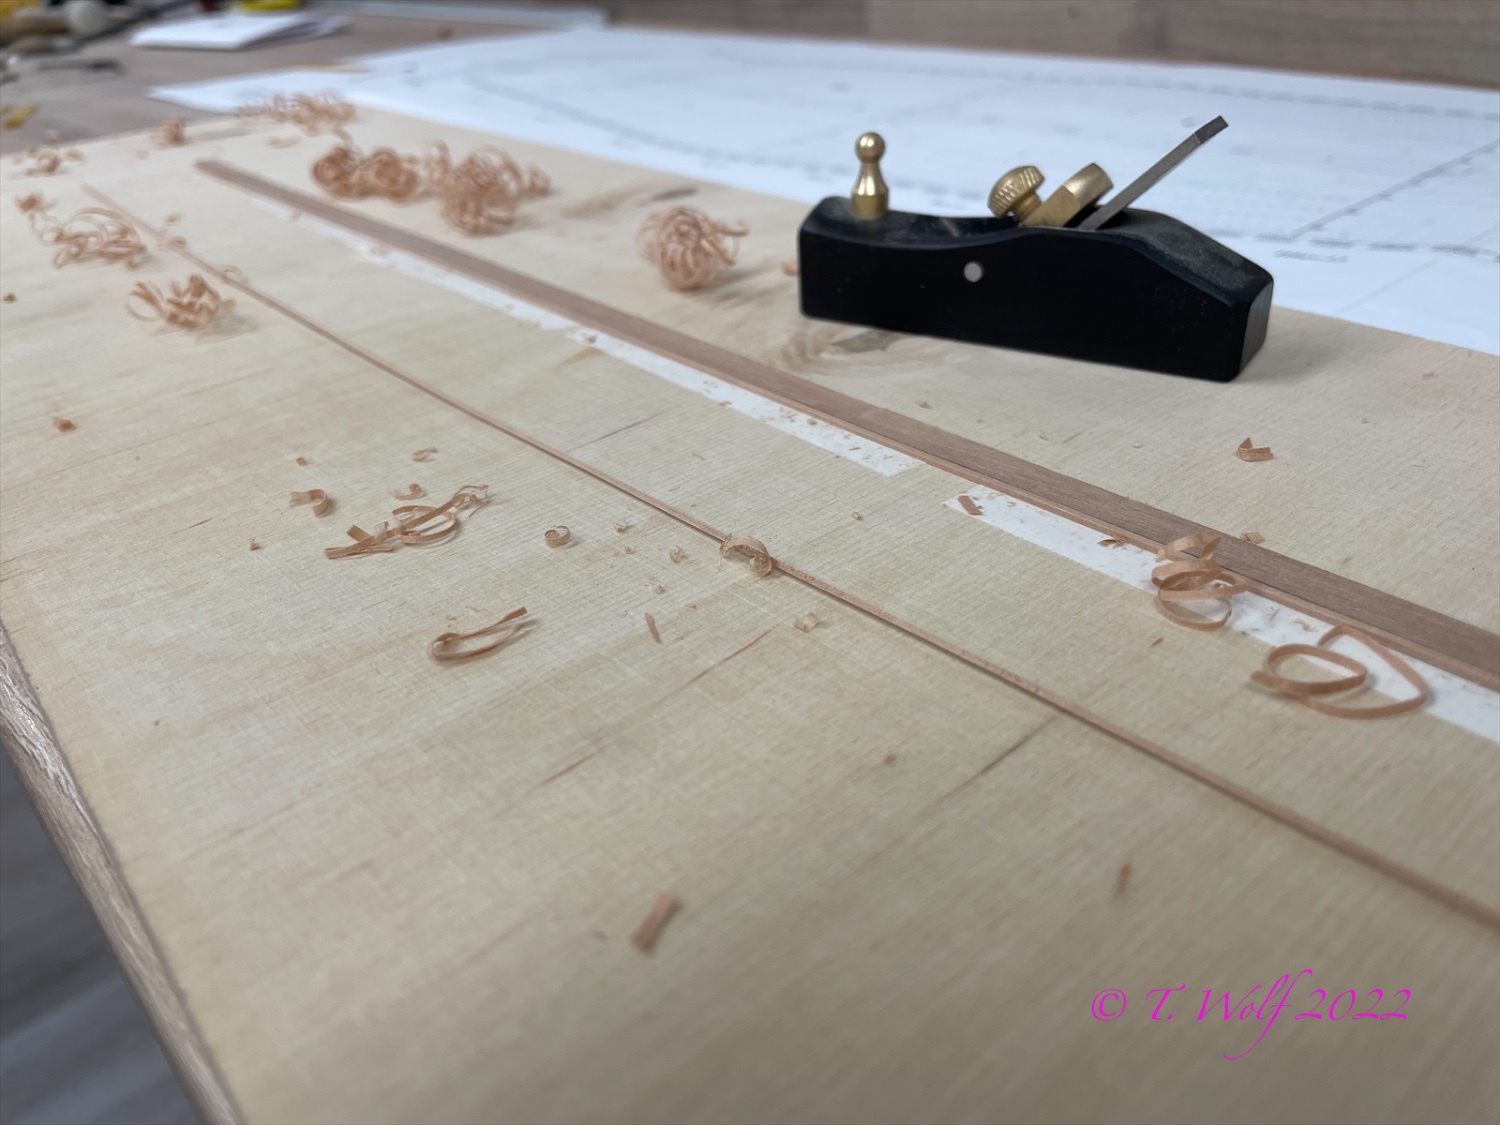
1st, I made a small 1mm x 1mm strip to attach to the keelson, then I attached the first row of planks, which I tapered with a plane.
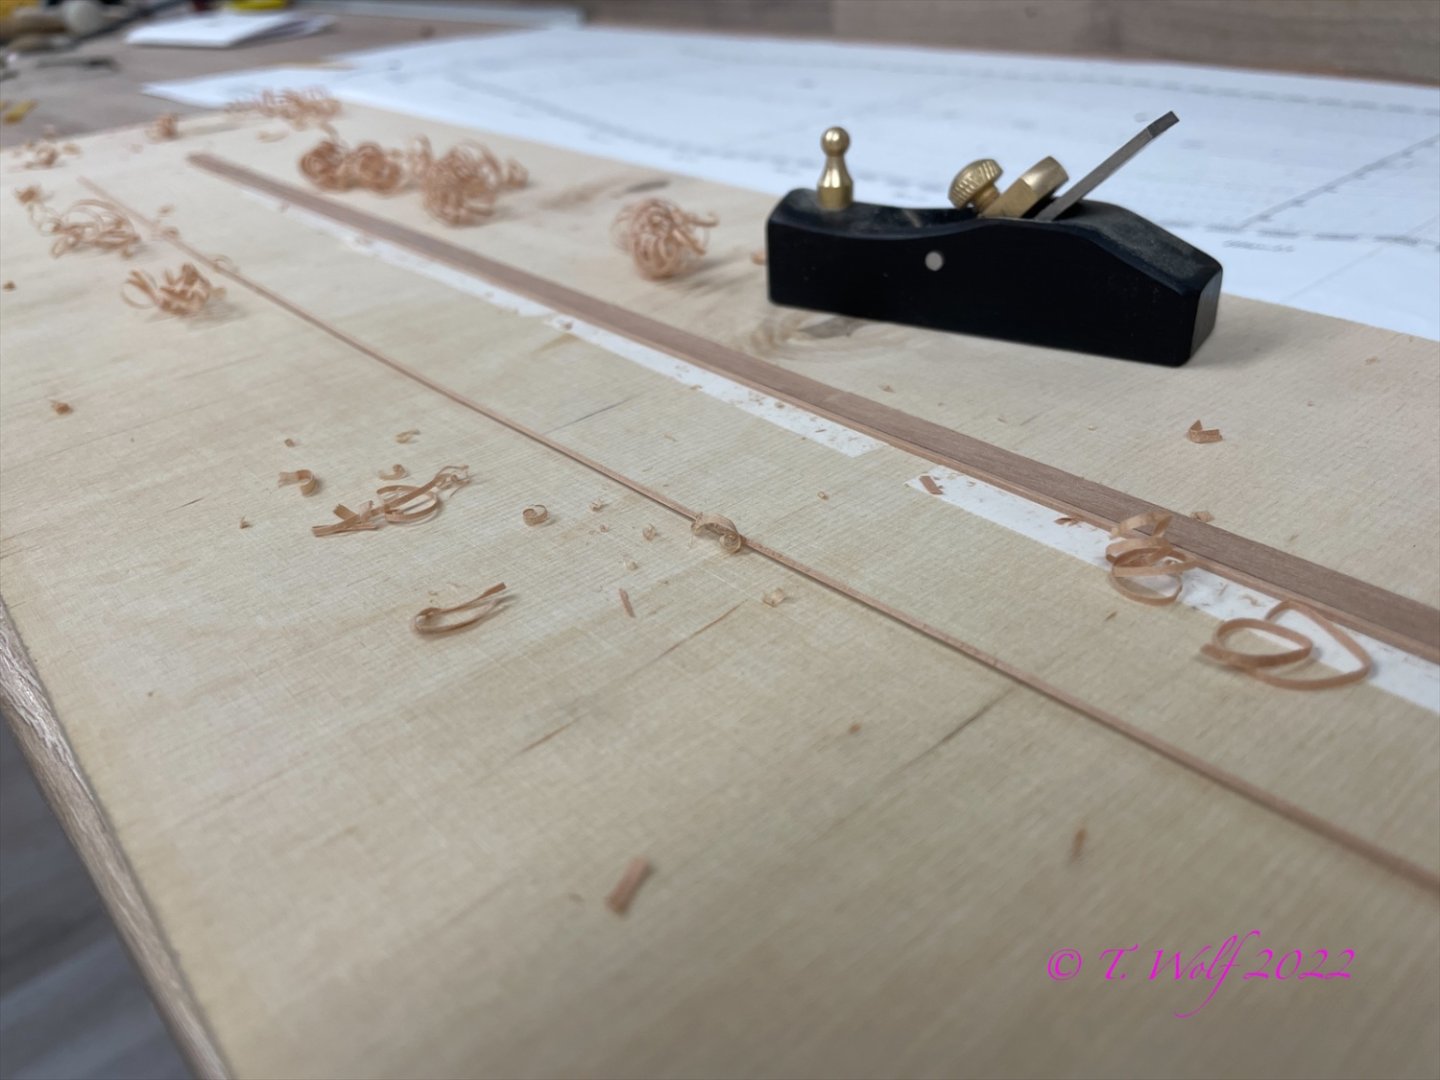


2nd, the two rows of planks that are milled to fit between the frames.

3rd, further planks which are also tapered. Greetings from Tobias.


Greetings from Tobias


A Port Dredger 1750 by Greg Davis - FINISHED - Scale 1:36
in - Build logs for subjects built 1501 - 1750
Posted
Hi Greg you have come a long way since my last visit, great progress that looks excellent.