HOLIDAY DONATION DRIVE - SUPPORT MSW - DO YOUR PART TO KEEP THIS GREAT FORUM GOING! (Only 51 donations so far out of 49,000 members - C'mon guys!)
×


Thunder
-
Posts
583 -
Joined
-
Last visited
Content Type
Profiles
Forums
Gallery
Events
Everything posted by Thunder
-
I have it shown with a jacob's chuck fitted but the collets are actually better.
-
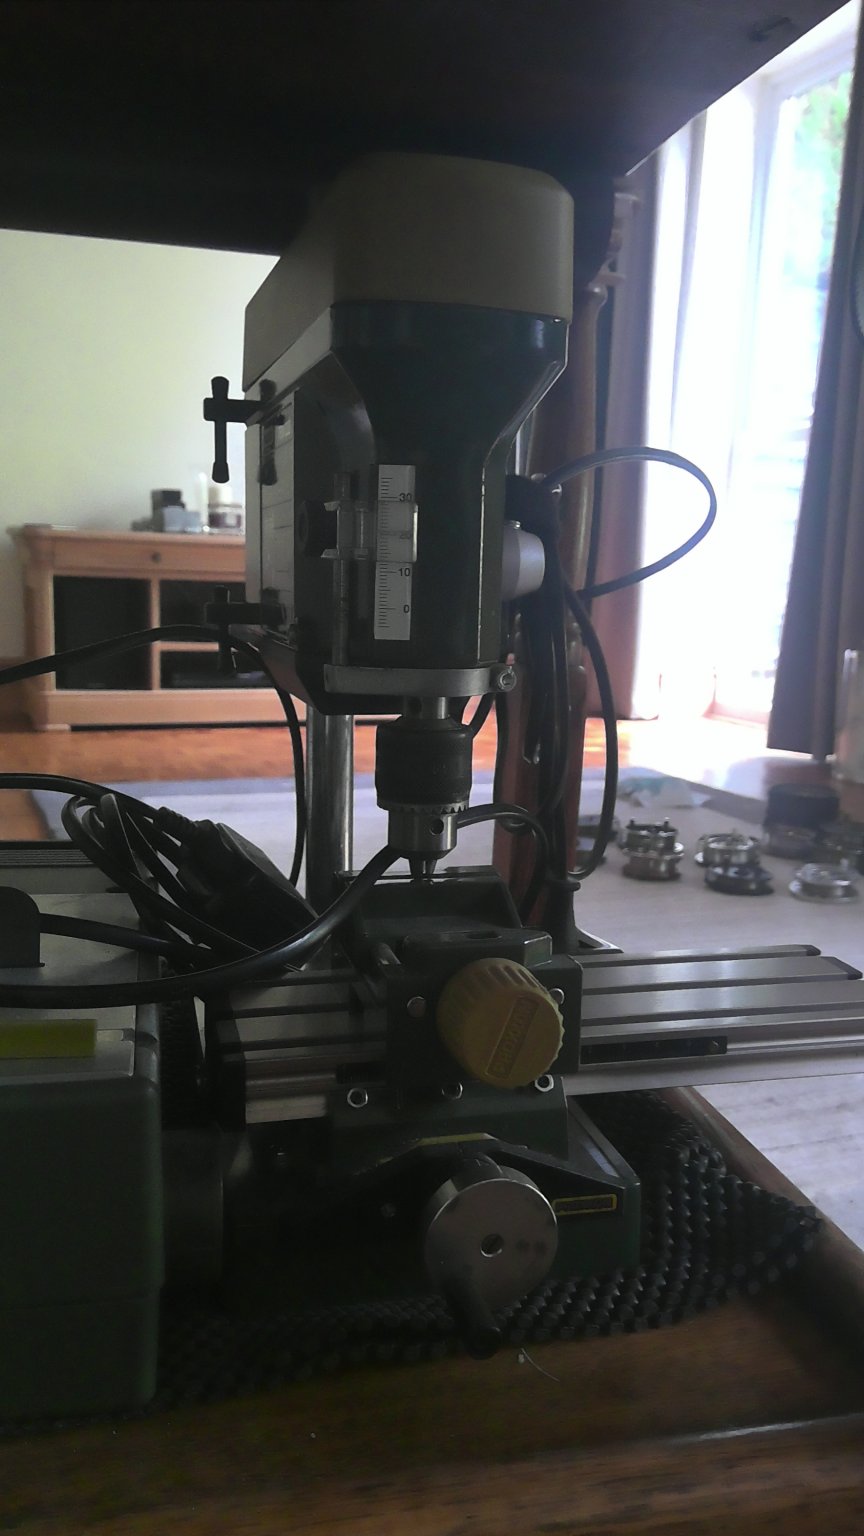
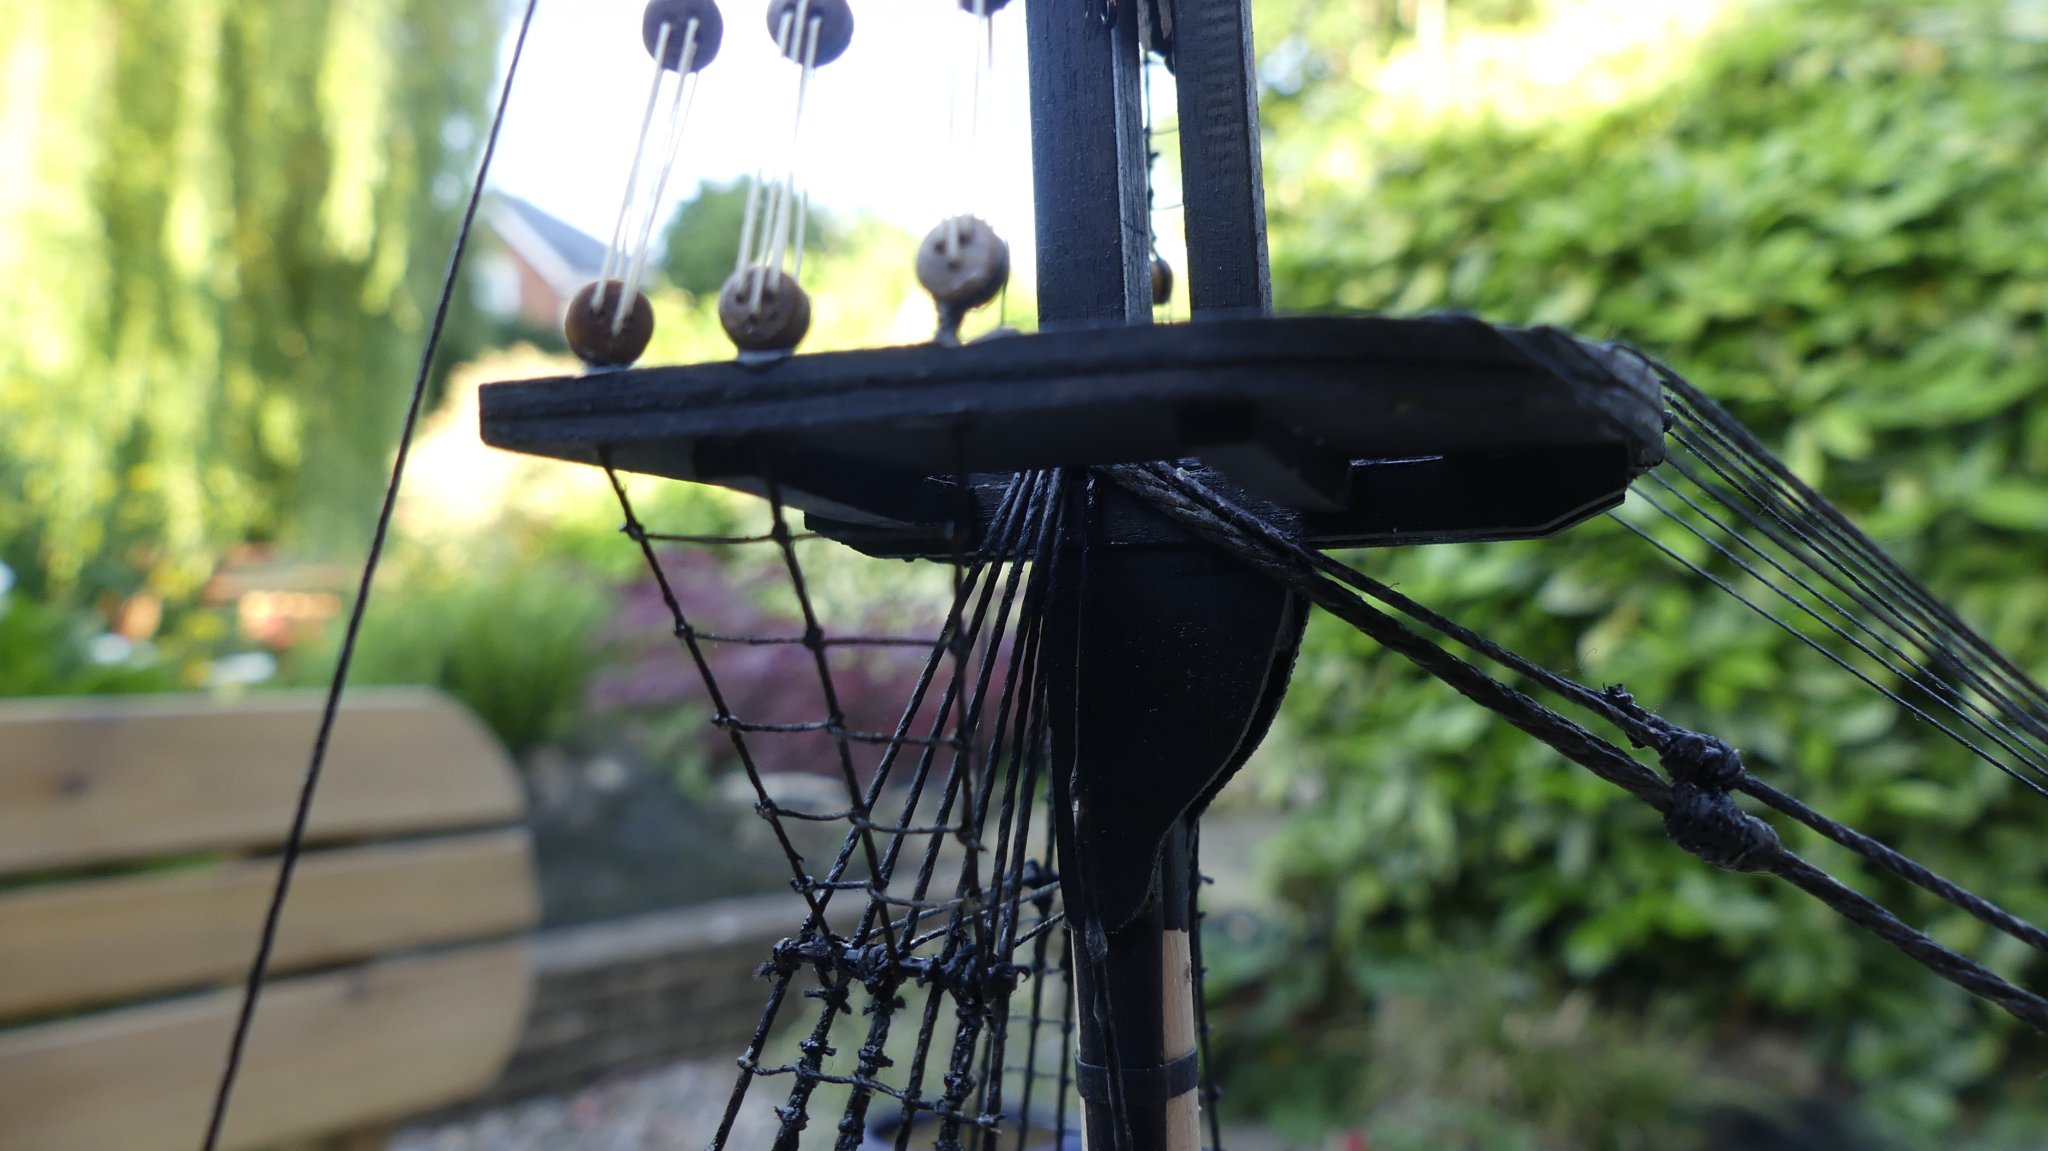
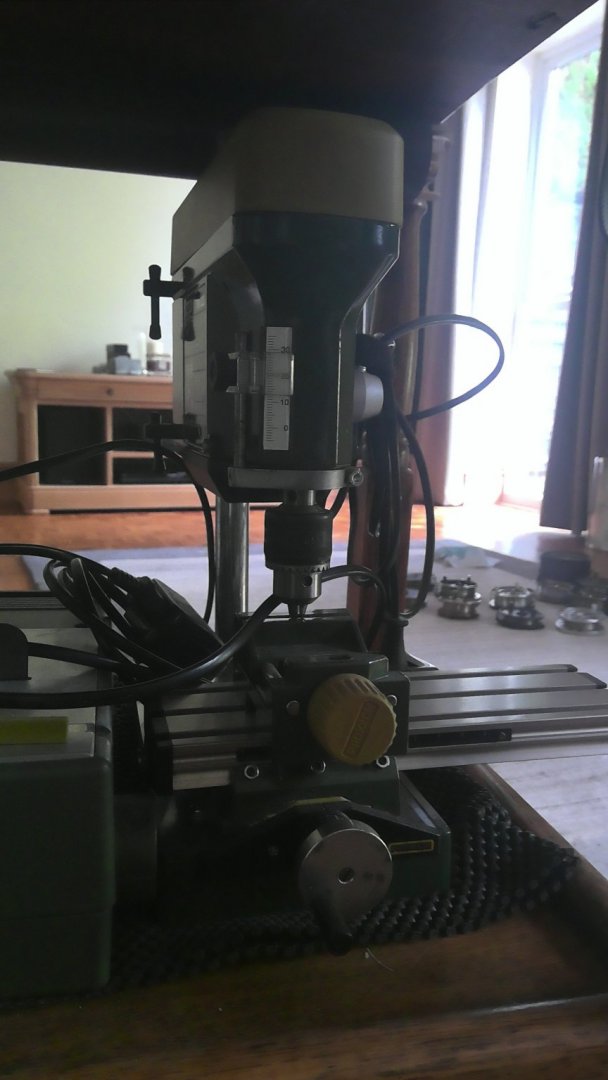
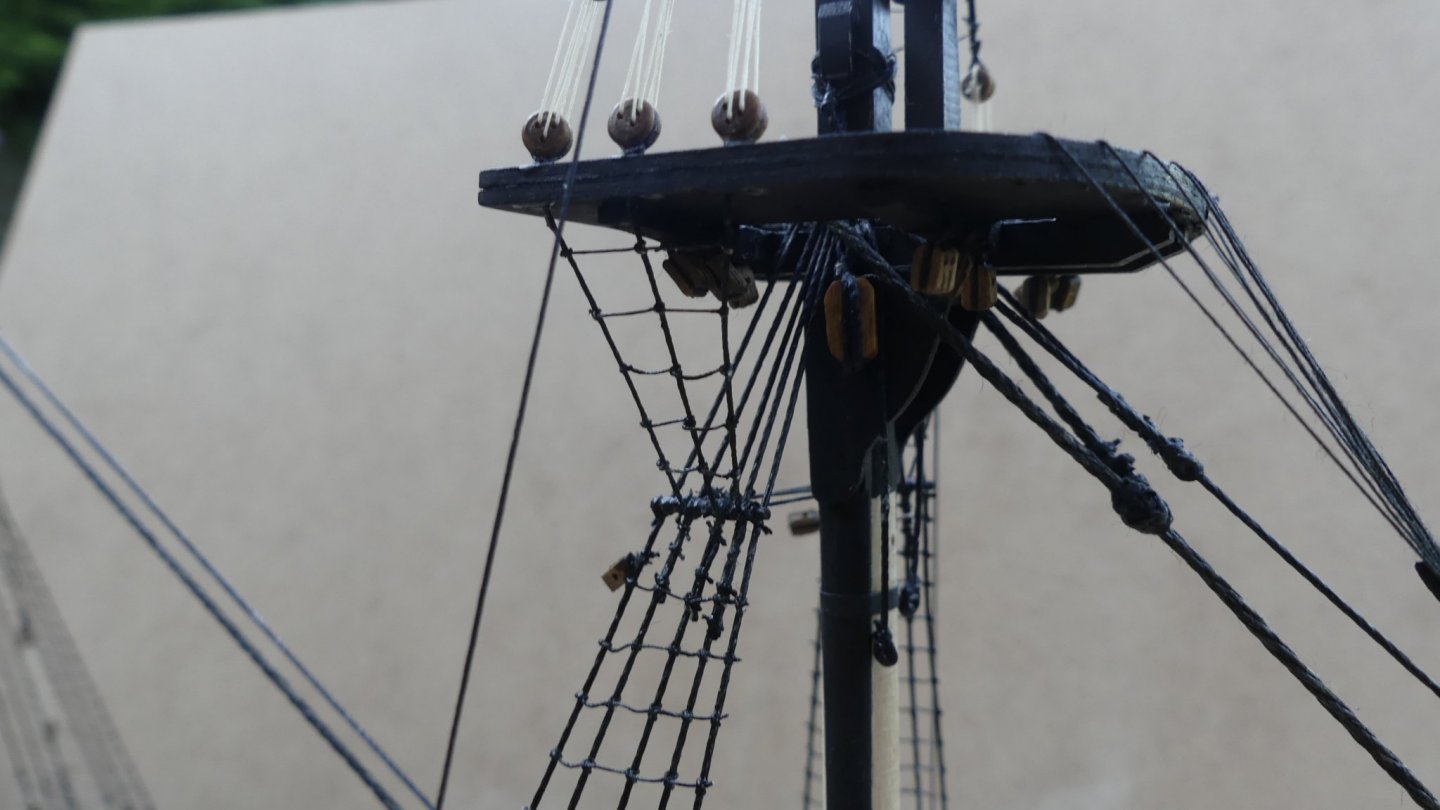
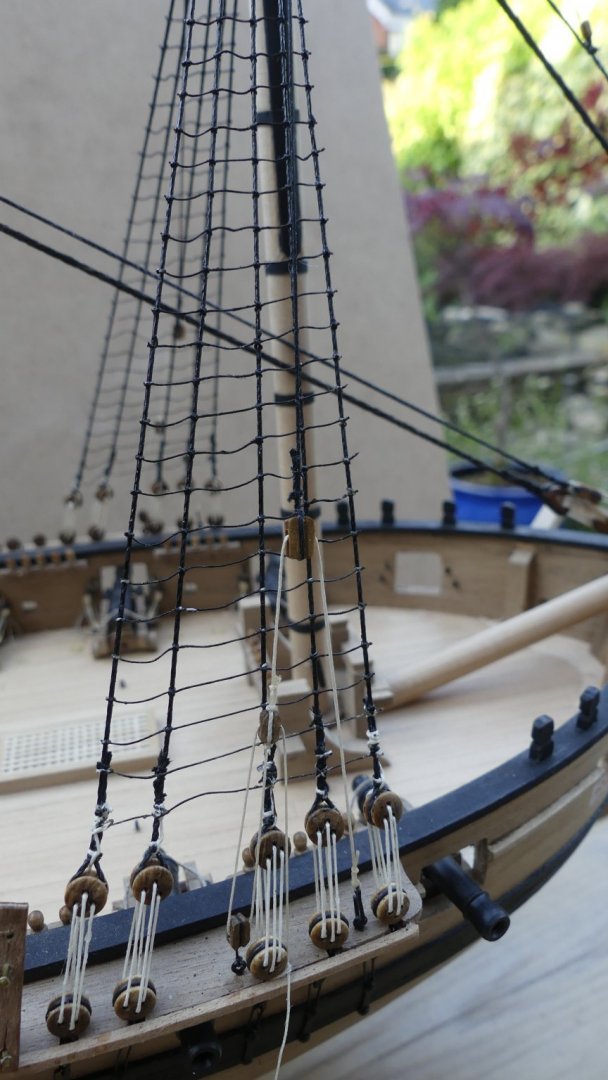
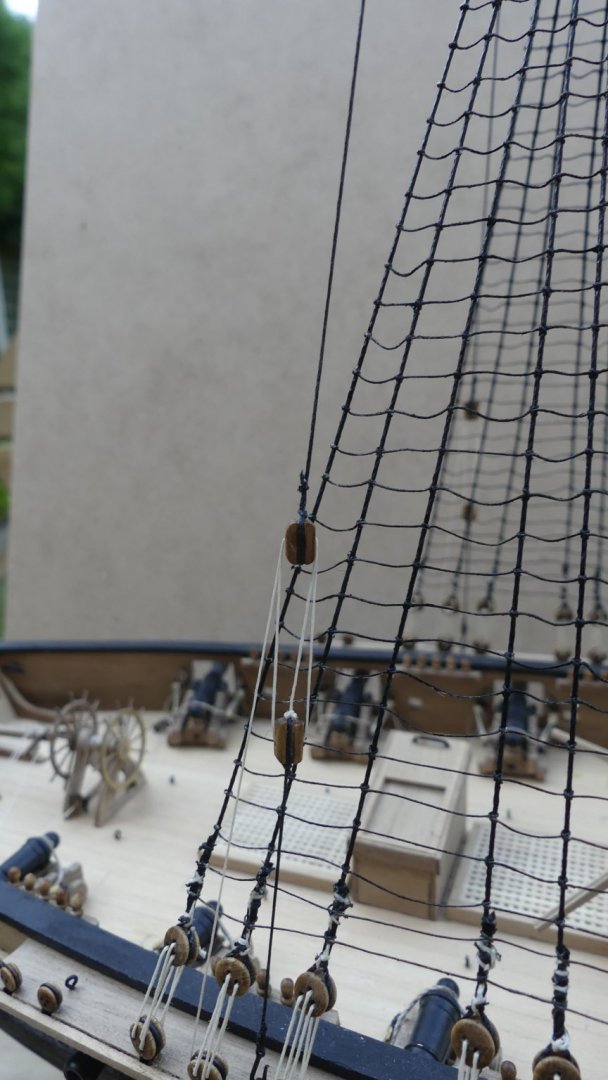
Hi, I have the 250m lathe and the tool slide will lift by simply raising by releasing the clamp that also does the angle. I made a new piece that was longer so didn't have to move along whilst doing the mast. It took me a while to understand what you meant by plastic tubes as purchased 3 jaw and 4 jaw chucks for mine and a tail stock drill chuck that replaces the rotating centre. The circular saw I wish had a bed to alter the height of the blade as then you could make gratings with it or cut slots in wood without penetrating all the way through. My disk sander has really been abused, it has been used for DIY as well as I find powerful for many tasks. I did all the metal beading for the edges of the tiles when doing the bathroom. The Proxxon tool i love most is the TBH post drill. With the KT 70 Micro compound table it is good for drilling holes at precise spacings. I have also pushed its limits using it to perform the square sections at the top of masts.
-
Hi Wahka, The walnut is very flaky that Caldercraft provides, It might be worth considering a sanding sealer or varnish to seal the grain before sanding. Can i just check the photograph of your mast. It looks like the top and the crosstrees for the topmast are the opposite way round. Have you got one of them facing the wrong way? Looks to be the crosstrees judging by the mast cap. Build coming along really nice. Would be a shame to paint over that planking of the hull when gone to such efforts. Adrian.
-
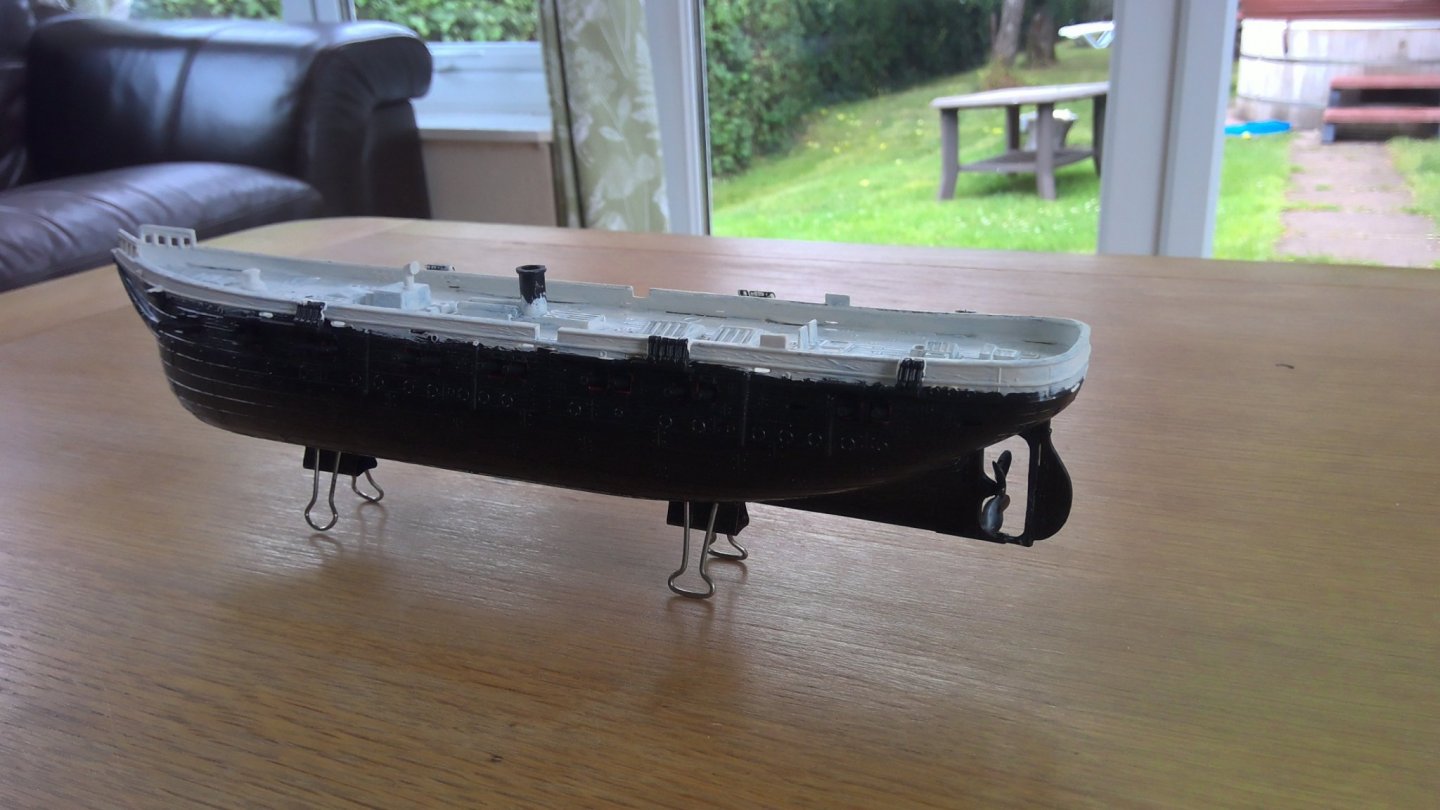
Back from Holiday. Decking now painted. Can anyone help with the authenticity of this model?

-
Confused Need Help
Thunder replied to acaron41120's topic in Building, Framing, Planking and plating a ships hull and deck
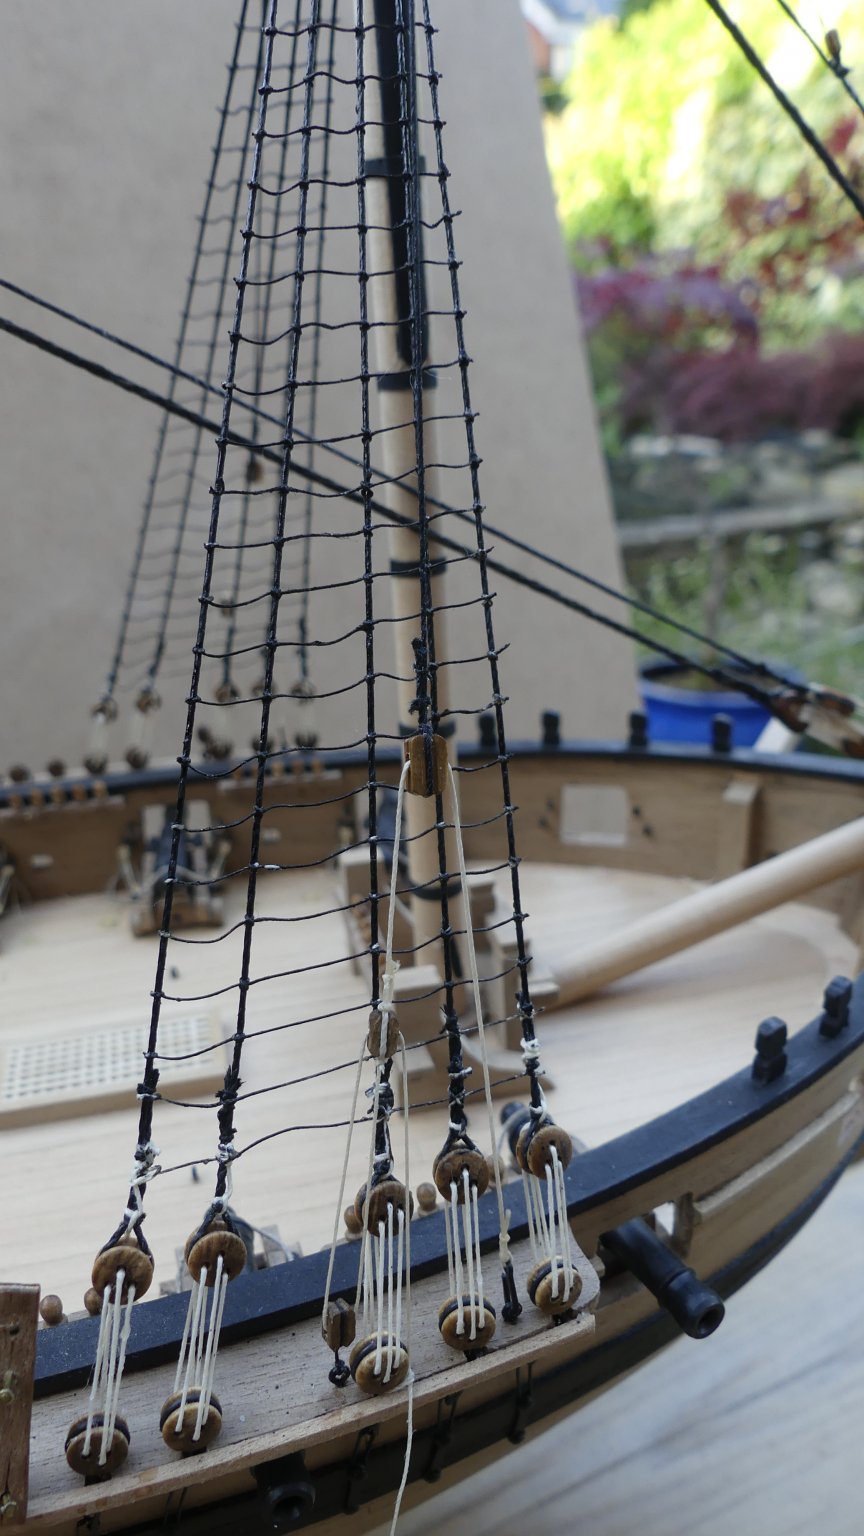
Hi, Unfortunately the answer is not straight forward, as I assume you have realised. I will take it you are talking about the second layer of planking as it does not really matter with the first layer and you could just follow the kit instructions. However, I tend to lay the first plank for even this first layer at the position of the wale. The reason I do this really answers your second question regarding the Wale's position. Basically the wale position needs to be taken from the plans and its position will be different depending on the ship in question. I find this easier to mark on the keel section and then transfer out to the edge of the bulkheads to give an accurate position. Once you have this marked you have a datum for all your other planking and gun ports etc. -
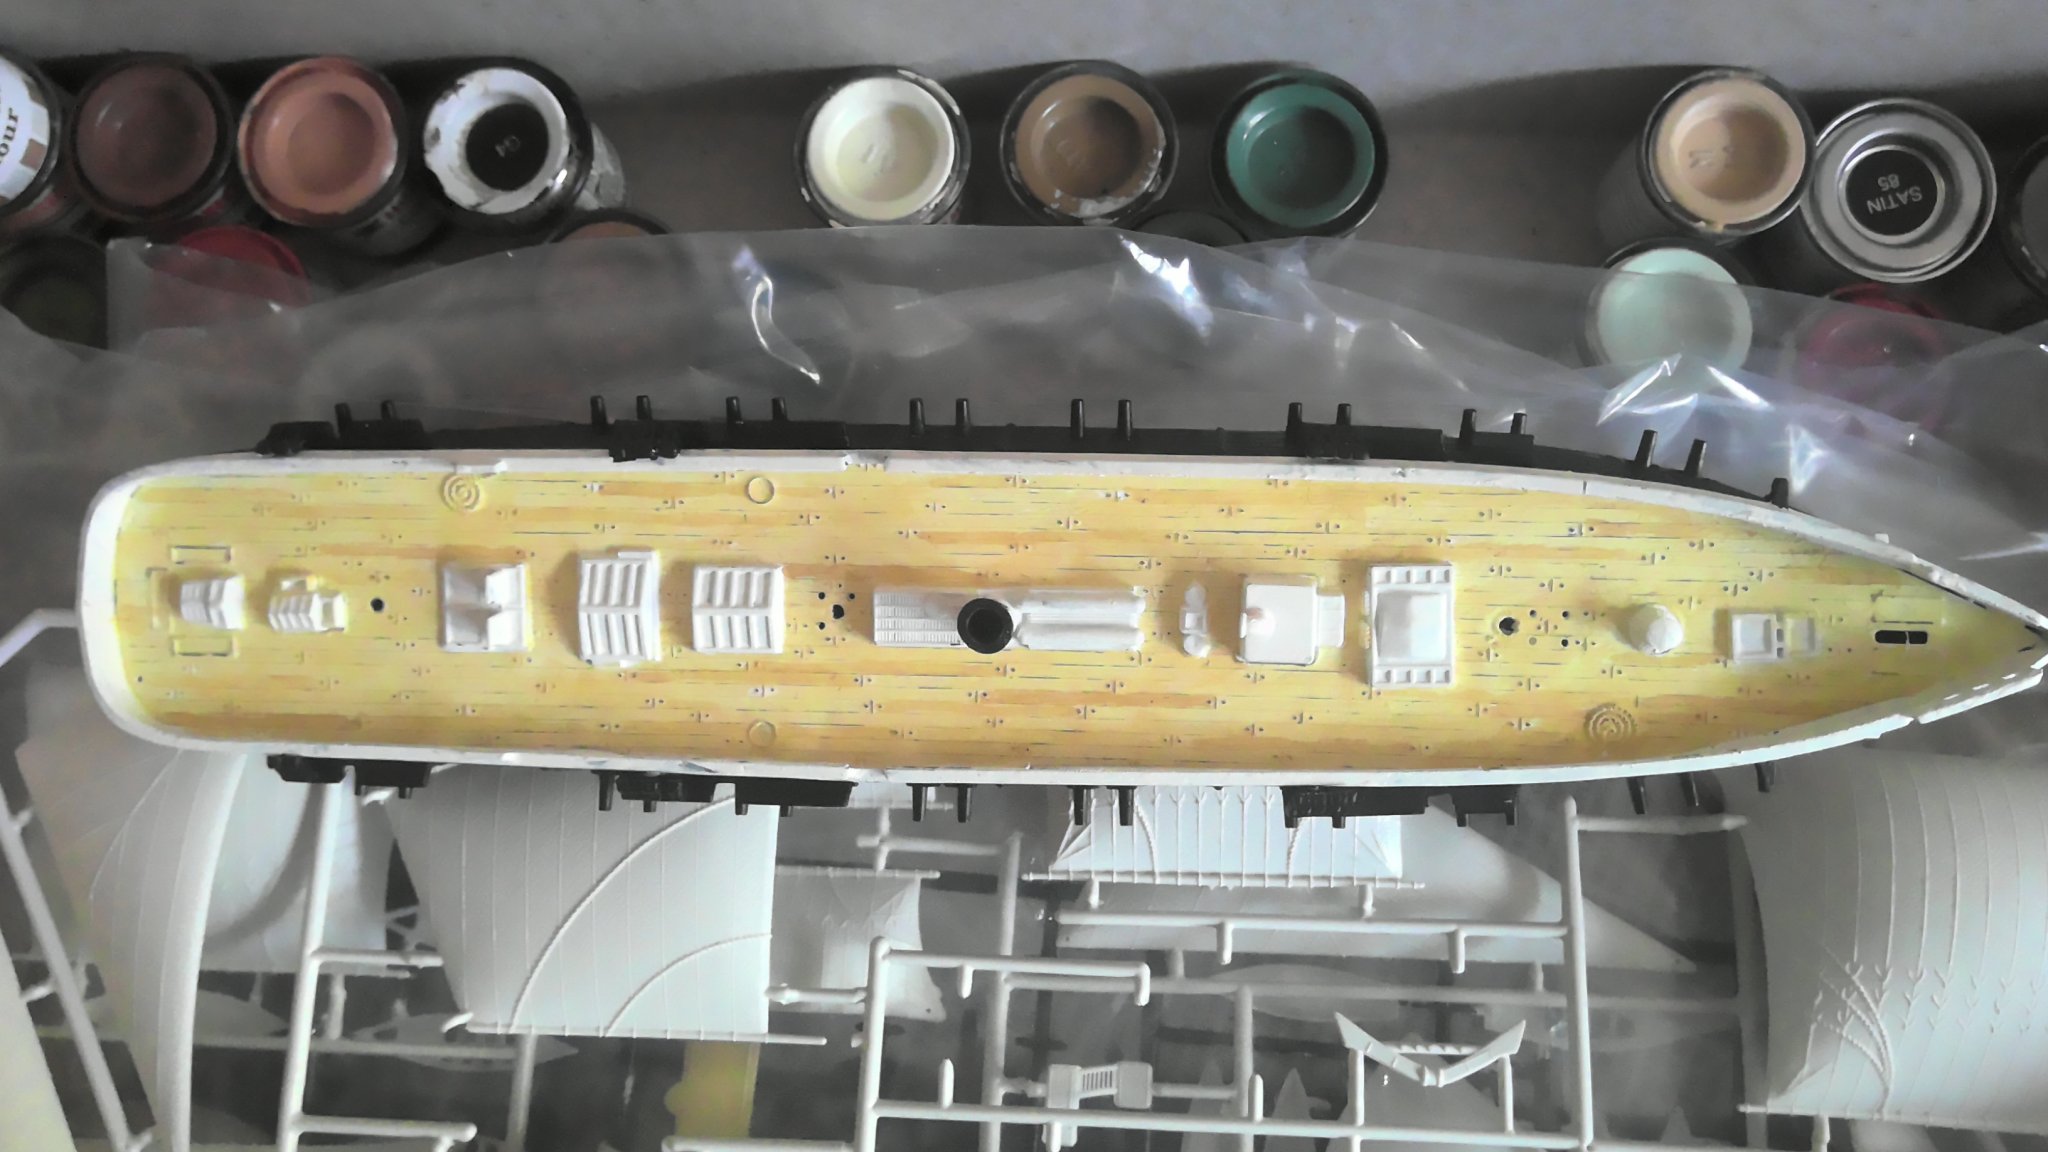
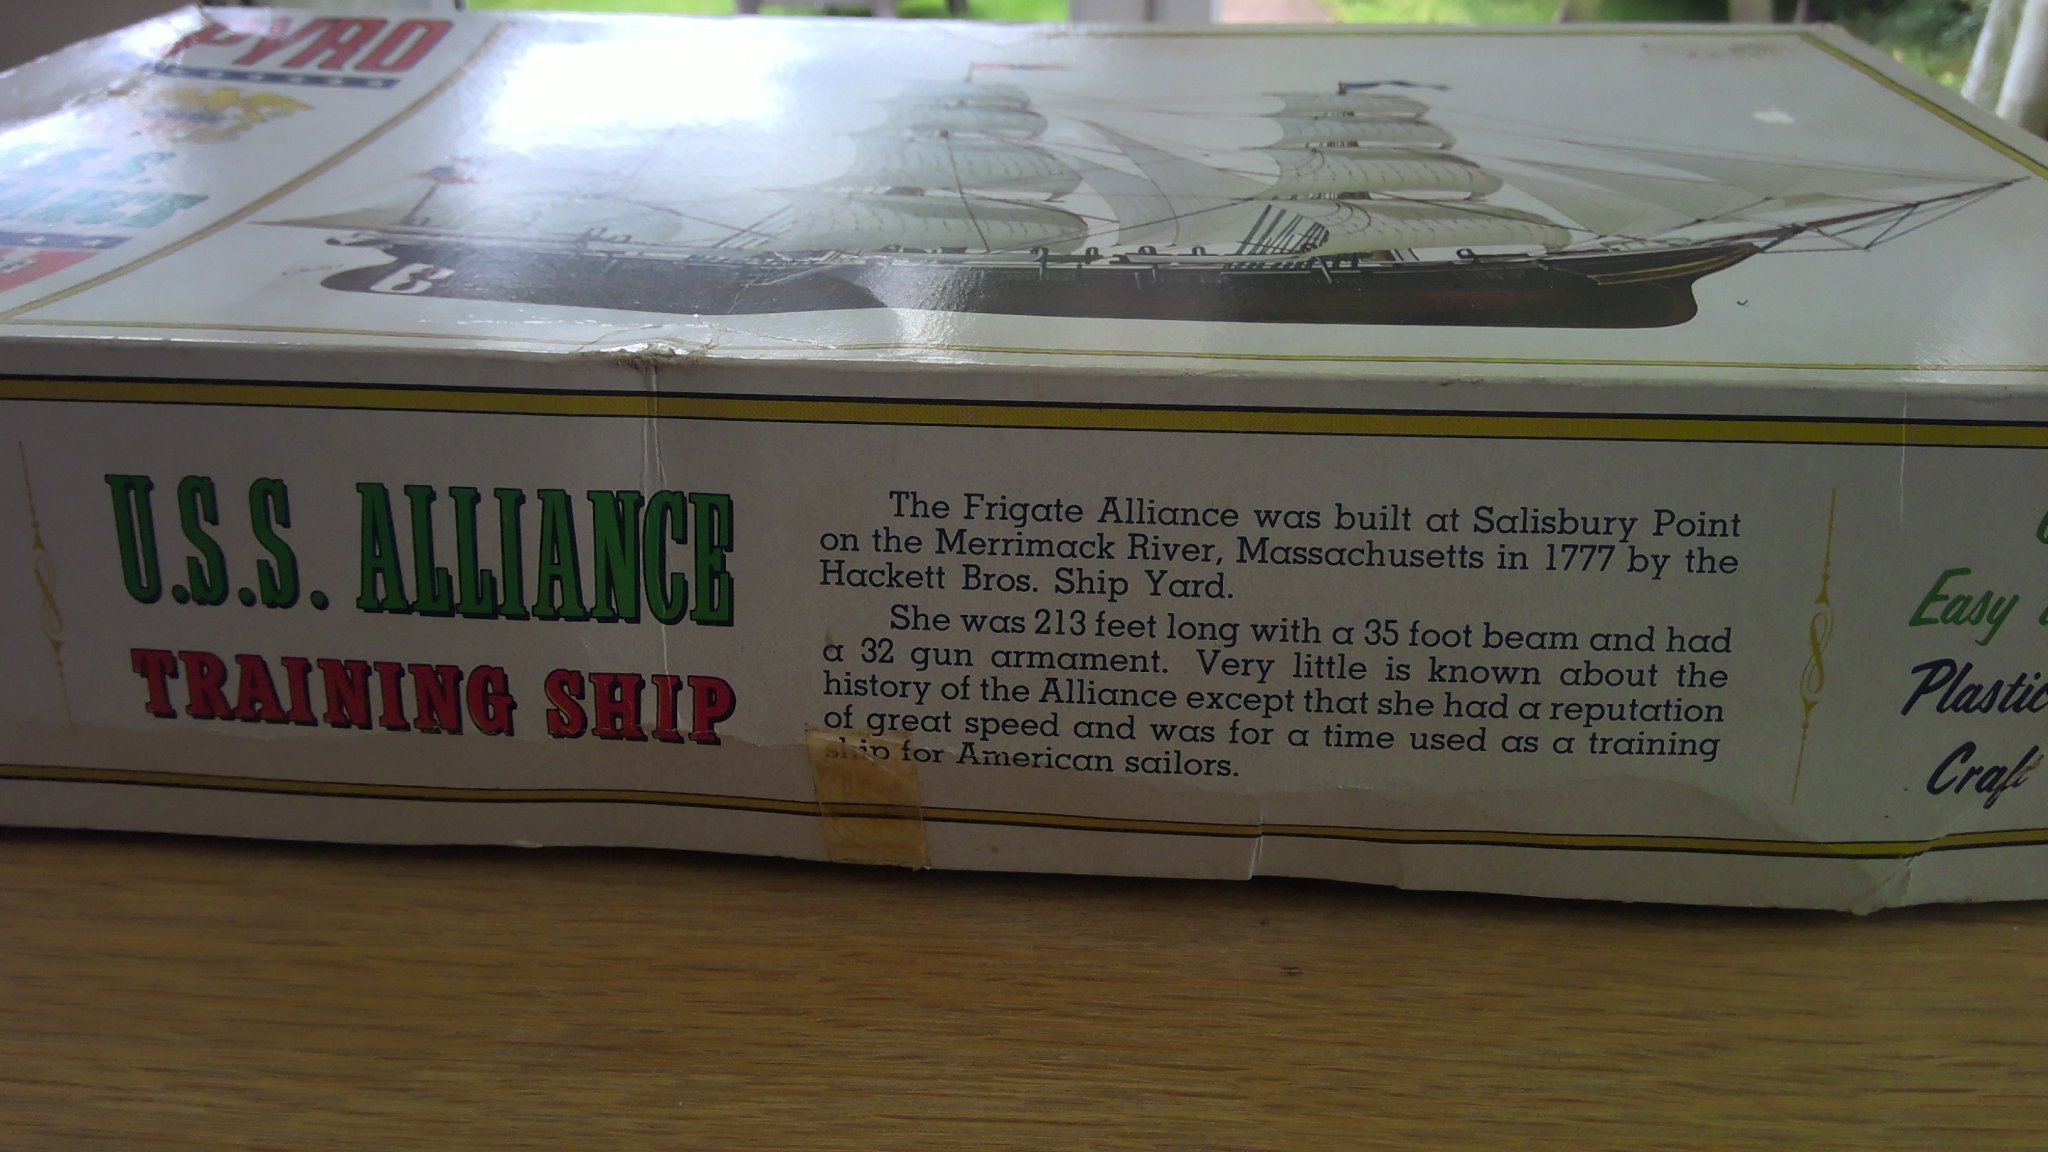
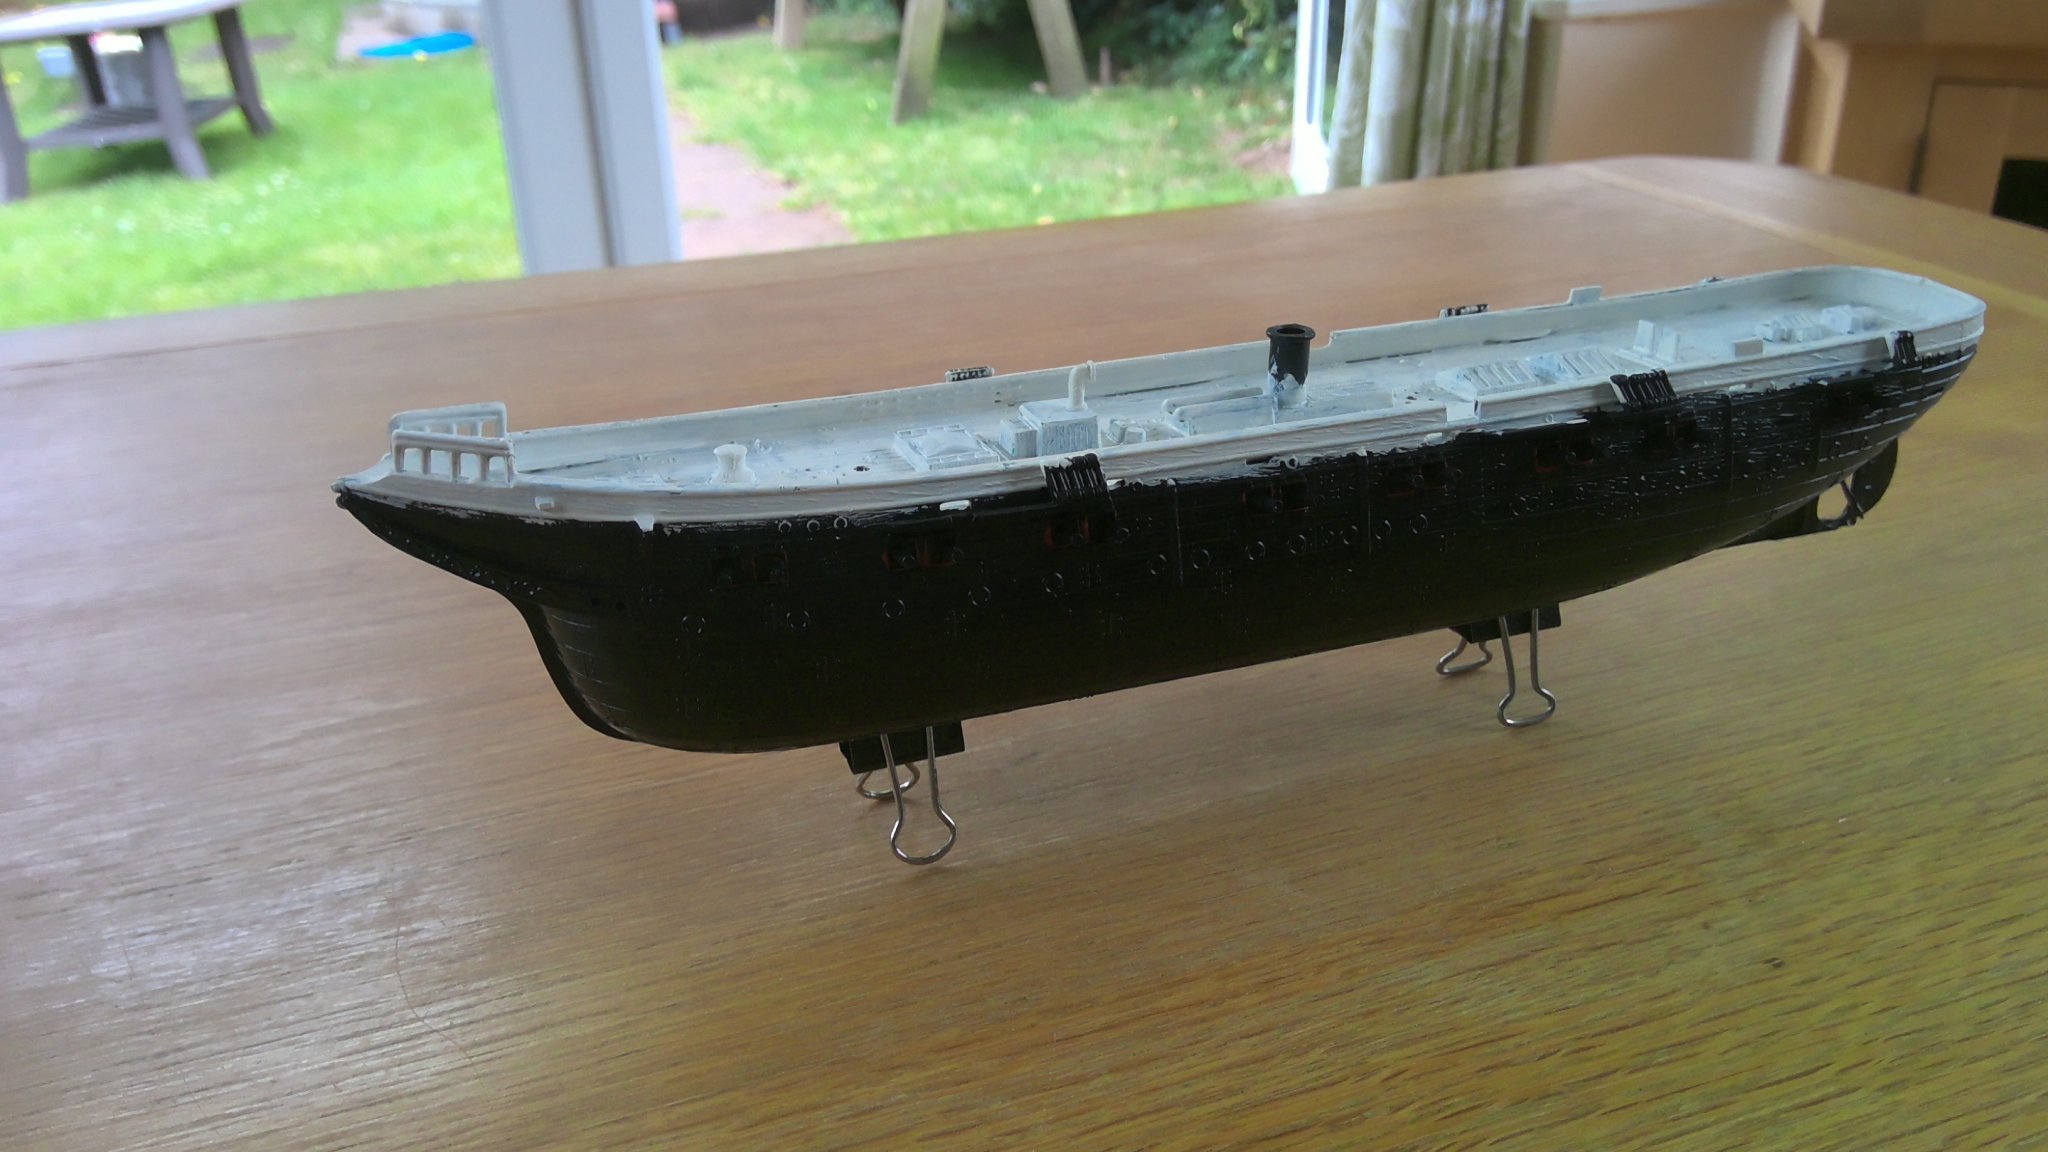
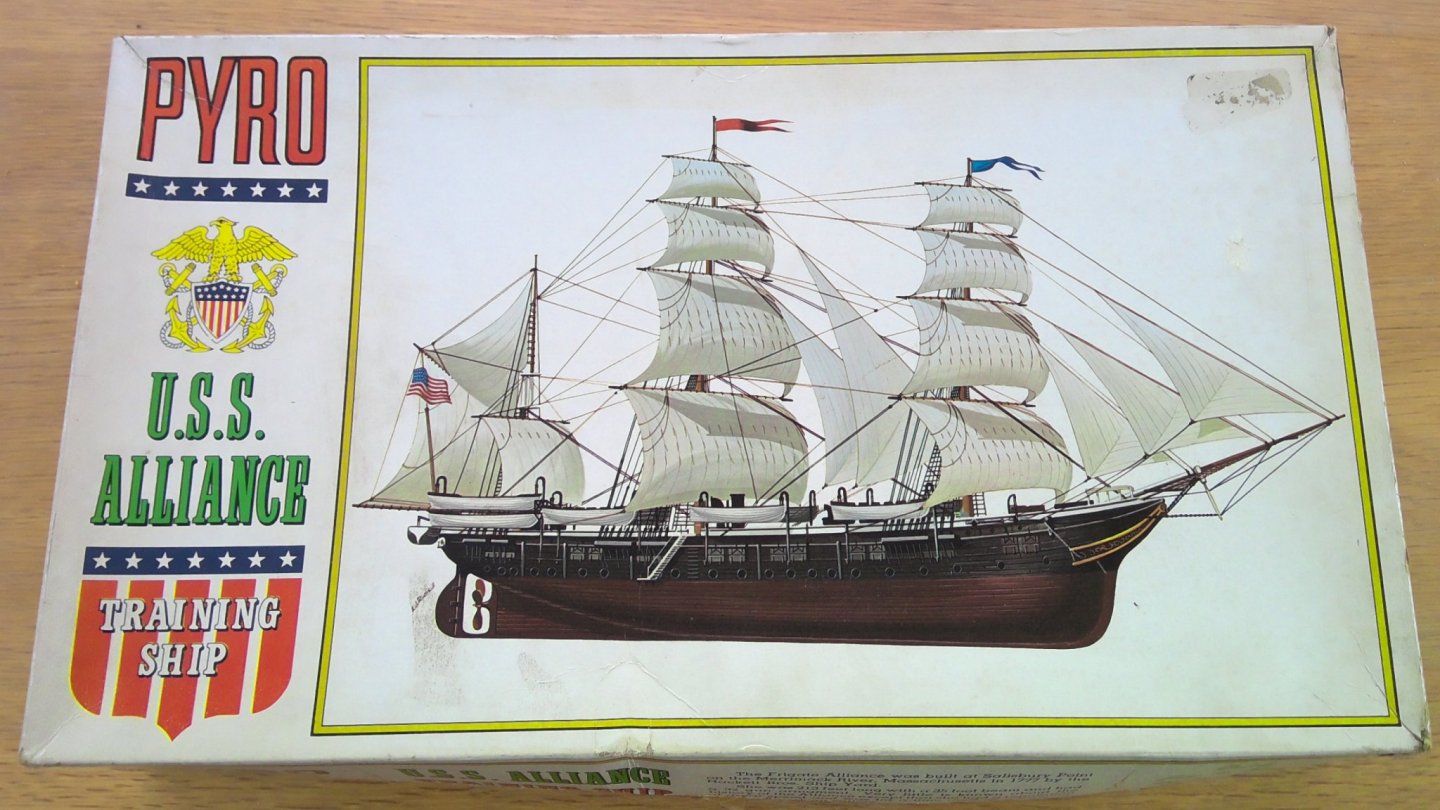
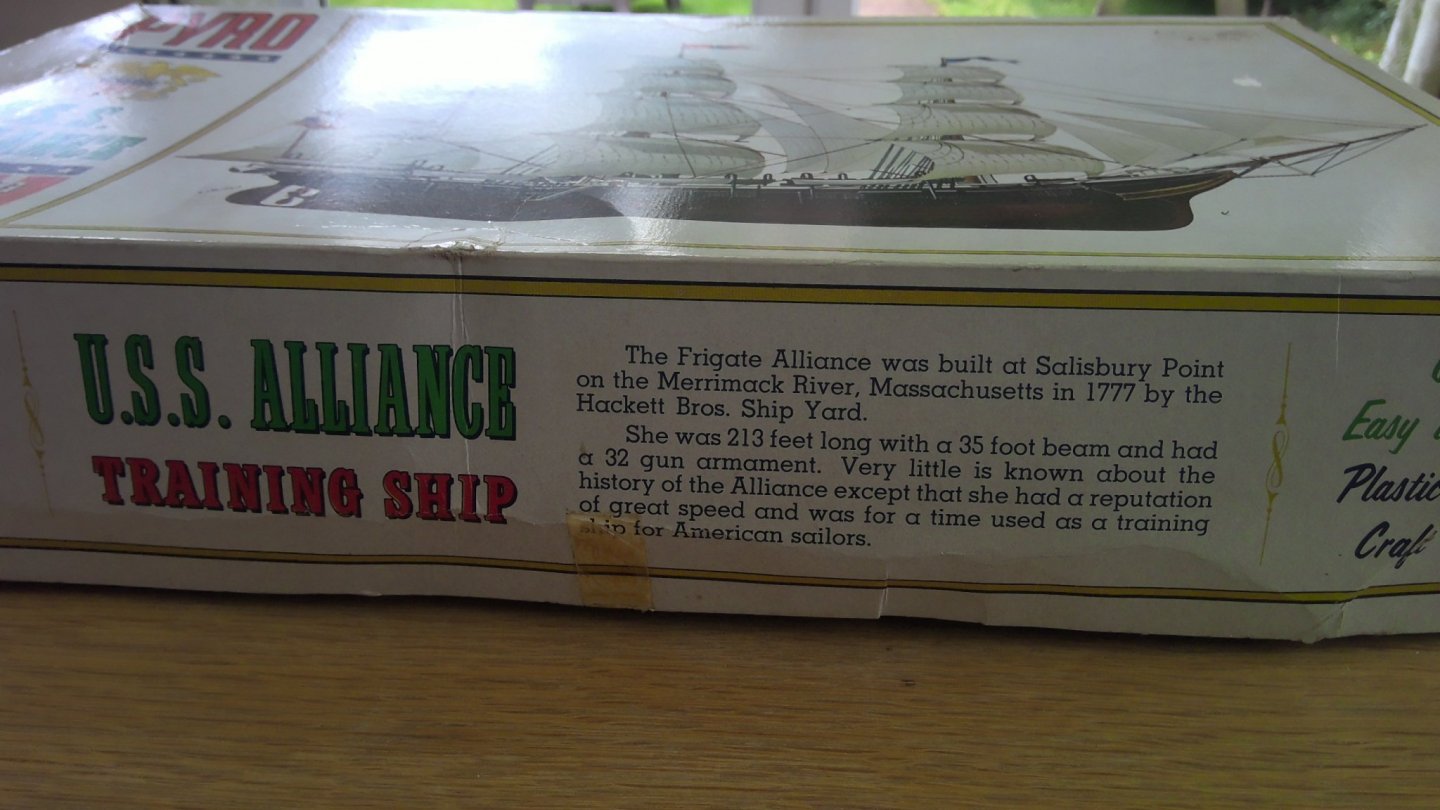
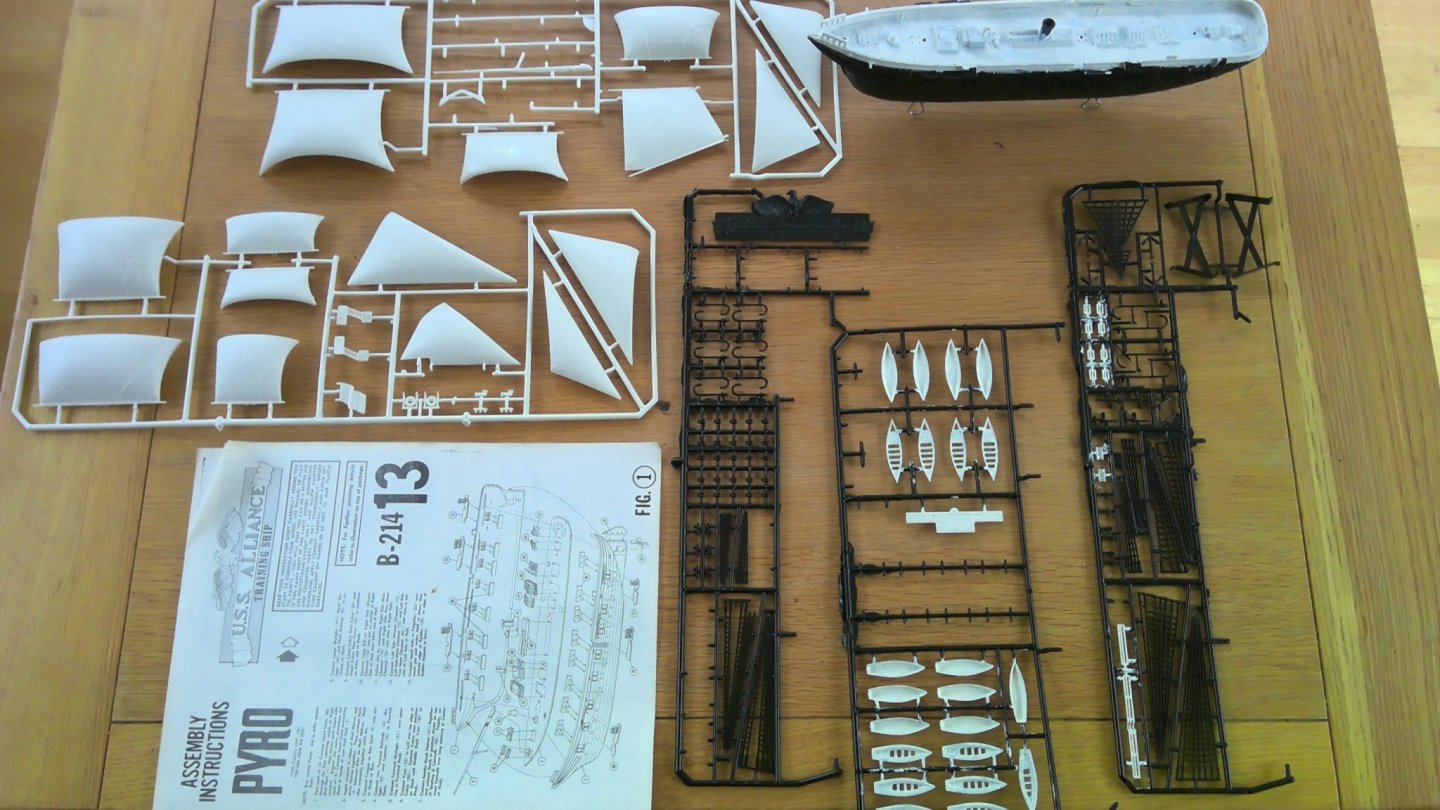
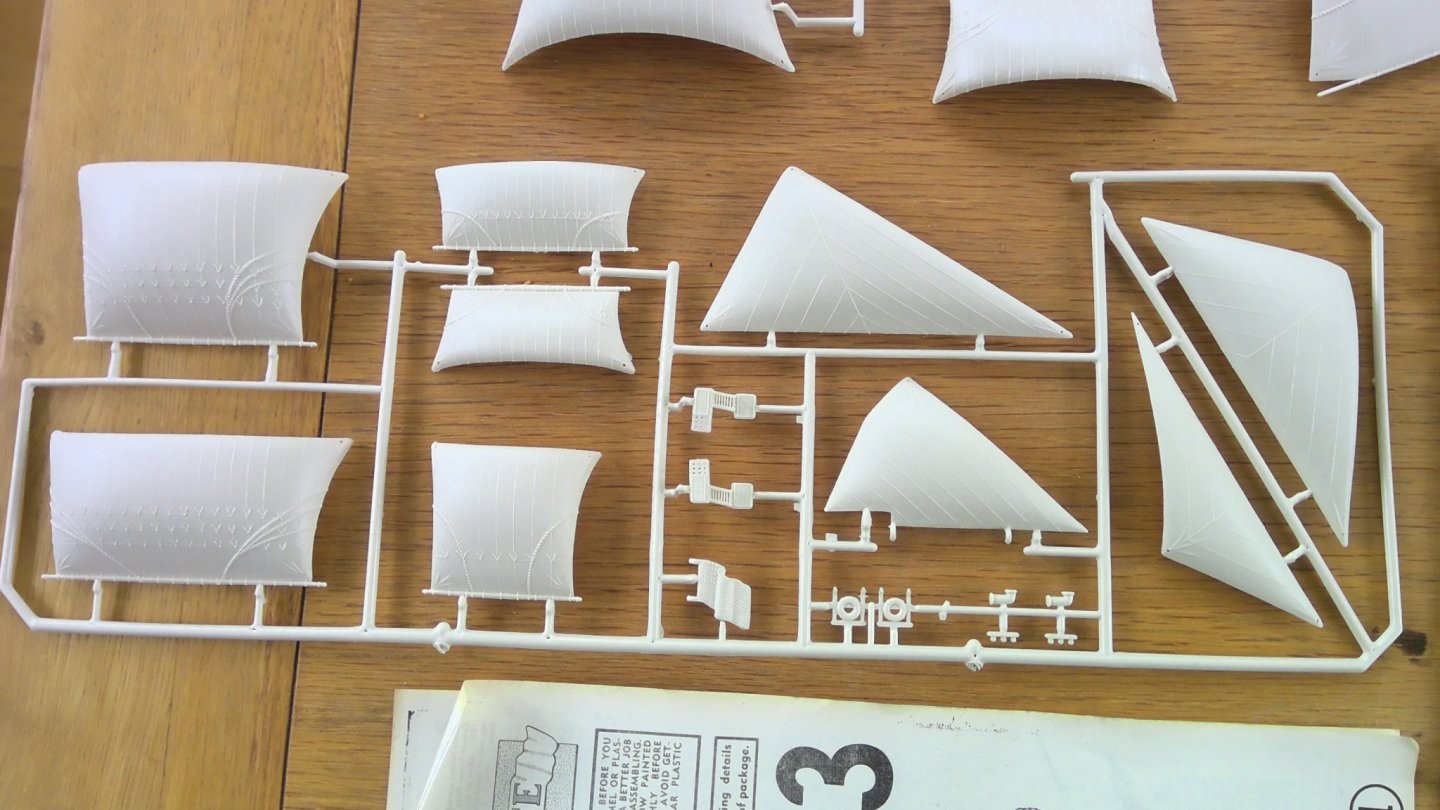
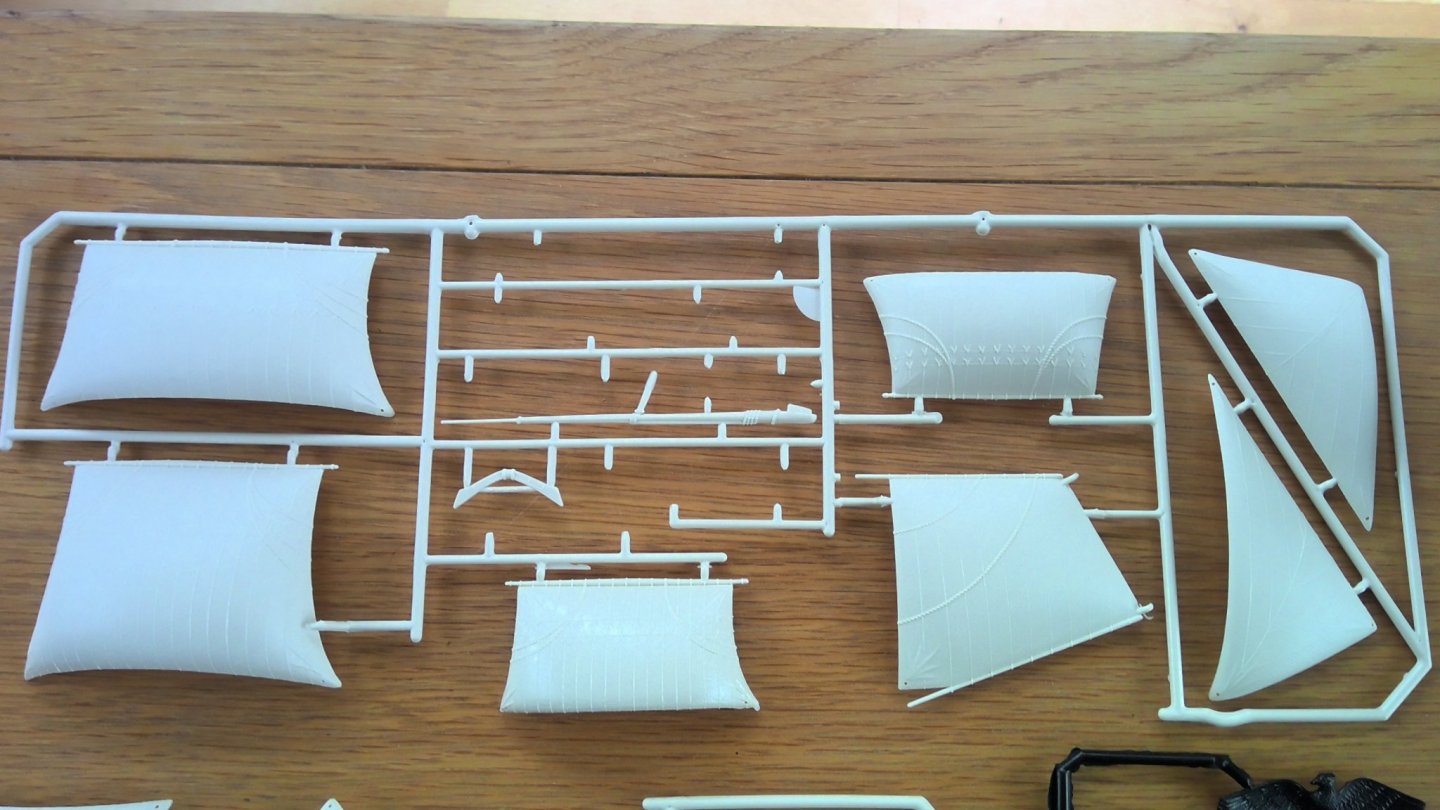
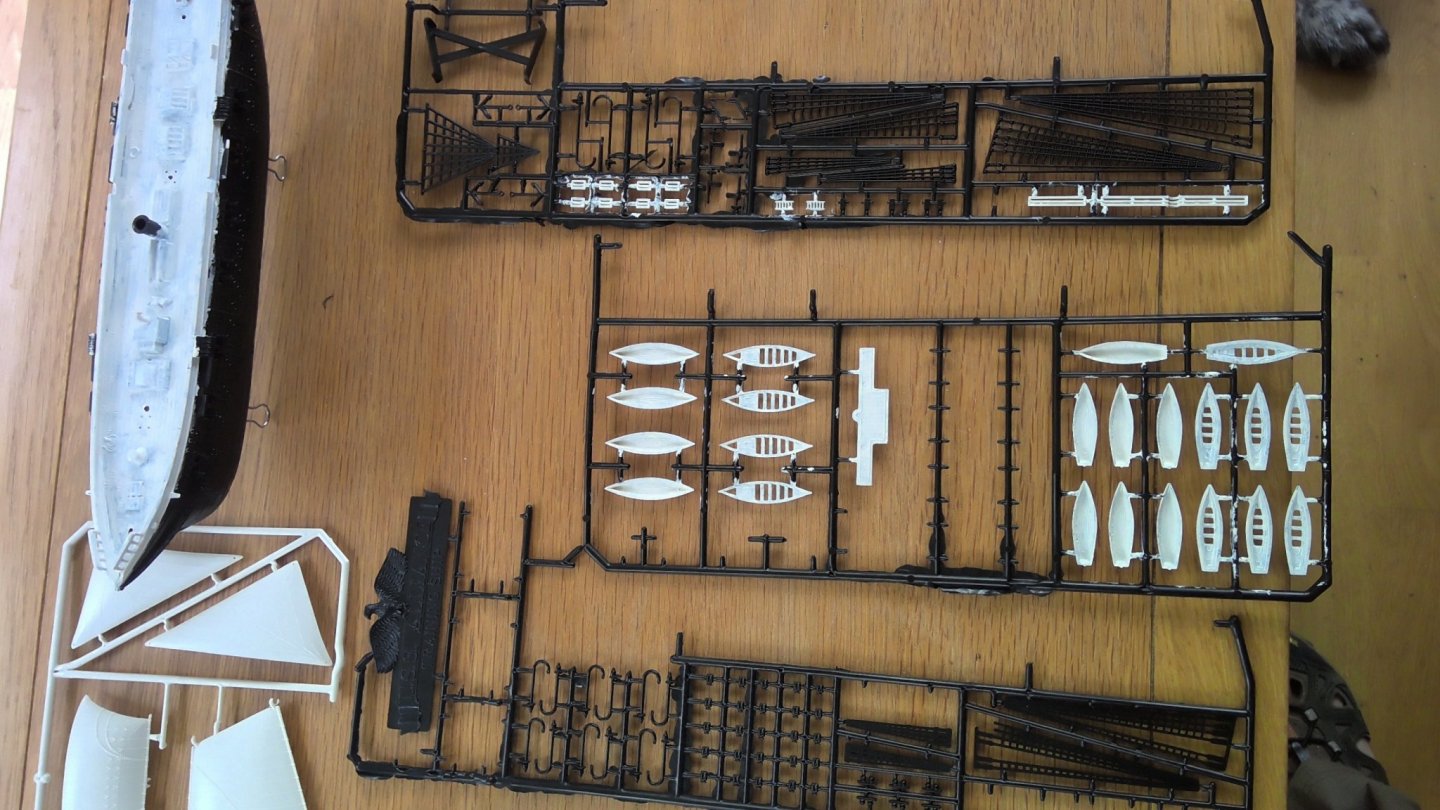
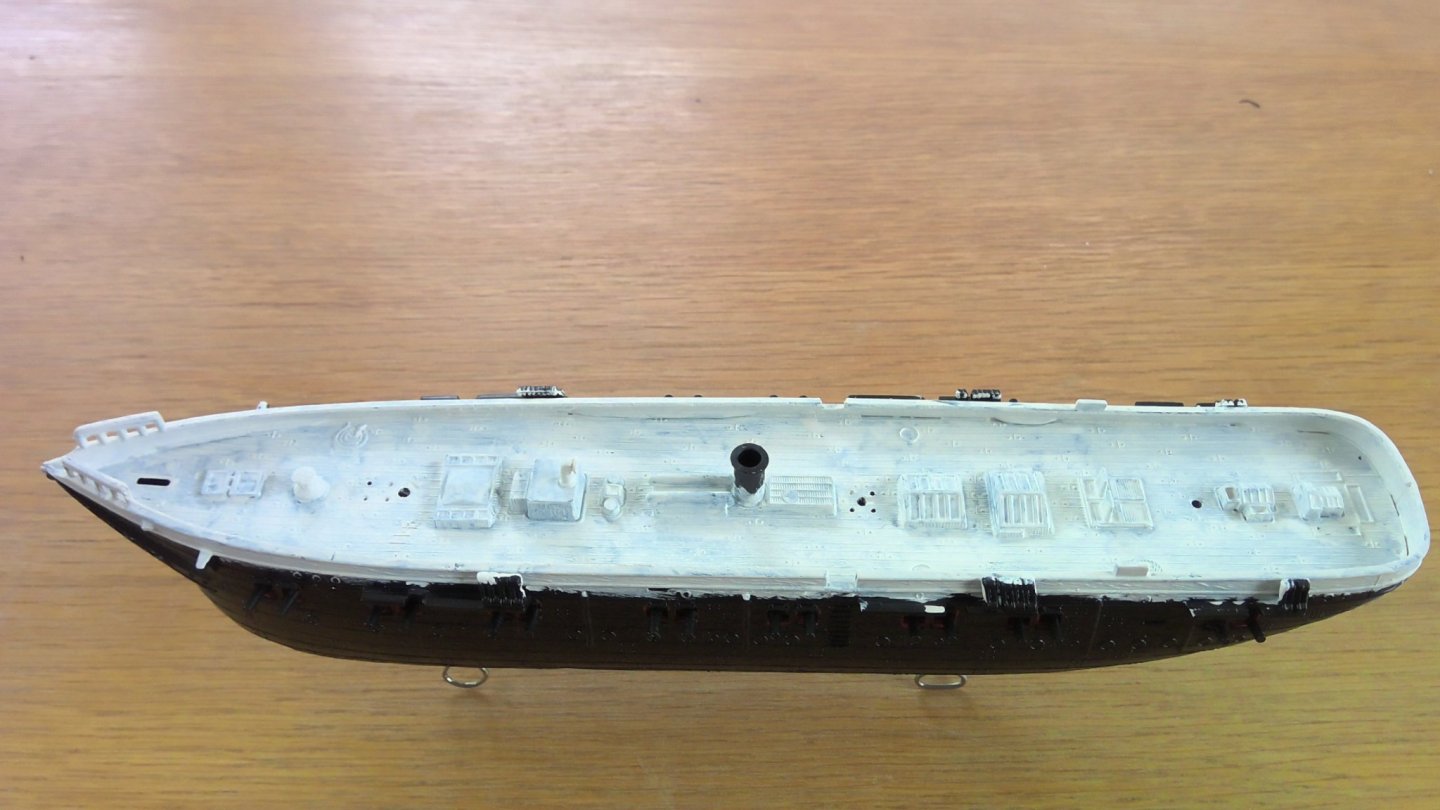
U.S.S. Alliance by Pyro. Bit of a story about why I am building this kit. Missed two holidays this year due to lockdown. Third holiday lockdown eased one week before. Both my wife and I still not completely comfortable going out so chose a small kit to do whilst away. Holiday was for my 50th Birthday. Wife booked as a surprise 18 months ago and is a small cottage right on the tracks of a heritage railway in Somerset England. Unfortunately no locomotives running and needs £350,000 before can start again. Understandably she is very upset as spoilt her surprise. A long time since I have done a plastic kit, (although have two others up to rigging stage), so this has been a story of disasters so far. No where to get supplies to replace defective items. I manage to pack every thing in the box with the kit that I thought I would need. Or I thought I had. Some photographs of the kit, sorry started before thinking to post on here. I Brought on impulse after seeing on ebay and the kit arrived day before leaving for the holiday. I have done some research but cannot decide what it is i am building. Kit History is below: She is obviously not this vessel. The first Alliance was a frigate and would not have an Engine or prop. Gun arrangement is very strange and i have not been able to find other examples of this. The second Alliance was built in 1875 ( which means I have placed in wrong forum area) but not sure if this is that vessel either. I think you will have to make your own minds up. I must stress, don't expect wonders with this build as only for fun. It may also be abandoned for a while was I am back at home. I have put hull together and installed some deck furniture and started to prime the deck. First issue is that the kit gives part numbers but none on the moulds. My first disasters are that the super glue I brought with me has gone off and the white paint is like treacle. Not going well so far!! Then I noticed that I had forgot my Thinners and mixing pallet for washing the deck. - Not going well so far.

-
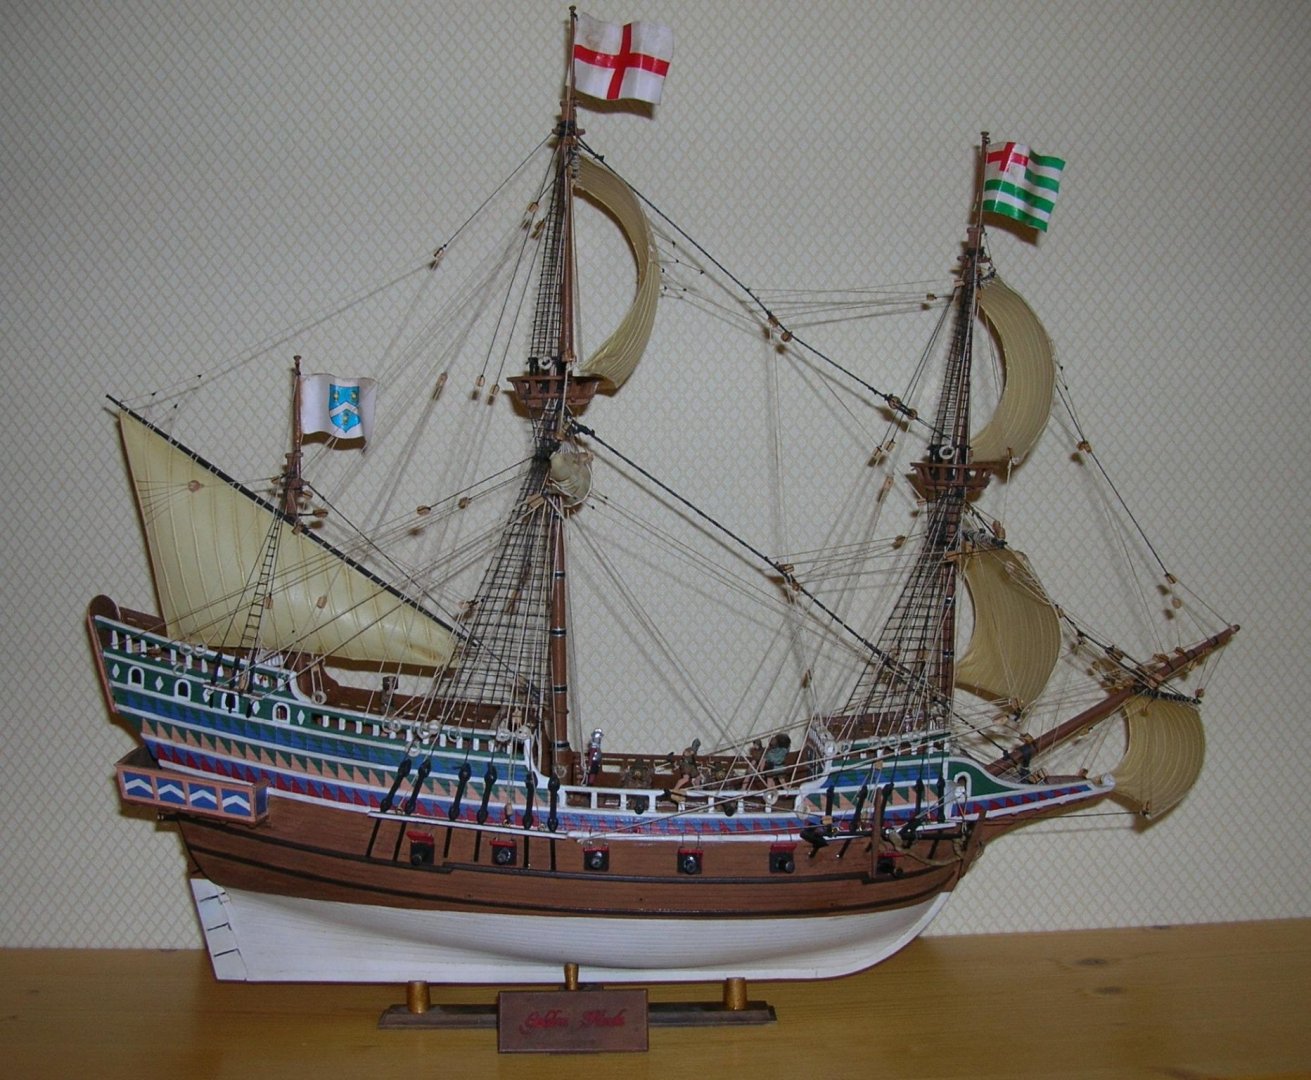
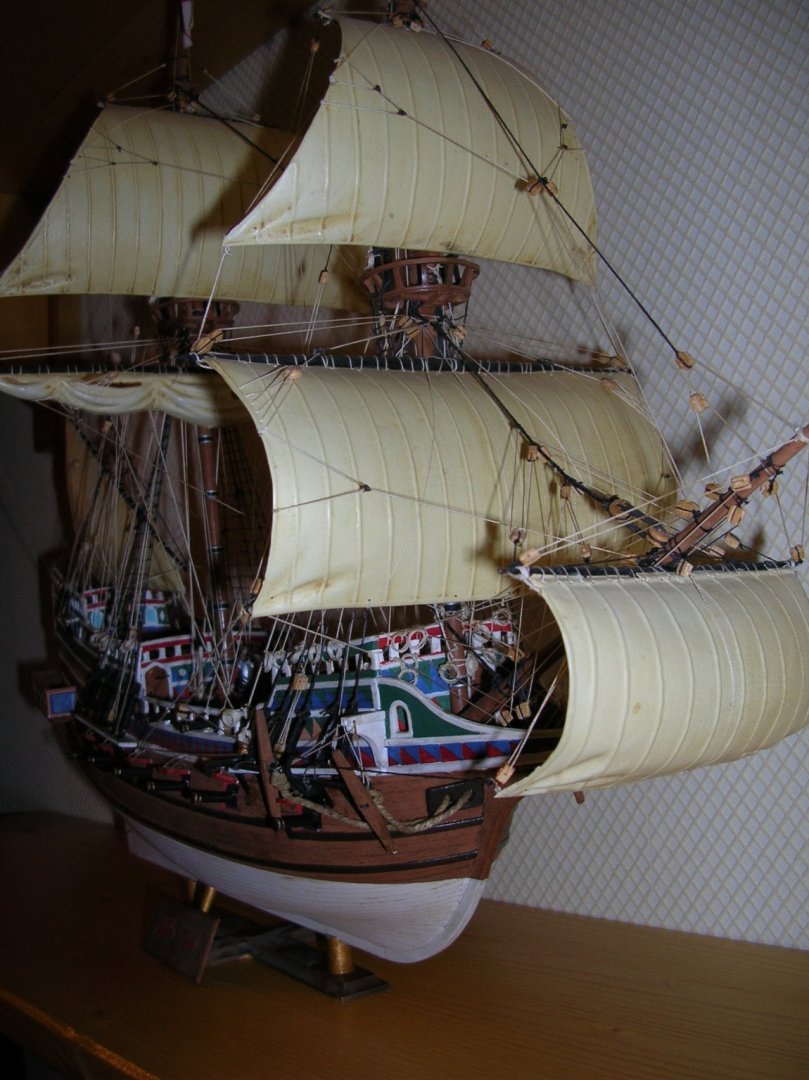
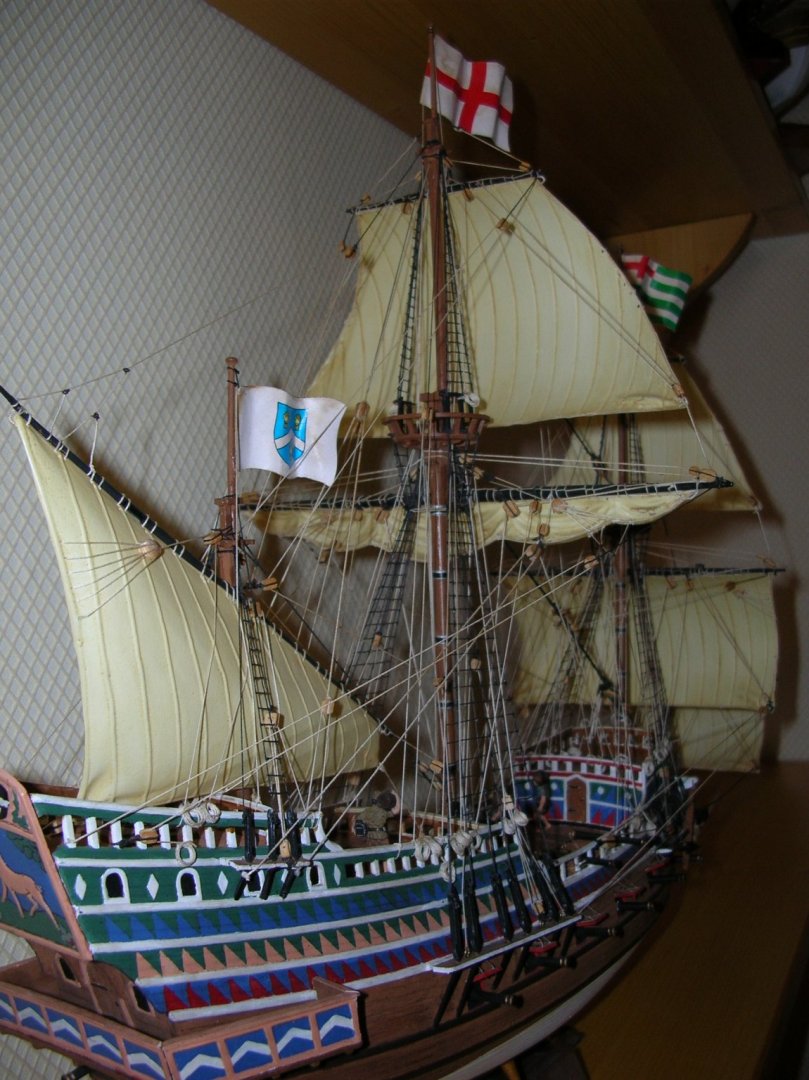
Hi, I would purchase the Noel CL Hackney book for the Airfix kit Mayflower and use the rigging instructions from that. Best step by step with modifications by far. I used for the Airfix Golden Hind and Revel kits.

- 165 replies
-
- 4
-

-
- english galleon
- revell
- (and 2 more)
-
kit review 1:85 HMS Pandora - Constructo
Thunder replied to Erik Nyren's topic in REVIEWS: Model kits
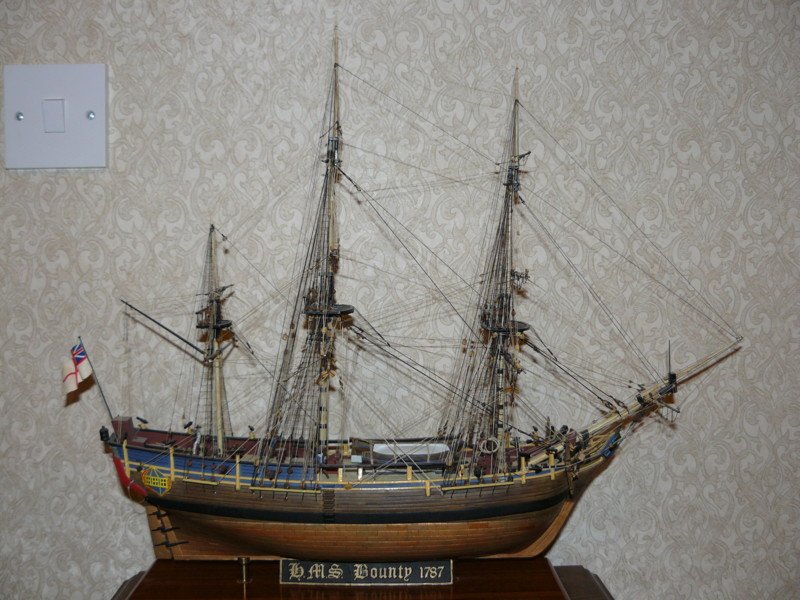
Hi, I think you are being extremely ambitious to have your first build as the HMS Bounty. It has one of the hardest and unforgiven bows for planking. -
Advice needed - model ship made by my Grandad
Thunder replied to Stee F's topic in New member Introductions
It would be nice if all of his ships were back together but understand on space. one good place to put a ship on display without taking any space is the wall facing you as you come down your stairs. Then you get too enjoy each morning as you come down. Not many places in Staffordshire, Kedleston hall just over the border in Derbyshire did have some ships on display but not sure if still the case. -
Advice needed - model ship made by my Grandad
Thunder replied to Stee F's topic in New member Introductions
I am assuming you are in the UK due to the passport, or, due to having it out, you have had to travel overseas to get to the house, hence why the travel dilemma. If you can give basic area there may be a model boat club in the area that can help or we may know of a local museum. Lots of small seaside museums in the U.K. that might take this. Some have kit built in them and sure they would prefer this scratch built model which would show the type coastal trading vessel. They often put plaques on with builder and donation / owner details. Then you can visit the museum and see others enjoying it. -
This was also my first wooden build. I just looked and I noticed that the canon, if installed would damage the shrouds so modified. I think the only other modifications made were to the rig and masts using my own dimensions and rigging plan and to the head rails
-
Advice needed - model ship made by my Grandad
Thunder replied to Stee F's topic in New member Introductions
So often we have people come on here with a similar story or wanting to know what something is worth, hoping no doubt to find out it is worth a fortune. Usually, when you look, it is an awful seaside souvenir, badly made and worthless. However, what you have here looks to be a skilfully made scale model that your grandfather took a lot of care over. For that very reason I think you should keep it. I wish I had more from my grandad that had a real reason to remember him by, you have memories of watching him build this. As for transporting I would put it on your passengers lap or trap the hull upright between two cushions. Masts in free air. -
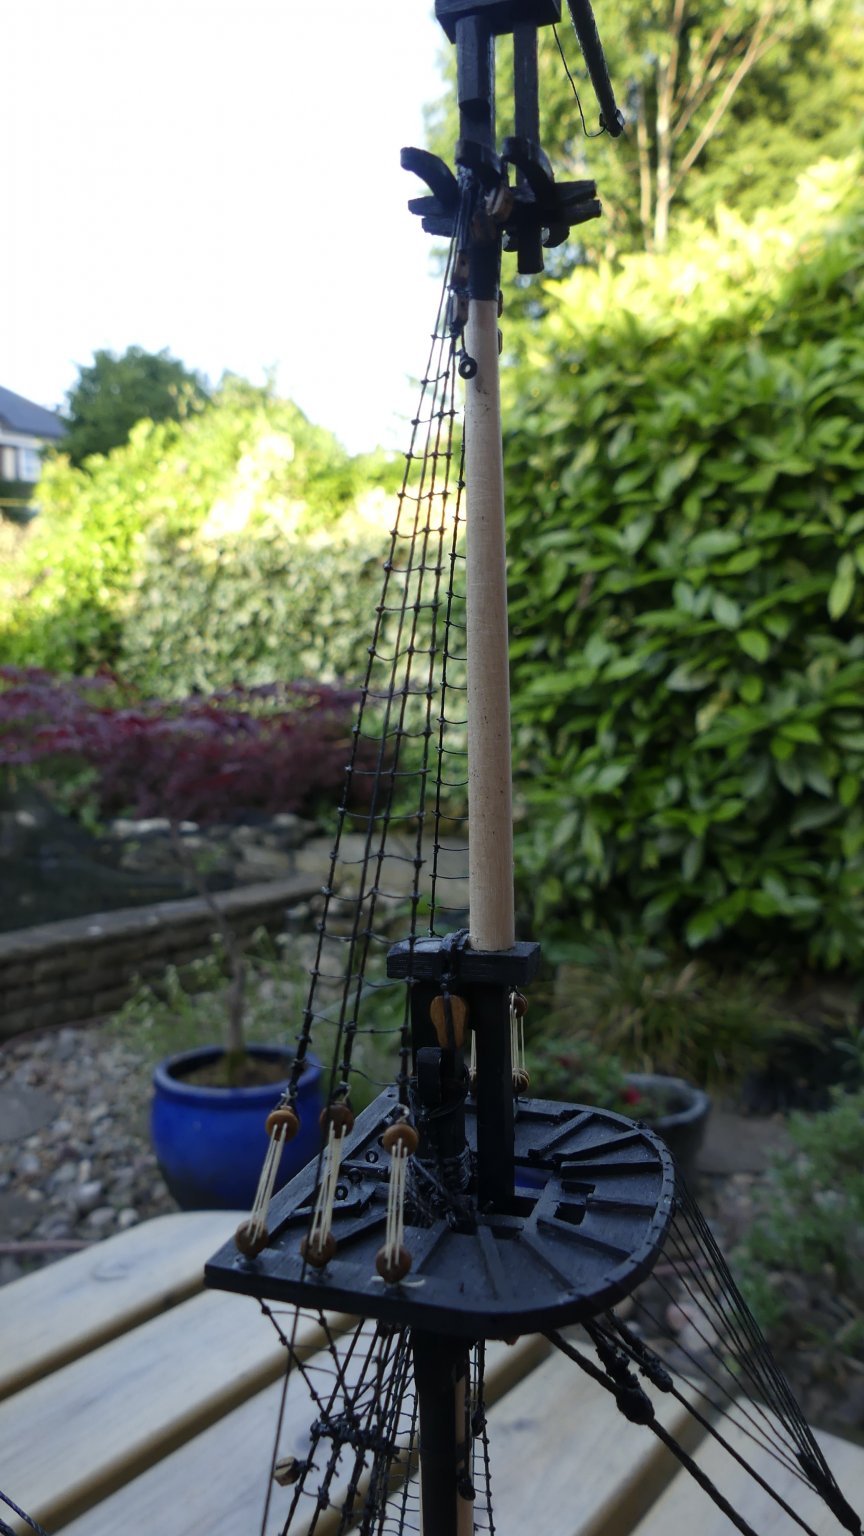
I suppose as the Cruiser class was the largest class of ships ever in the Royal Navy it would also span over a long period of time so no rights or wrong. I also have the 'Building Plank on Frame Ship' Models by Ron McCarthy. For this book he is building the earlier Cruizer class. He has the main mast and preventer as your model but the main topmast stays are main over preventer. Although the run is slightly different again. As I am building with long guns instead of Carronades I was going to make the rig to as originally launched but with all the contradictory information it is very difficult to know what is right. You would normally work on the principal that as you rig further up or out then the rigging lines get finer.
- 102 replies
-
- 1
-
-
- cruiser
- caldercraft
- (and 1 more)
-
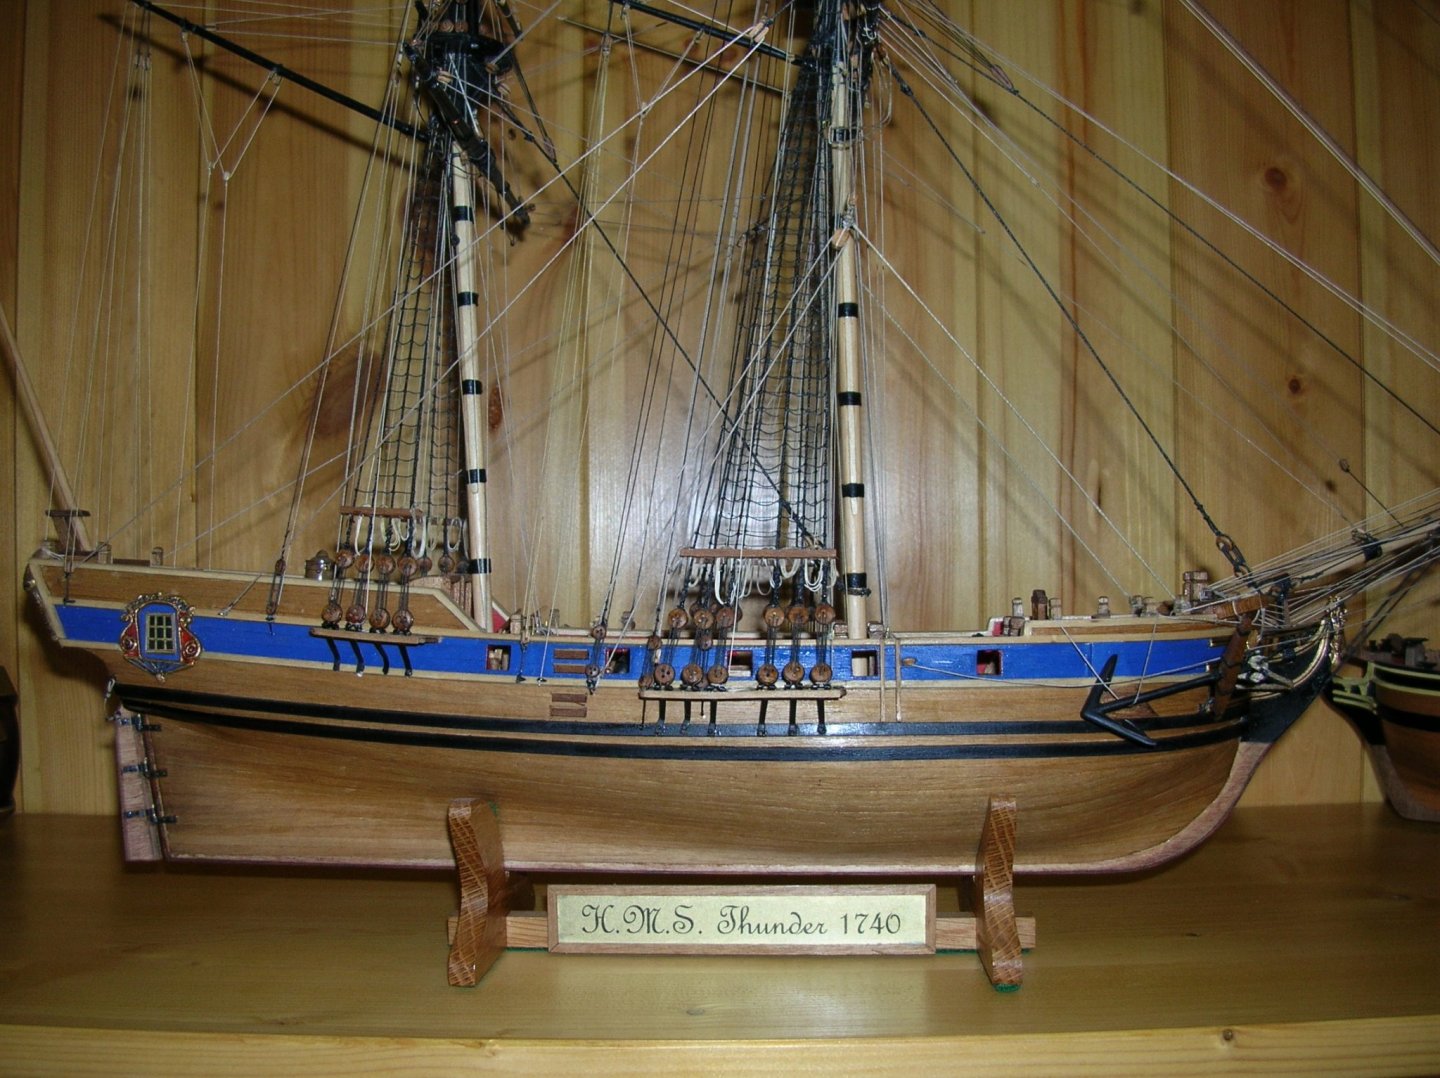
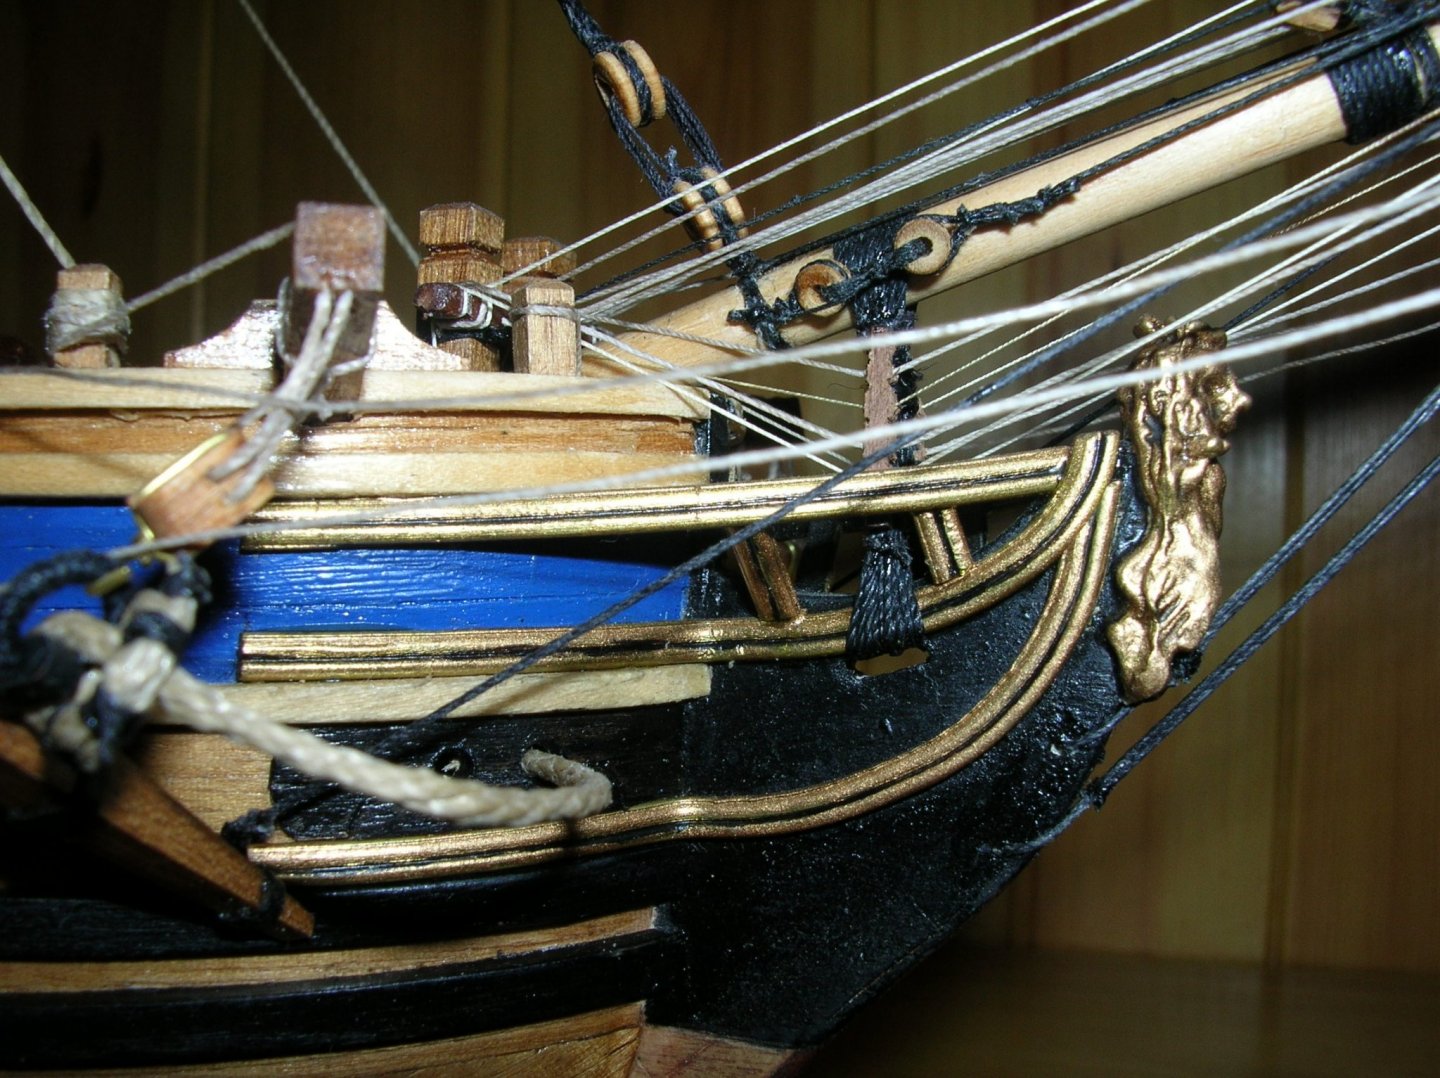
Conway's ship types book, Bomb Vessels by Chris Ware is worth taking a look at. It has line drawings, profile and deck plans for her when converted to a fire ship and as a Bomb vessel. It also has line drawings and painting as she was converted for arctic exploration. Unfortunately though she was ship rigged in all these forms and hull shape very different to the kit. As a Bomb there was 5 gun ports per side. This was my first kit and I did some research at the time. I found a representation of a British Bomb Ketch in 'Fighting ships of the Royal Navy' by E.H.H. Archibald which is a ketch with identical shape and stern to the kit. Racehorse was a captured French ship and converted to a bomb but never designed as one. Carcass, on the other hand, was designed as a bomb and converted to artic exploration. She sailed with Racehorse and it is this ship that Nelson was in. I assume Carcass was not good for sales as a kit. When I researched Carcass she did not fit the design either but she was of the class 'Infernal'. So I researched infernal and found an earlier Infernal that was a member of the 'Thunder' class that did have similar lines. Hence I re-named my kit Thunder. Another option is a beautiful Ketch rigged sloop of war of which there is a model in the NMM. HMS Speedwell see photographs in 'Sloop of War' by Ian McLaughlan. You will recognise the stern immediately She did get converted to a fireship for a spell but nothing mentioning a bomb..
-
Thank you Joe, you couldn't have answered at a better time as I was searching for your build. You have rigged as the kit instructions. So the details in the Brig Irene book matches the kit but not Lees. What era is the Brig Irene? I have just noticed that I have done the Main mast stays different to you. Both my main and preventer going to the bowsprit where as your preventer goes to a block on the foremast. Lees puts your method as ending in 1793. Does the Irene in the book date before this? Just looked at the Petersson book and this has Main topmast stay over the Preventer. Now we are 2-2.
-
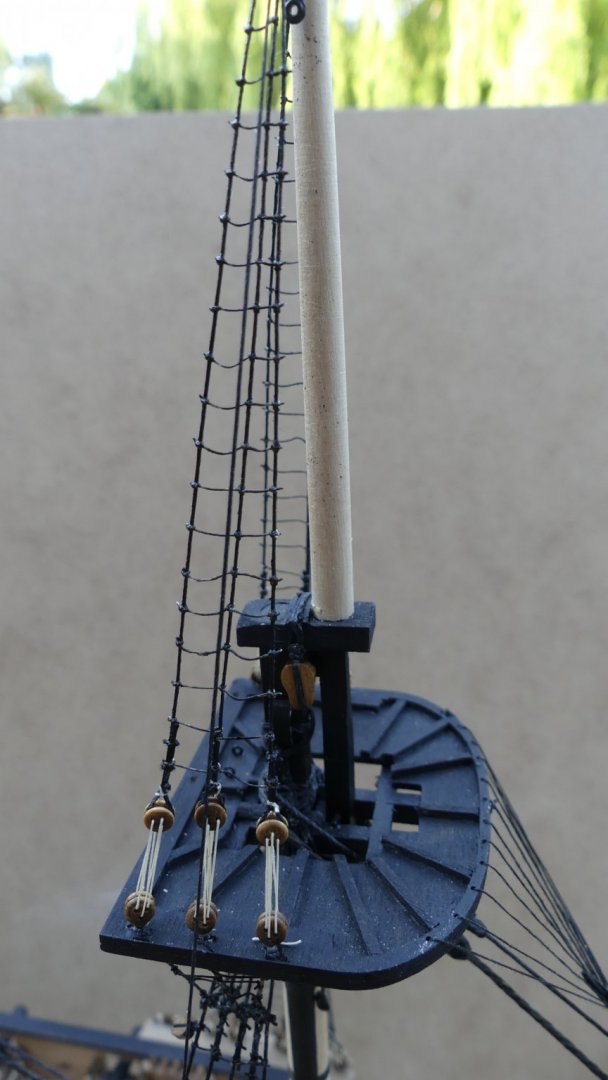
Have now done the topmast standing backstays and moved to the topmast stays. The Cruiser kit does not suggest a fore topsail preventer which I am going to add. However, it does show a main topsail preventer stay. This leads to my next question. Kit shows the main topmast preventer stay rigged above the topmast stay. Topmast stay leads forward and down to a block behind fore mast just below main mast cheeks. Preventer shown running forward and down to a block half way between main mast top and cap. This is exactly as Lee's has it other than the other way round - main stay leads to below cap and preventer to cheeks. Question is, which is correct? Suppose another trawl through books is on the cards.
-
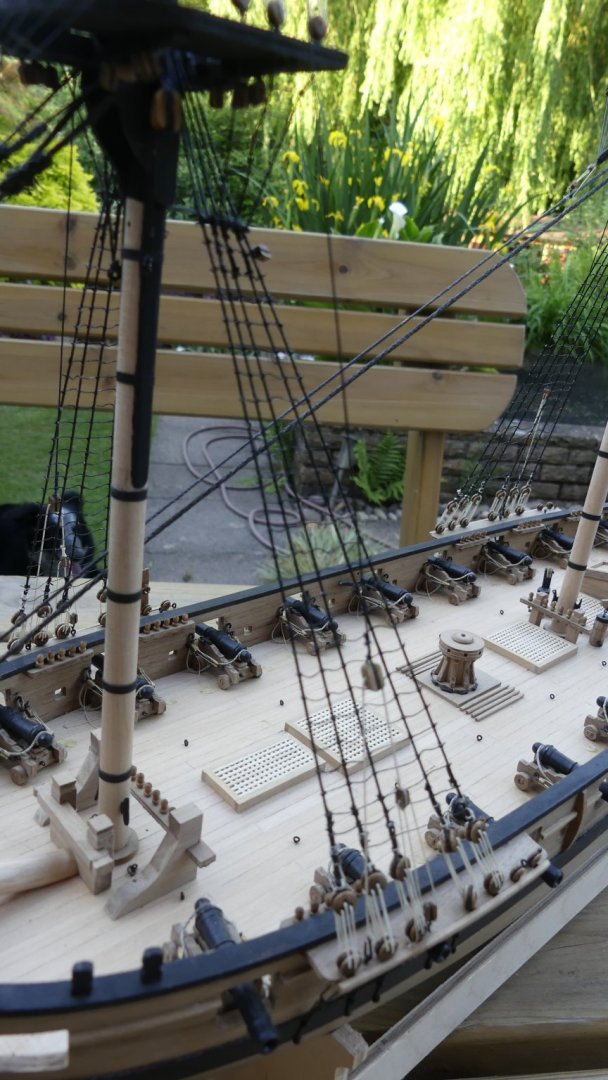
Quick update on rigging process. Now rigged, thread sizes are those calculated from James Lees rather than suggested by the kit. Order of rig is my standard I always use and was developed from the Noel C Hackney book for the Airfix Victory. I produce my own 'manual' for the rigging back tracking as I research for the points best to attach blocks. Gammoning lower mast pendants lower mast shrouds, thread used 0.75mm Catharpins 0.25mm bobstays 0.6mm bowsprit shrouds 0.6mm Mainstay 1,27mm Main preventer stay 0.9mm Forestay 1.27mm Fore preventer 0.9mm Snaking - not rigged Crowsfeet. Jibboom horses Topmast Burton Pendants Topmast Shrouds Futtock shrouds Ratlines Shifting backstays


- 102 replies
-
- 10
-
-
- cruiser
- caldercraft
- (and 1 more)
-
You have more options. If it is Bounty you like then you could build this version: This is a modified Airfix Kit. If it has to be wood then the planking of Bounty is a more difficult option. However, if you are not particular of the vessel then there are easier kits to build with better instructions such as the Brigs that Vanguard models offer or if you want a three masted vessel then ships like Rattlesnake have kinder lines.
- 14 replies
-
- 1
-
-
- hours
- build time
- (and 4 more)
-
Hi John, The Pettersson book is a good reference just remember it is for one point in History and for a ship. You are rigging a Brig that may have differences as well due to being a captured Dutch ship. I still refer to James Lees book for variances for the period of the vessel I am building. As for being a Brig just remember that the lowest yard on the main mast is now a crossjack yard and so will not have as much rigging as the fore yard. I am just catching up with you on my H.M.S. Cruiser's rigging. Just doing the ratlines and then will have backstays to do before I have caught up. I write up my hole rigging plan first so happy to help as we go along. If you start a log from where you are it will start a debate that will help you. Adrian
-
Hi, they have removed the gift option when buying from the States as I recently found out. Still have to pay UK tax on arrival. Not sure when shipping the other way.
-
Hi, I was just looking into purchasing the confederacy for my 50th. Are they still available? I am in Staffordshire.
-
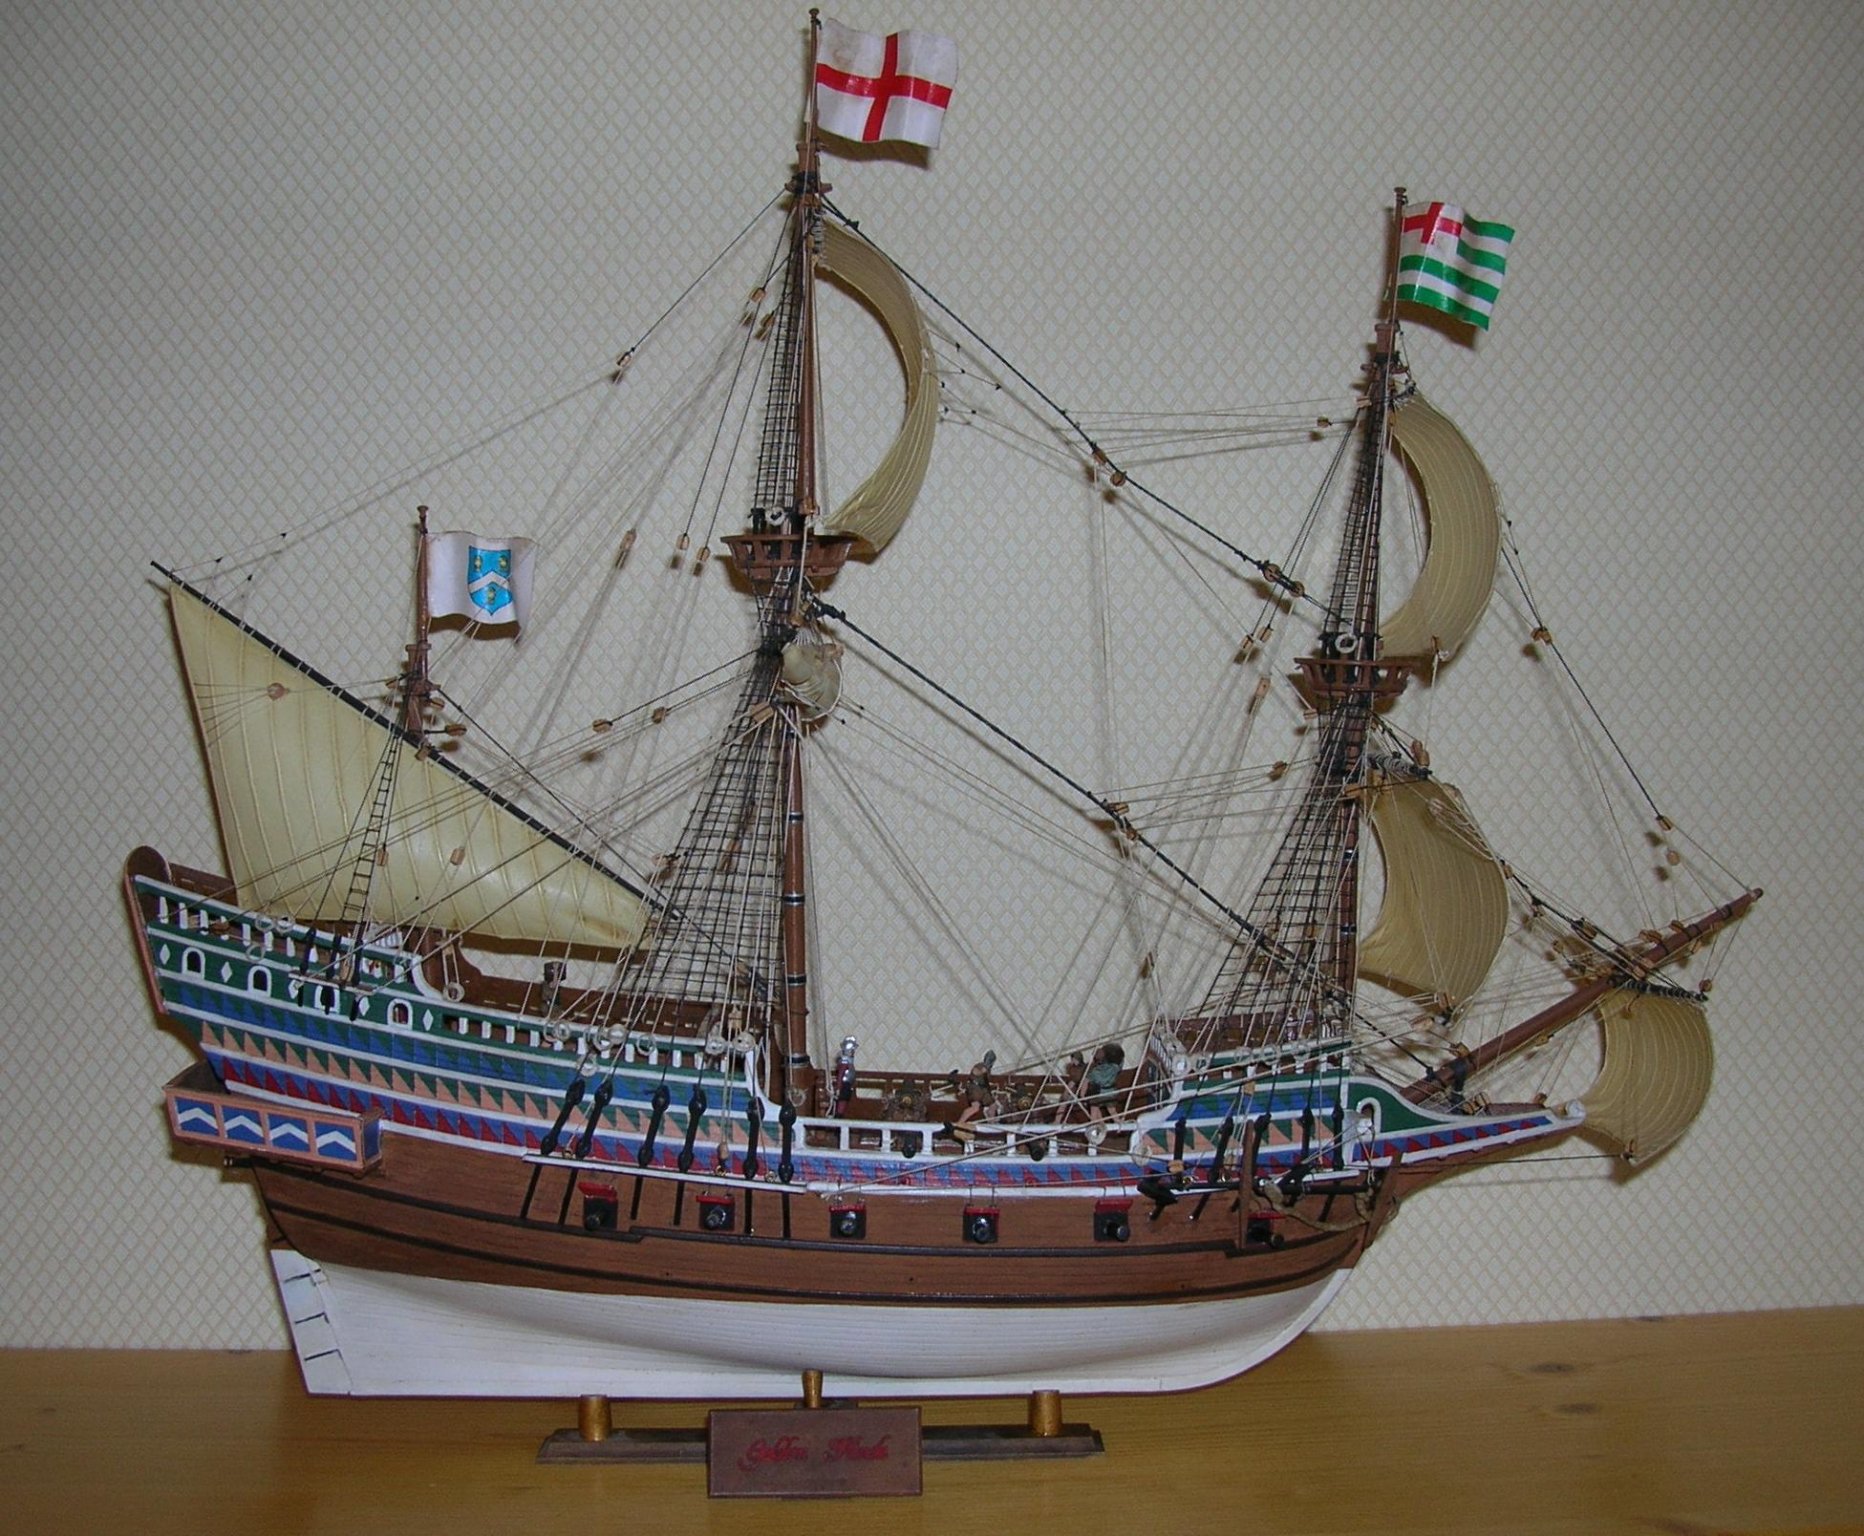
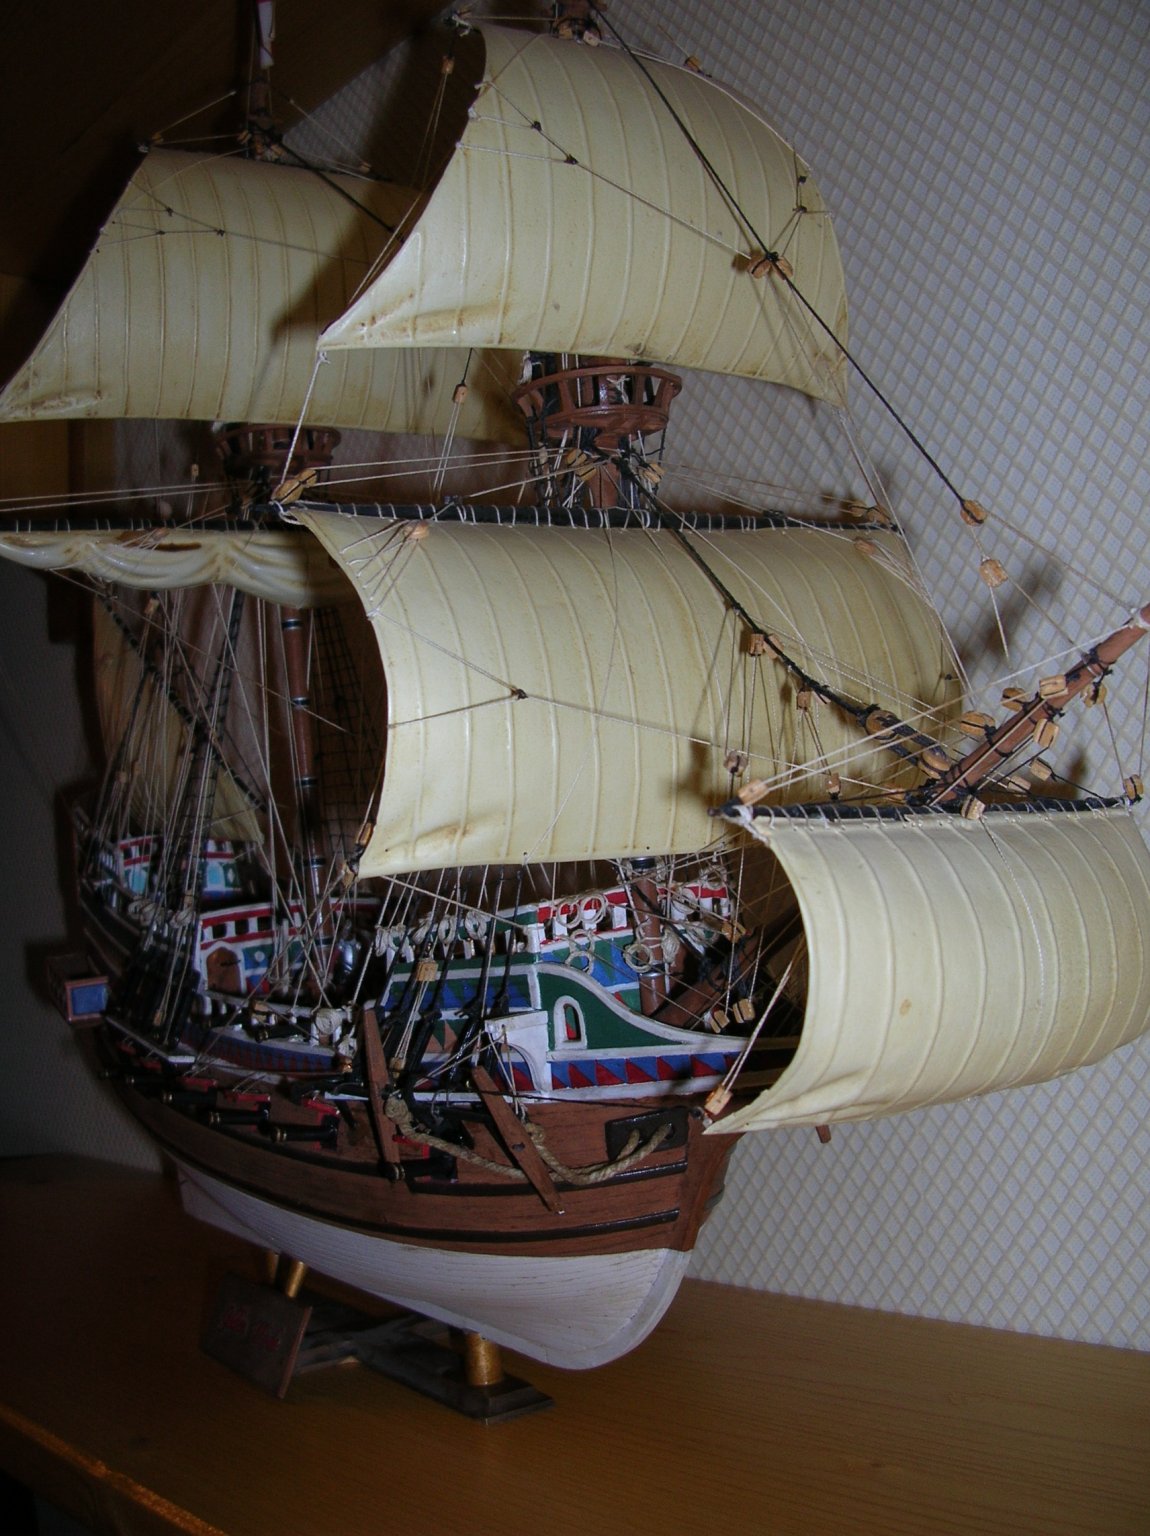
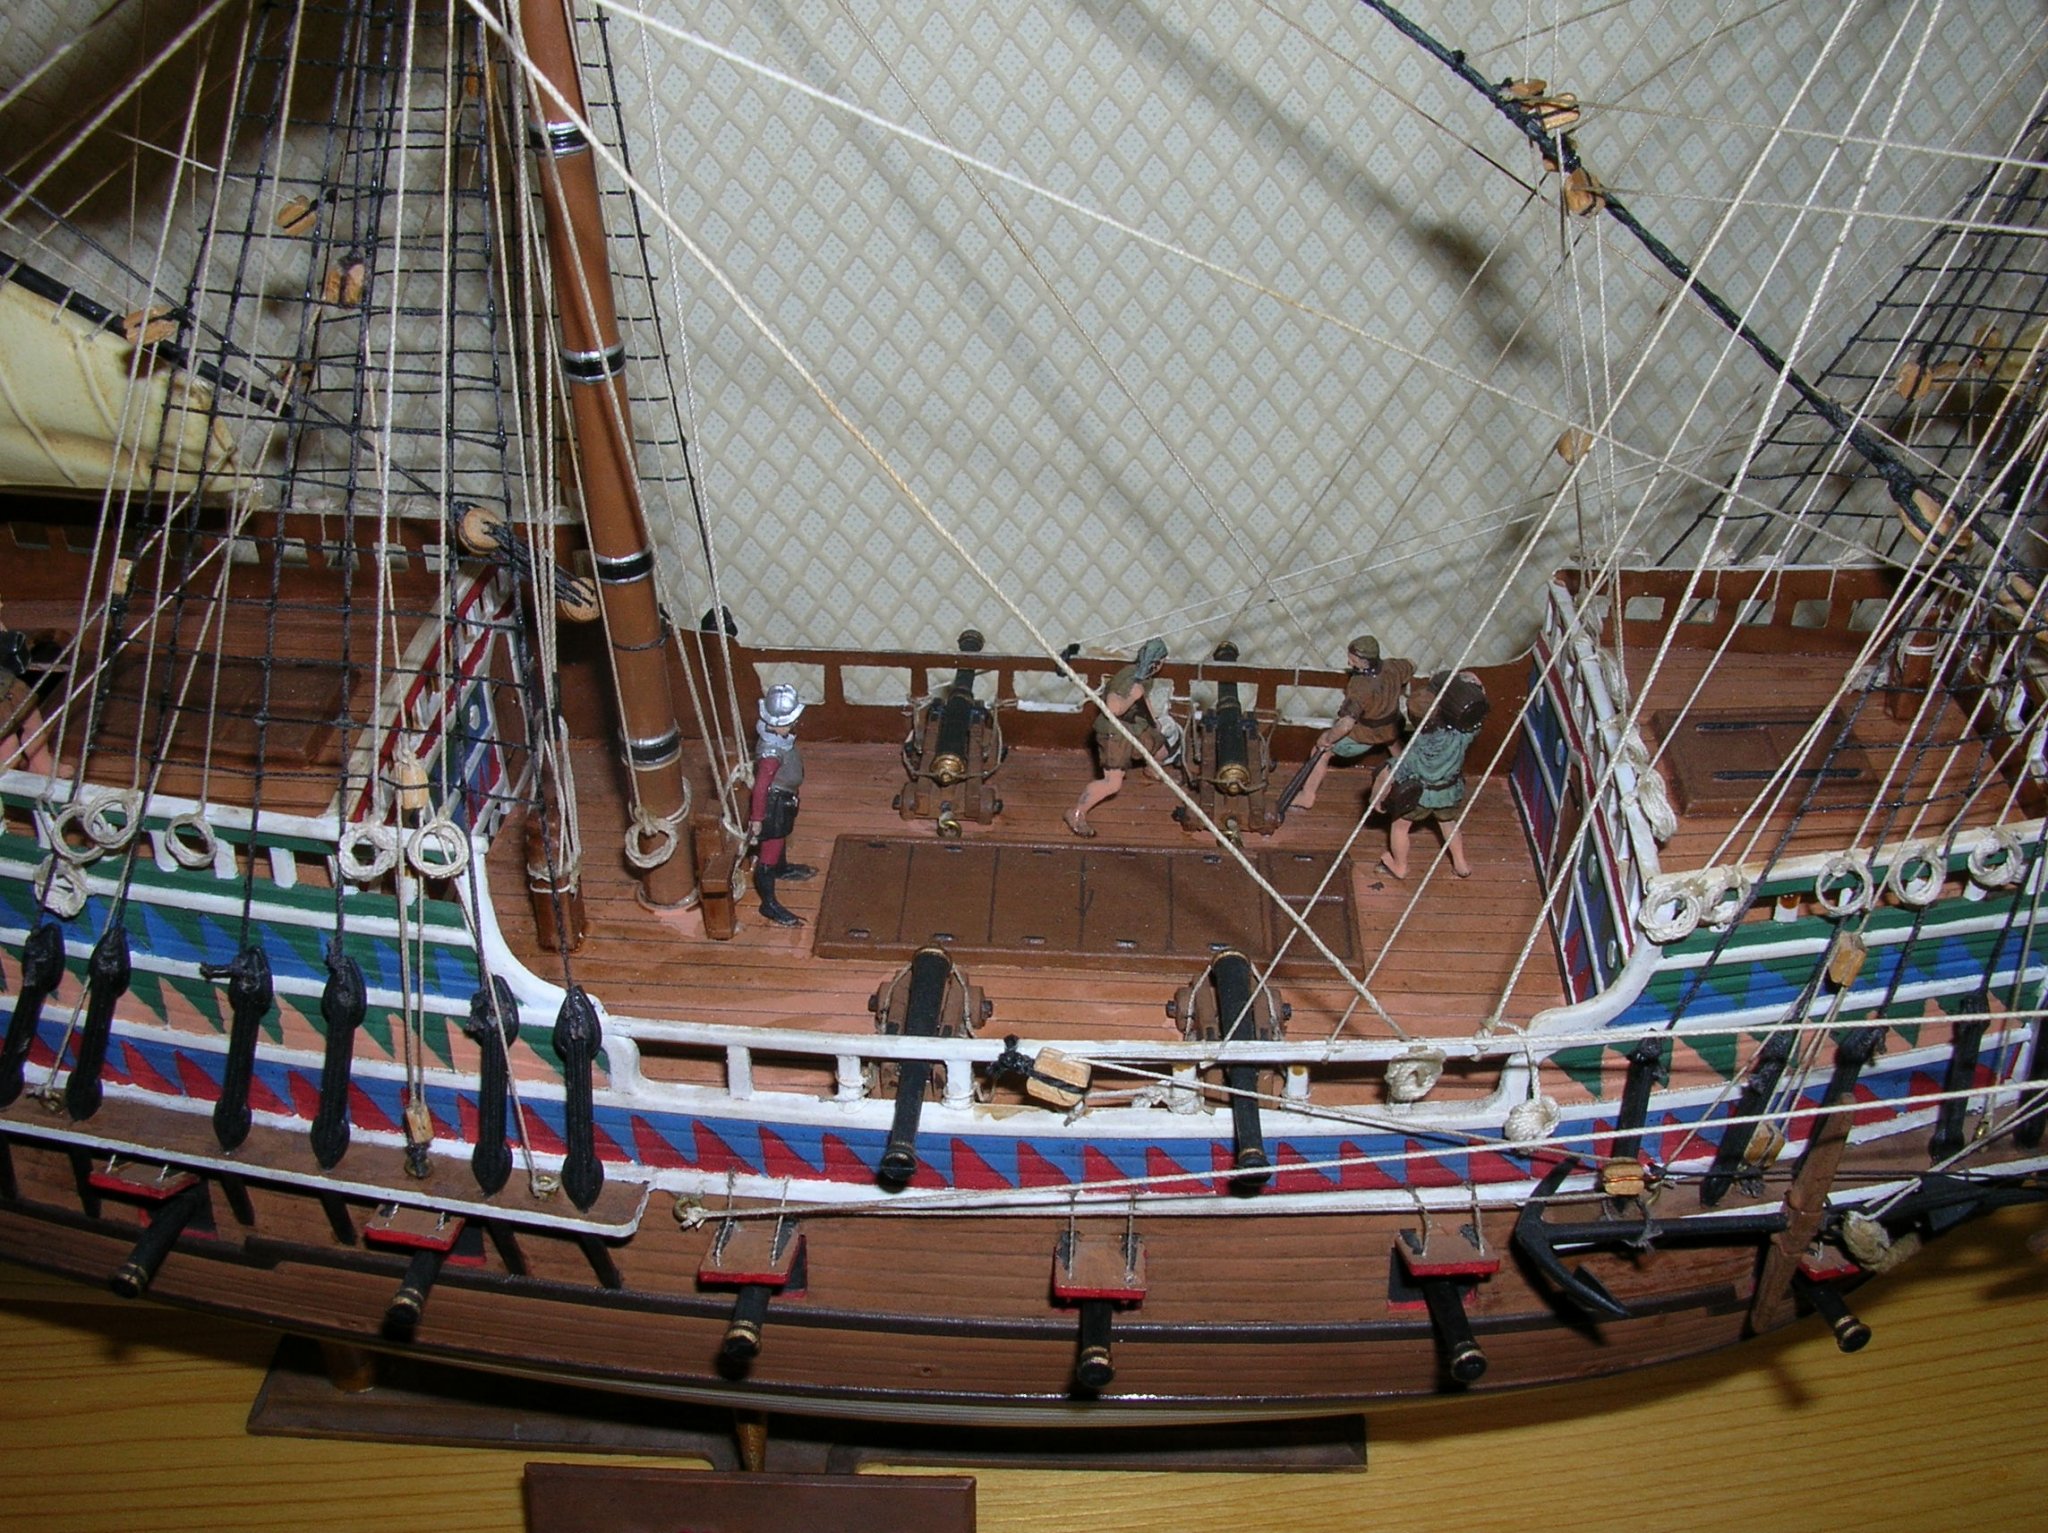
Airfix Revenge & Revell Golden Hind Accuracy
Thunder replied to Robert Taylor's topic in Nautical/Naval History
The Airfix Golden hind stern cannot be correct as Drake renamed the ship 'Golden Hind' after one of the benefactors of the expedition whilst already on the journey. -
Your biggest problem is finding what was in each volume. I created an index but even this is only what was of interest to me and for the volumes I have. Model shipwright created a separate index with its one hundredth issue but it wasn't completely correct. I think the below is the traditional shipbuilding you want but I will have to get one out to double check the Author. For confusion's sake, early editions were in volumes and then changed to just number. You want the editions listed under number.

-
Plenty of copies of both of those editions on ebay.
-
Excellent book, my point of reference for all my planking.