HOLIDAY DONATION DRIVE - SUPPORT MSW - DO YOUR PART TO KEEP THIS GREAT FORUM GOING! (83 donations so far out of 49,000 members - C'mon guys!)
×


Rustyj
-
Posts
2,530 -
Joined
-
Last visited
Content Type
Profiles
Forums
Gallery
Events
Everything posted by Rustyj
-
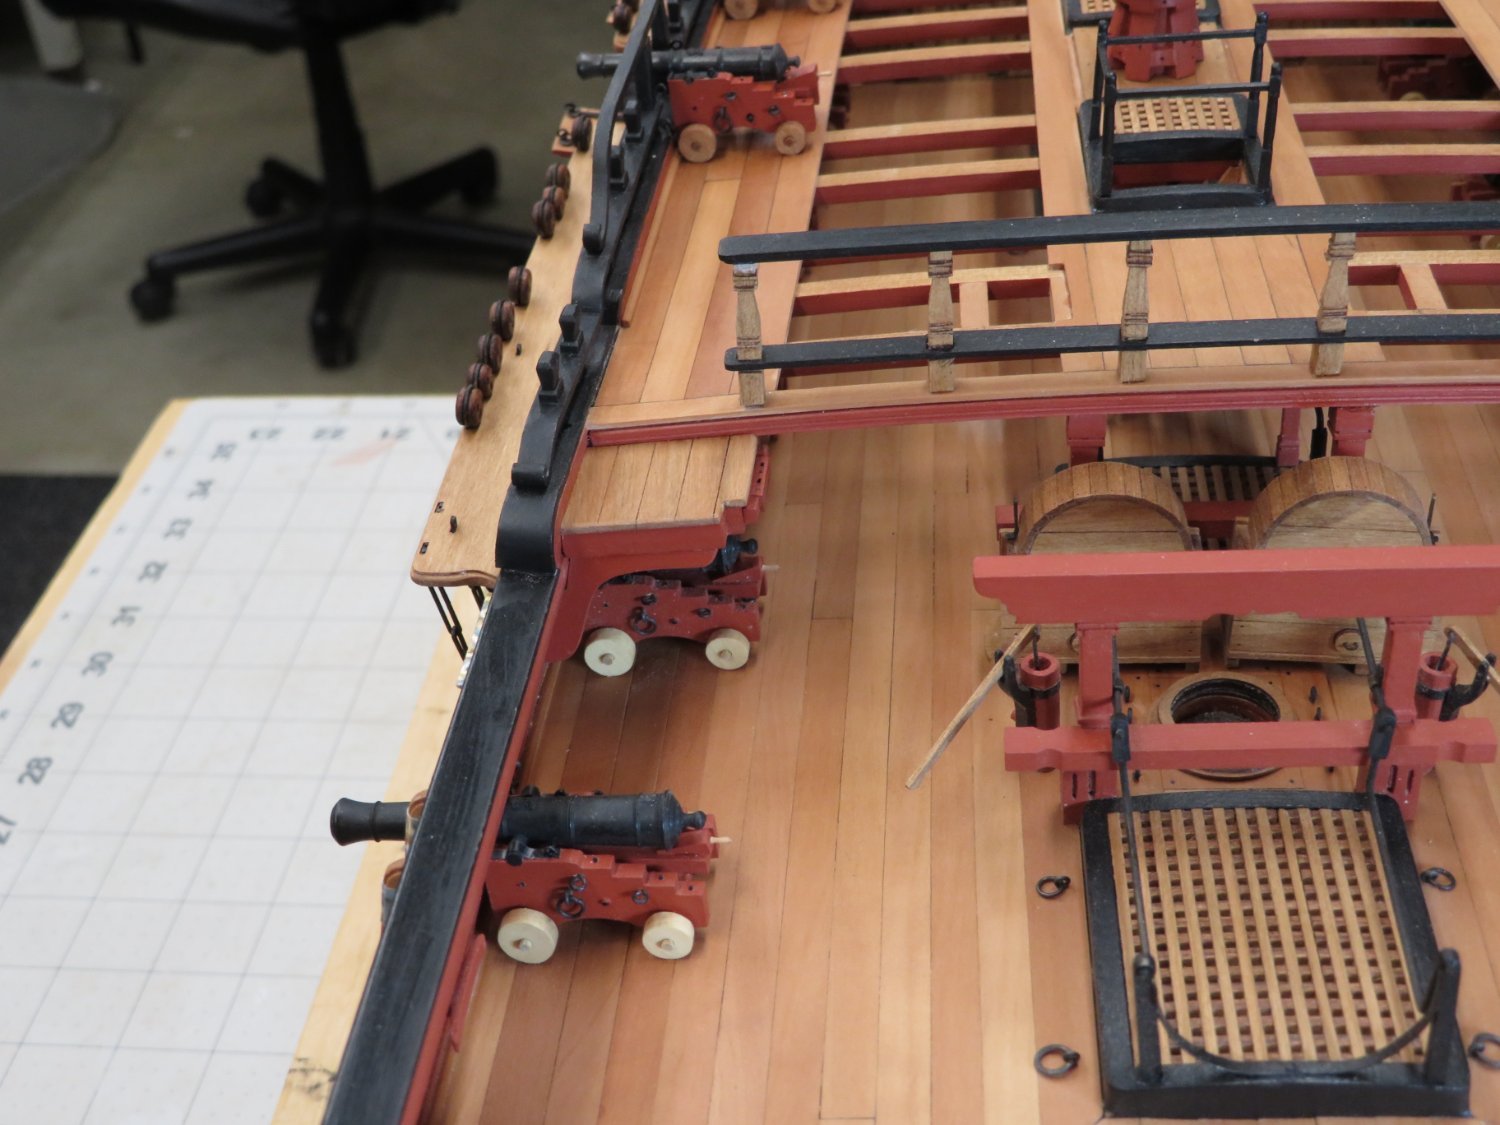
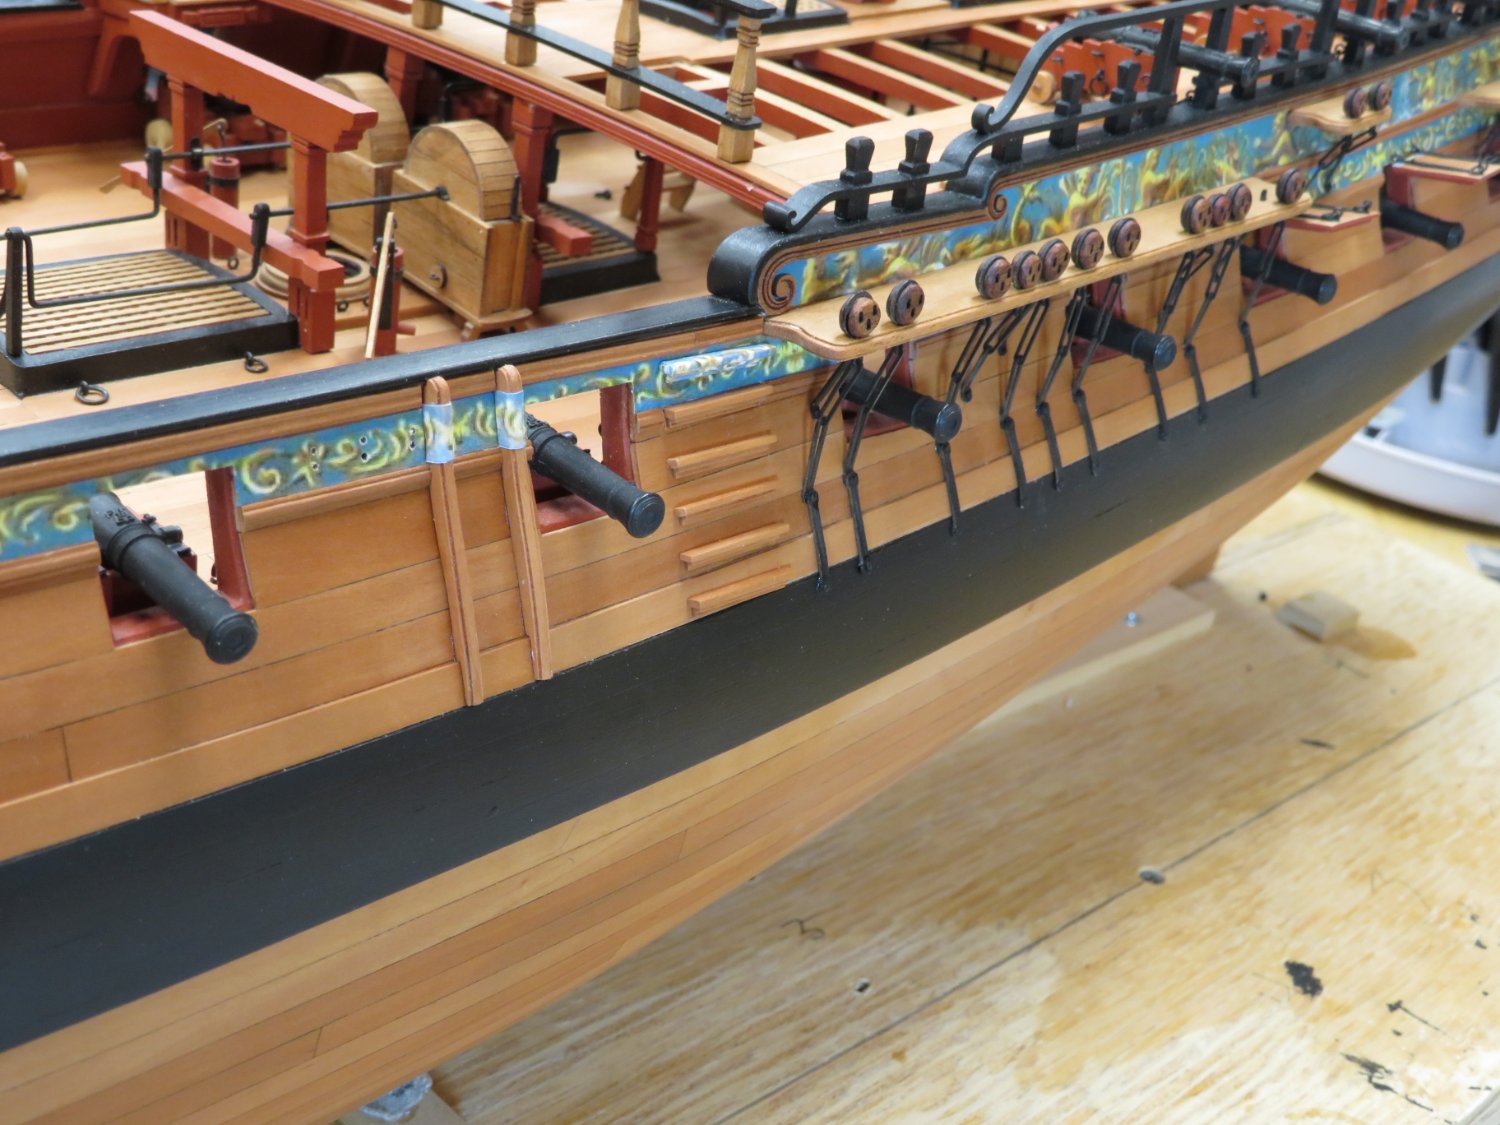
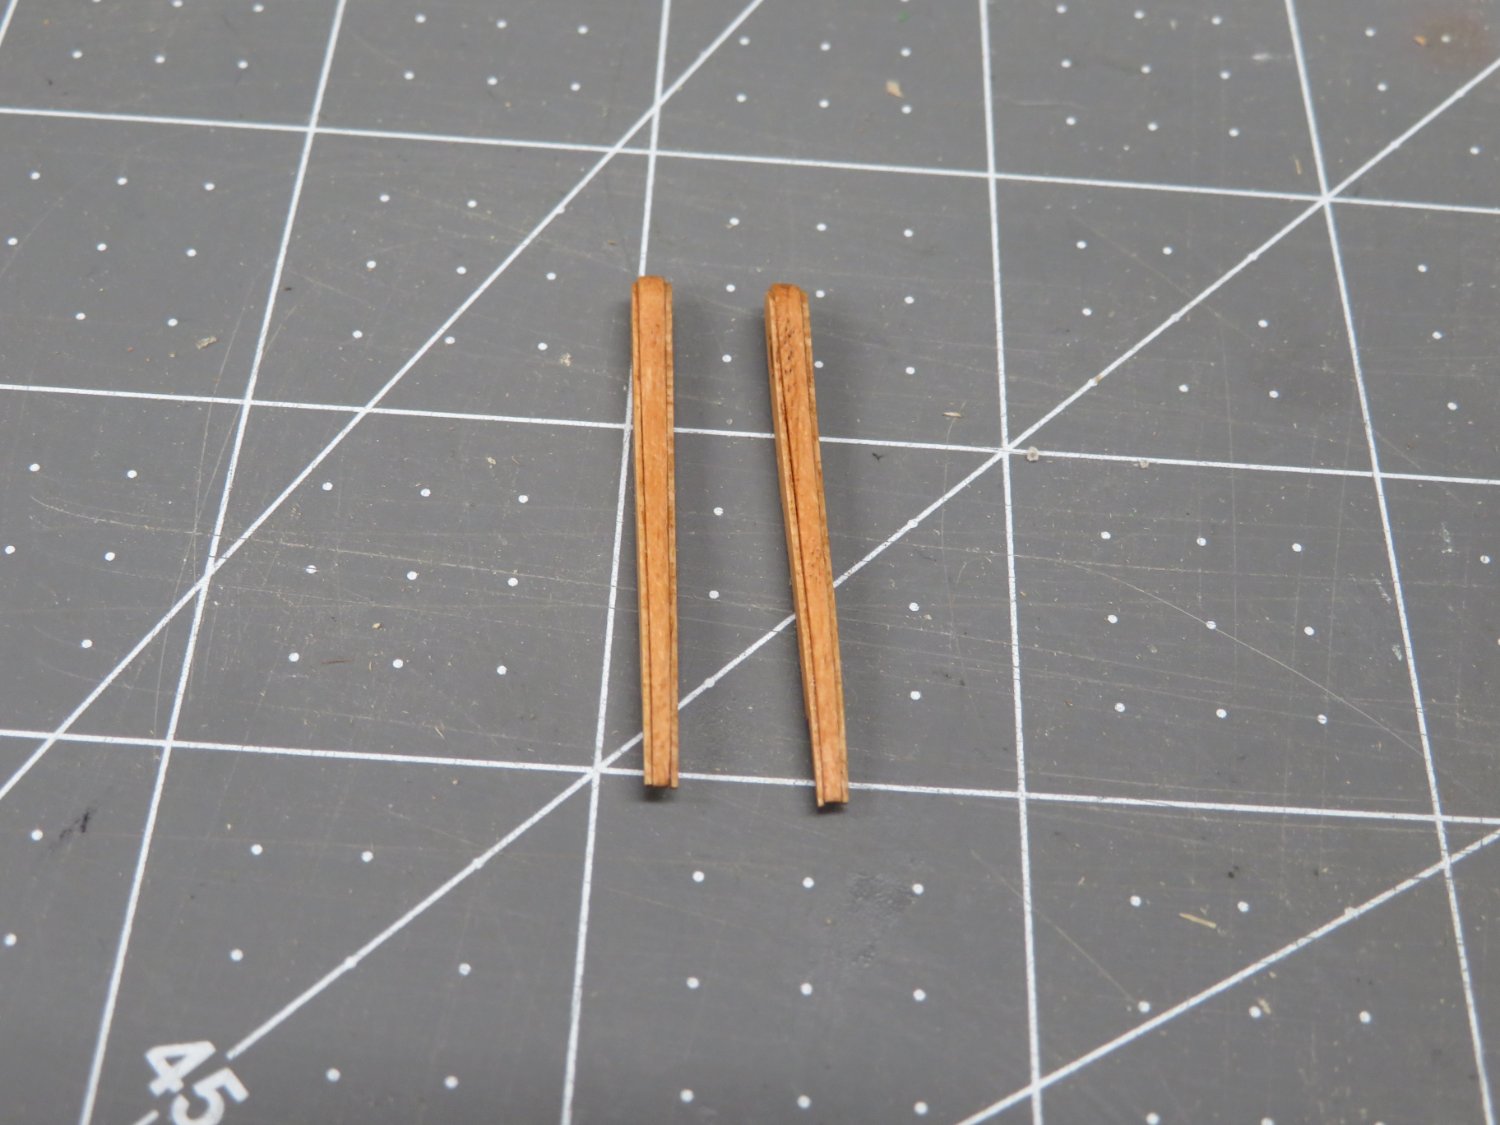
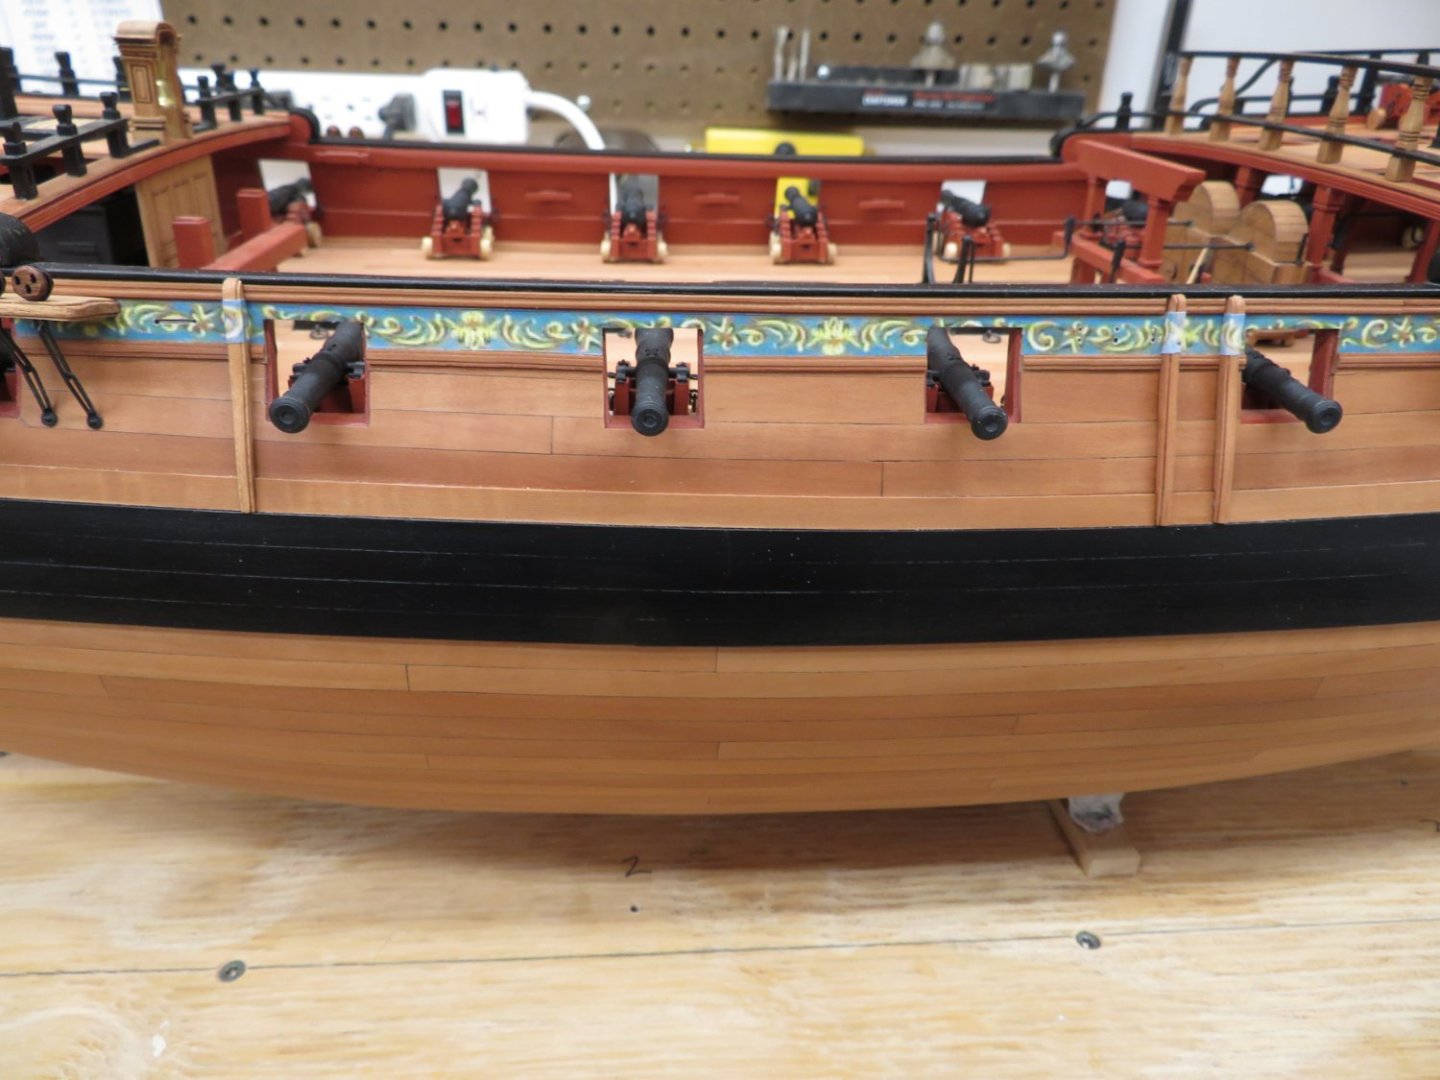
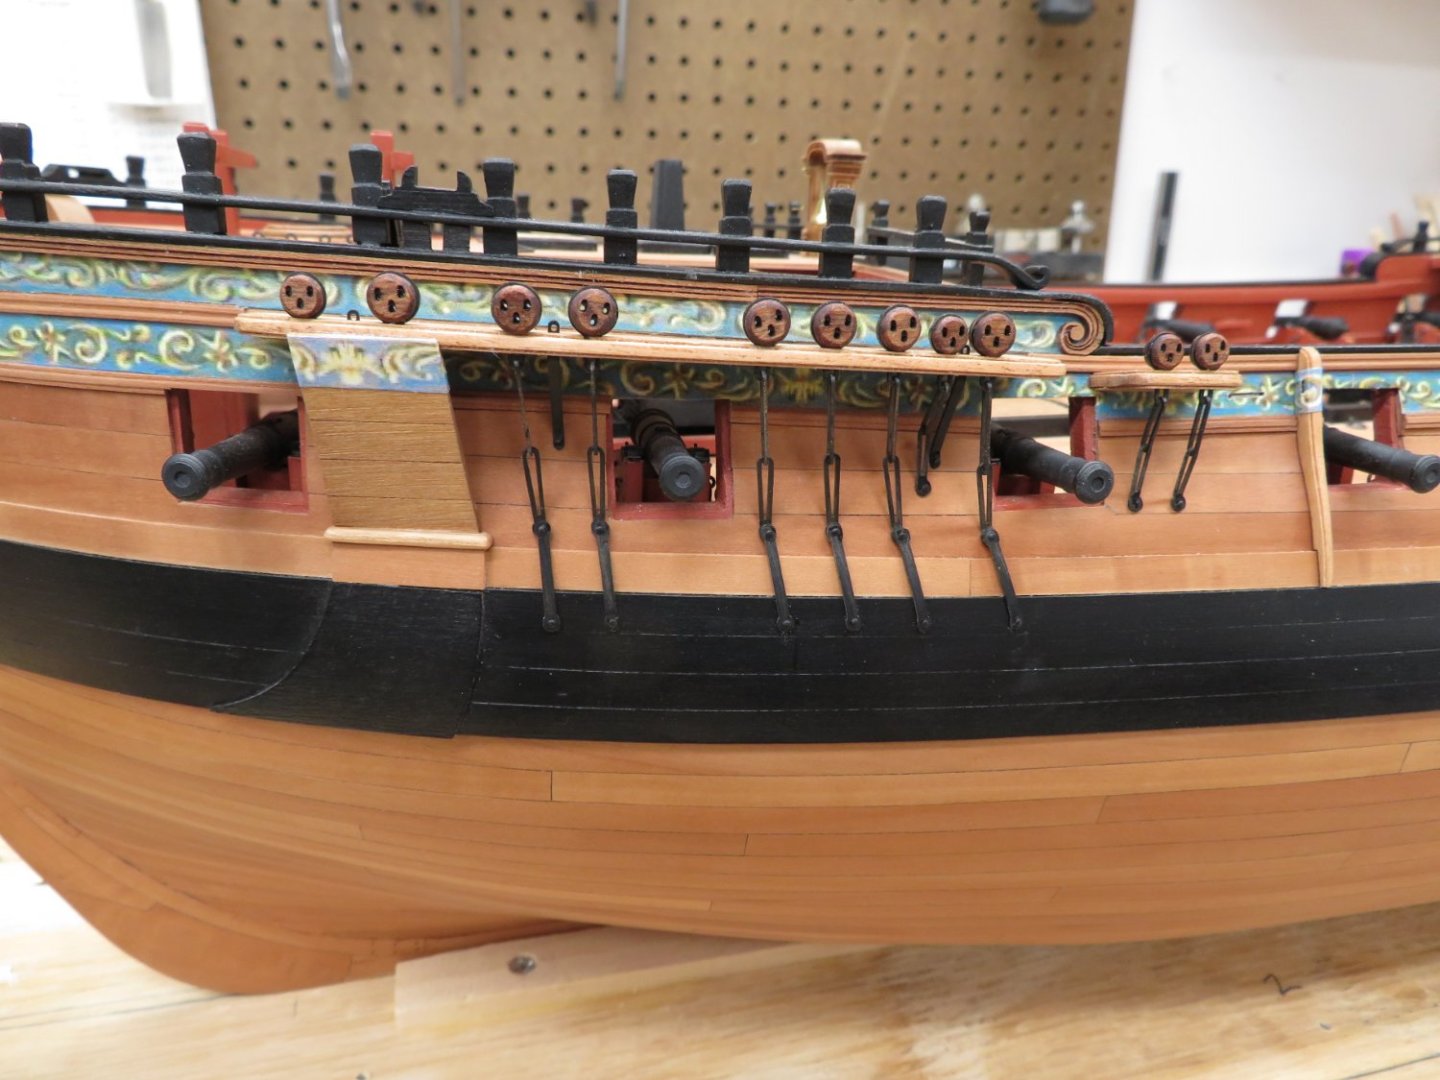
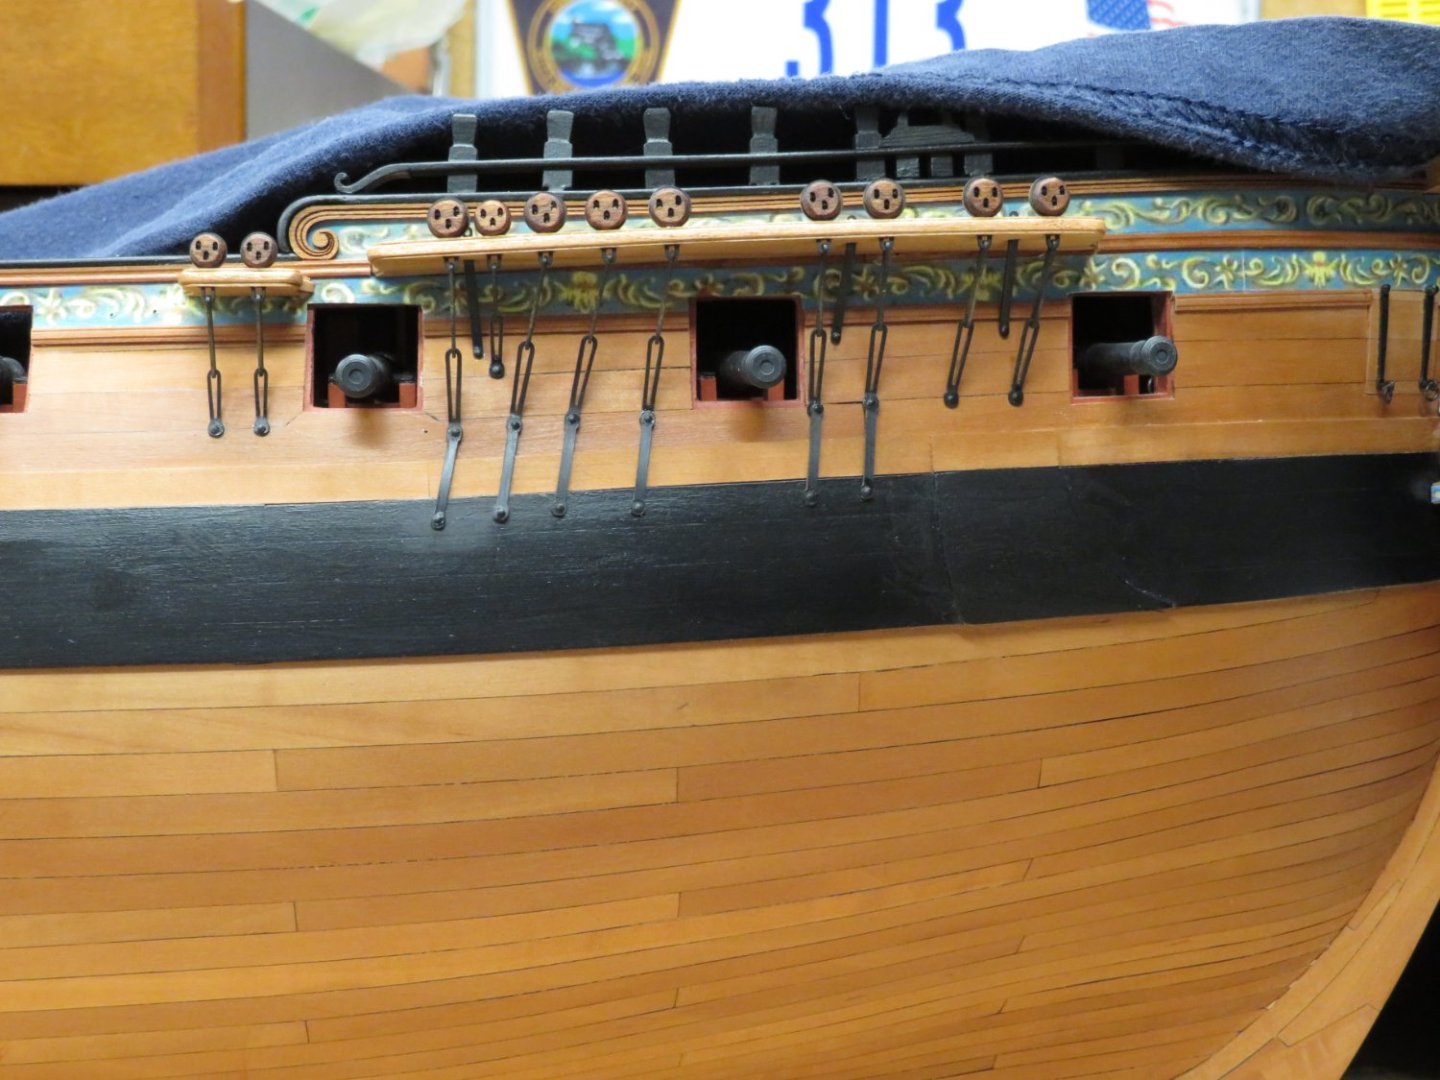
 Thanks Glenn and JJ. Still got a way to go and more updates to do. Speaking of which here is another one! I have shaped the swivel gun stocks and mounted them according to the plans. The swivel guns were also attached to the yoke and added the handle. They were coated with weathering power and the two at the bow were placed to see how they look. I'll wait a bit to add the rest or the swivel guns as I have a tendency to knock parts off a model as I work. Example to follow.🤪 Now I started to put together the gangways. The first part of the platform was assembled from laser cut parts and glued to the bulwarks and the breast beam. Now while pressing it in place someone not to be named was not aware of where they were placing one of their fingers and while applying pressure said finger pressure snapped off two deadeyes. Oh well I didn't get enough of the deadeye work so now I can do two over again.


- 642 replies
-
- 16
-

-

-
- winchelsea
- Syren Ship Model Company
- (and 1 more)
-
Very well done! So clean and crisp!
-
Great job Glenn. That's how I make them too. And don't worry you'll get more opportunities to make even more later on!
- 840 replies
-
- 4
-
-

-
- winchelsea
- Syren Ship Model Company
- (and 1 more)
-
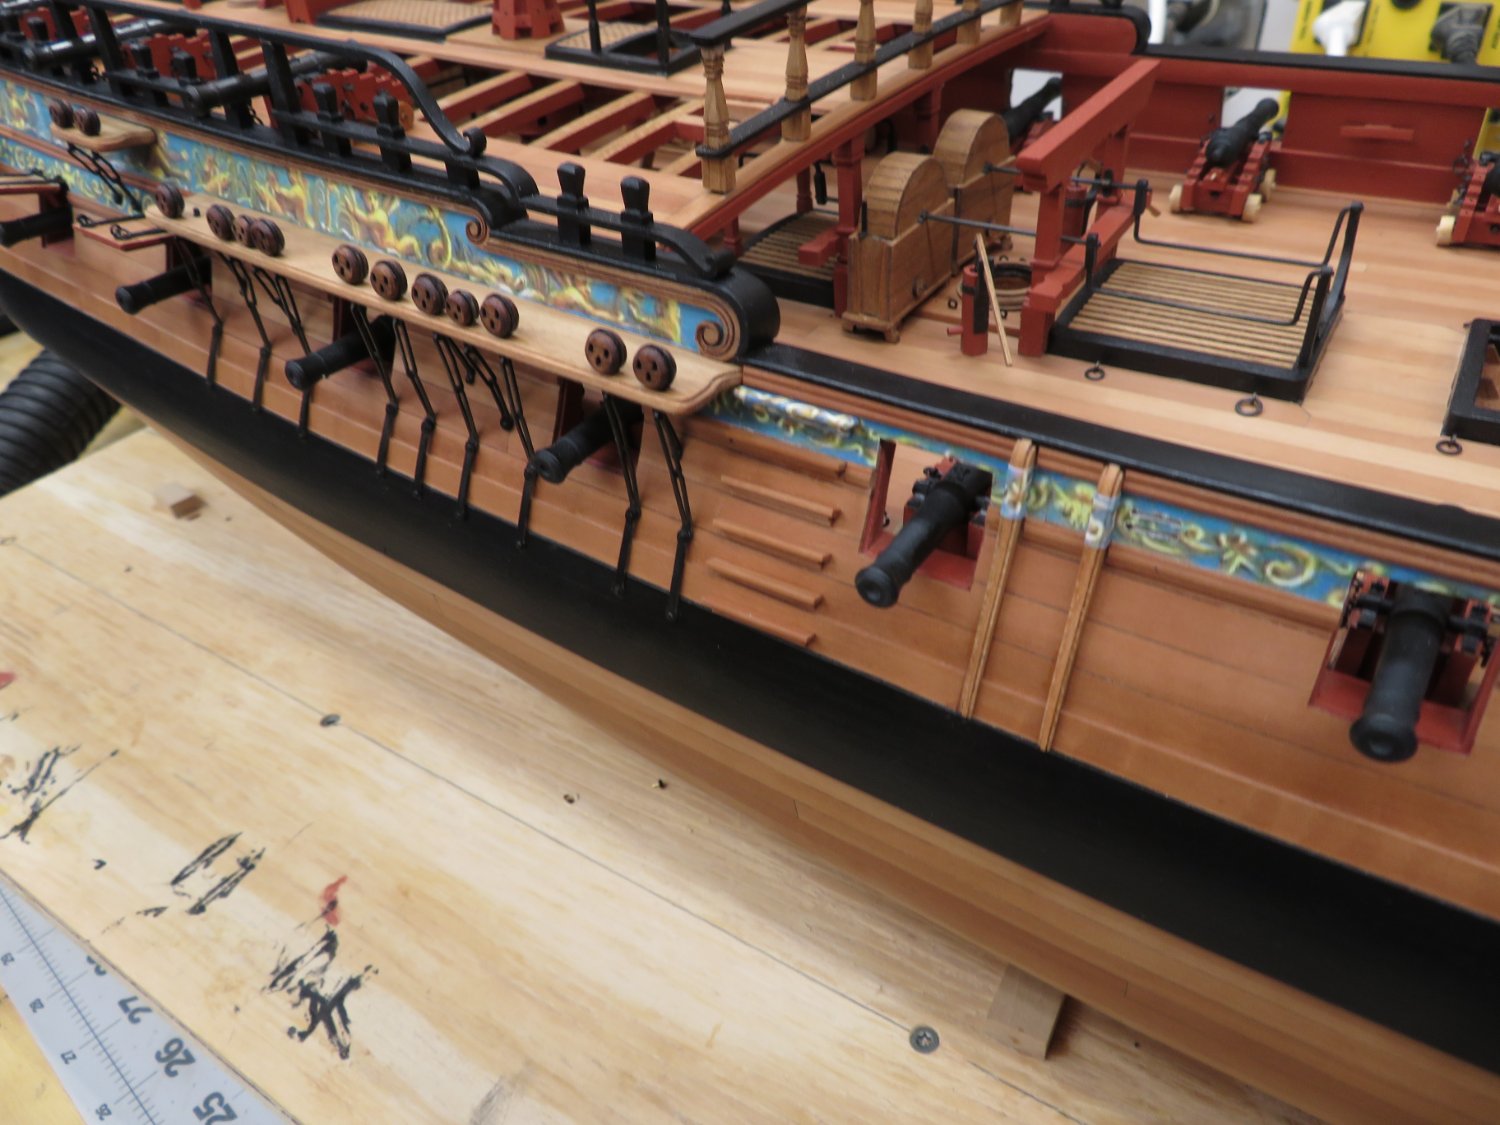
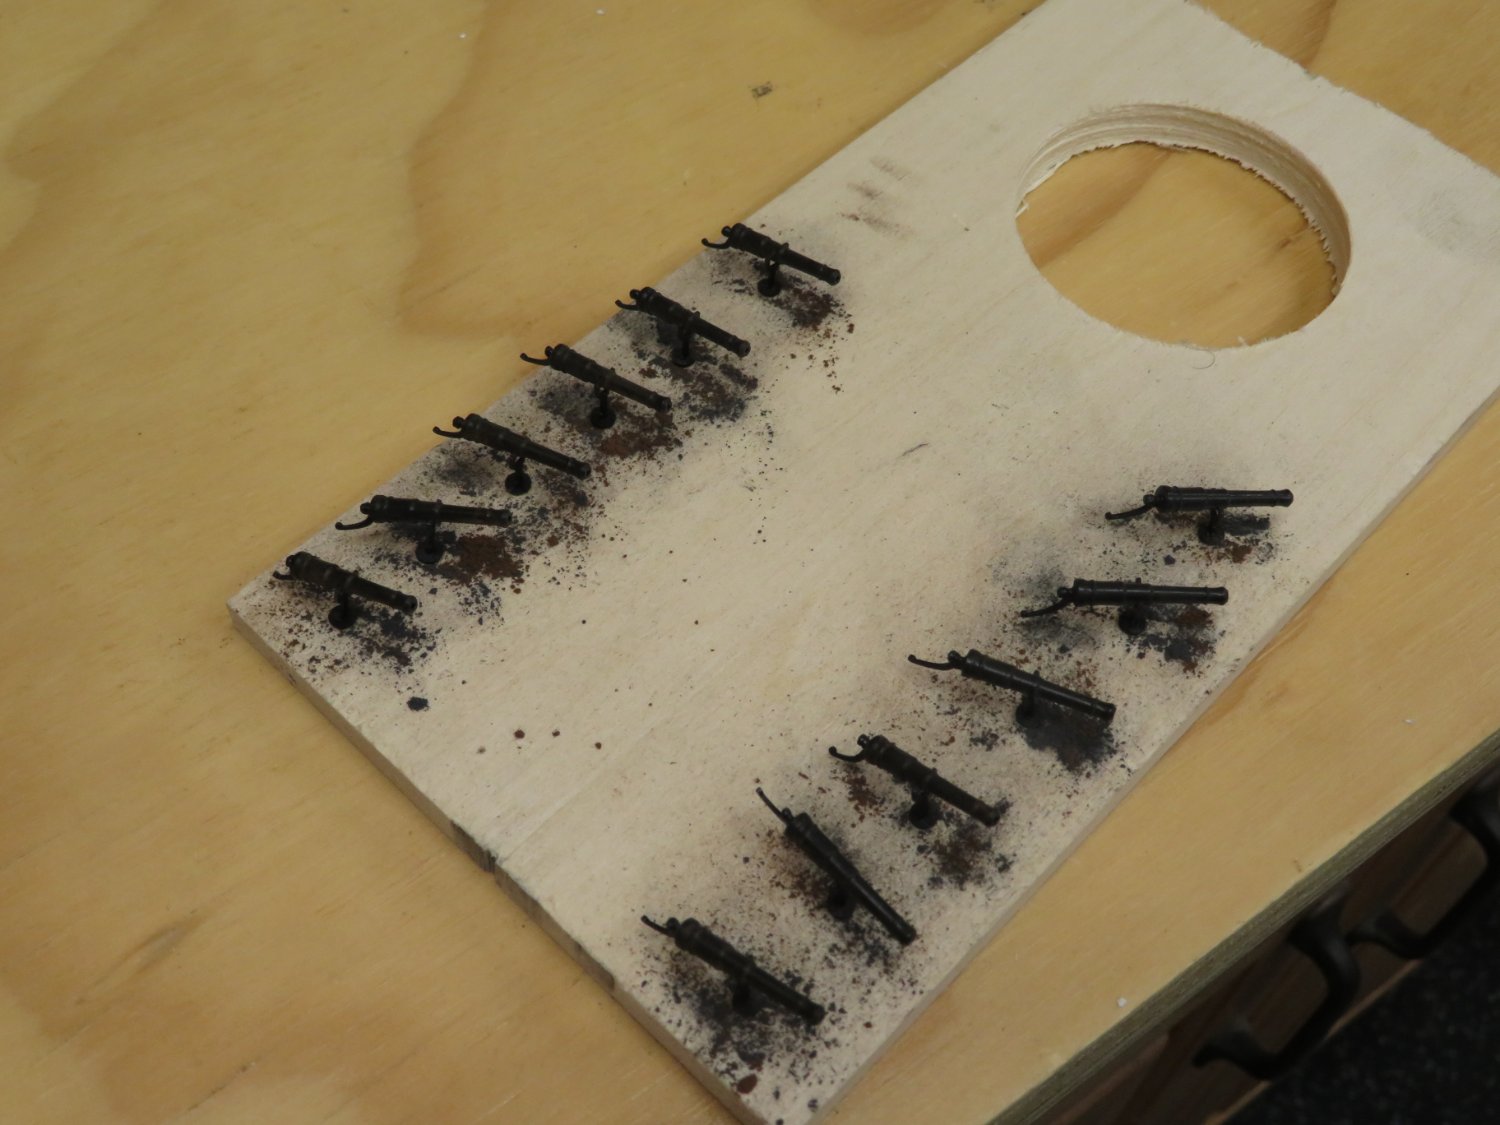
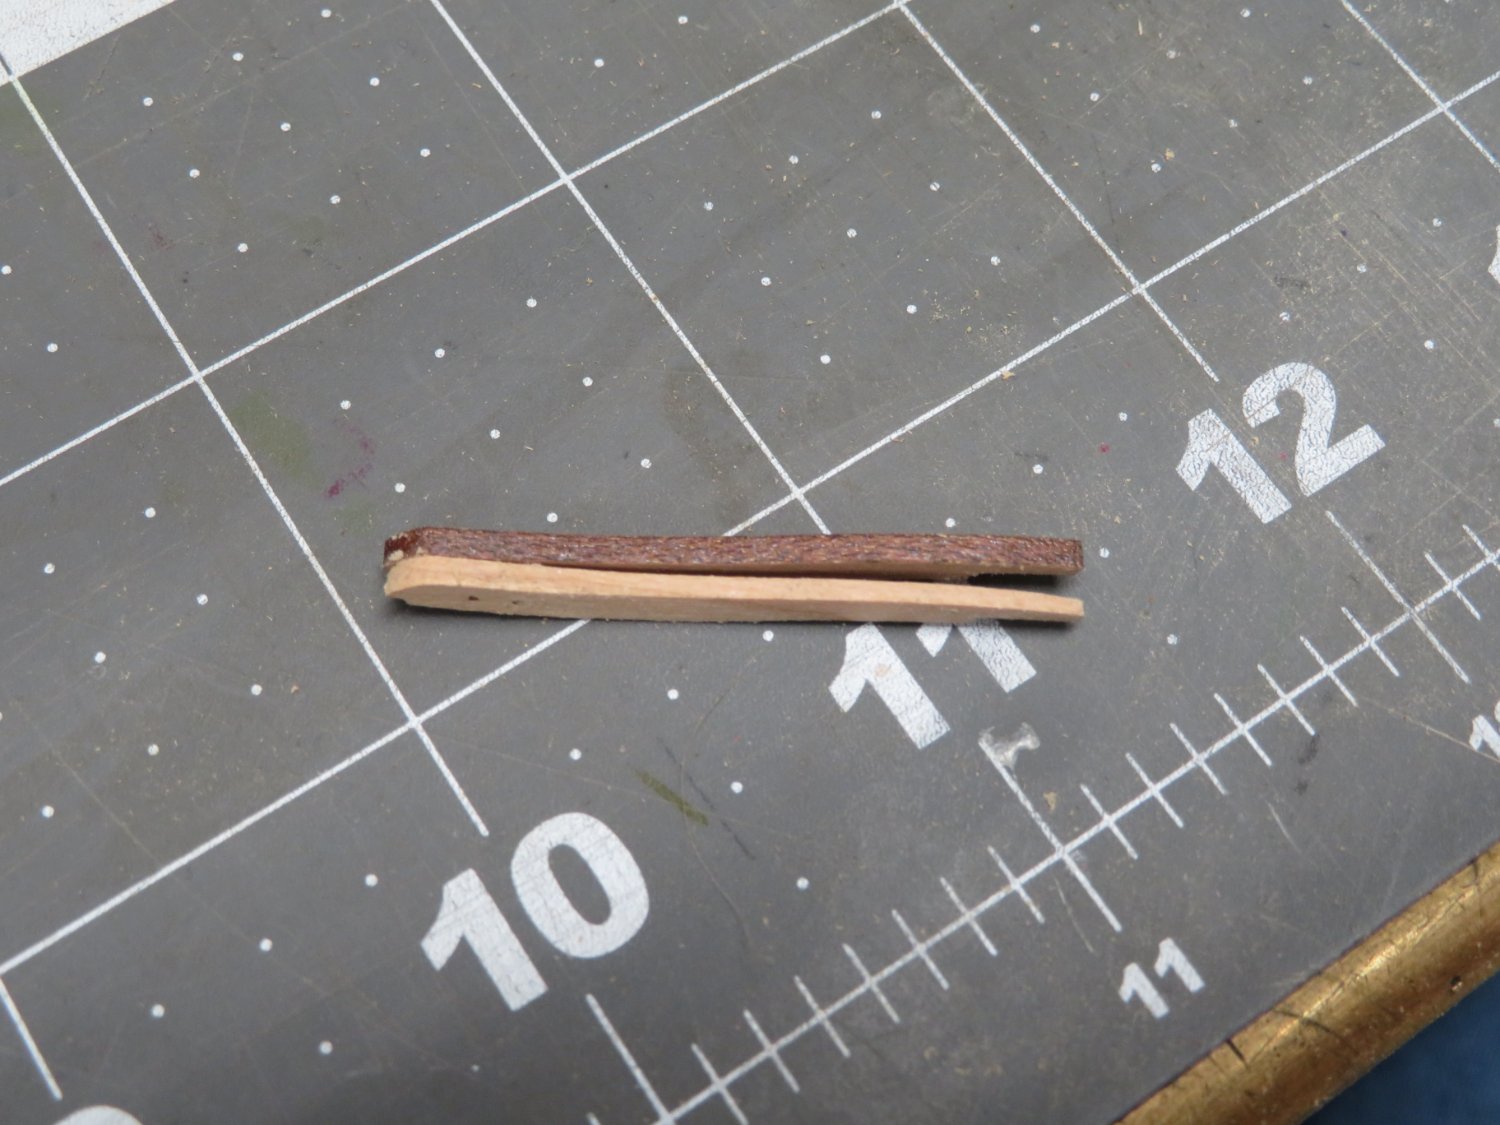
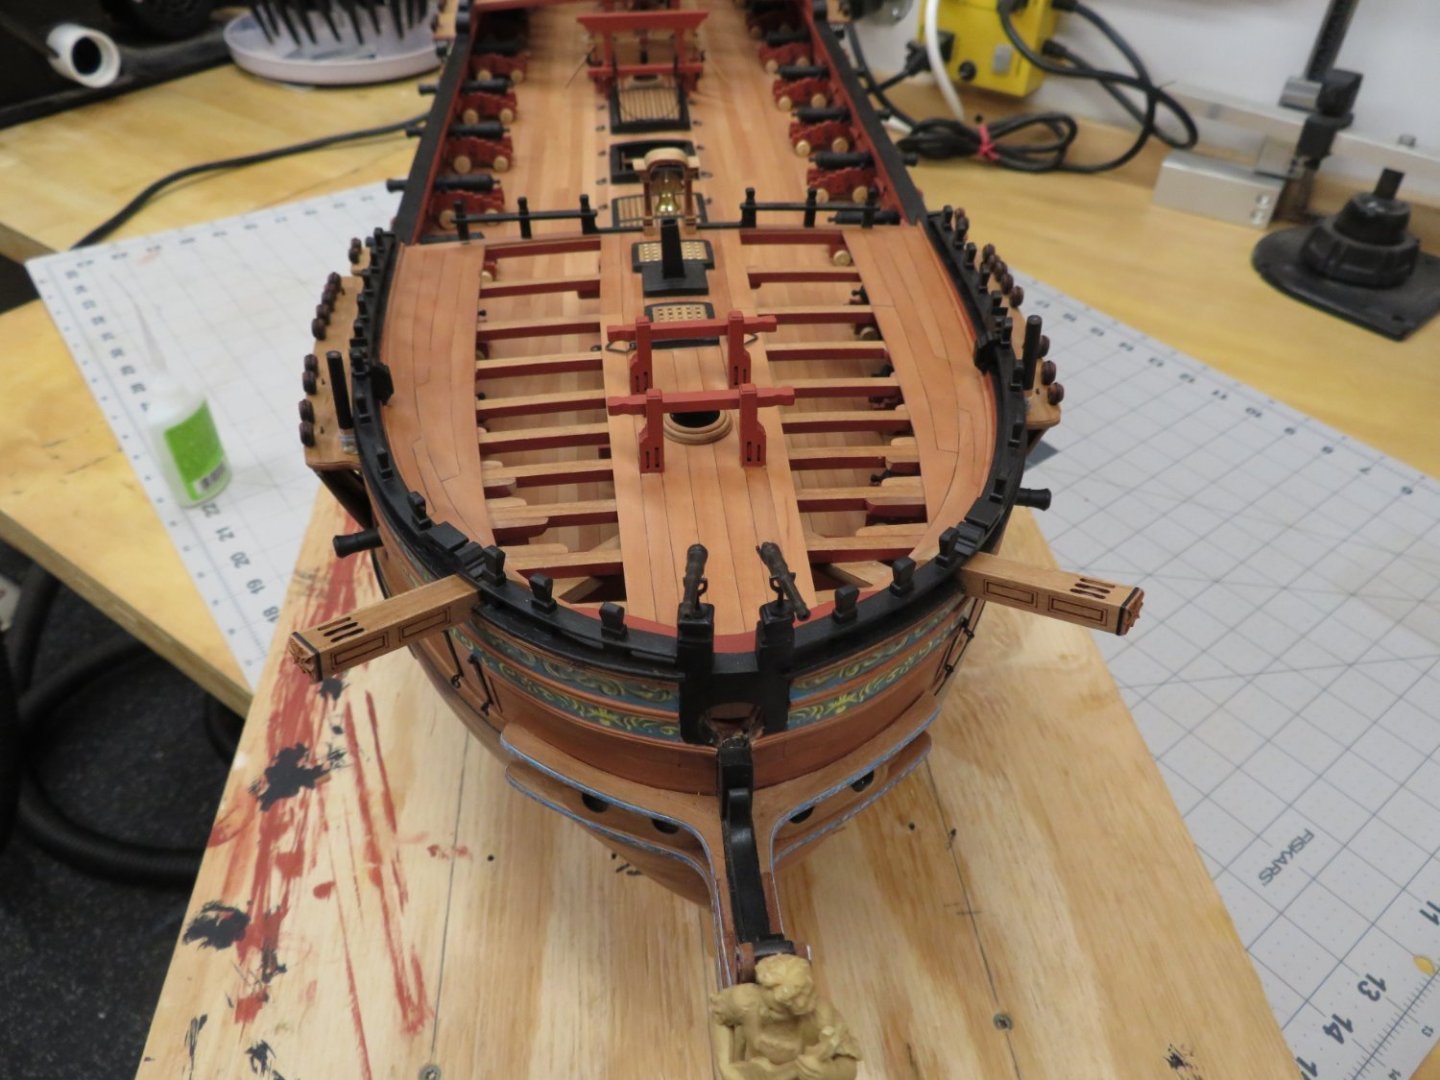
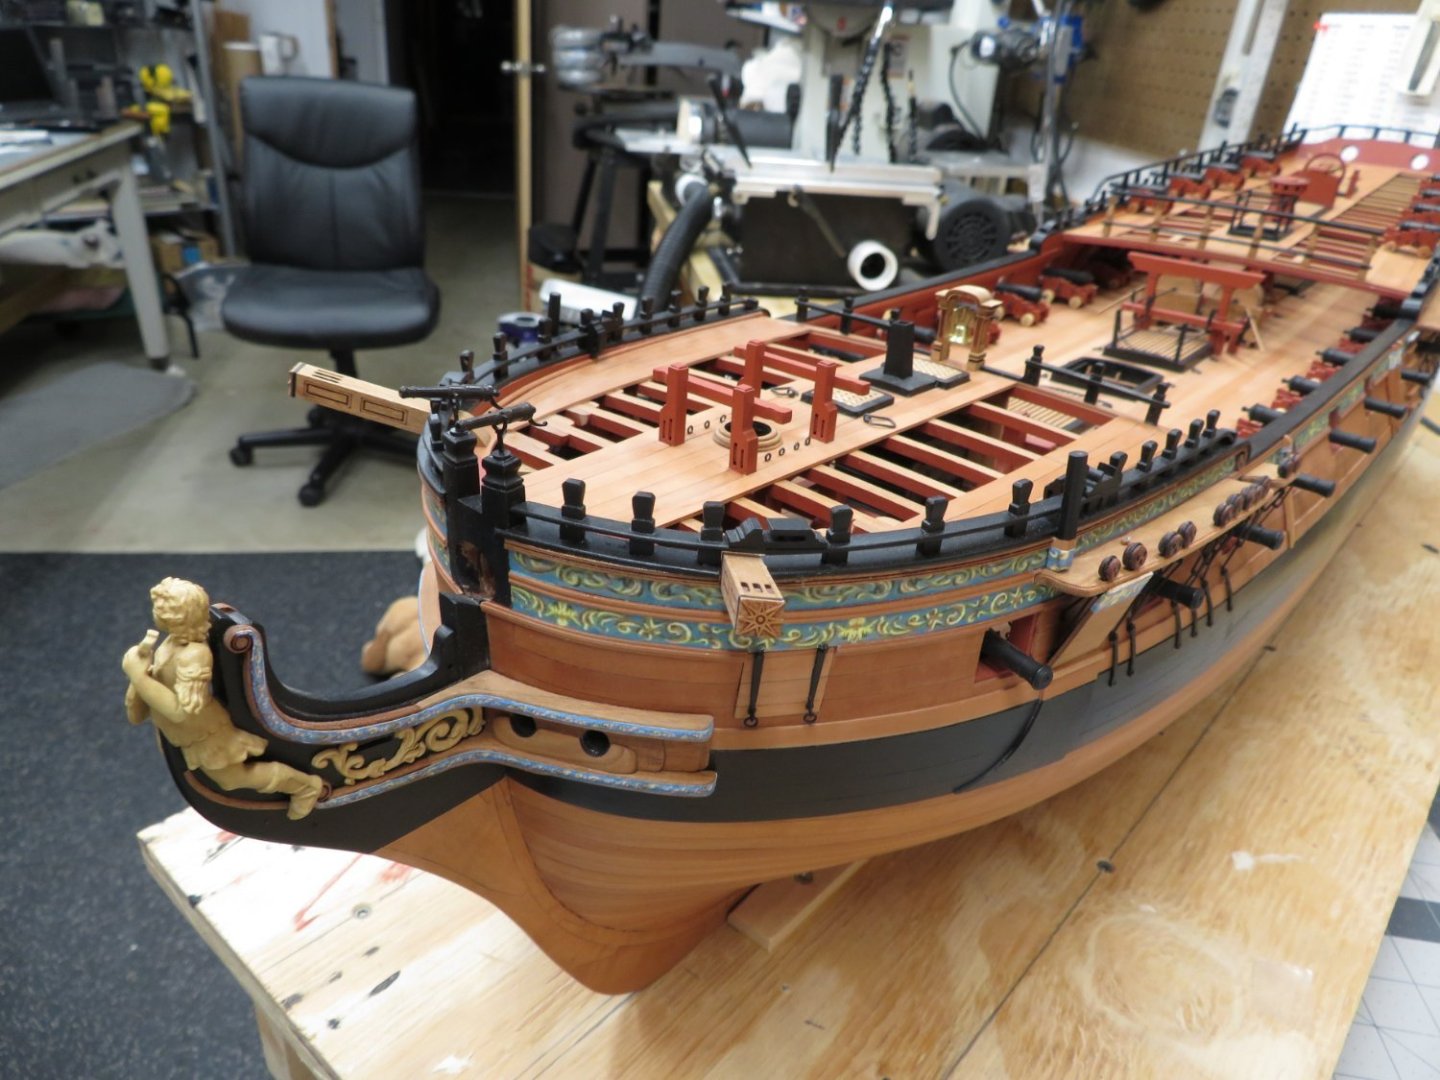
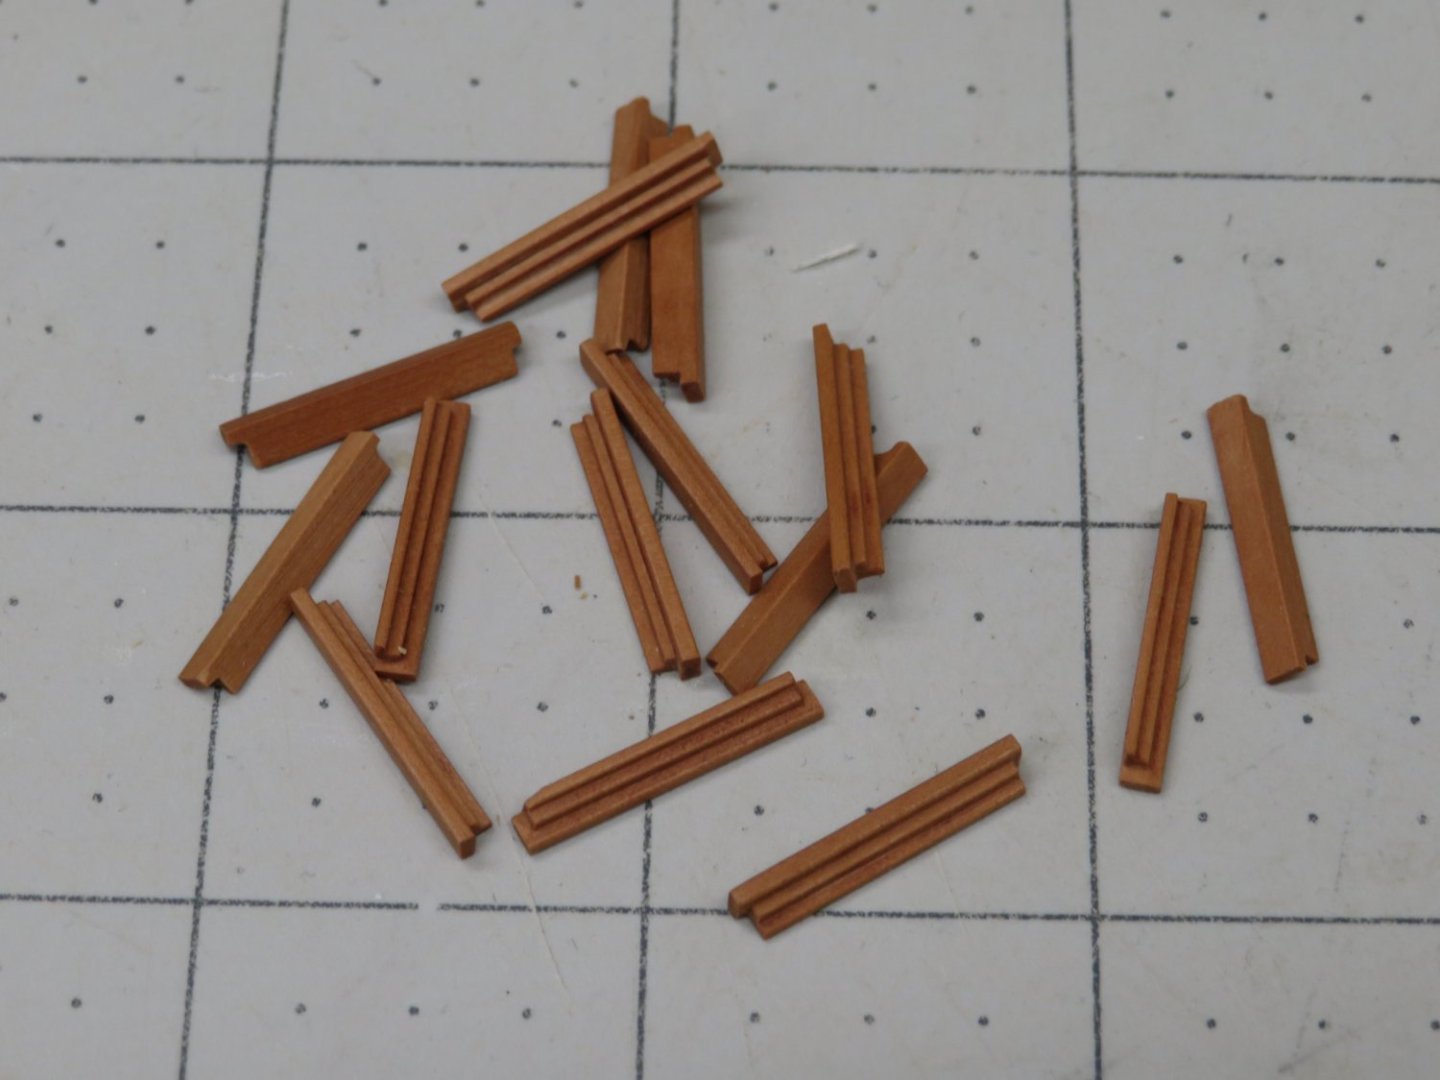
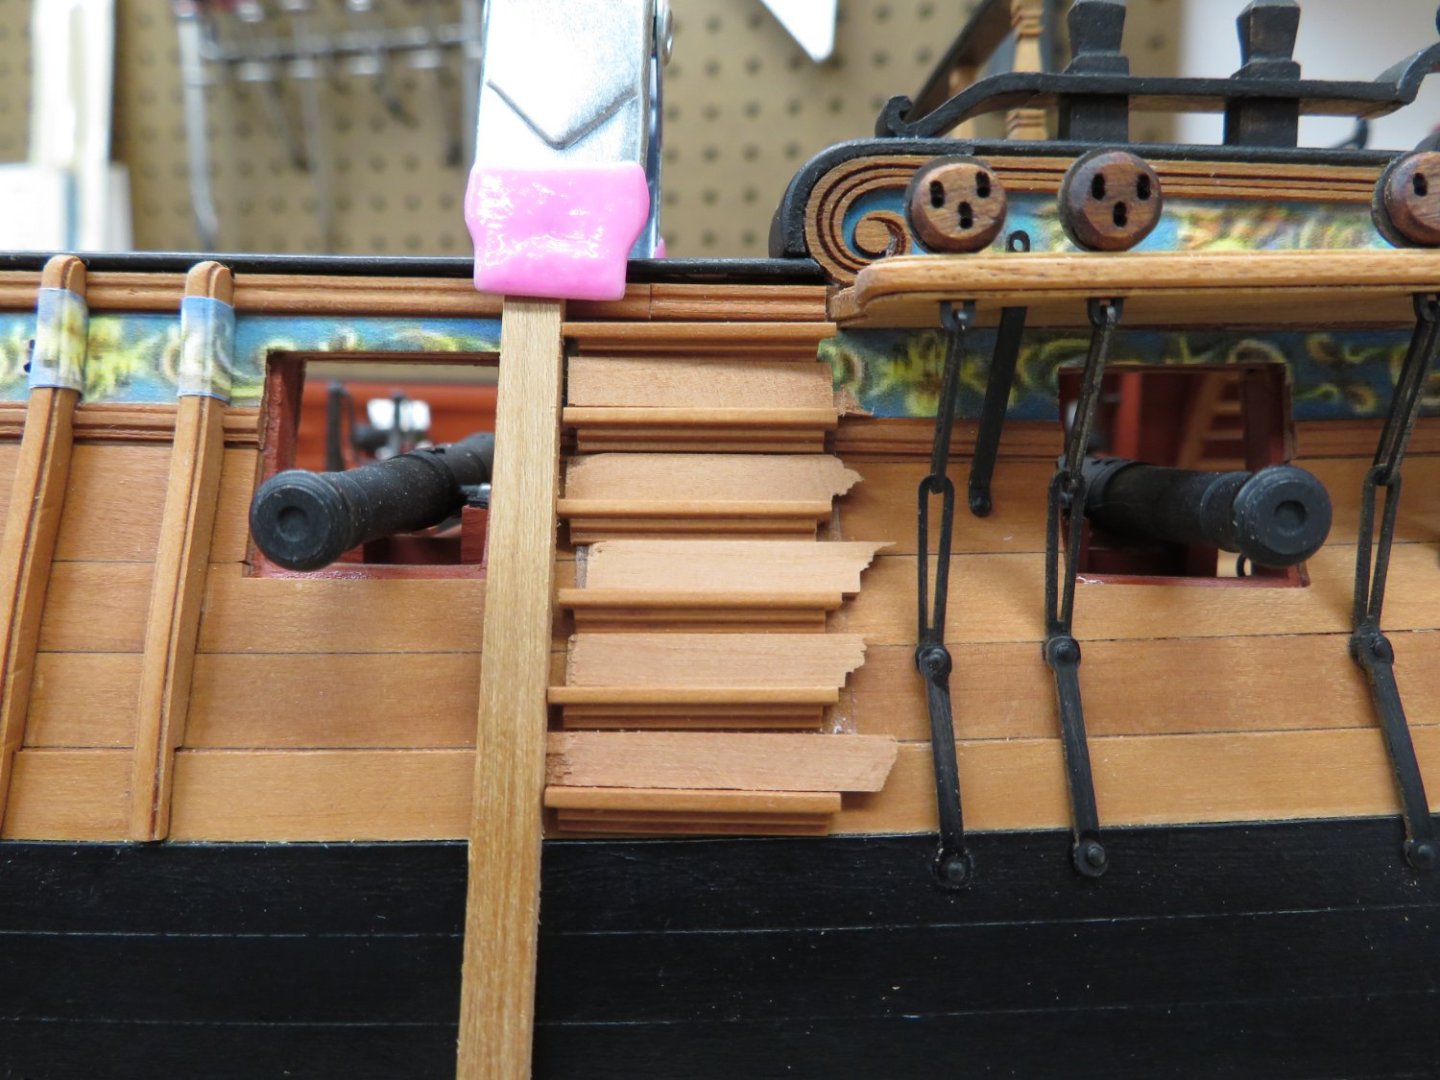
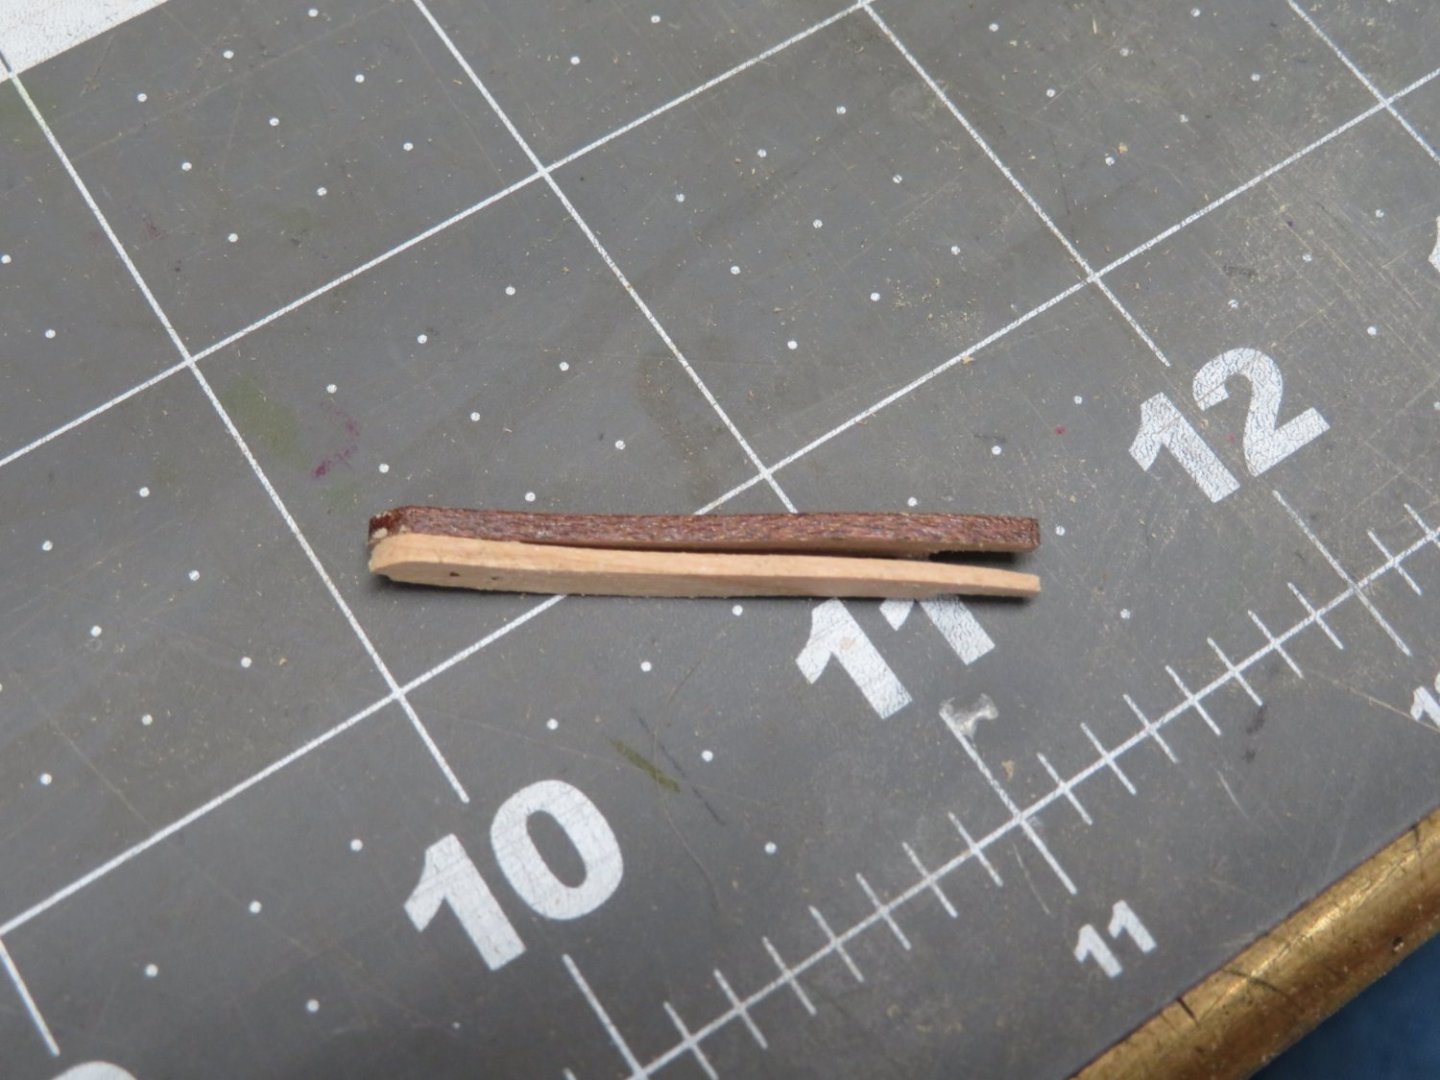
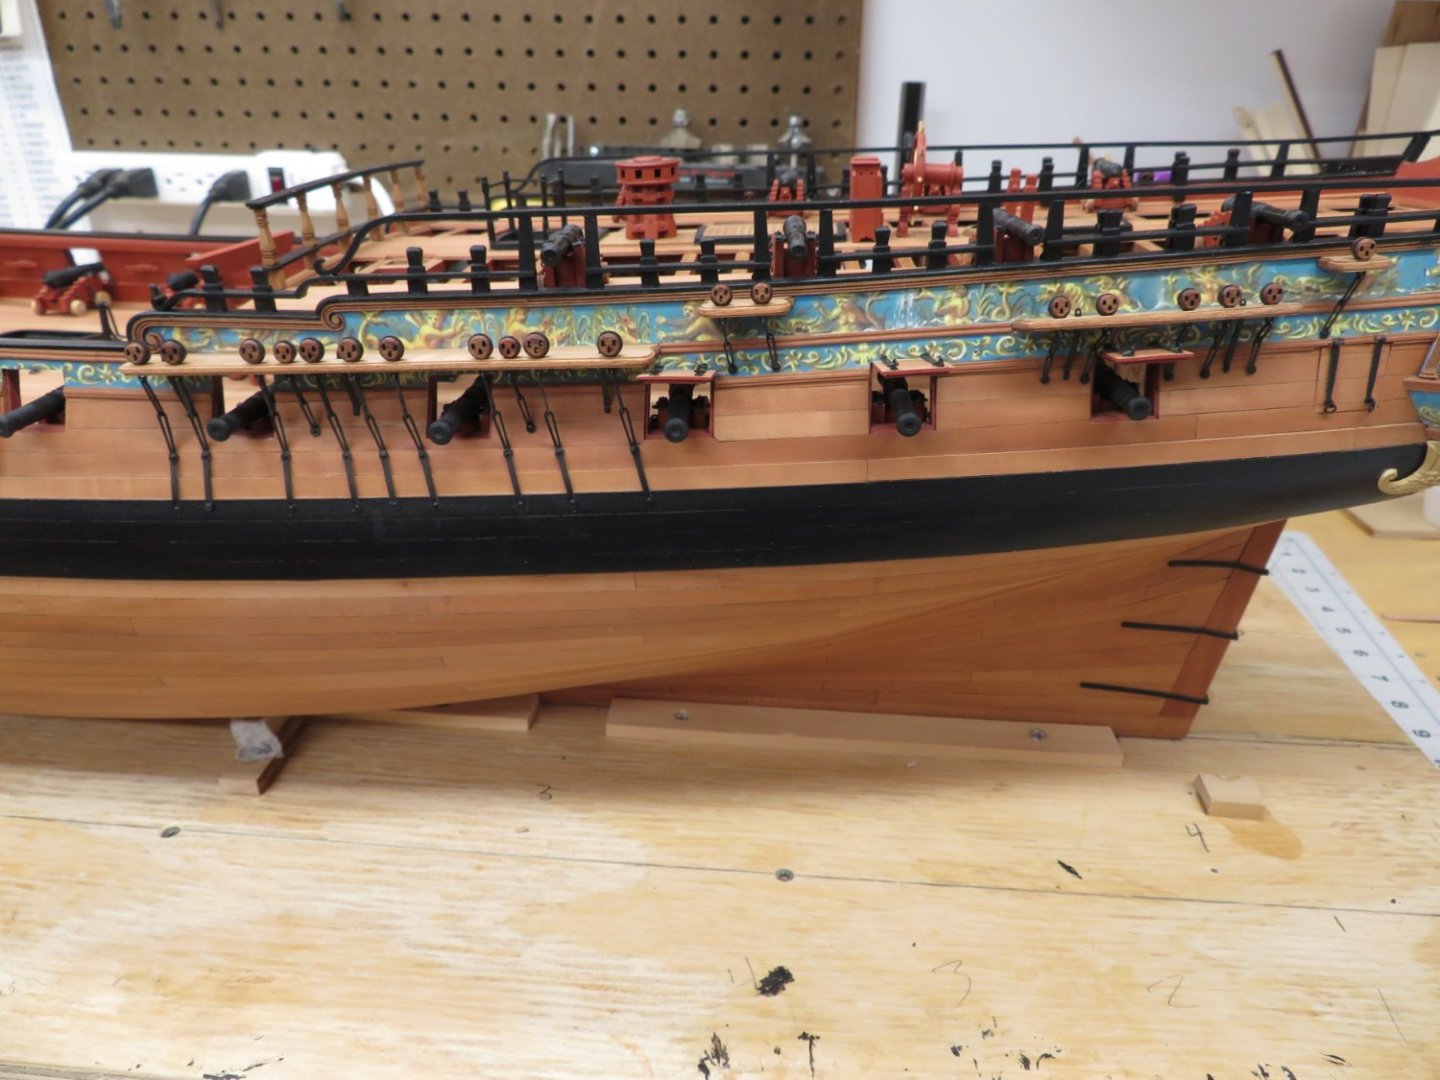
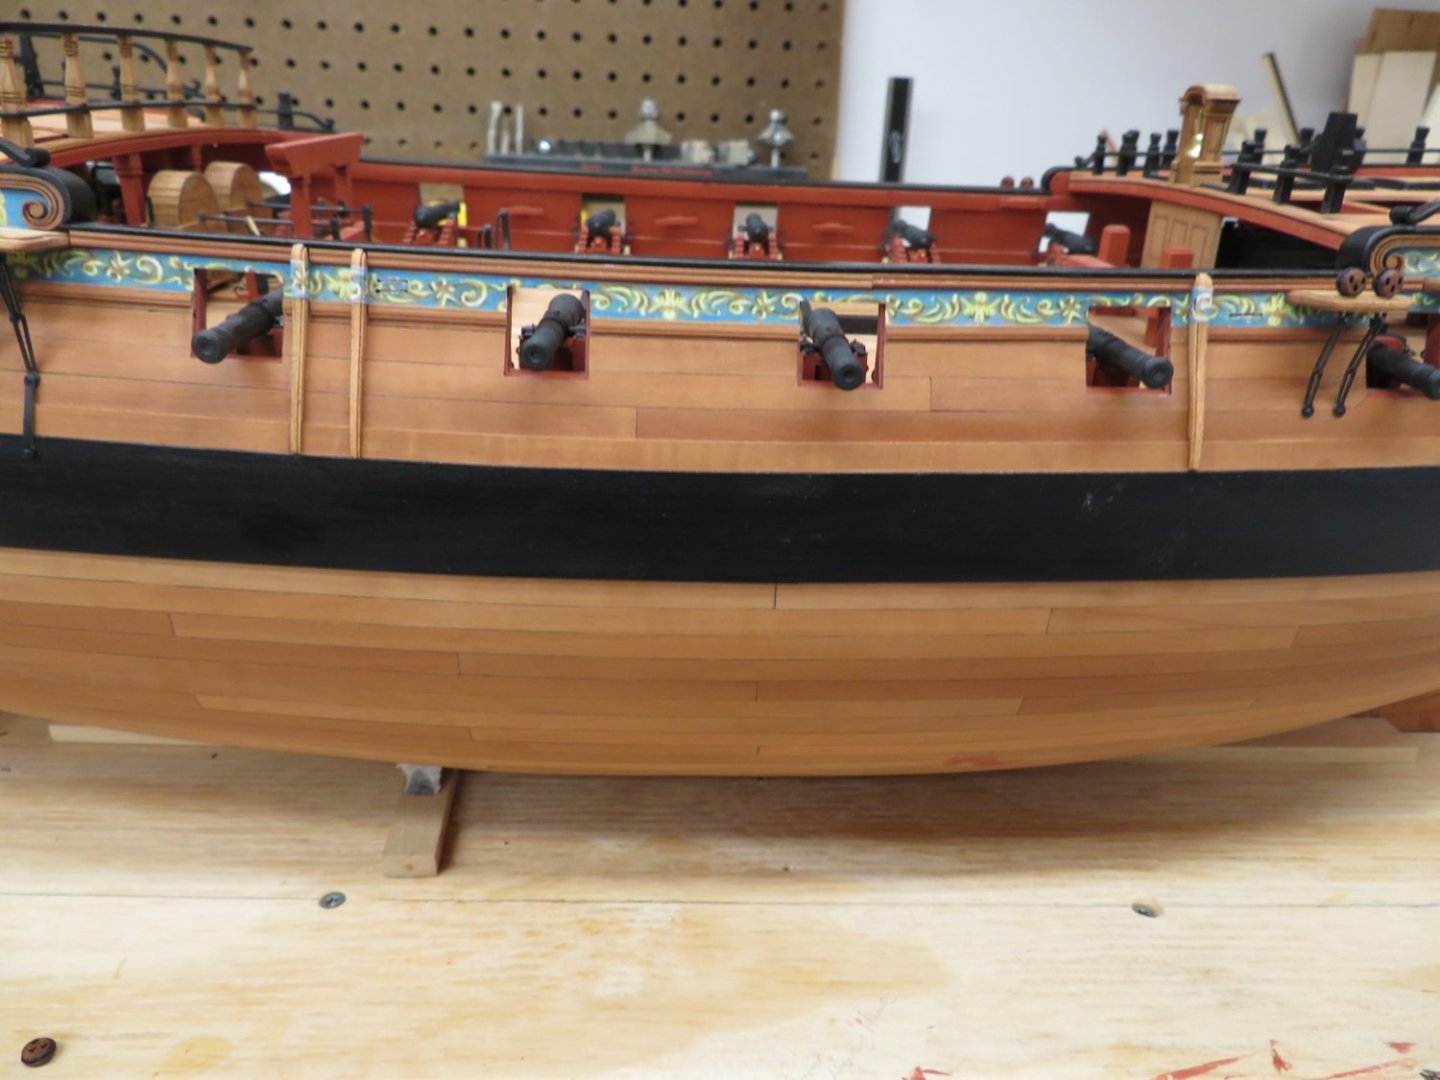
Hi all, Been a bit since my last post. Busy time of the year for me. I've moved on to the boarding ladders. I cut them on the table saw then used files and sanding sticks to finish the shape. The top step is wrapped in the frieze before placing on the hull. To determine the positions of the steps I cut some scraps to the desired width and tested the fit. I also clamped a strip to the hull to keep them in a straight line while testing the fit. And here they are glued in place. I've also weathered the swivel guns and started shaping the swivel gun stocks. More to come soon!


- 642 replies
-
- 15
-
-
- winchelsea
- Syren Ship Model Company
- (and 1 more)
-
Beautiful pictures, just like your model work.
- 840 replies
-
- 3
-
-

-
- winchelsea
- Syren Ship Model Company
- (and 1 more)
-
That's an excellent model and diorama Ron. Very well done!
- 542 replies
-
- 1
-
-
- Sphinx
- Vanguard Models
- (and 3 more)
-
I just caught up on your wonderful work Kevin. Well done! I'm trying to figure out how to work her into my modeling schedule. You are not making the wait easy!
- 443 replies
-
- 3
-
-
- Indefatigable
- Vanguard Models
- (and 1 more)
-
Very nicely done Mike!
-
Outstanding work Chuck!
-
Everyone has used all the good words to describe your decking. I'll just say well done!
- 840 replies
-
- 5
-
-
- winchelsea
- Syren Ship Model Company
- (and 1 more)
-
Well done Mike. That is some clean, tight joinery. I can't wait to see your approach to the frames!
-
Congratulations on finishing Mike. You have completed one fine model. Your build log will be a superb guide for all who follow!
- 607 replies
-
- 1
-
-
- winchelsea
- Syren Ship Model Company
- (and 1 more)
-
Yes, those planks really do stand out. Remember there as a lot of stuff added to the deck that would obscure some of the planks. If I were going to do it I would use a sharp xacto or scalpel blade and cut just inside the seam/joint. Take the center portion out and then carefully work my way out to the seam/joint. Hopefully that would help minimize the damage to adjoining planks. A metal straight edge would help too. Good luck if you decide to do it!
-
Thanks Chuck. Fiddley yes but still fun!
- 642 replies
-
- 3
-
-
- winchelsea
- Syren Ship Model Company
- (and 1 more)
-
I always knew you were very innovative but wow this is so next level!
-
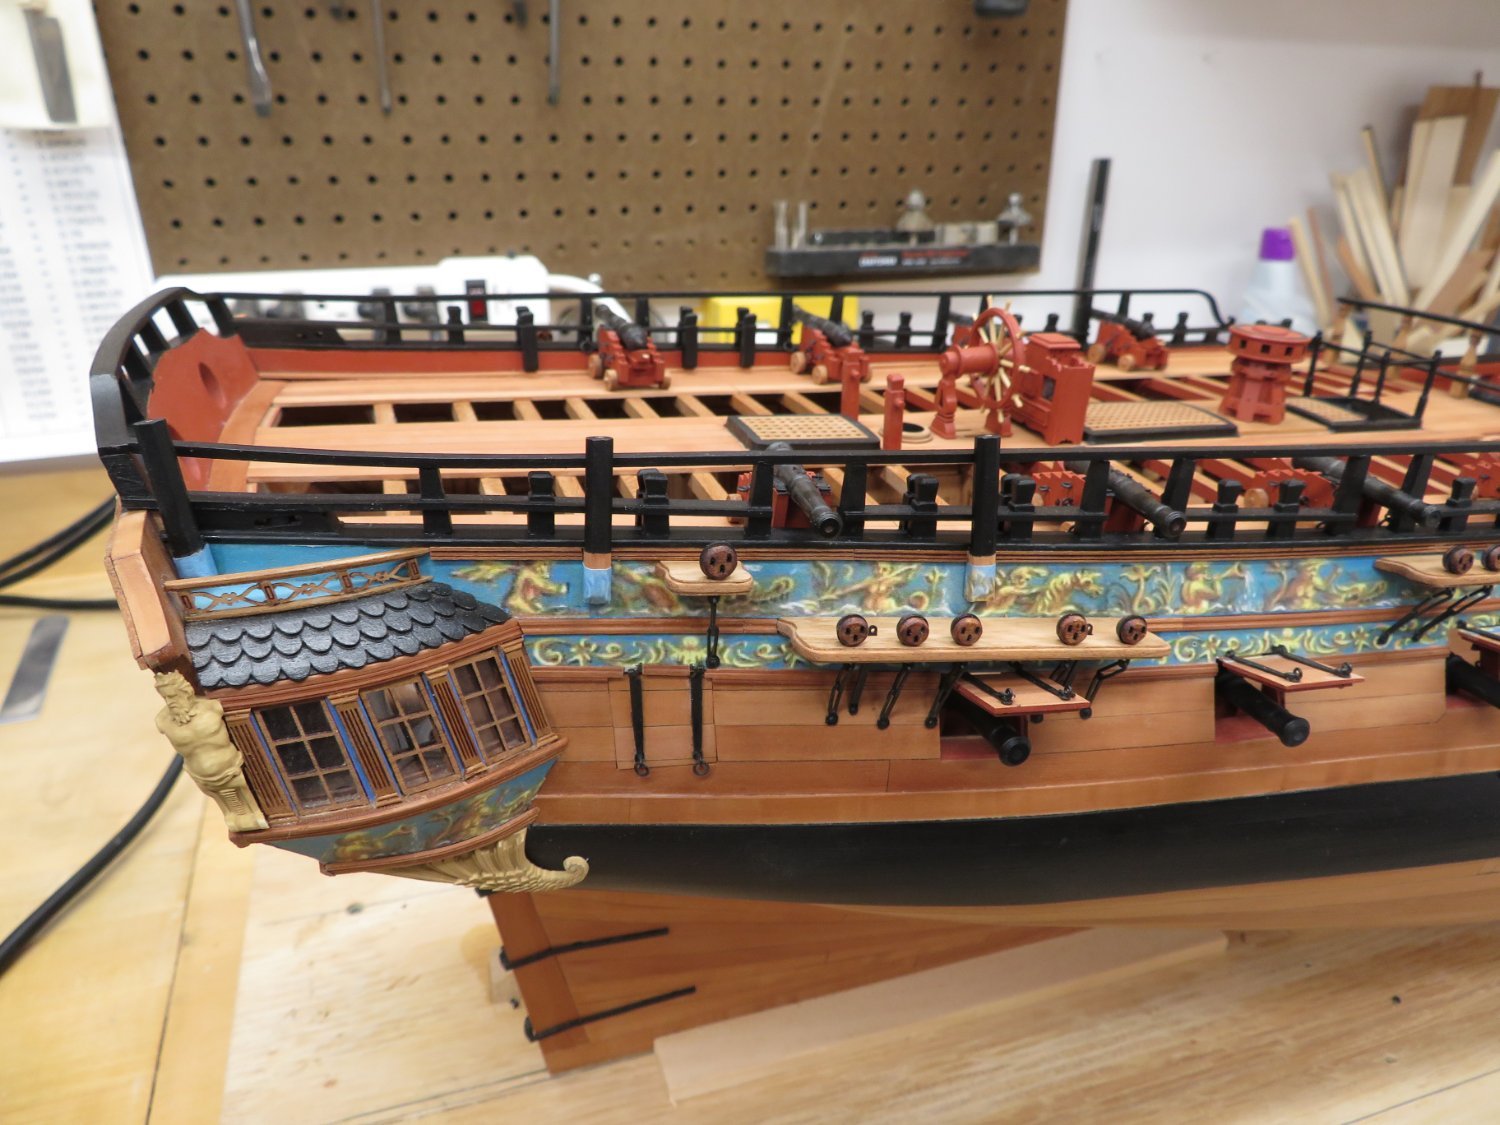
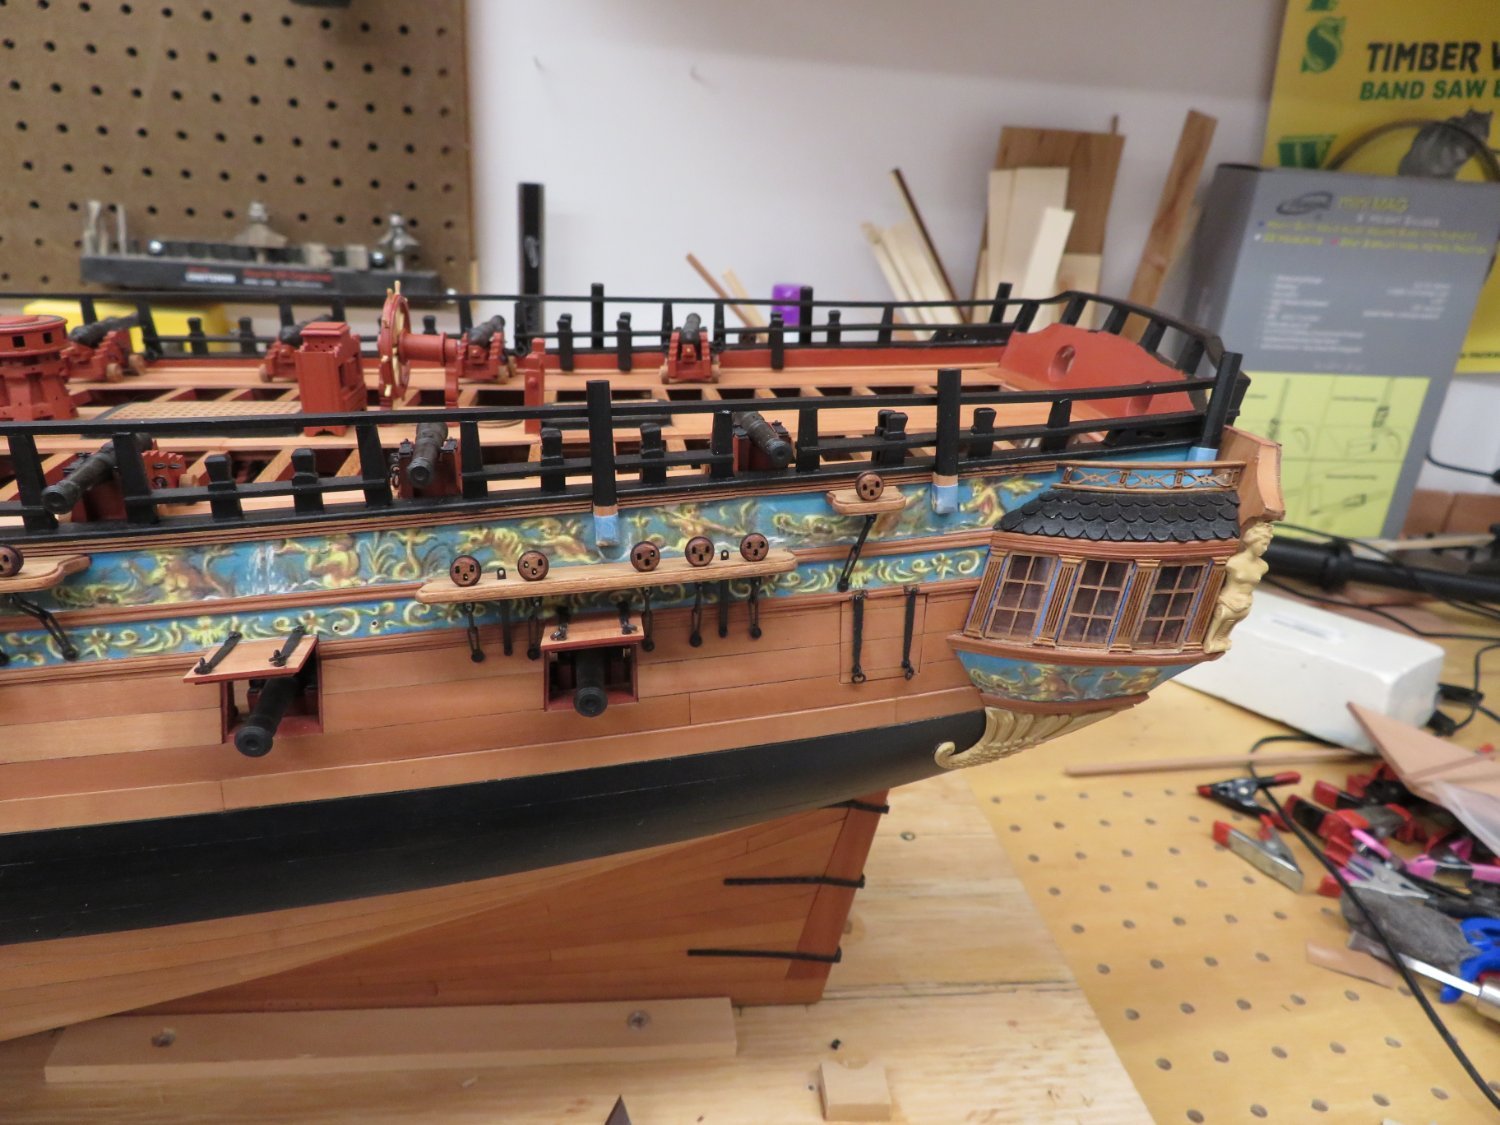
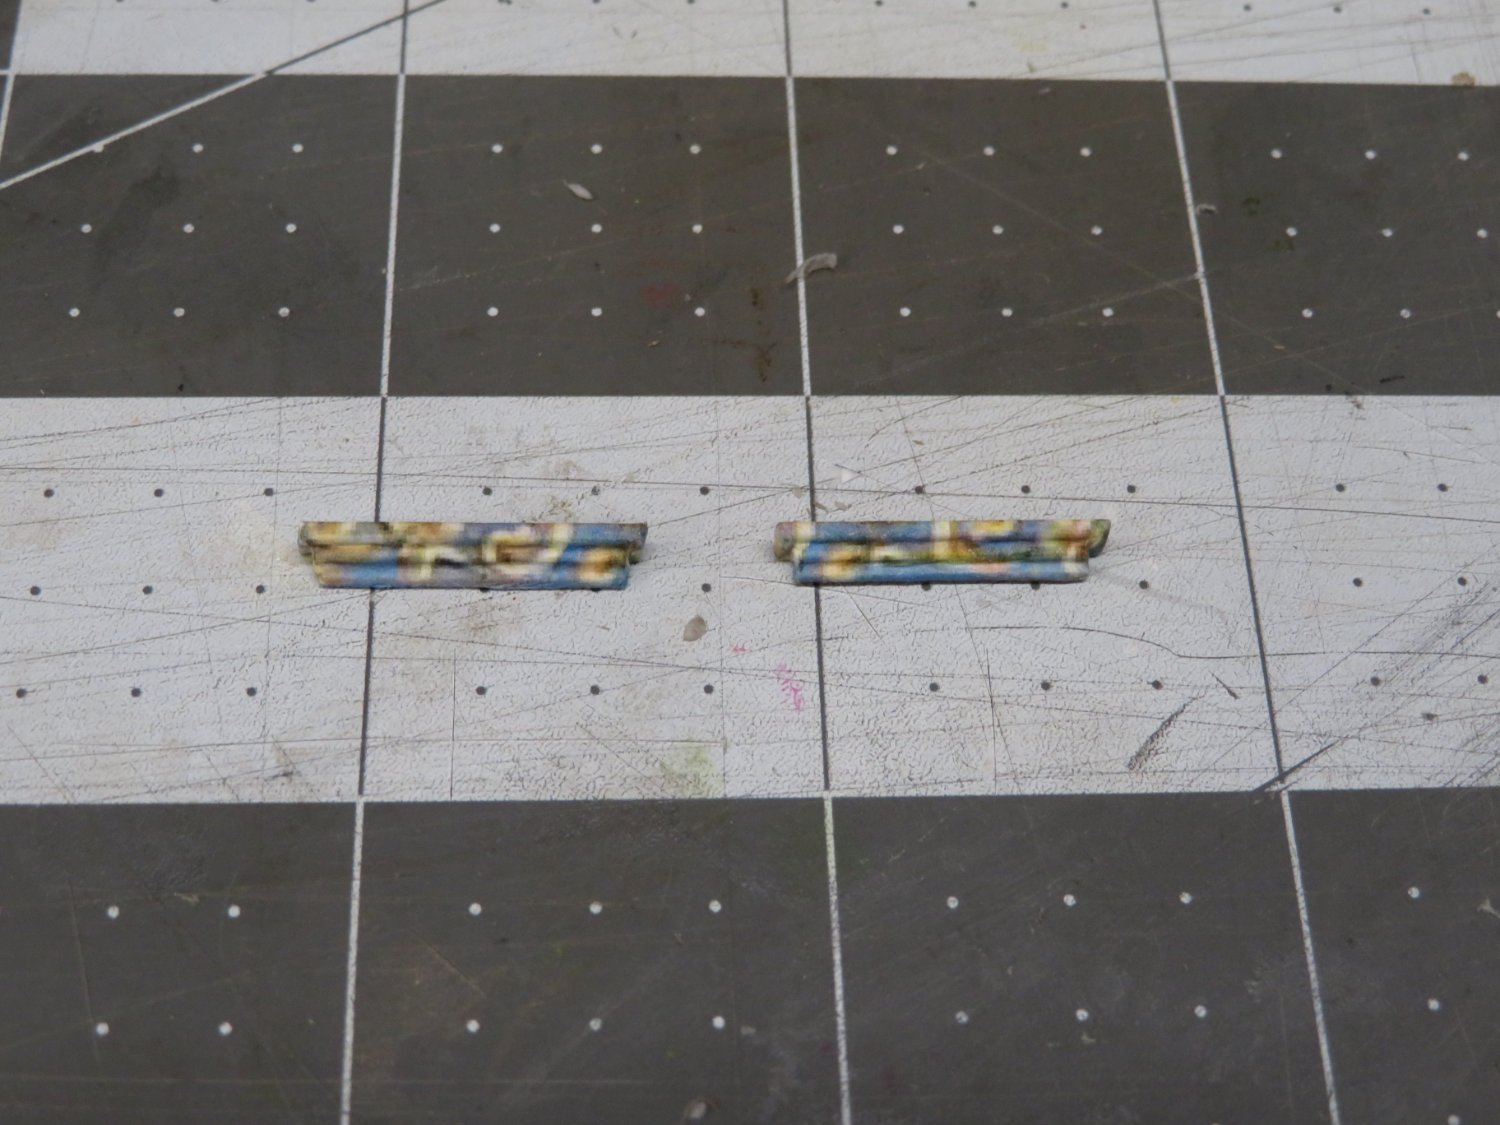
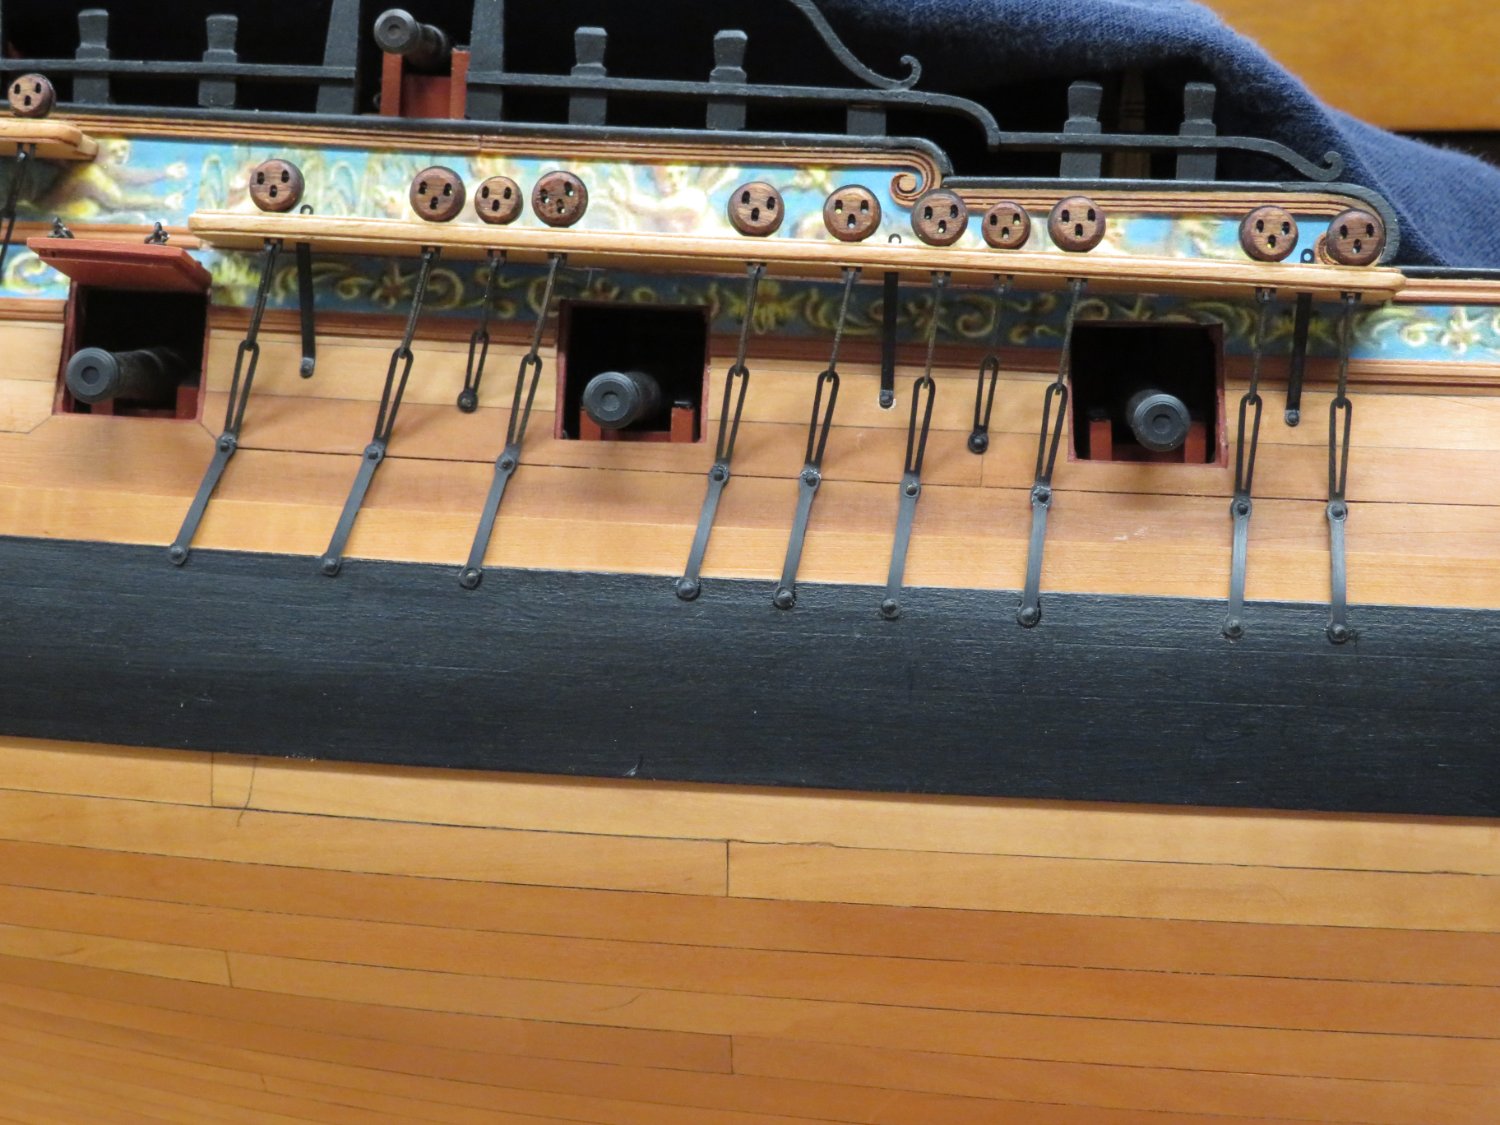
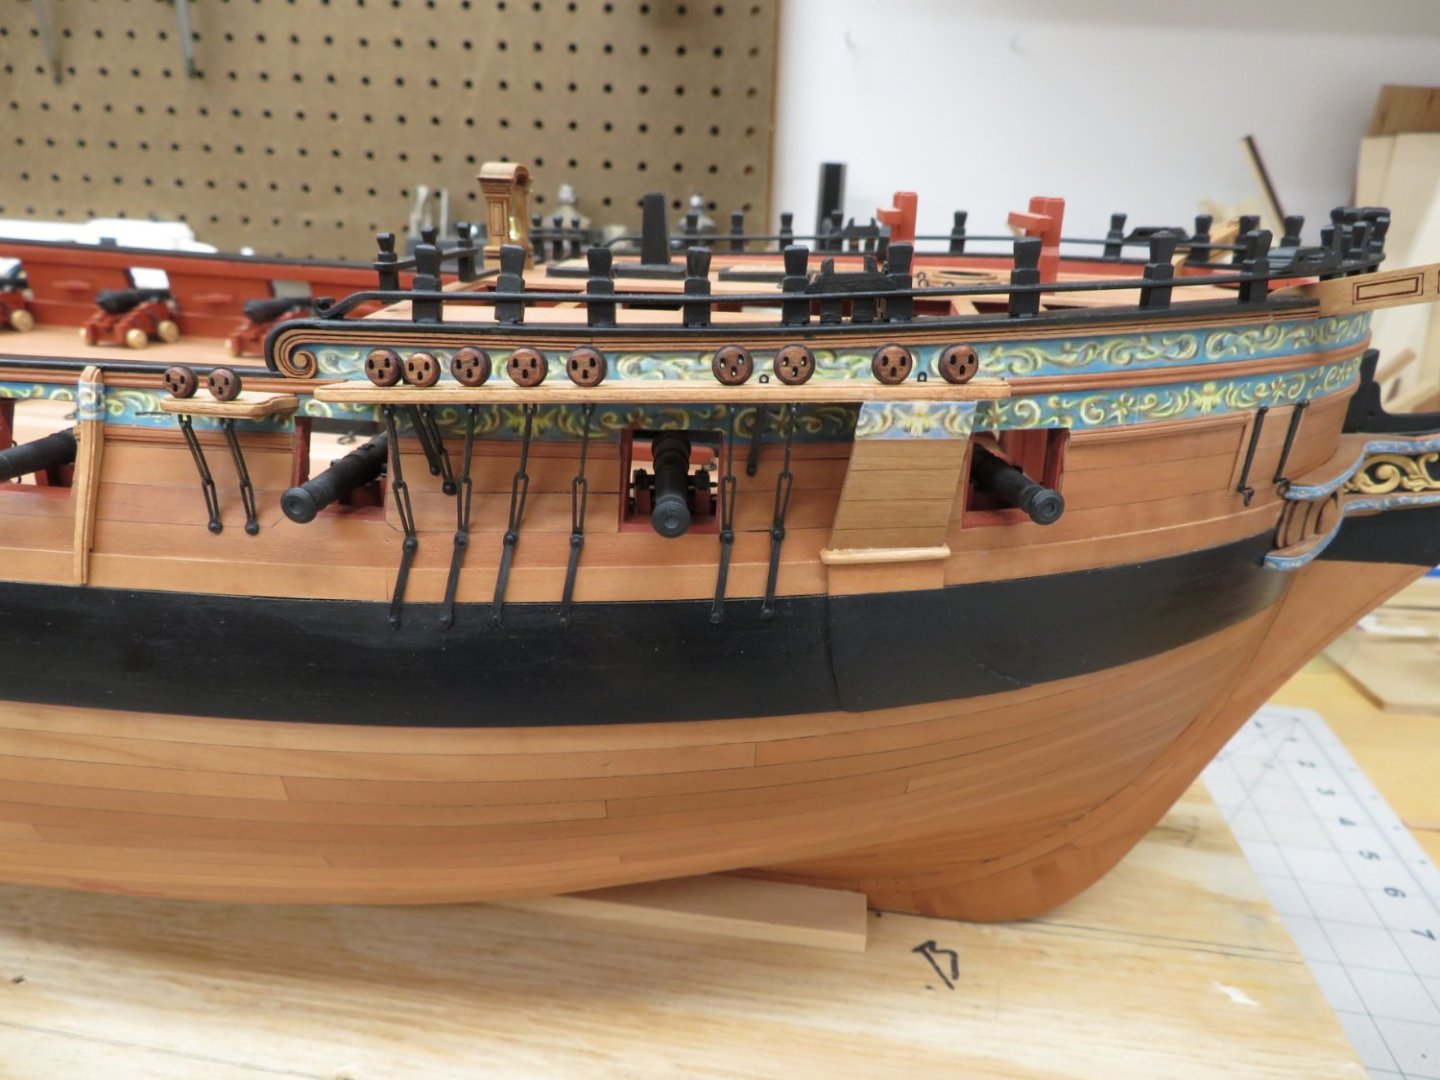
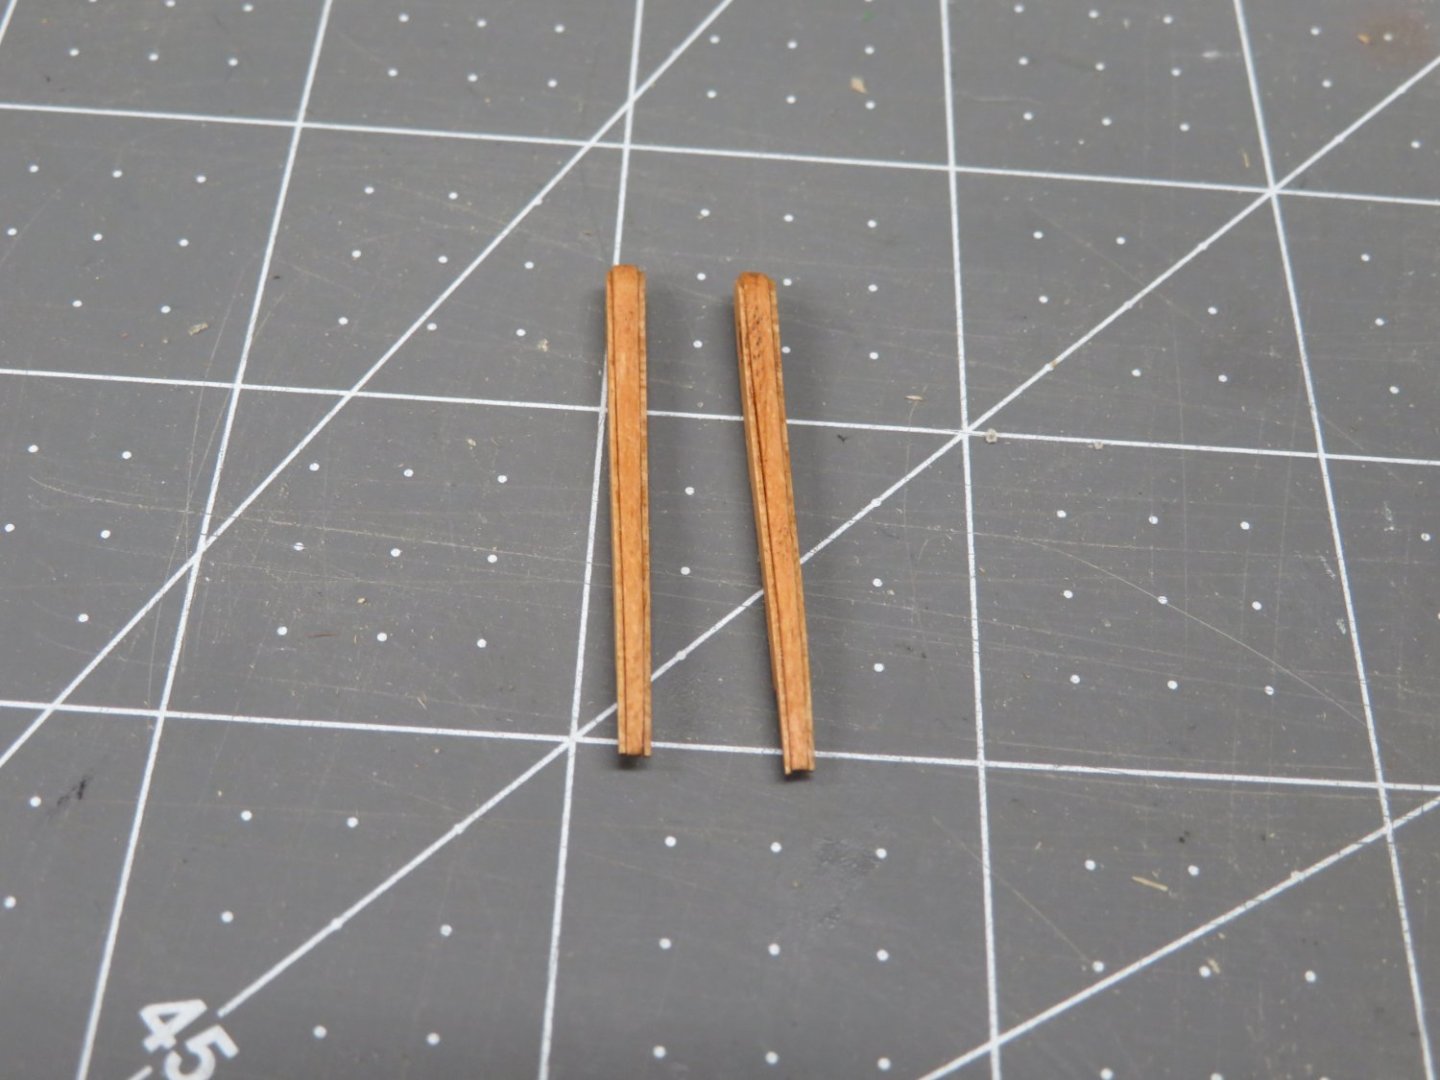
Thank you, Glenn and Ben. Also, thanks for the likes. The deadeyes have been completed on both the port and starboard sides. On top of the anchor linings are the billboards. They are laser cut from cherry and required just a little sanding to get them to fit. Then the frieze was added to the top of the billboard. So, when you print out the friezes for the hull in chapter 3 don't discard them like I did as you will need them still in this chapter. After the billboards there were fenders and chesstrees. They are assembled in three pieces but prior to putting them together the center piece needs to be tapered. You can see the laser cut piece and with the one sanded and tapered. Once assembled I sanded the outside layer even a little thinner. The frieze was then added, molding trimmed and then glued in place. Now I was looking at the plans and realized I need to make 34 more eyebolts before I can start on the boarding ladder and swivel guns. Like gun carriages it seems the eyebolts never end.

- 642 replies
-
- 17
-
-
- winchelsea
- Syren Ship Model Company
- (and 1 more)
-
Very nice work JJ. "Adjustments" are not an issue when you can make them look that good!
-
As all have said, that is one beautiful model. Your craftsmanship is excellent! Well done.
- 345 replies
-
- 3
-
-
-
- Duchess Of Kingston
- Vanguard Models
- (and 1 more)
-
The planking is looking good! I'm glad to see you redoing pieces you're not happy with.
-
Wow ten wonderful years! Congratulations.
-
I've pinned all of the chainplates to the hull on the starboard side. I'm now moving to the portside chainplates. Once they are completed I'll start on the billboards, chesstrees, fenders and boarding ladders.


- 642 replies
-
- 19
-
-
-
- winchelsea
- Syren Ship Model Company
- (and 1 more)
-
Thats some nice planking Frank. Slow a steady as Chuck says. You've definitely gotten the hang of it!
-
Thanks for the kind words Frank. Also thanks for all the likes. Update coming soon!
- 642 replies
-
- 1
-
-
- winchelsea
- Syren Ship Model Company
- (and 1 more)
-
Congratulations Jim, You have made a beautiful model that you should be very proud of!
- 105 replies
-
- 1
-
-
- winchelsea
- Syren Ship Model Company
- (and 1 more)