


Rustyj
-
Posts
2,516 -
Joined
-
Last visited
Content Type
Profiles
Forums
Gallery
Events
Posts posted by Rustyj
-
-
Boy that looks fantastic!
-
Congratulations Bob! You've done an outstanding job.
-
Great planking! Well done!
-
-
Hi Glenn, I think you're going to love this build and we're going to love following along.
It's always fun to see how each modeler approaches a build.
- Saburo, glbarlow, Ryland Craze and 1 other
-
 4
4
-
Yes it is very nice!
-
Great information Ben. Thanks
- FrankWouts and Trussben
-
2
-
The Winnie is not the simplest hull to plank even with Chucks great guidance.
You're doing a good job and I'm sure you're improving with every plank you do.
Keep up the good work!
- FrankWouts, BobG, Gregory and 2 others
-
5
-
Looking really nice Ben. A lot of fun planking in your future!
-
Looking really nice! The fun has now begun!
-
Thanks Glenn, Funny your builds have always inspired me!
I agree the cherry on our Fair American's have aged very nicely.
A large portion of the pear I'm using came from Jeff too.
- glbarlow and FrankWouts
-
2
-
Thanks scrubbj427.
Thanks Chuck, the pear is kinda like cherry on steroids. It'll be interesting to see how it ages.
- FrankWouts and Ryland Craze
-
2
-
Thanks Ryland. I've never used this much pear before and I'm happy with the look.
Thanks everyone for the likes too!
- Ryland Craze and FrankWouts
-
2
-
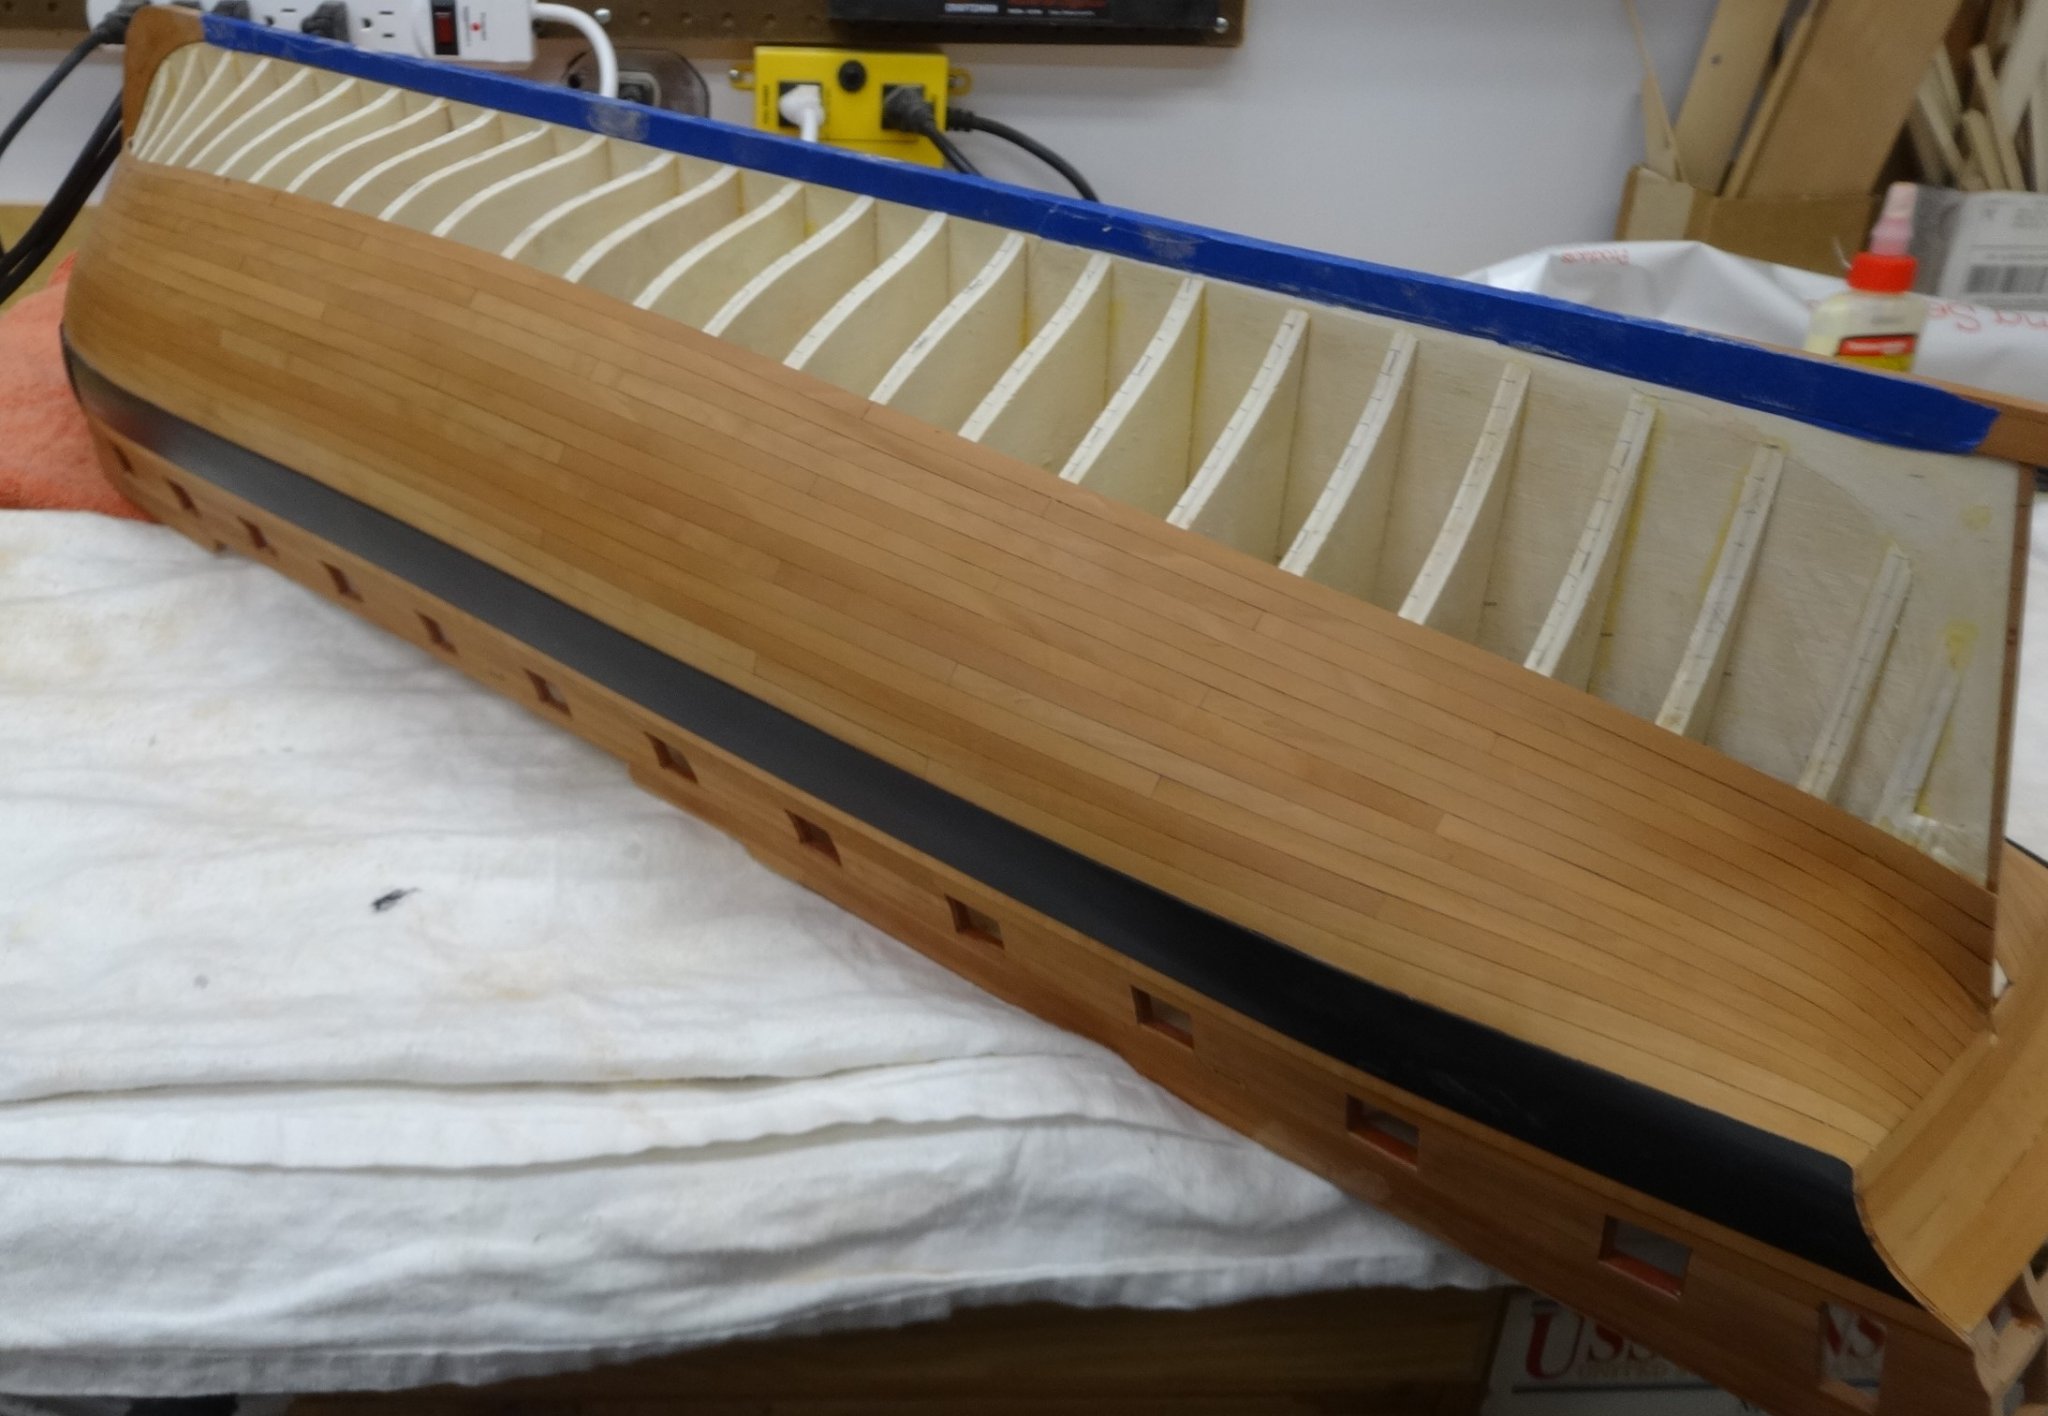
It's been 5 weeks and I've been slowly plodding along.
I've now planked the second band of six strakes on both the port and starboard sides. The
number of planks broken or miss shaped are too numerous to keep track of. Also on the
starboard side after resting for the night and then resuming the next day I did not like the look
of first three strakes. So the first two planks from the stem aft were removed and redone.
Here's how she looks right now. I'll be starting from the keel up next.

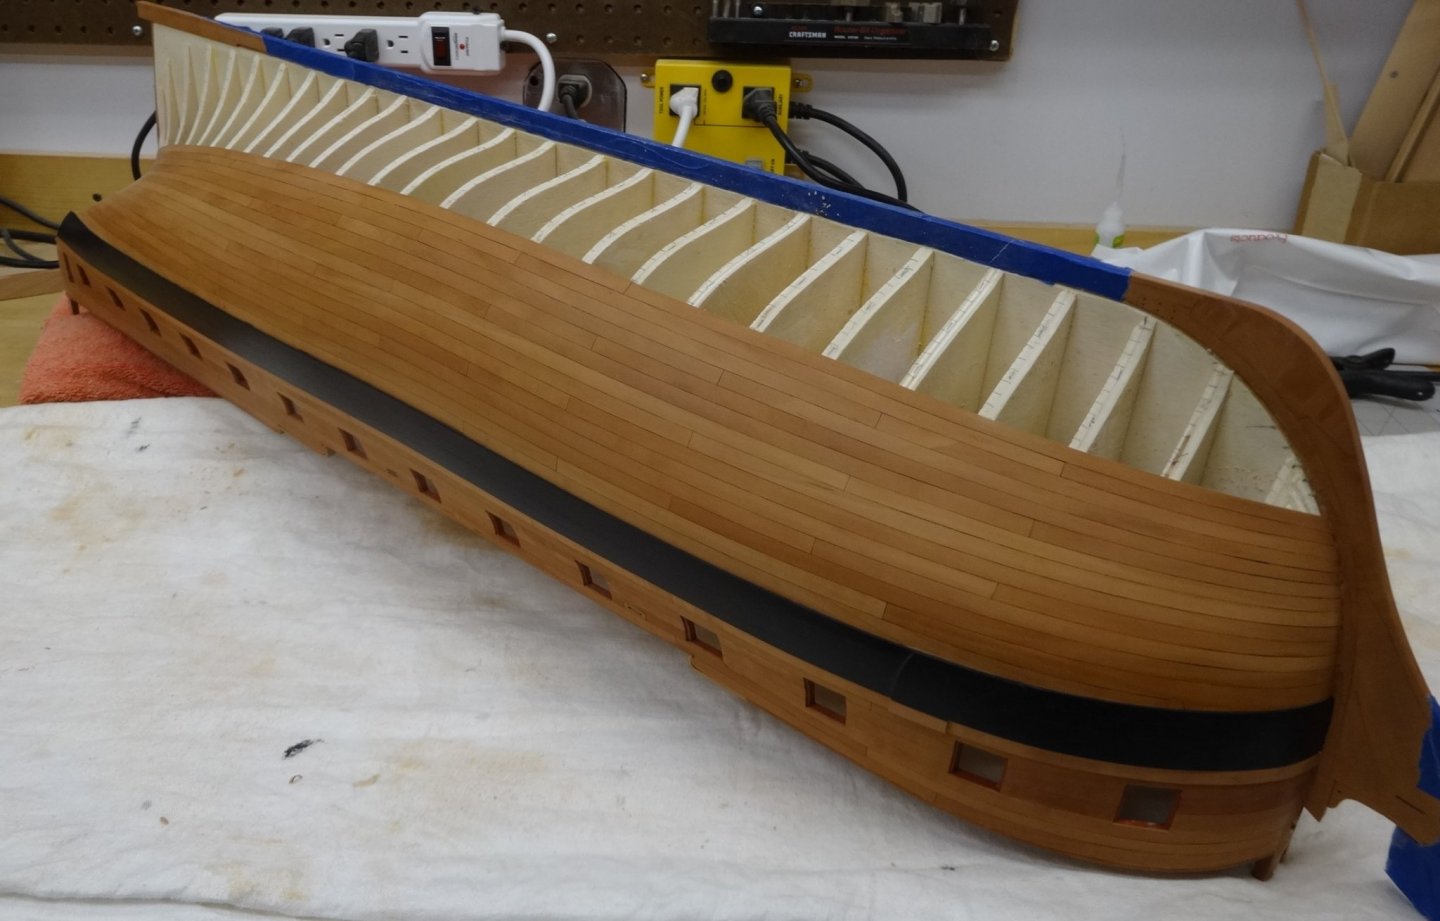

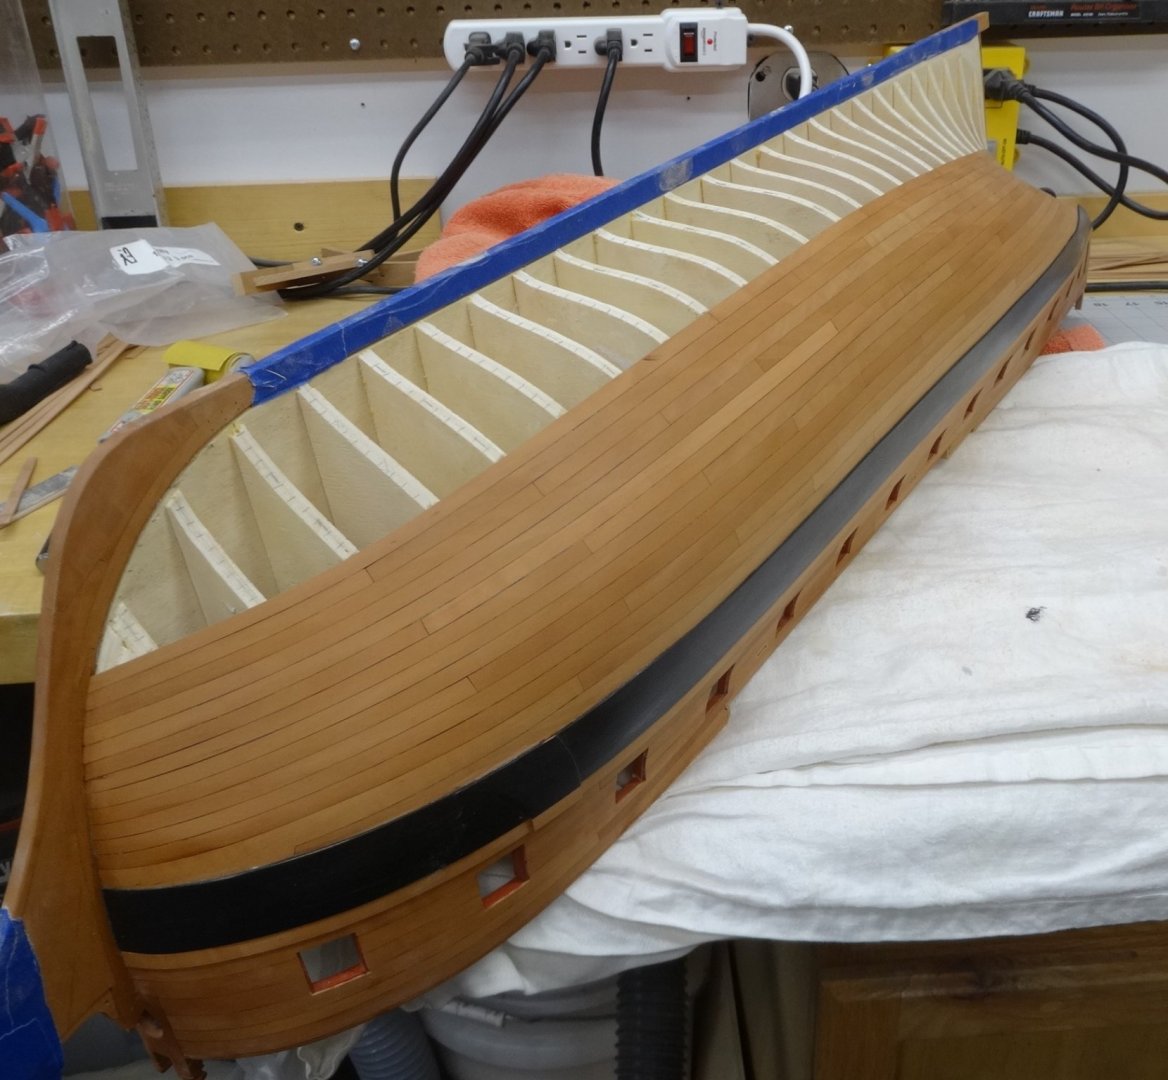

As always thanks for stopping by and stay safe!
-
Great workmanship Ryland. I remember that demonstration well. You did a great job applying it!
- BobG and Ryland Craze
-
2
-
That planking is looking really good! I hear you on the broken/messed up planks.
I've probably have enough in the bin to plank a small cutter!
- FrankWouts, CaptMorgan and bdgiantman2
-
3
-
Very nice Ben. I'm looking forward to the hull planking!
- Edwardkenway and FrankWouts
-
2
-
Very nice job. I'm glad that you redid it seeing you weren't happy with the first planking.
I've replaced many offending plank and am much happier for it!
-
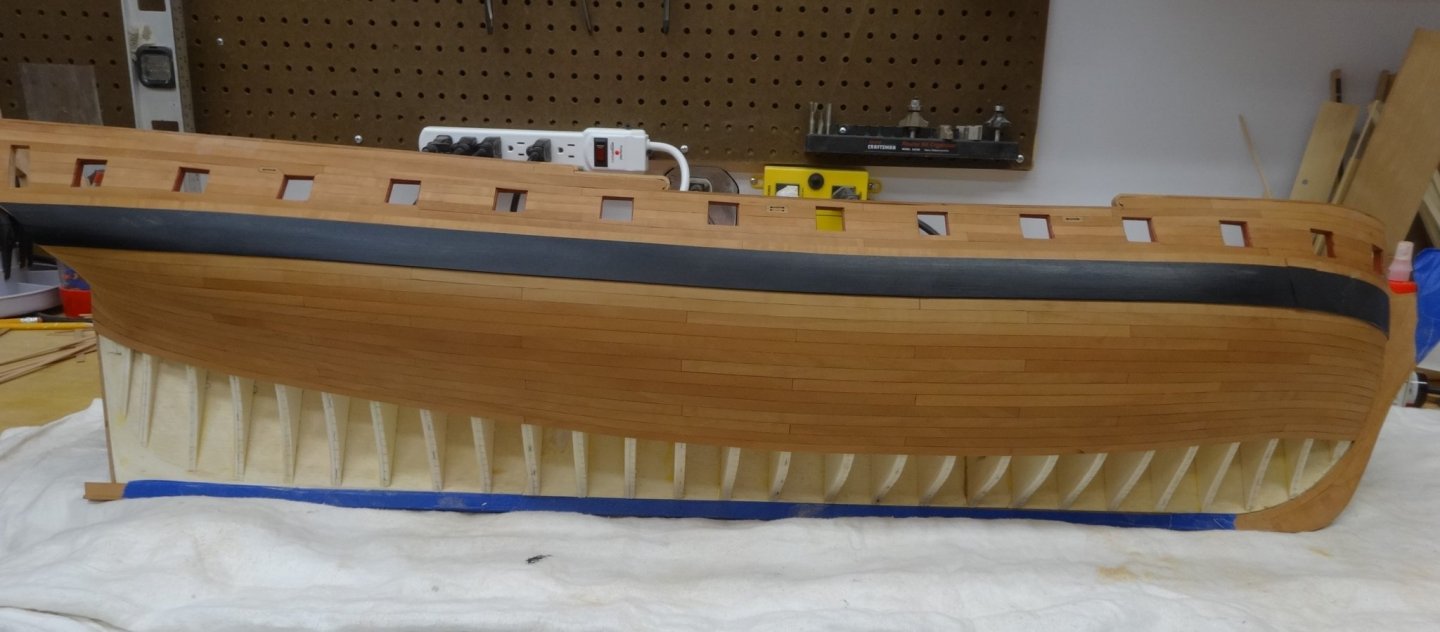
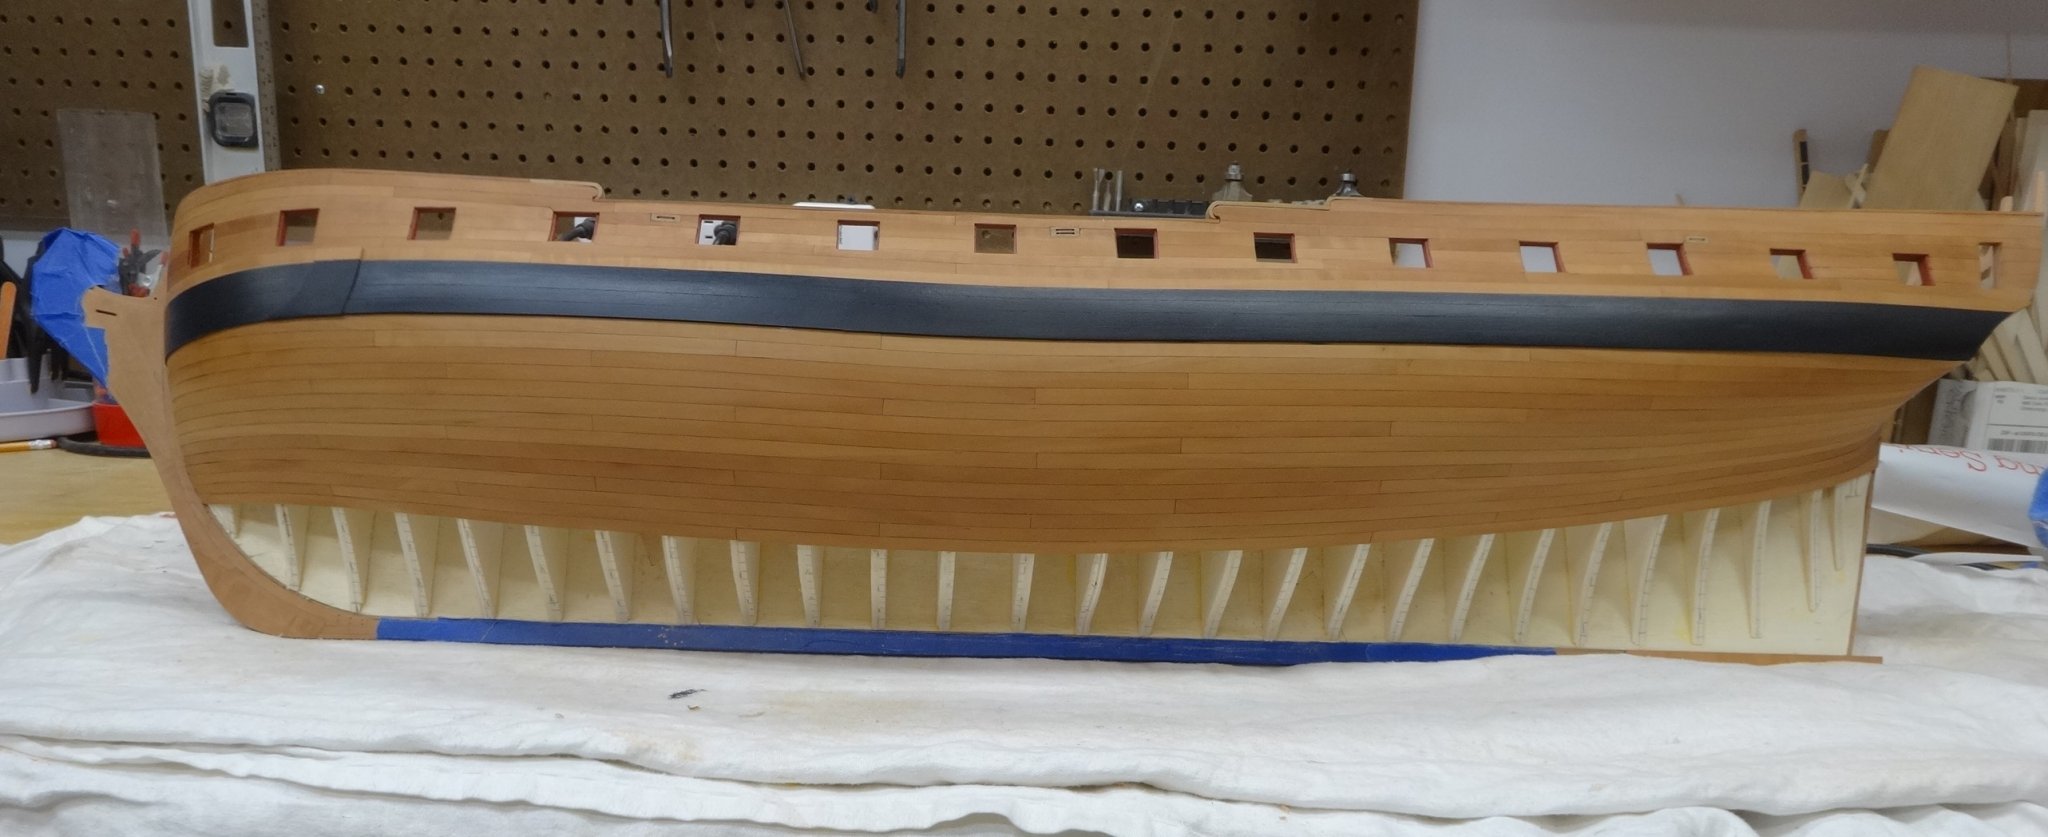
That molding looks fantastic!
- FrankWouts and Stuntflyer
-
2
-
Great workmanship and shop Ben.
- billocrates, Canute, druxey and 2 others
-
5
-
Very very nice Ben.
- Trussben and FrankWouts
-
2
-
Looking really good Steve. I do as Chuck suggested and haven't had any issues gluing.
- CaptMorgan and FrankWouts
-
2
-
That transom looks great!
-
Thanks Chuck and Ben. Chugging along slow and steady and loving it!
Also thanks for all the likes too.


HMS Winchelsea 1764 by Matt D 1:48
in Member Build logs for the HMS Winchelsea
Posted
Glad to see you found some time to work on her. Well done!