


Rustyj
-
Posts
2,452 -
Joined
-
Last visited
Content Type
Profiles
Forums
Gallery
Events
Posts posted by Rustyj
-
-
Very nice work Bob.
-
Great work BE. Long time to complete but very worthwhile.
-
Thanks Joe,
I'm really happy with the blades too. I used the lite ply from national balsa.
- FrankWouts and Justin P.
-
 2
2
-
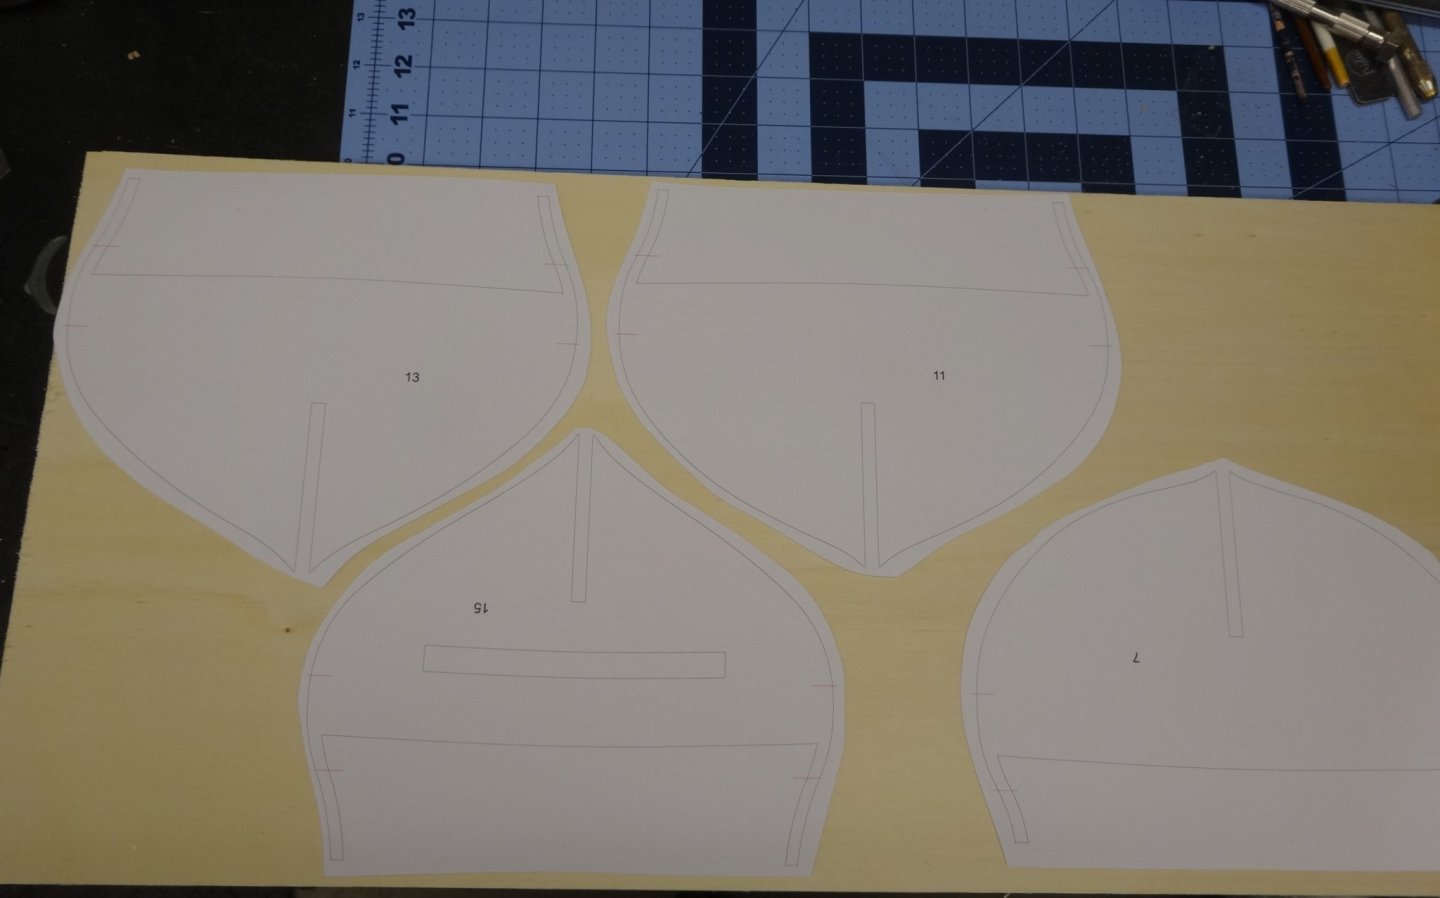
I've completed cutting out all of the bulkheads. Nothing to difficult. Just slow going and as you know there's a lot of them.
Next I'll cut out the three sections for the former. Something I do while I'm cutting out the former and while I'm not working
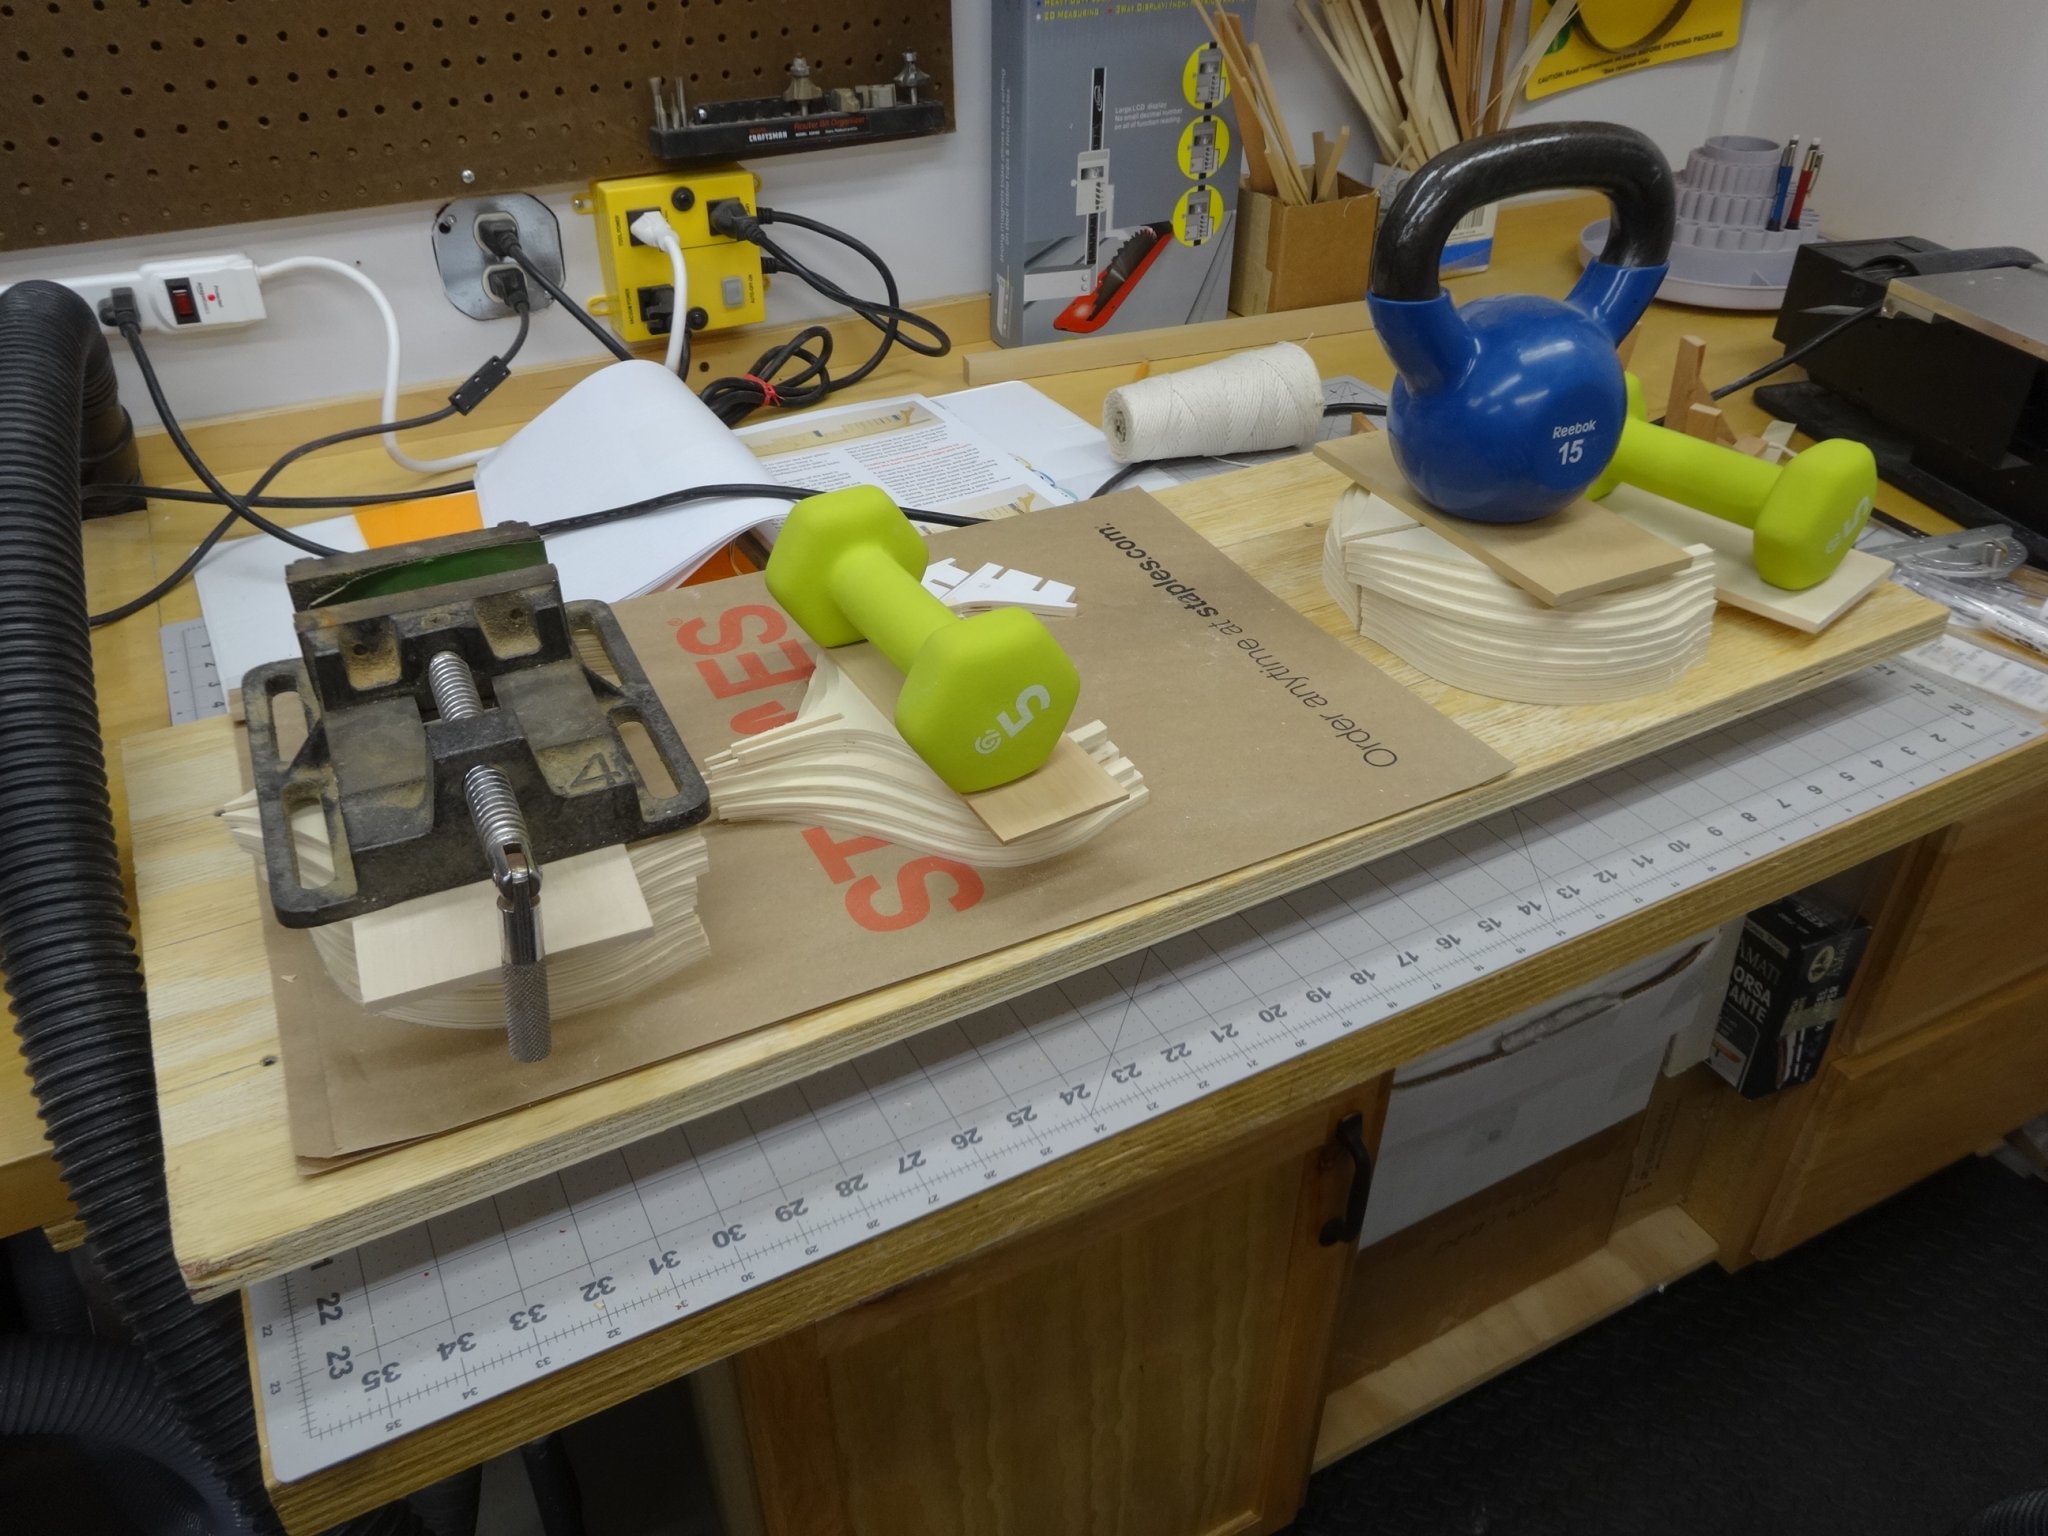
on the bulkheads I always keep a weight on them. Though the humidity is a fairly constant 50% I still don't want to take any chances.

- Dave B, Matt D, GrandpaPhil and 12 others
-
15
-
Hi Ben. I know we talked about another project earlier but when the Winnie came around I had to build her!
Thanks for the welcome Matt. I look forward to building alongside everyone.
Thanks for all the like too!
For printing the bulkheads I purchased a ream of 28lb paper instead the normal 20lb paper. I felt that the extra
thickness would help keep the paper from stretching/distorting when the glue was applied and then pressing
them onto the plywood. Probably overkill but it made me feel better. I use rubber paper cement from Elmer's
to glue the bulkheads to the lite ply.
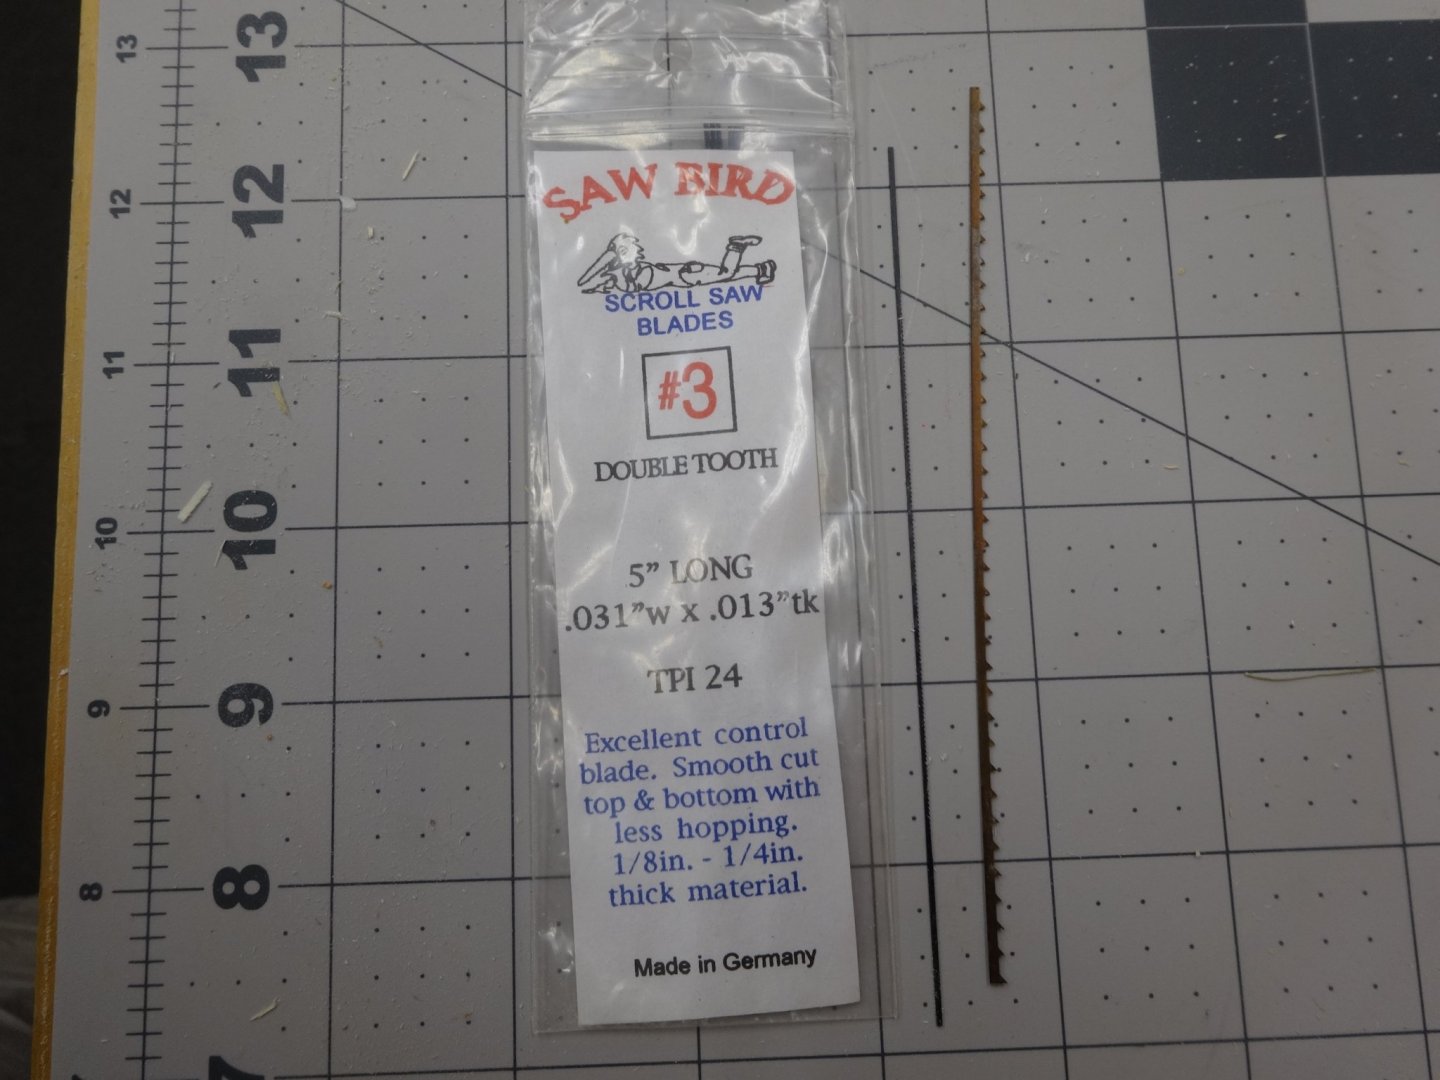
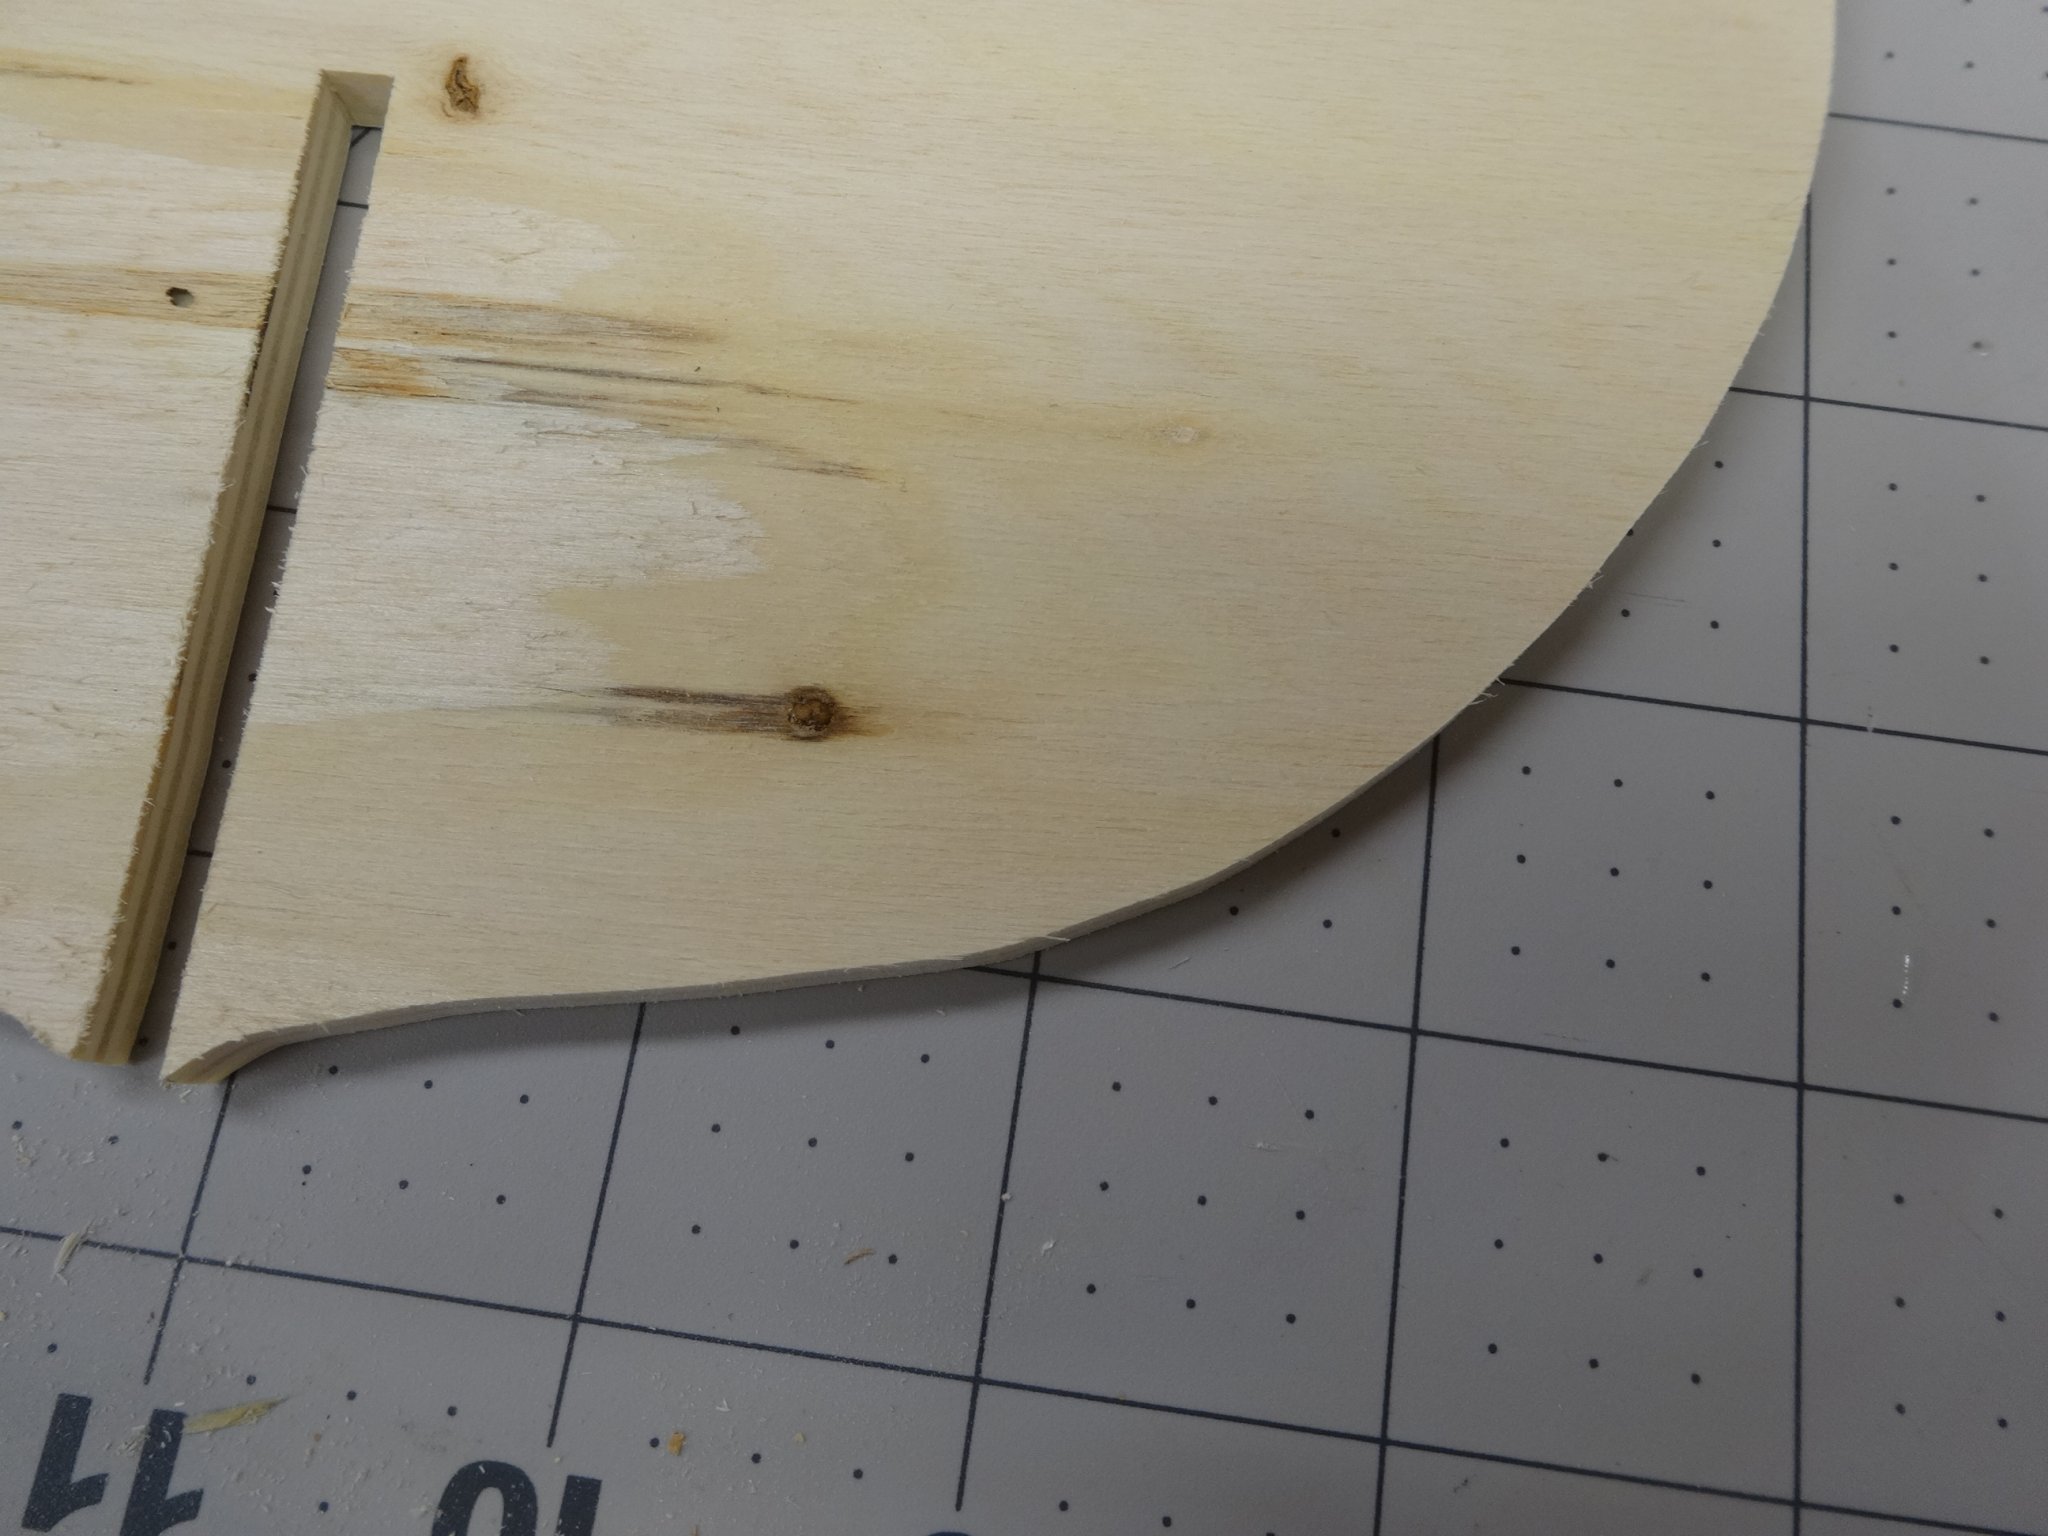
To help keep tear out on the back side to a minimum I use a very fine scroll saw blade from Saw Bird. Someone
from here turned me onto them years ago but I don't remember who so I can't give credit where it's due.
I used a double tooth 24 TPI blade that is 5" long and .031"wide x .013" thick. Much finer than a regular blade.
Here is the backside of one bulkhead. It is just as it came off the scroll saw.
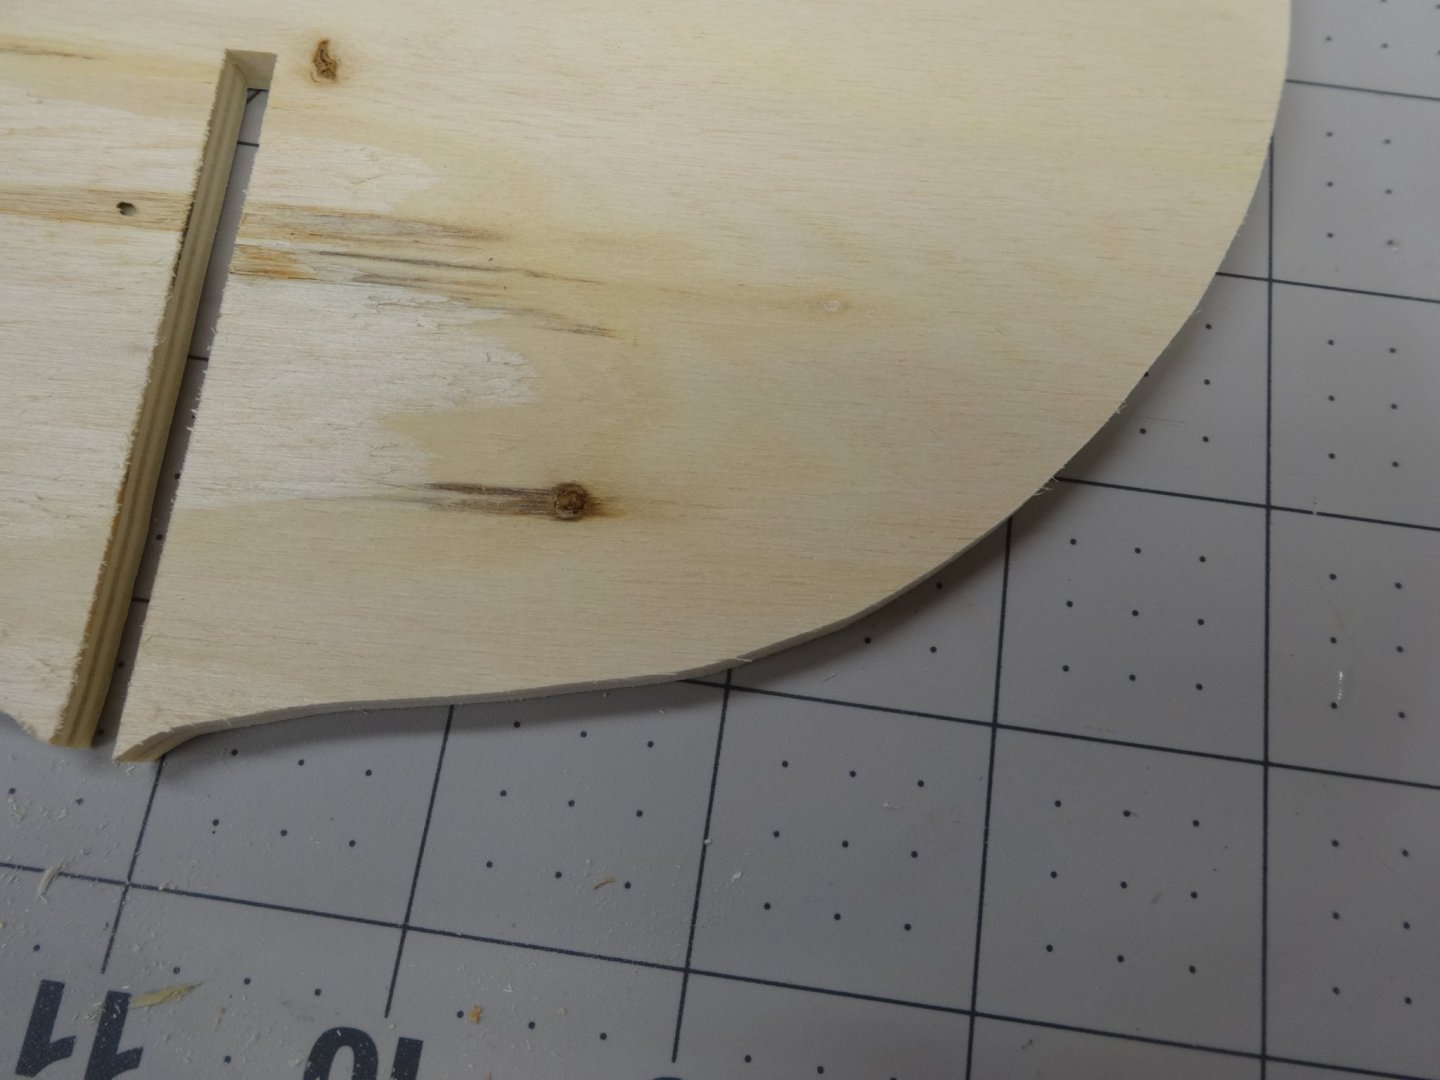
One down and a whole bunch more to go!
- GrandpaPhil, dvm27, Stuntflyer and 13 others
-
16
-
I can't wait to start ripping wood. You know it's been killing me these last two months having to wait
to get started and only being able to follow along watching everyone else make so much progress!
- Matt D, Stuntflyer, Chuck and 4 others
-
7
-
Alright now the overtime is done, a short R&R vacation is over so now it's time to get back into the shop!
Here's a comparison of the 1:64 vs the new 1:48 version of the Winnie. She's a big one alright!
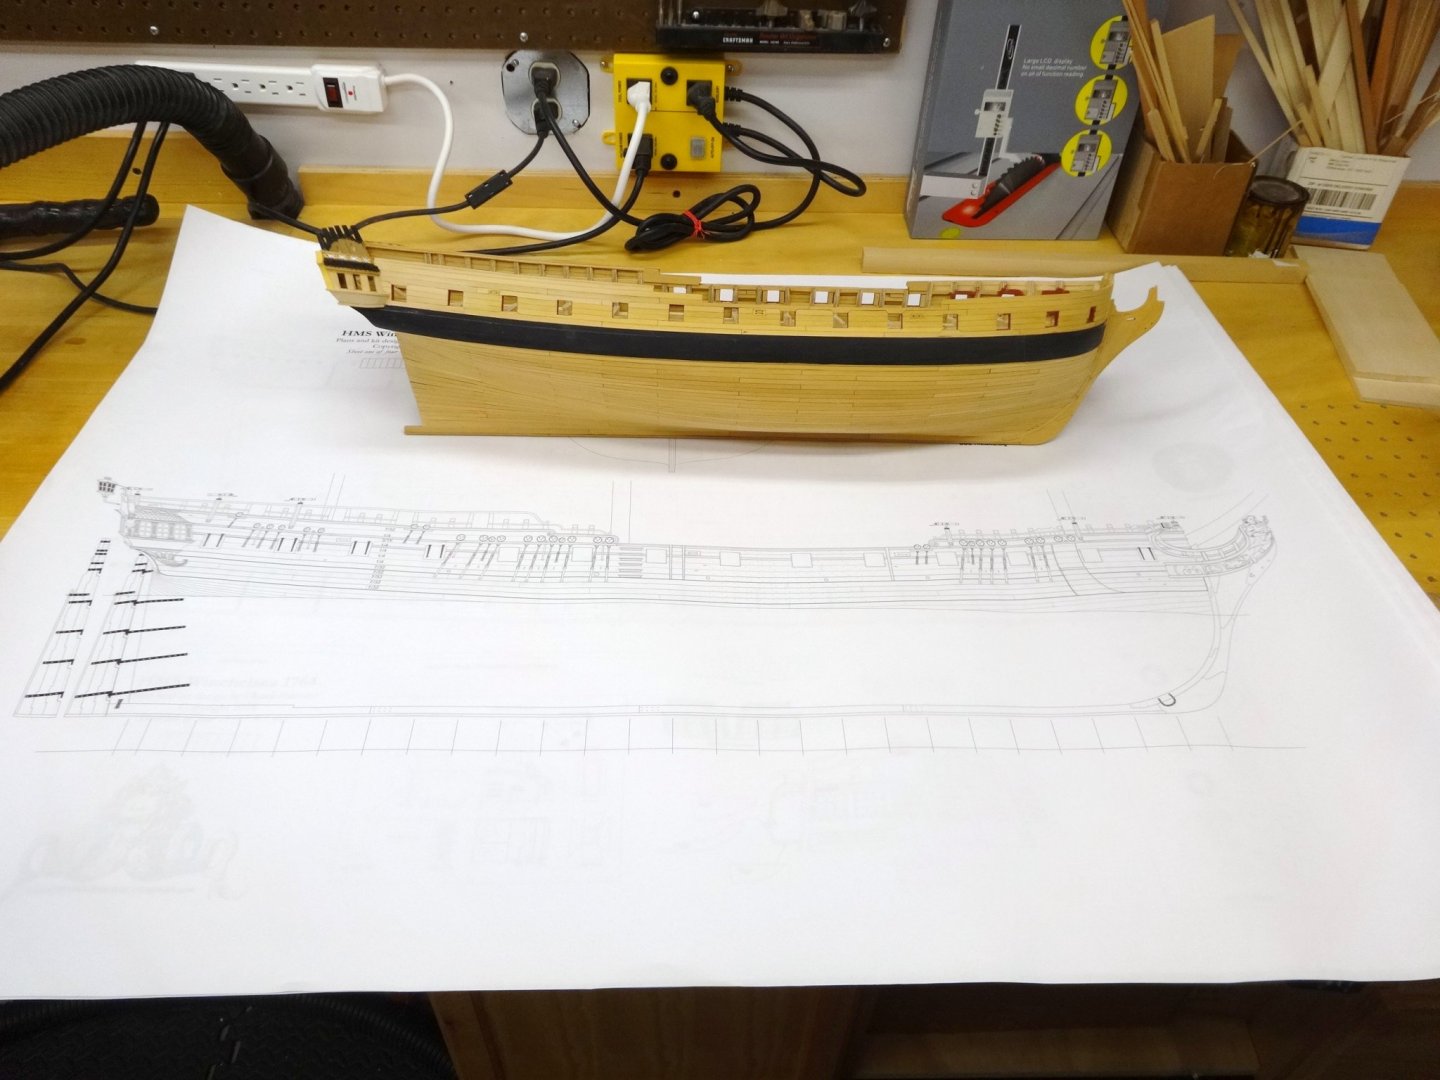
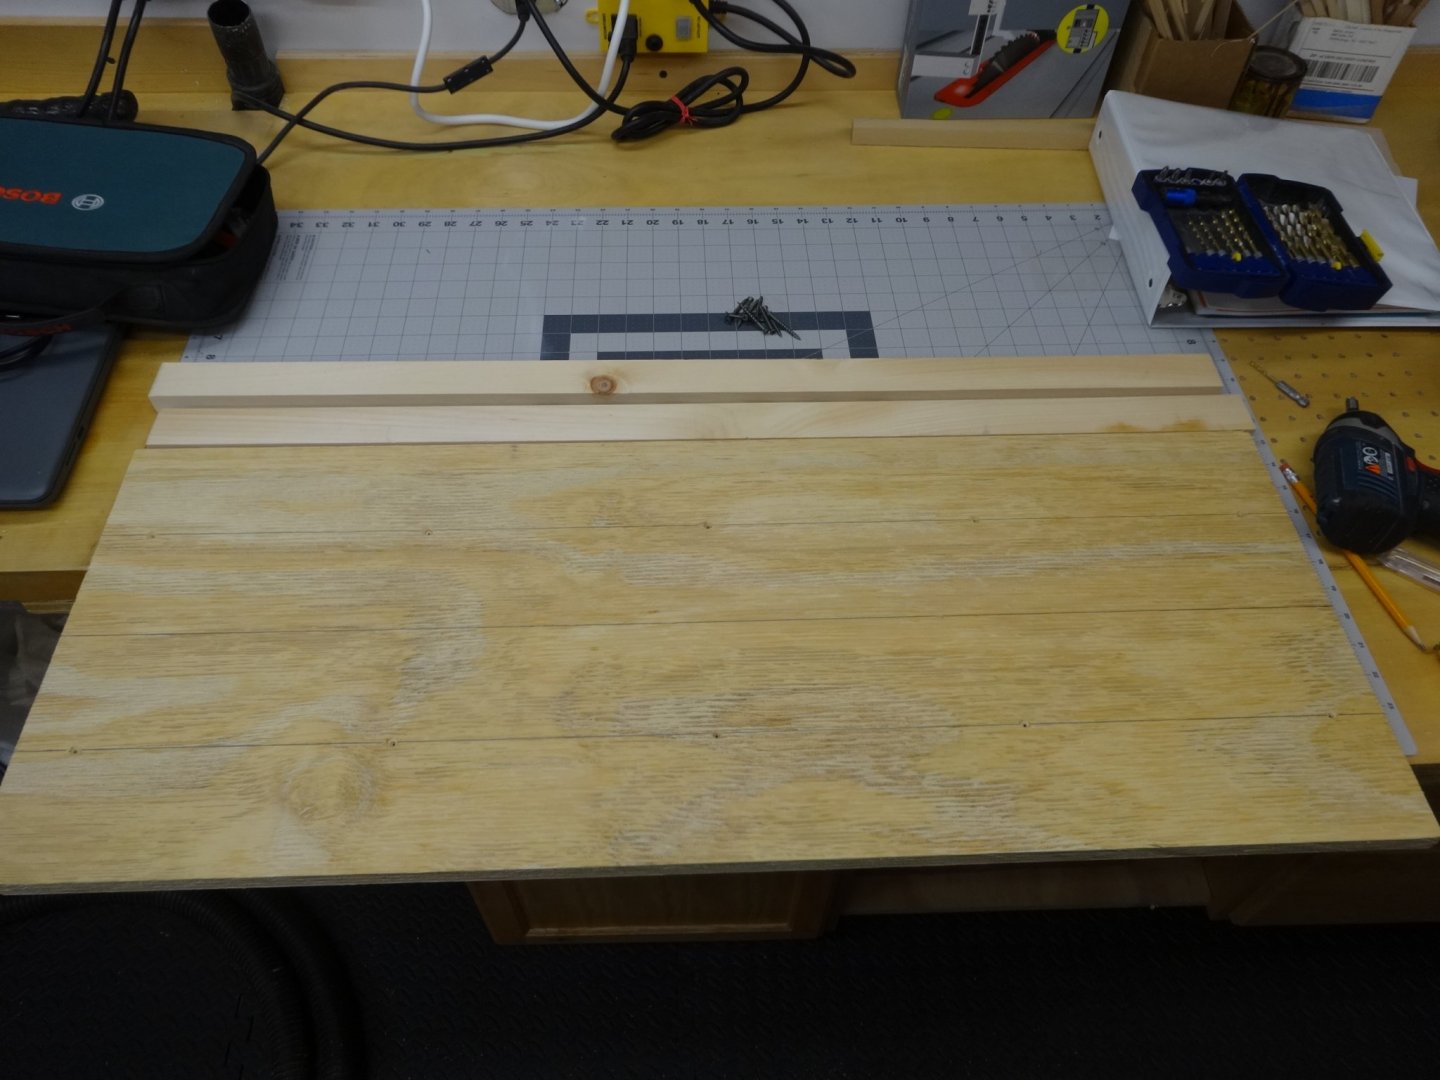
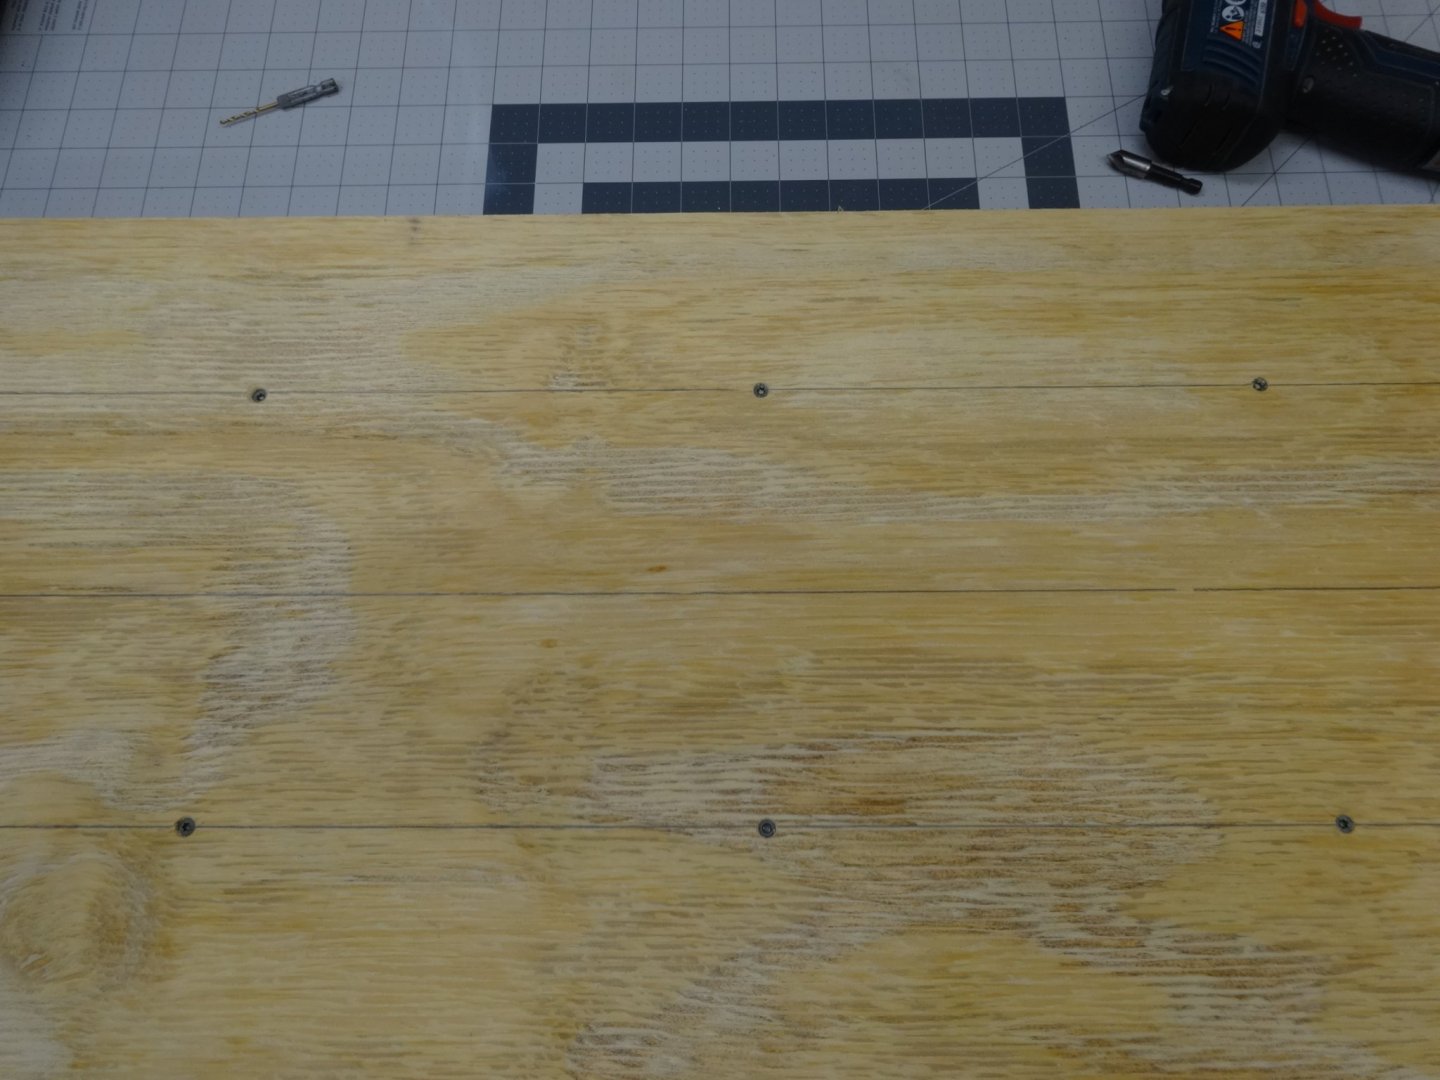
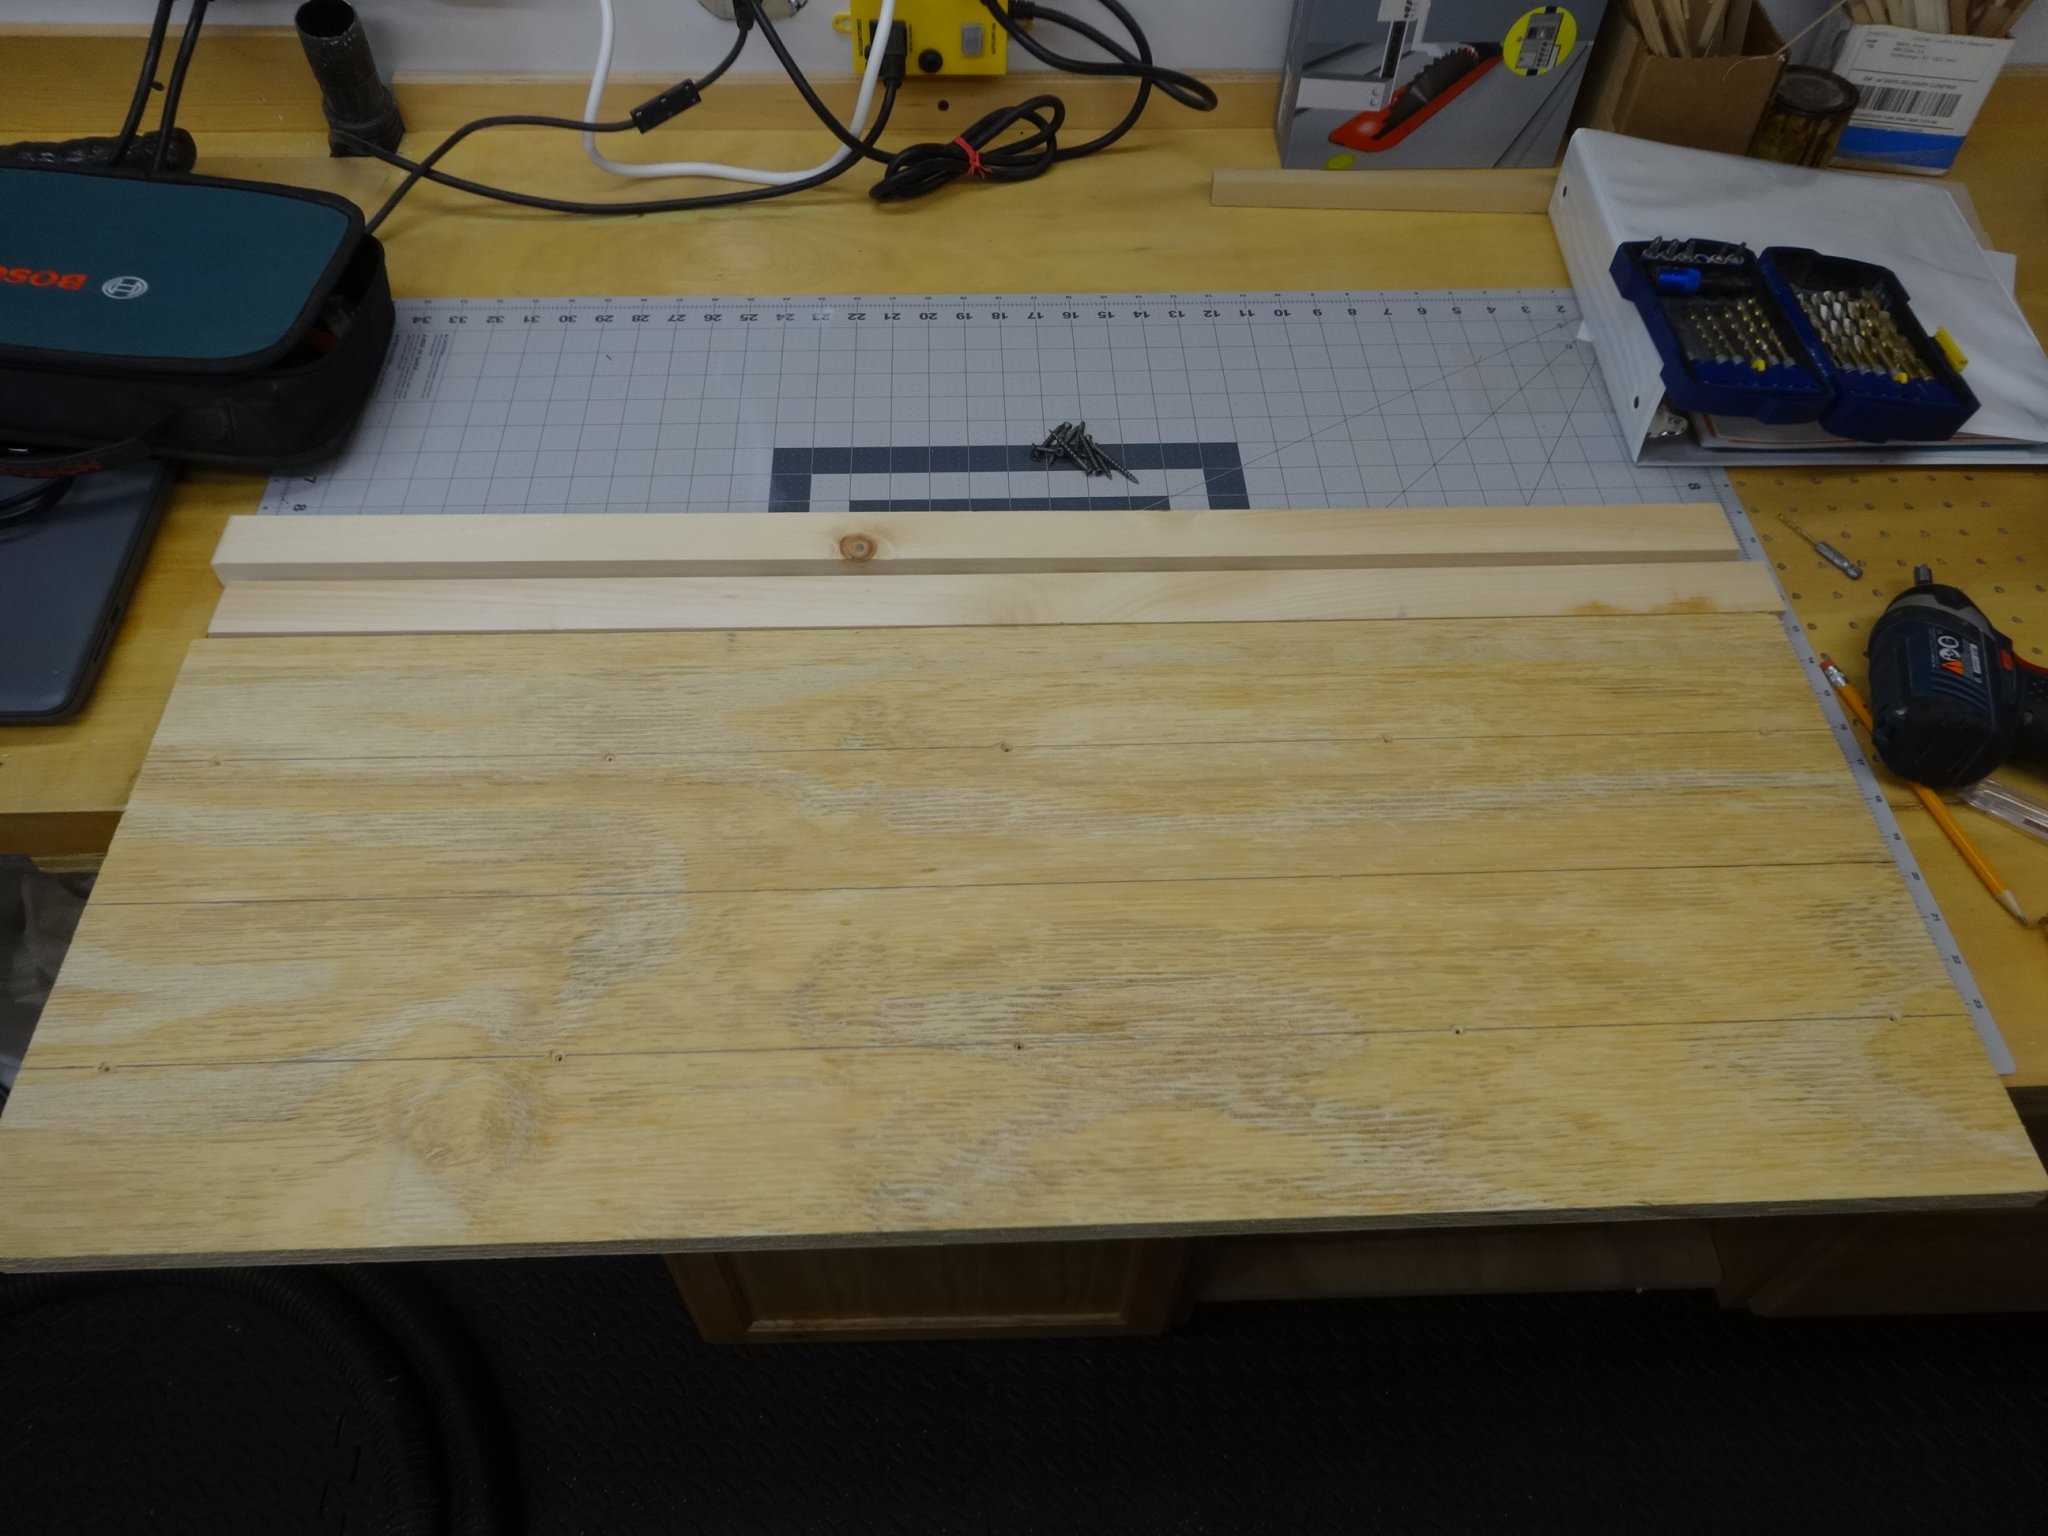
First up I made the build board. 3/4" 7 ply 14" x 36" plywood was used. I added two 1" x 2" "stiffeners" to the back side to ensure the build board didn't warp.

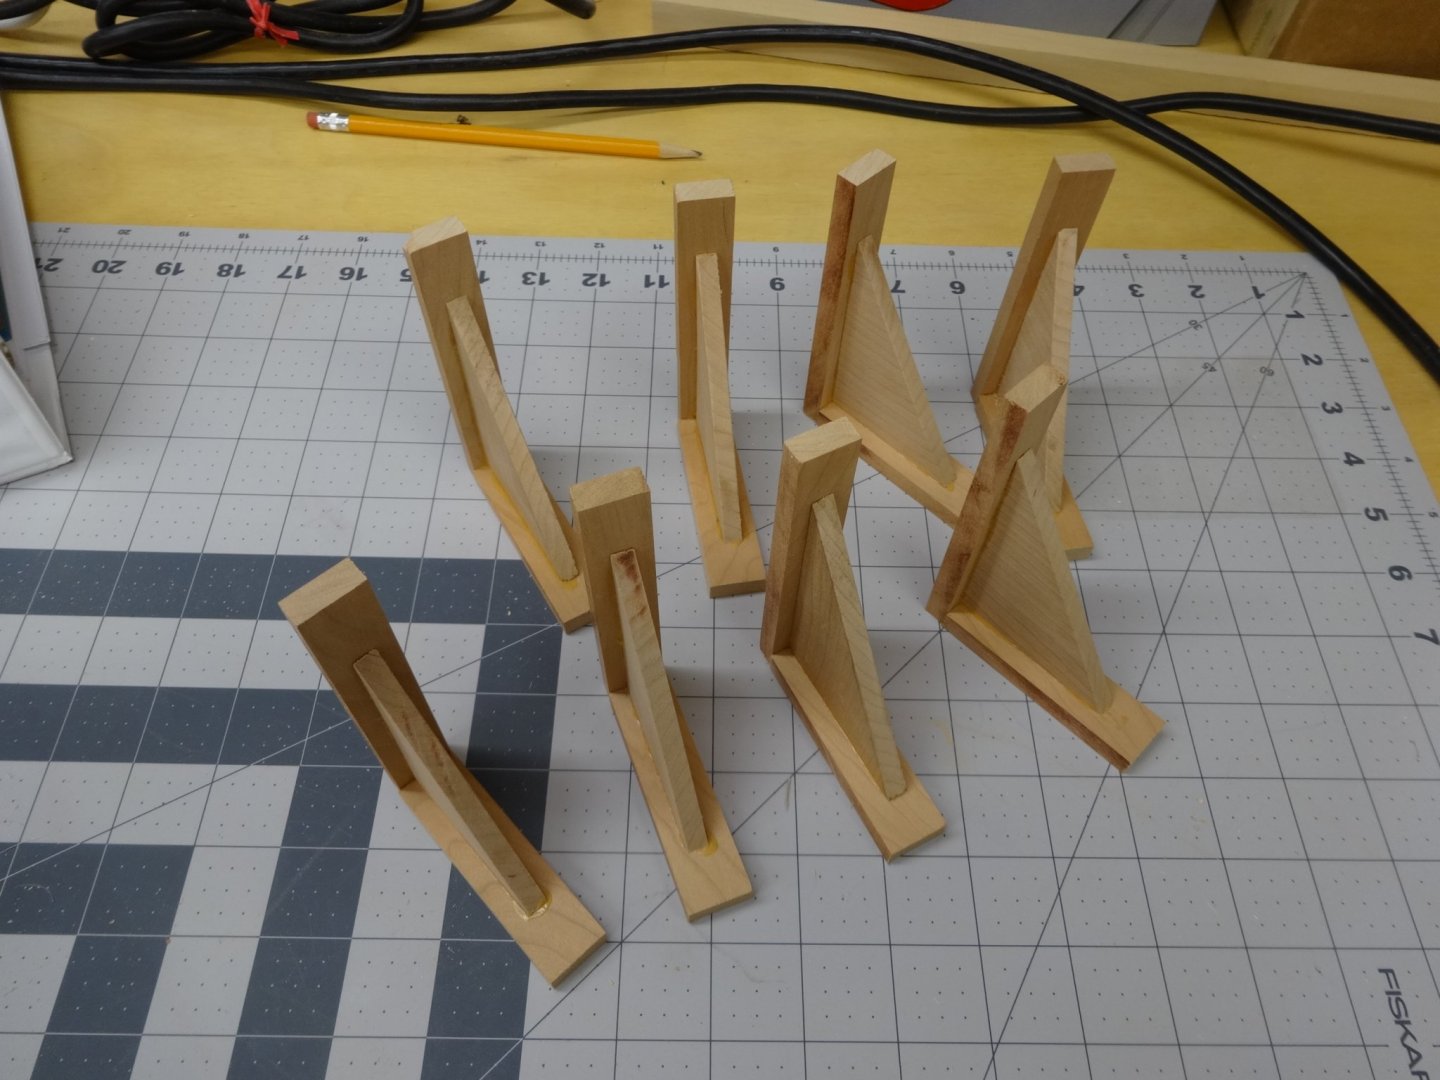
I then made up four sets of brackets from some cherry stock I had available. I made four sets because that's how much wood I had and more is always better right?
Now that the build board is complete I can start cutting out bulkheads, stem and keel.

-
They look great together Ben. Well done.
I'm in on another one too. These two were a ton of fun to build.
")
-
Looking good Bob!
-
-
Almost there! Looking really good!
-
That's a really nice job on that first belt. You and Chuck are setting a very high standard!
-
Everyone has their own preference for blades and speed. I use a double tooth 24 TPI blade made by Saw Bird.
It's a very thin and has minimal tear out. As for speed I set mine at a middle speed.
Experiment with different blades and speeds on scrap wood and see what works best for you.
I hope this helps.
- Jim Rogers, Stuntflyer and pjofc4
-
3
-
Hi Ryland, I'm glad to hear that all has gone well for you and that you're well on your way back to full strength.
Our body has a way of warning us but we tend to not listen, me included, but luckily we can now pay closer attention.
My best to you my friend.
-
It's no surprise that you're doing a wonderful job!
Can't wait to see you finish and start the Winnie!
-
Hi Bob, I'm glad to see you are going to be part of the Winnie family and I know you will do her proud!
- Elijah, FrankWouts and Stuntflyer
-
3
-
Glad to see you start cutting wood. Those bulkheads are fun to cut out.
-
You're off to a good start Jeff!
- Mirabell61 and JeffT
-
2
-
Hi Jeff,
Chuck lists it as 8 sheets for the bulkheads and I do believe that includes the false keel.
- FrankWouts and JeffT
-
2
-
Hi all, I'm starting my build log for the new and improved Winchelsea. I'm looking forward to building her here with everyone.
I have yet to decide what woods I will build her in but most likely it will be pear or boxwood. I won't be able to start any
real work on her until late September as work intrudes on my shop time this time of year. What little free time I will have
I'll be printing and reviewing the plans and monograph and ordering up what supplies I may need.
I'll also have the pleasure of living vicariously through all the builds that start before me.
-
40 minutes ago, Chuck said:
But man-oh-man it is tough to sand when you fair the hull. Especially inboard.
Oh I remember! I used the 3/8 5 ply on Winnie V1 and thought I blew out my rotator cuff fairing her!
I'll give the lite ply a try and see how the cutting goes. I've got some Super Sharps scroll saw blades that might keep the splintering to a minimum.
-
I remember it ate saw blades and was difficult to sand too. I'll gladly use the light ply! Thanks.
- mtaylor and FrankWouts
-
2
-
Ok I'll ask the first question. When I scratched the Confederacy I believe I used 5 ply birch plywood from National Balsa.
Is this the type of plywood that would work for the Winnie or is there a better type of plywood available out there.
Thanks
- mtaylor and FrankWouts
-
2
-
Simply amazing what you can do with that mind of yours! I could never achieve those results by hand.
- Canute, FrankWouts and mtaylor
-
3


HMS Winchelsea - FINISHED - 1764 - by Chuck (1/4" scale)
in Member Build logs for the HMS Winchelsea
Posted
Beautiful planking Chuck. I think as we all start our planking the questions will then start to come.