


Rustyj
-
Posts
2,516 -
Joined
-
Last visited
Content Type
Profiles
Forums
Gallery
Events
Posts posted by Rustyj
-
-
Hi Don. I seldom use a dremel for fairing except at the most severe angle. For me it is way to easy to take too much off. Aleve is my friend when fairing.
- Stuntflyer, JpR62 and FrankWouts
-
 3
3
-
Welcome to the club Don!
- FrankWouts and Nunnehi (Don)
-
2
-
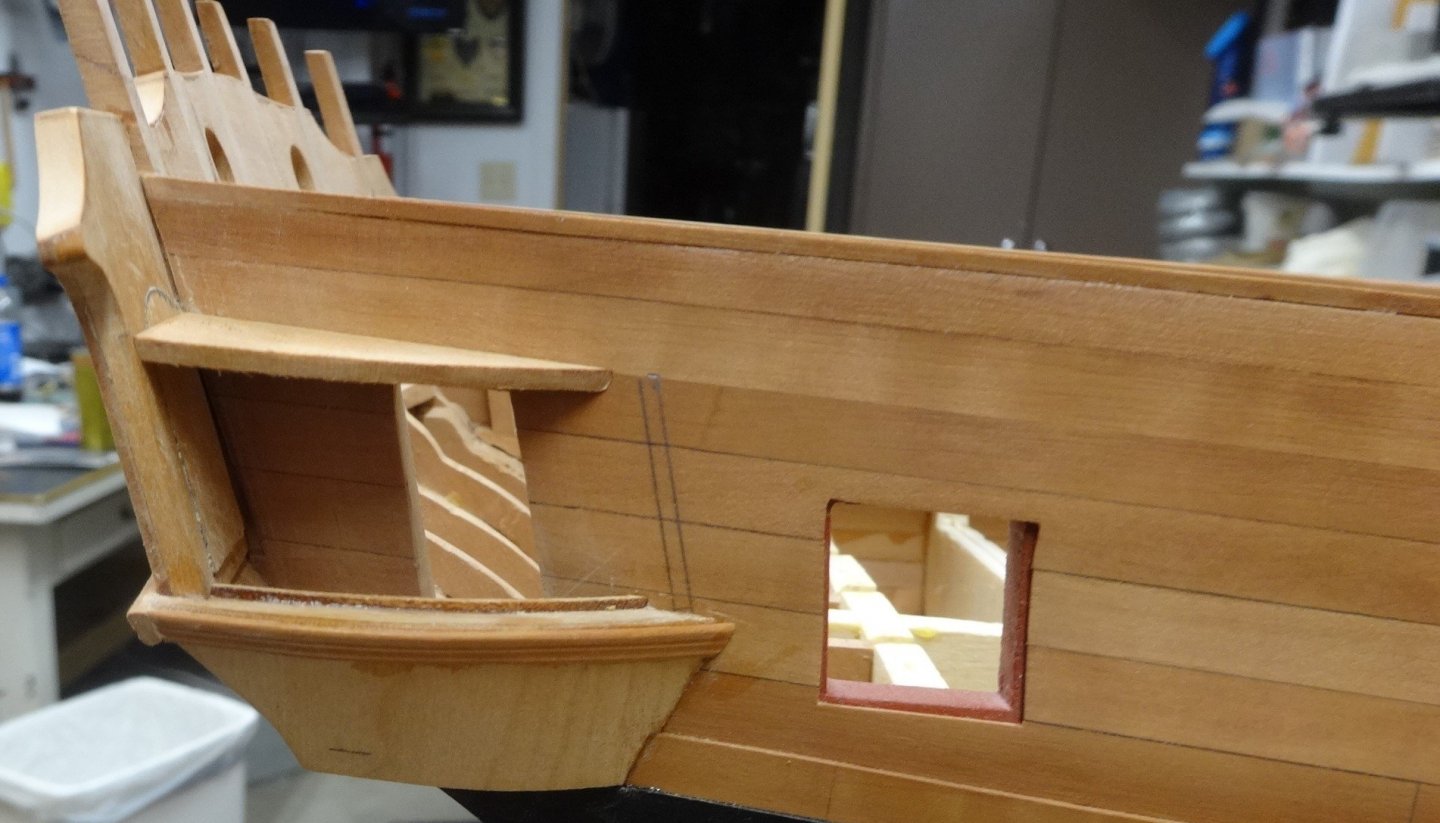
I've placed the molding across the stern under the windows. I've also shaped the tops of the qgallaries and
temporarily tacked them in place as well and glued the molding to the lower portion of the qgallaries.
Excuse all the dust and shop debris in the background.
")

-
4 hours ago, glbarlow said:
another of your practices I’ve stolen, I mean adopted.
Thanks Glenn. I've been "adopting" everyone's practices here for years.
Thanks Jean-Paul and all the likes too.
-
I'm tinkering with scrapping the moldings for the qgalleries and stern. This is the third attempt
and the first worth posting. The molding is 1/8" wide and 1/32" thick.
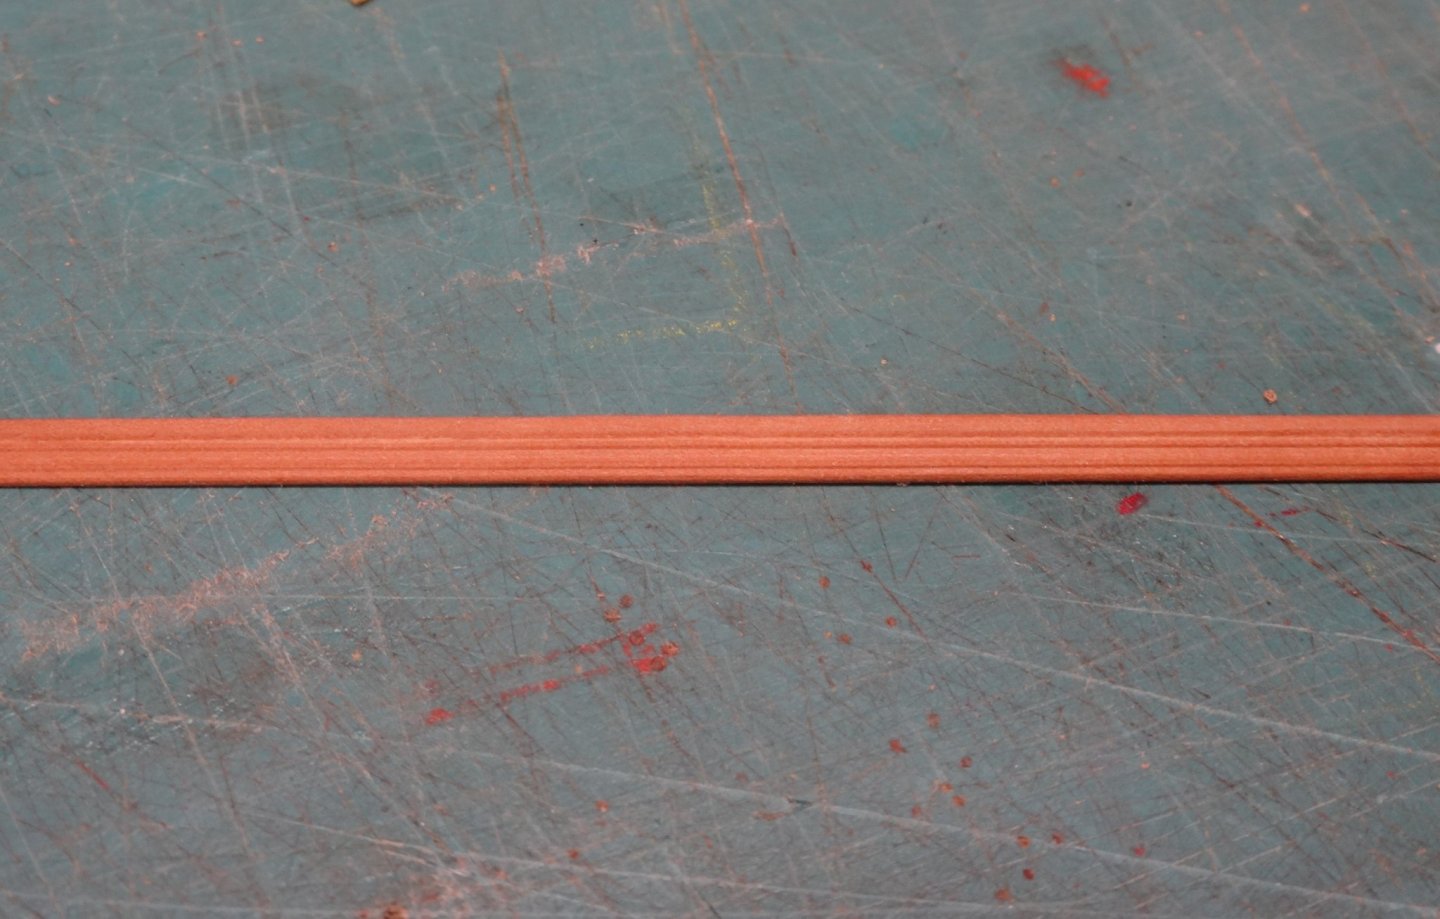
The picture isn't real clear but I think this is close.
-
15 hours ago, Chuck said:
Take your time with those qgalleries. They are tricky buggers.
Oh don't I know that. I must say I like the changes you've made to the v2.0 qgalleries over the ones we did in v1.0.
Thanks nzreg. I've downloaded all sorts of pictures from various build logs and continuously bounce between them,
the plans and Chucks directions. I'll still mess some up but hopefully will keep it to a minimum.
- Edwardkenway, Beckmann, FrankWouts and 2 others
-
5
-
-
Thanks Jorge and thanks for all the like too!
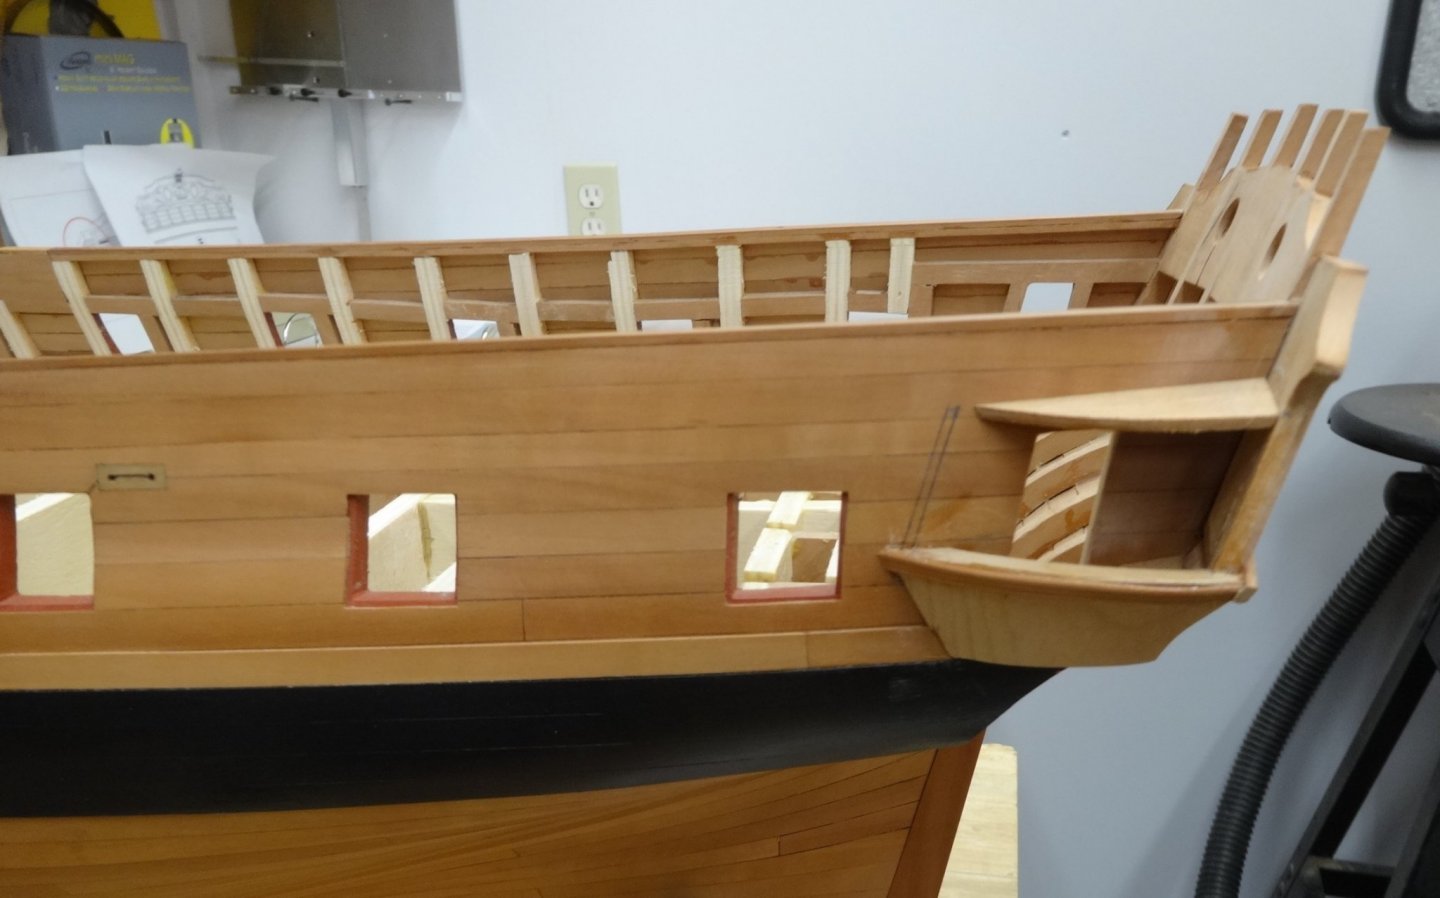
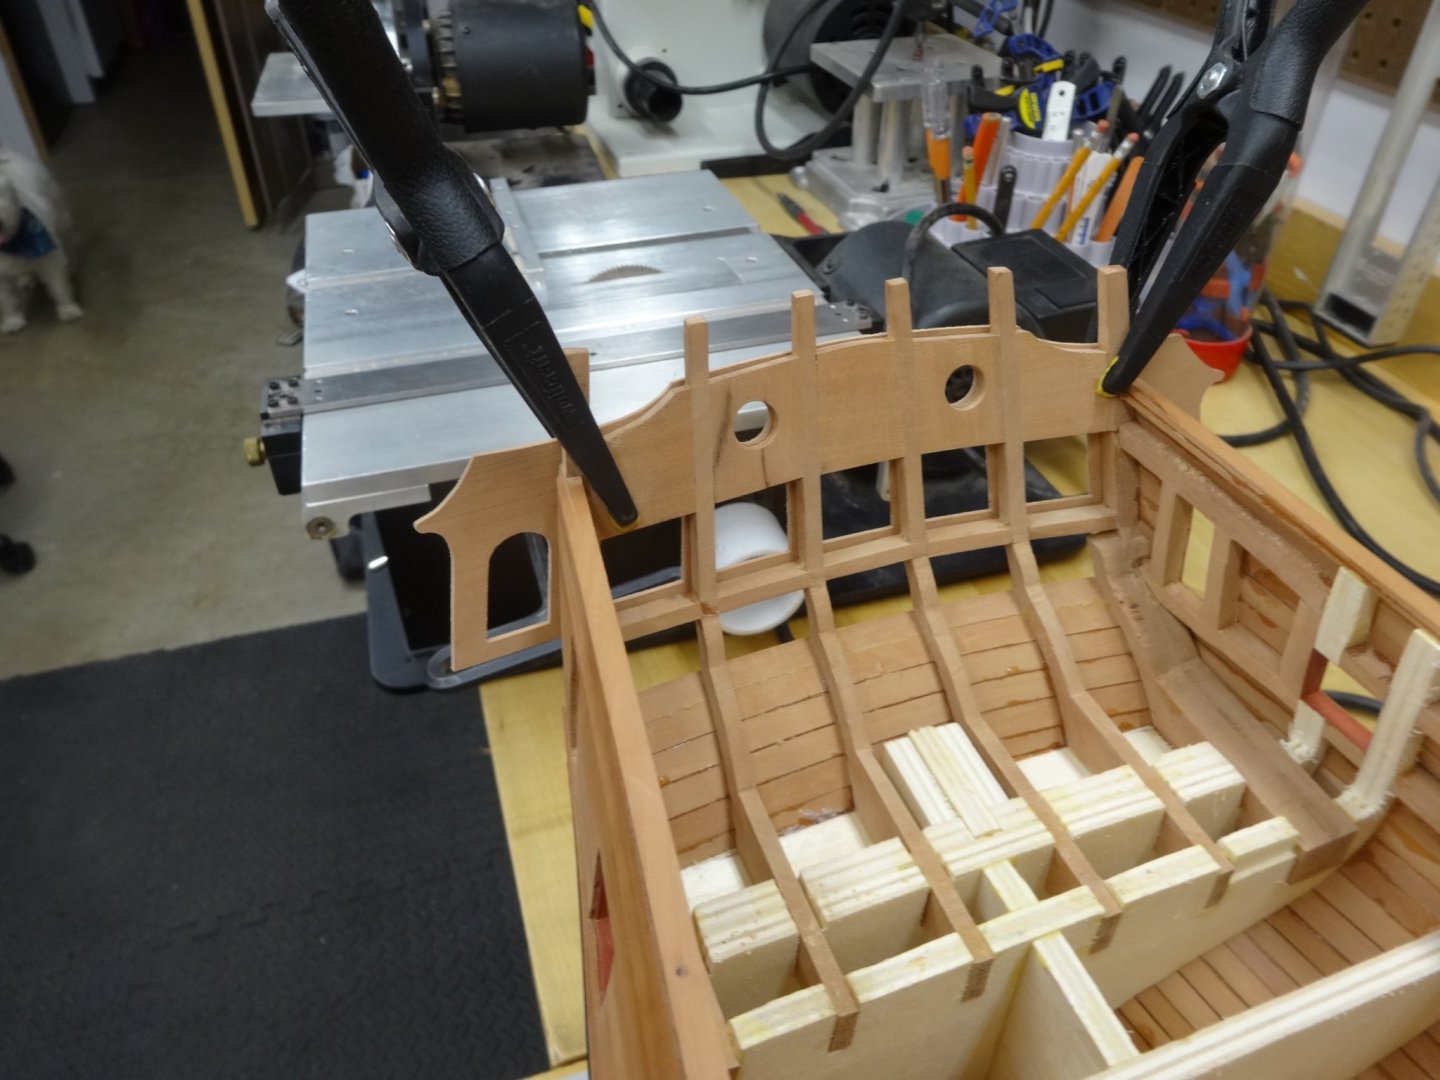
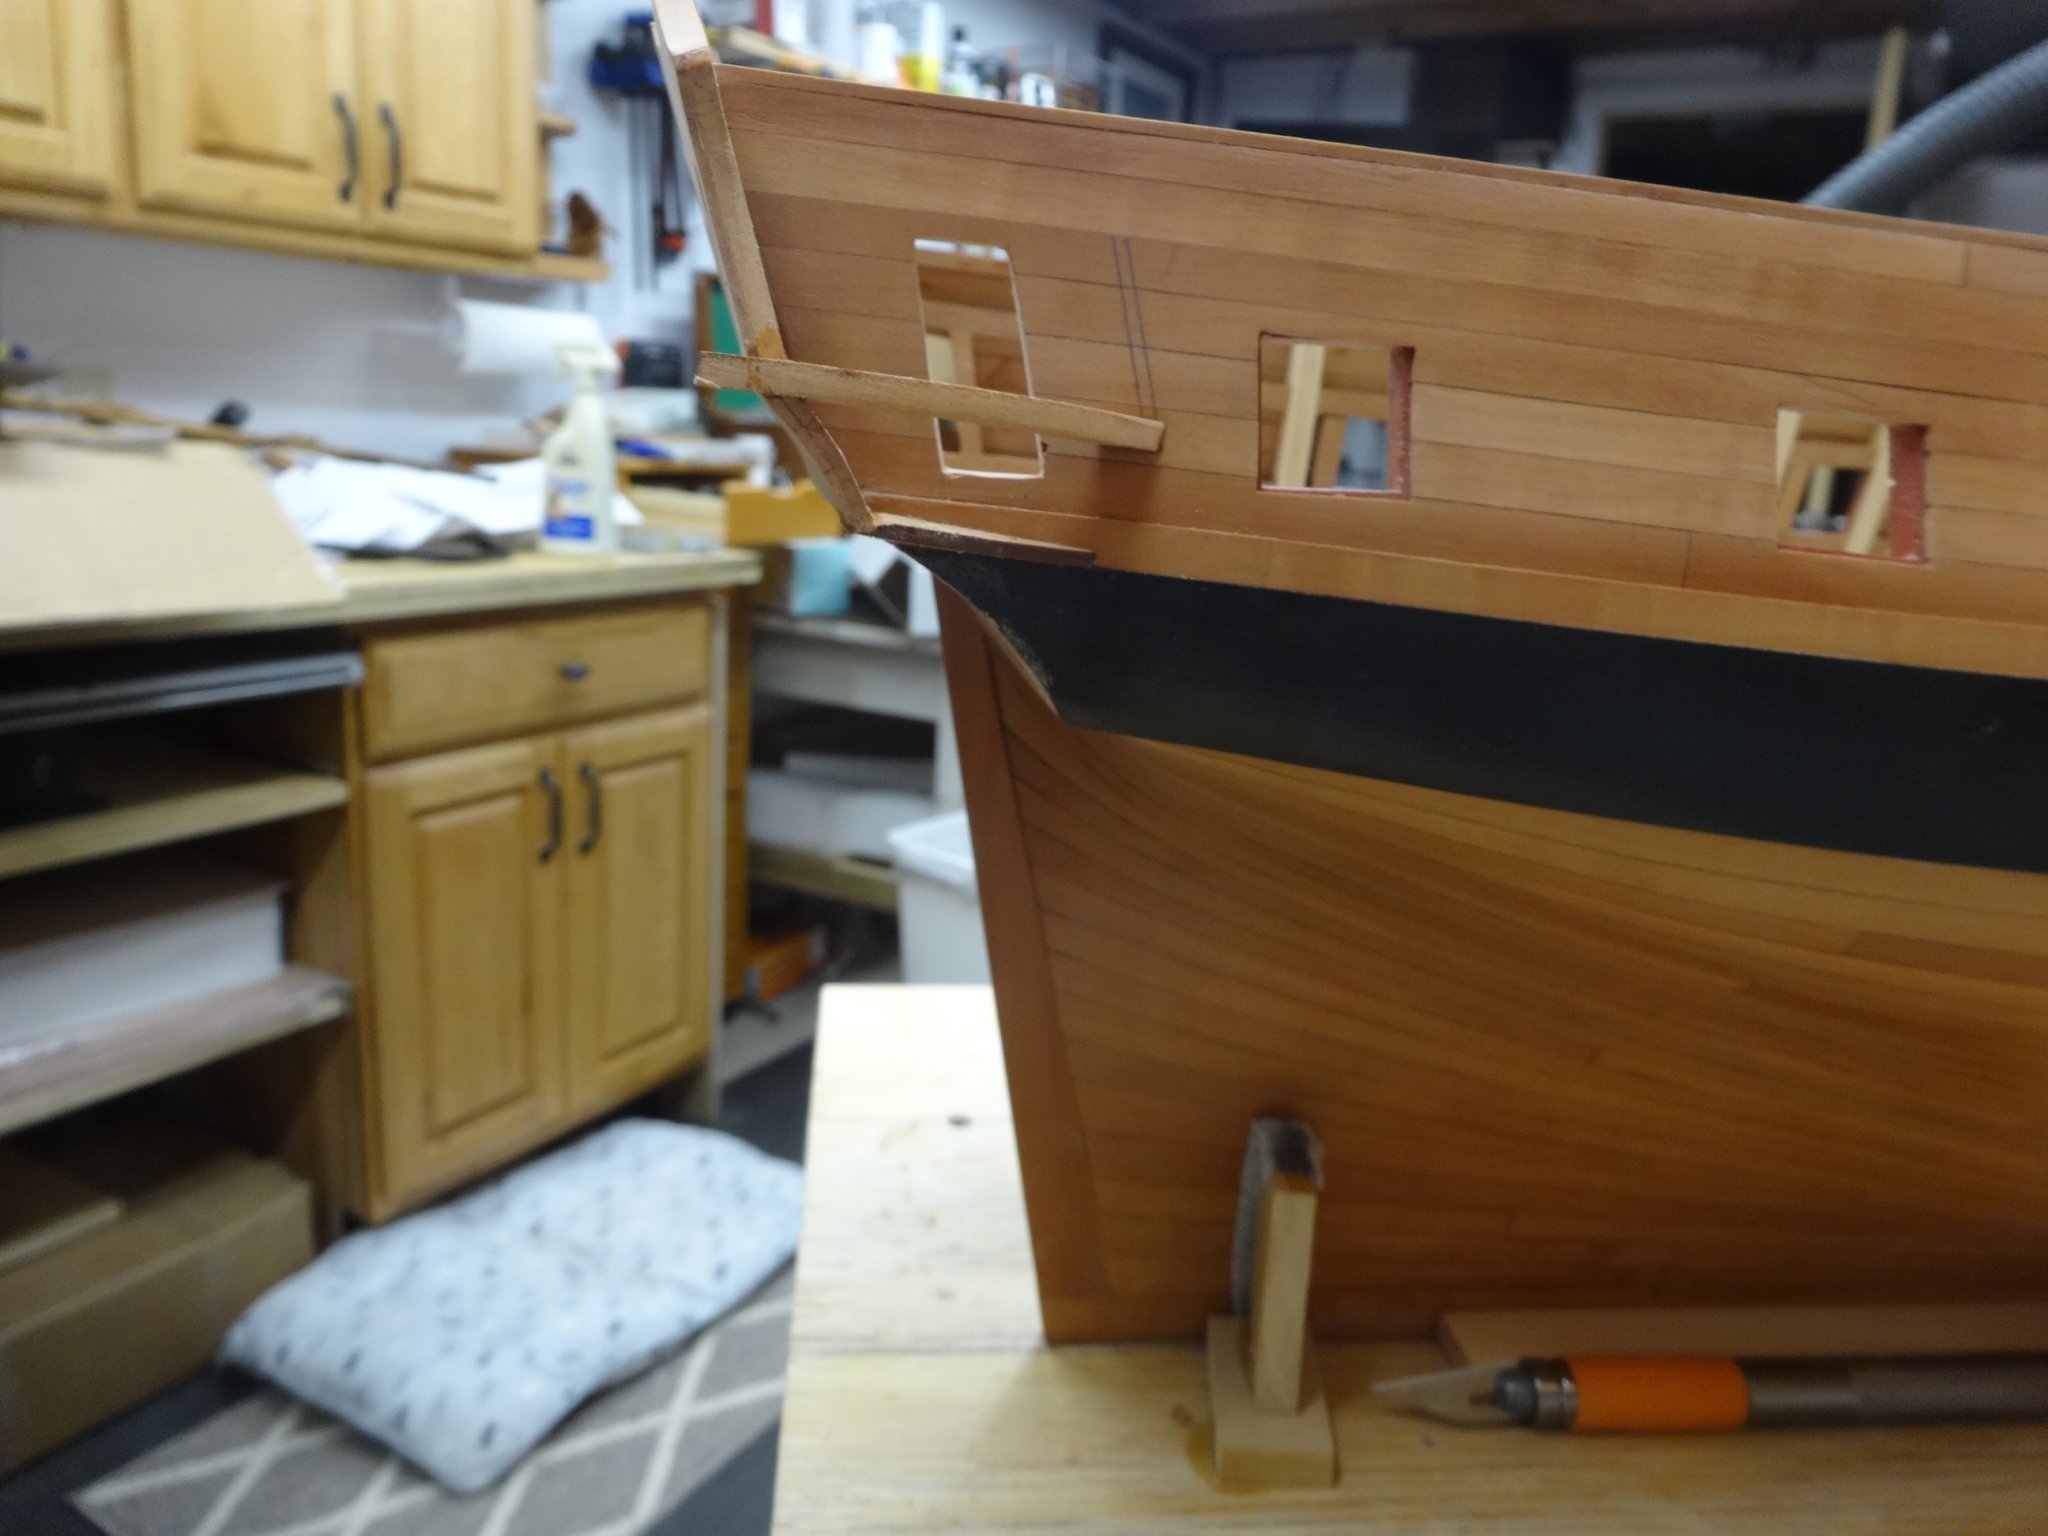
I've glued the transom in place and the filler pieces have been placed on top of the transom to cover the two layers. They are 1/64" thick!
I've also placed the quarter galleries window.
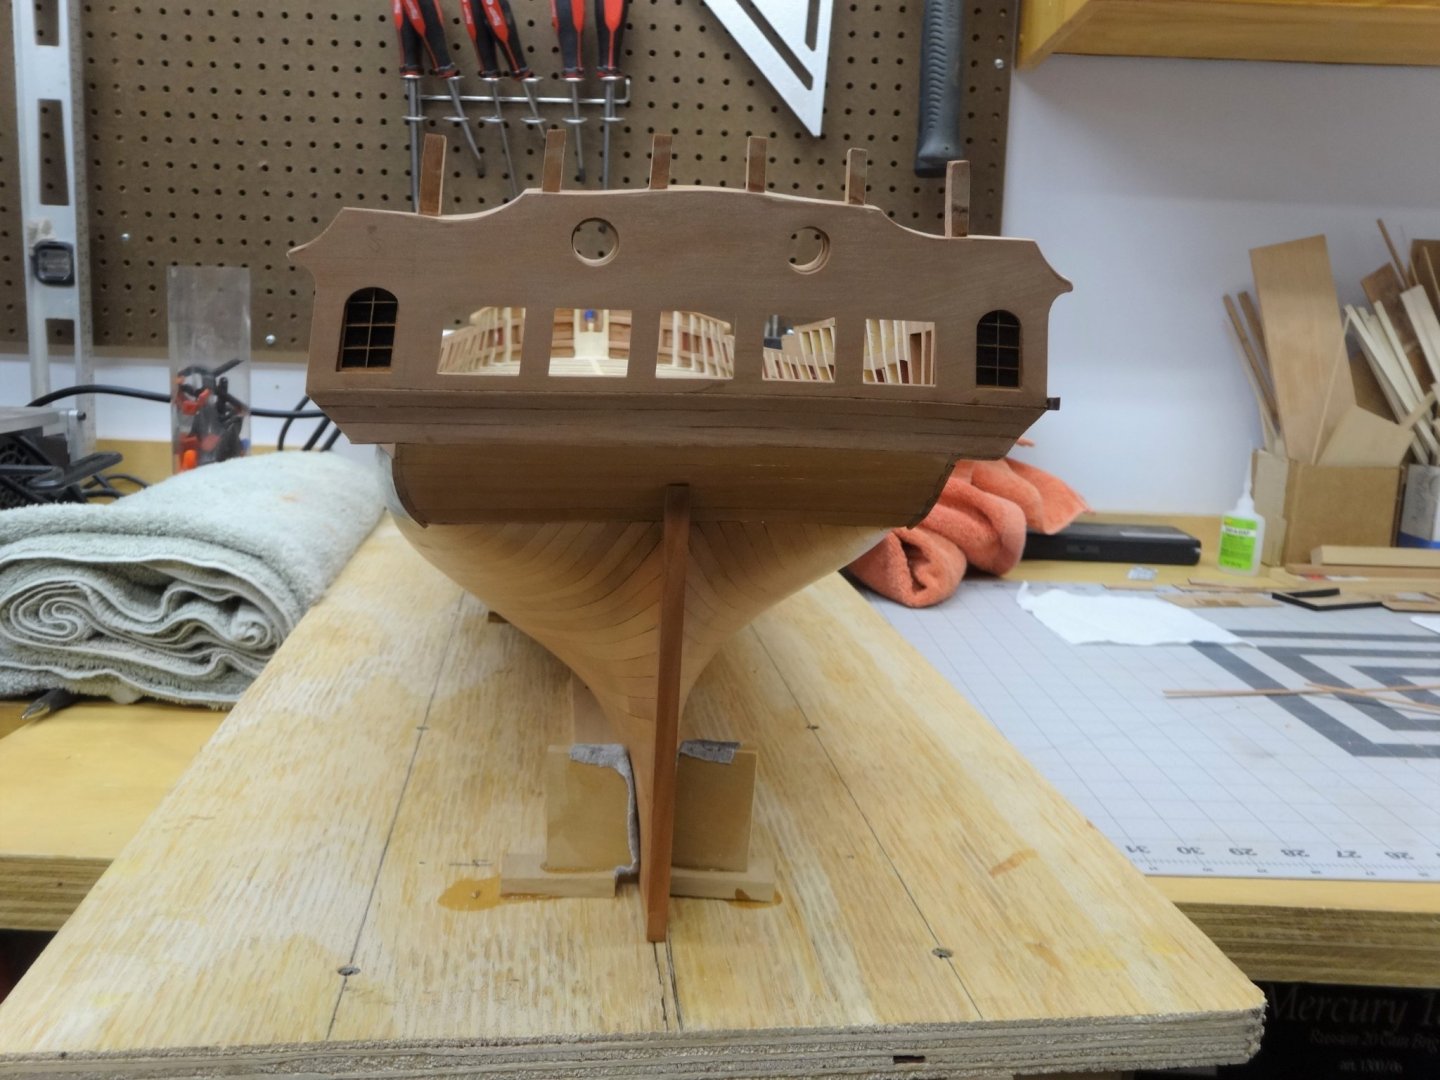
The starboard side framing has started. The two pieces have been temporally placed with rubber cement as I check them out before permanently gluing them in.
- MEDDO, bdgiantman2, Wacom and 14 others
-
17
-
Hi Shawn,
Welcome aboard! I'm sure you'll enjoy building the Winnie. Don't worry about miss steps, we all could fill volumes confessing ours.
Just take it slow and steady and continually check and recheck everything. Something I could do more of myself.
-
Great workmanship and explanation Mike. Always a pleasure seeing your updates!
- FrankWouts and Stuntflyer
-
2
-
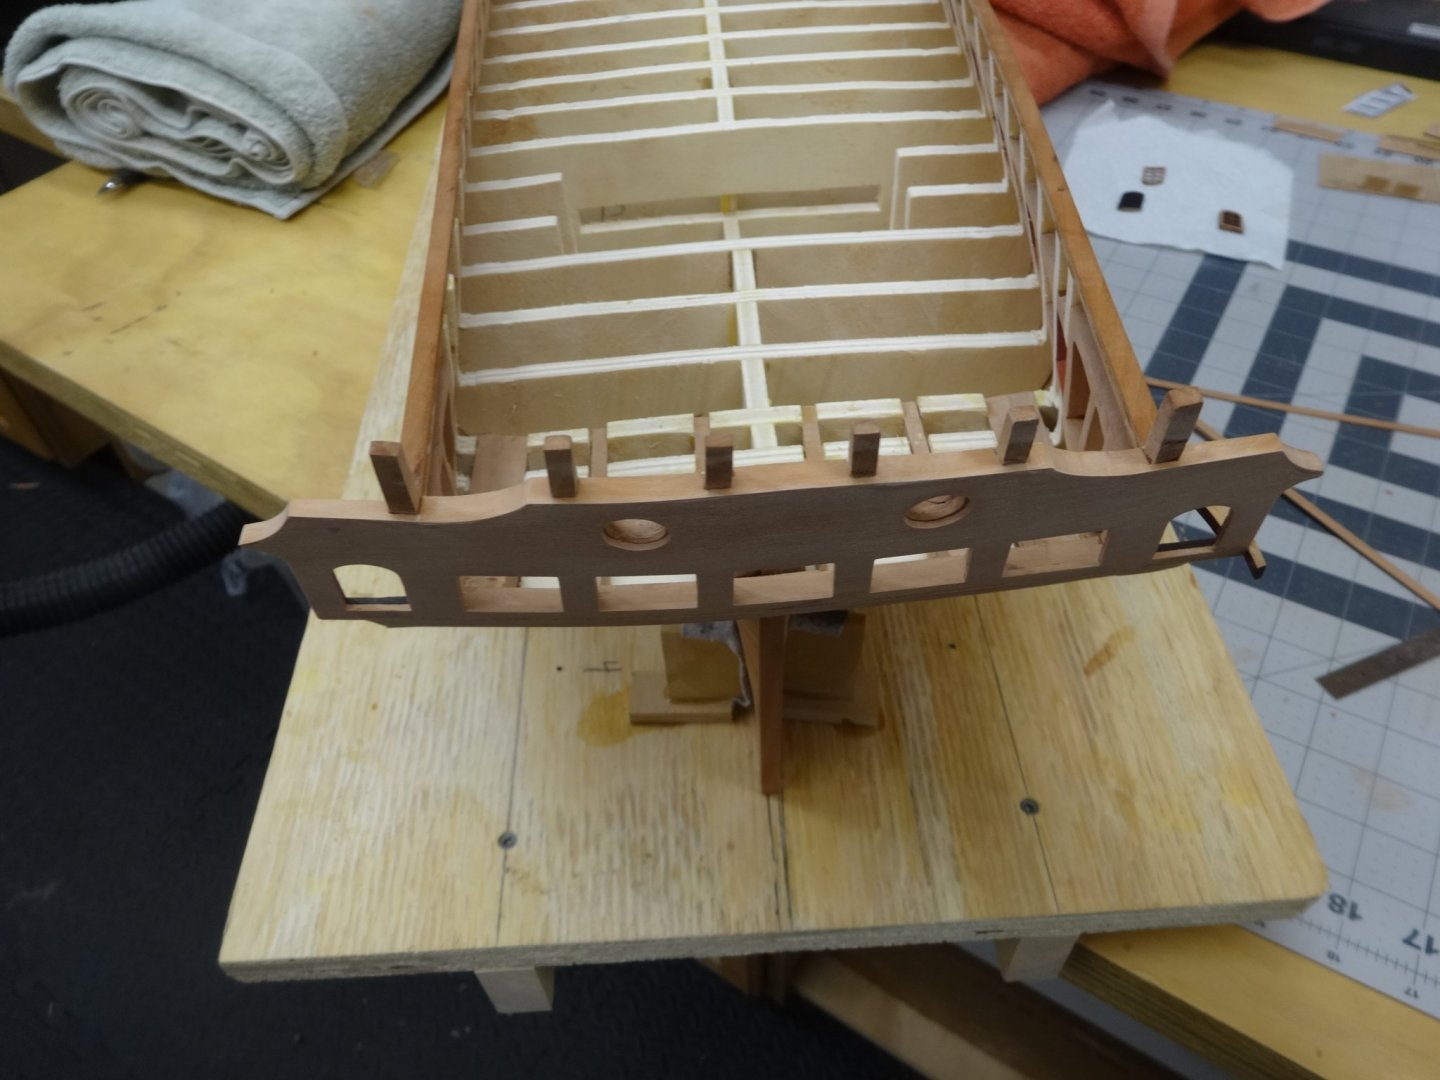
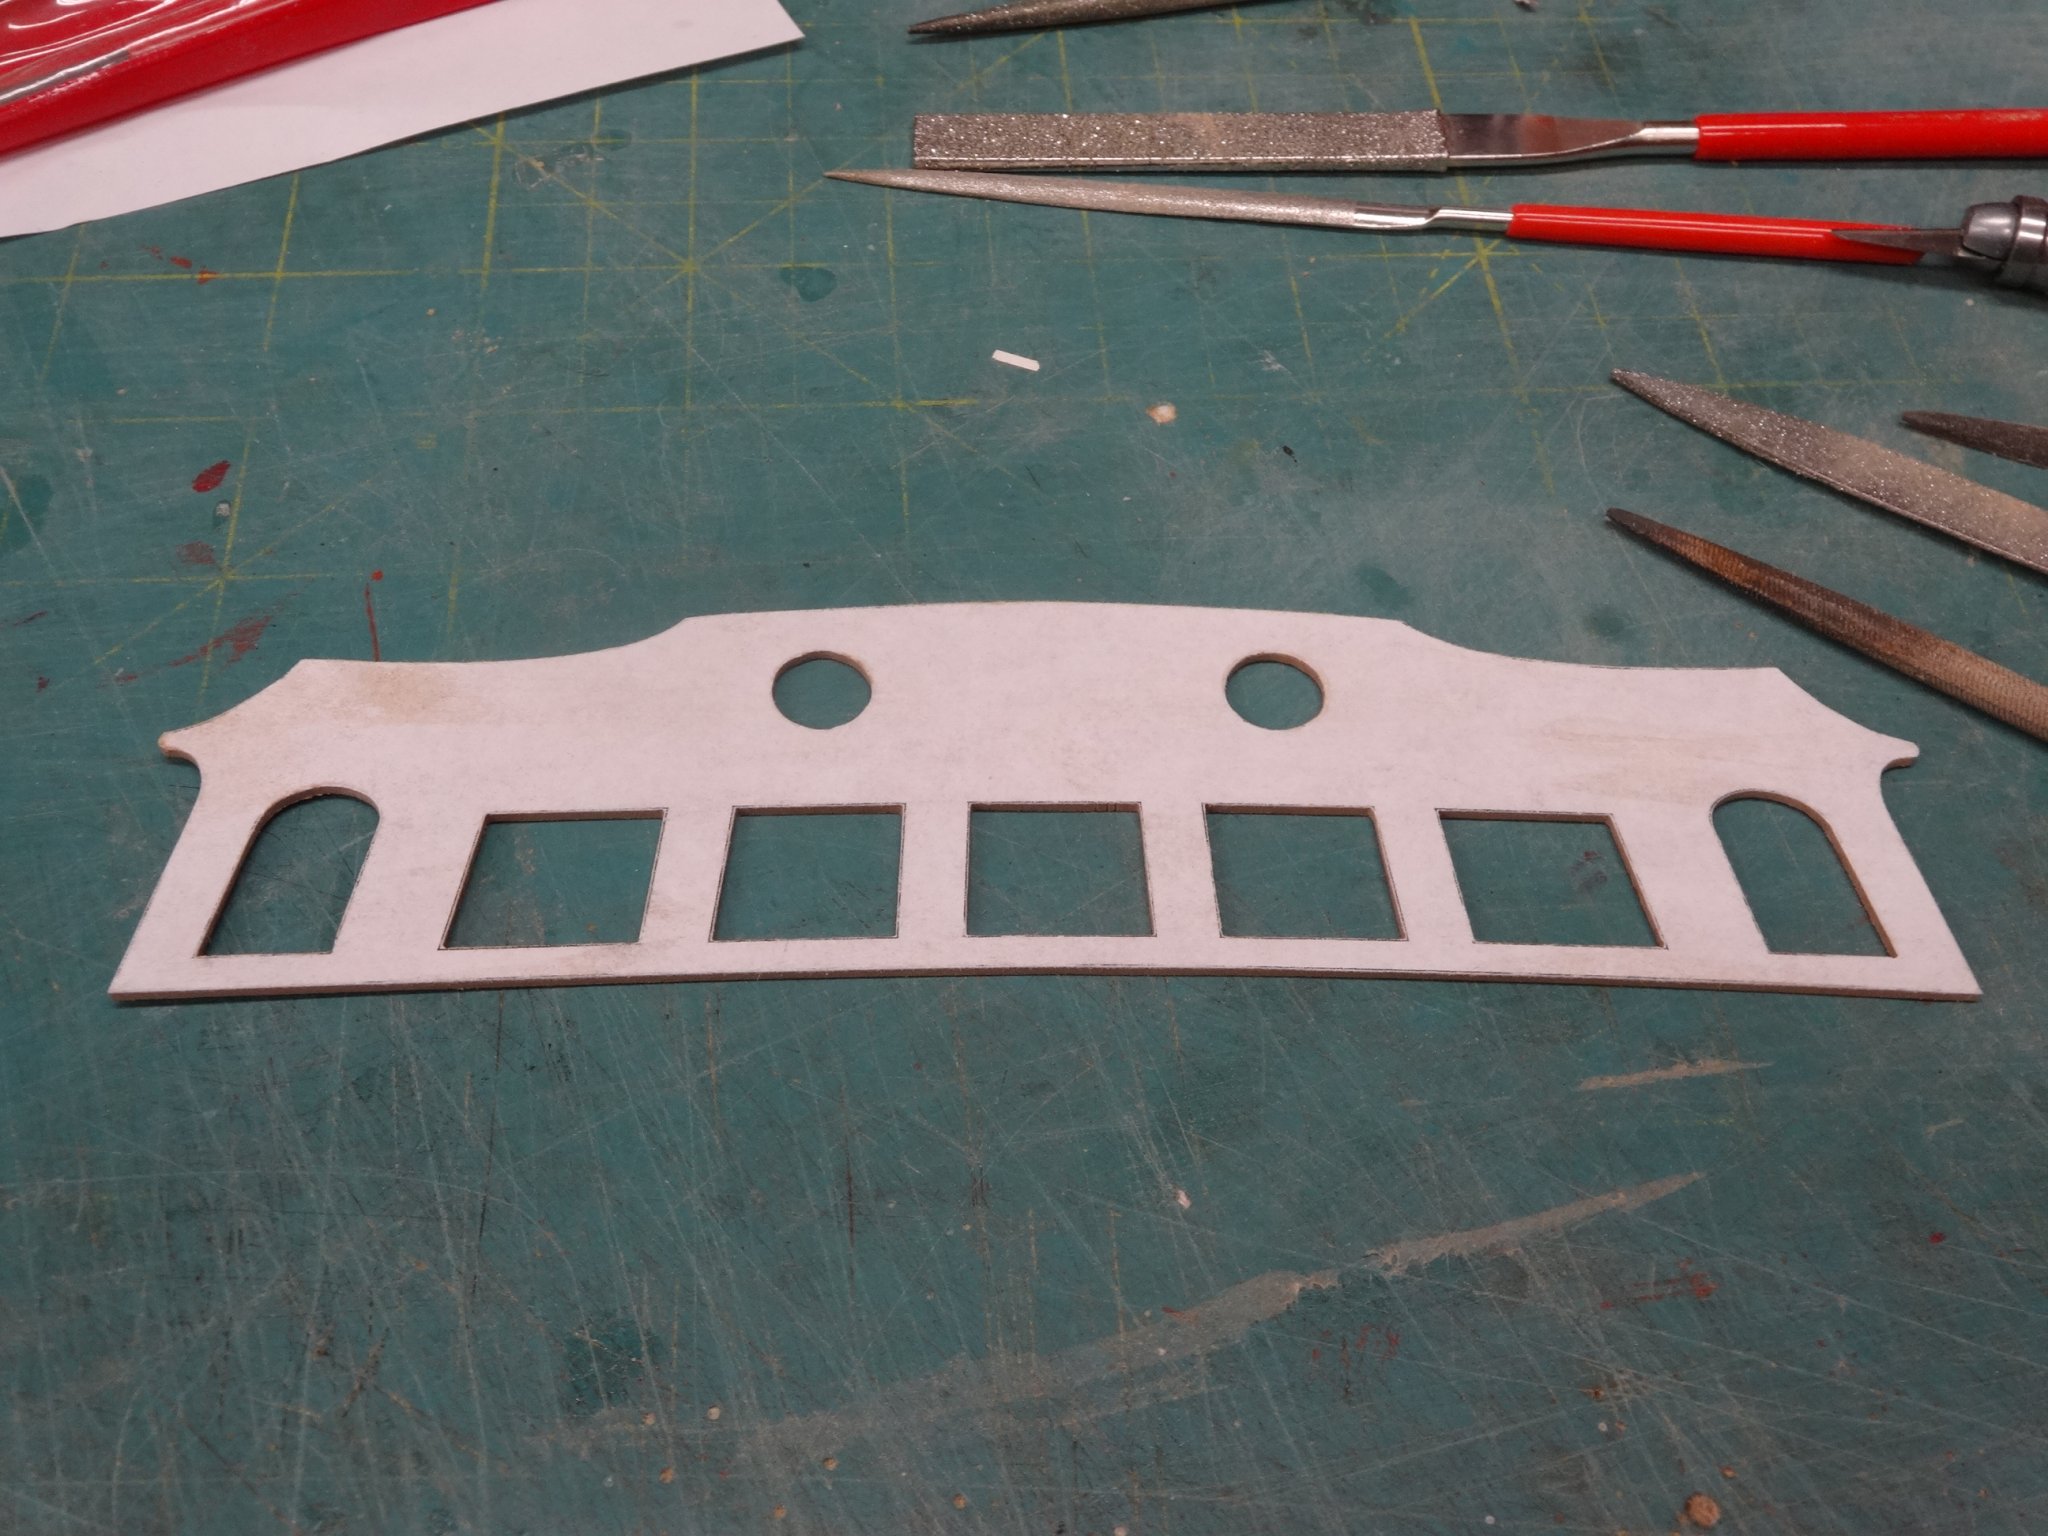
I've cut the transom out of 3/64" thick stock. This is the third attempt and it seems it was the proverbial charm.
First one the scroll saw went a wee bit out side the lines. The second one succumbed to heavy handed me.
I rough cut it on the scroll saw leaving the lines. I then fine tuned it with knives, files and sanding sticks.
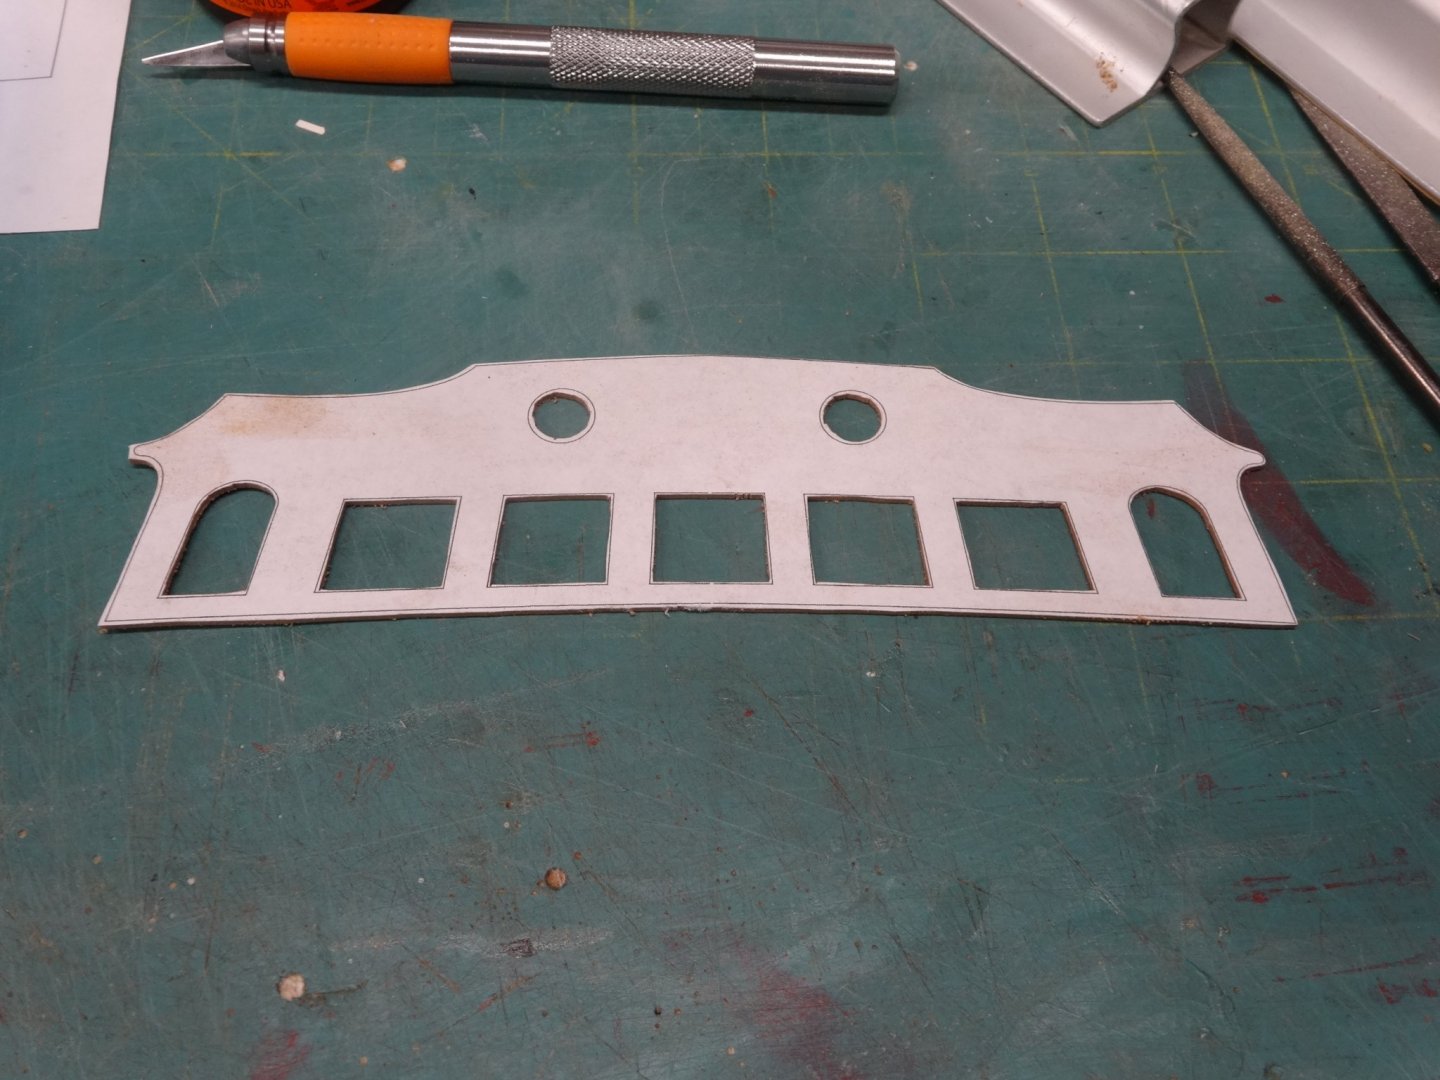

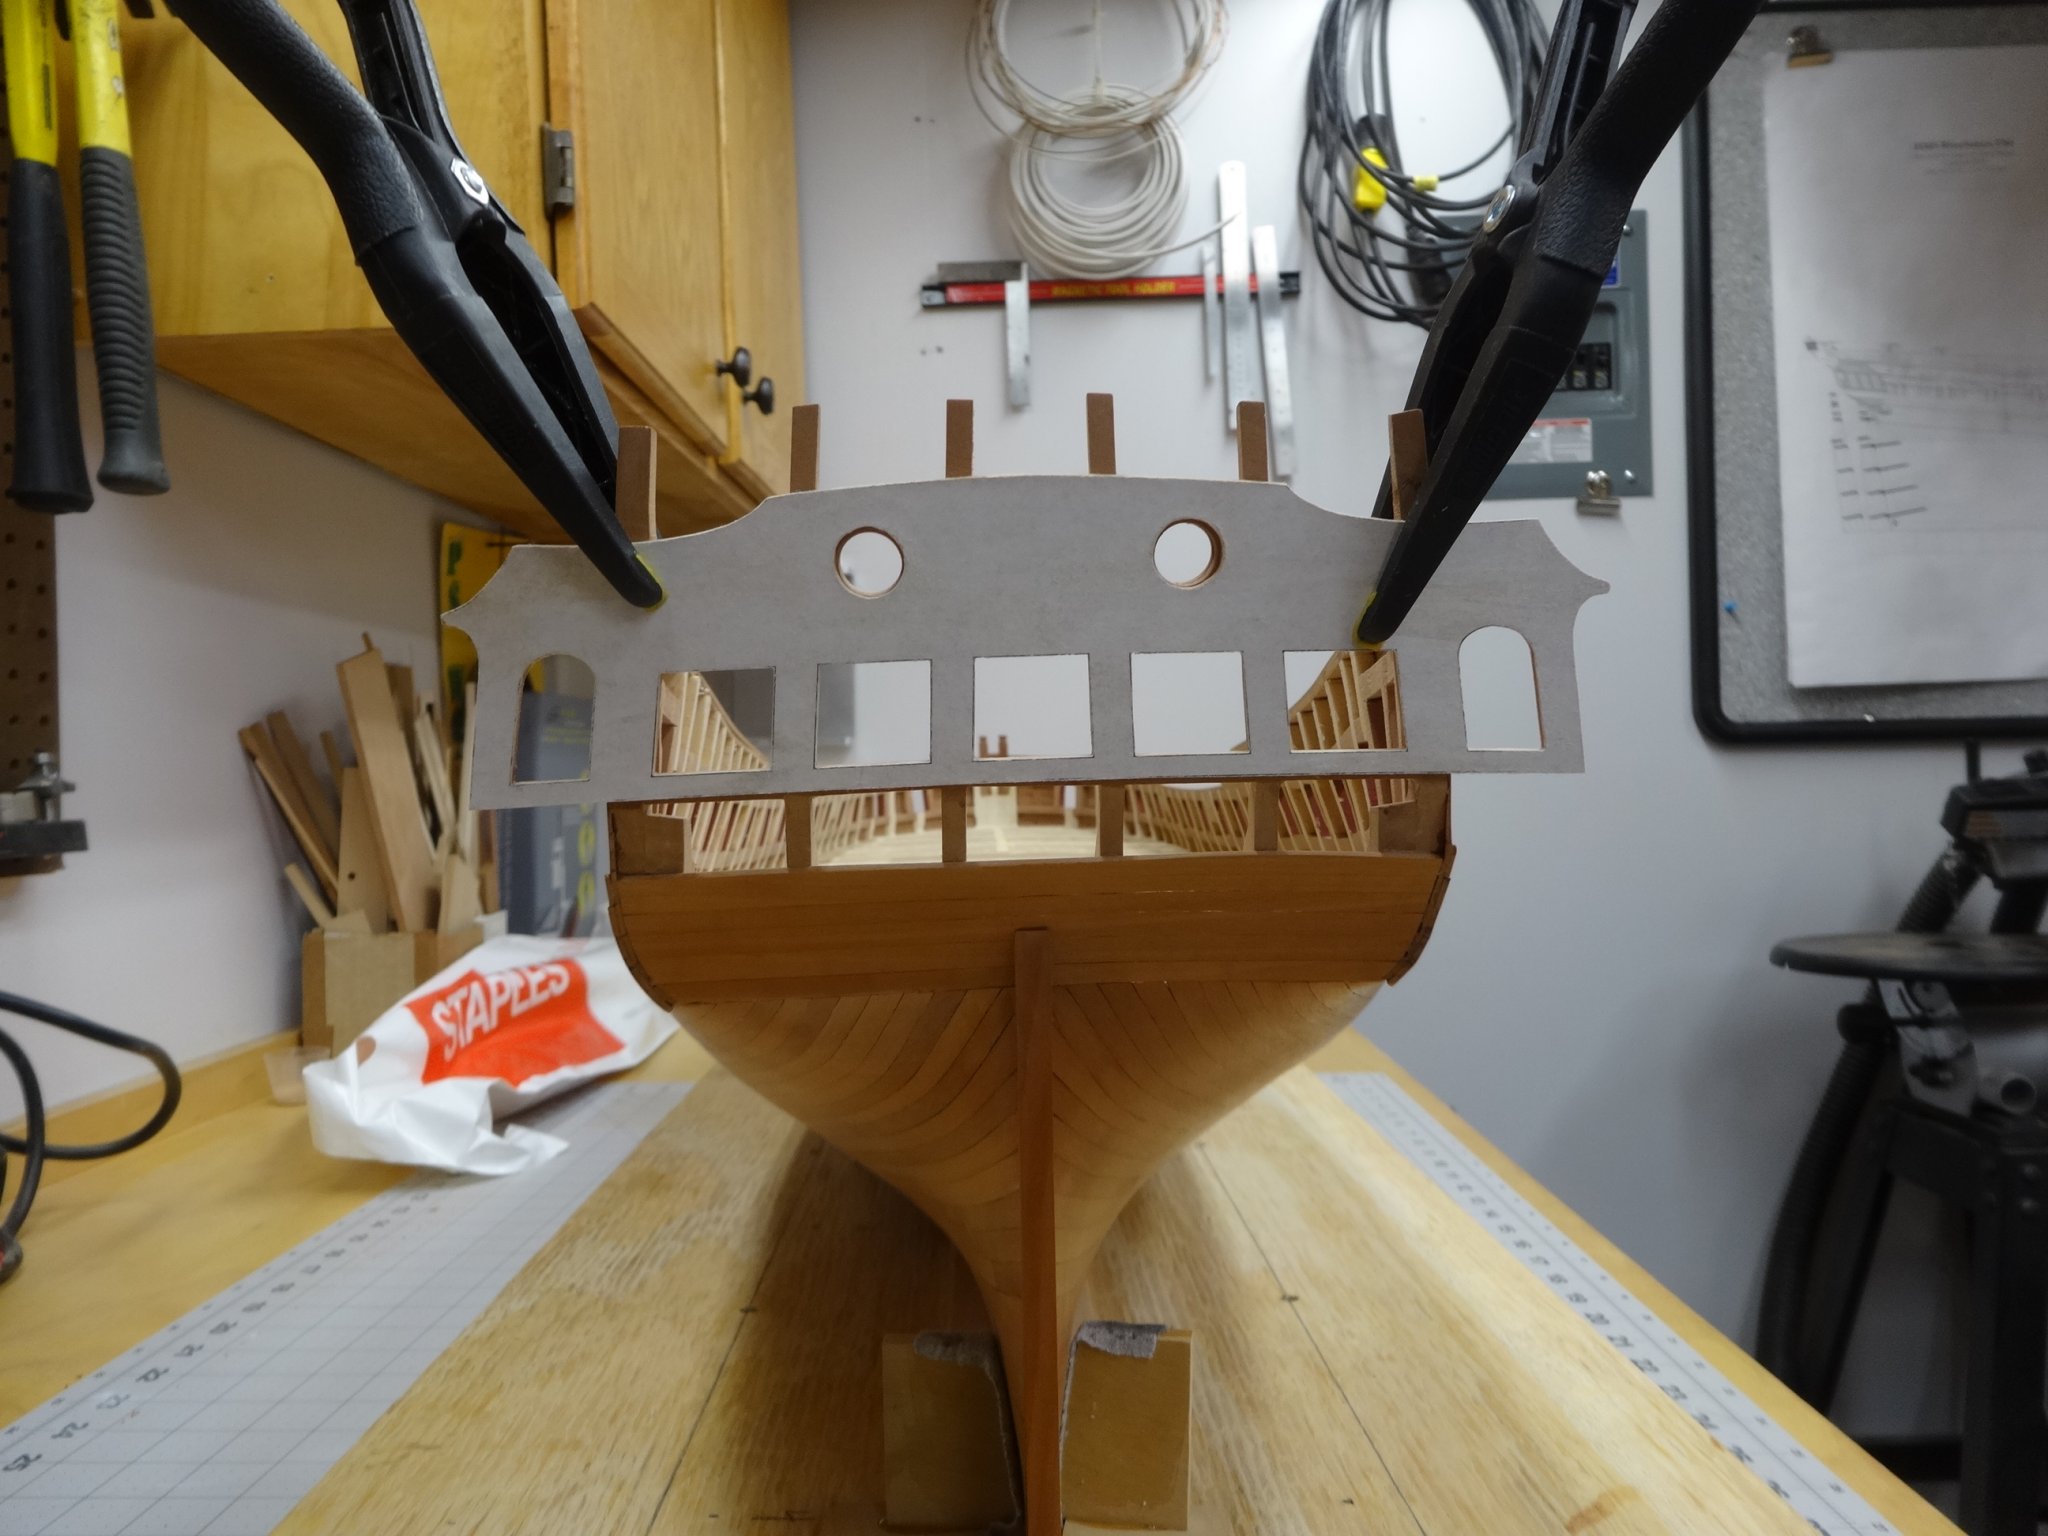
I've clamped the transom in place so far the fit doesn't look to bad to me.

Before I permanently glue it in place and plank the upper counter I will test fit as many pieces to see if there are any potential issues.
- dvm27, oneslim, Captain Poison and 15 others
-
18
-
Congrats on completing chapter 1. Looking really good!
- FrankWouts and Edwardkenway
-
2
-
-
I'm in on trying it!
- wyz, MEDDO and thibaultron
-
3
-
Great job! Finishing chapter 2 is a satisfying milestone.
-
Great job! That is very close to the way I did mine. Very good explanation too.
-
-
That all looks so great. This is one of my favorite part of the build.
- Stuntflyer, Chuck and FrankWouts
-
3
-
Thanks Ben. Very appreciated!
-
Thanks Bob, I hope you are holding up well!
Also thank for all the likes.
-
10 hours ago, glbarlow said:
I think you felled a tree to plank Winnie, but it looks great.
I'm thinking it might have been the equivalent of two trees!
3 hours ago, Chuck said:Cant wait to see it in person one of these days.
Thanks Chuck, I'm looking forward to when I can visit you again!
41 minutes ago, Stuntflyer said:Now the fun part starts, Qgalleries.
Thank Mike, Out of the frying pan and into the fire?
- FrankWouts and Stuntflyer
-
2
-
2 hours ago, glbarlow said:
Can you plank mine for me😂
Thanks Glenn, This is the second time I've planked the Winnie so I'm good there.
After doing this big hull I'd gladly plank the Cheerful again!
Thanks VTHokiEE and Don. Also all the like too!
-
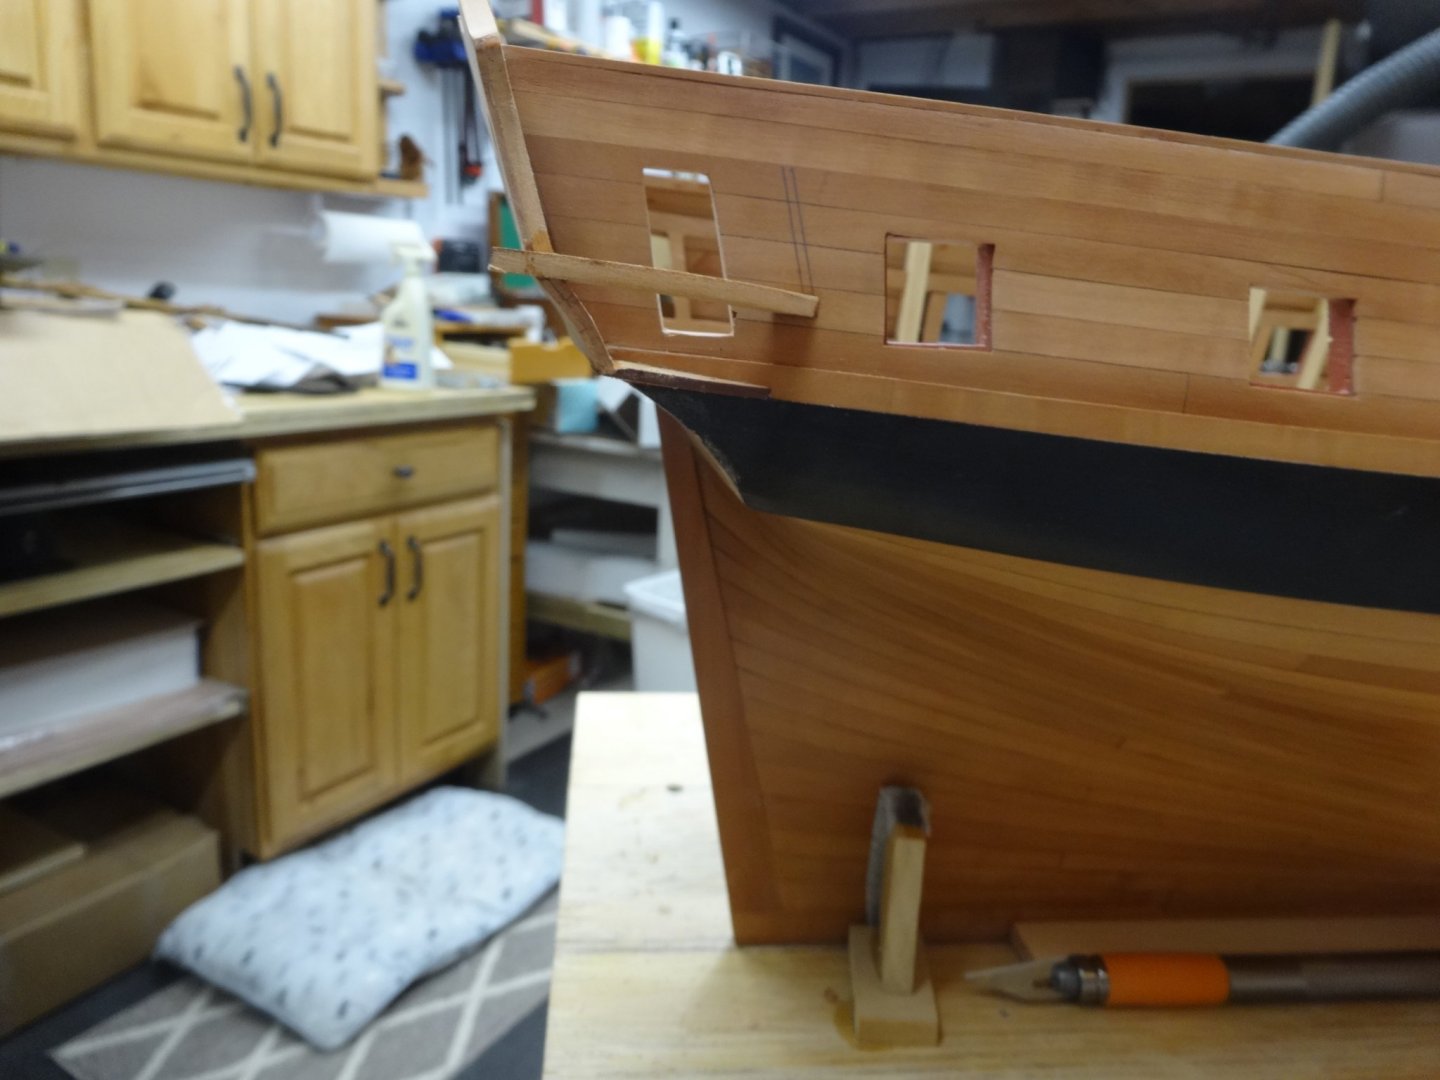
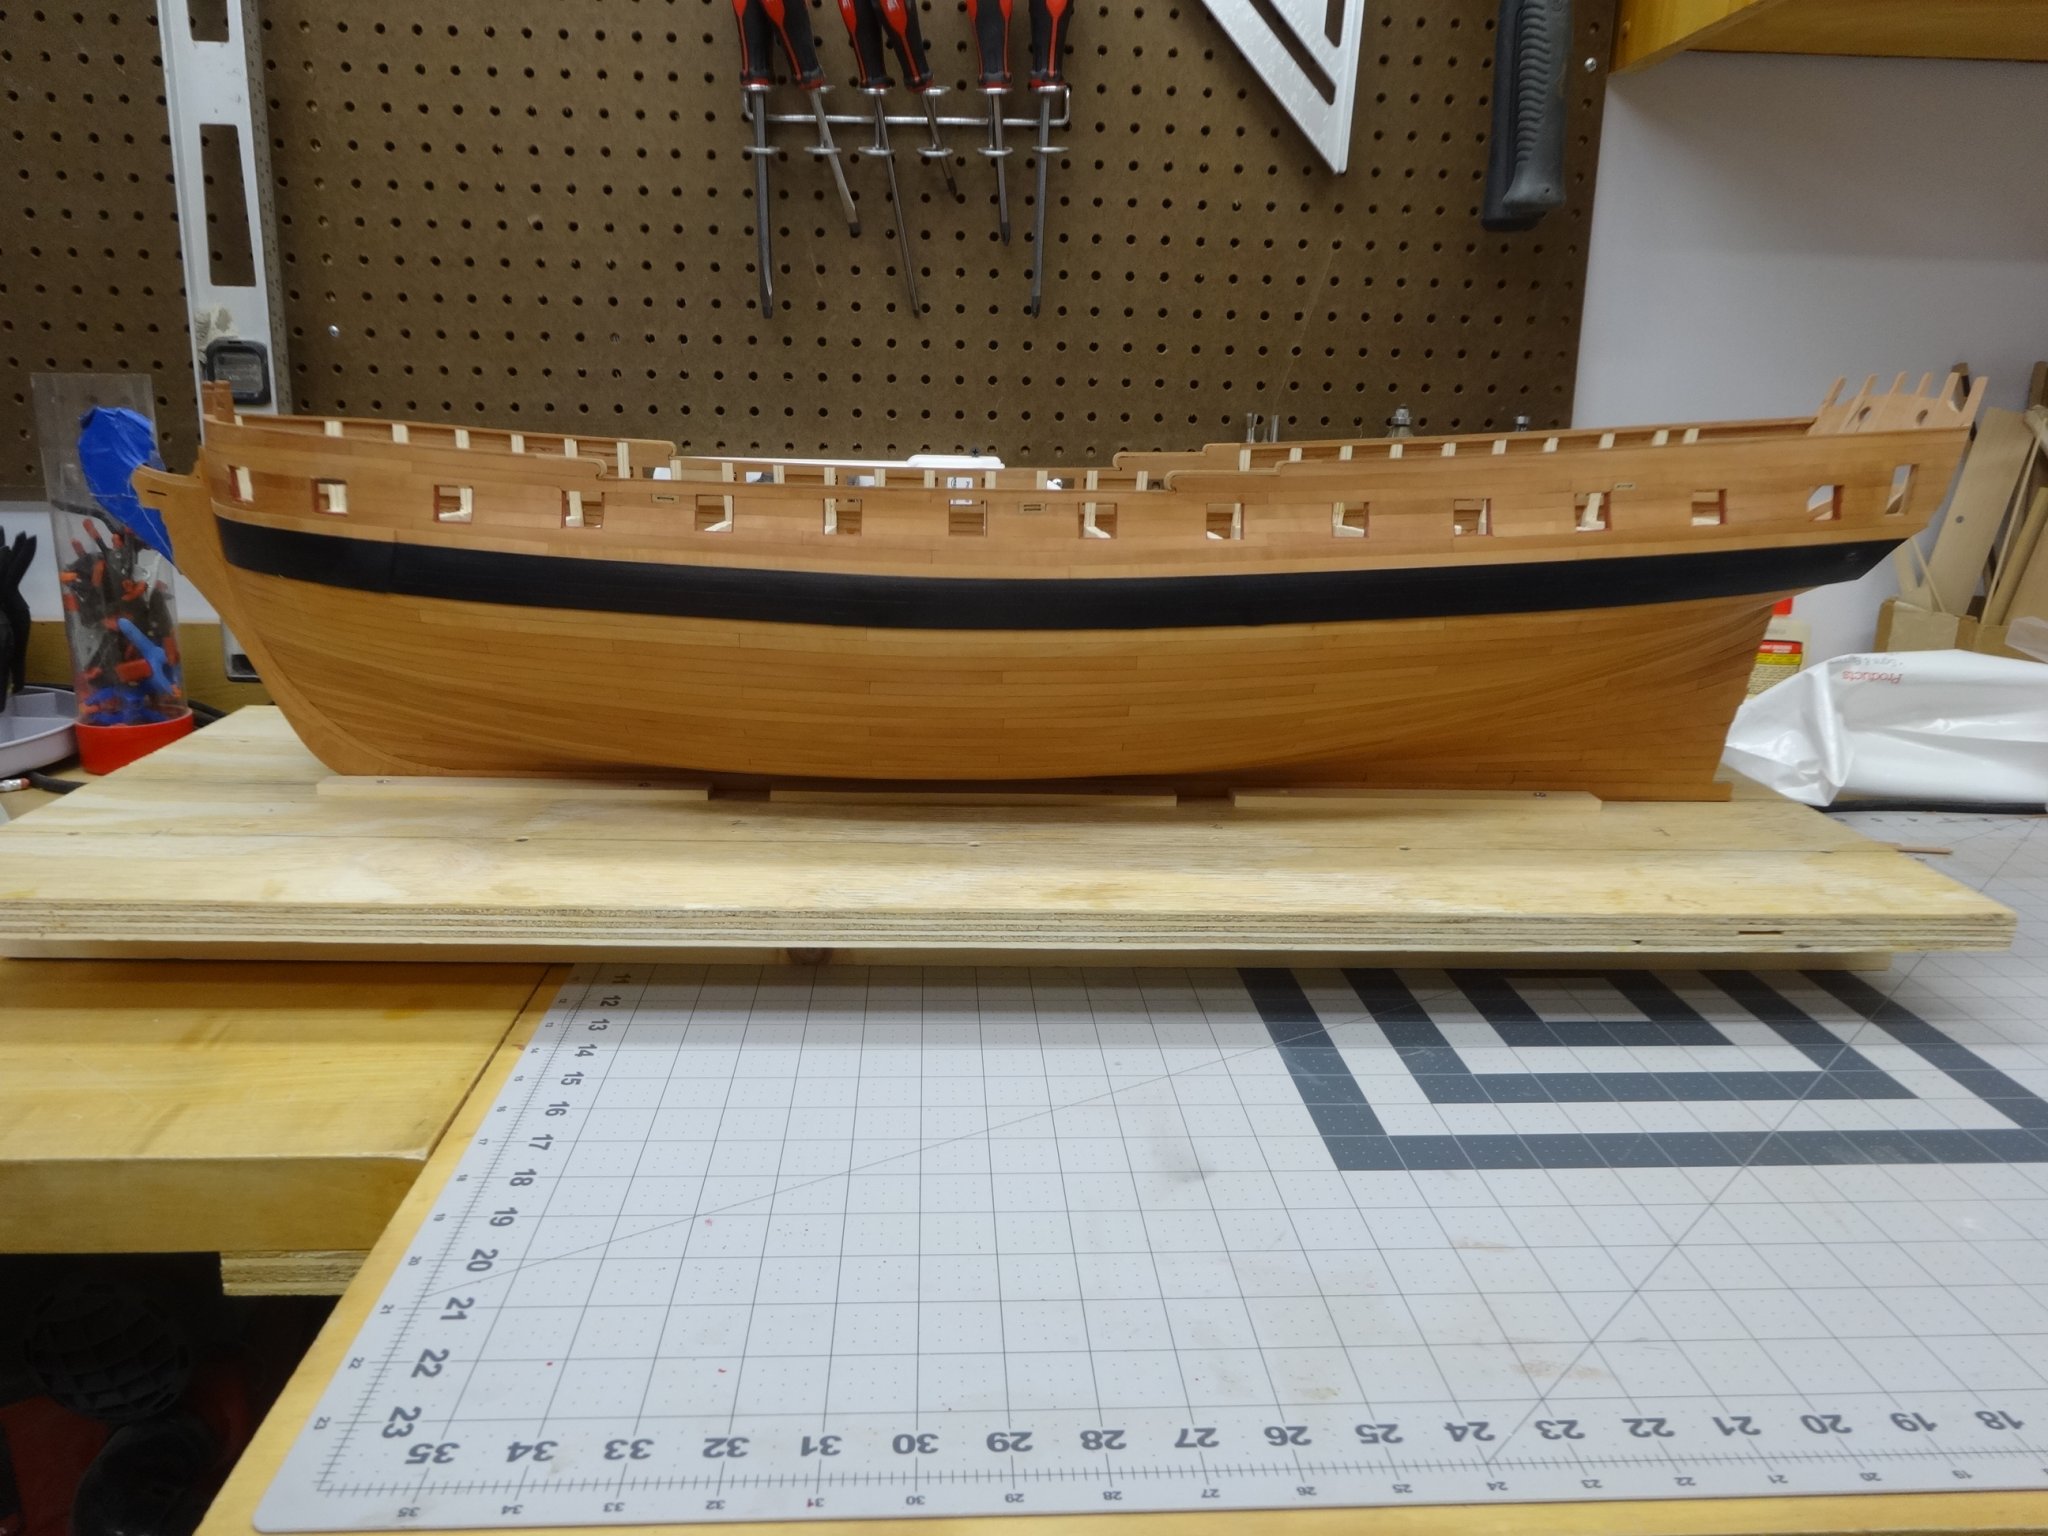
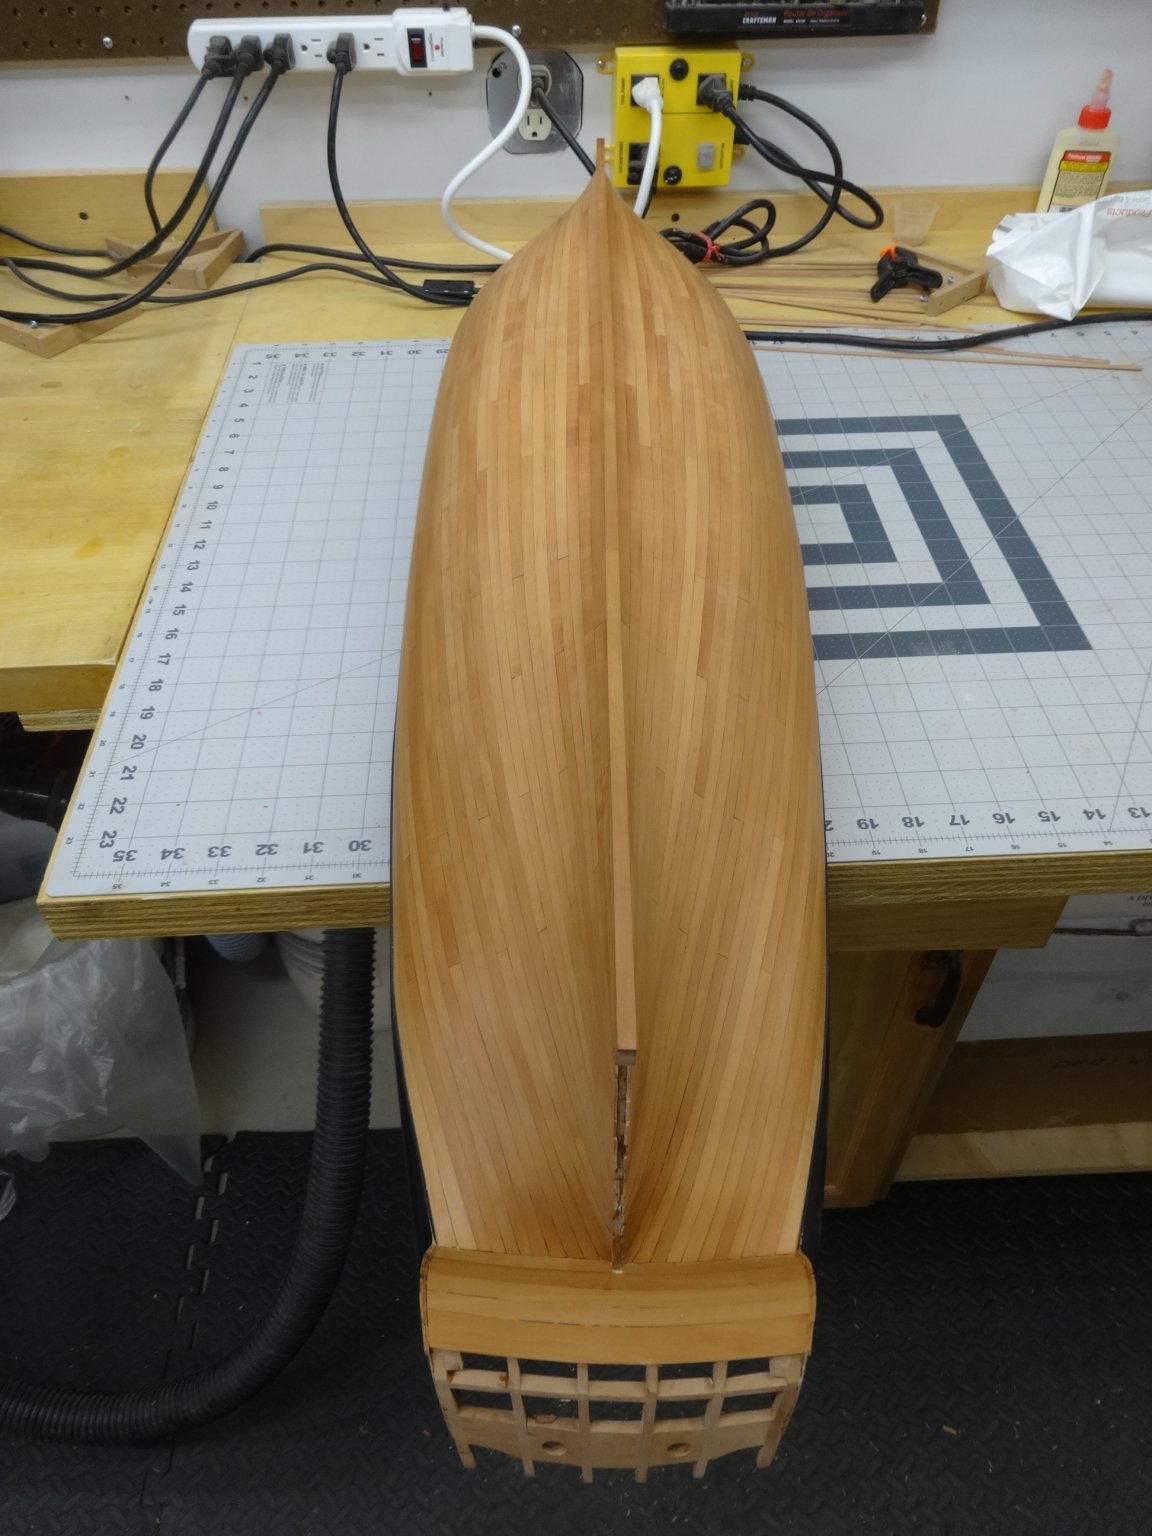
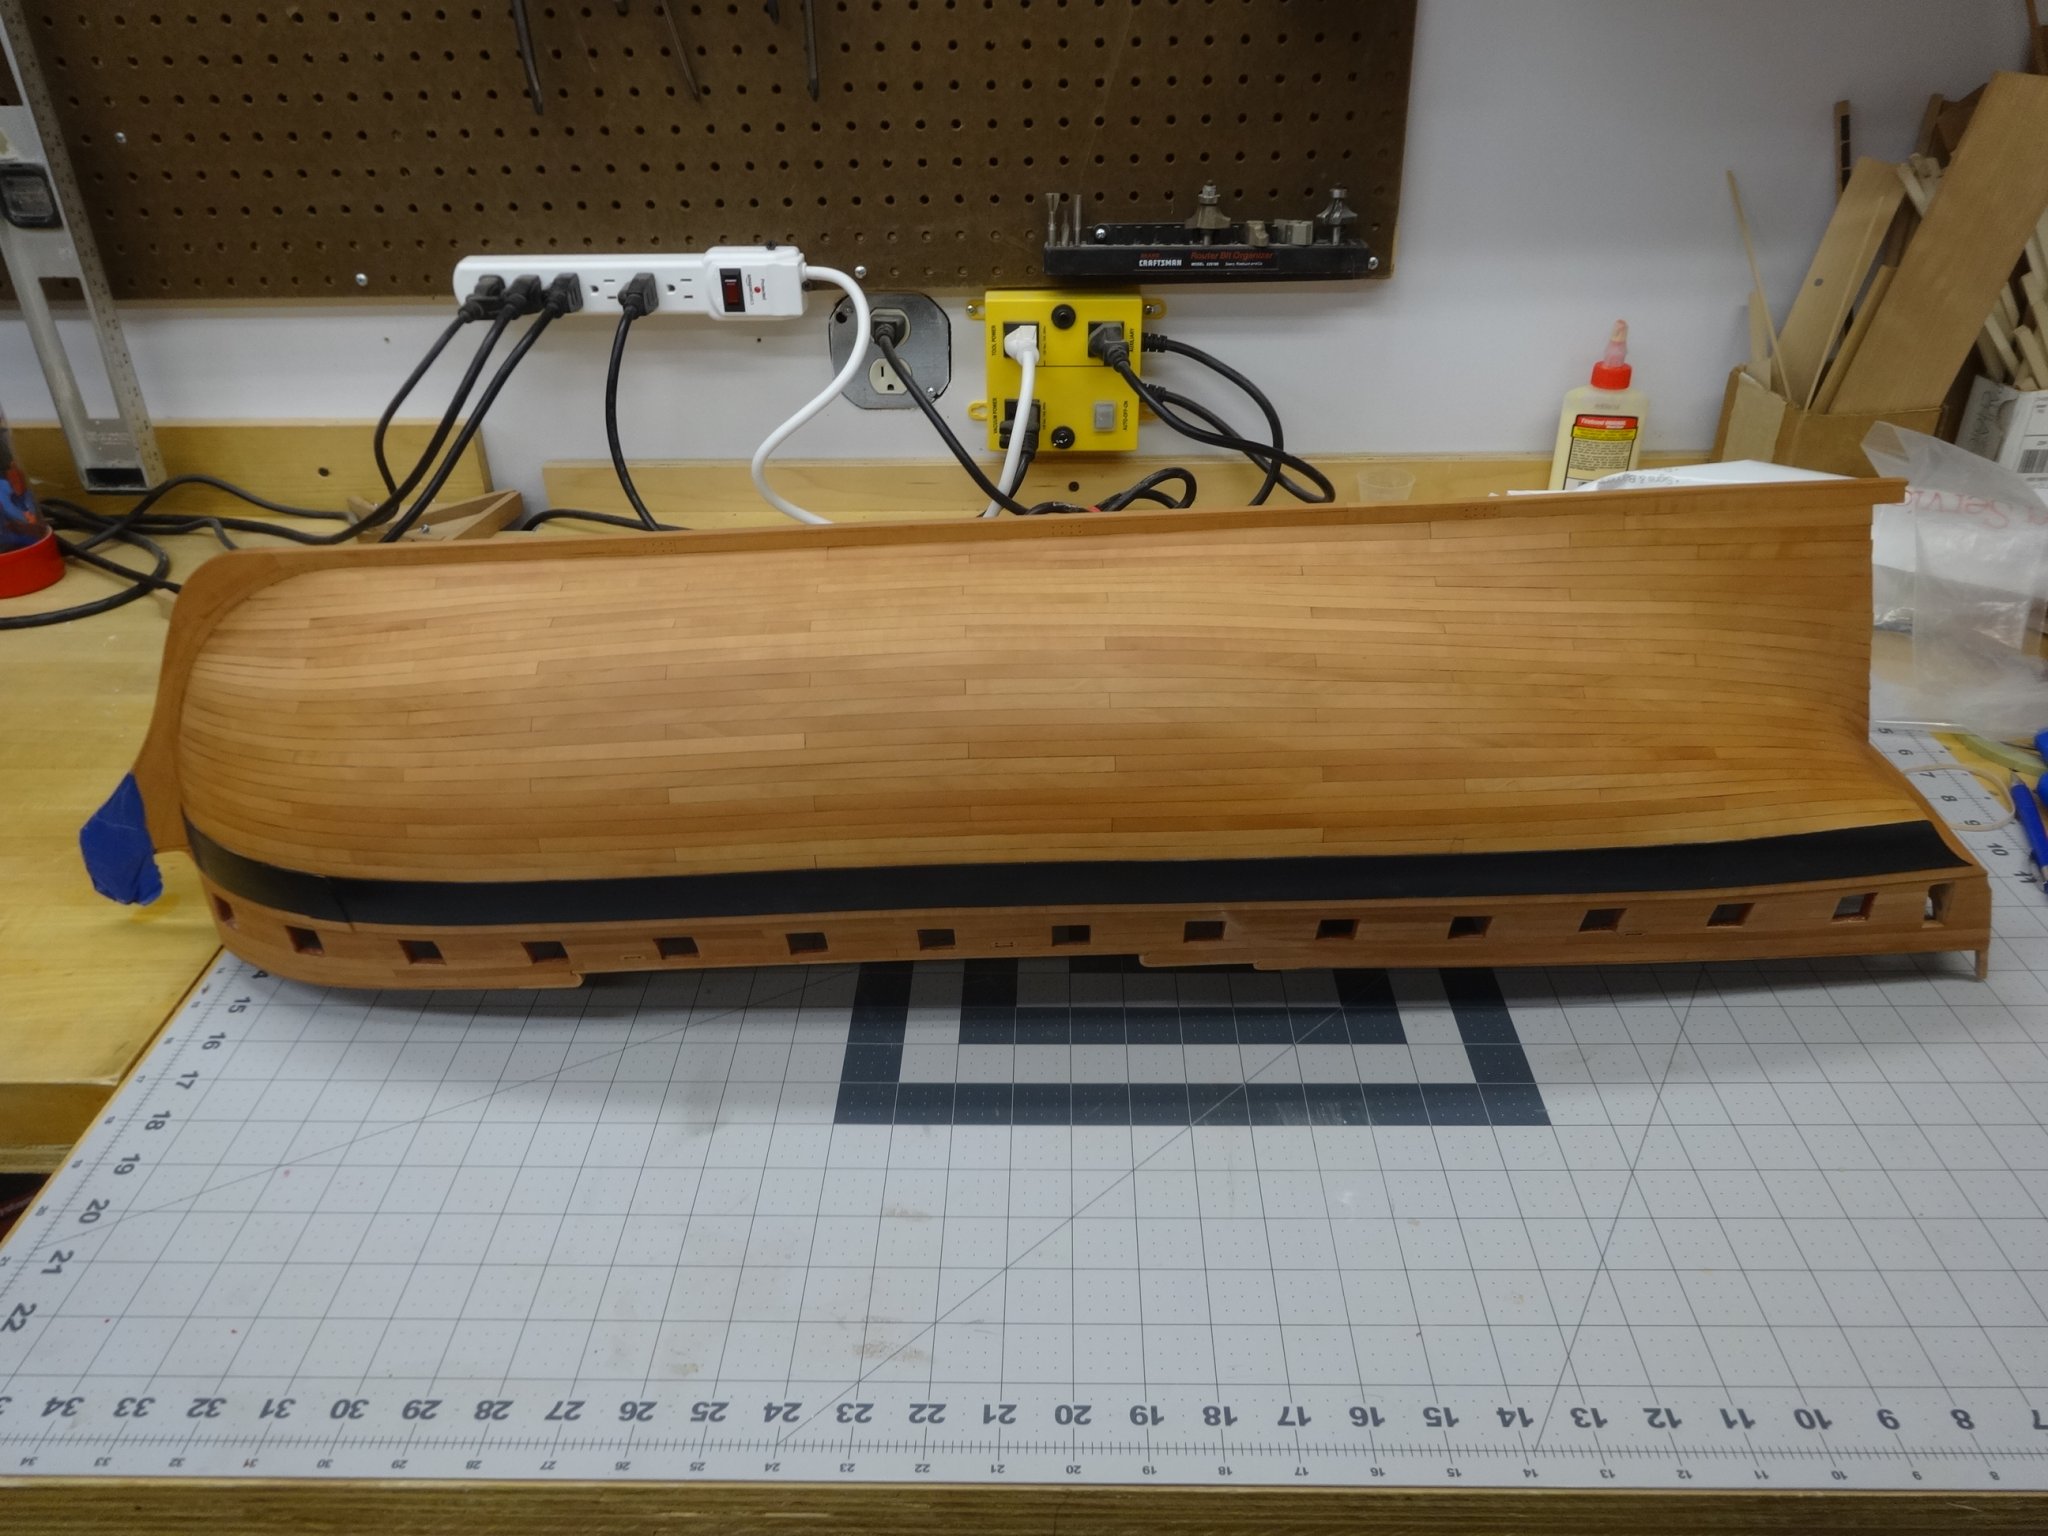
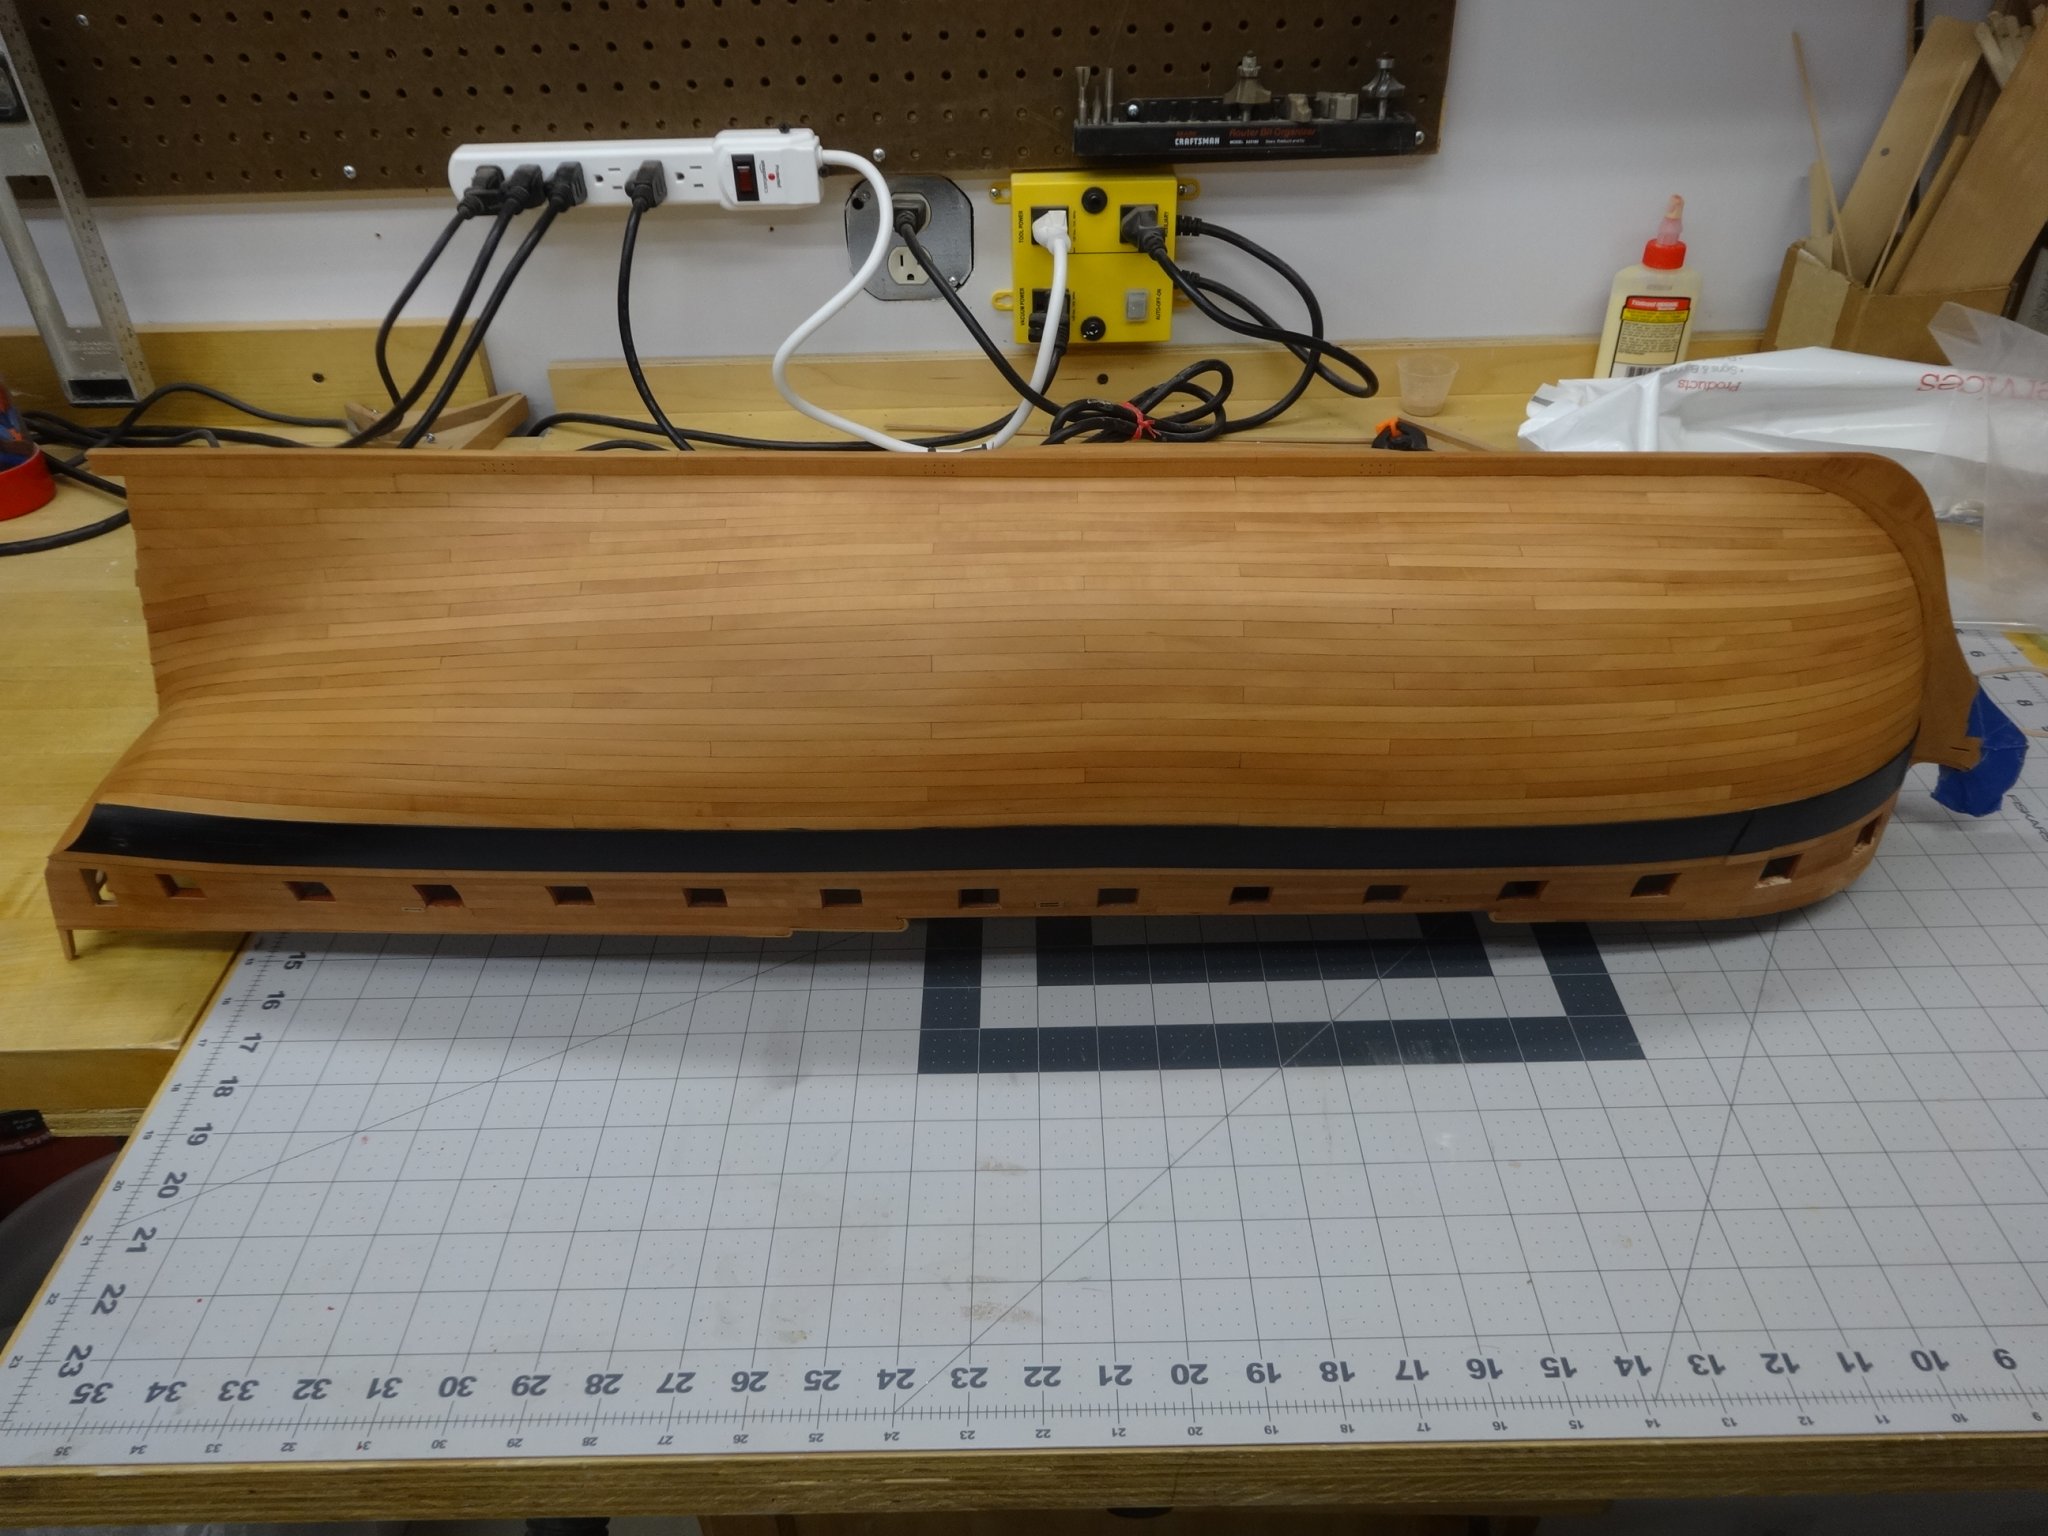
The last 11 strakes have been completed. Prior to starting the planking these strakes I checked my distance from
the keel to the already completed 12 strakes. I noticed that at frames A and 1 (center of the model) the distance
was 1/32" wider than the 11 1/4" strakes would cover. To remedy this the Garboard Strake was cut 1/32" wider
and installed. I then added 2 more strakes above the Garboard. I then add 3 strakes to the completed upper strakes.
This left me with 5 strakes to be completed between these two bands. I then rechecked and adjusted my remaining
tick marks and then finished the planking.
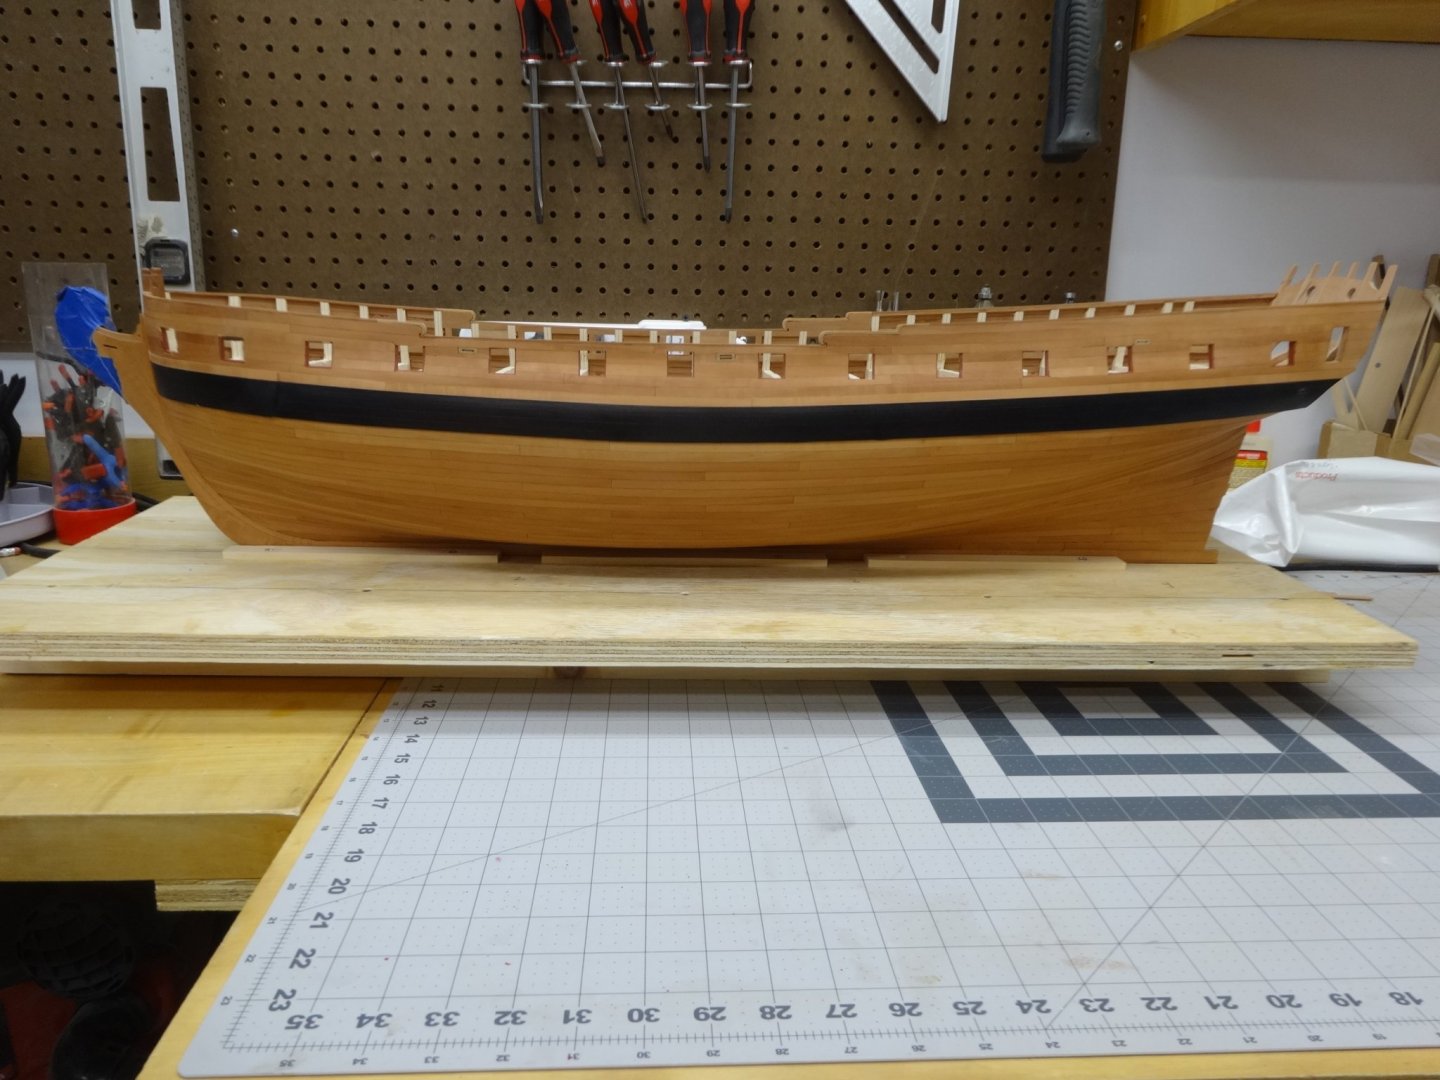
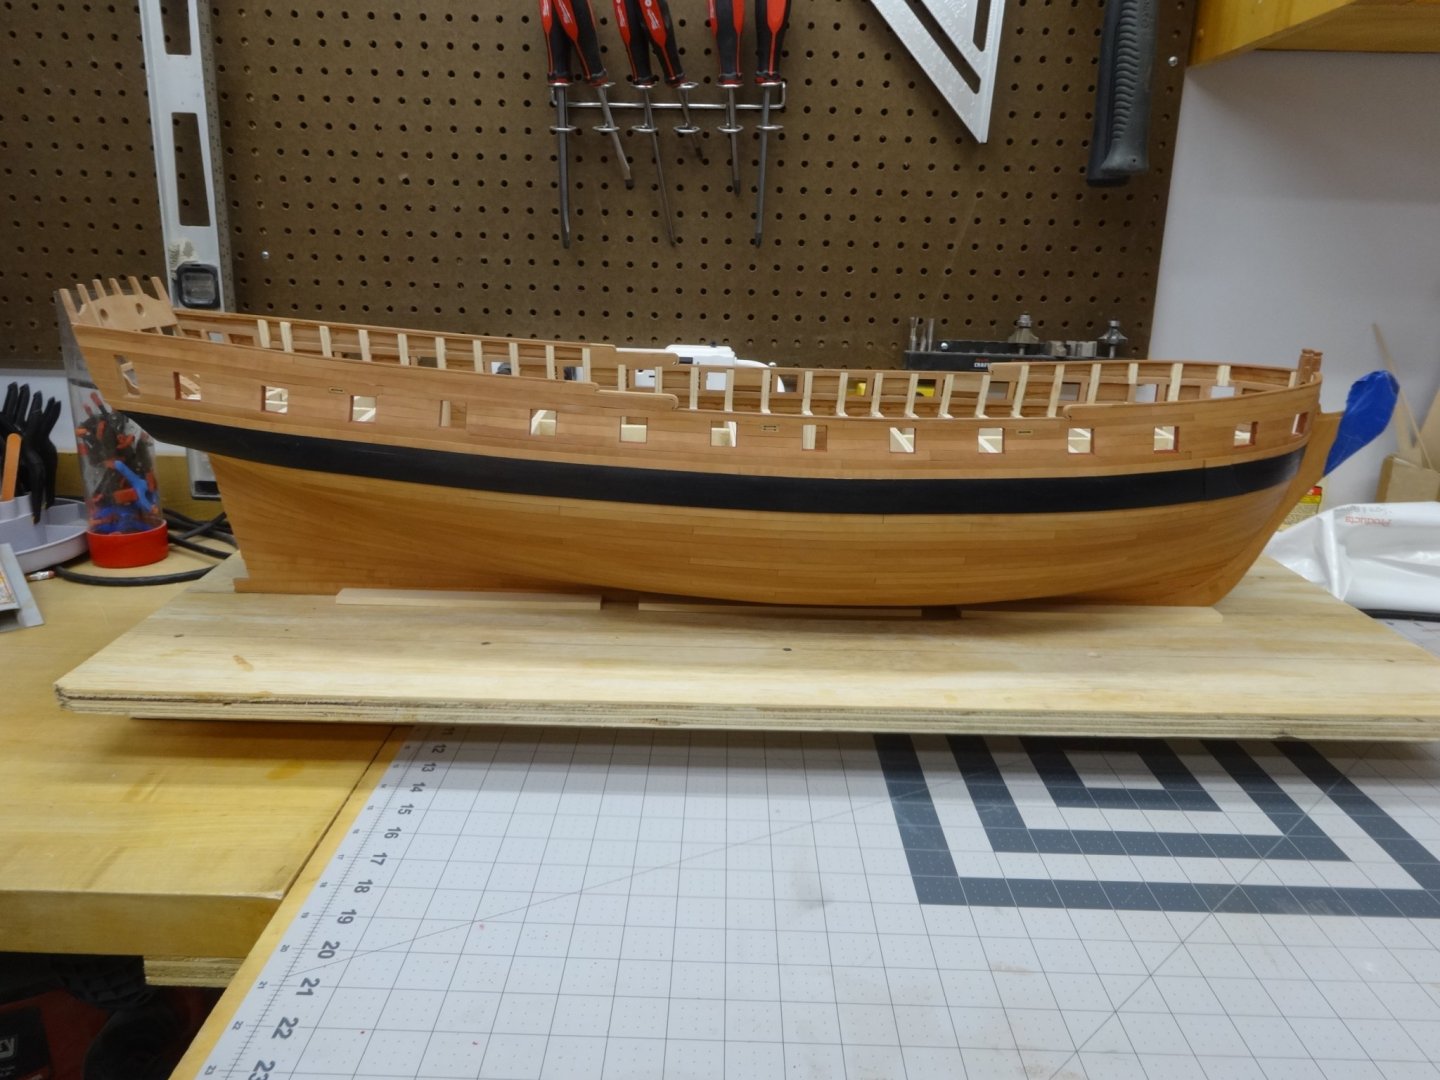
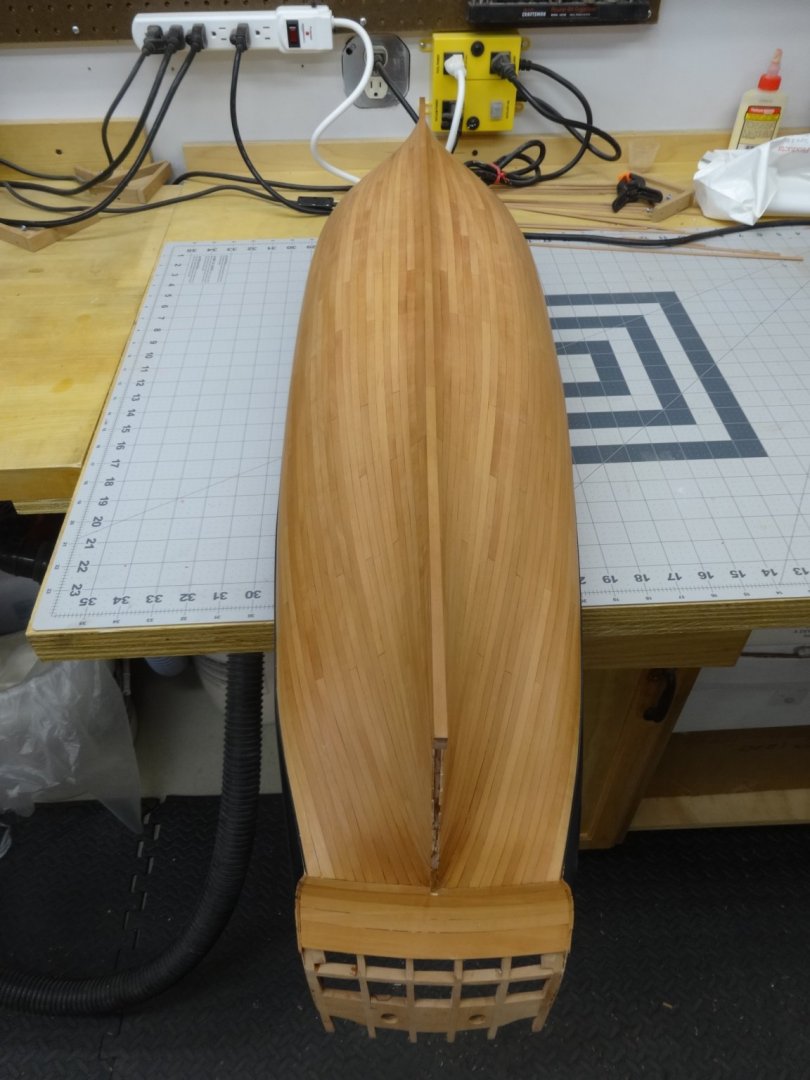
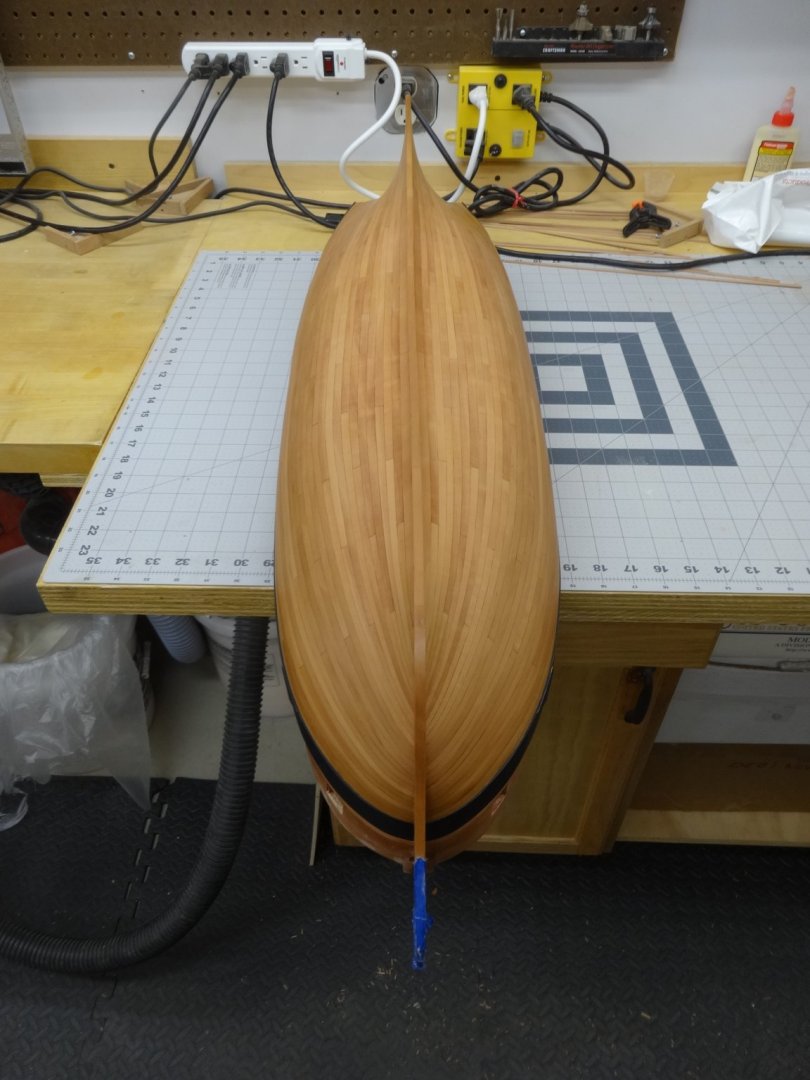

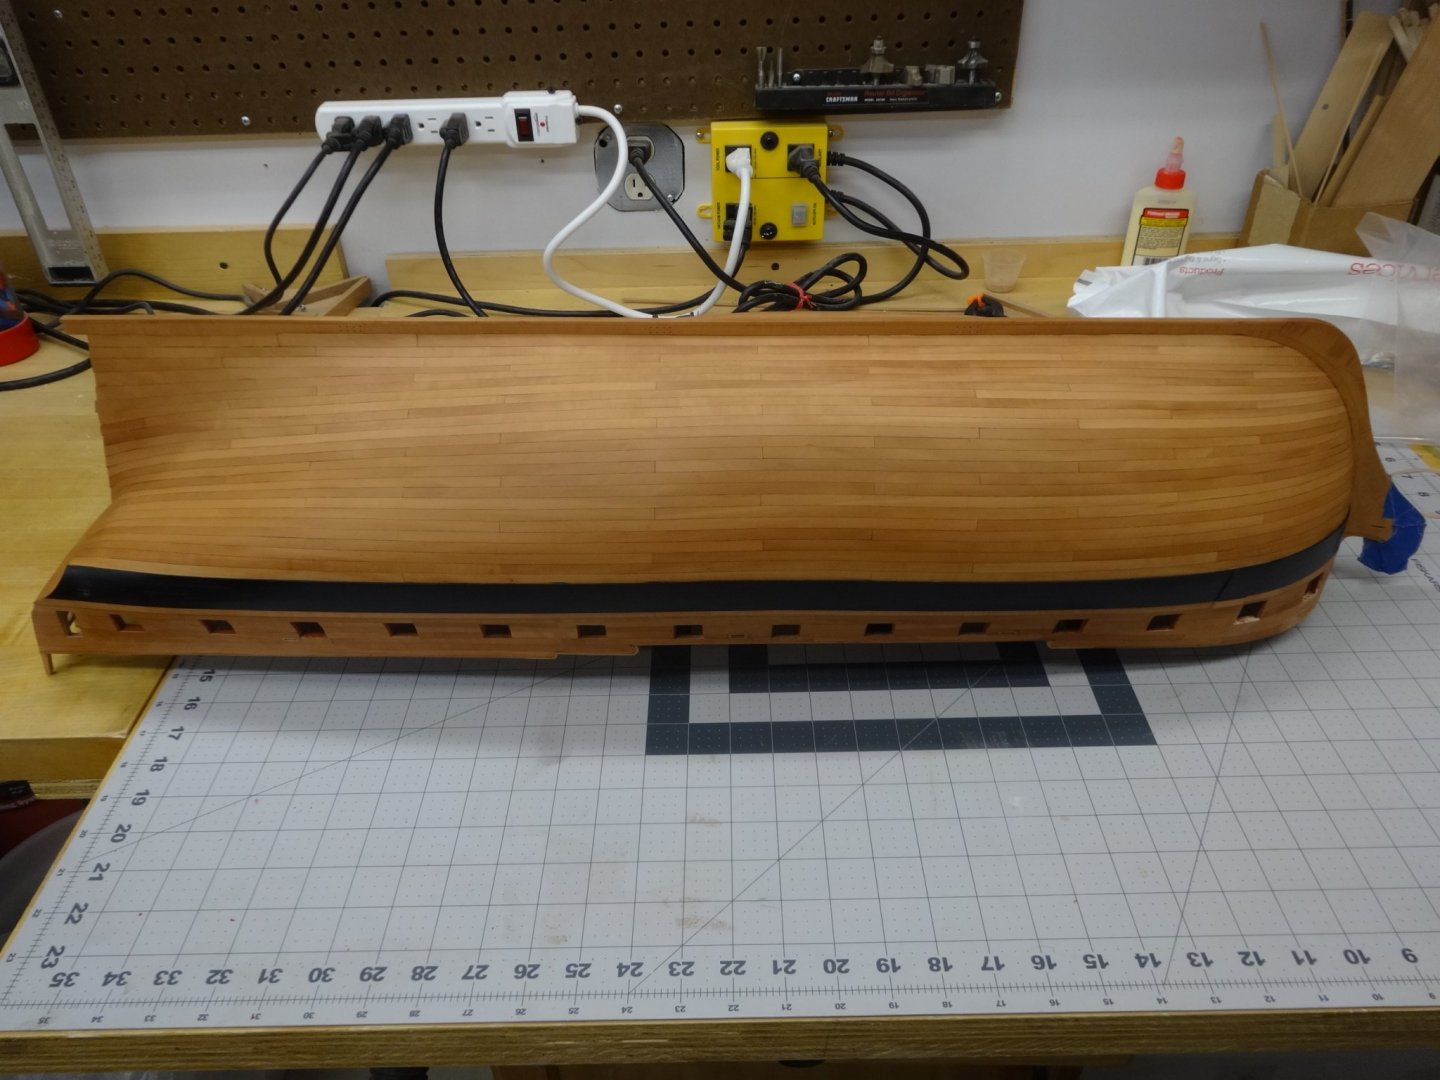
As you can see I still have to sand the planks at the stern post, add the stern post and trim the keel then chapter 3 will be completed.
- CaptMorgan, FrankWouts, Matt D and 20 others
-
23
-


Lady Eleanor by Blue Ensign - FINISHED - Vanguard Models - Scale 1:64
in - Kit build logs for subjects built from 1851 - 1900
Posted
Everything is looking really good. I like that you planked the deck too!