-
Posts
633 -
Joined
-
Last visited
Content Type
Profiles
Forums
Gallery
Events
Everything posted by Javelin
-
Since I love colourful ships, you can count me in. Never really seen a model of a lightship being constructed from scratch, should be interesting!
- 299 replies
-
- lightship
- Feuerschiff Elbe 1
-
(and 1 more)
Tagged with:
-
Fantastic work Glen. Your plants are out of scale, 2-3 sq ft leaves? But I know you don't mind and it doesn't bother me either! Great work on those waterfalls, if there's 1 ghing you won't be improving anytime soon, it's those... Because you can't improve those, they're perfect, colour, opaqueness and topped off by those cotton splashes. Didn't notice before, but I love that splash where the water enters the "sea" inside the bottle!
- 174 replies
-
- Waa Kaulua
- bottle
-
(and 1 more)
Tagged with:
-
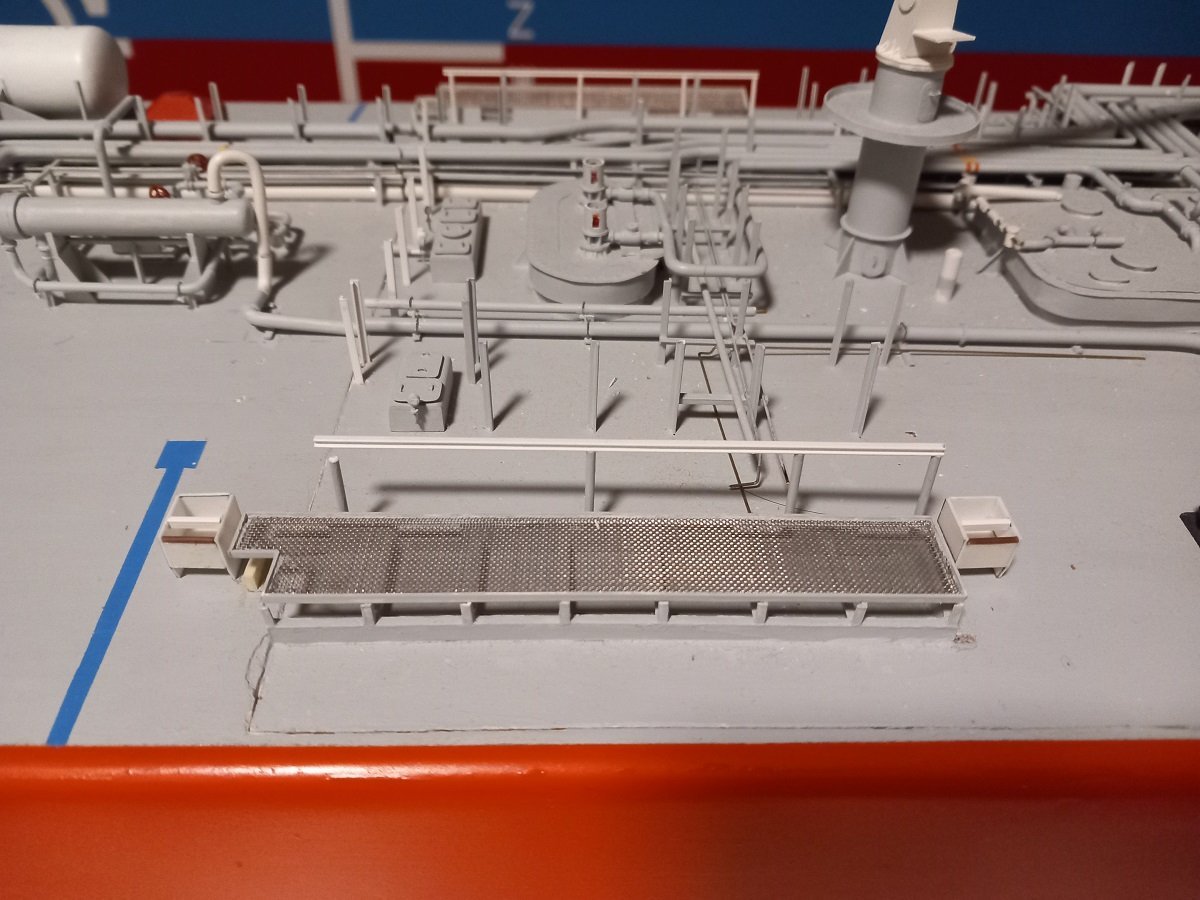
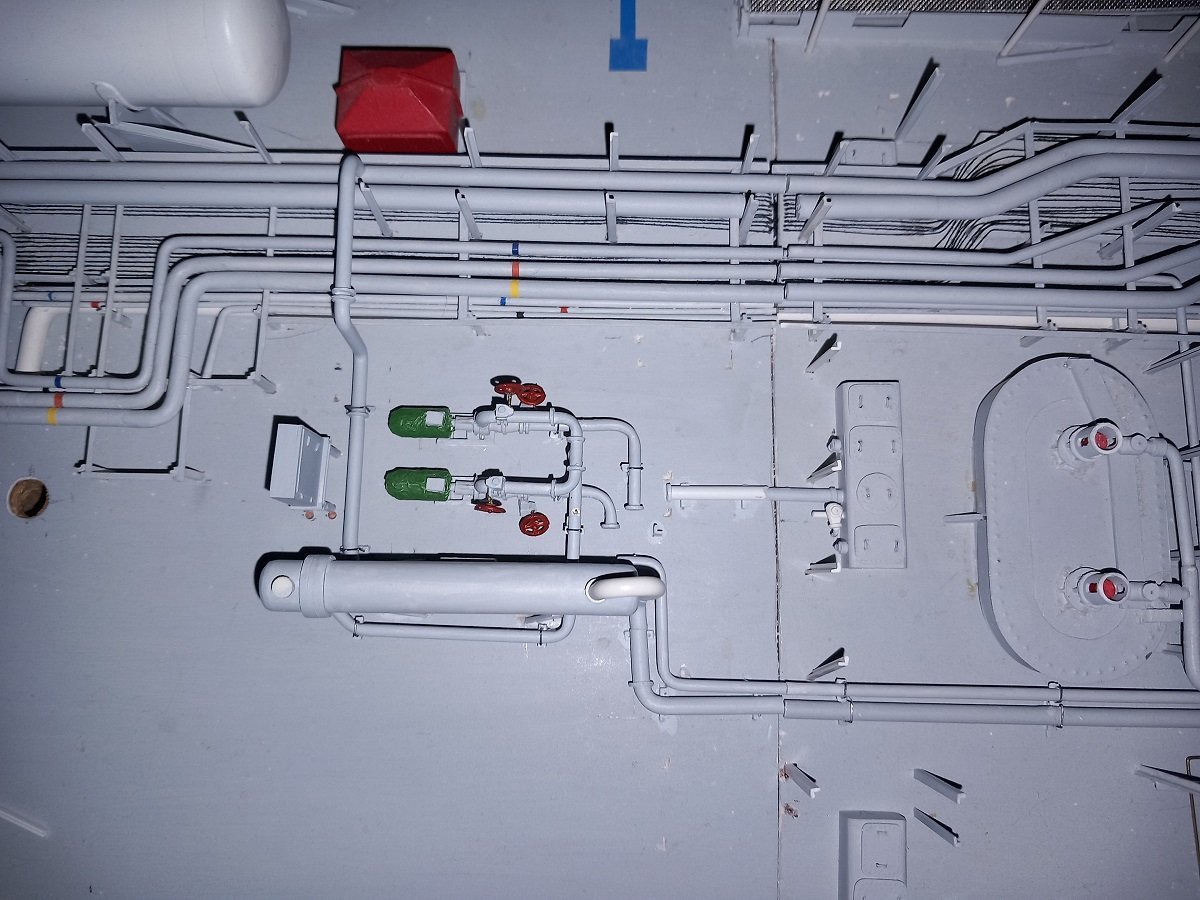
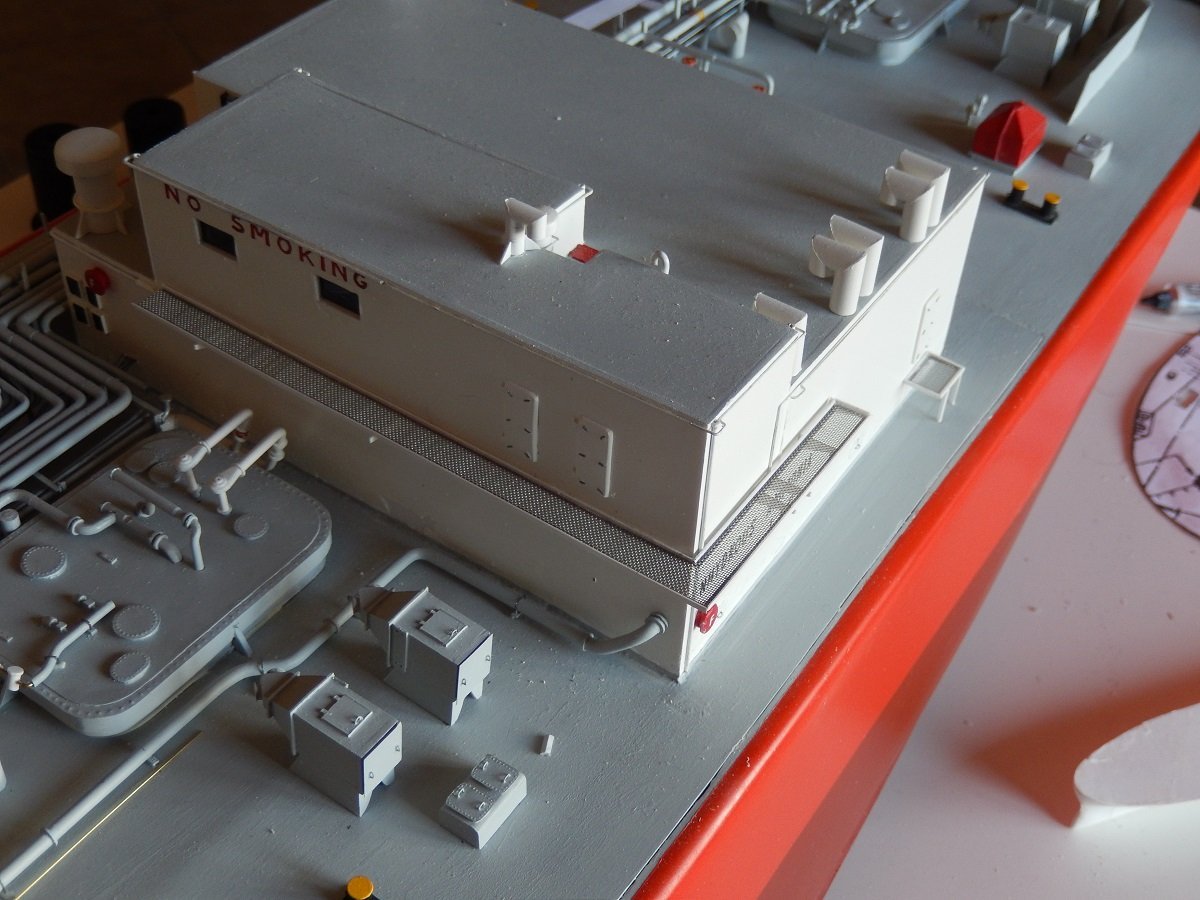
Thanks. Been a while again. Progress is slow, but I didn't expect otherwise. In the beginning I was wondering why I gave up in the past, but now I know... Although I made more detailed plans for the manifold area, it seems they weren't quite complete yet. I had to go back and study a large amount of pictures for some more piping in the heater area. At least I think I'm close to completing that now. Slow going, with a lot of dry fitting, adjusting, removing, placing supports, dry fitting again and so on. One of the most annoying parts of stopping for long periods of time is that you lose momentum and when things aren't complete, you didn't build enough parts, then you need to build something extra, much like you built the others years before... It appeared that I forgot to count and build one of the control and monitoring boxes (for the booster pumps in this case). Luckily I started building it some years back and only had to complete it now with handles and support legs. Next to it you see the new bunker manifold drip trays (of course I found the 4th original one when I started building the new versions...😂) And drip trays in position on each side of the cargo manifold (just a dry fit of course). On this picture you see another lesson I learned. On the left of the cargo manifold drip tray, you see a piece of deck that broke out. The lesson I learned is when you use a filler to level something, you need to make a boundary. This is the edge of the hatch, so if I had to do this again, I'd be putting two vertical strips, one on the hatch side, one on the hull side adjacent to each other and only then use filler and flatten it. Now, when the edges touch when I open/close the hatch, there is always a risk of breaking part of that filler. Too late to fix that now, with all the structures on it. And an overview of the heater area now. Most of the piping forward of the heater is just dry fitted. The white pipe, central in the picture was mounted too high compared to its connection on the hatch. I was about to leave it like that when I noticed it's actually too long as well. The flange connection on the left should be connected to a pipe floating in the air with a large elbow. Looking at the spacing here, there's not enough space for a such an elbow, so the flange needs to move forward. In short, I'll have to break out the aft support and while I'm at it, I'll also correct the height of these supports to match the height of the piece on the hatch. Once I complete this piping, I'm ready to move one layer up, I guess I'll complete the tank domes, last valves on tank dome 3 and some piping works and valves on tank dome 2 (you can see that in the picture of the primed crane). Then it's on to the bunker manifolds and bunker lines before moving finally up to the cargo manifold piping itself. I think I'll be doing that outside-in. First placing the flange connection and manifold valves on the manifold and later on adjust the piping to end up on the valves. It won't be easy, but like that at least I have the regular/proper spacing between the manifold pipes on the outsides. If it's just slightly off, it'll be a sore in the eye, while some inaccuracy on the piping itself won't be noticed.
-
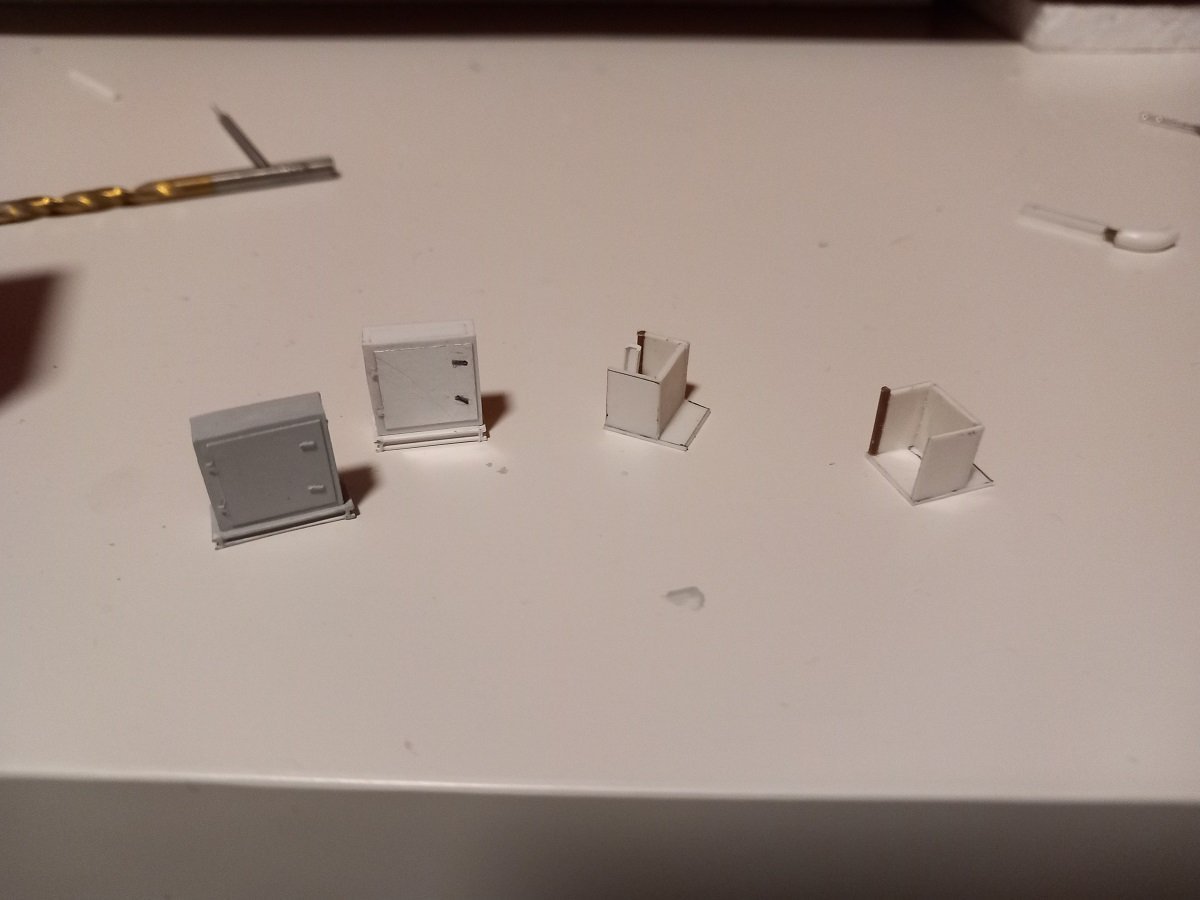
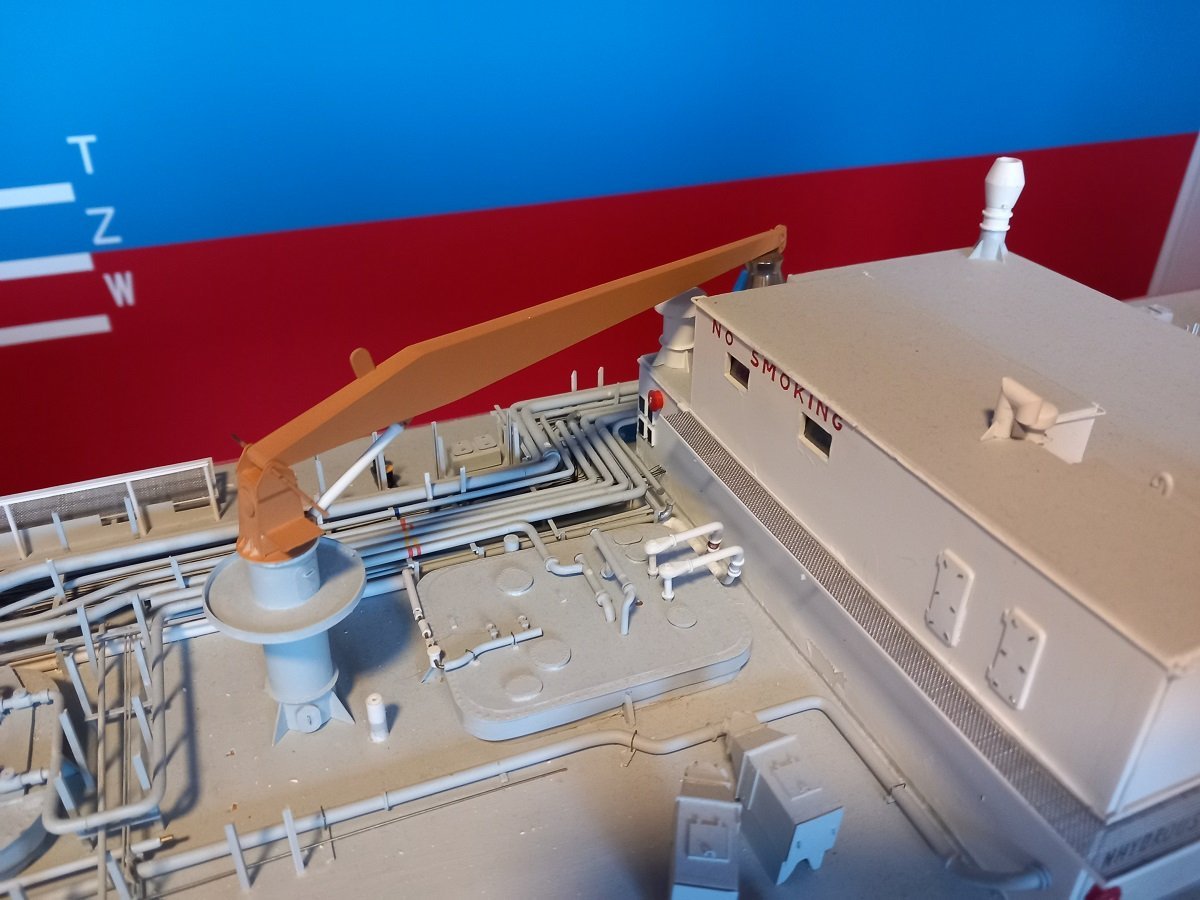
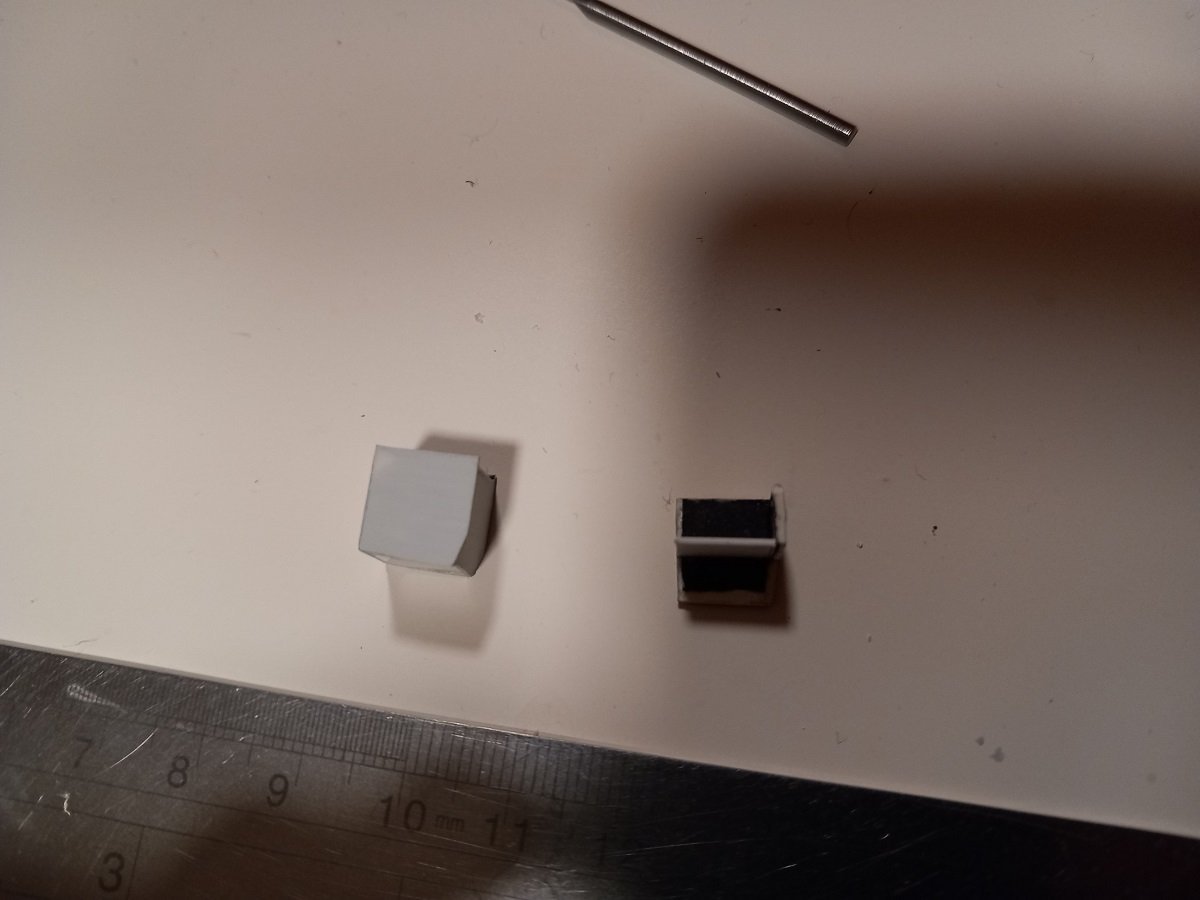
Thanks for the praise Michael, unfortunately it's more stubbornness than patience. Just too stubborn to give up on this one. Slow, but steady progress. The heater section is nearly ready for the lower layers, which means I can soon glue it in place and carry on with the next layers of piping near the manifold (yes, fresh CA has arrived). First layer will be the bunker lines for Fuel Oil and Lube Oil. They are stationed forward and aft of the cargo manifold on both sides, so 4 stations in total. They have their own drip tray below them. I built those 10 years ago, but figured out after a long search through all the pictures, that they were wrong in shape (size was ok). I started conversion back then, but didn't go through with it. Currently I only found 3 out of 4 back, so I figured I'd simply start all over again. Shouldn't take that long. As you can see below, the original was like a full box, while in fact, the bottom is somewhere in the middle. The crane is now a little further advanced and put in primer. It used to be white primer, but somehow it turned brown inside the can. I can live with it. It clears out any markings and contrasts for the later white coats.
-
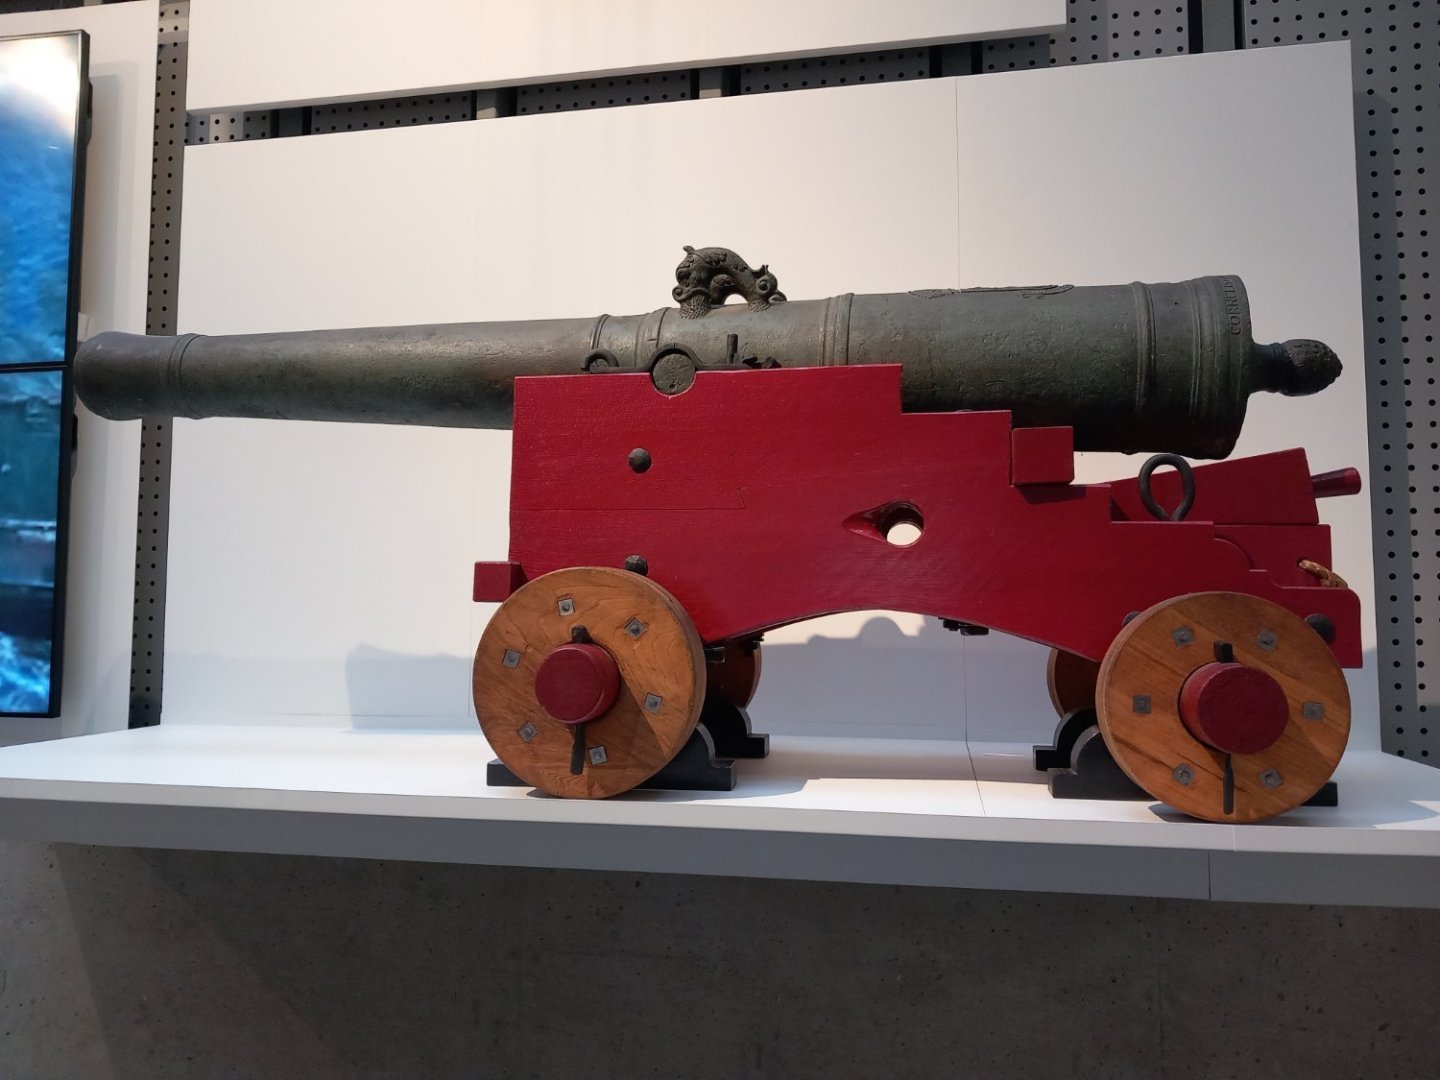
Seems the Dutch had very similar guns. This one also had the stepped (Z) carriage sides. Unfortunately displayed on an elevated stand. Could only read "Cornelis" at the back, which I assumed was a manufacturer?
- 2,699 replies
-
- heller
- soleil royal
-
(and 9 more)
Tagged with:
-
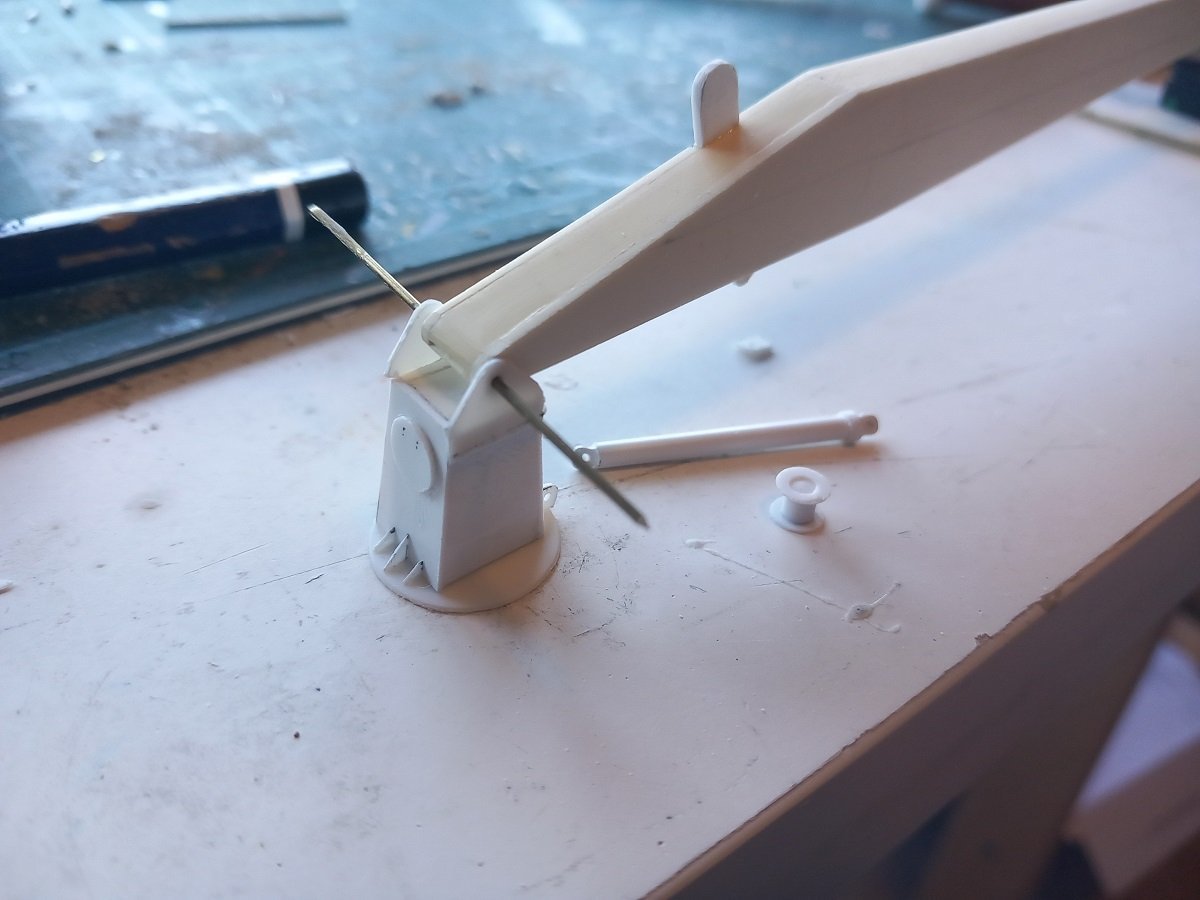
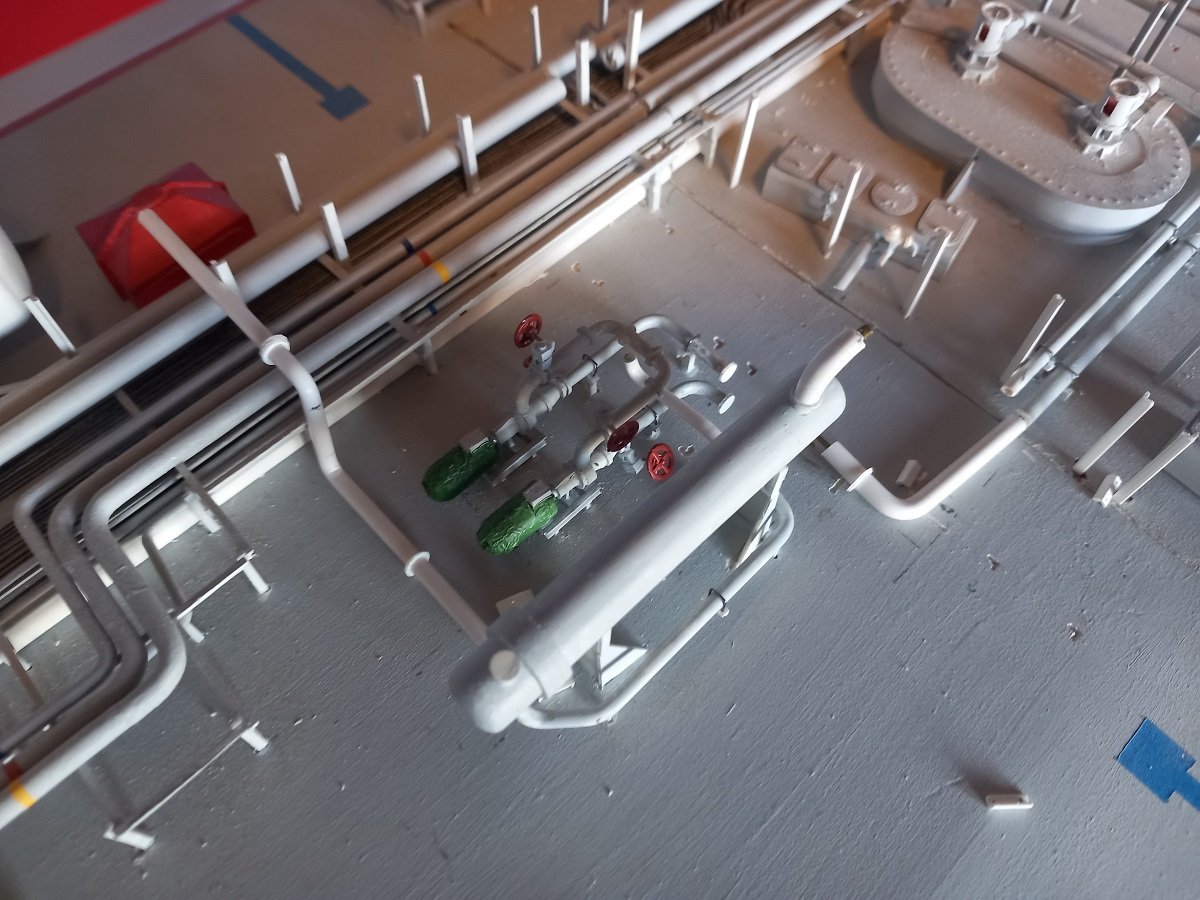
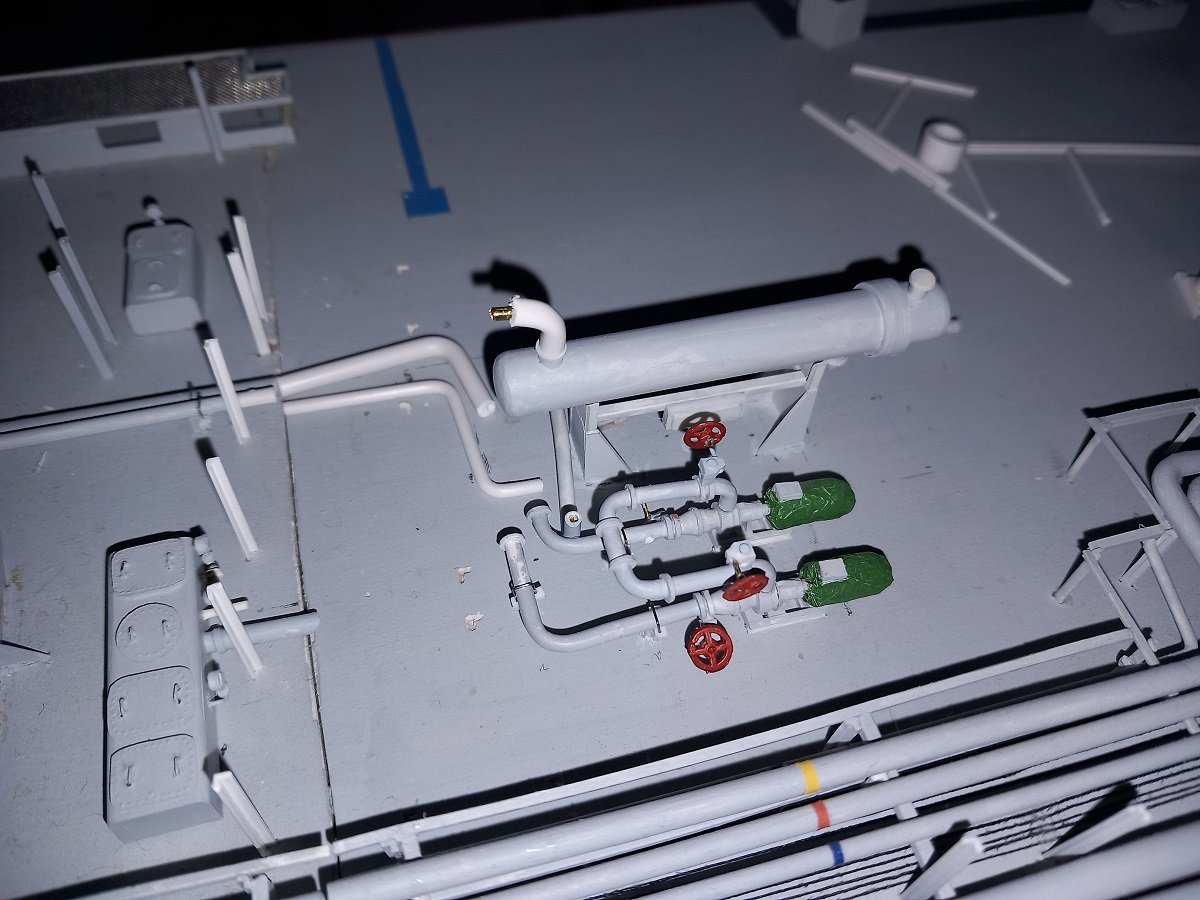
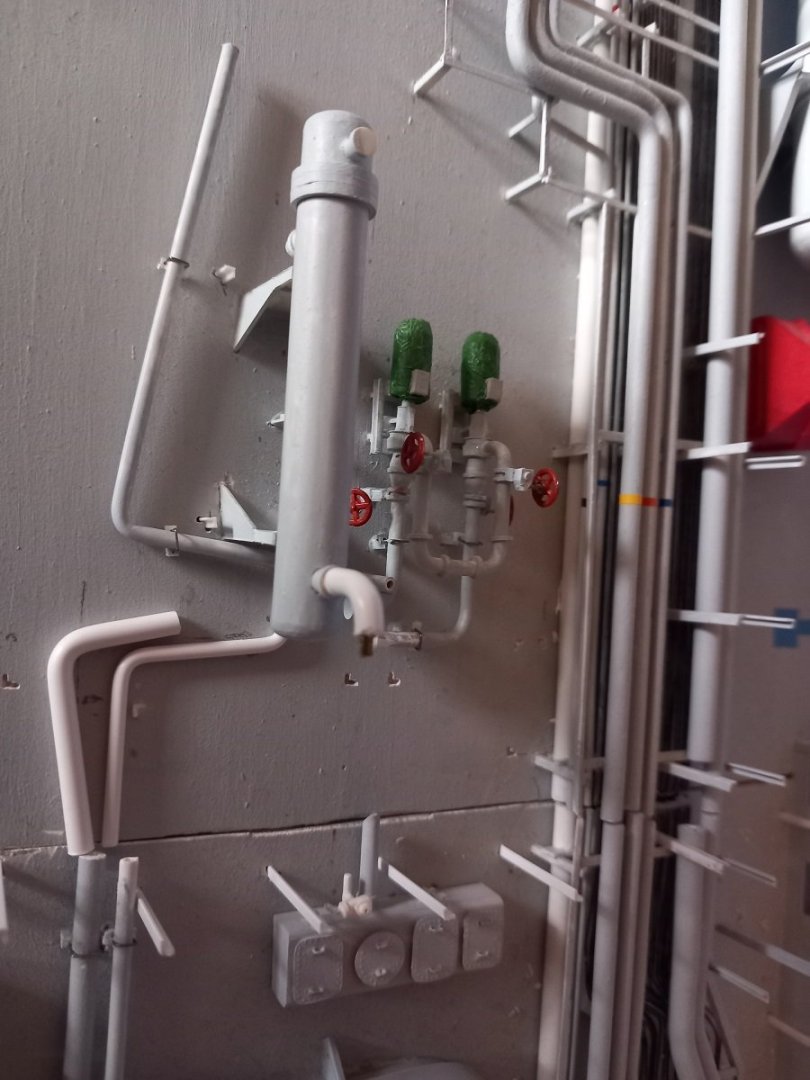
I ran out of CA and seem to have underestimated the amount of mixed materials I'm using on this model... The heater system is itching as I've generally fixed the hottest items, but am unable to glue them in place now. The pipe on the starboard side, right side of the heater in following picture, is the determining pipe. The most complex one, and although bent as accurately as possible, it's never a 100% fit. Therefore, this pipe determines the fore-aft location of the heater itself. The (white) pipe on the left is the heating water inlet and is then placed depending on the final position of the heater itself. As a last step, the last bend of that pipe to fit the water pipe in the pipe rack, will be made last. So next step, gluing the last supports for the right pipe, glue the pipe and heater in place and then adapt the waterpipe, add its supports to deck and place it. The supports and placing of the white pipe on the right is also ready. This is the heating water outlet and will be connected to the top of the heater later on. Since I'm out of CA and I want to reach my goal of at least 2 parts per day, I continued with the main hose handling crane. This crane is used to handle bunker hoses and cargo hoses as well as cargo reducers (adaptation pieces for the manifold pipes to make them to the correct diameter for the shore installation). I had the boom for 10 years now... I also had the base for 5 years or so, since this is the 2nd version of the base. I now continued with the bottom place, reinforcement brackets etc. Also made the gearbox for the wire drum and the wire drum itself. I used my faithful leather punch for the disks of the drum and a piece of styrene rod for the drum itself. I'll finish this crane, but not put it on the vessel yet as it would impede work on cargo tank dome 2 and the manifold piping.
-
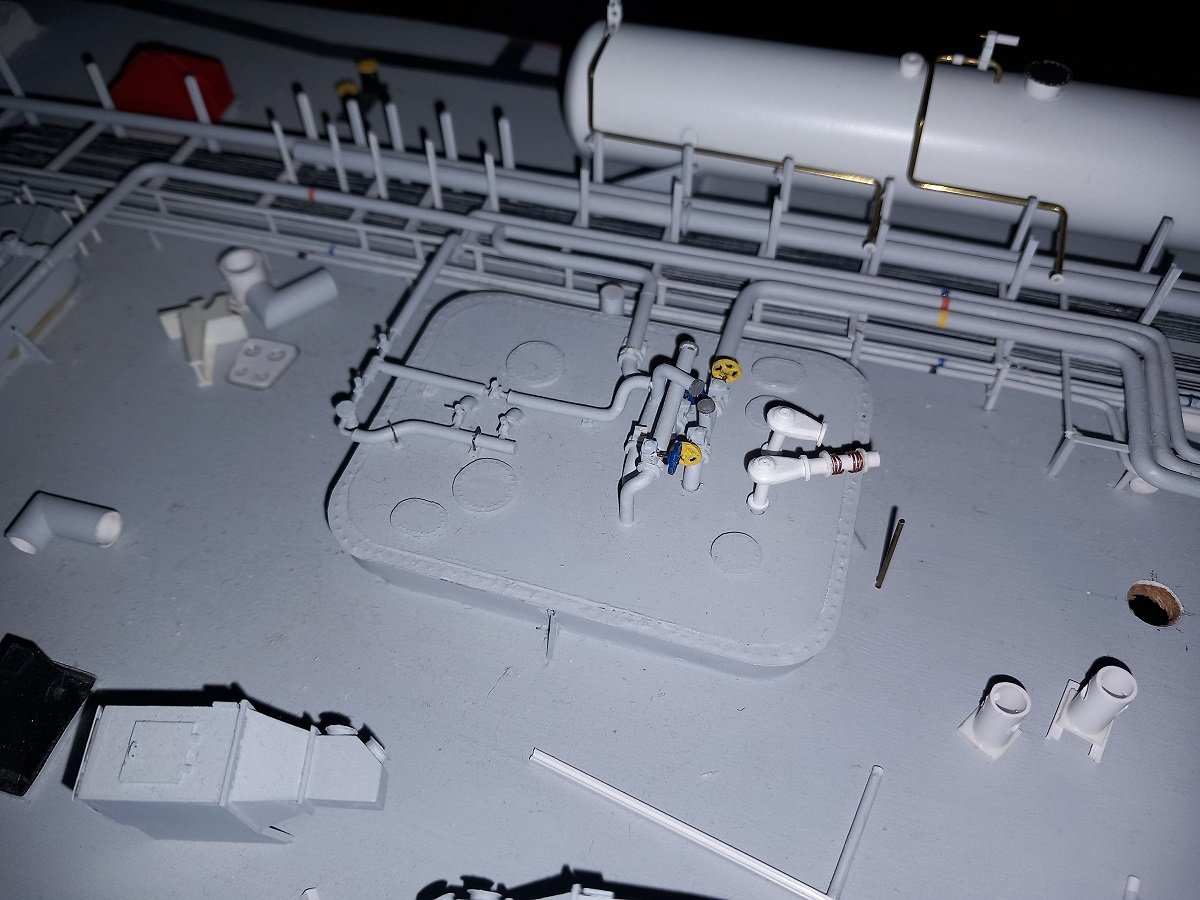
Here we are then. Attempting to untangle this spaghetti around the heater. I also took an easy start at finishing tank dome 3, finally mounting the valve actuators and wheels. Sorry for the dark pictures. Tank dome 3. Note the white things, cargo tank safety valves, are just dry fitted. The copper rings are part of expansion bellows that allow the line to the vent mast to cool down rapidly without damage when the safety (overpressure) valves suddenly open. Currently they are dry fitted since the vent mast to which they will be connected, would be in the way of other works around the deck. In the back you see another recent addition in form of the pipelines to the deck tank. The beginning of the spaghetti. I had made most of these pipes in the past already, however, never glued them in place. The horizontal U-shape is one of the difficult parts, as its connection towards the heater is at the bottom of the U, I now need to match a very complicated pipe towards the heater. The heater is still loose on its supports, which allows me to at least move it a bit fore and aft, depending on the connecting pipe. Quite some work to do, but luckily it's mostly limited to 1 or 2 real choke points. Once I get past those, it should get easier.
-
although I had seen your log before, I hadn't found the time to read al 15 pages of it. I did that now... What a great journey you made. Fantastic result so far. I'll remember: - copper tape, fantastic - CAF instructions (which ones?), not so fantastic - it comes in 5 sessions (seems like people asked a 100 times) and quality-wise it's pretty good - she's huge - you made a fantastic model of it (but I said that before)
-
Great result and very sharp work on that case. I also see Geoff Hunt's "Heavy weight punch" behind the case. I assume that's a print Wouldn't hide it behind your eye-catching models though.
- 330 replies
-
That might have been the case, however I doubt that paint would last long on these metal parts (certainly the ones under water). They didn't have the primers and anti-foulings of today... To make matters worse, it was paint made for wood, certainly not specific to metal. Adhering to metal at sea is not for faint-hearted paints
-
I did something similar, by accident, with clear acrylic gel. You can pull nice transparent acrylic skins off glass or plexi plates after application of acrylic gel. The acrylic is totally transparent and could be touched up with dry brushed white paint combined with the cotton. These skins are also tacky and very flexible to create a 3D effect rather than a flat layer. In any case, your rock turned out awesome!
- 174 replies
-
- Waa Kaulua
- bottle
-
(and 1 more)
Tagged with:
-

HMS Surprise by Vincwat - scale 1/69 - Lego
Javelin replied to Vincwat's topic in - Build logs for subjects built 1751 - 1800
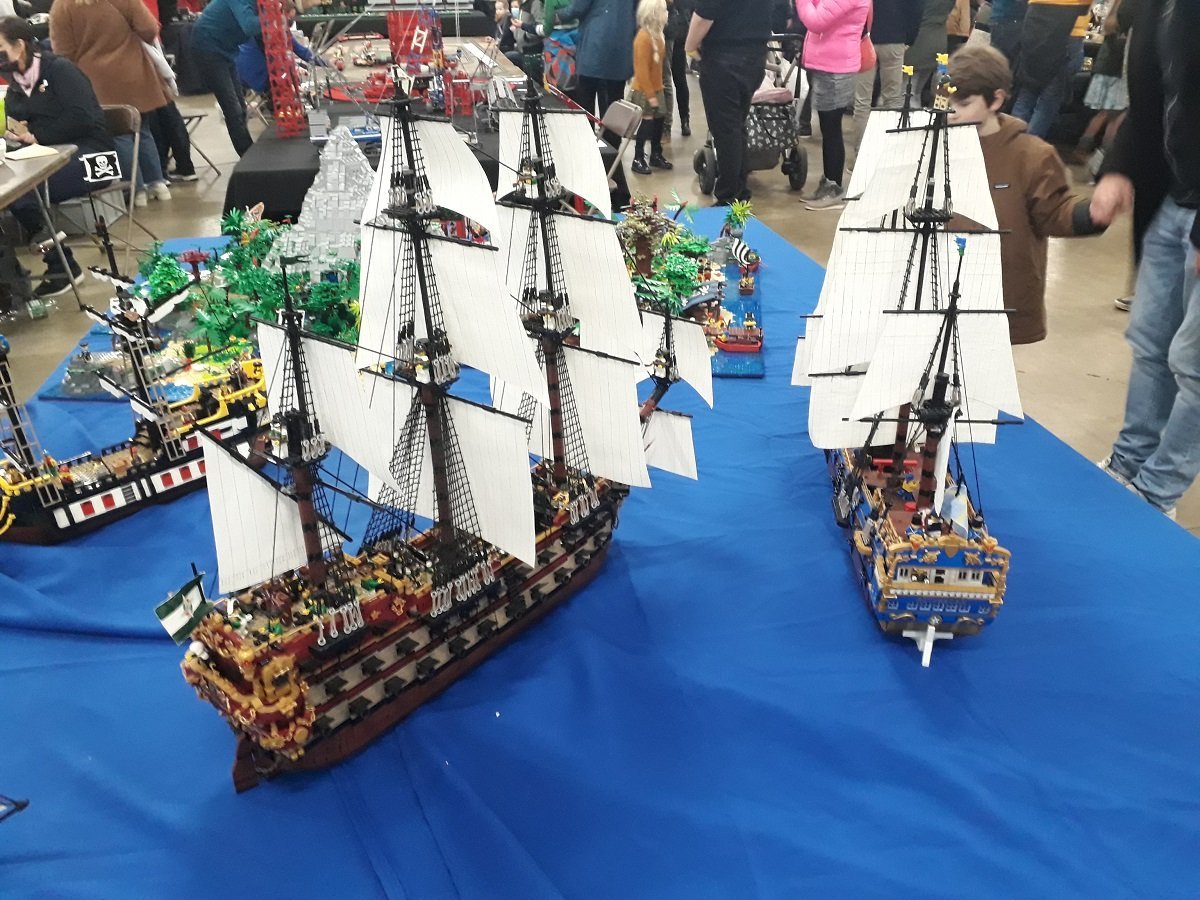
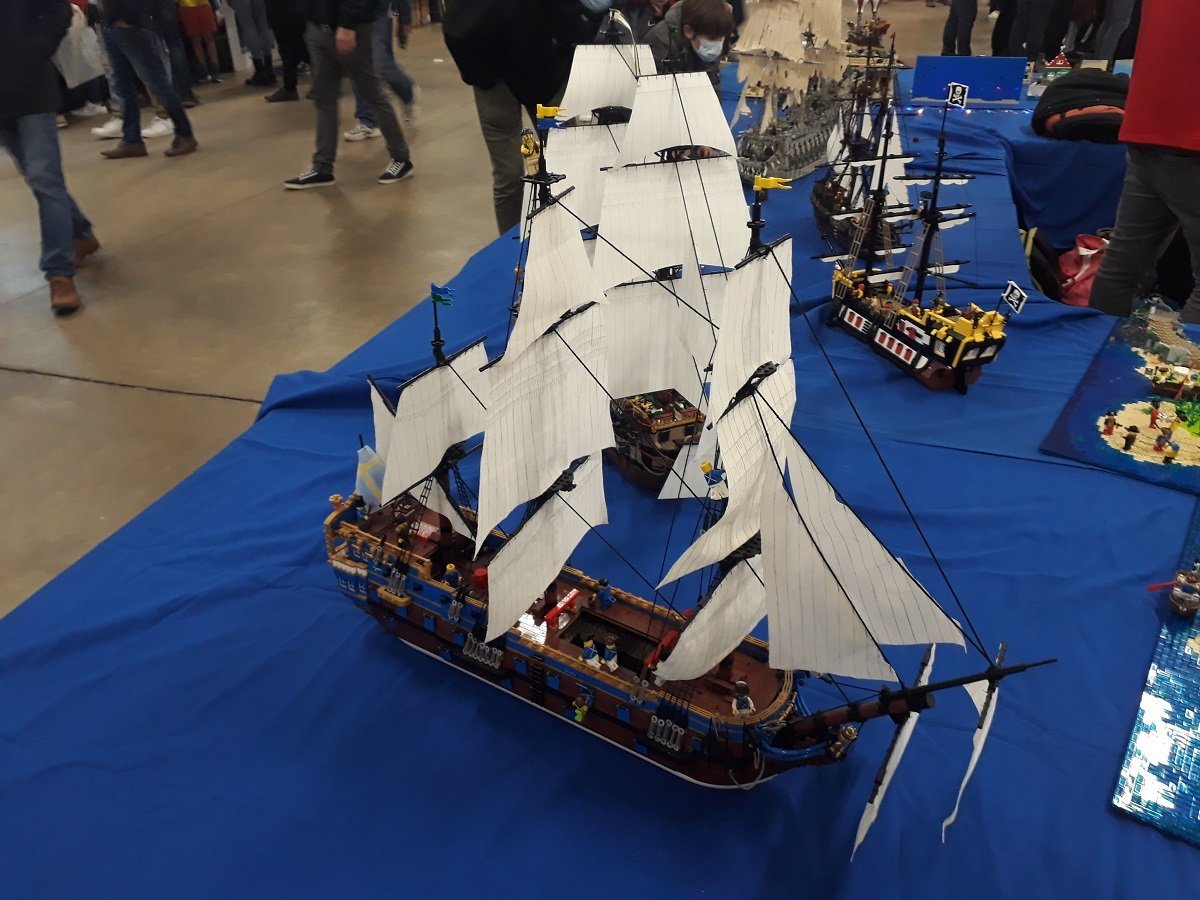
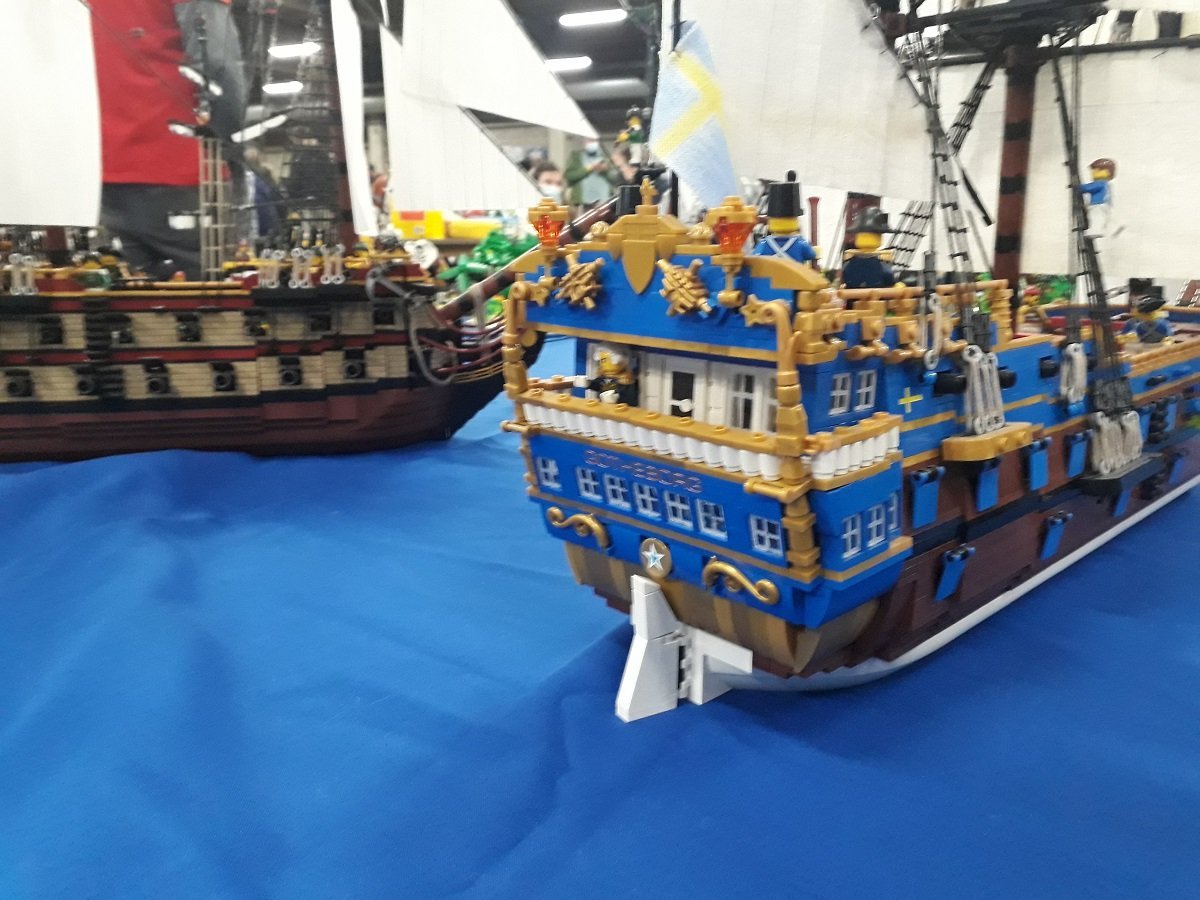
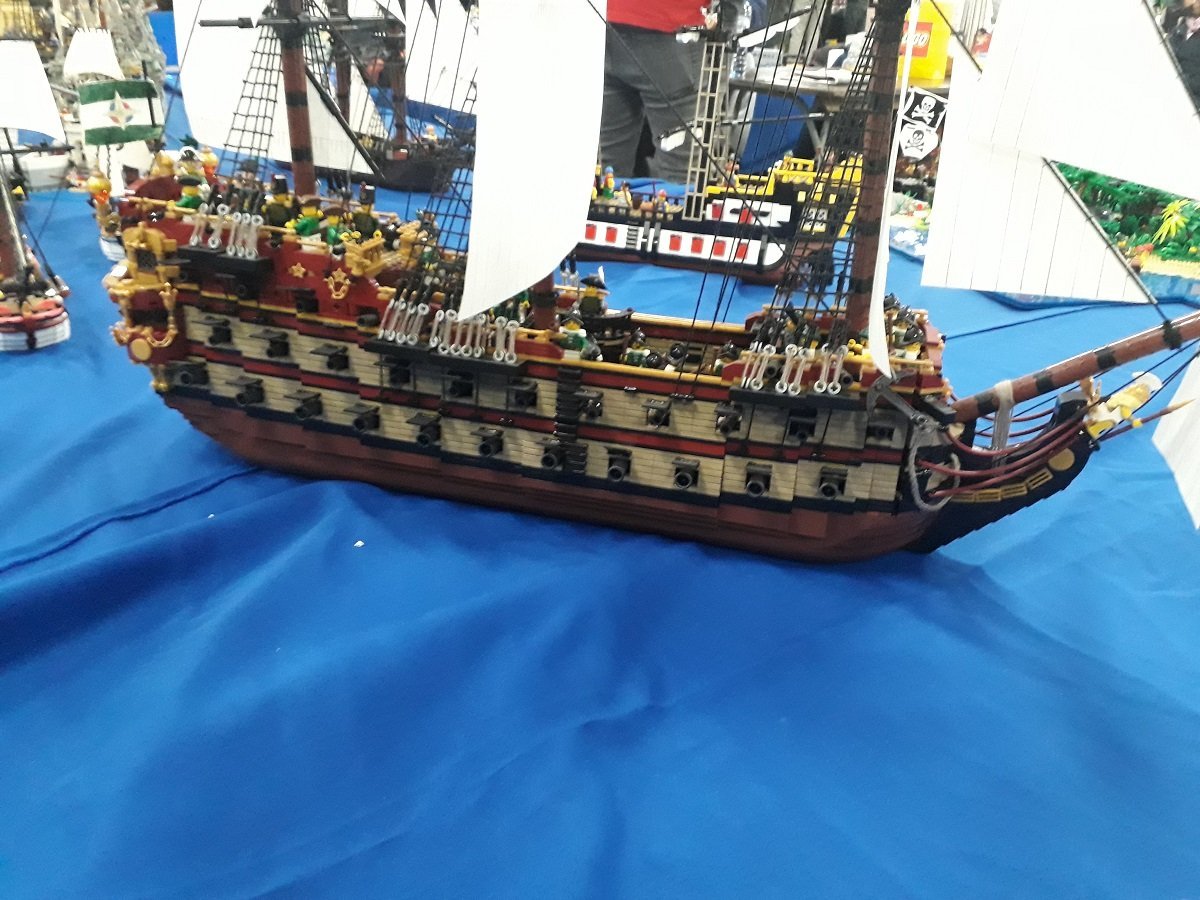
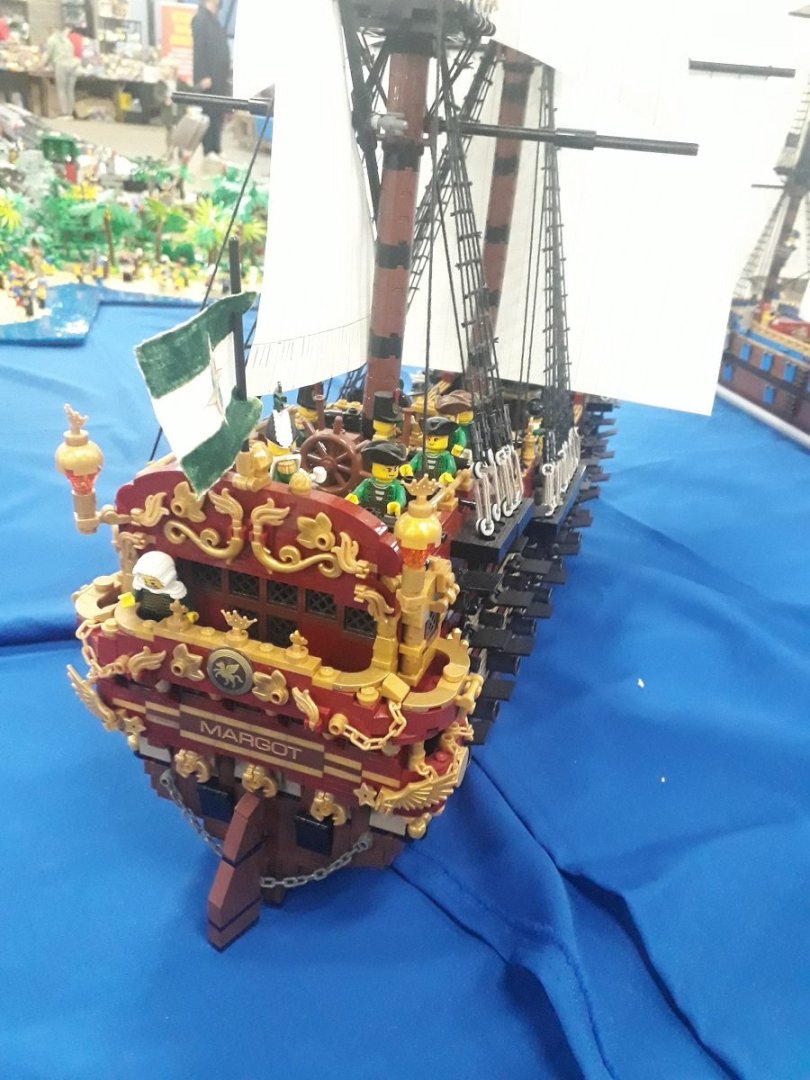
I guess your shape is as close as you'll get considering the angle of the sloped bricks. I'd think the hull would be somewhat higher compared to the beam of the ship. Here are some pics from an event in Antwerp a few years ago. Perhaps you can gain some inspiration from these. Hadn't really studied them until I saw your topic. Unfortunately they are somewhat blurry. -
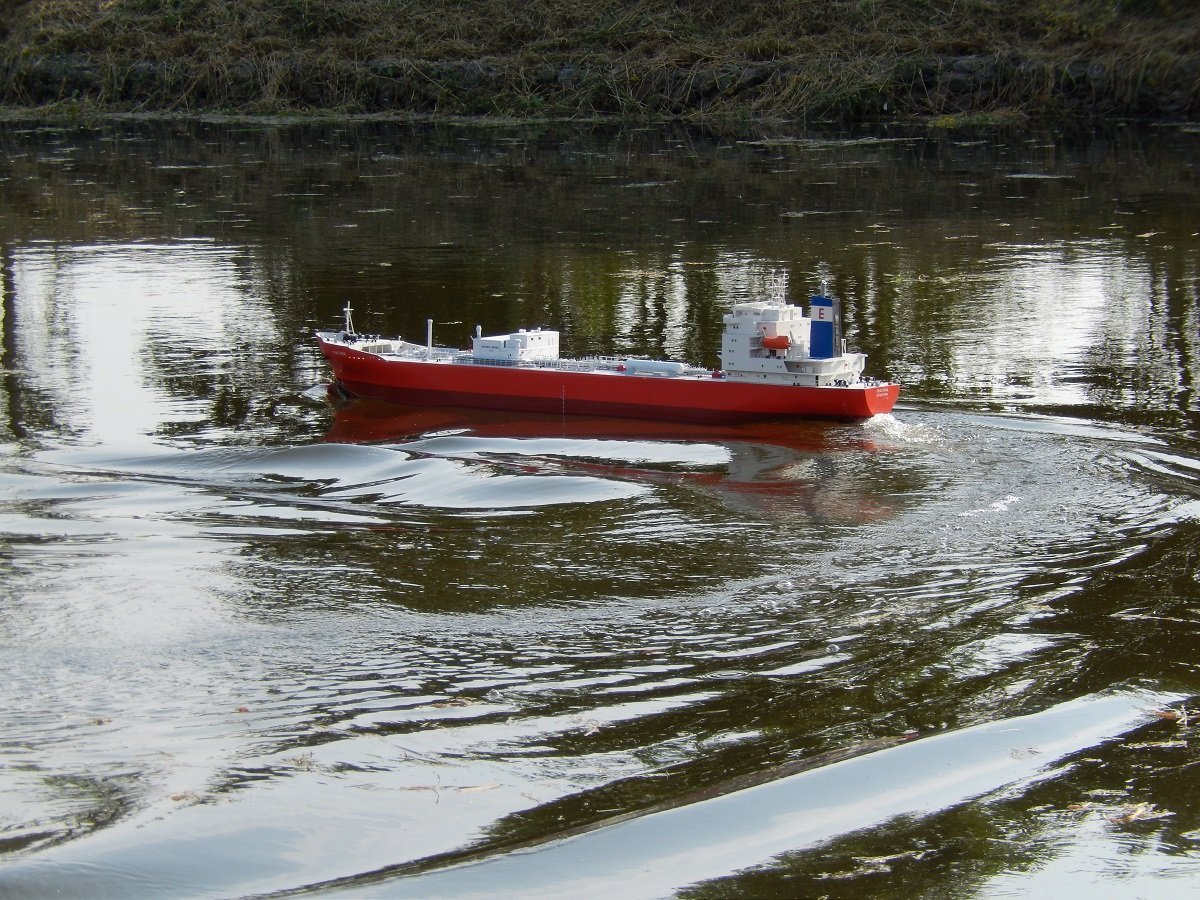
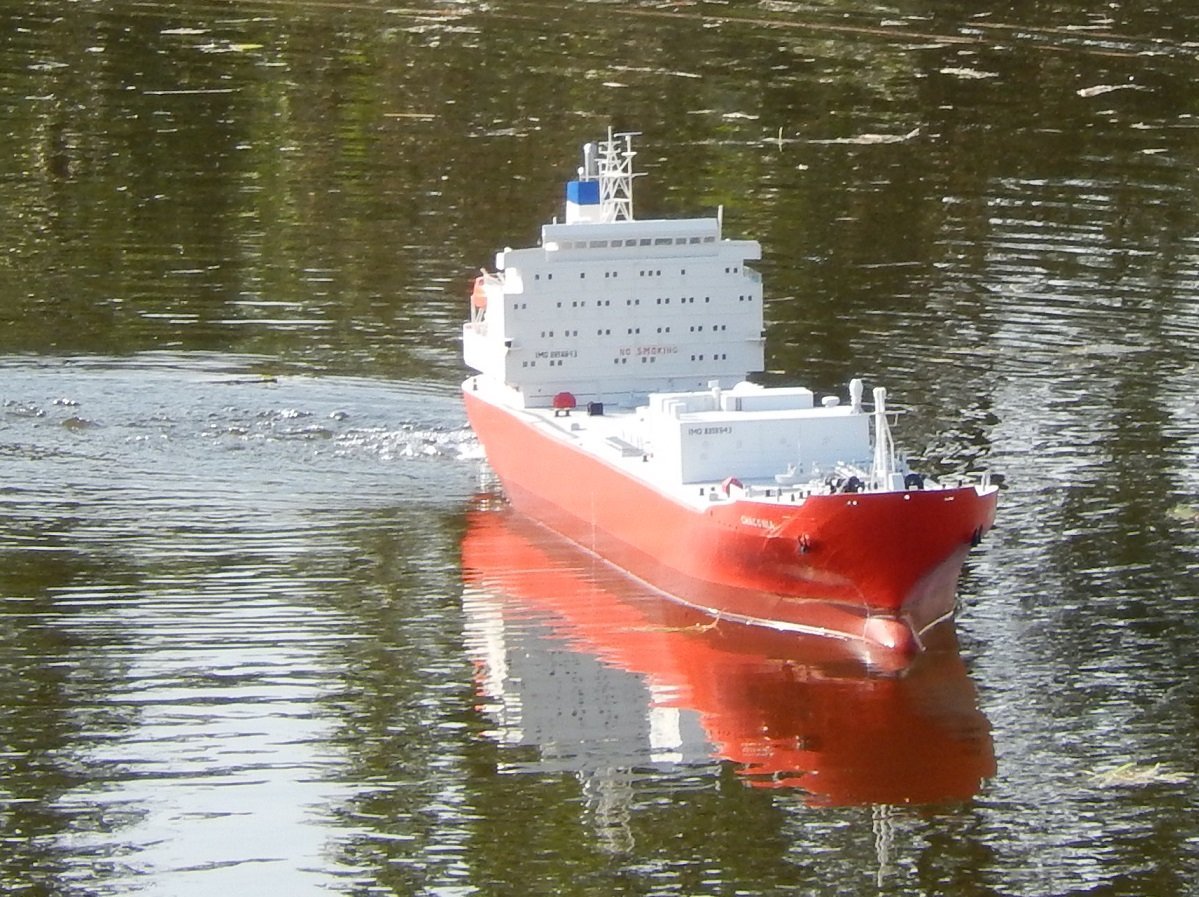
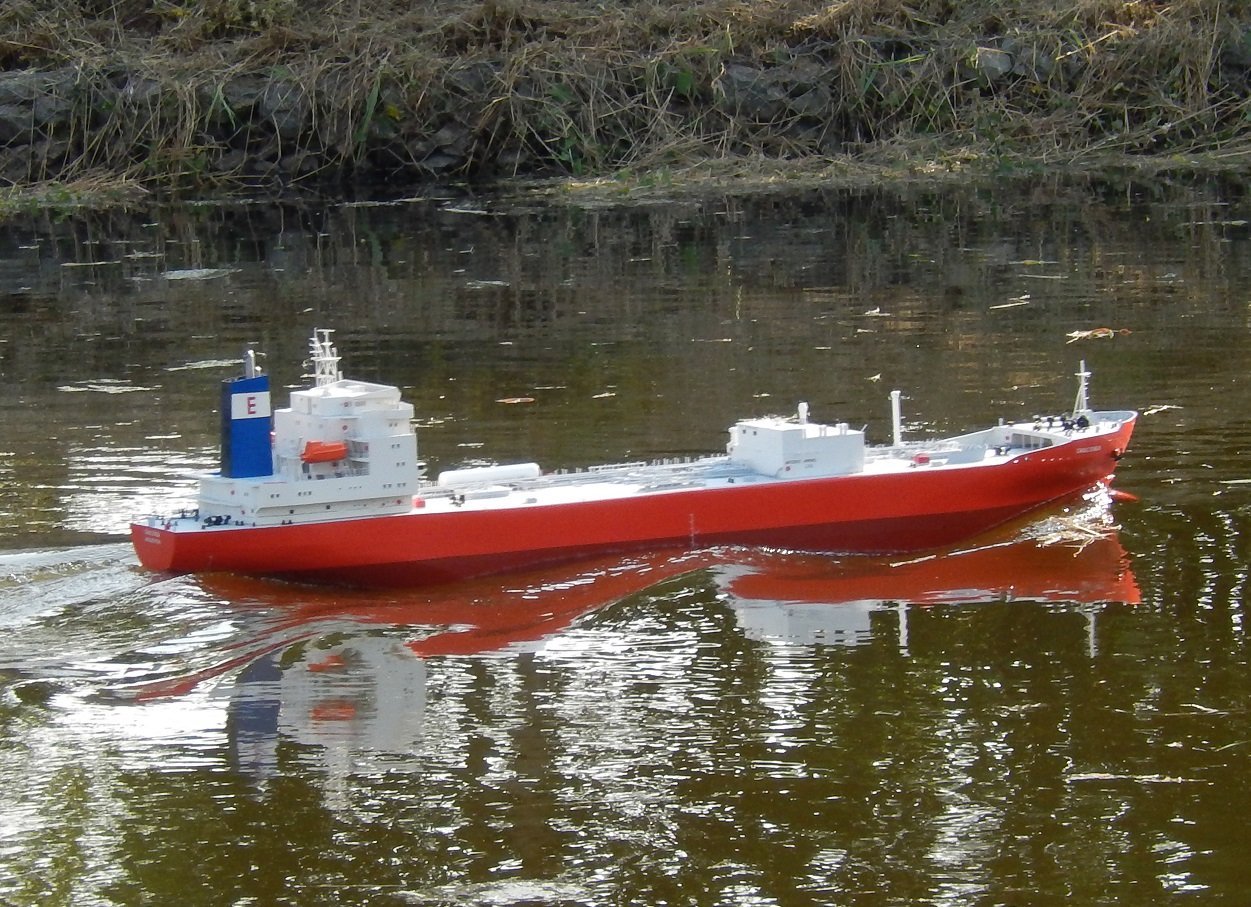
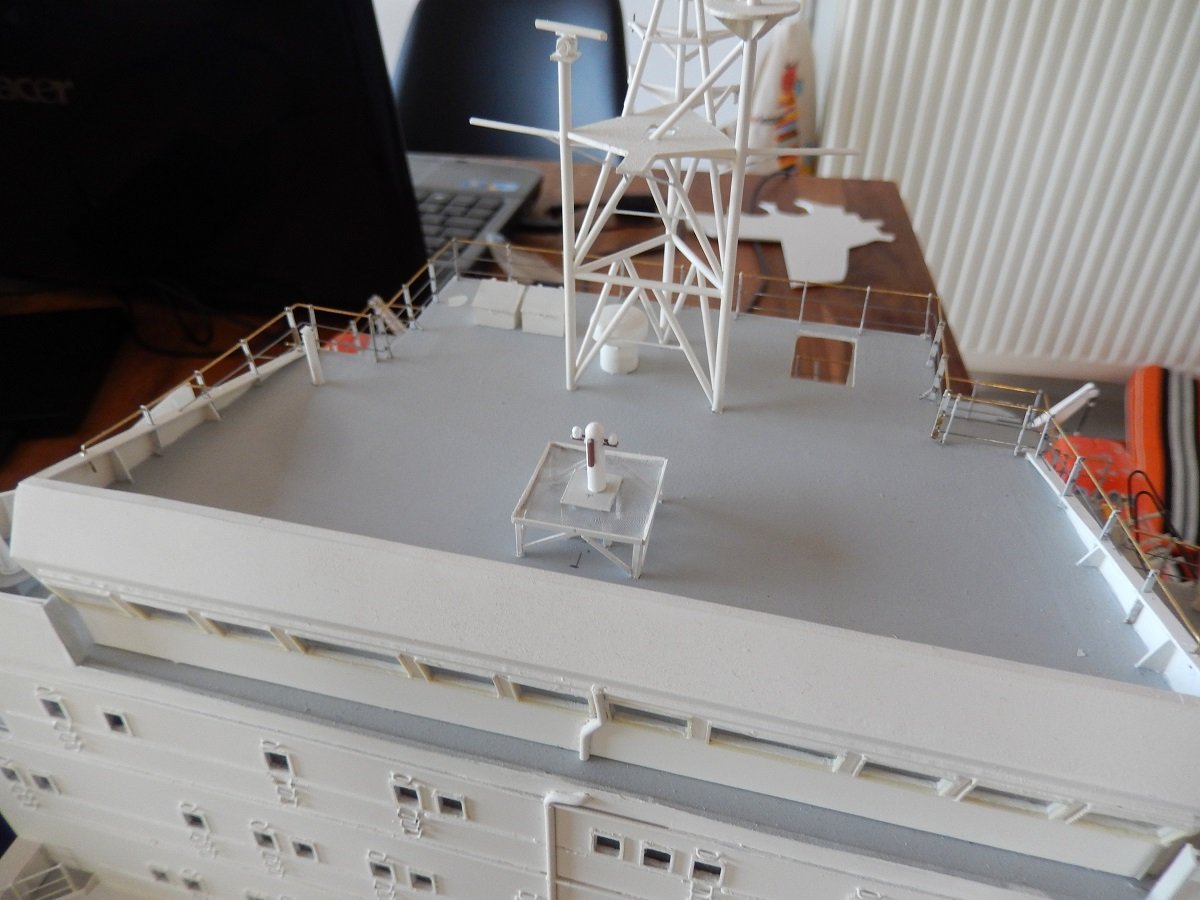
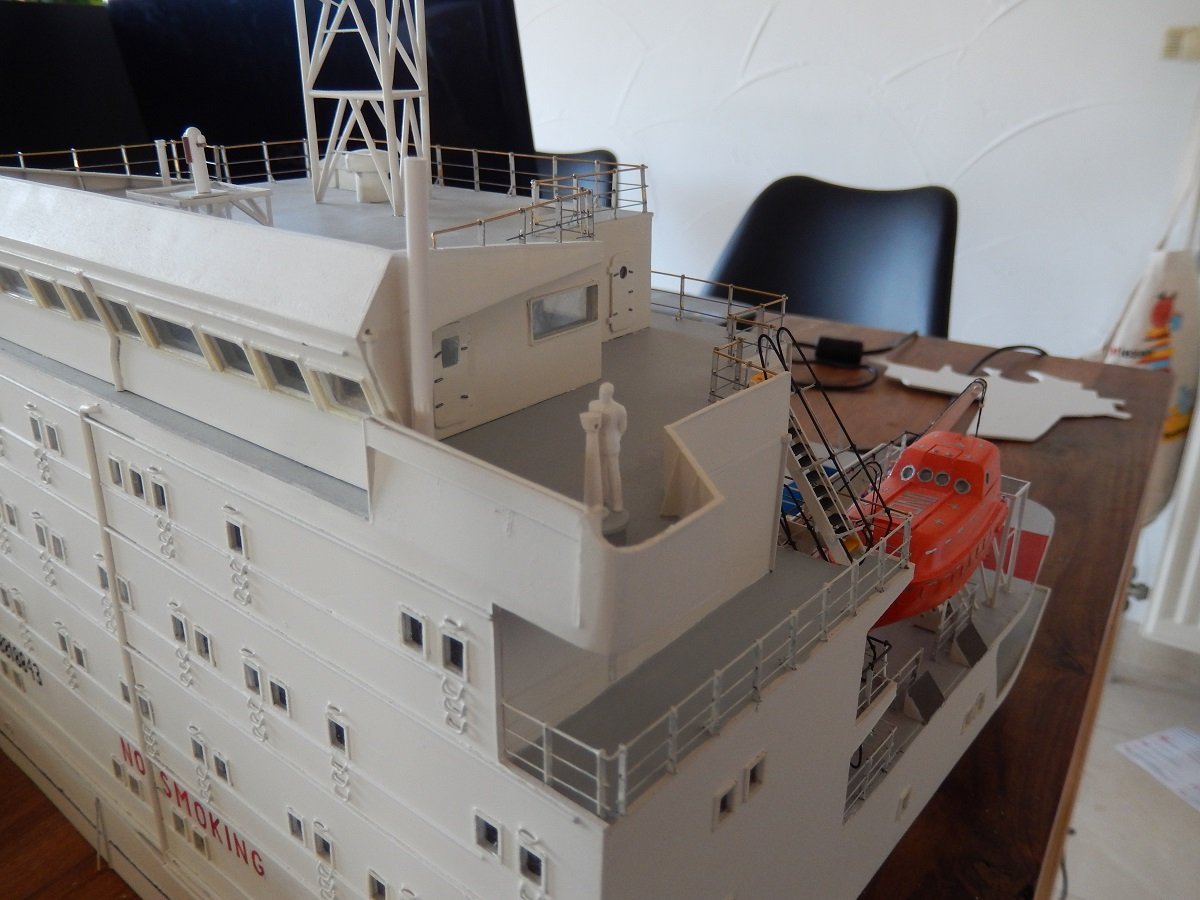
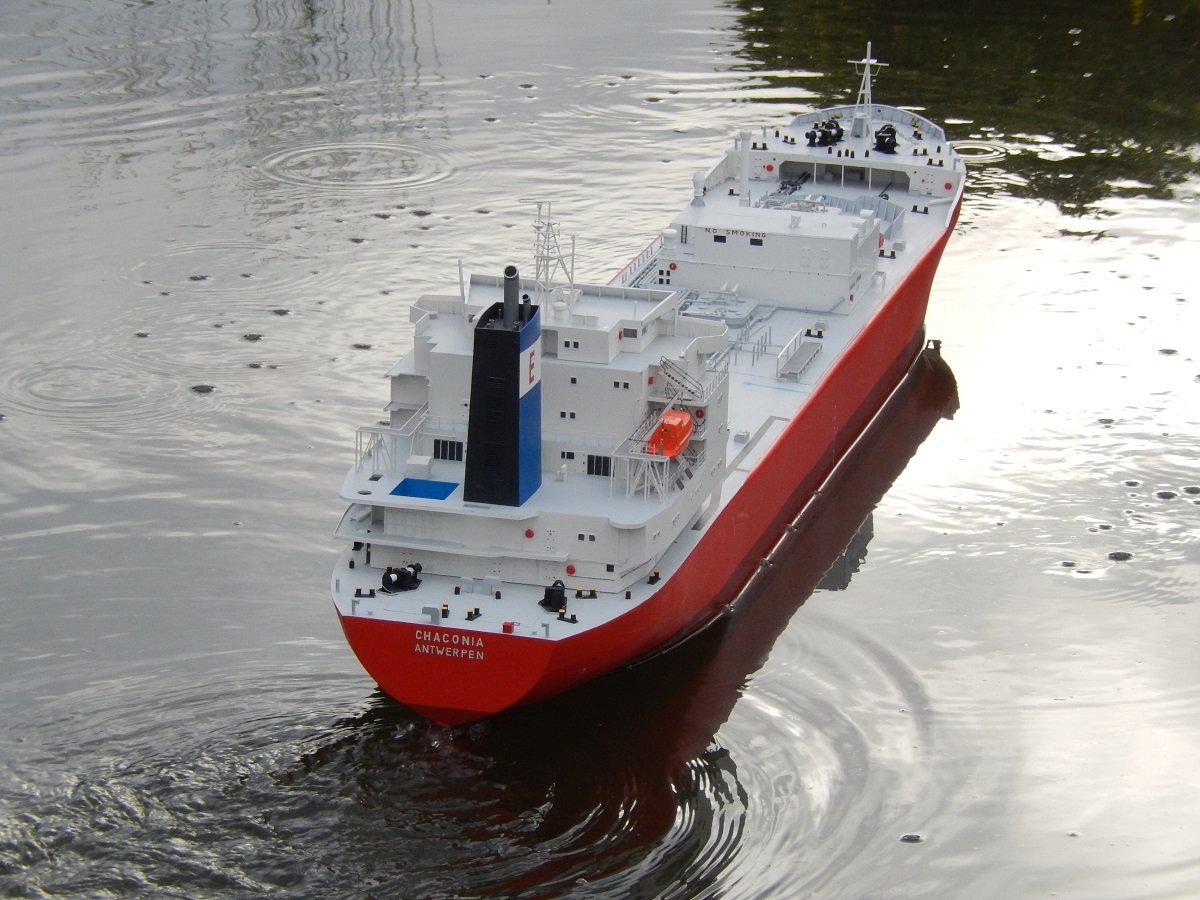
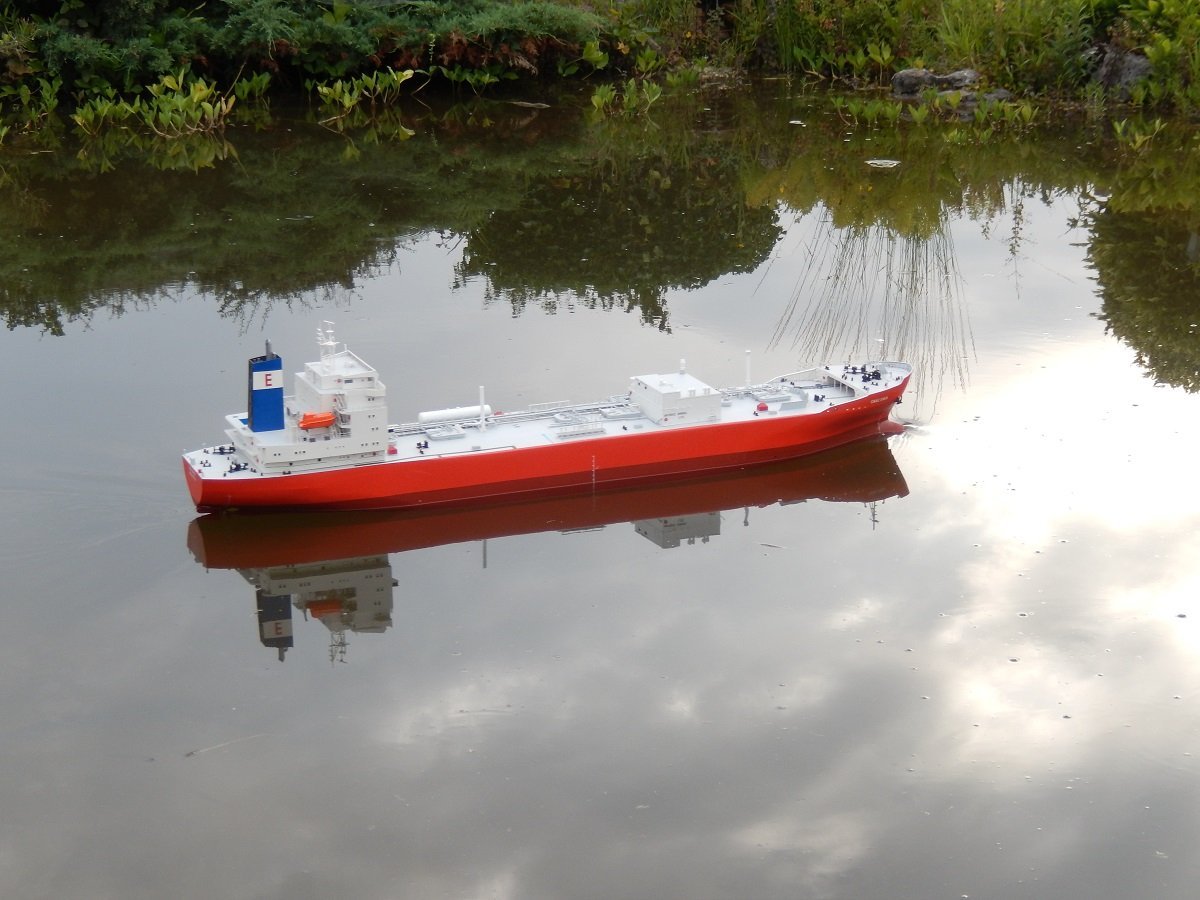
I do actually believe I was in boat #2, but can't say for certain, been a long while. I had some help getting plans and pictures from the company, so they were aware, but there is no real fixed crew on most merchant ships. It's generally a coming and going of people as holidays are shorter than work shifts, so a real rotation among a fixed group of people can't be made. We were doing 3 months (or more) on and 2 months (or less) off, so we couldn't replace the guy that replaced us. In some exceptional cases, like difficult ships, captains requested to send the same people back, and with some playing it sometimes worked to change another officer that went home at the moment your leave ended, but didn't happen too often. Only Captains, Chief officers, Chief Engineers and 2nd engineers were fixed for a period of time (around 2.5-5 years on a vessel), basically from dry dock period to dry dock period. Time for another update. One years after the last work, posted in previous update, I took her out again. My kid got a little older (3 years old), so I decided to get to the water with him. I programmed the engine and steering on one stick of the transmitter and had a "blank stick". I let him play with the blank stick, while controlling the ship myself to avoid accidents Time to get a high speed trial and some nice turns to get that battery some running time. And somehow it took me another 4 years to make another attempt at continuing. I decided to go for an achievable goal, completing the accomodation. I first built the magnetic compass on the monkey bridge. It's not very detailed, as I intended to cover it with the same green canvas as the pump motors. I also put more railing, a job I avoided before. And built the bridge wing gyro compass repeaters. I bought some 1/100 Preiser figures in a civilian outfit, hoping I could use some of them for this build. I assume this well-dressed person could pass for a captain checking his bearings. I was fully intent on completing the whole vessel at that time, but I have no idea why I actually stopped shortly after these pics. I did continue for a bit, completing that compass and gyro repeaters etc. (but I didn't take pictures of that yet), but I assume yet another build got in the way at that time? I did also construct some piping for that booster pump forrest, which helped me to tackle it this time... Soon I'll be home and I'll be back with more progress and pictures.
-
Looks brilliant and real to me! Wouldn't add any further washes to it.
- 536 replies
-
- Quadrireme
- radio
-
(and 1 more)
Tagged with:
-
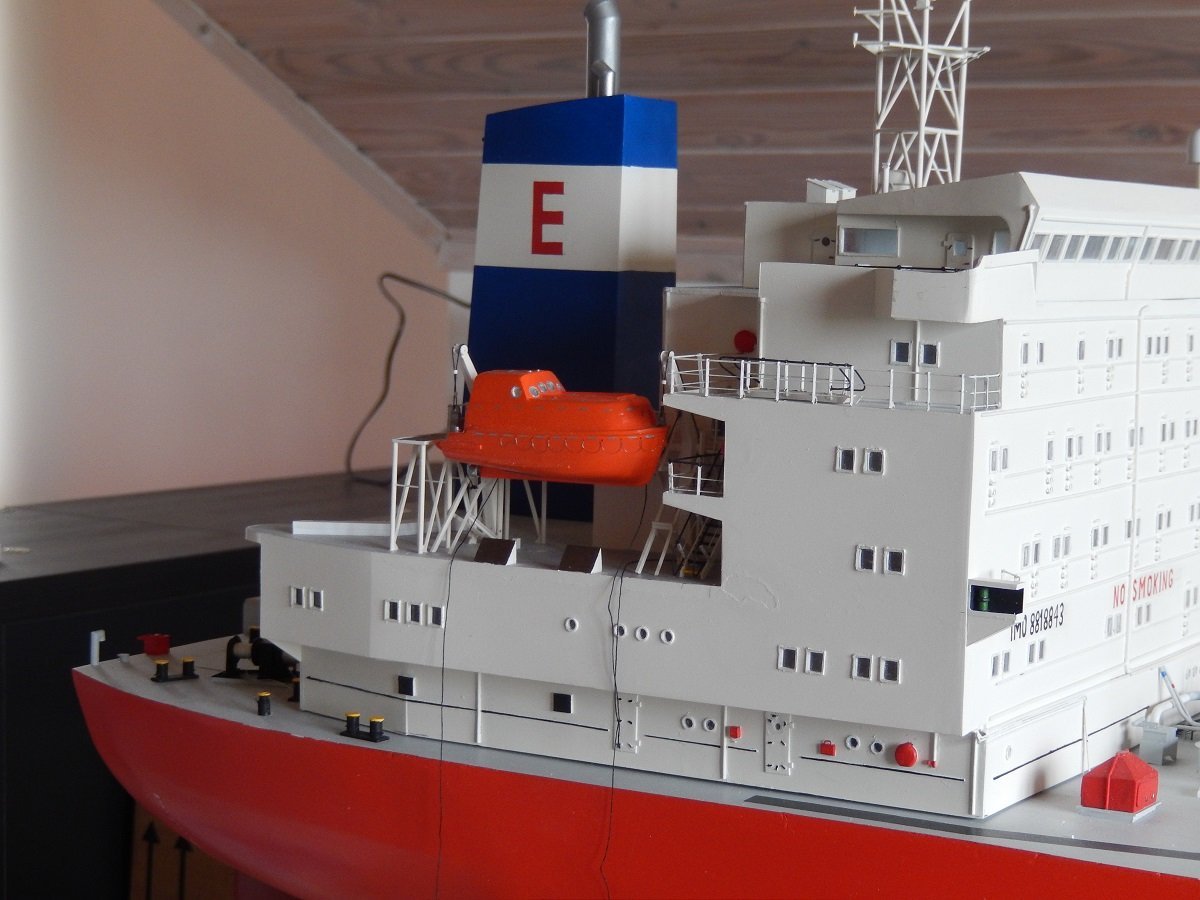
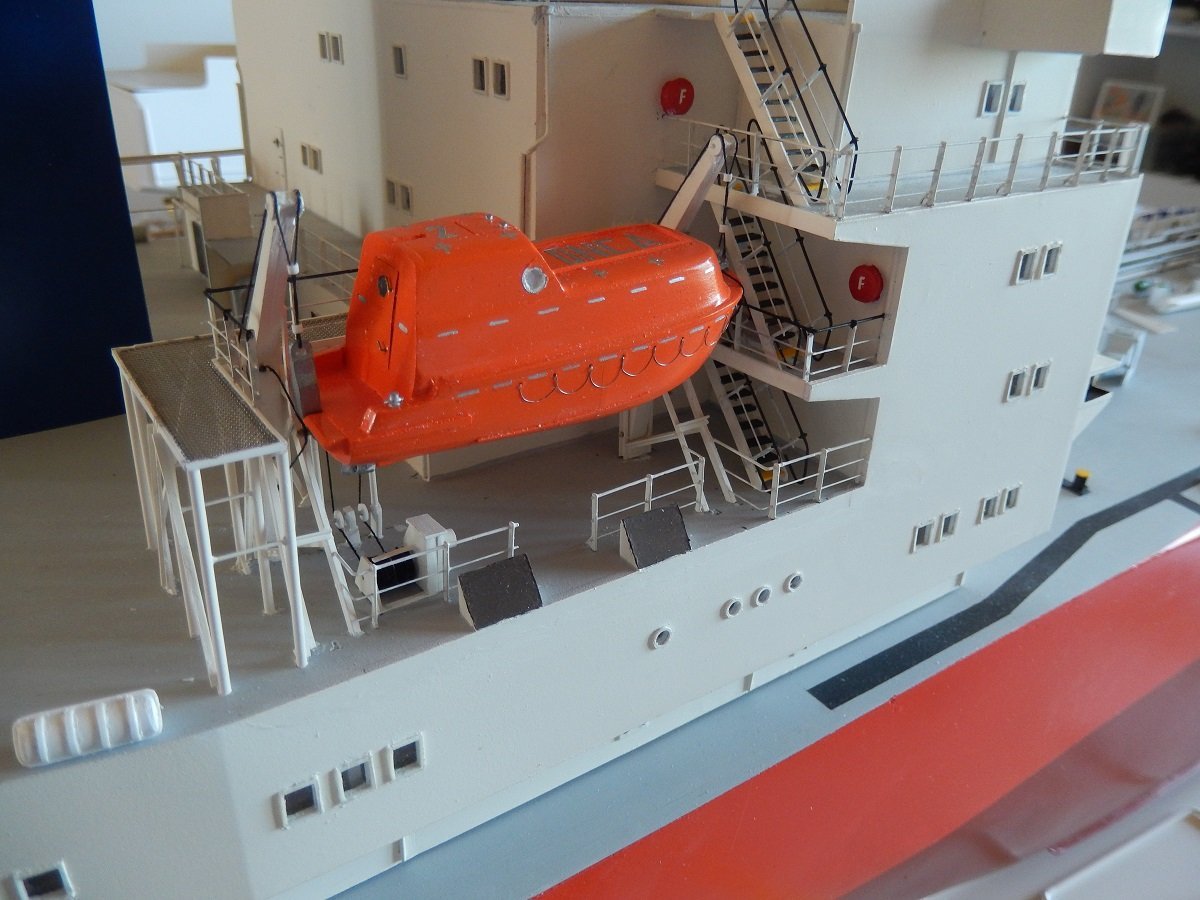
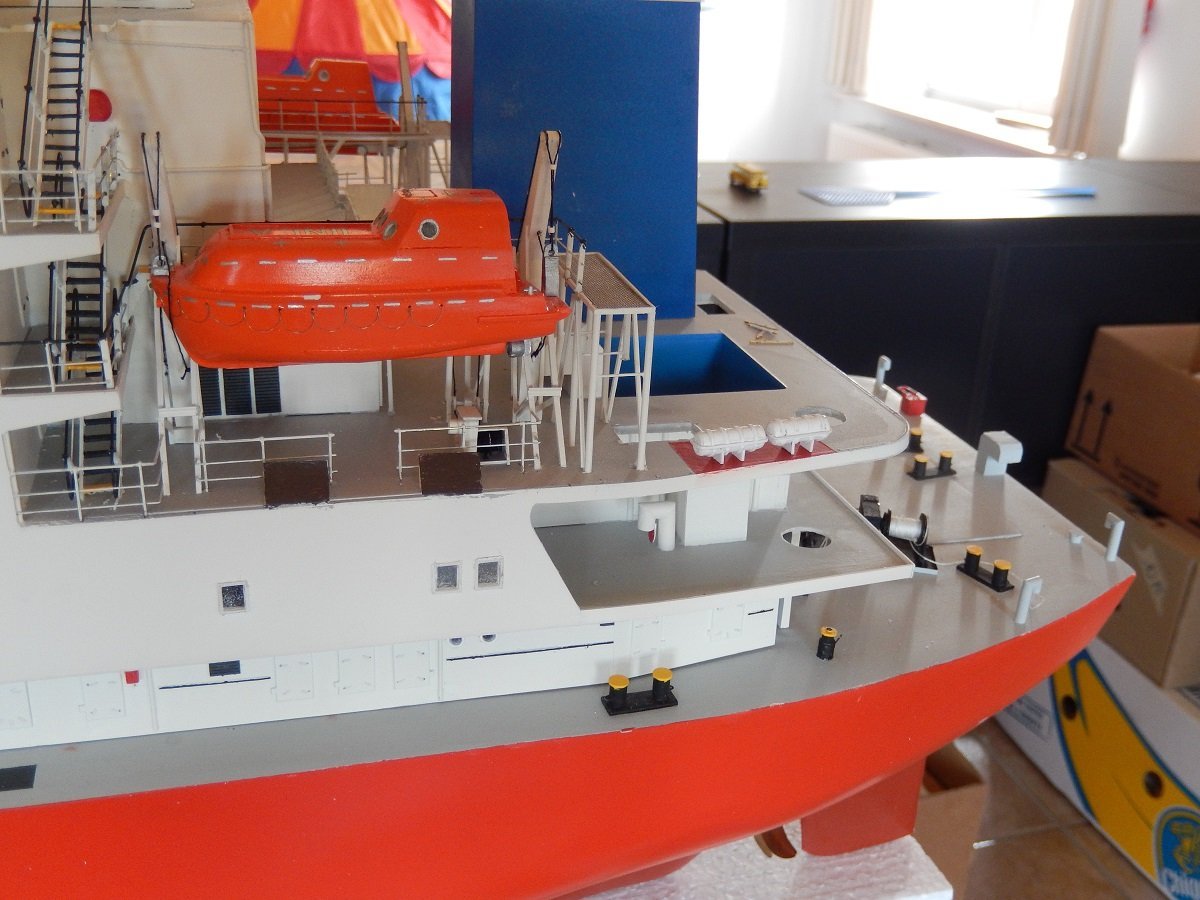
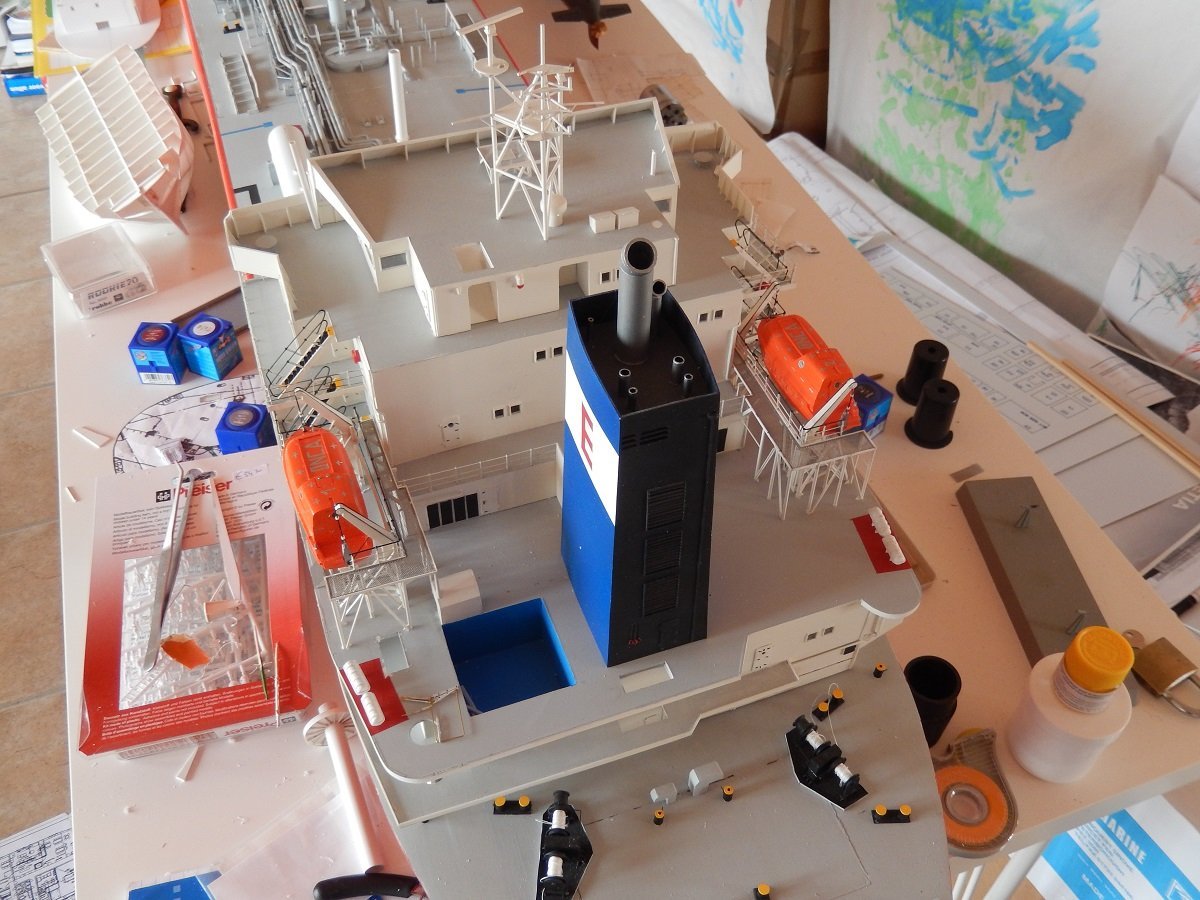
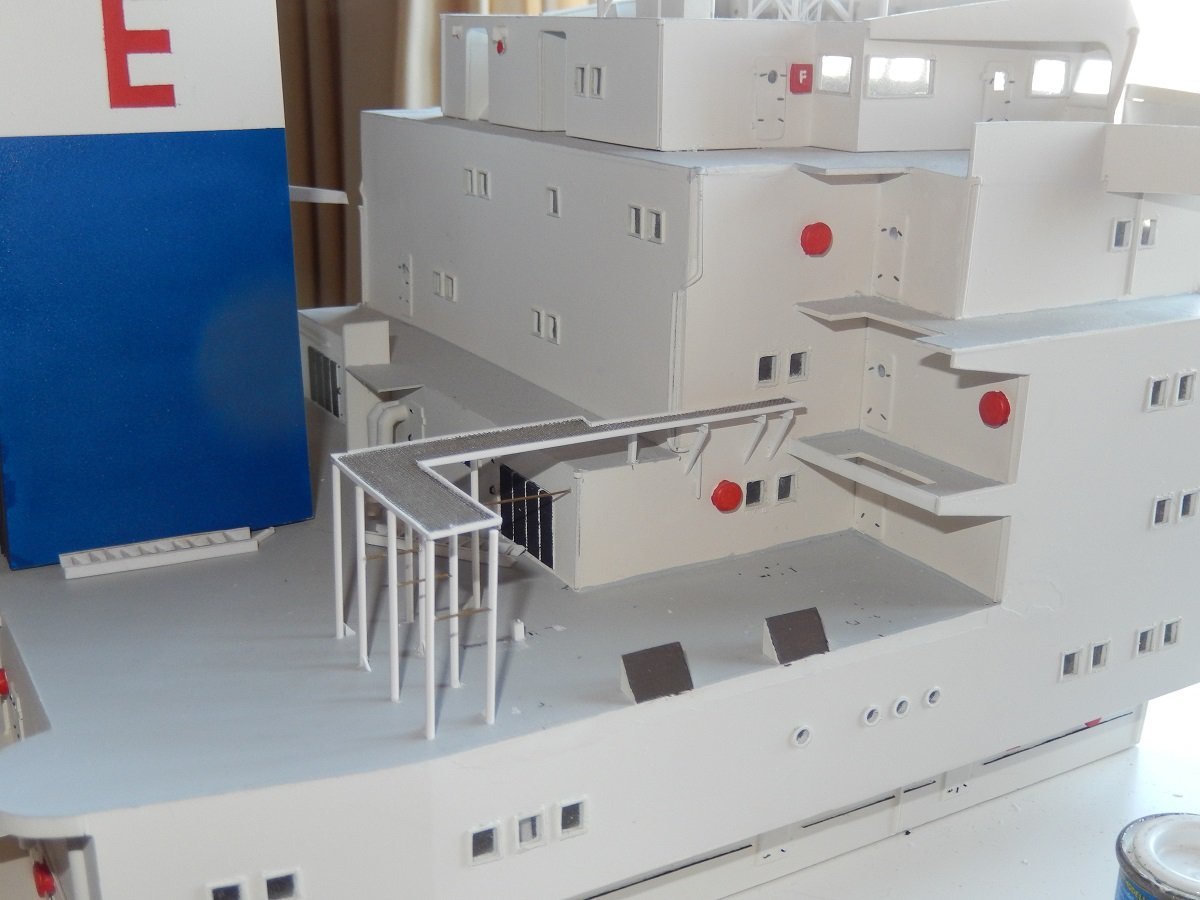
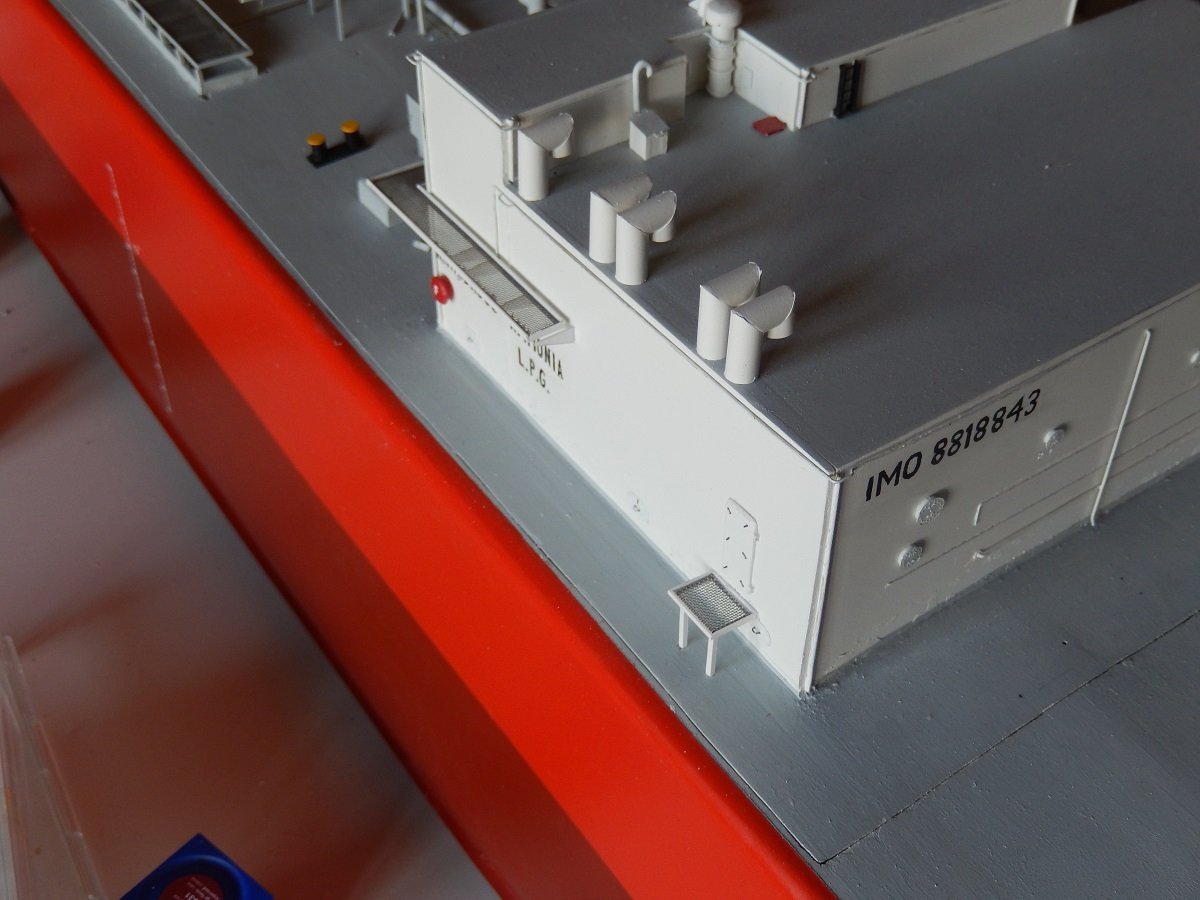
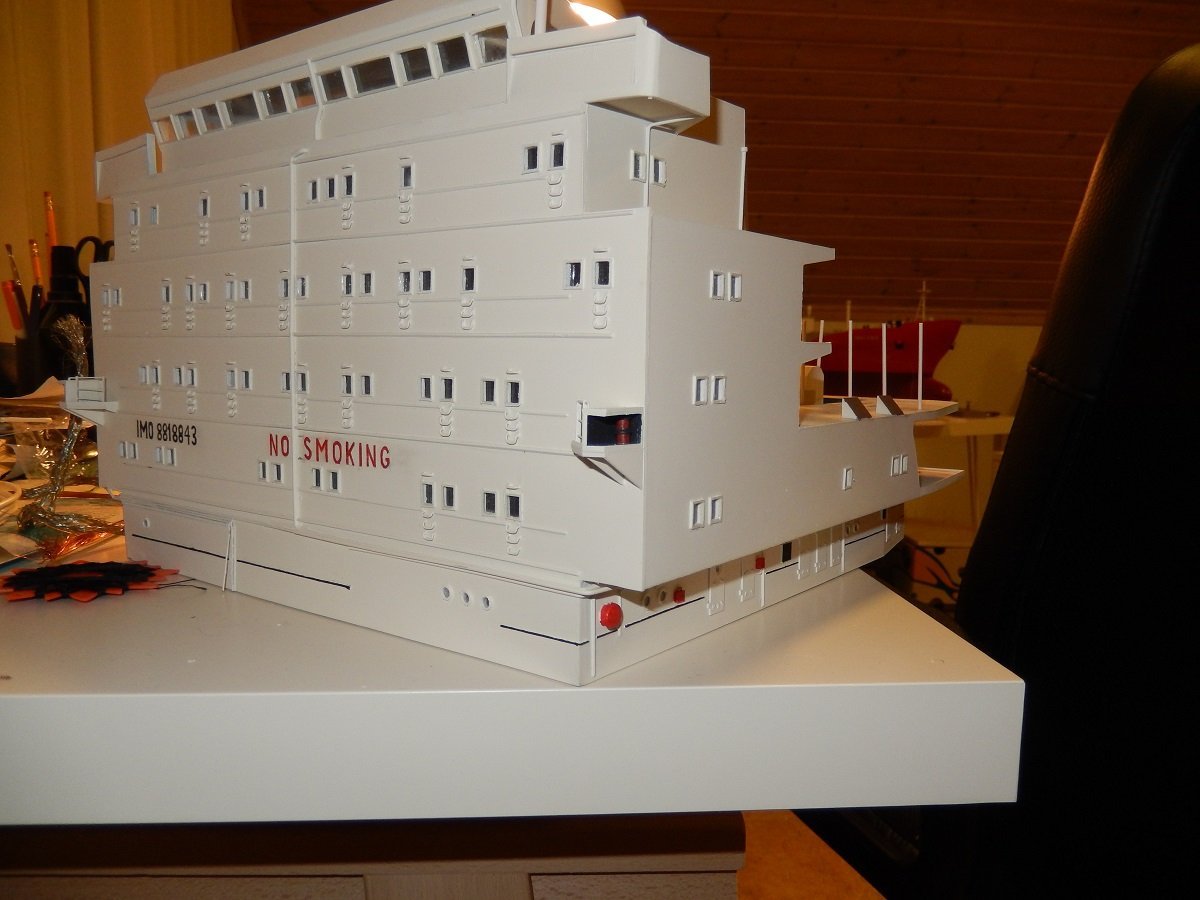
Got so caught up in Keith's Germania build (started at the beginning of that 80page long topic recently!), that I forgot to continue here. It was time for the lifeboat to go onboard. No idea why I picked number 2 first... I had kept the rigging long and open, so I could attach it to the sheaves and winches below its stowage position. As you can see, I also started adding railing to the accommodation. The stanchions are Dean's Marine merchant railing PE parts, which I ordered separately. Then time to test the sturdiness on the water before I continued with the second boat. And so the second boat got on as well. You can also see the beginning of the liferafts. You can also see the swimming pool, common for vessels of those days. It was however mostly covered with a containerized fuel tank and containerized generator on several of those vessels due to issues with the ship's generators. And in the top left of this picture you can see one of the things that killed this build... Due to slow progress on the tanker, I decided to "tackle something smaller and quick to finish", so I started a 1/100 tug called Union Eagle (it's in the Gallery). That project itself ended up taking 3 years of construction (you can see the beginning of the hull, deck and superstructure in this picture), eventually pushing me back to 1/700 builds that were indeed easier to finish within 1 year. I kept following that road for a while.
-
I'd go for the lightest of the planks Glen highlighted, the third one from the left. The darkest is indeed too dark, almost like burn marks. I figure there wouldn't be too much dirt building up. Either the crew or the sea would wash that deck regularly and at some point, all dirt from ones' shoes (which they probably didn't wear onboard) has fallen off, without much shore leave, there wouldn't be too much extra dirt coming in. Use of grease and oil was probably quite limited too.
- 508 replies
-
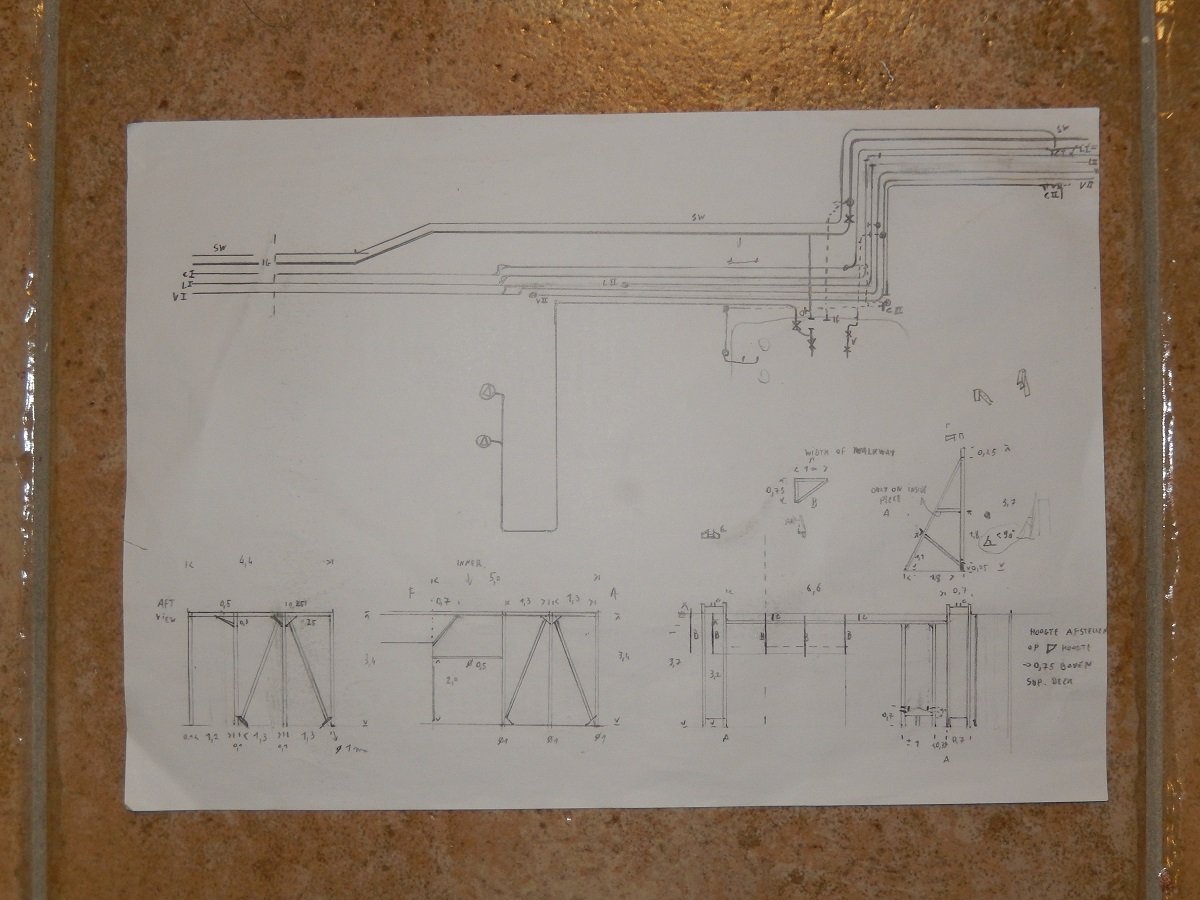
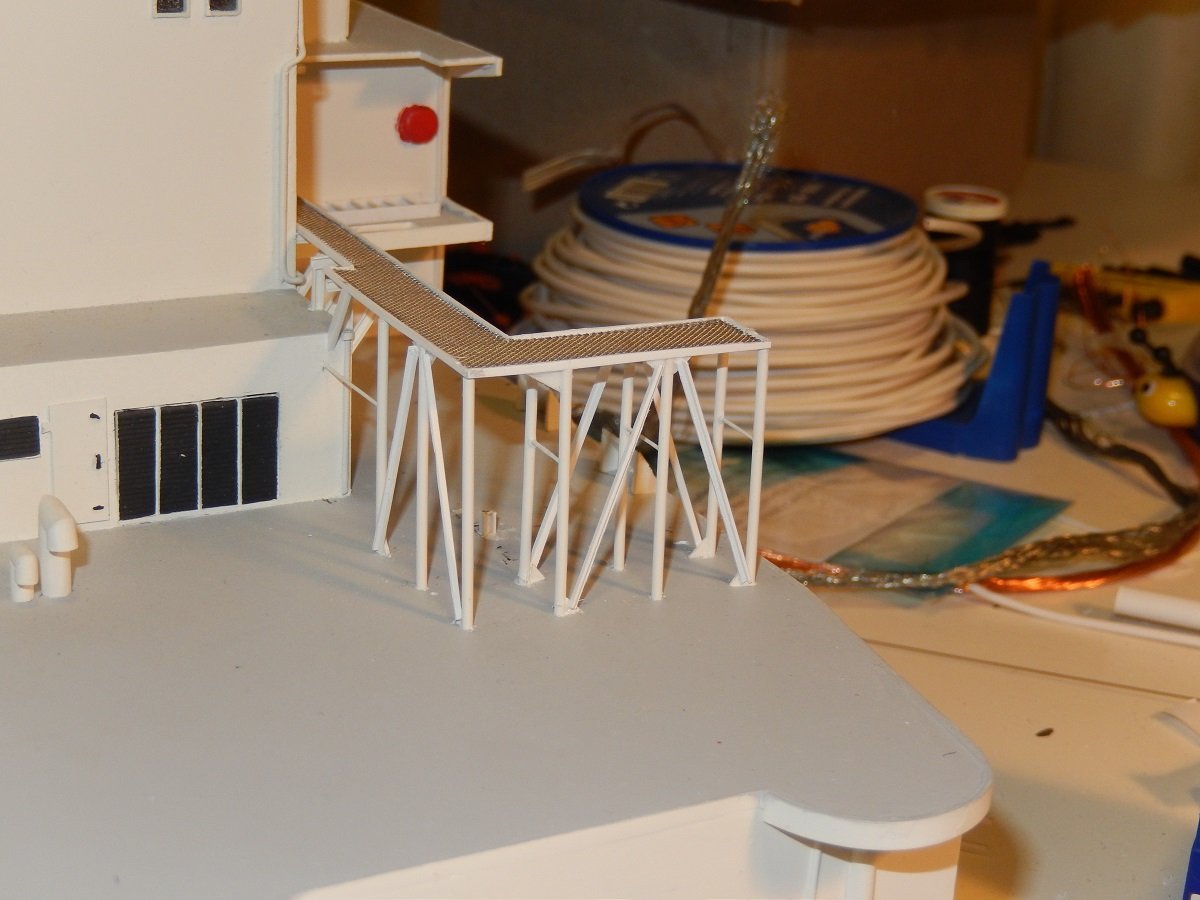
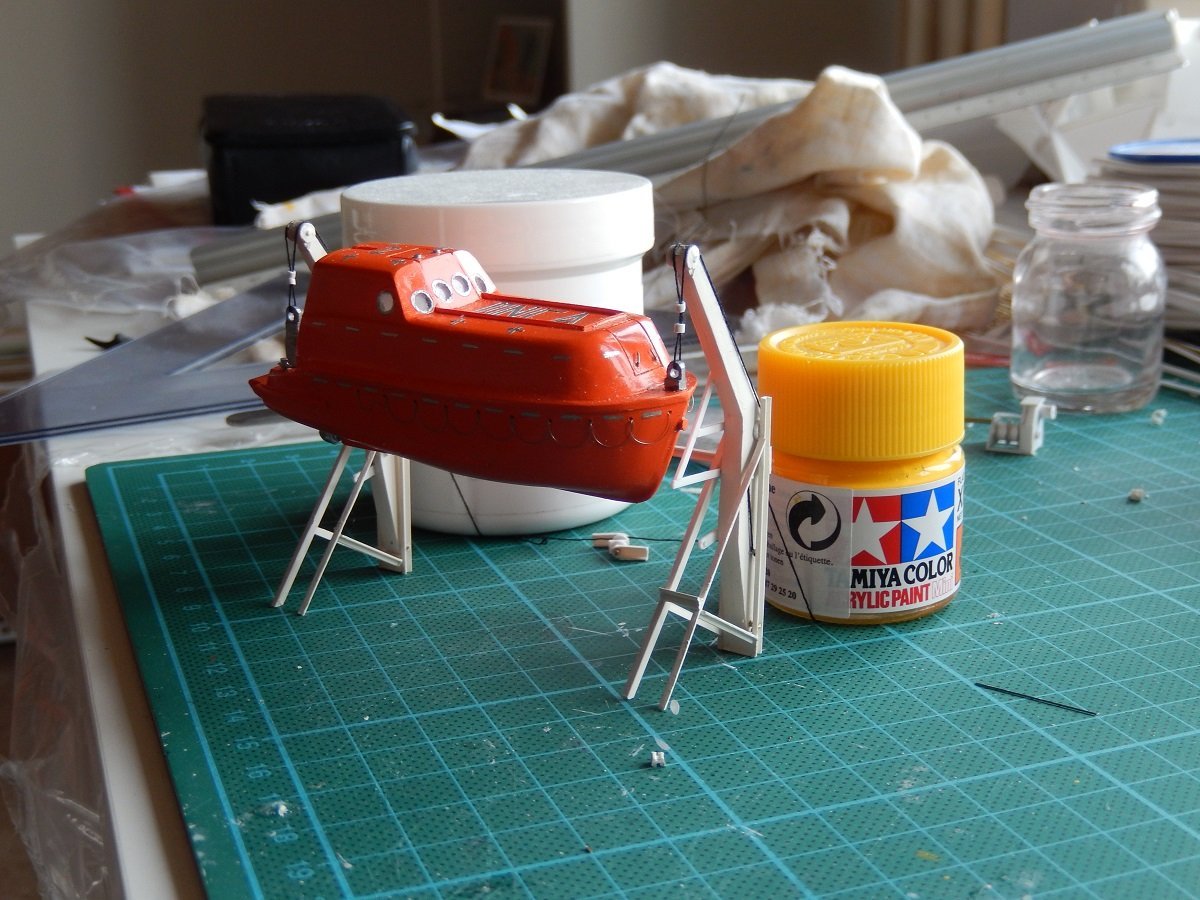
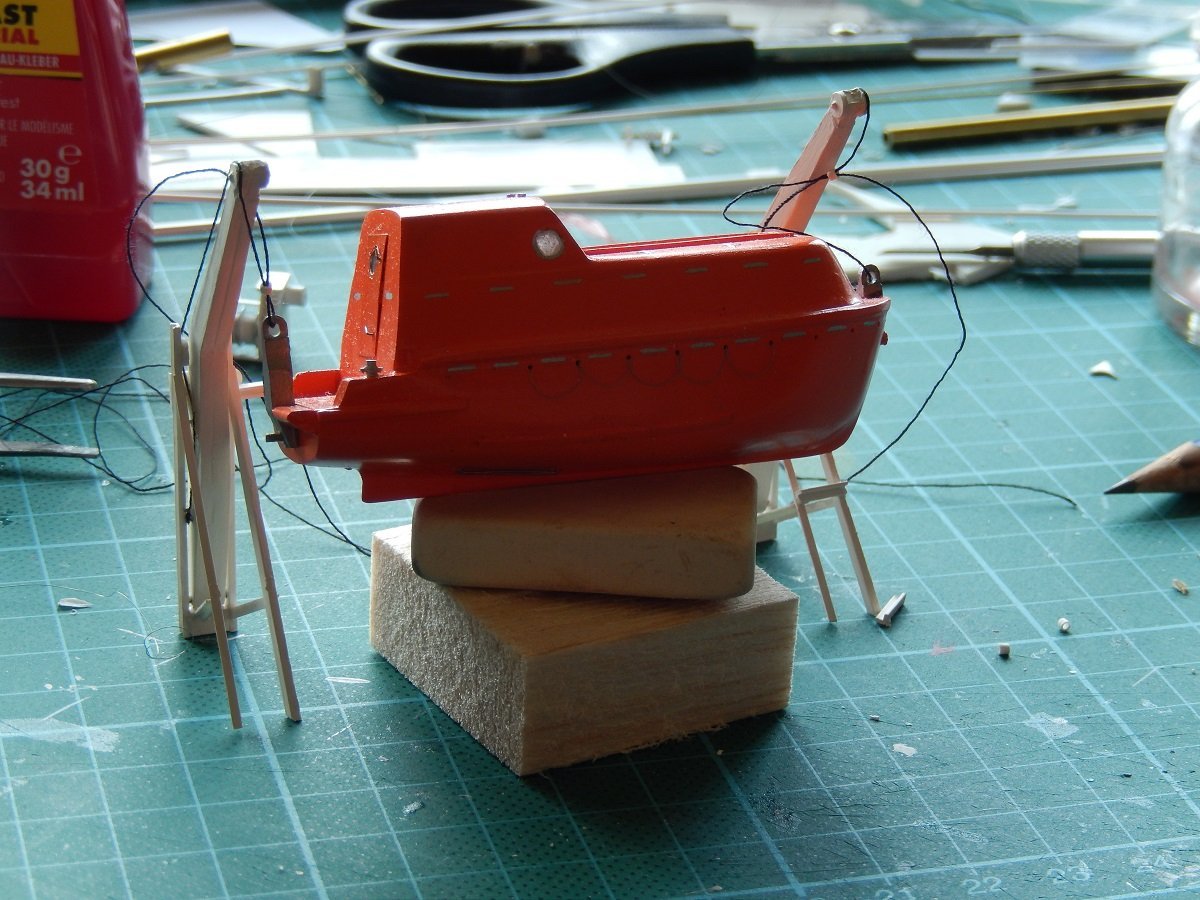
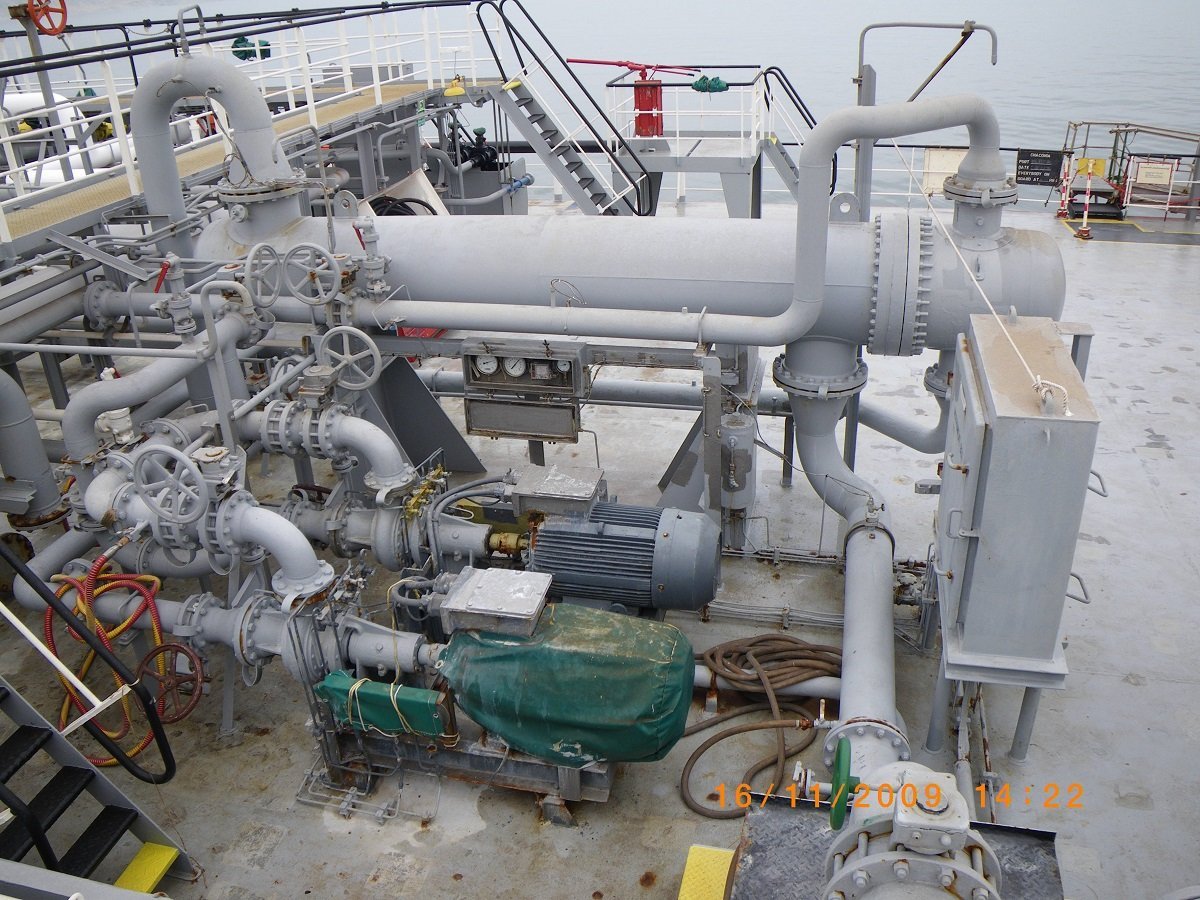
Thanks for the comments and likes. If that'd be a real plumbing job, it would have been a really expensive one... We're now somewhere middle of 2015, the year I practically stopped building. As mentioned those booster pumps were a pain... The pumps themselves weren't, but the piping to and from them is/was. The piping from the normal cargo system towards the pumps runs at deck level, however they are connected to the manifold, which is basically the top layer in the piping. All of it is built with a considerable amount of bends, this is to allow for thermal expansion and shrinkage when the cold gas goes through the pipes. That makes it of course very difficult to fit. All in all, nowadays I'm not afraid to tackle that and soon will be that moment! Here is a picture of the real deal. Both booster pumps and the cargo heater. You can imagine it took me a while to get a clear idea on how to build this. Funny enough you also see the actual motor of a booster pump and one covered by (old) green canvas. However, back to 2015: One of my drawings. I used to like making these plans/drawings, one of my most liked parts of this hobby. Nowadays unfortunately I don't get to that anymore. This drawing contains some piping, but also the catwalks for boarding the lifeboats. As you can see it has measurements on it and is drawn in scale. A lot of these details are not on plans, or very rudimentary, a combination of those drawings with lots of pictures allowed me to make these more detailed drawings. Then it was time to build those structures: And on the lifeboat side of things: Rigging the lifeboat. I didn't want to rely on actual hooks and preferred closed loops of rope through the eyes on the boats, simply because it's an RC model. Considering the weight of those lifeboats, with the epoxy filler, I doubt they'd actually float if lost on the water.You can also see the beginning of the grab lines on the side of the boat. And the whole thing rigged and standing. It's nicely balanced, so I don't have to rely on the glue alone to keep it on the ship. The small styrene loops around the rigging simulate where the double wire turns into a single chain. By moving those rings apart, it looks like a single strand in between.
-
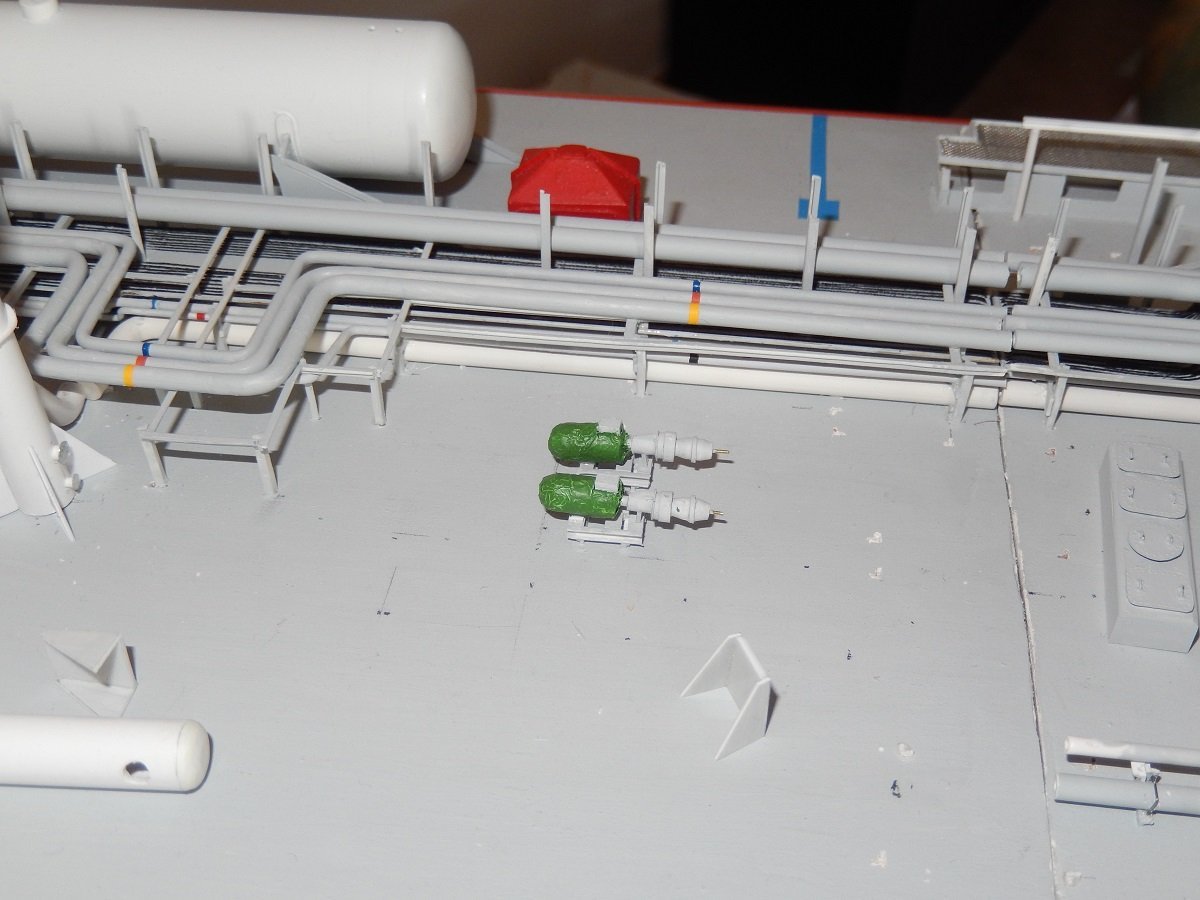
Happy New Year to all. May you all enjoy a healthy 2024. Time for another update. Seems I entered a rather chaotic phase. Since I'm near to the point where I initially abandoned it, I guess this chaotic phase was a sign of what was coming. It started with issues with the piping. I normally work from a fixed end towards an open end. Meaning that I fix the pipe somewhere, be it a pump or tank entry, and then run it towards an end where I can adjust its length, be it a bend or an open manifold end or flange. This however started to interfere with the idea of building bottom-up in layers. At some point things need to be fixed to each other. The following two objects are probably what killed the build... They are the booster pumps. Apart from regular cargo pumps, booster pumps can be put in series with the cargo pumps to reach higher discharge pressures. This can be used to pump in long lines towards far away tanks, or simply to pump into pressurised tanks. In case of the pressurized tanks, this also means the gas needs to be heated to ambient temperature, for that purpose a cargo heater is installed next to the booster pumps. The beginning of that cargo heater you can actually see laying around in pictures in the previous post and in following picture in the left foreground. To finish that part of the cargo system, there is a separate high pressure line towards the manifold as well. On these ships you could only put one booster in each cargo system, or both booster pumps in parallel to each other. On other vessels occasionally you can also line up the booster pumps in series with each other, so basically making a series of 3 pumps to achieve even higher discharge pressures (at a cost of flow rate of course). When at sea, the pump motors were generally protected by green canvas, which is what I replicated here. I didn't really find a way to build the regular electric motor cooling fins and structure, so I decided for a general shape and then covered it in alu foil, which I then painted green. I then made some catwalk platforms for the compressor room/ deck house. As well as the lifeboat embarkation area. I needed to do that before I could mount the lifeboat davits. And then I also started thinking about finishing the accommodation. So I added the navigation lights. As usual placed in a very convenient place, easy to reach and replace the light bulbs (NOT!)... I've never really seen a ship where it was easy to get to these things. They always seem to be the last thing they add to a ship design without giving any thought to the fact that you have to replace those bulbs (quite often really). (but since I'm not an electrician, this wasn't really my problem 😄)
-
Happy New Year Glen, what I meant was that your stone/rock looks somewhat bland. It's side is too smooth and even, an effect you'd get when the water would run down its surface continuously. In the waterfall pics you don't see smooth rock, it's not eroded by the water as the water touches the rock in only a few places on its way down. The rock itself however is broken and worn by gravity with a high frequency of sharp edges. I believe you could either adapt your rock with more protruding pieces, like the one you circled, or try to replicate those edges by fine dark jagged lines (combined with lighter areas above them) to break the large grey areas on your rock. The jagged lines would then insinuate shadows and cracks in the rock. That's just my view though, all in all the centerpiece remains the bottle and the falling water would hide and break the view on the larger grey areas of the rock after all...
- 174 replies
-
- Waa Kaulua
- bottle
-
(and 1 more)
Tagged with:
-
That's right. I also believe you need ridges. It looks somewhat out of scale at this moment. The small ridges will scale it down I believe. Apart from that, gorgeous work so far! Even without the rock, the bottled ship looks awesome.
- 174 replies
-
- Waa Kaulua
- bottle
-
(and 1 more)
Tagged with:
-
With regards to bow thrusters, normally the propellors turn in the same direction, but the thrusters are mounted opposite in the tunnels. So one will have the propellor facing portside (motor or gearbox SB) and the other opposite. Not sure with a 4-prop arrangement if the'd go 2-2 or 1-1-1-1. This is done to avoid the offset of such thrusters. When running on 0-force they do push a little to 1 side, so by reversing the installation with 2 or 4 thrusters they cancel each other out.
-
I had a further look at the ship and think I know where you got that. The three markings on the hull, where you located those thrusters are actually signs to show tugs where they can push. They're not thruster marks like on the bow. She doesn't have stern thrusters neither, since the azipods can be used sideways aft.
-
I have serious doubts about those 3 thrusters you put in the center body. Did you see that on pictures somewhere? Doesn't make much sense. In a normal case they'd just put stern thrusters in the skeg aft, just forward of the azipods. Through the body of the ship, with extremely long tunnels, probably doesn't work. You also wouldn't want that kind of noise on a cruise ship in such a location. All side thrusters create quite some noise when in use, not a huge problem near the bow or stern, but spread out like this... The stabilizing fins are also likely angled downwards a bit, but may be correct after all. Some dry dock or construction pictures of these ships should be available somewhere.
About us
Modelshipworld - Advancing Ship Modeling through Research
SSL Secured
Your security is important for us so this Website is SSL-Secured
NRG Mailing Address
Nautical Research Guild
237 South Lincoln Street
Westmont IL, 60559-1917
Model Ship World ® and the MSW logo are Registered Trademarks, and belong to the Nautical Research Guild (United States Patent and Trademark Office: No. 6,929,264 & No. 6,929,274, registered Dec. 20, 2022)
Helpful Links
About the NRG
If you enjoy building ship models that are historically accurate as well as beautiful, then The Nautical Research Guild (NRG) is just right for you.
The Guild is a non-profit educational organization whose mission is to “Advance Ship Modeling Through Research”. We provide support to our members in their efforts to raise the quality of their model ships.
The Nautical Research Guild has published our world-renowned quarterly magazine, The Nautical Research Journal, since 1955. The pages of the Journal are full of articles by accomplished ship modelers who show you how they create those exquisite details on their models, and by maritime historians who show you the correct details to build. The Journal is available in both print and digital editions. Go to the NRG web site (www.thenrg.org) to download a complimentary digital copy of the Journal. The NRG also publishes plan sets, books and compilations of back issues of the Journal and the former Ships in Scale and Model Ship Builder magazines.

