


Jasseji
-
Posts
604 -
Joined
-
Last visited
Content Type
Profiles
Forums
Gallery
Events
Posts posted by Jasseji
-
-
3 hours ago, mtaylor said:
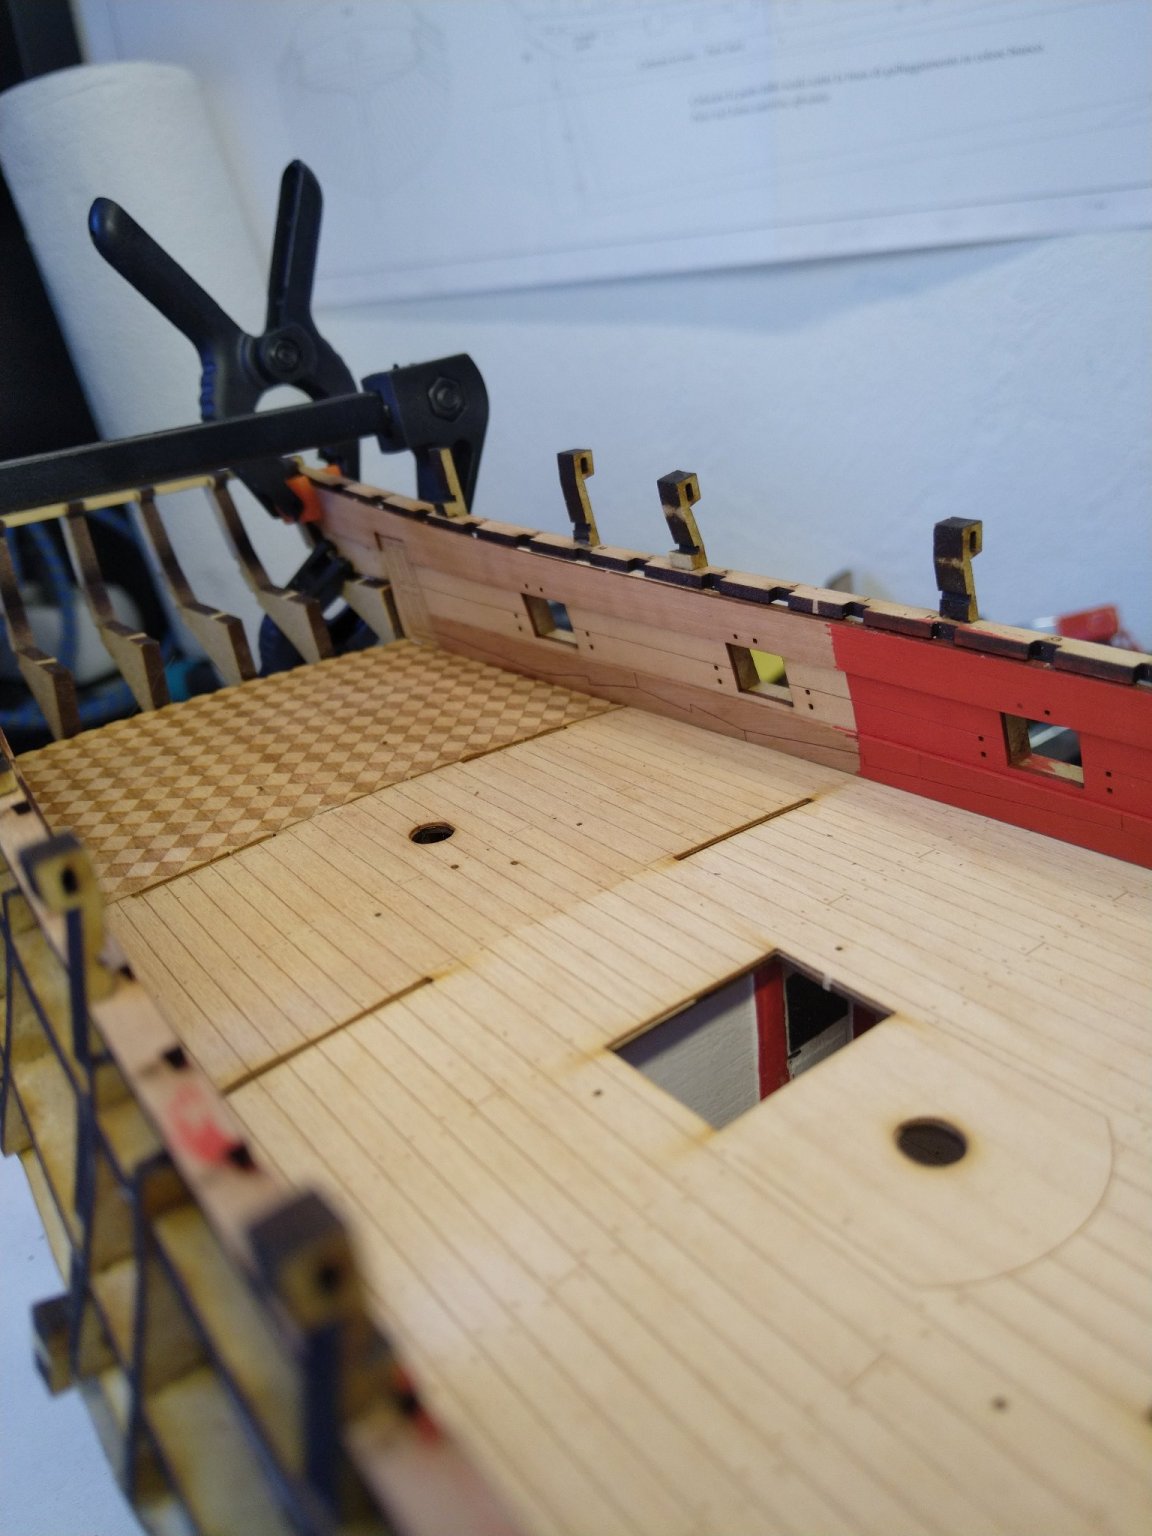
I decided to "size" the gunports and get the skin to match the port before going any further. Past history tells me I'm better off doing this now than waiting until the planking on the exterior is done. Once done, I'll paint the inside red and add the spiriting and deck clamp before painting.
Indeed, i find that i should have done it before painting
- Canute, Edwardkenway, mtaylor and 1 other
-
 4
4
-
-
-
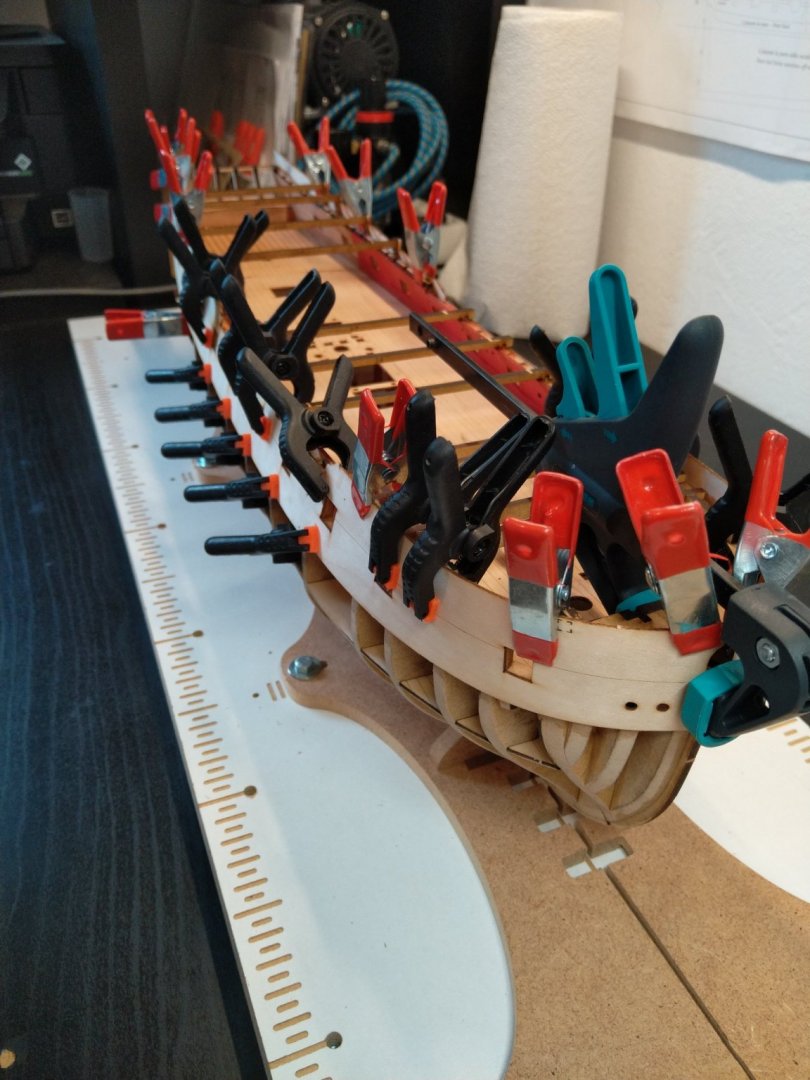
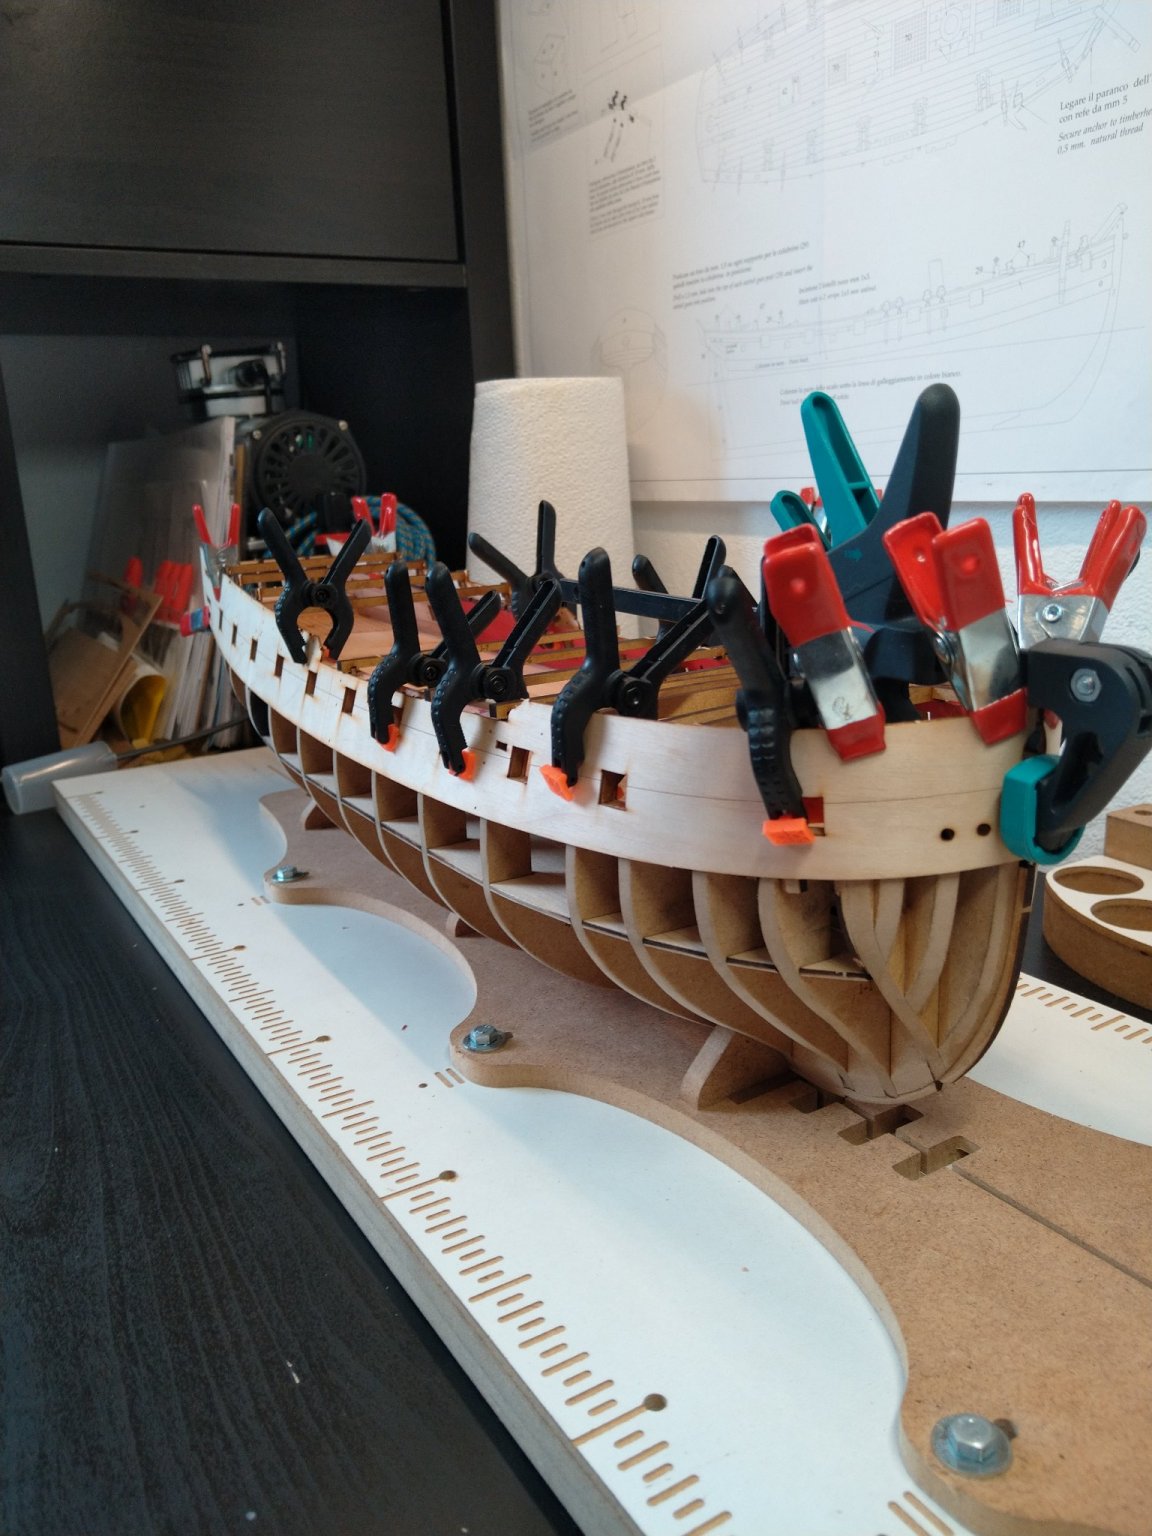
I dont have enough clamps to glue 2 sides at once, so waiting for glue to dry (i used a hairdryer first on the liners)
- GrandpaPhil, James H, Canute and 6 others
-
9
-
-
6 minutes ago, James H said:
That's about the amount of time it takes me to sand using my sanding blocks. Looking really nice indeed.
Huh, yea, well, i took a lot of coffee and cigarette breaks

Anyways, the dreaded time of Planking is upon me (which also means that i will have to finish the outer planking on the port side of the Lady Nelson...)
-
-
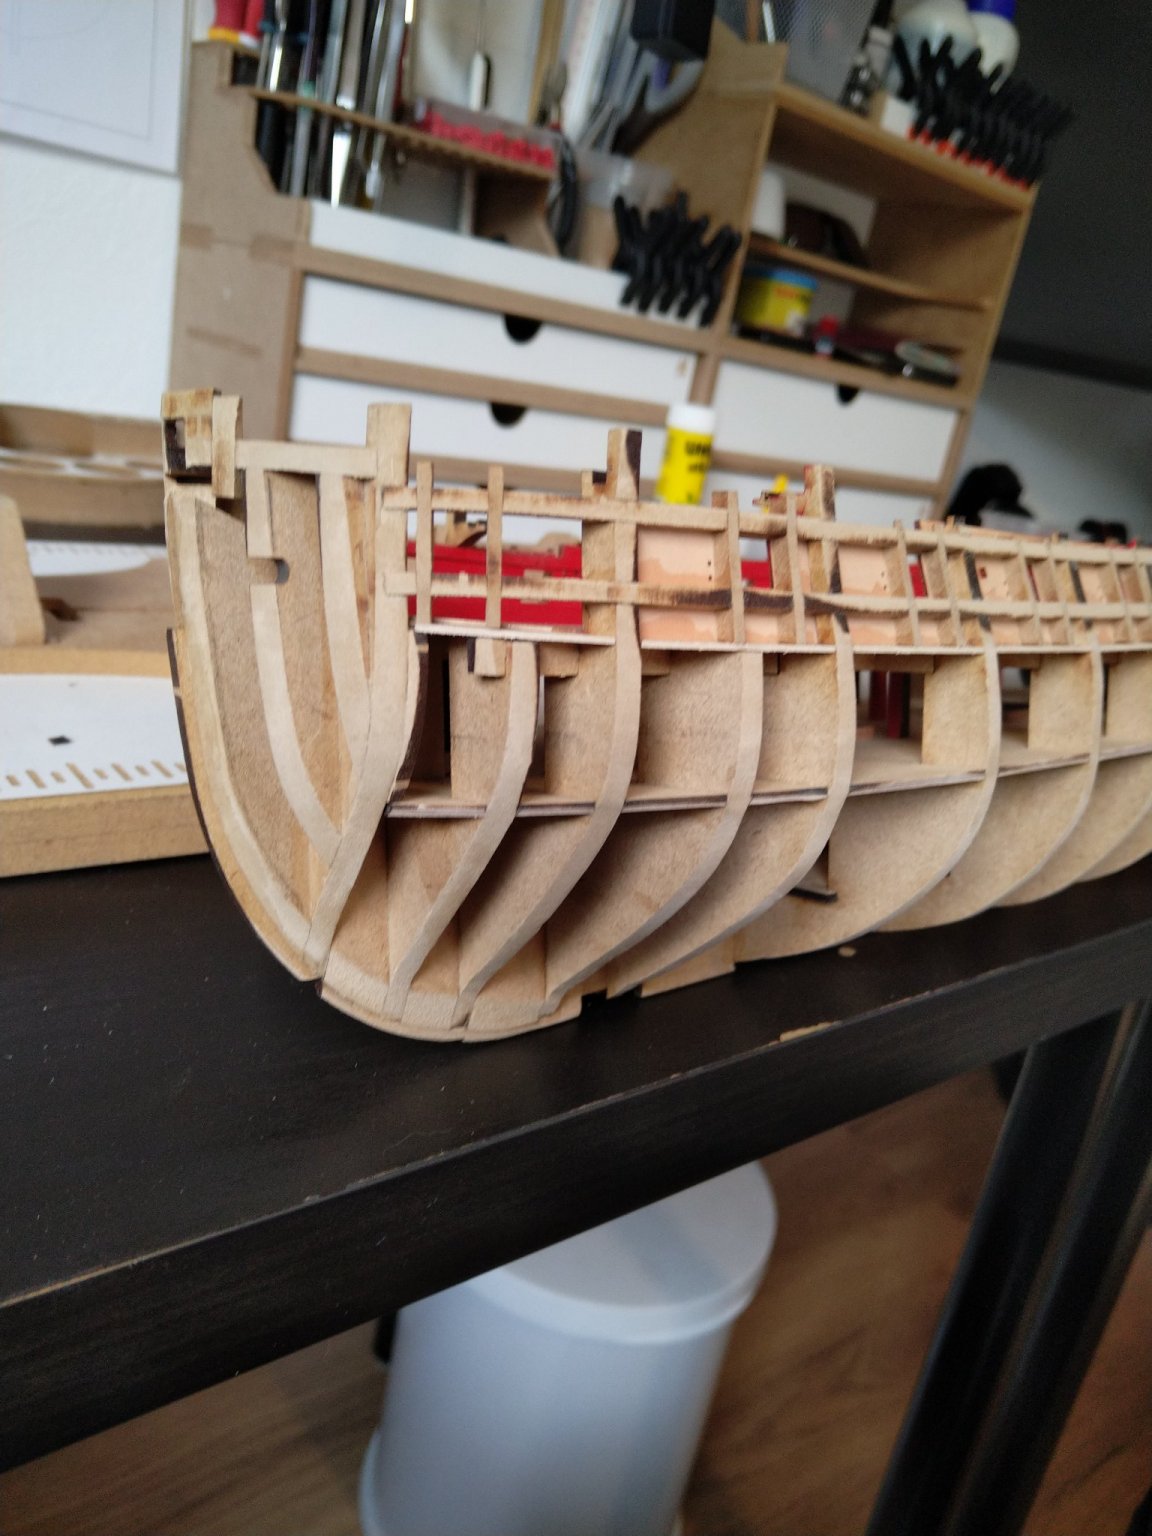
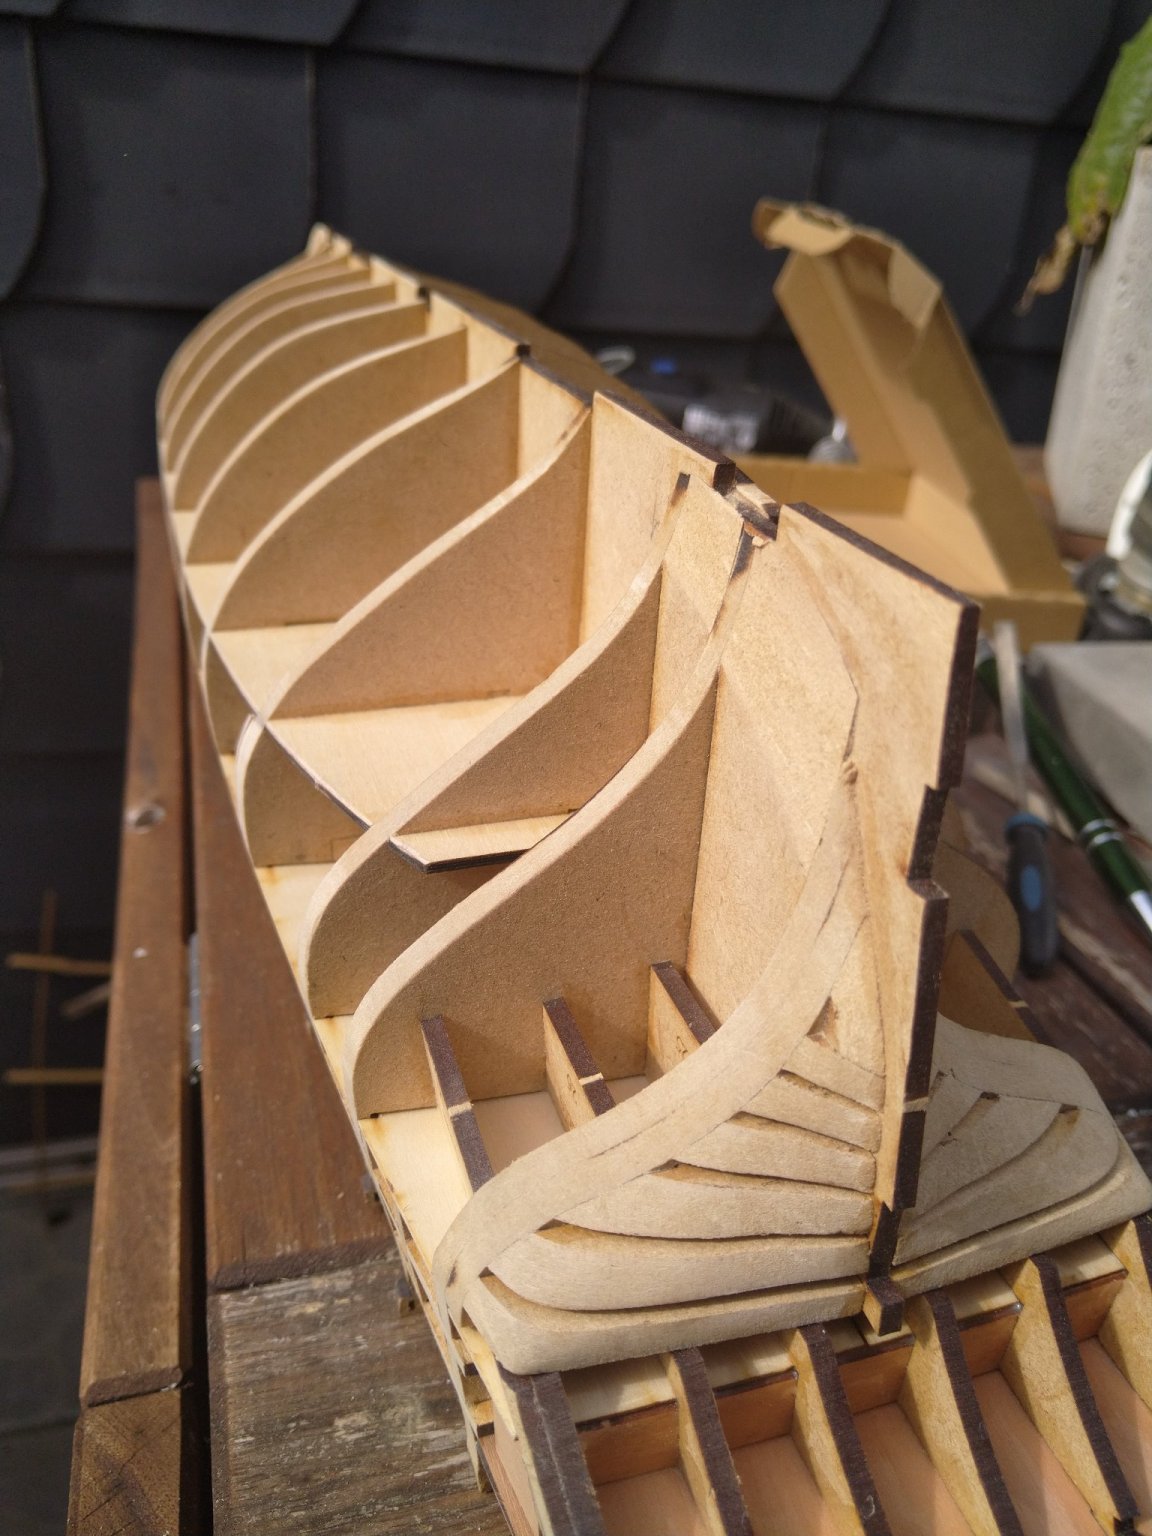
Phew, finished the sanding just in time before it started raining
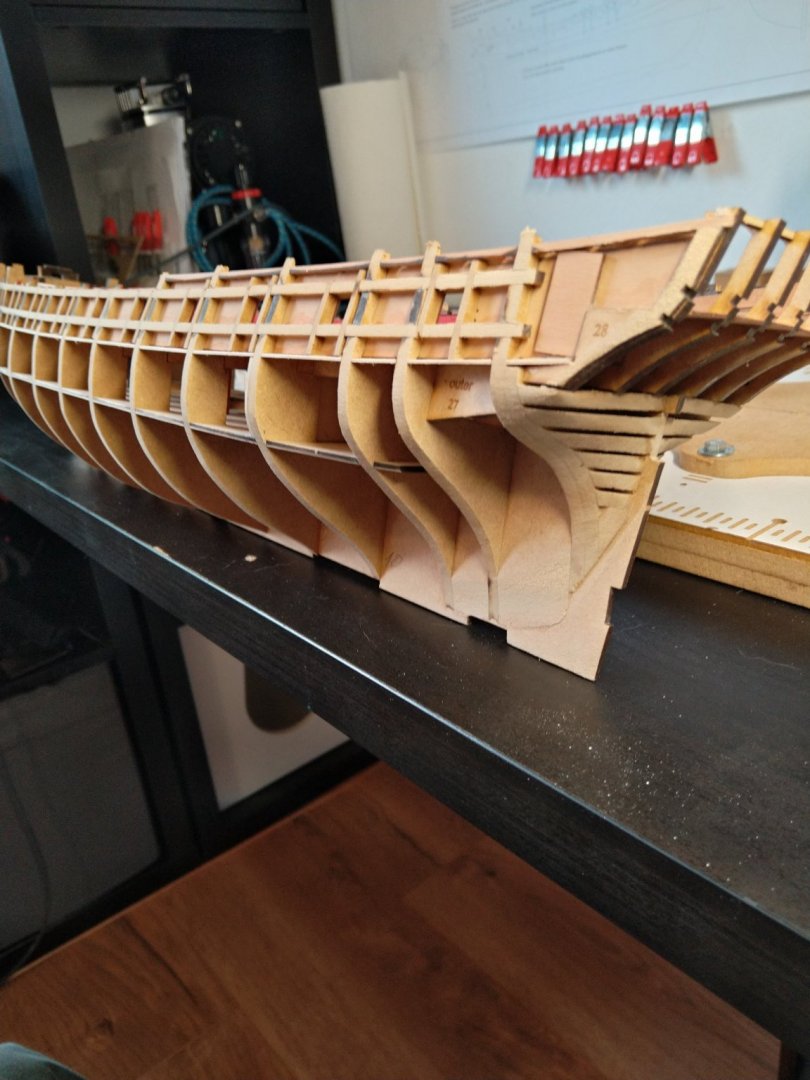

The ears didnt make it tho, i will attempt to glue them with the upper patterns
- JeffT, Rustyj, GrandpaPhil and 7 others
-
10
-
-
-
-
3 hours ago, mtaylor said:
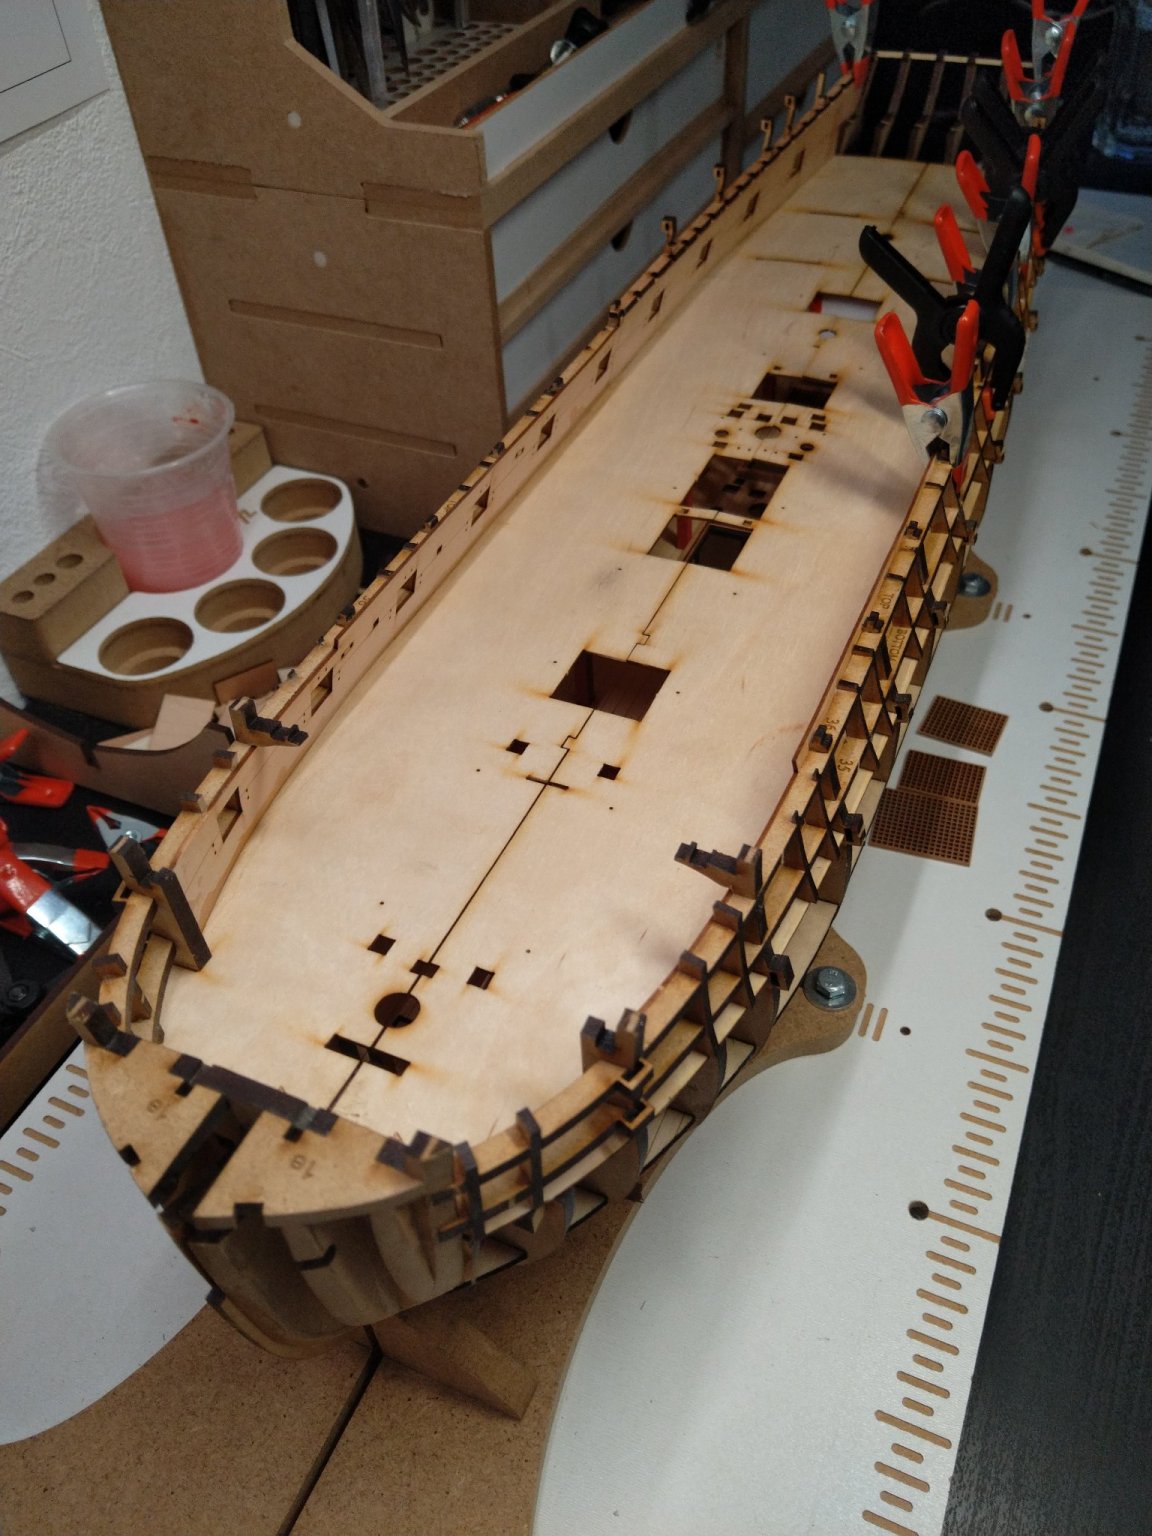
Sometimes, I'm just as slow as molasses in winter... I took my time fairing the inside of the bulwarks/hull area and installed the inner planking. Not too shabby from where I sit. Also added the quarterdeck beam spacing. Time to dig out the Gundeck planking pieces, fit them and paint the inside red. I'll probably lay down a thin coat of Vallejo matt varnish first as my tests showed a smoother finish than just doing the paint itself as I'm using a brush. This should be fun.
In case you're wondering what the clothes pins are for, they hold the hull down to the building stand.
I use a building slip to hołd her down, find that using the privuded cradle doesnt allow holding it securely.
Anyway, varnish then painting?
I See you broke the part from the deck too

- Edwardkenway, mtaylor, Canute and 2 others
-
5
-
-
-
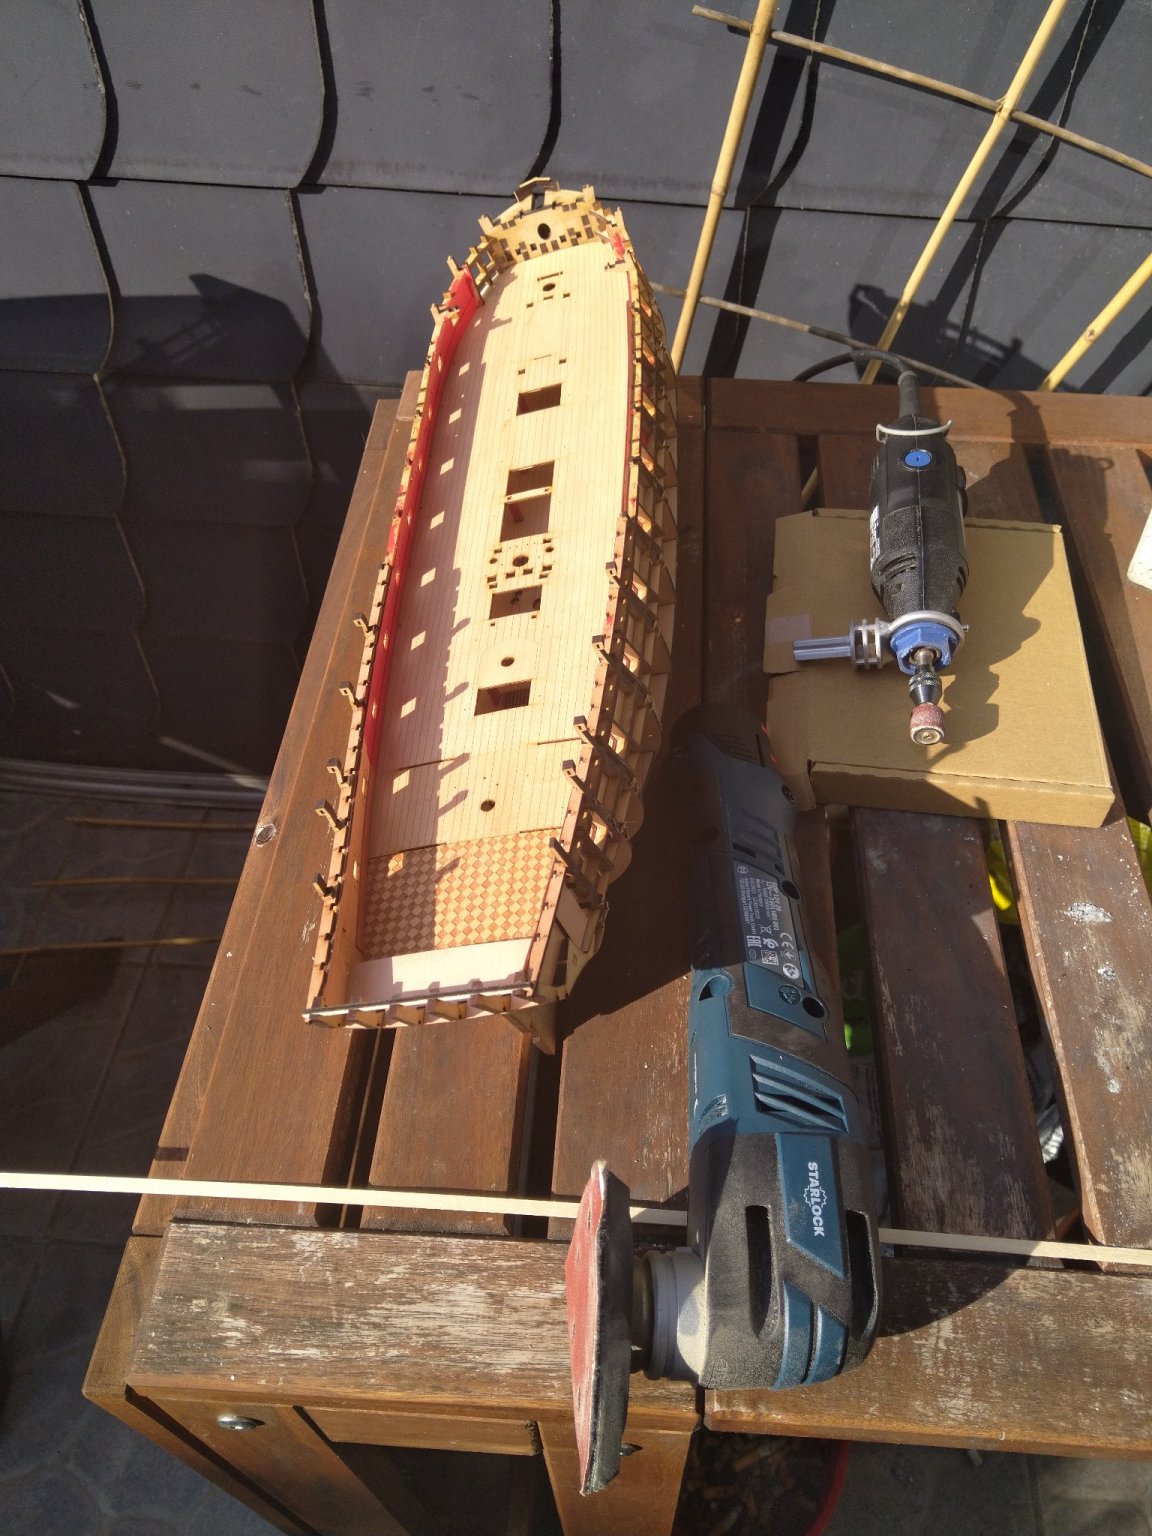
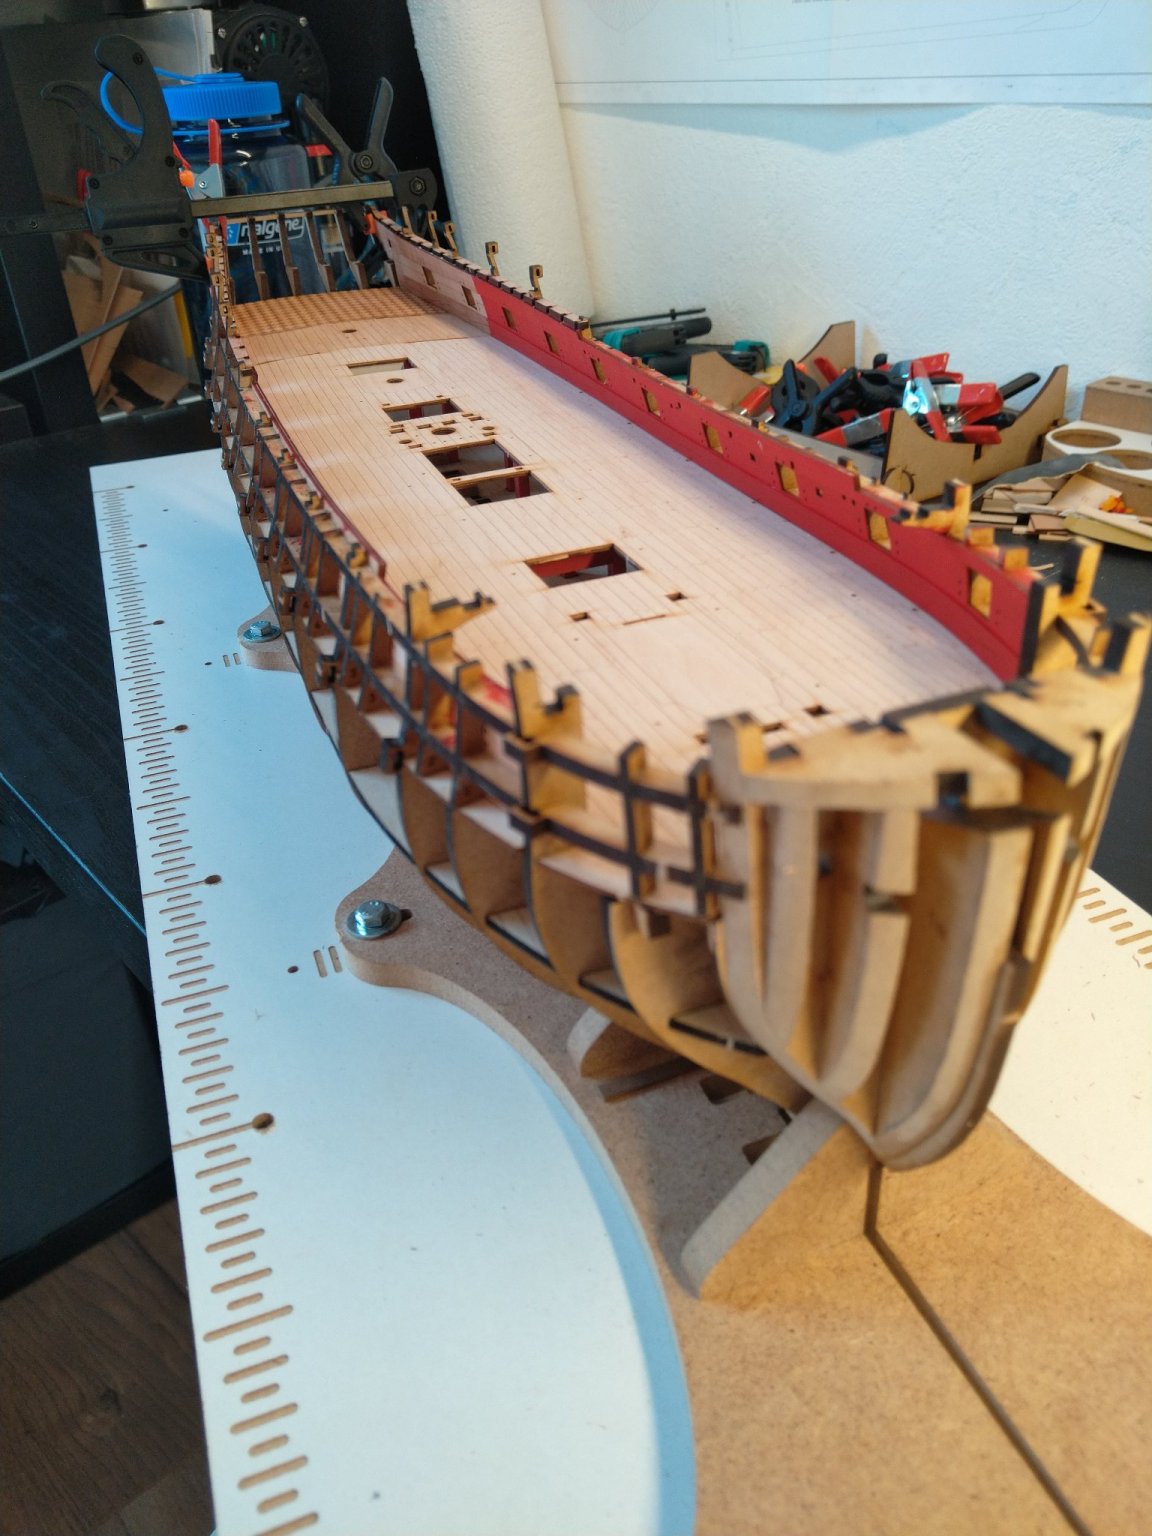
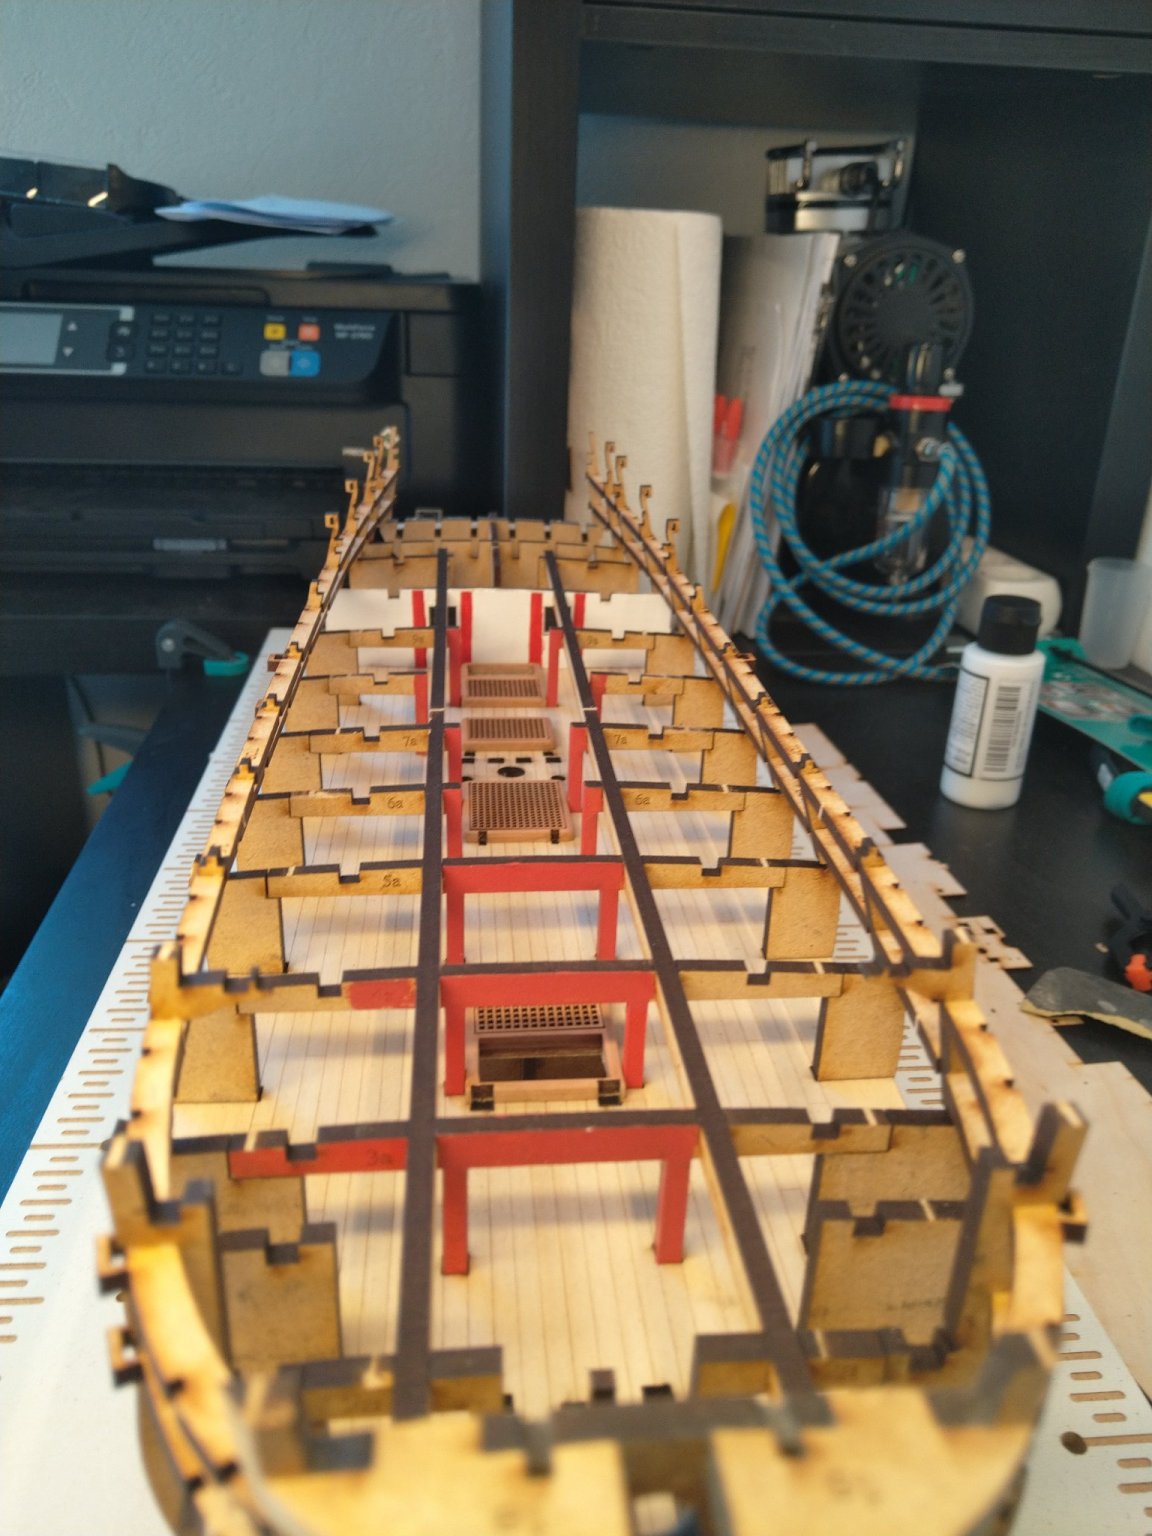
Painting the inner bulwarks.
2 thin layers of vallejo Airbrush Red applied with a brush
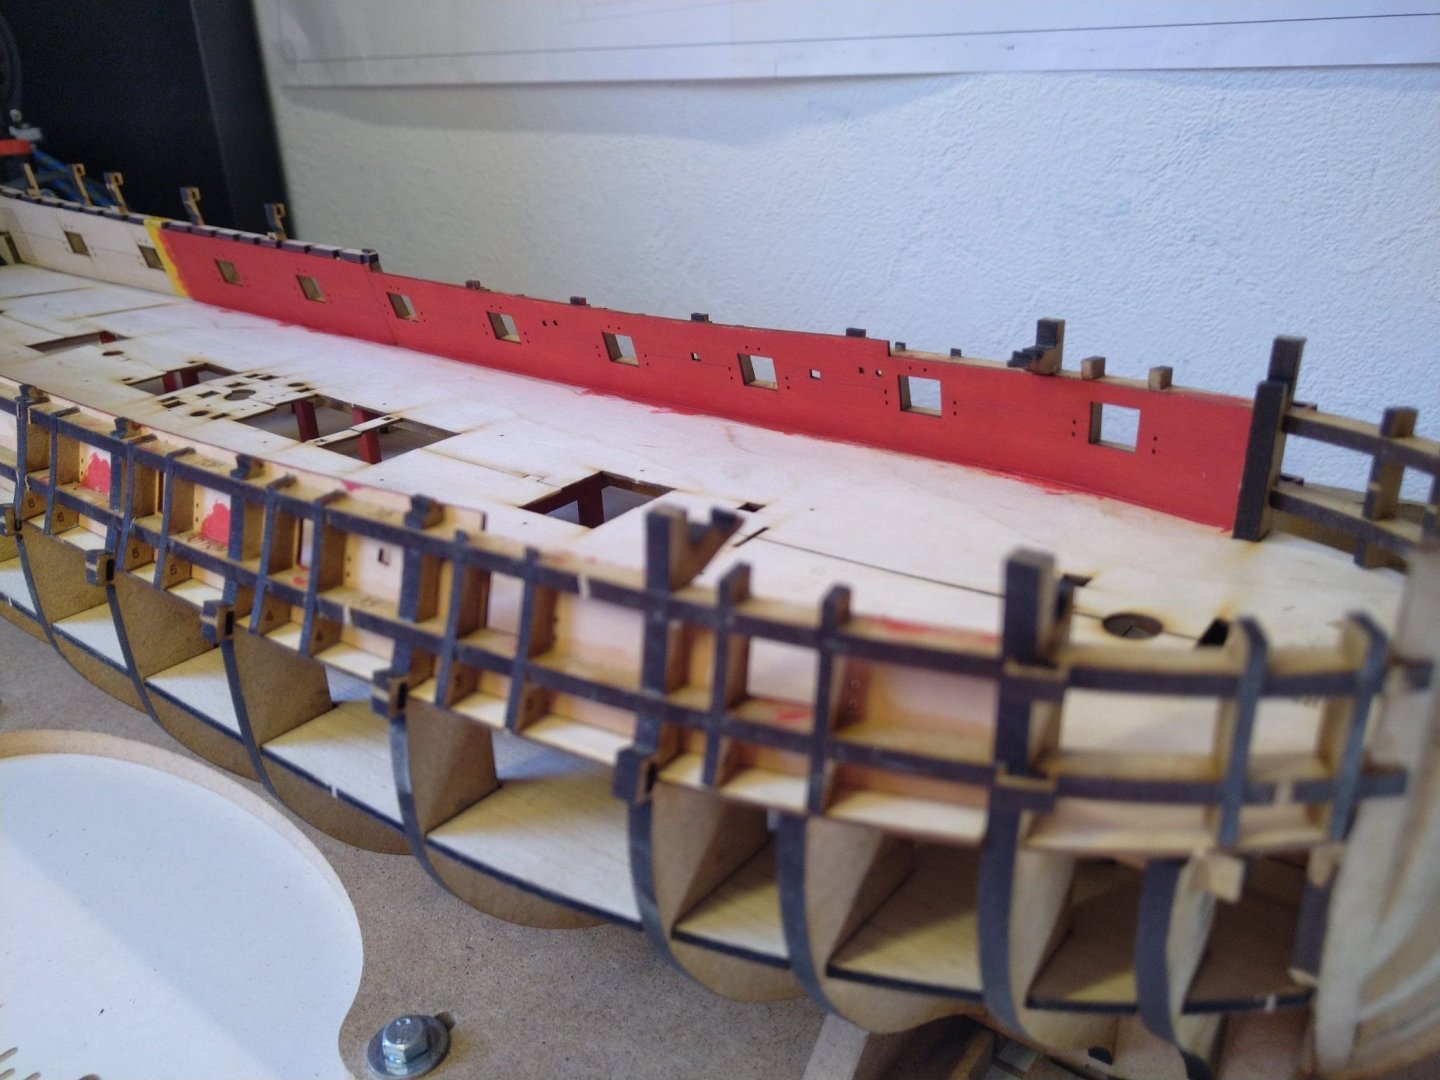
Also prepared the spricketing patterns, waiting for the paint to dry and will fit Gundeck and spricketing
- PhillH, GrandpaPhil, Canute and 4 others
-
7
-
-
5 minutes ago, glbarlow said:
It’s time to start betting the over-under on when UK Glenn finishes this model against James time, we could have a new record.
That and his attempt to make a new manual in this build log - he just wants Chris to send him his Next prototype instead to James
-
-
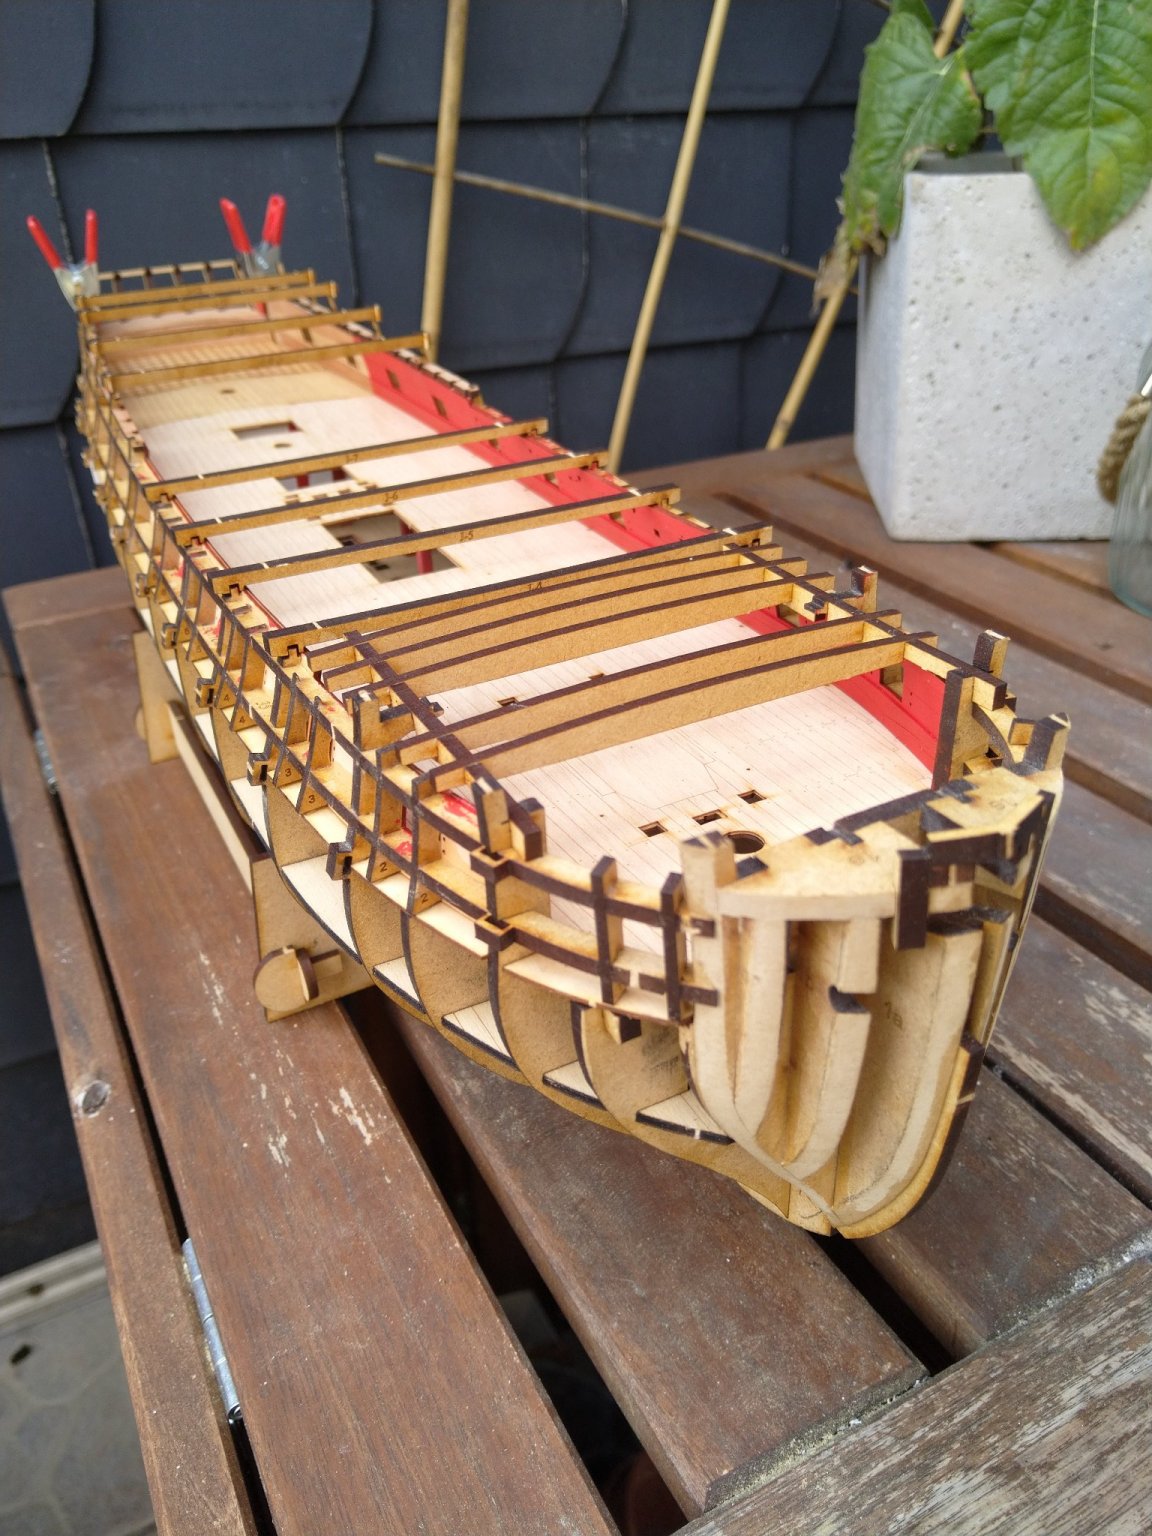
Inner bulwarks fitted, painting tomorrow

- GrandpaPhil, Glenn-UK, Canute and 1 other
-
4
-
-
21 minutes ago, glennard2523 said:
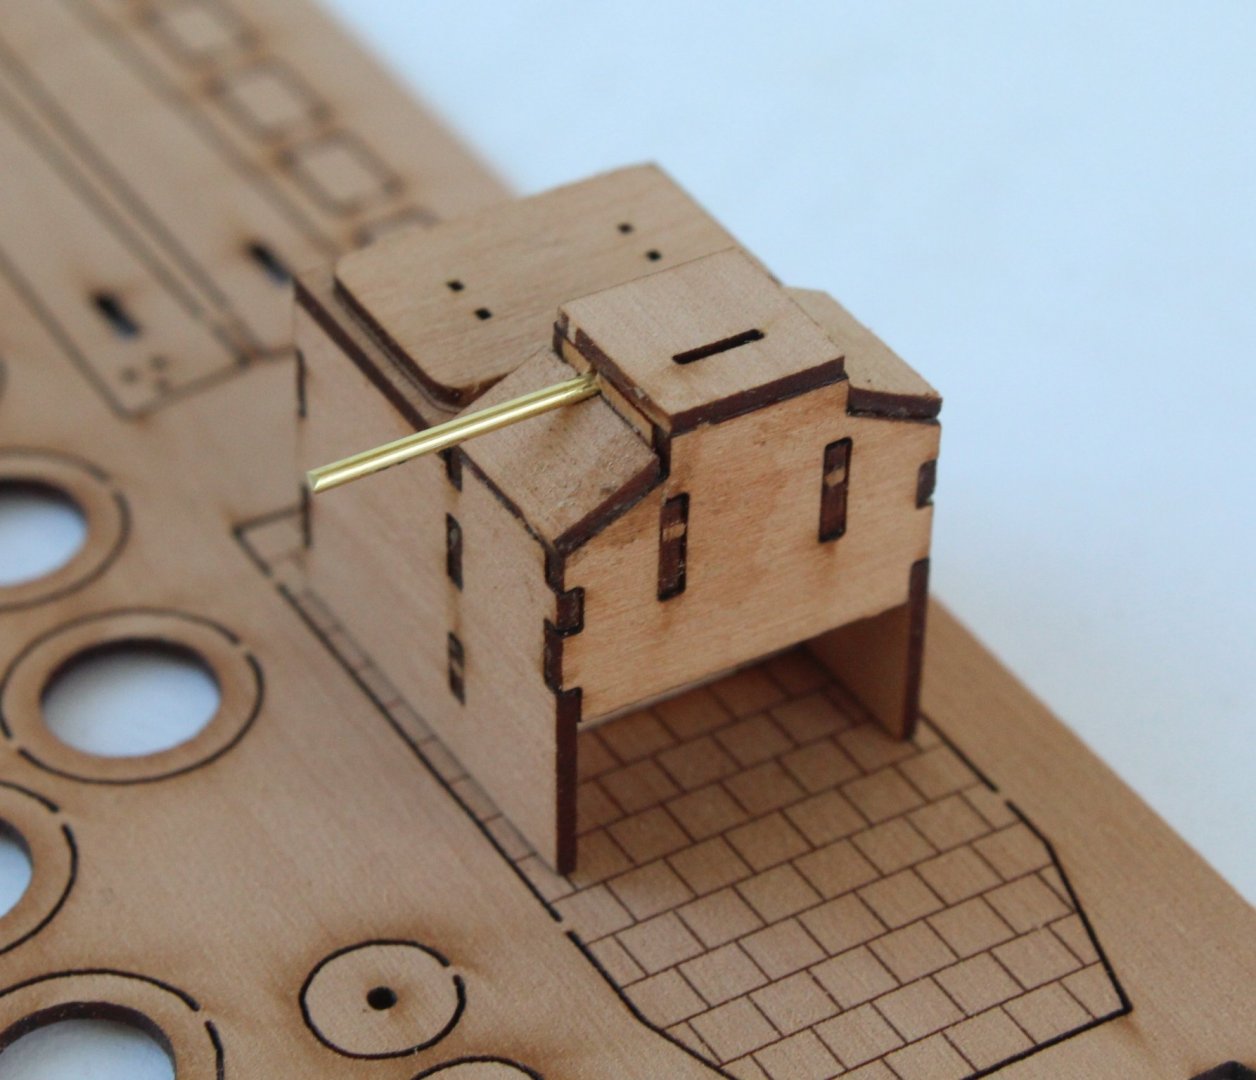
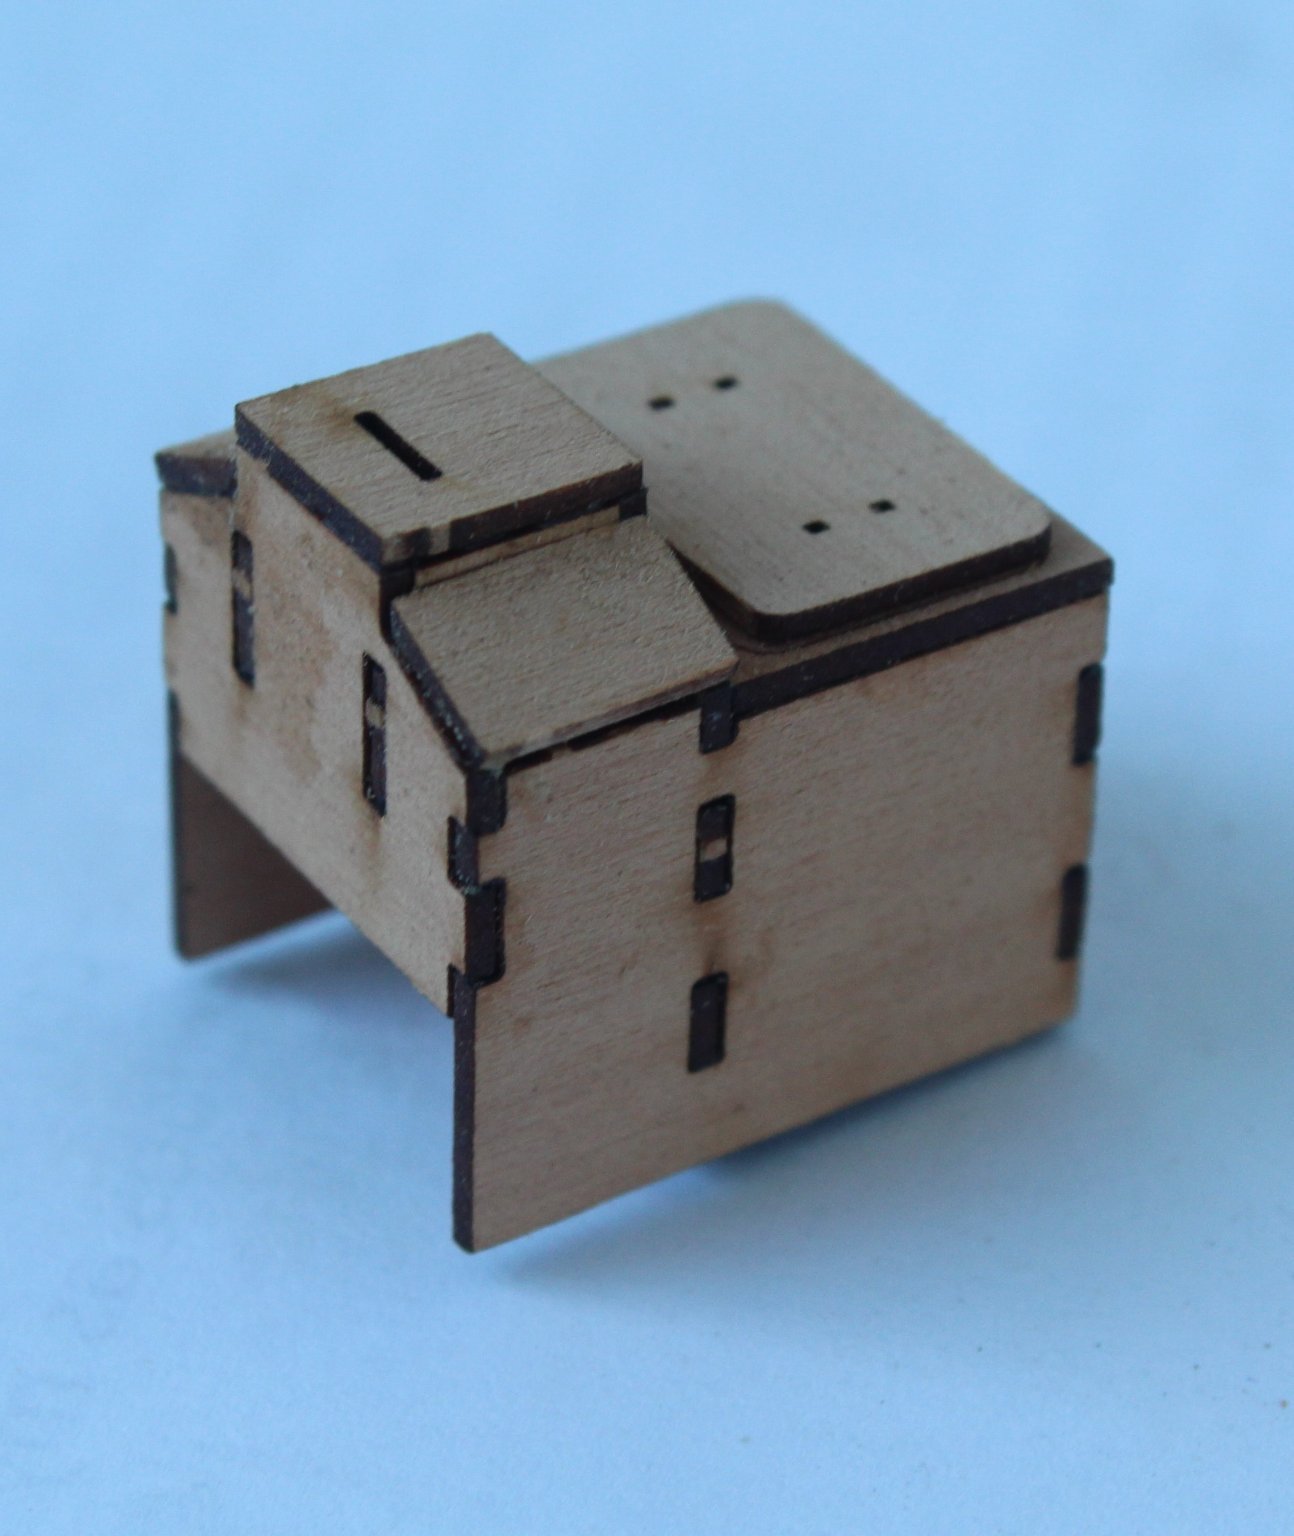
GUN DECK ASSEMBLY
SHIP’S STOVE ASSEMBLY - PART 1
BUILD MANUAL STEPS 409 – 419 & 433 - 434
Tools Used
Craft knife
Flory sanding stick
Titebond original glue
Old paint brush
Gathering the materials required
The following kit parts are required for this section of the build:
204, 205 (x2), 206, 207, 208 (x2), 210, 211, 212 (x2), 1mm brass rod
Assembly Process
The various parts were dry fitted to ensure everything fitted. With no problems detected I followed the build instructions 410 to 419.
It is important to note that the one edge of part 212 (x2) required a bevel before they are glued in place.

I will add the PE parts later on in the build process, but I did a test fit of the assembly to ship stoves floor pattern.

When looking at the remaining build stages I noted it was necessary to use a 1mm drill to open the half-hidden holes so a length of 1mm brass rod can be added.
I think you missed an important step in the Manual
The one which says "Slow down, Step Back"...
Brilliant progress
")
-
-
-
1 hour ago, myxyzptlyk2003 said:
Maybe this won't be an issue for most modelers but when gluing the outer patterns for the prow, keel and sternpost be sure you have the right side out. When I cut my pieces from the sheet, I had the sheet upside down so did not really notice the excellent markings on the one side which need to be showing on the outside. After building so many models I was used to the plain wood being on the outside. I kind of noticed my error by chance. I was doing the dry fit for the prow piece and happened to flip the piece and noticed I was almost doing it the wrong way.
More and more I am appreciating this kit. I hope this is a complement for most people but this kit is very close to what building plastic ship kits is like. With the exception of the fairing and hull planking everything so far is putting premade parts together. I for one really enjoy that.
Some people actually hate this, but i think the model has enough places where modelling and woodworking skills can or could be used, that it still can be a challenge.
There are people, for whom even buying ready-made planking strips is considered cheating...
I for one like how this kit is designed, definitely will raise the success factor (more people will finish it and less will stumble upon something they can't get around)
Even my 5-year old can help me with fitting some parts, so it's a good family bonus


HMS Sphinx 1775 by Jasseji (Jacek) - Vanguard Models - 1:64
in - Kit build logs for subjects built from 1751 - 1800
Posted · Edited by Jasseji
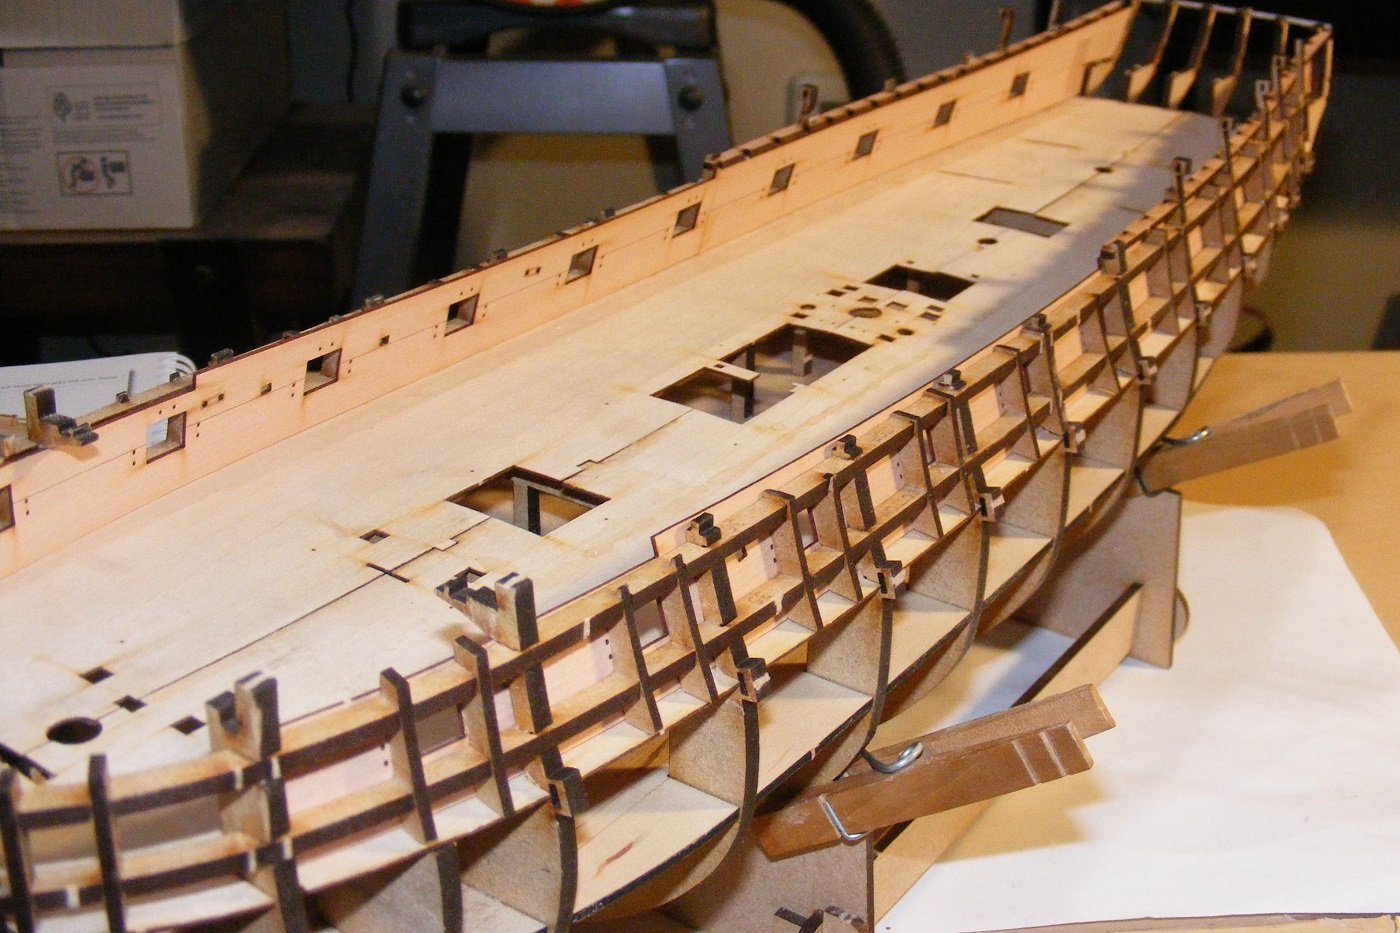
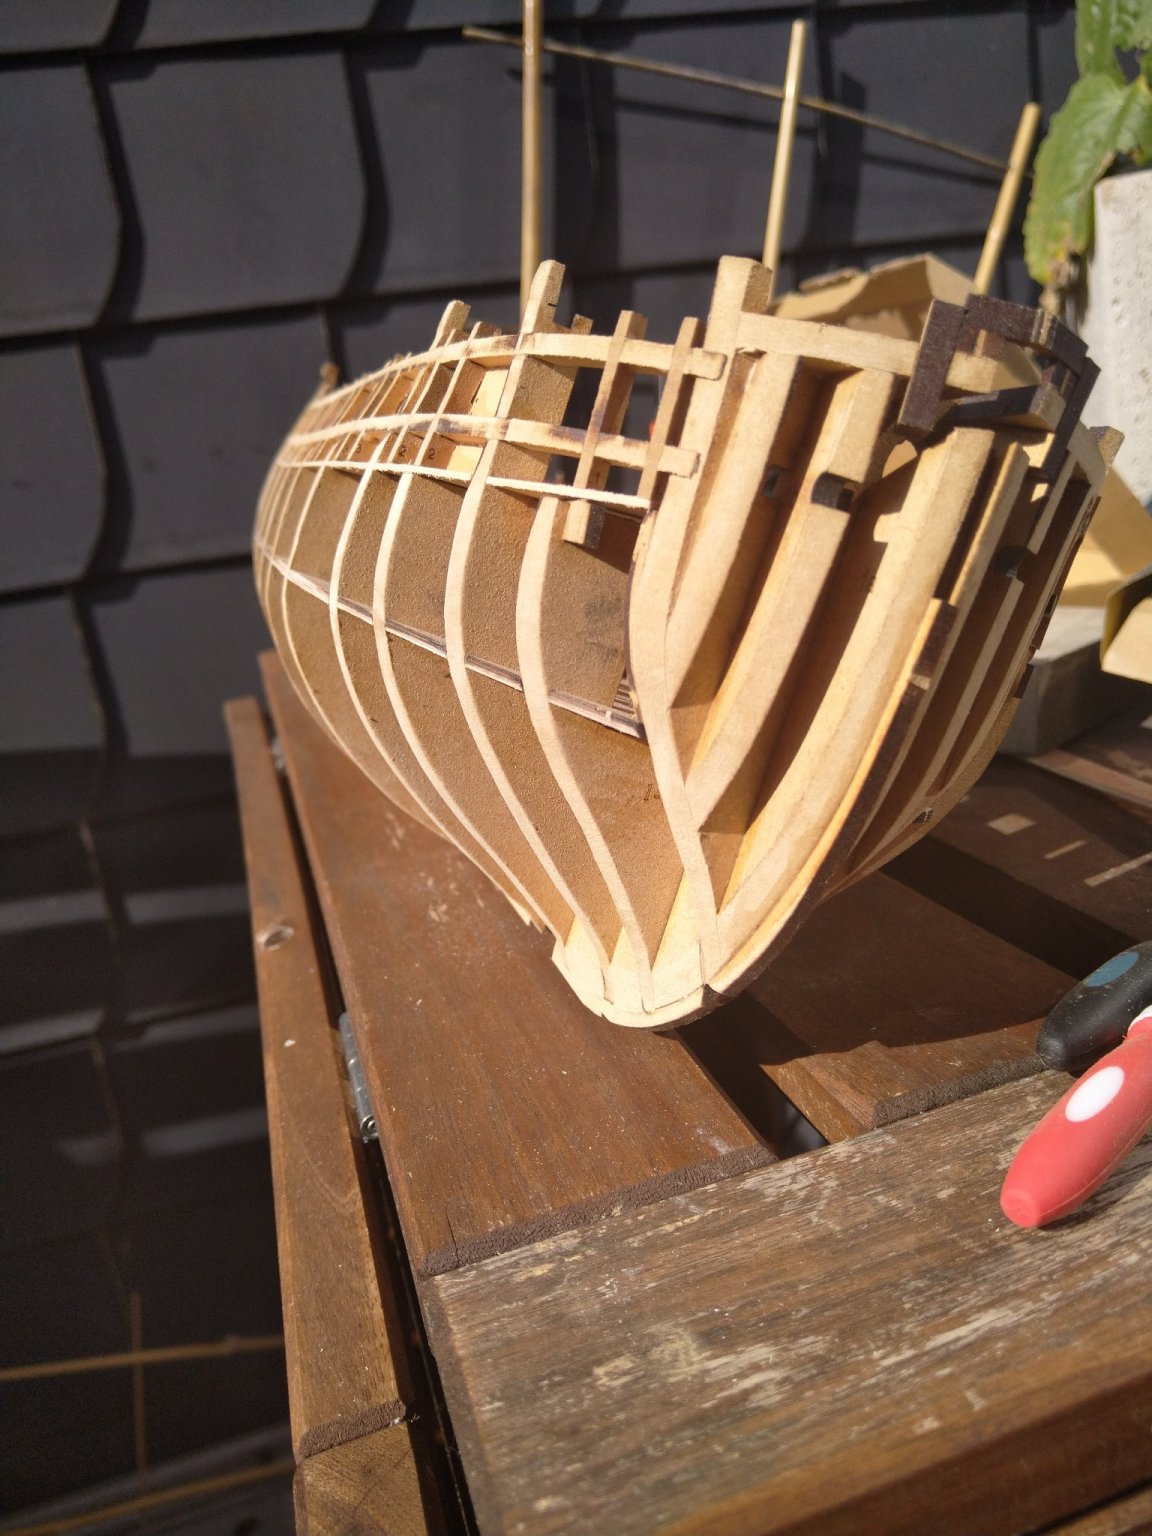
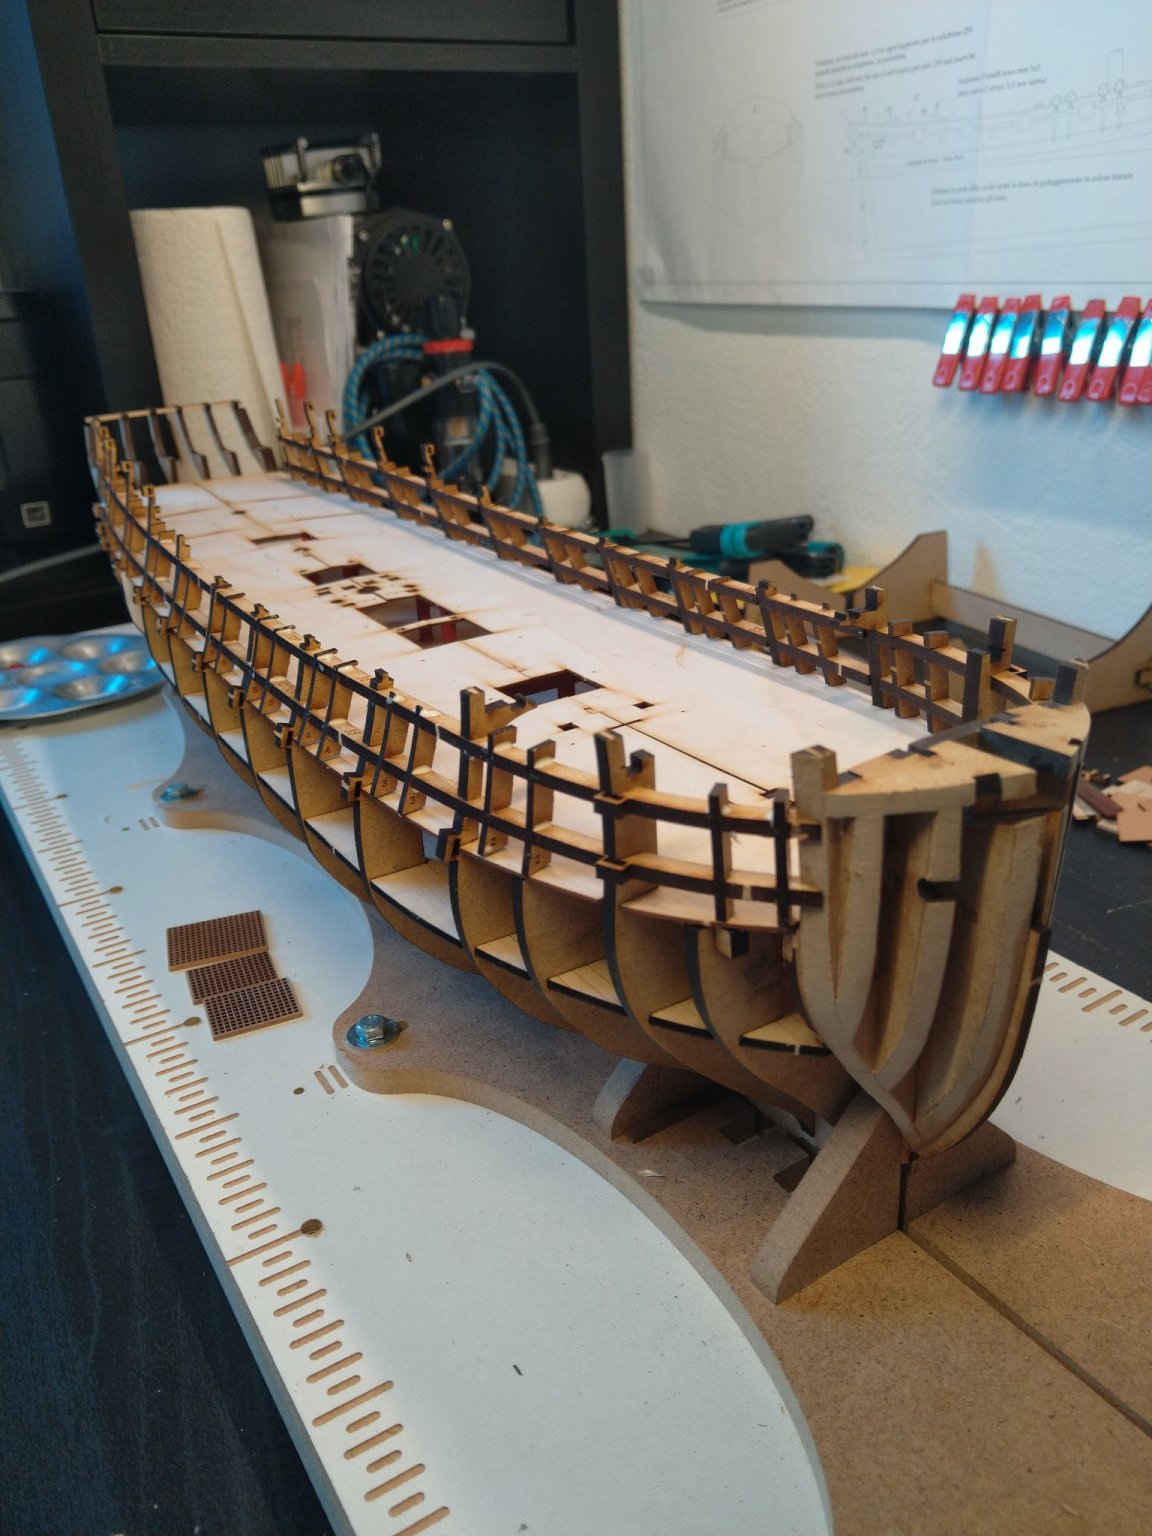
1st 2 planks no tapering, no soaking, just install (also, the Commodore sent one of his Marines to oversee construction)
I am a bit concerned about the bulkheads tho, i noticed some of them started splitting after i pushed the pins in, so will have to see how to continue