


Jasseji
-
Posts
604 -
Joined
-
Last visited
Content Type
Profiles
Forums
Gallery
Events
Posts posted by Jasseji
-
-
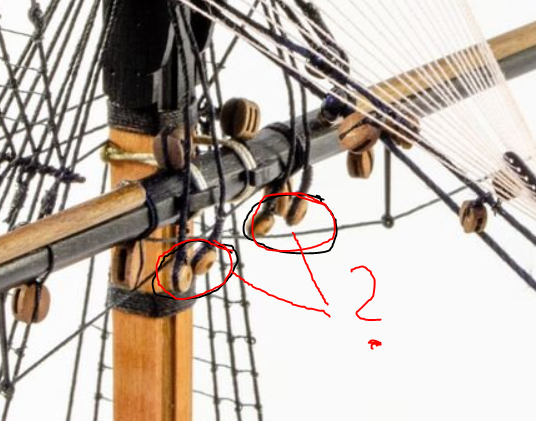
9 hours ago, Mark P said:
Good Evening Jacek;
Those do indeed look like mast tackle pendants, which were the first item over the masthead when dressing the mast with the standing rigging. The wooden thimbles in the end are unusual, though. From what I have seen and read, most of them were fitted with a metal thimble seized in an eye-splice. The pendants were permanent, whereas the tackles were un-rigged when not in use.
I would strongly suspect that when not in use, they were fastened to the shrouds with a temporary seizing, to stop them flailing around in any kind of wind or rolling of the ship, when they would chafe against other items, causing wear.
All the best,
Mark P
Hi, i took the pic from James H prototype of the Vanguard HMS Sphinx, although the plans themselves show them with just a spliced rope. Do you know of any reference on how they would be lashed/Secured when not in use ?
-
-
-
1 hour ago, DaveBaxt said:
Looking good so far and some great photos of your build and would like to follow your progress if I may. Keep up the good work and good luck with the build. Best regards Dave
The photos are so-so, i will try to make better along the line.
Grab a Stool and a Drink, feel free to follow
")
-
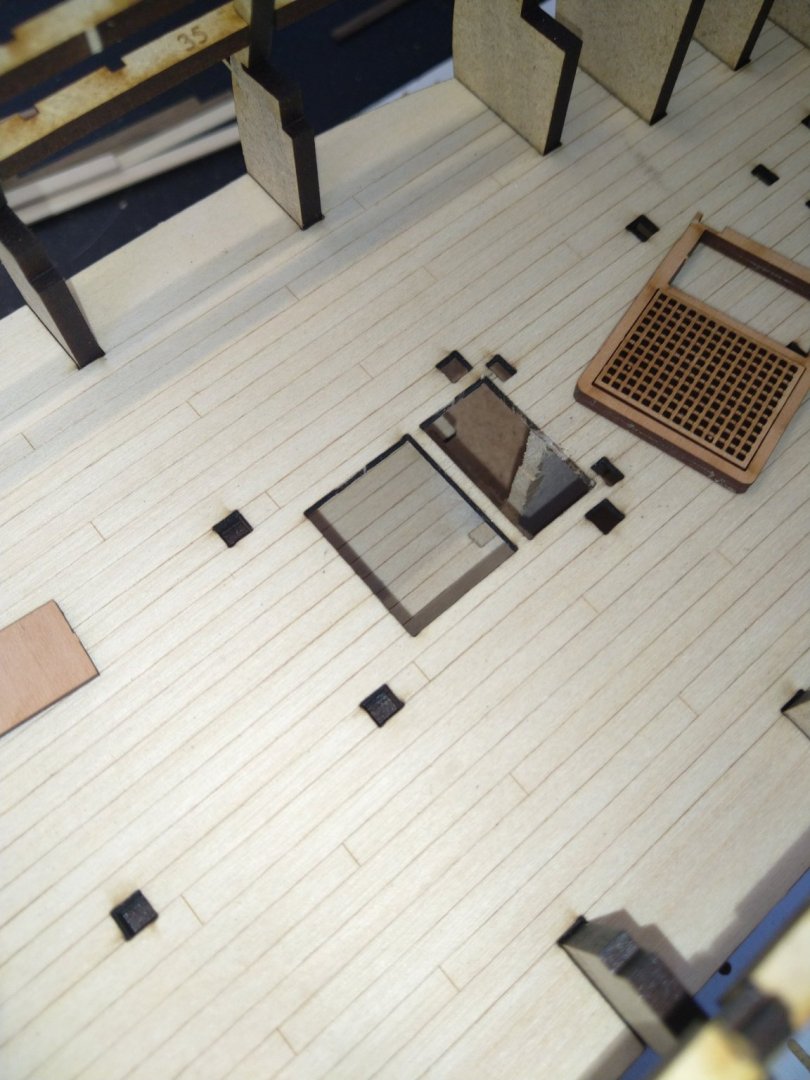
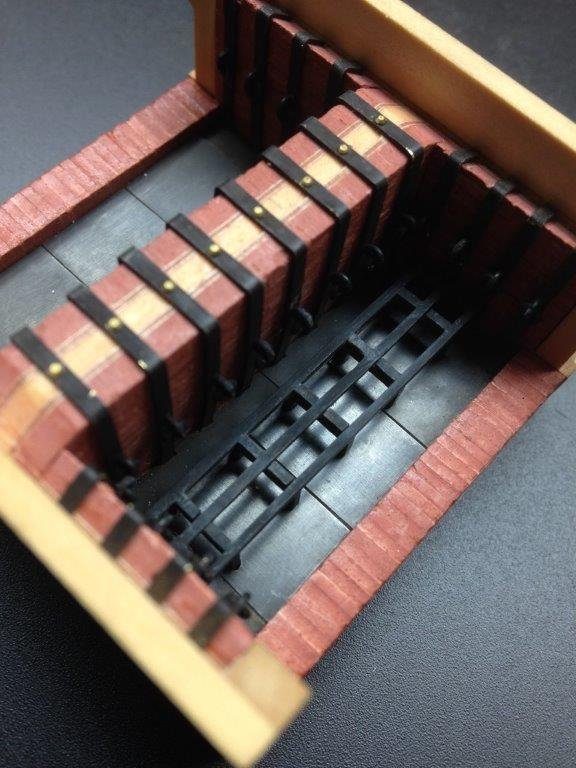
Decided to cut out the bulkheads after All, will add some wall down there to simukate Part of orlop
- glbarlow, JpR62, Ryland Craze and 4 others
-
 7
7
-
-
-
-
-
-
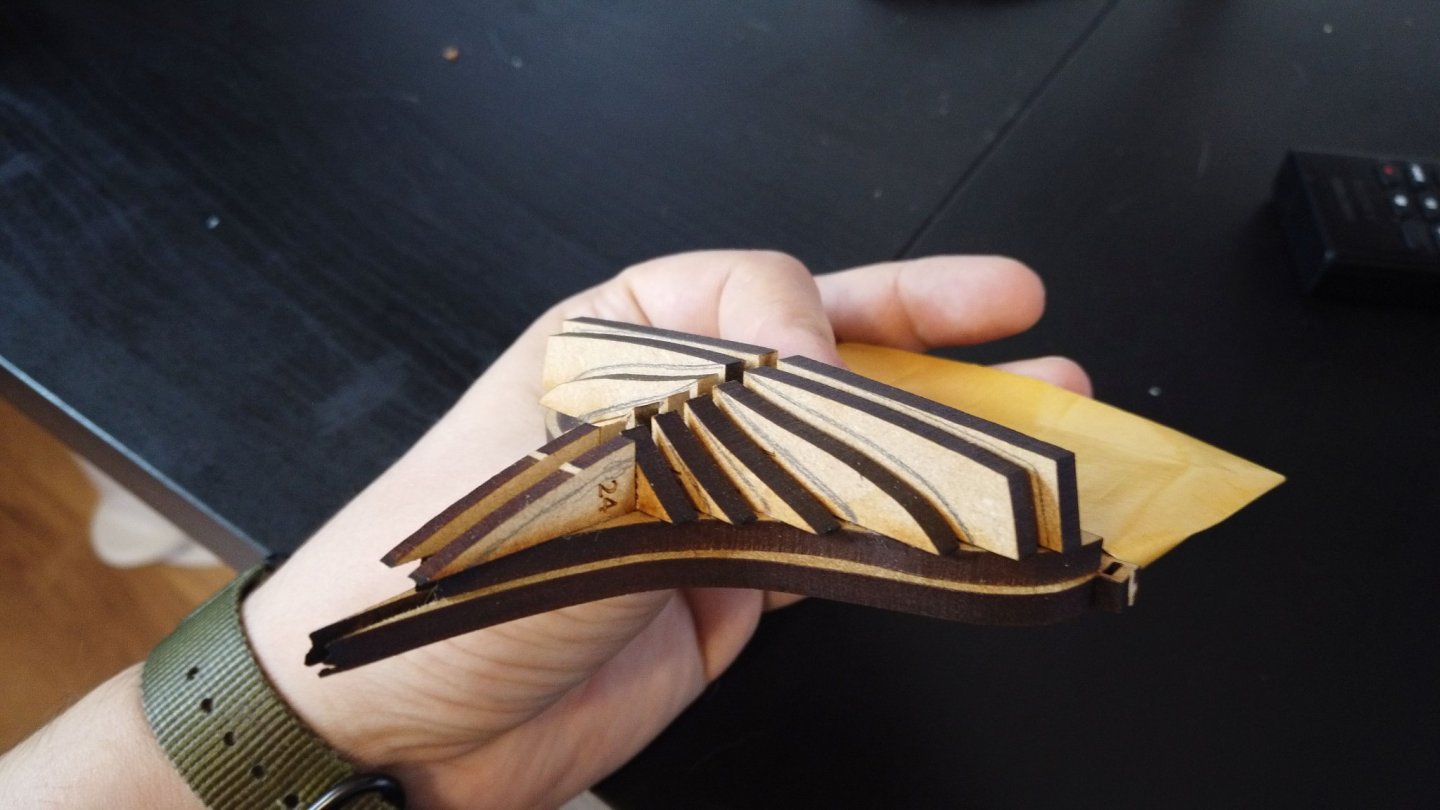
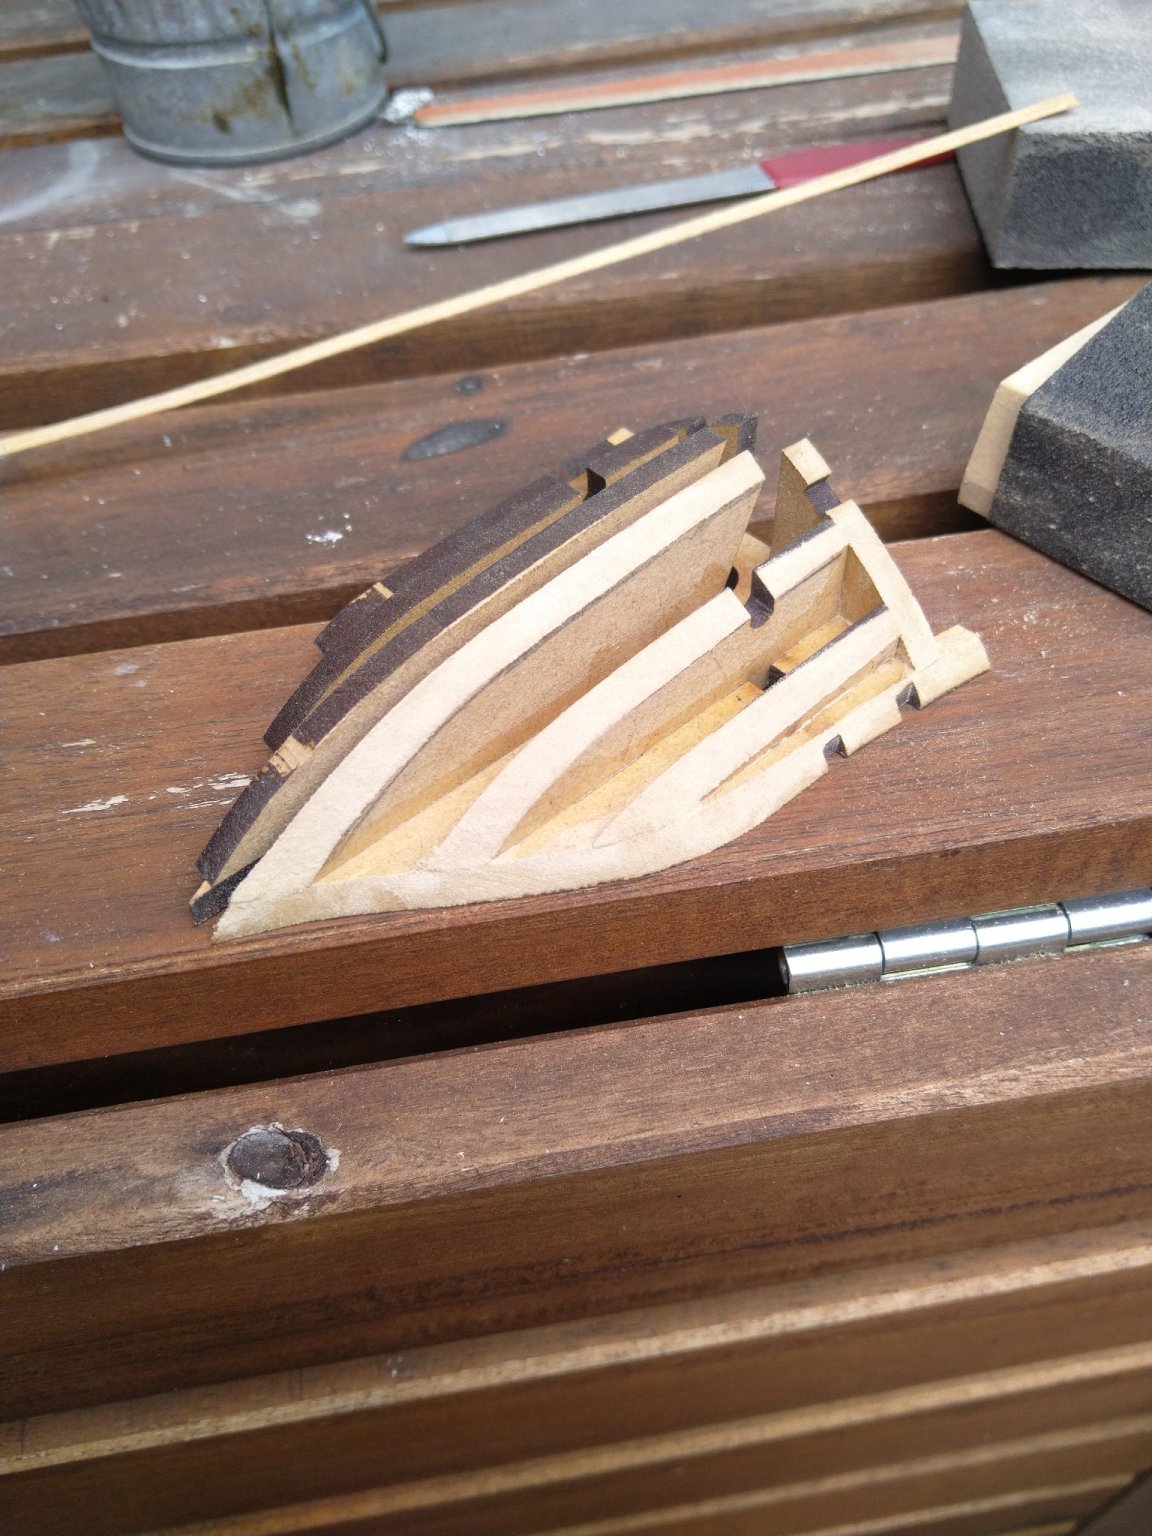
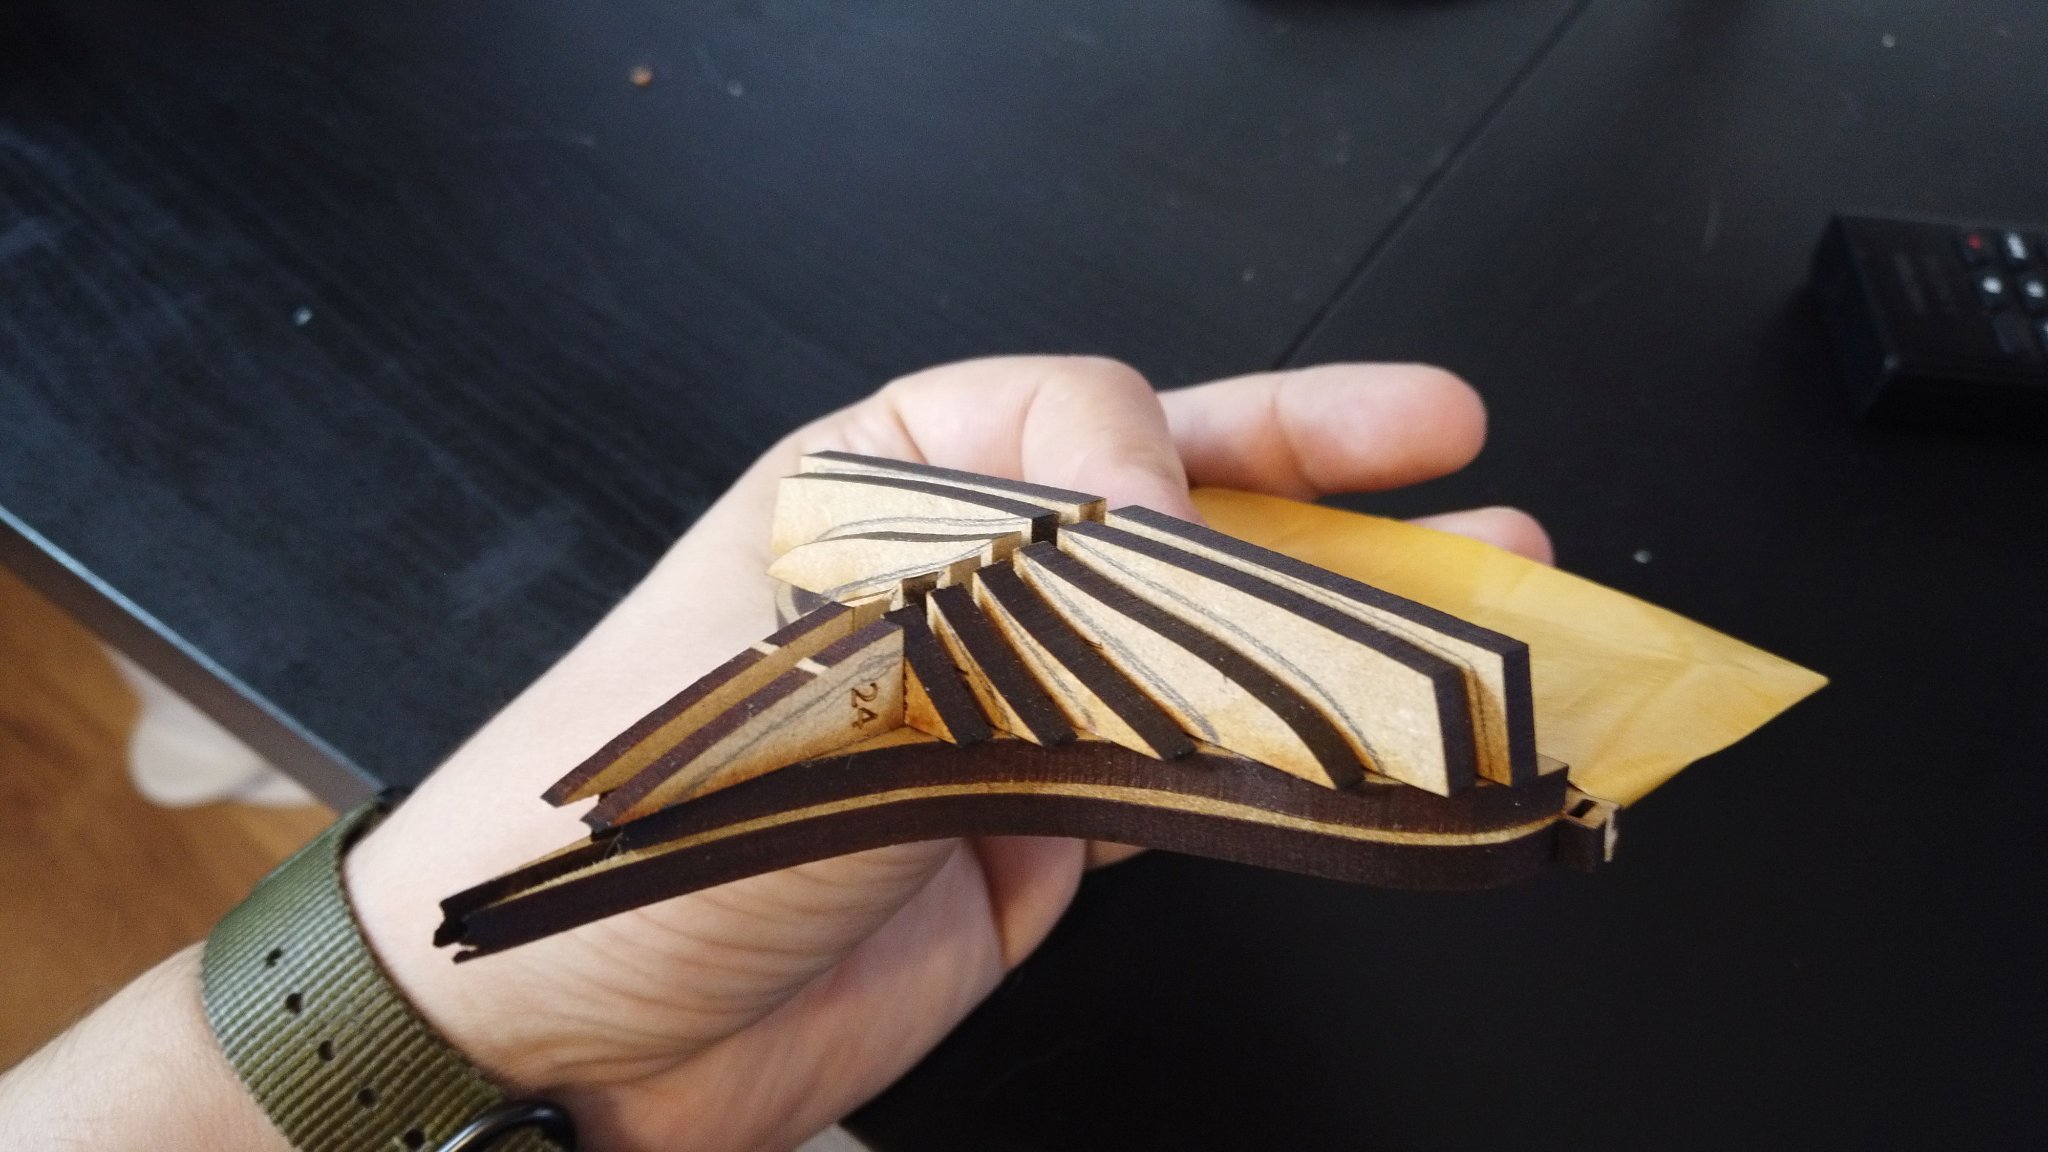
I am Preparing for the fairing, i marked the shape timbers like @glennard2523 i hope this will ork out well, hmm, time to take the Dremel out (i am scared :D)

- Canute, Glenn-UK, GrandpaPhil and 1 other
-
4
-
53 minutes ago, glbarlow said:
The Soft-Sanders are a game changer - worth the small cost - though I'm not sure if they ship across the pond.
They are also available on Amazon
Would itbe the se as using a sanding sponge? I saw them over here
-
1 hour ago, chris watton said:
My preferred method is to use a 6 or 7" length of 1.5-2" 0.8mm ply with the abrasive paper wrapped around it, and then, in very technical terms, sand the crap out of the hull until the edges are no longer black. Works every time for me!
So with the 0.8mm ply you basically create a flexible sanding Block?
-
1 hour ago, AlanDavison said:
Each to his own. As much as I like the coaster if I had a choice I would go for a Blue ensign, or white or red!
Well, you can get a flag anywhere, the coaster is unique
- Old Collingwood, Oboship and mtaylor
-
3
-
5 minutes ago, myxyzptlyk2003 said:
1st planking is complete. I don't worry too much about neatness at this stage as my 1st planking tends to be crap but I make up for it with wood filler and the 2nd planking will cover the bad stuff.
Hope to have the keel, sternpost, bow and transom piece installed by next weekend. This thing called work keeps getting in the way of my model building.

Your 1st Crap planking is better than my 2nd

-
4 minutes ago, glennard2523 said:
I second this comment. The coaster, as with the previous Vanguard kits received in a very nice touch and greatly appreciated.
yup, Coaster (i hope Christ will offer a clear Coaster with the Sphinx for sale as well, the black one got already misappropriated by my kid)
- mtaylor, DelF, Old Collingwood and 2 others
-
5
-
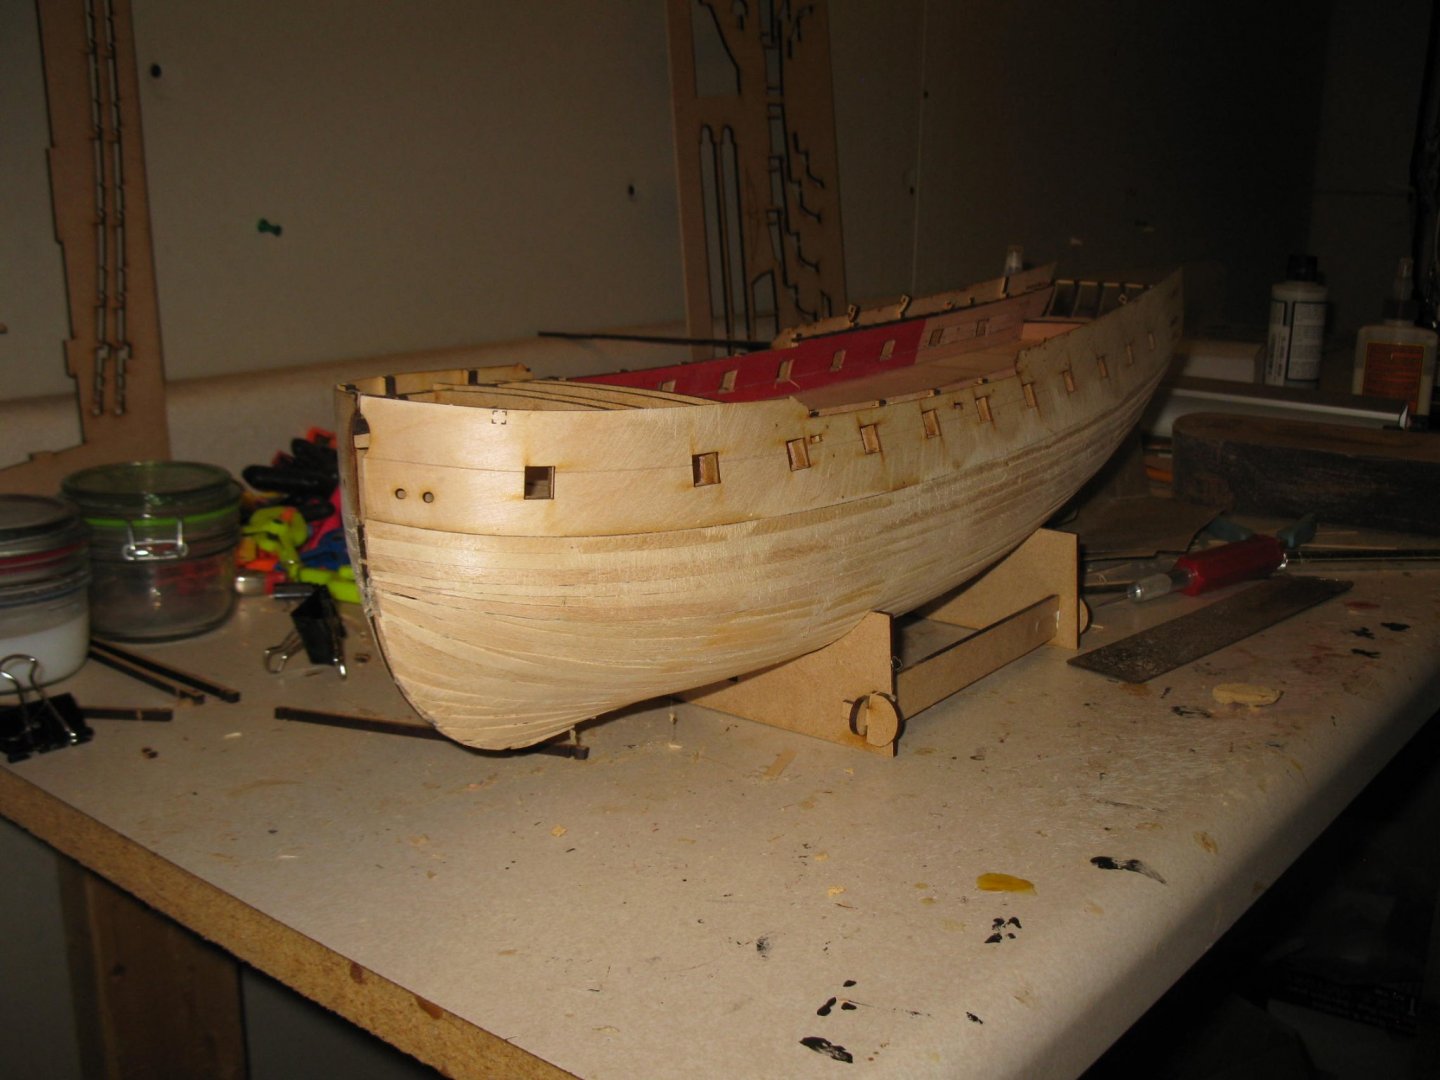
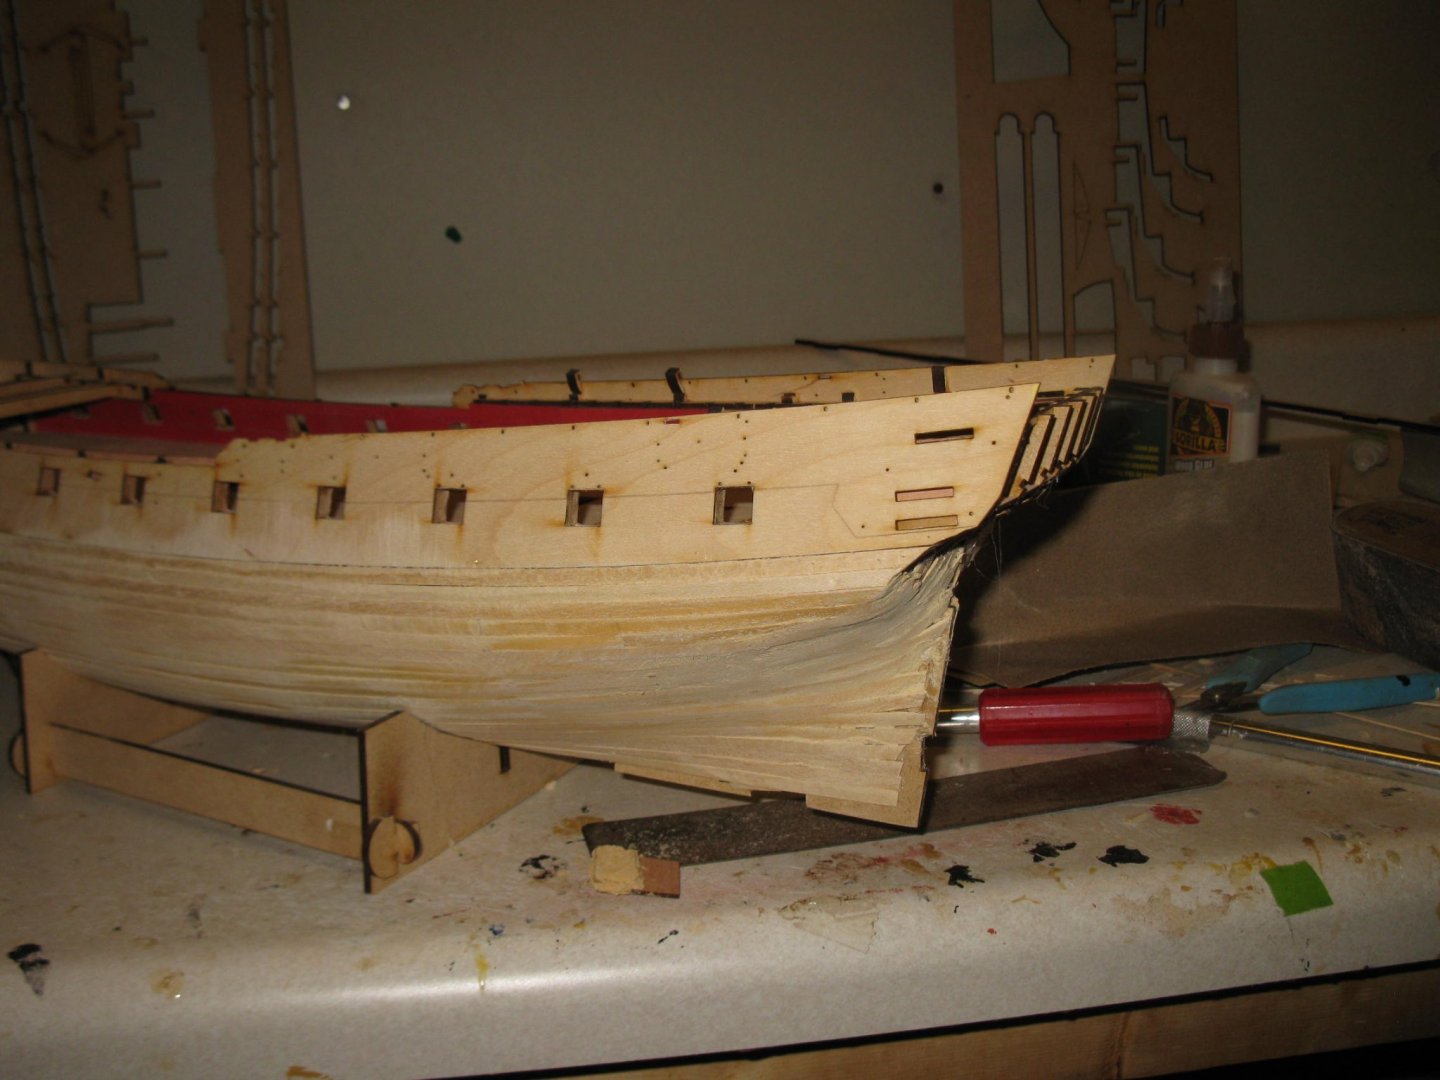
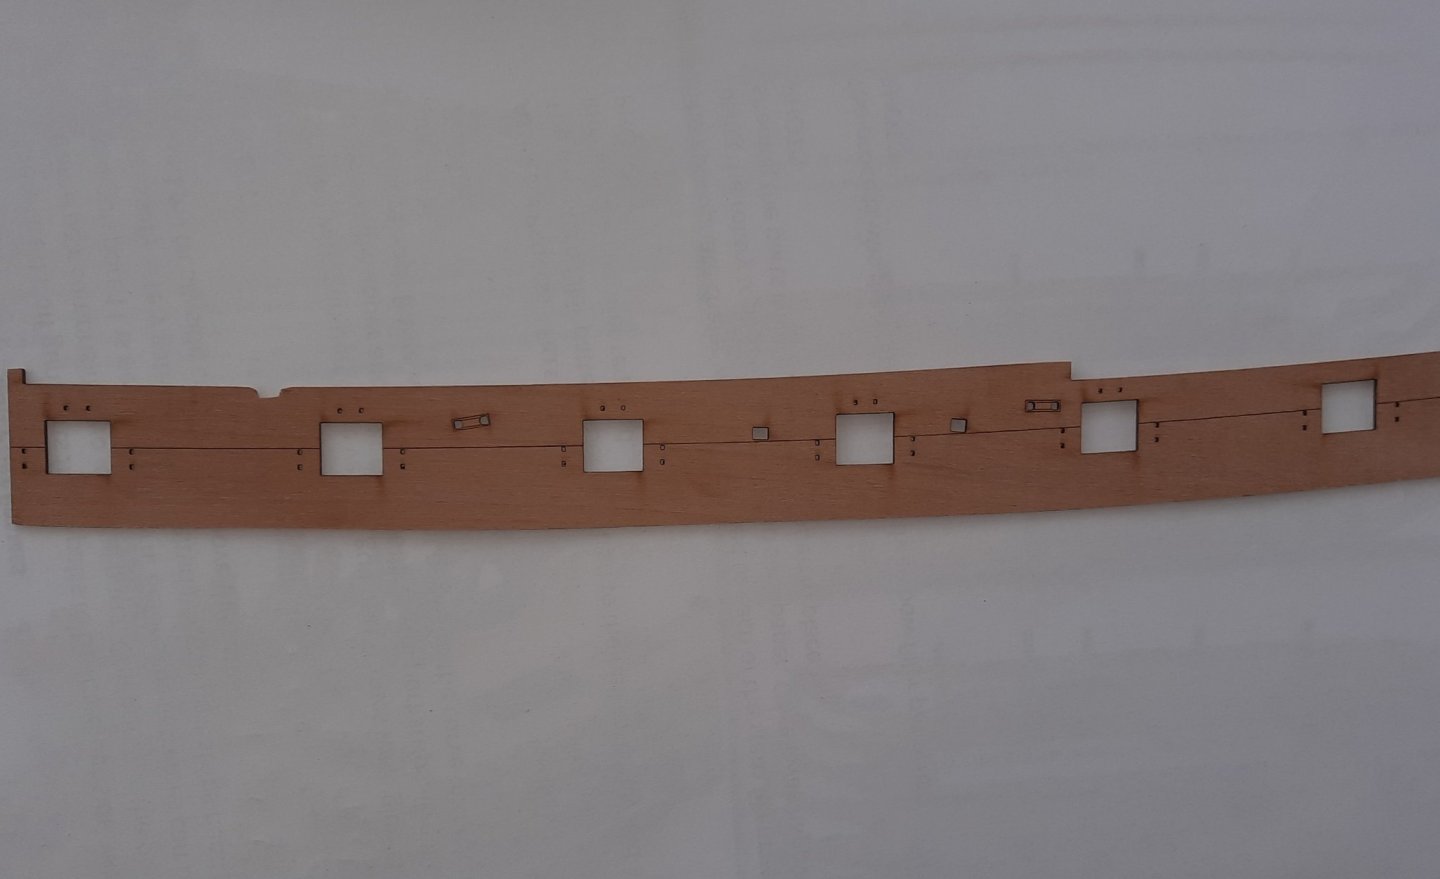
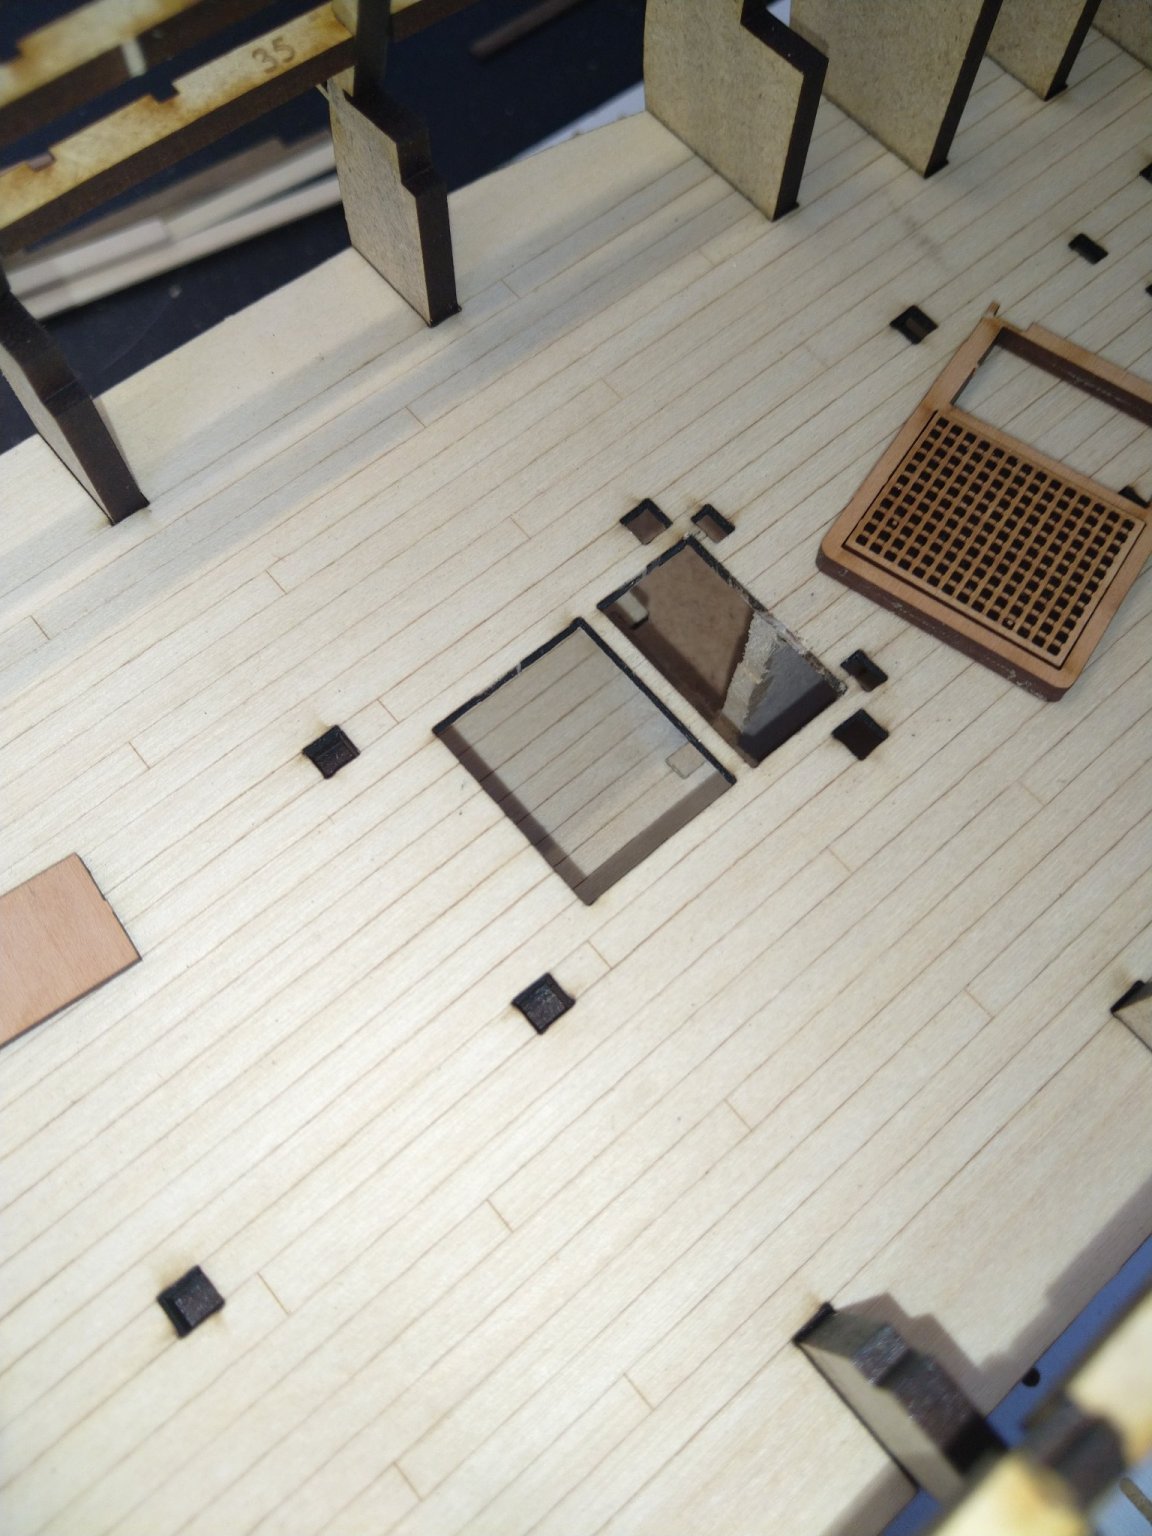
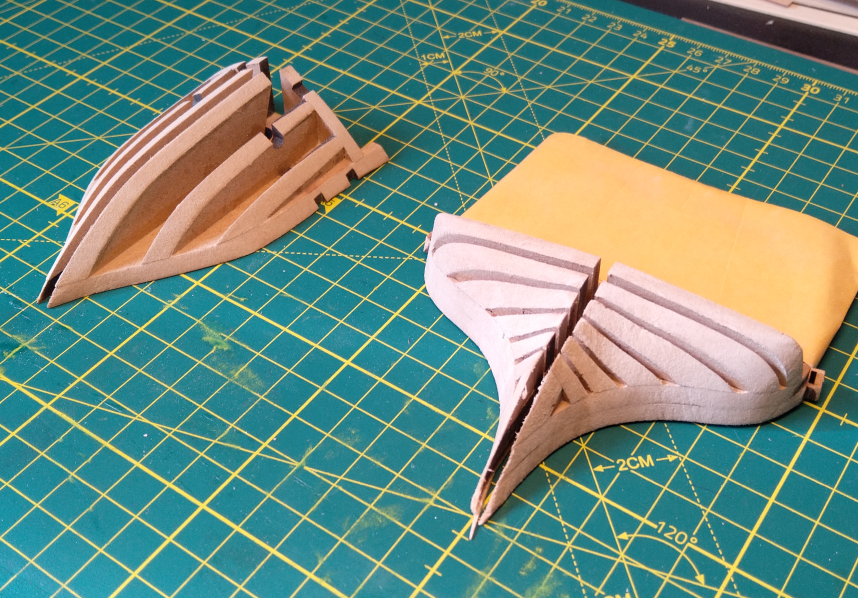
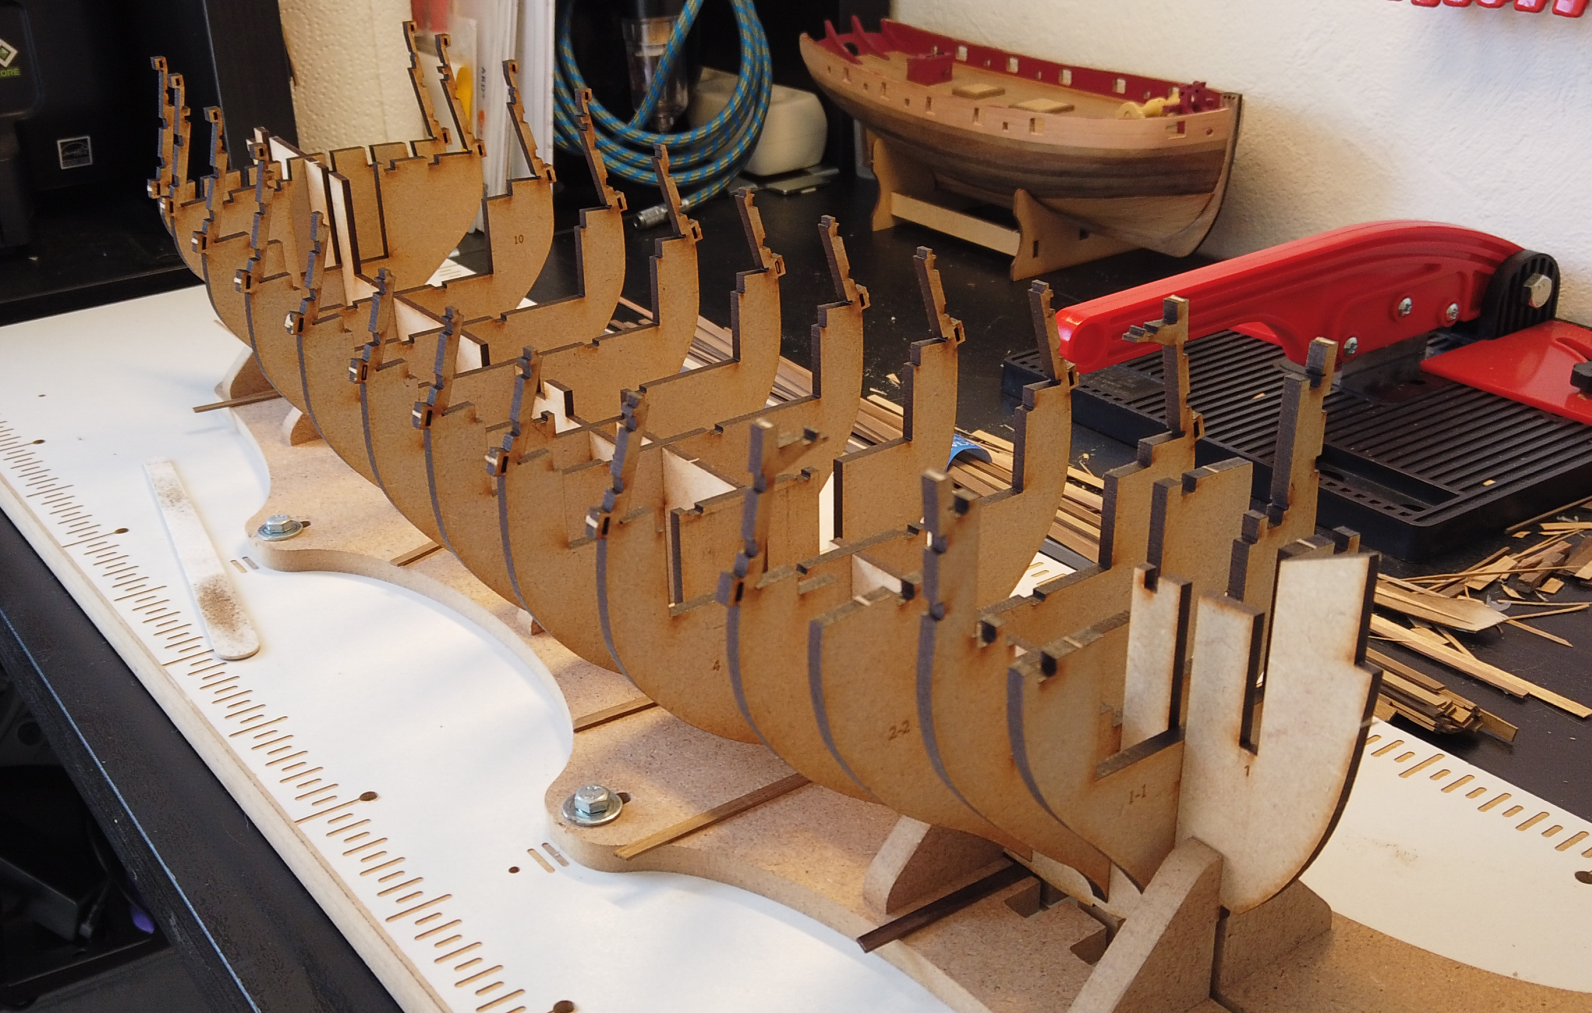
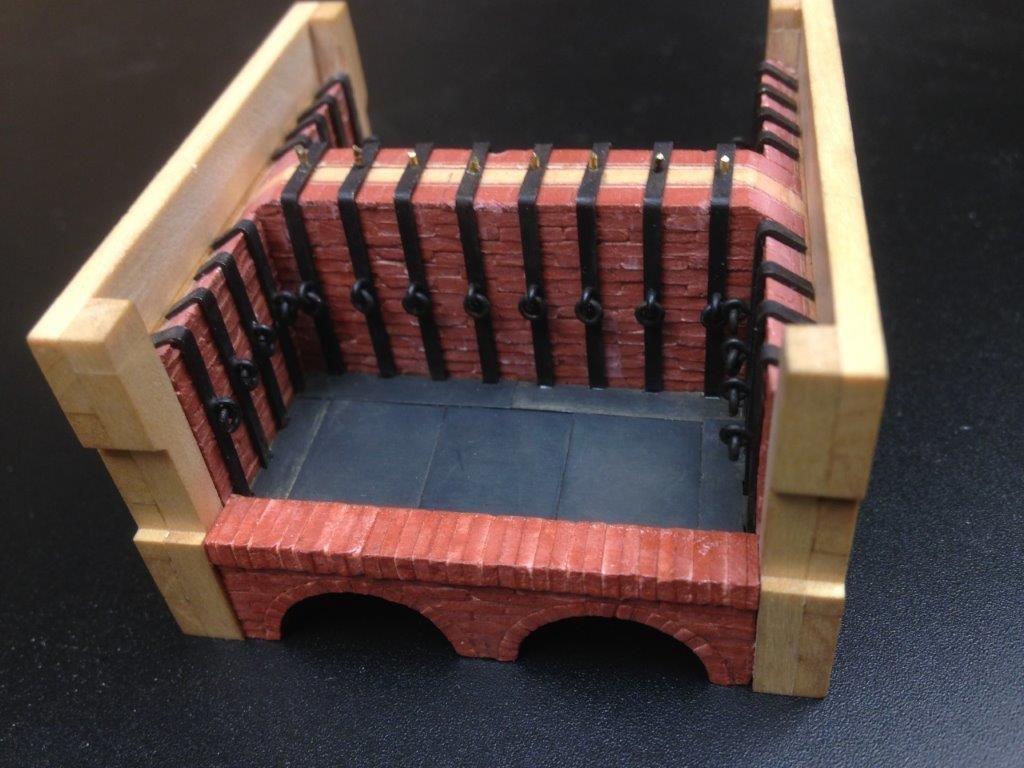
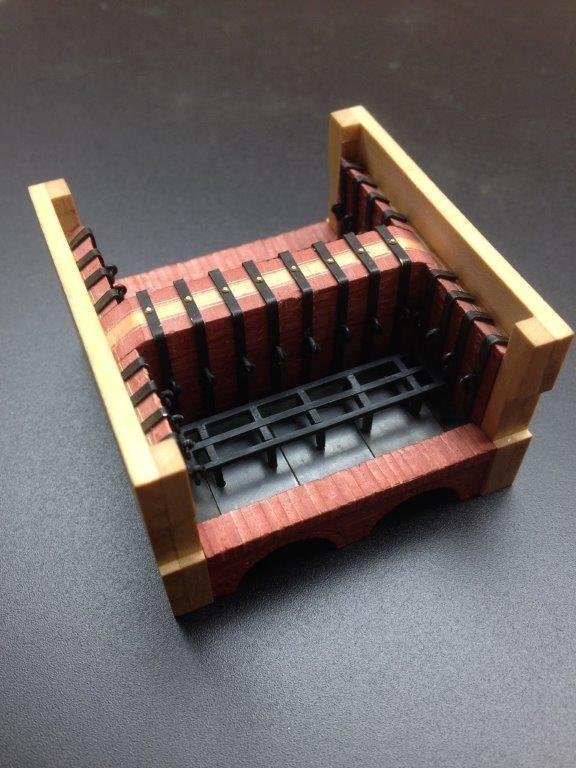
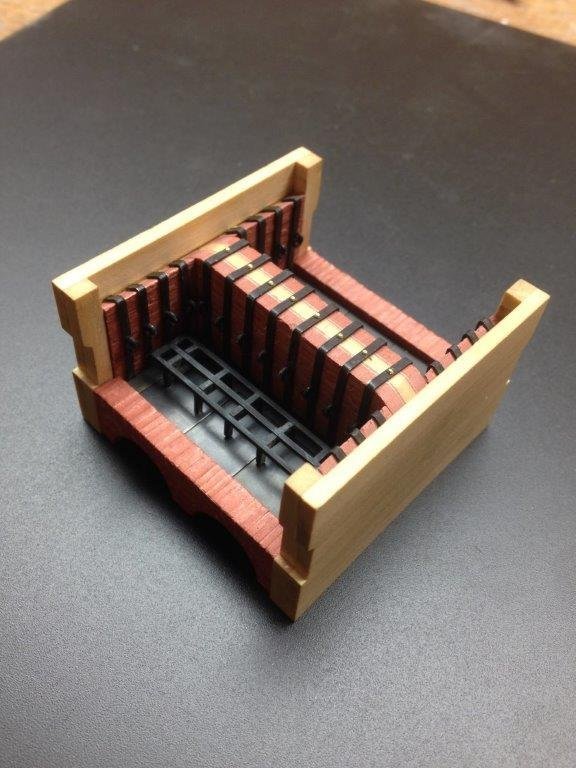
Bulkheads dry-fitted and Ster/Bow shapers assembled, Ready for fairing:


Now it's decision-Time, ladder or no ladder ?
- GrandpaPhil, Canute, JeffT and 1 other
-
4
-
2 hours ago, chris watton said:
Don't worry about the figurehead, we shall send you a new one with your blocks
")
ETA - I will NEVER offer any of my kits without a printed manual - except for my Japanese distributors, who translate my files and print their own.
I meant "option for no manual" = would spare you the weight and trouble for those who really don't want it on paper
-
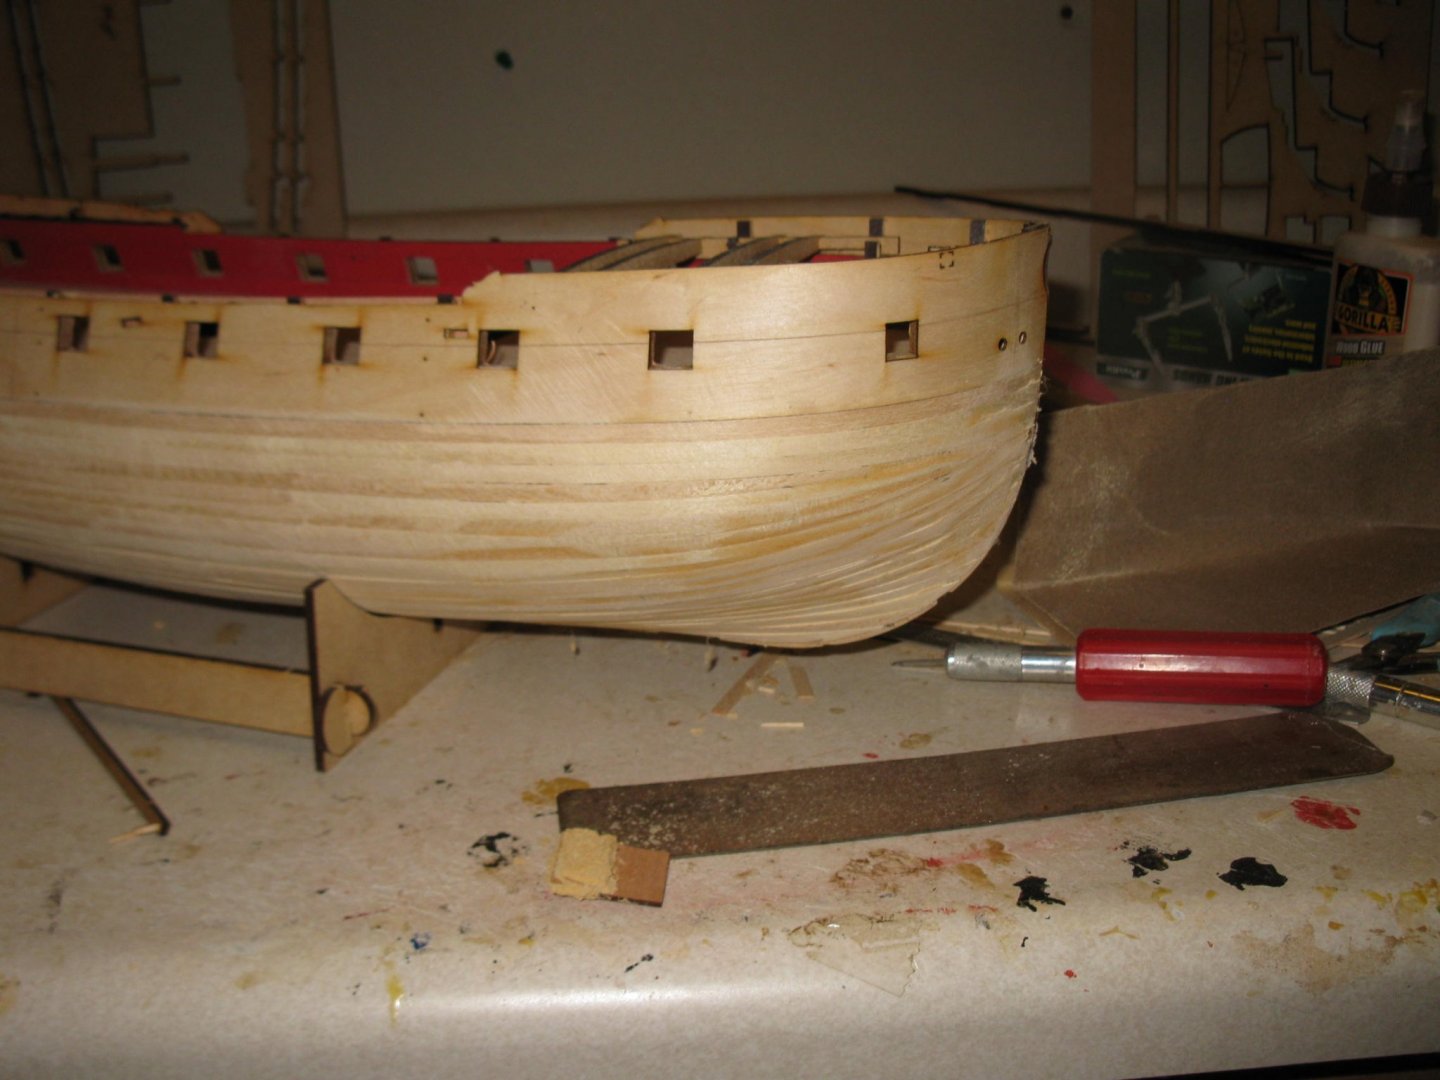
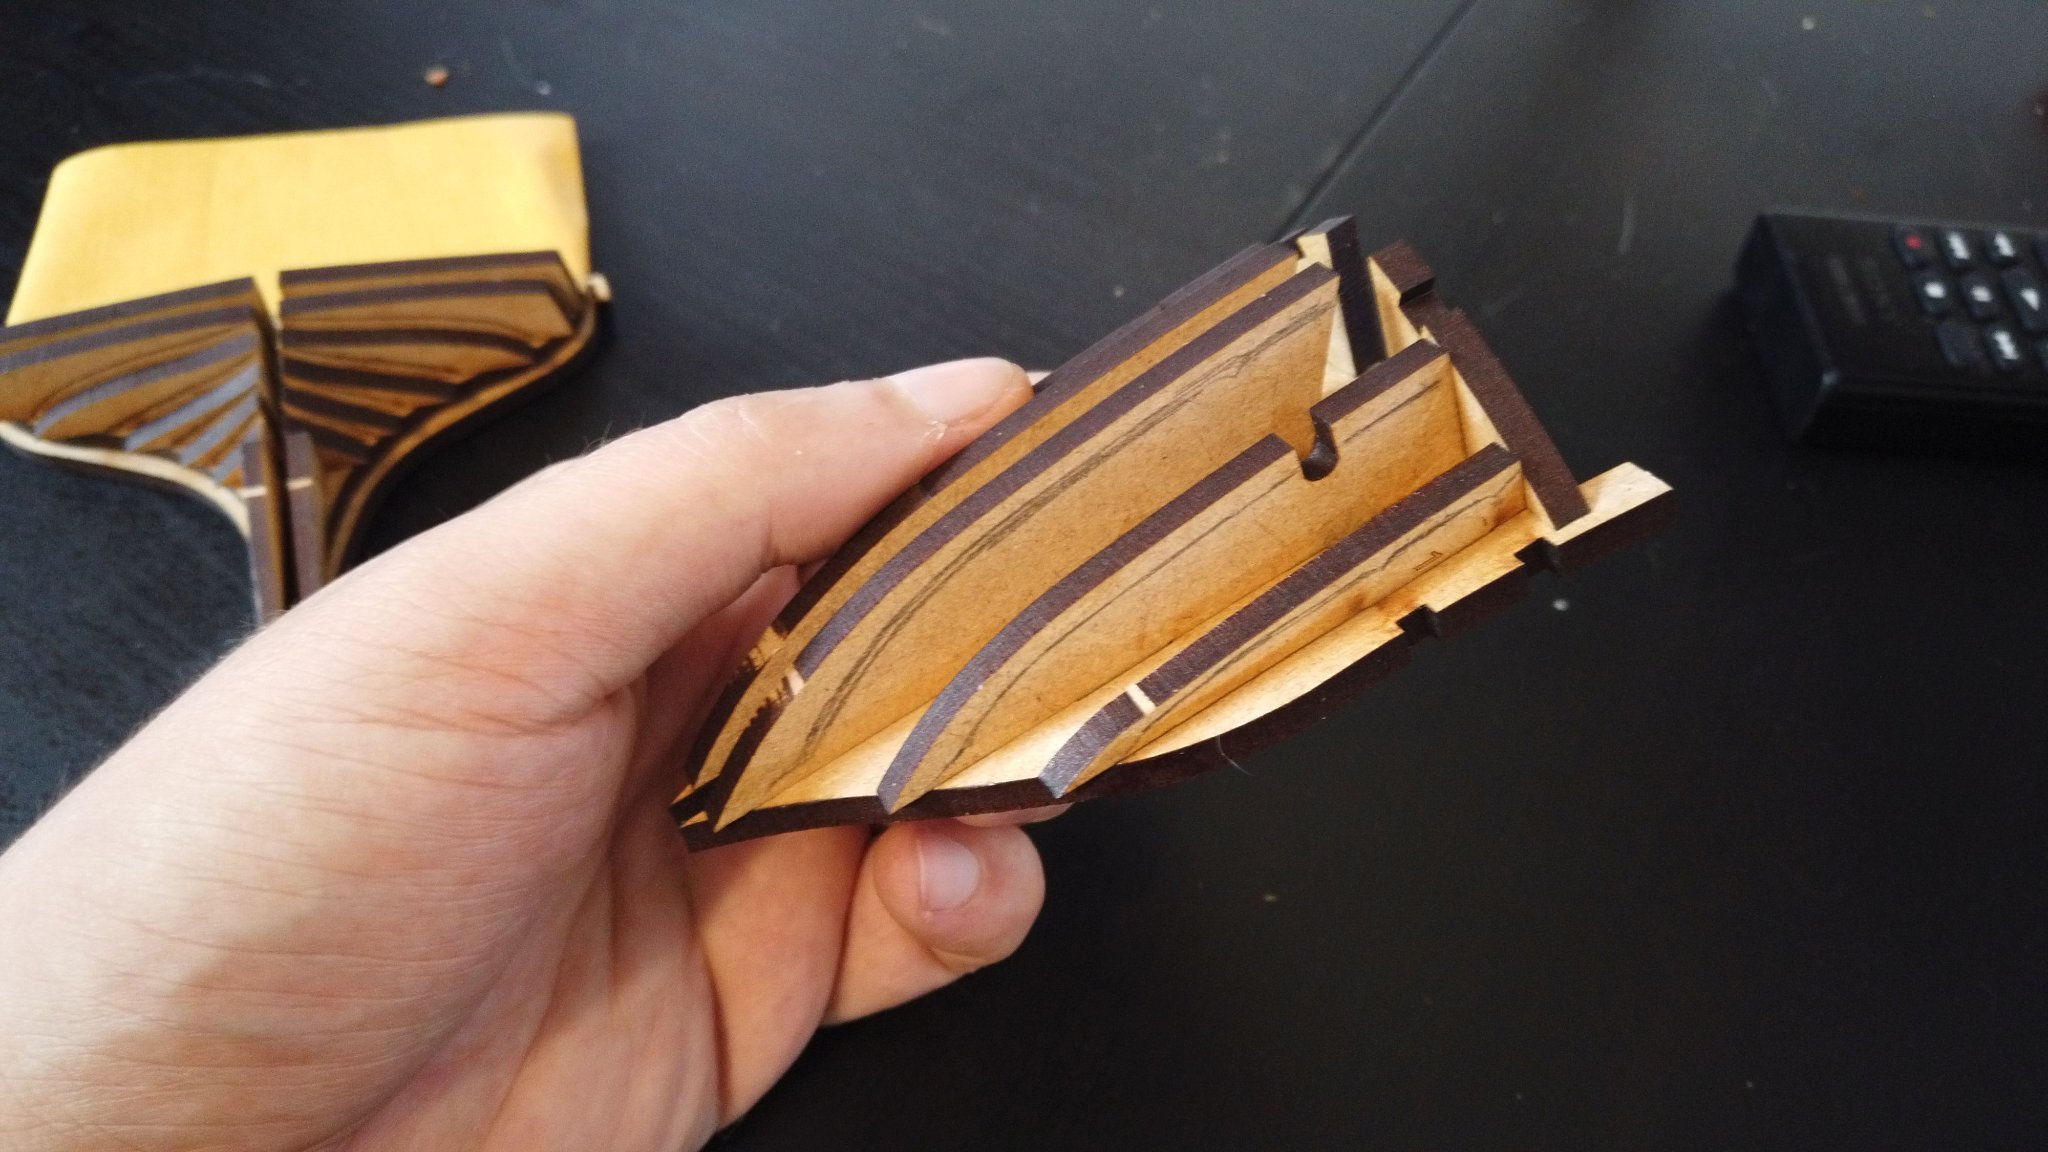
Ok, i can't let all the others have fun, so i started:
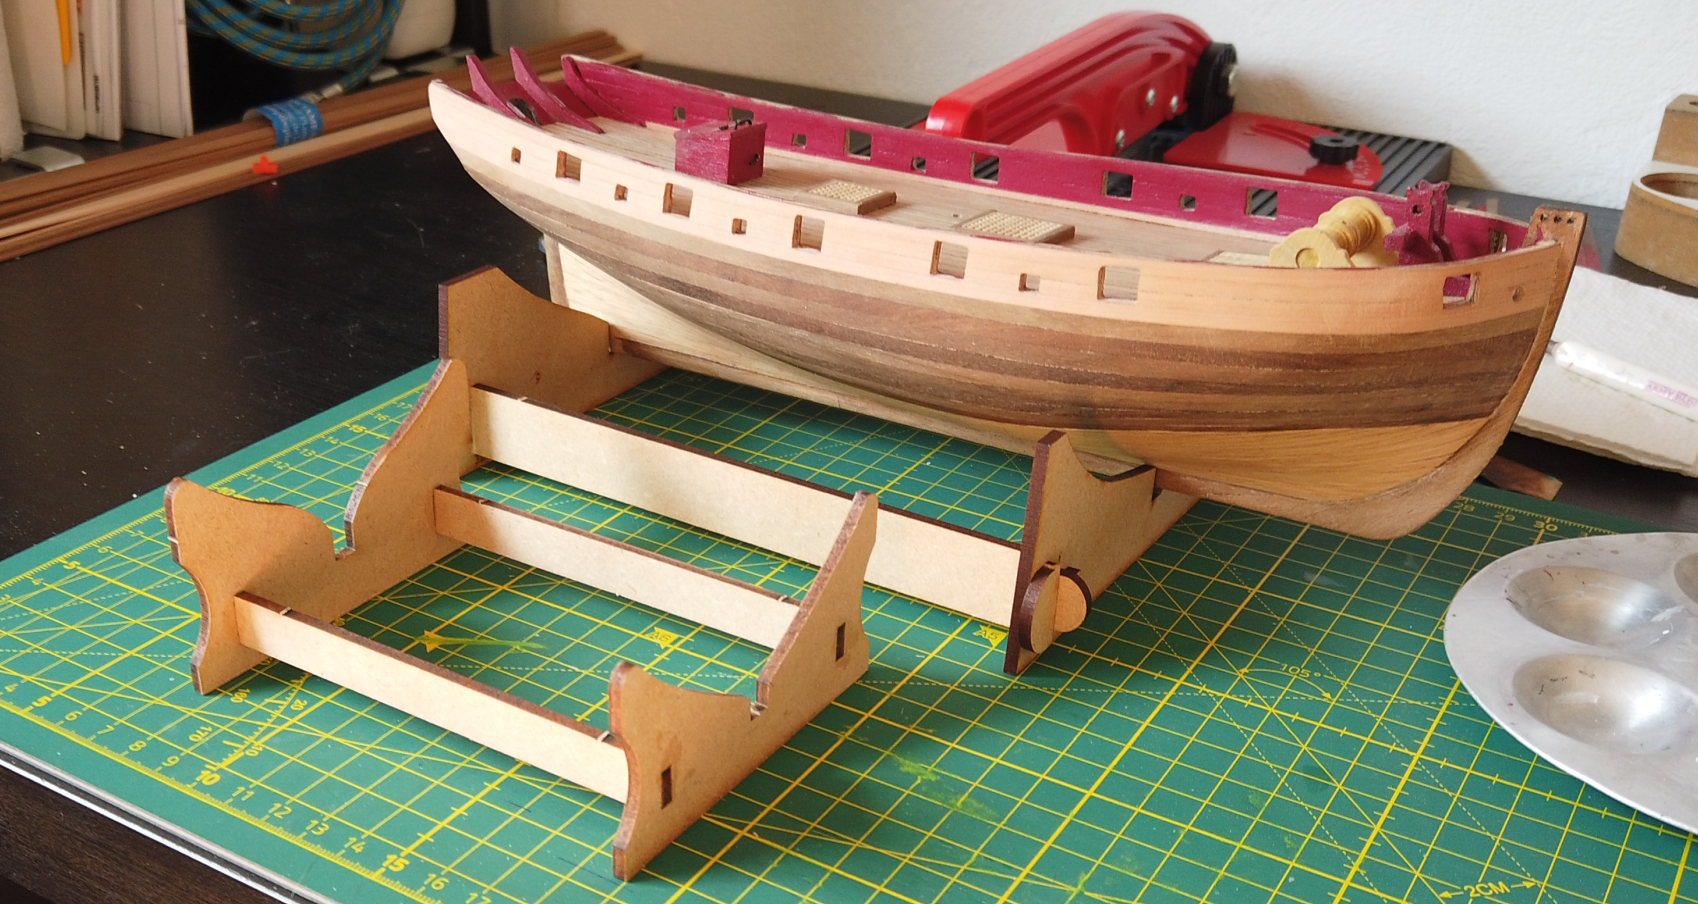
Cradle Done, nothing to it, it just snaps together:

While going through the fittings, i did discover something weird about the figurehead tho:
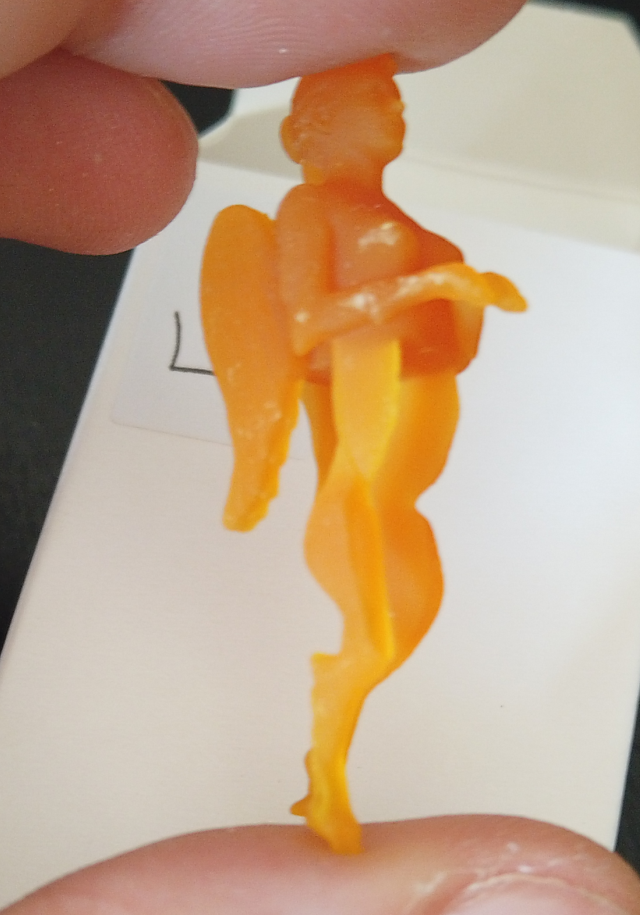
she seems to have lost some weight on her right side, i will see further down the road if i can fix that with some Modelling Putty.
Other than that, i find one thing @chris watton might consider: offering the Kit without the printed manual (or as an option for those who want)
- Canute, GrandpaPhil, Glenn-UK and 1 other
-
4
-
-
Surely something to add to the Library, thanks for the tips
- mtaylor, thibaultron and Canute
-
3
-
-
5 hours ago, glbarlow said:
Thanks for the suggestions. I had previously looked into the Amazon compressor offers, not really what I want. This compressor is highly rated based on my research, I can also send it back anytime if not satisfied.
I contacted Winsor & Newton, they recommended a brand of medium flow fluid, which I now have and said thinned properly their galleria paints work well with an airbrush, it is of no use to me limited to hobby paints. I appreciate the suggestions on the “trigger” and will put it to use. I haven’t tried it yet, I prefer brush painting but for some things like PE and gun carriages it might come in handy. I’ll practice first to see how it goes.
I have the answers I was looking for, thanks everyone.
Just some thoughts, i did go the same learning curve a few years ago for Miniatures.
The downside of this compressor setup is the weight of the whole setup, the less you have to hold in your hand, the less strain on the wrist (also, more precision and better to maneuver to weird angles, tight spaces etc.)
Also, with external compressors with tank, you have the option to better fine-tune the air pressure on the regulator (the trigger itself doesnt allow for that range of tuning).
Each paint will behave differently, even from the same manufacturer (i use Vallejo Model Air) and you might need to tune pressure on the go, especially for large surfaces when filling up paint when it runs out, the consistency of the paint will never be exactly the same (for weight reasons and drying up, it is recommended to work with 1-2ml paint in the cup Maximum)
Use Knob A to limit amount of paint if you get splatters (dots of thicker paint), allows for better control than only using your finger when pulling back (treat it as a rest-stop so on larger areas you can set the stop at one position and dont have to think how far you pull the trigger)
Due to the trigger and the way our fingers are built it is especially good to just press the C Trigger down fully and pull it back fully, all tuning can then happen on the air pressure regulator and the knob A.
Also one other point about Tank-Compressors, i use a Dual-Piston Compressor with a max pressure of 6 Bar (around 90psi) and i have an additional air pistol for it, this is ideal to blowing away dust from model parts and cleaning electronics (laptop interior)
- glbarlow, thibaultron, mtaylor and 1 other
-
4
-
3 hours ago, glennard2523 said:
I spend quite a bit of my time in the dummy corner. I made a notch on the front right inner bulwark pattern which was fouling on bulkhead 3. Thankfully I realised that this was actually the front left pattern before I glued the part. The notch will not be visible once the spirketting pattern is added and is also under the gangway.
It is somehow satisfying to see, how experienced modellers do make the same mistakes as beginners
no offence intended
- Canute, Chuck Seiler, Old Collingwood and 4 others
-
4
-
 3
3


HMS Sphinx 1775 by Glenn-UK - Vanguard Models - 1:64
in - Kit build logs for subjects built from 1751 - 1800
Posted
Yes, those are the most important steps (i bookmarked them in the PDF)
I like how much "fun stuff" you can do on this model before getting to the "chore stuff" (Planking)