


Jasseji
-
Posts
604 -
Joined
-
Last visited
Content Type
Profiles
Forums
Gallery
Events
Posts posted by Jasseji
-
-
30 minutes ago, BenD said:
It never does.
I found that Chucks method works even for walnut. This method helps immensely with bow planking.
You bend the planks laterally then clamp them. Take a blow dryer to them for 2-3 minutes and they keep there shape.
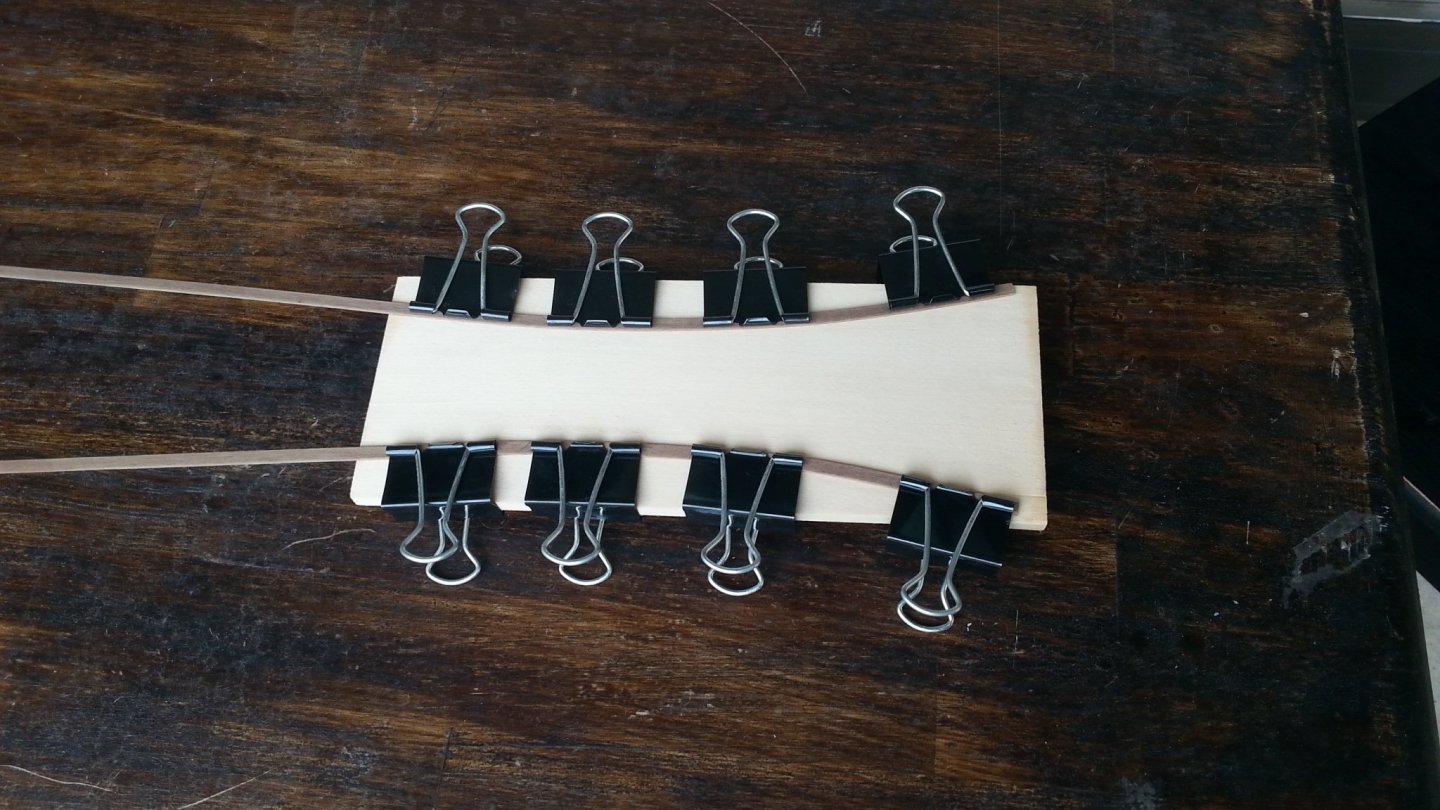
I use a travel iron and a curved shape to clamp it around it
-
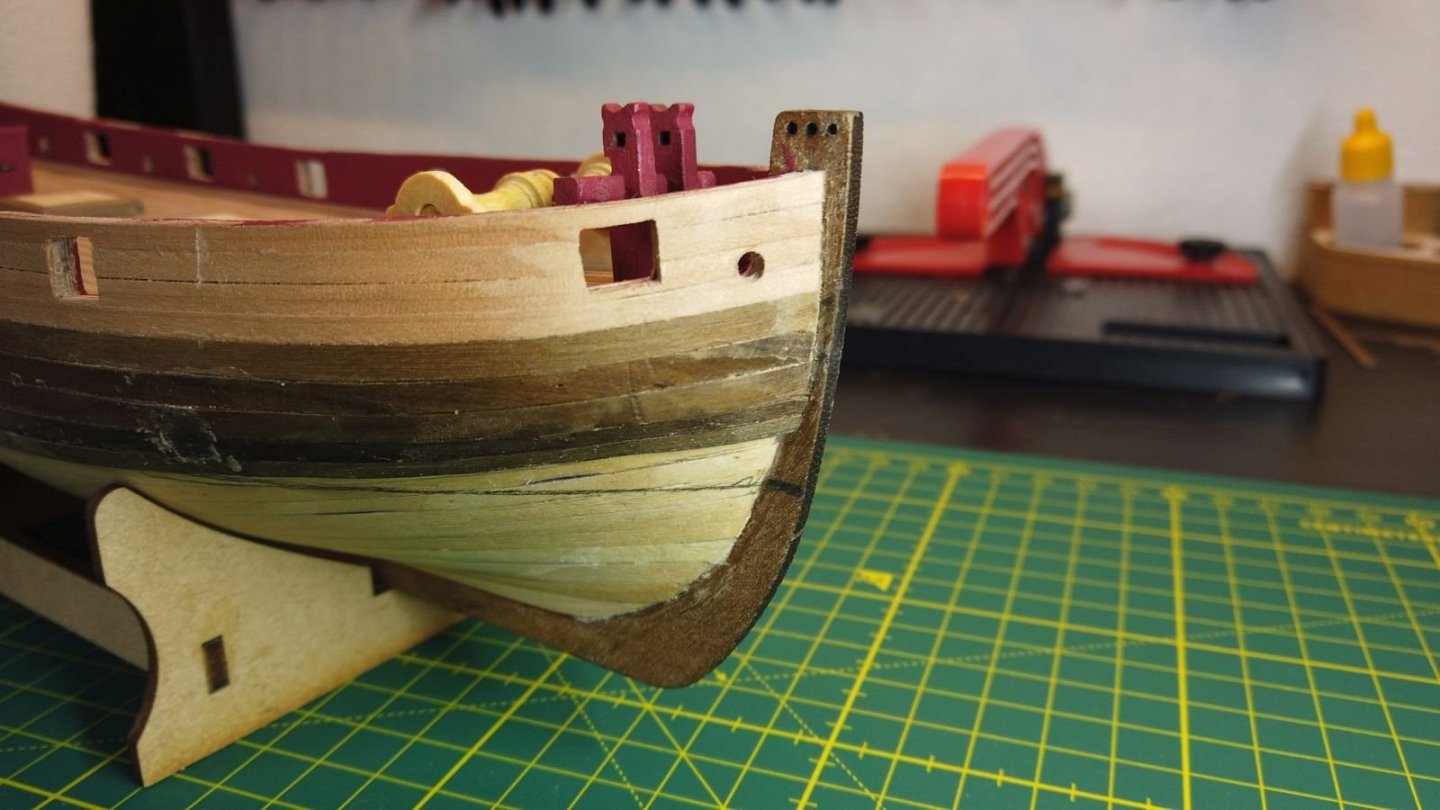
Planking down to the Waterline on Starboard side.
I feel that the Limewood first layer was easier, the Walnut somehow doesnt want to cooperate

Sanding will be done when weather outside permits (Tuesday hopefully).
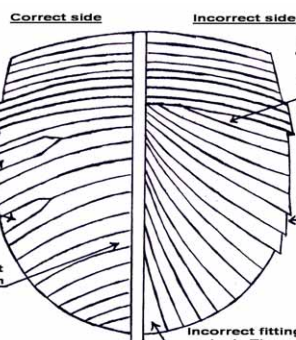
I'm tempted to experiment with another planking technique below the Waterline (never tried the "wrong" approach with drop planks and cutting planks to shape where they meet the wales)
Like shown here on the "Incorrect" side:
- BenD and GrandpaPhil
-
 2
2
-
Another one to follow - Cheers
- mtaylor and chris watton
-
2
-
39 minutes ago, glbarlow said:
The swivels are horribly out of scale, I left them off
Indeed, might be an option
-
53 minutes ago, Gregory said:
They really look pretty good.
We know the difference, but how close is your target audience going to be, and will they know the difference?
I struggle over details that I know are important to me, but at some point I have to let it go..
me being a Blackpoweder Artillerist myself am a bit Anal about guns.
But i will propably leave the swivels unpainted, although they should be easier to do
-
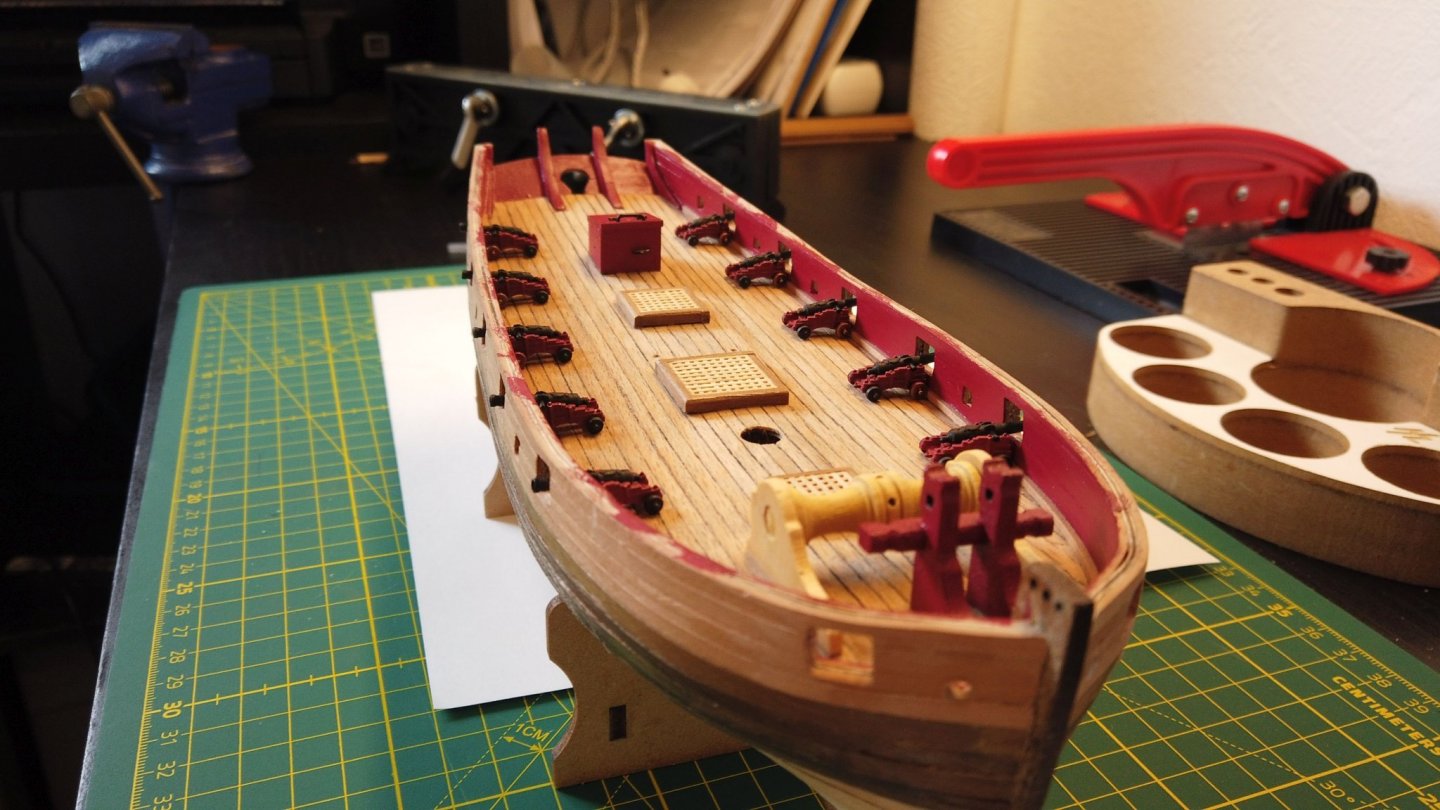
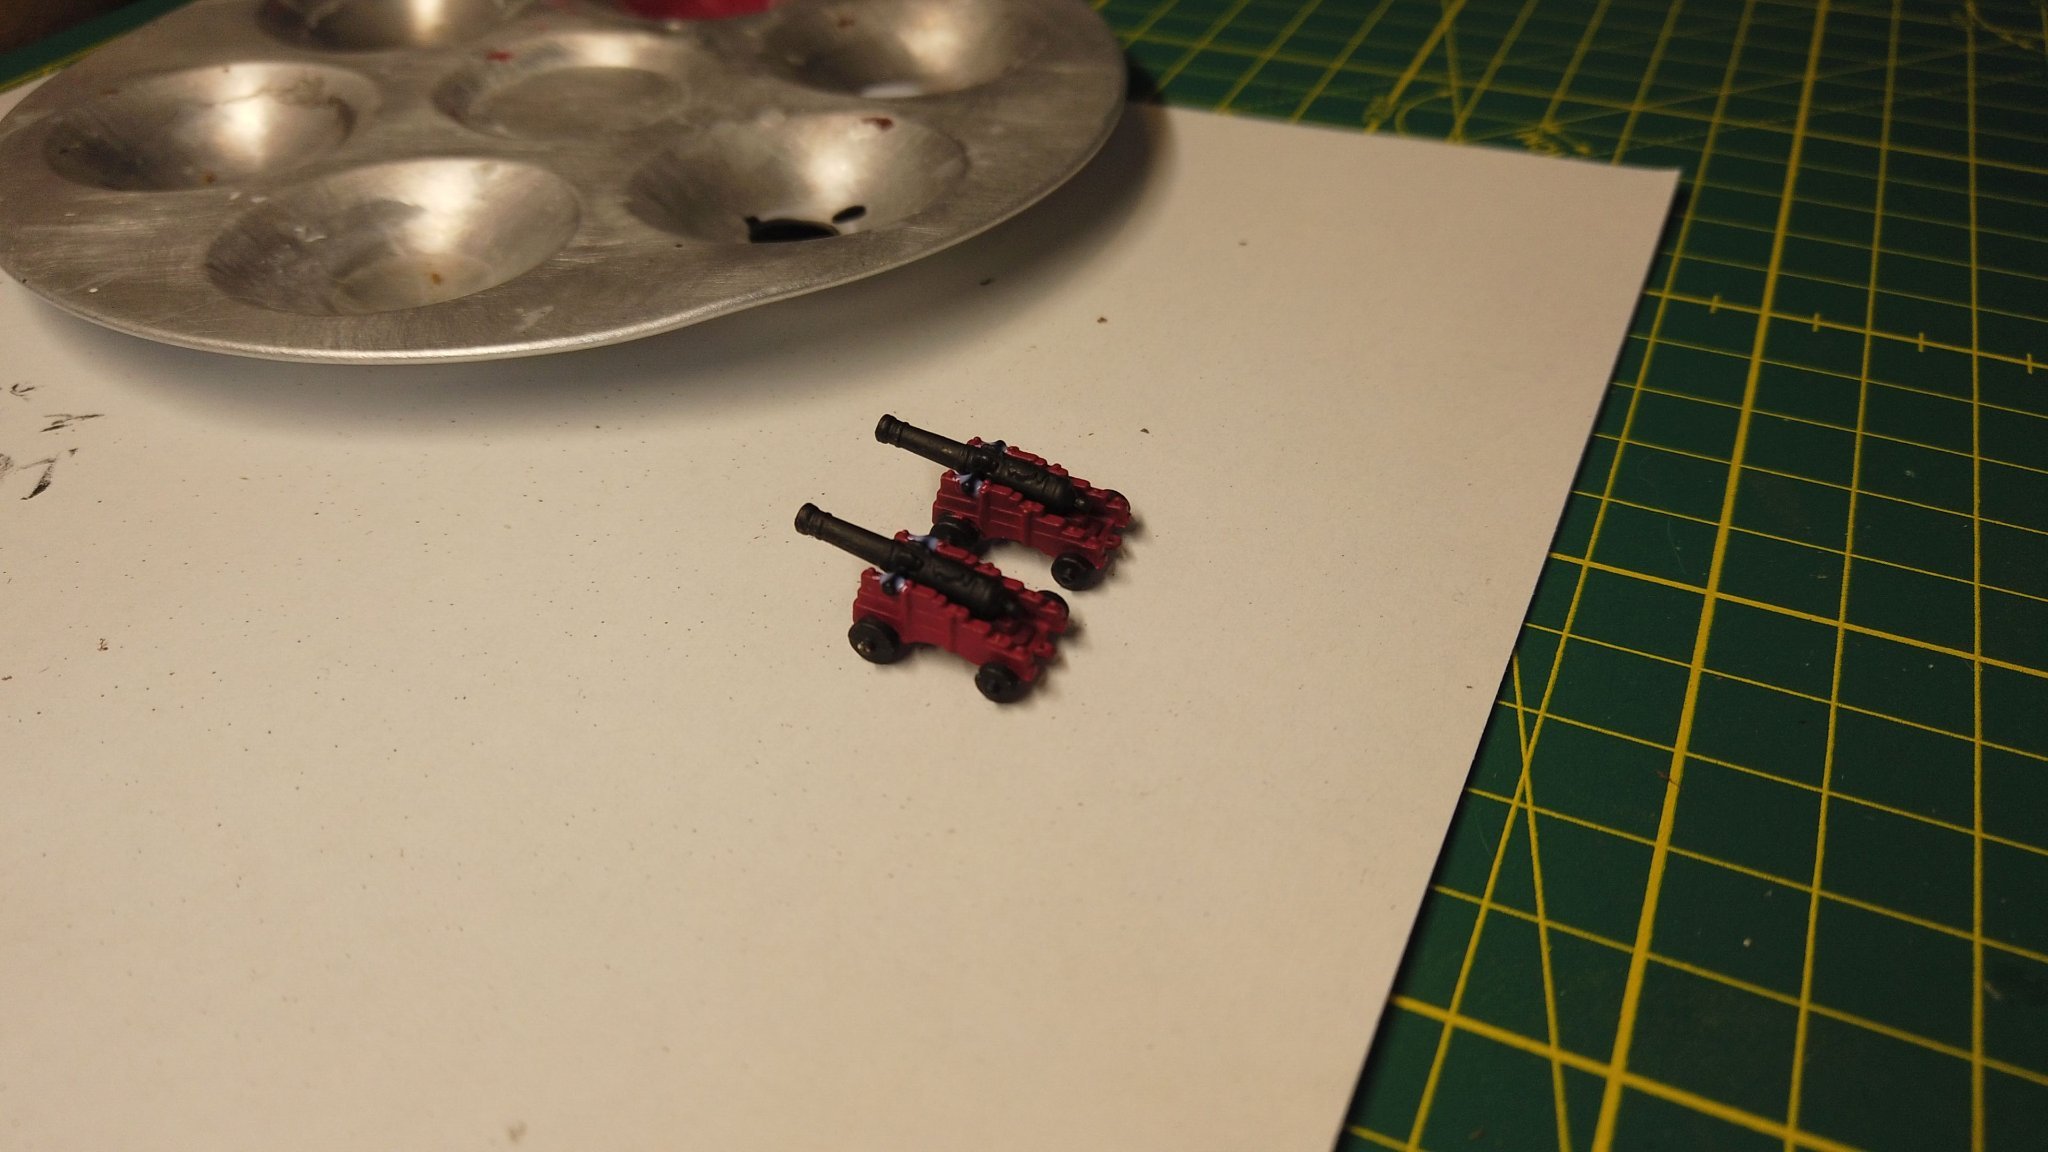
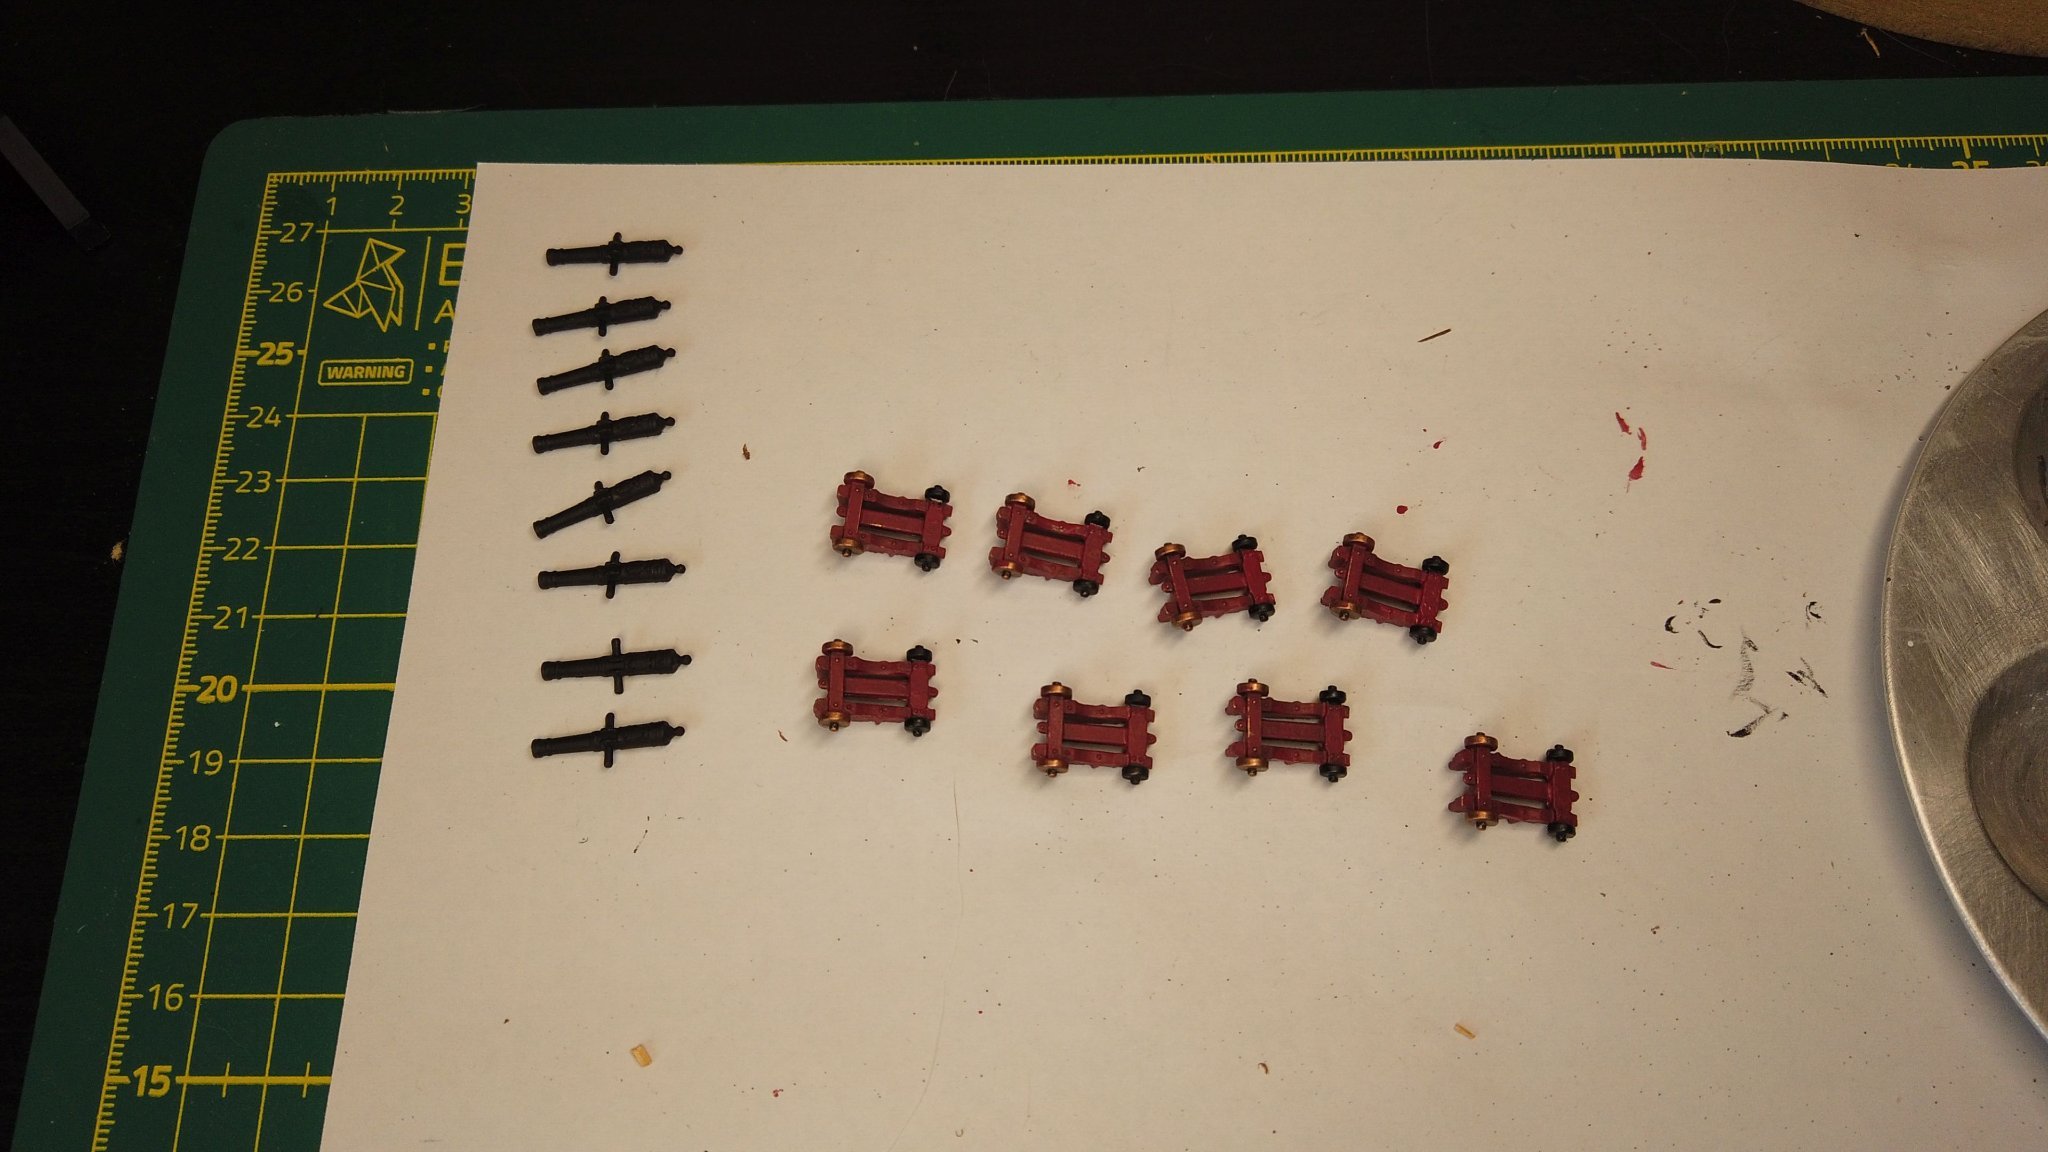
no progress on planking but doing the Guns to sit and wait (barrel test-fixed with Matte Varnish, will see if it holds)
I hate Cast Carriages


Test-Fit:
- PRS and GrandpaPhil
-
2
-
16 minutes ago, glennard2523 said:
The step process works for me, a side effect of 40 years working as a system designer and project manager for major computer related engineering projects for the Armed Services, Oil & Gas industry and Power Generation.
Same here, although only 20 years
")
I like to read and write step by step instructions
- hollowneck, Canute, mtaylor and 1 other
-
4
-
-
10 minutes ago, amateur said:
THANKS !!!
-
8 minutes ago, glbarlow said:
For your next model: you should have started tapering the planks right away and not had those full width ones there.
I had conflicting info on that one to be honest, saw some versions where people made 3 full widht, i just made 2 (the 1st one ist actually still part of the Bulwark planking)
QuoteLady Nelson is a good first model, but at least in mine (done as a refresher after a three year layoff) the materials were very shoddy. Your next Vanguard model will be more fun. 😁
Yes, the Walnut is weird, i cant get any 2 planks to stay the same color after they touch a bit of water or glue even tho i have sorted them - as i said, this will get painted over, i am thinking Ochre/Black Paint scheme.
I want to finish that damn Planking and fittings to move to the Sphinx, Masting will be done after i get clearance from The Admiral to purchase a Lathe
 Quote
QuoteUse LN had a learning platform and the give it to your son.
He already plays with it, i rather he does with this than the Sphinx

-
11 minutes ago, VTHokiEE said:
I’m not an expert so take this advice with a grain of salt. I am working on the NRG Half Hull and the instructions show the wale tapering into the rabbet as described here (post 52):
Could that be an option?
Indeed, i was considering something like this
I'm way off from this yet, finishing the planking requires that i sit down over this for an hour at least undisturbed per session, for the moment i am doing things i can do for 5 minutes, lay aside and then pick up again half an hour later - doesnt work with planking that way
-
-
25 minutes ago, Blue Ensign said:
Yes it can, I detailed my approach in my Pegasus log - Page 9 post 246,
Here's a link to Chuck's Cheerful instructions where he used the same system
Chapter-Thirteen.pdf (syrenshipmodelcompany.com)
Give it a go, nothing to lose except some printer ink.
B.E.
Again a Brilliant idea, this requires it's own topic i believe
-
15 hours ago, myxyzptlyk2003 said:
I can't speak to the customs in Germany but I got the same message about the 10 days here in the US. But it was released 6 hours later so it is again on schedule for Friday delivery. Here's hoping the situation will be the same for you
The gods were indeed merciful
I'm not opening it
- chris watton, Glenn-UK, Canute and 2 others
-
5
-
18 minutes ago, Blue Ensign said:
Hi Jacek, look up BECC Model flags, I think they have EU Stockists.
Have you thought of printing your own using Modelspan tissue, gives a far better scale appearance.
B.E.
Actually no, i havent, can this be done on a Standard InkJet printer ?
- druxey, mtaylor and Ryland Craze
-
3
-
Please ignore the Glue-Stains and scratches on the Planks, i am allowing my Son to help me out a bit and accidents happen.
This post will be purely self-critique
I have made some errors during Fairing
- I was afraid to remove too much material
- Ended up removing too little from the Bow Filler
- I followed the Instructions from the Booklet:
- Roughly faired the bulkheads and Bow Fillers
- Glued them on
- Glued the Prow/Keel assembly
- Continued fairing the bulkheads
I should have left the Keel/Prow assembly off the model for the whole fairing process, even try to do the first planking with the prow removed, the Problem is now, there is no space on the Prow to fit the main wale.
I see 4 Possible Solutions:
- Ignore and hope noone will notice
- Leave the Wale off and hope that noone will notice
- Try to sand it (but then i will definitely have sand away the walnut plank, i have decided to paint her anyway, so maybe...)
- Glue some 1mm planking strip to the front face of the Prow (and to the bottom of the Keel), in order to add some substance there + cover it on the sides with Walnut veneer
- GrandpaPhil and Gregory
-
2
-
Hello,
I am looking for a supplier of cloth Flags here in EU, sadly neither Maritime models, nor Cornwall Model Boats ship to Mainland Europe anymore
Or maybe anyone has tips or knows where to get Custom printed cloth flags ?
-
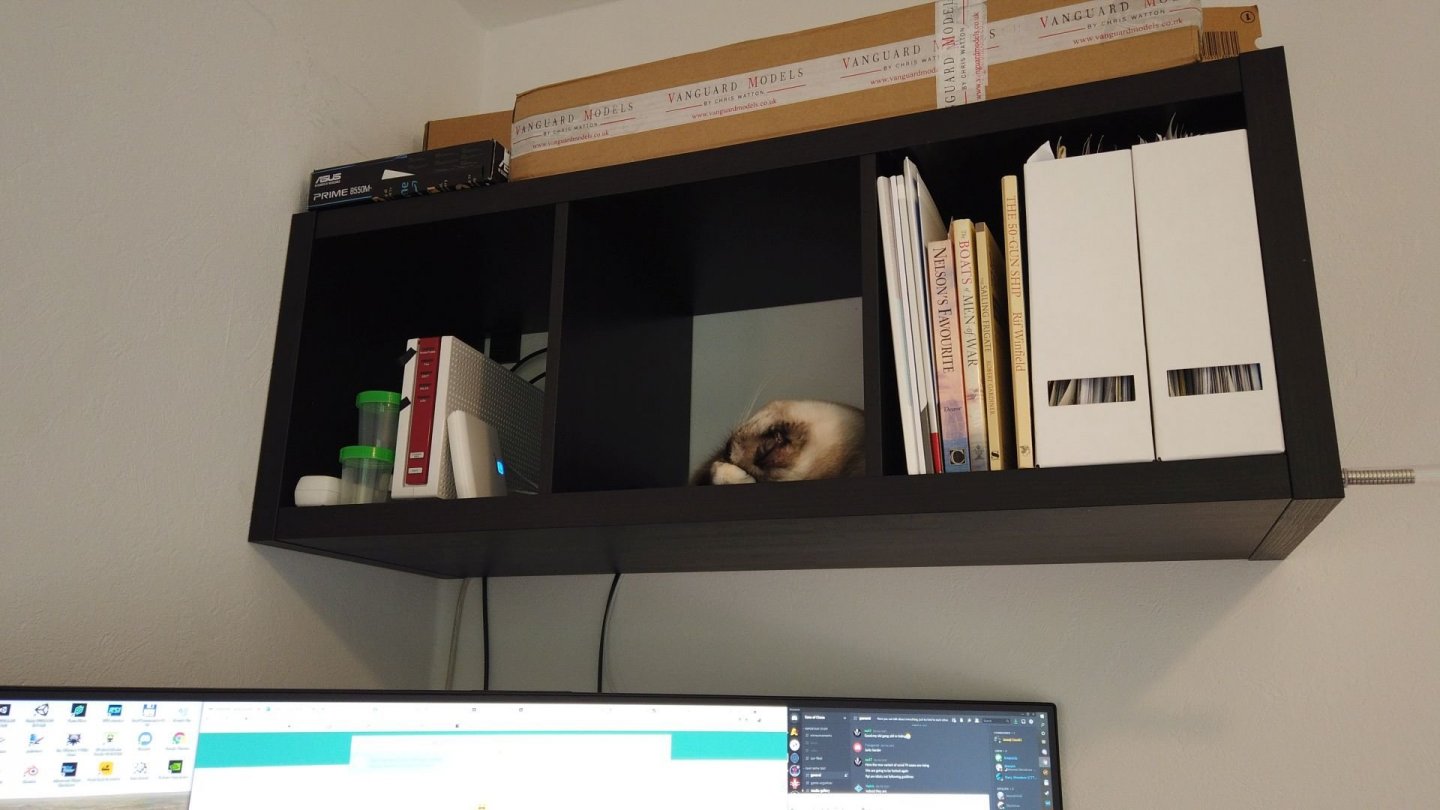
I couldnt resist already setting up a Placeholder for the Build Log.
Sadly my Sphinx is still stuck waiting for release back to UPS from The Gods of Customs and Taxation (Can take up to 10 days from that point i heard)
I paid the fees already, it would be cheaper to drive the 800km up to Chris and pick it up and back, not Chris's fault of course, just FYI for those from Germany, the Fees add up to about 1/4 of the Kit's Price
My Log will propably not be as Tidy and she wont turn out as pretty as the others but even failures need to be documented.
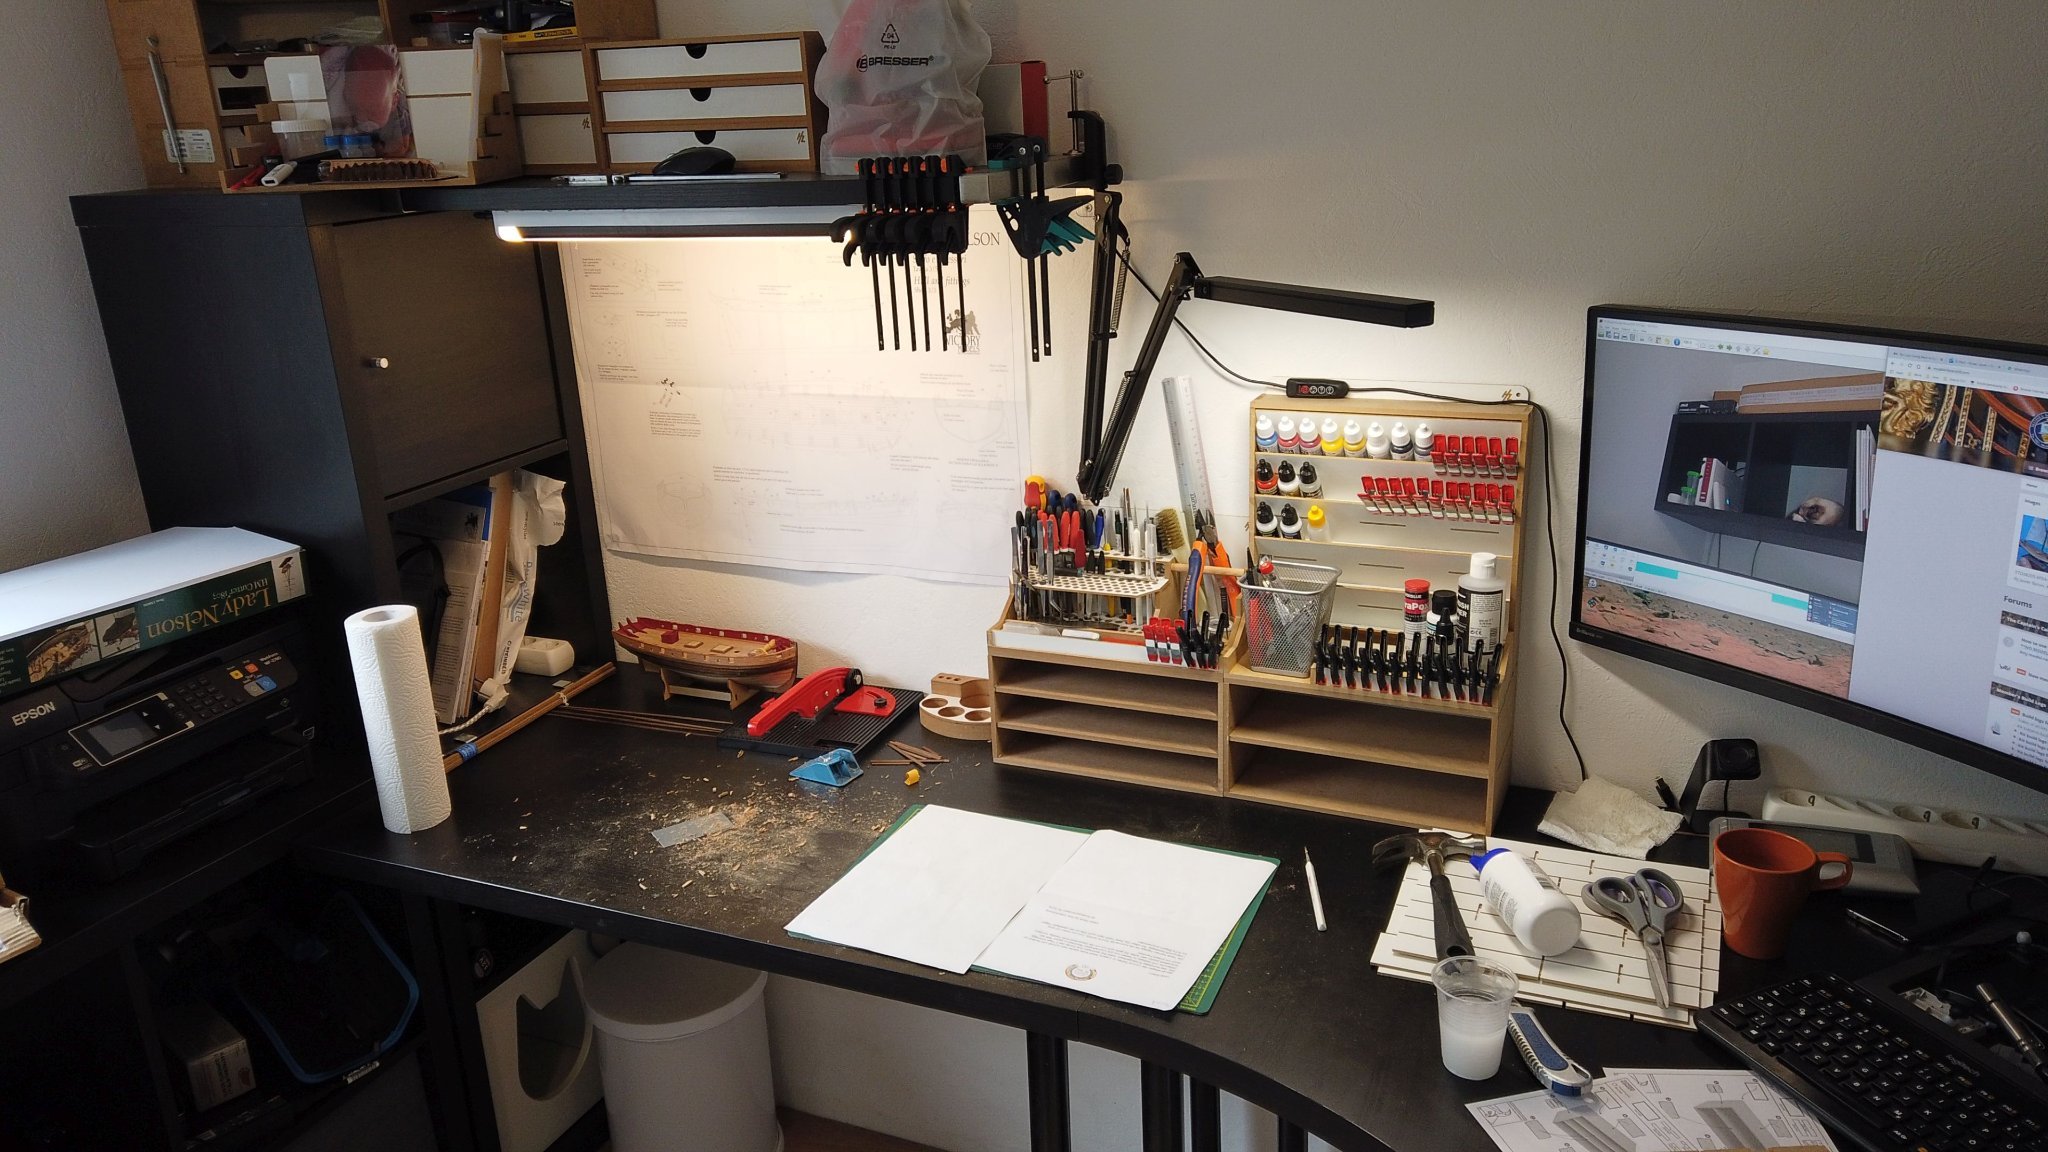
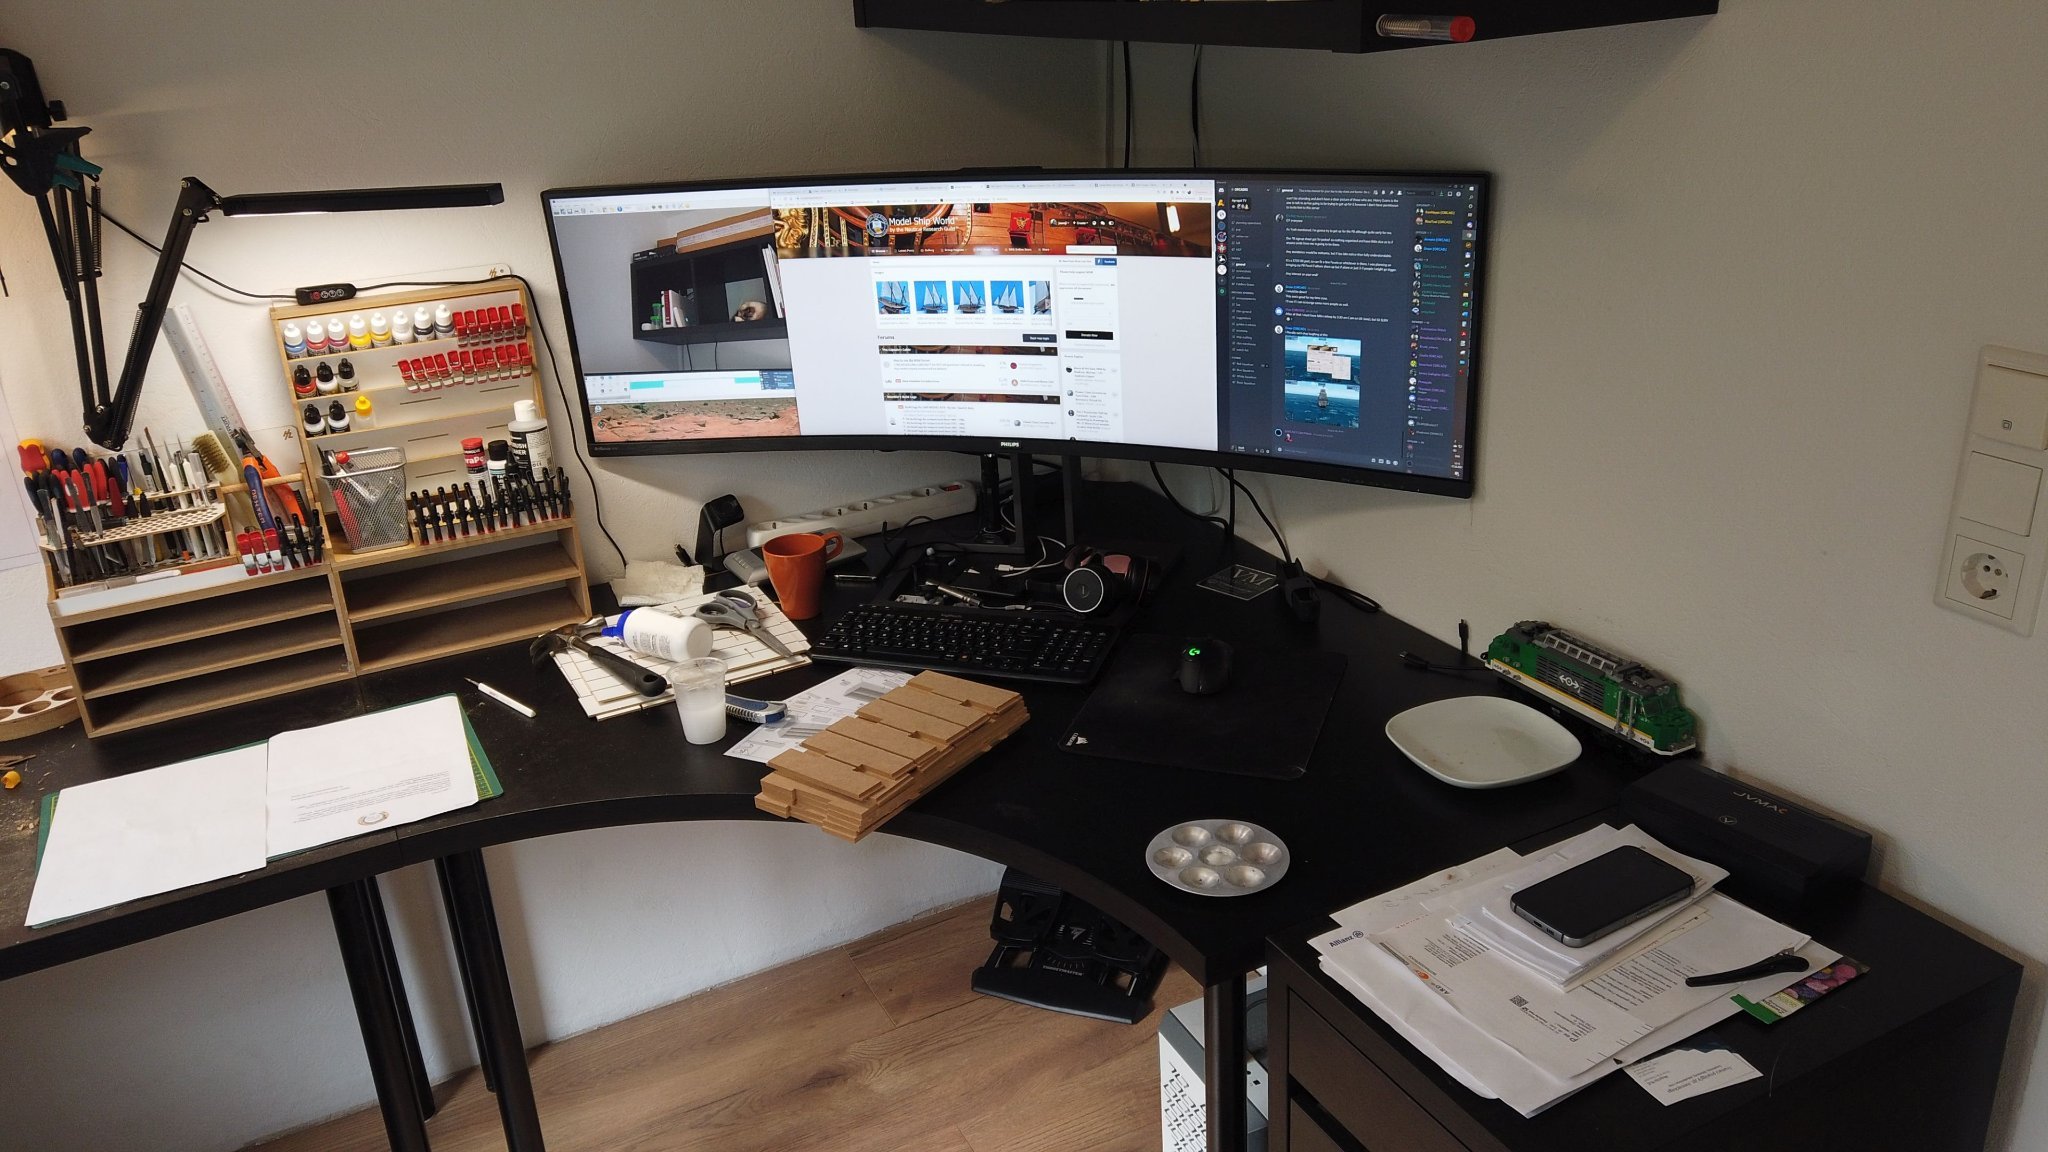
Tools prepared:- Exacto Knife and a few Stanleys as Backup
- Various Shapes Modeller Files
- Sandpaper different grit and Sanding Block
- Sanding Sticks
- Assortment of Tweezers
- Different Army Painter and Citadel Brushes
- Automatic Pencil and 30cm Steel ruler
- Planking Vice
- Guillotine for cutting planks
- Travel Iron for Edge-Bending
- Home-Made Plank bender tool made from Pliers
- Dremel with sanding discs and barrels
- CLAMPS and Vices
- Airbrush
- Various Vallejo Paints - Model Color and Model Air
- PVA Glue
-
-
This Level of Craftsmanship should be illegal...
I lack the adjectives to express amazement...
- mtaylor, Obormotov, CaptMorgan and 3 others
-
6
-
3 hours ago, mtaylor said:
Will there be carvings on the stern and figurehead? BTW, how are the kids going to get in and out of this? Over the top?
it looks like there is an opening where the water bottle is standing in this pic:
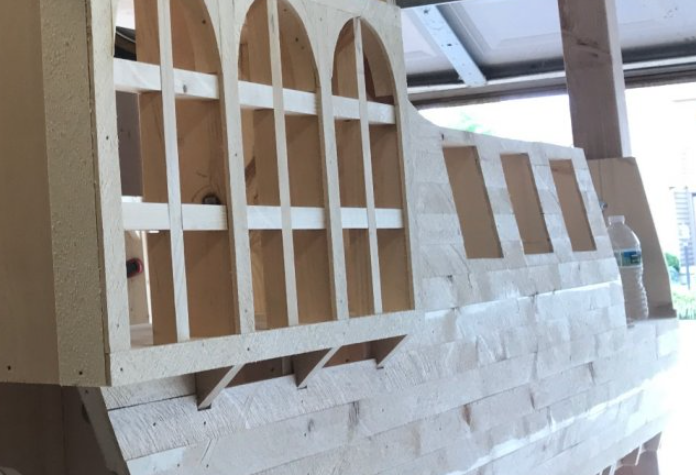
@KirbysLunchBox when full-scale Frigate ?
- Roger Pellett, mtaylor and Keith Black
-
3
-
26 minutes ago, Blue Ensign said:
Post Three
Platforms
Unusual in this type of kit, Chris has provided a short section of what would be the forward Platform below the lower deck.
In reality there would also be an aft platform which is not supplied.
These Platforms sat above the hold and are version of the Orlop deck on larger vessels.
I doubt very little will be seen of this with the hull planked and decked.
I considered the possibility of fabricating false frames and leaving an opening in the hull at this level, but what would be the ladderway above it is blocked by a bulkhead, and it is only clear above the Fore Hatchway. As a ladderway leading up to the Lower deck would be the only feature of interest I decided to pass.
Lower deck
This deck is another nice touch for what otherwise would be a re-inforcing piece to square up the bulkheads and provide some rigidity to the hull.
This is also supplied in engraved plywood with the Hatchways and Ladderways detailed. The Fore Ladderway leads down to the Platform deck, or it would if the bulkhead wasn’t in the way.
My deck had some Laser burn on the engraved side which needed sanding to remove. This didn’t have any effect on the planking lines.
text.thumb.jpg.a205c0caeb43386660bf52d3d56898f2.jpg)
3681(2)text
With the Lower deck slotted into place, gently does it on this exercise, it can be seen that altho’ the hatches will be covered by gratings, the Ladderways simply open onto bulkhead tops.
.thumb.JPG.7729b0bb954e45bab2f3d8e8cf36f06d.JPG)
3680(2)
The Upper deck base is placed roughly in position to gauge what will be visible of the lower decks.
The Upper deck Fore Hatch is covered by a grating, but without it there is a view directly down to the Platform deck, altho’ the deficiency in the ladderway will be visible.
3684
To rectify this would require removing a section from bulkhead 4 and a section of false keel between bulkheads 9 and 10 for the lower deck aft ladderway.
None of this of course is necessary but as my version will be open decks only, it is another option to think about, and I am sorely tempted.
B.E.
26/08/21
Hm, this is interesting, would it be possible to exchange the Hatch and ladder, or would this be very bad regarding the authenticity of the model ?
Like this:
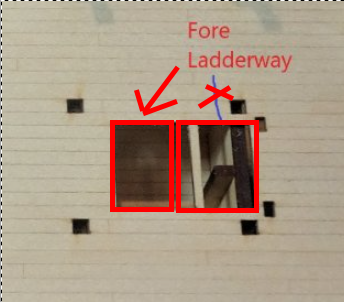
Edit:
I take it back, it cant, because there is a ladder on the deck above in that place.
Hmm, interesting find
- Blue Ensign and mtaylor
-
2
-
1 hour ago, chris watton said:
OK, all Sphinx kits are now gone until next month, of which I am working on now, laser cutting. Hats off to my wife, Chantelle, who managed to pack up 51 kits from Friday to Sunday - damn that was a lot of foam and bubble wrap!
Today, I decided to remove the original version of the Alert kit from stock, and will scrap the remaining stock, including those white metal fittings. I did not like the fact that these early kits are not a reflection of the quality I want in my kits, so rather take the hit than offer them for sale. So Alert Version 1 is gone for good.
Cheers to the wife, my Sphinx is already through customs and all fees paid, hope UPS decides to Pack her into a delivery van tomorrow morning (also another 7kg package from Hobbyzone which is sitting in thwie warehouse since yesterday Evening...)
- Ryland Craze, JeffT, BobG and 5 others
-
8
-
58 minutes ago, glbarlow said:
And it works quite well I might add. If you get the lathe I’d highly recommend the three jaw chuck accessory, it’s really all I use. This is a relatively inexpensive tool that more than pays for itself. I described my use of it in my Cheerful log, Derek taught me well.
i never found the bed extension, turns out I didn’t need it.
cheers, ye, i am thinking about this Lathe for turning masts, although i might get a Disk sander first (for tapering planks) and get the Lathe when i am ready to do the Masting
") Admiral wouldnt be happy with 2 Power tool purchases i assume
Admiral wouldnt be happy with 2 Power tool purchases i assume


text.jpg.aa3df9d15257b204f2ec7540f3249e5d.jpg)
.JPG.09d30498d34e479a7e14a5be2c3ee8fe.JPG)

HMS Sphinx by myxyzptlyk - Vanguard Models
in - Kit build logs for subjects built from 1751 - 1800
Posted
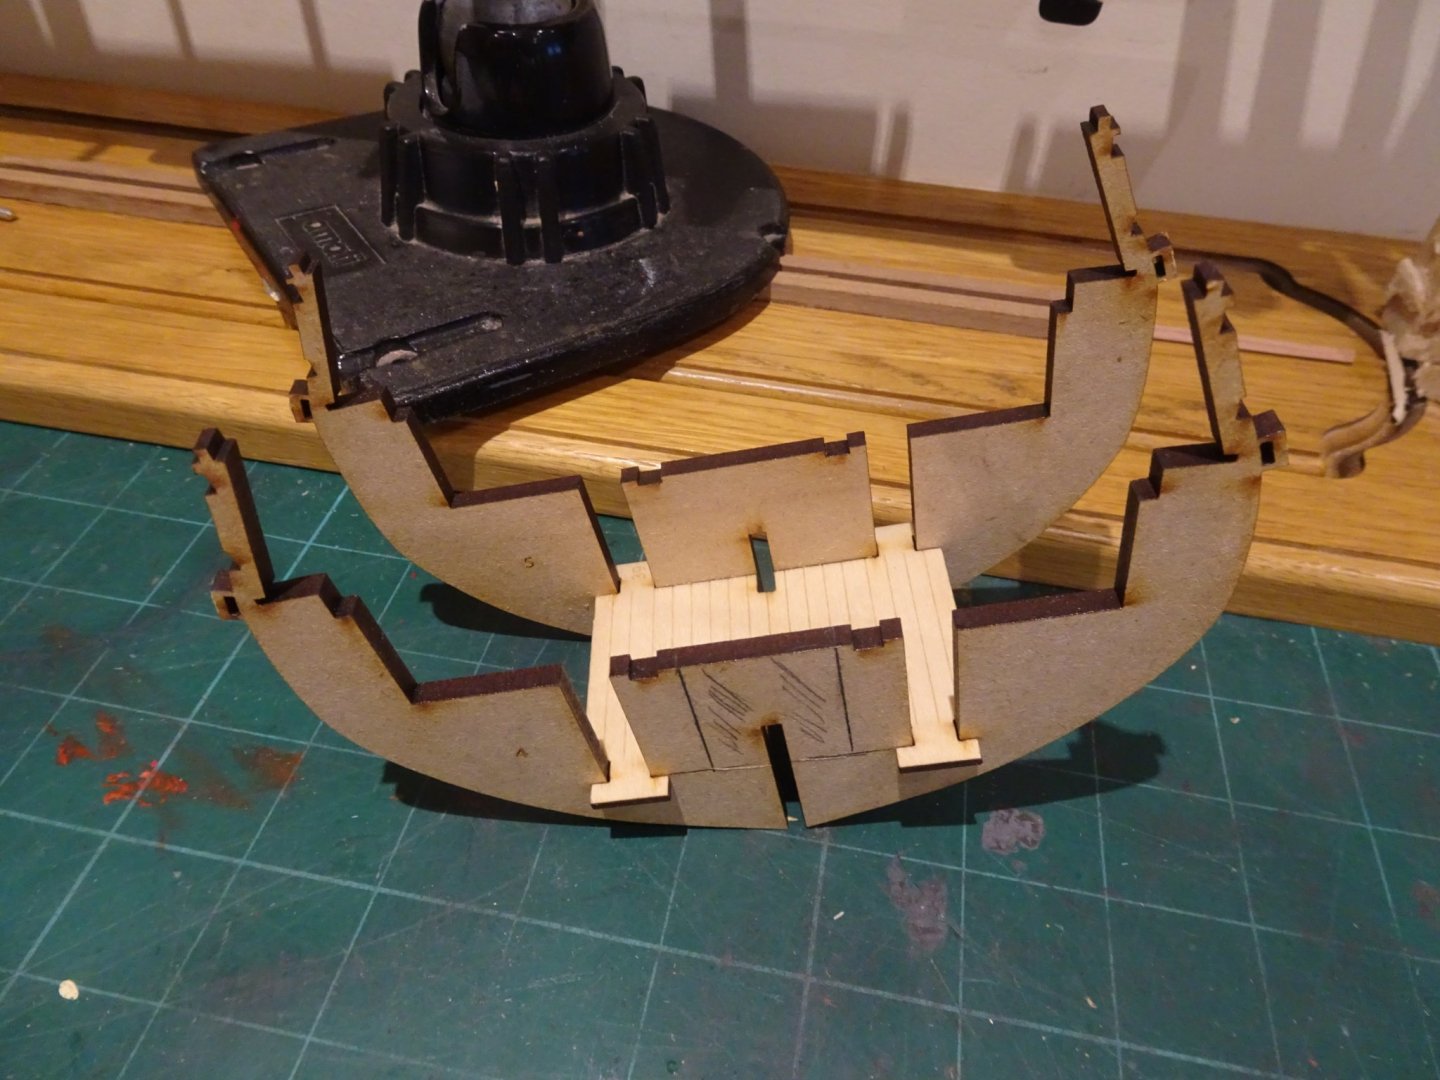
can you try to test-fit those separator jigs from steps 123-125 and 127 ?
bc if the decks dont fit, then the lasered deck, quarterdeck and cabin bulkheads wont either