HOLIDAY DONATION DRIVE - SUPPORT MSW - DO YOUR PART TO KEEP THIS GREAT FORUM GOING! (Only 51 donations so far out of 49,000 members - C'mon guys!)
×

Jim Lad
-
Posts
9,503 -
Joined
-
Last visited
Content Type
Profiles
Forums
Gallery
Events
Everything posted by Jim Lad
-
 An interesting way to make gratings, Keith. The 'gas box' wouldn't have been stowage for gas bottles, would it? John
 -
I'm about three cradles behind at the moment, Mark. Do you feel like going into production? John
-
Just catching up with what you're up to, Ken - she looks really first class. John
- 162 replies
-
- 7
-

-
- dirty dozen
- fishing
- (and 2 more)
-
She's really coming together, Mark. You'd better get a move on or she won't be ready to go to Hobart! John
-
Well done, Andrew - your dinghy looks first class. John
- 11 replies
-
- 2
-
-
- dinghy
- Midwest Products
- (and 1 more)
-
Looks like you're having a lot of fun with your mast hoop experiments, Popeye. John
-
Off we go again, Popeye! Is this the 'Thermopylae' kit where the manufacturer has all the braces leading in the wrong direction? John
- 453 replies
-
- 6
-
-
- thermopylae
- sergal
- (and 1 more)
-
She's coming along beautifully, Mike. Very nice work. John
-
Chris, you're right, planning ahead is the key; this is especially true when it comes to rigging. John
-
Thanks for the encouragement Bob and Denis. John
- 745 replies
-
- 2
-
-
- francis pritt
- mission ship
- (and 1 more)
-
Thanks for the encouragement, folks. Pat, I'm not sure what went wrong with the splices. The cord I was using has a rather soft lay, but I've never had trouble before. John
- 745 replies
-
- 4
-
-
- francis pritt
- mission ship
- (and 1 more)
-
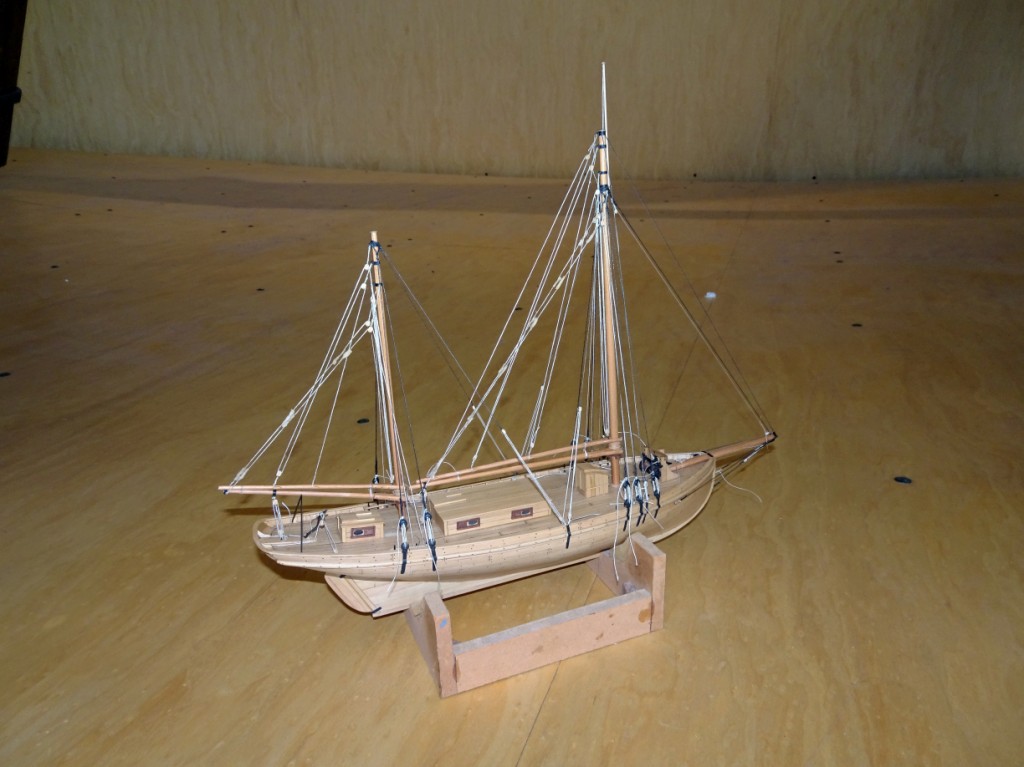
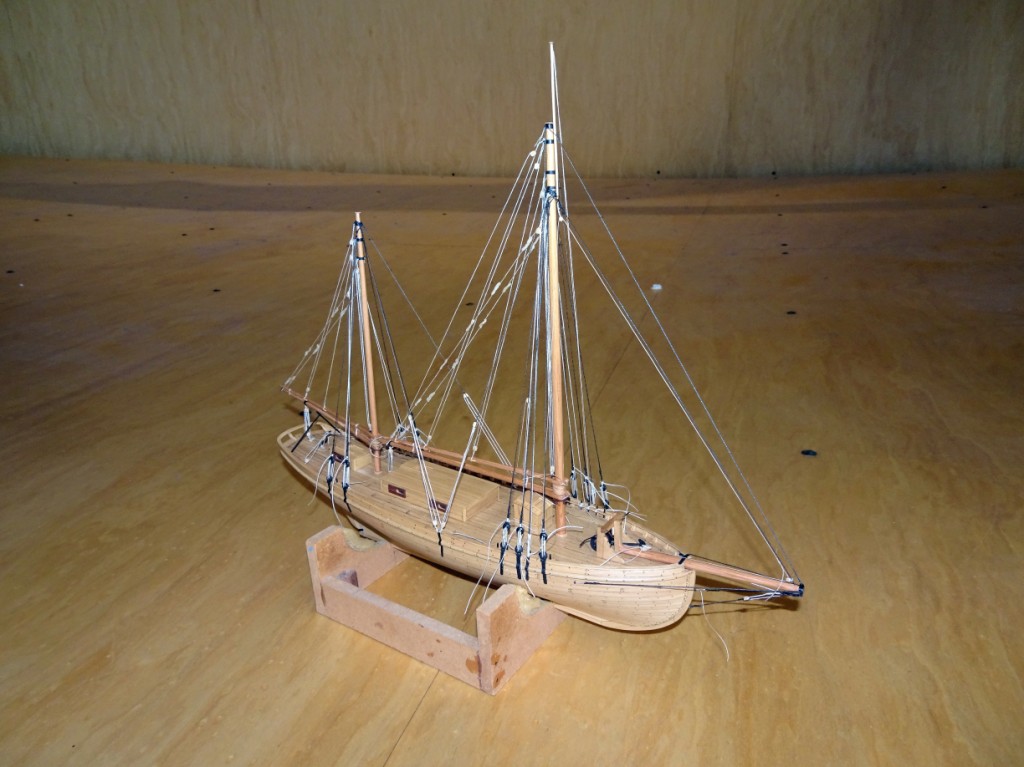
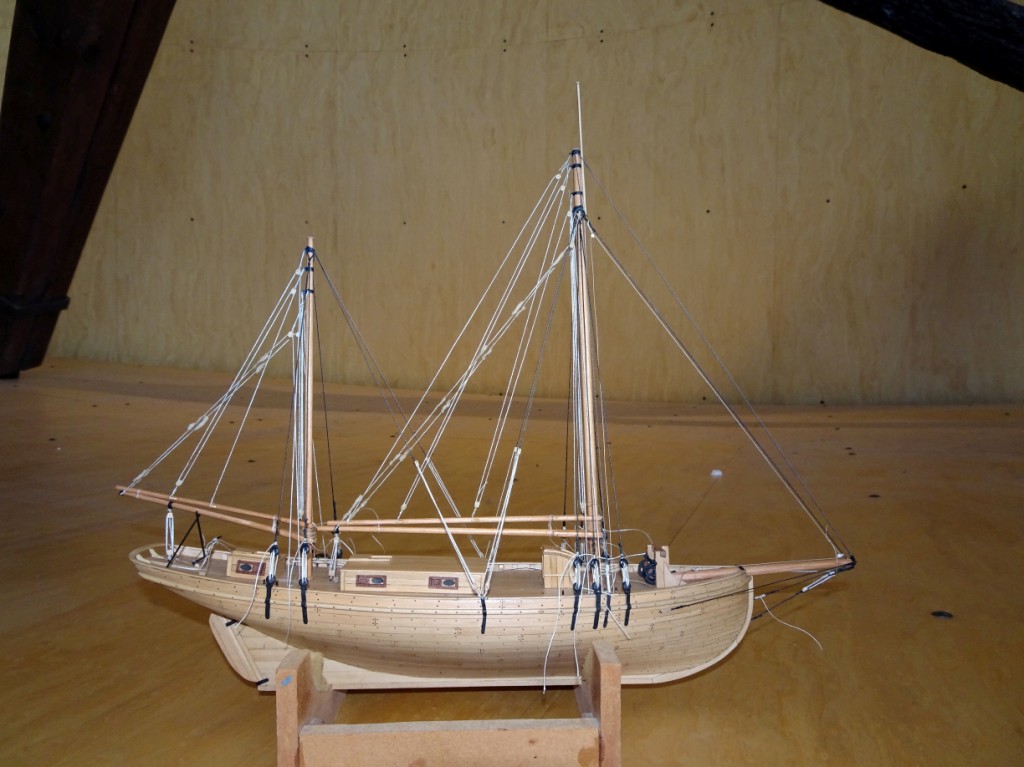
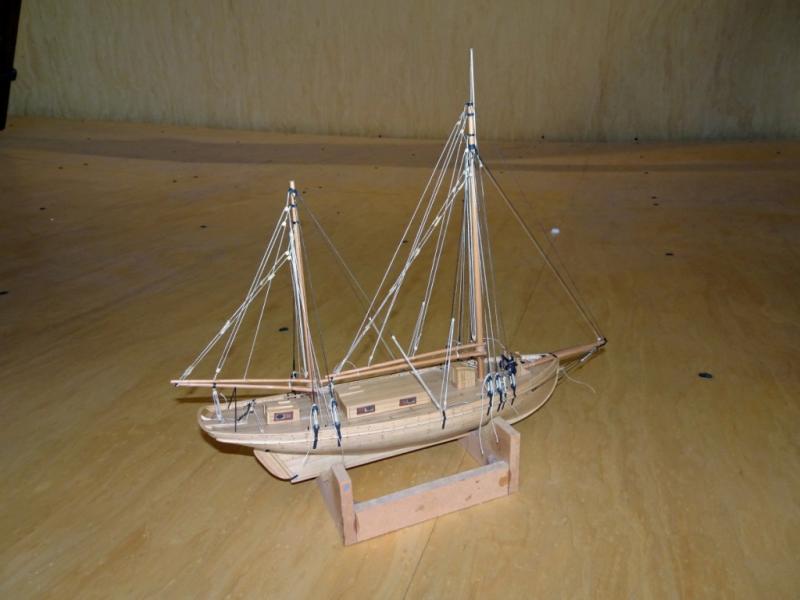
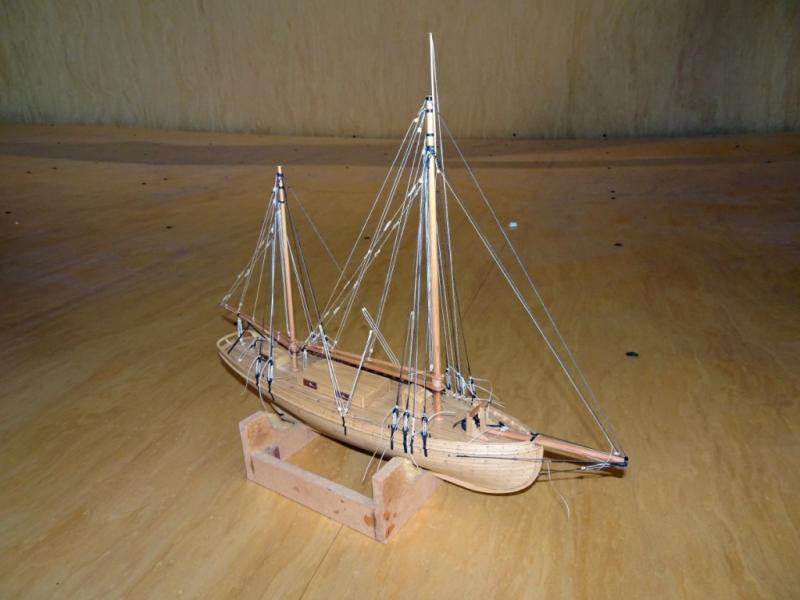
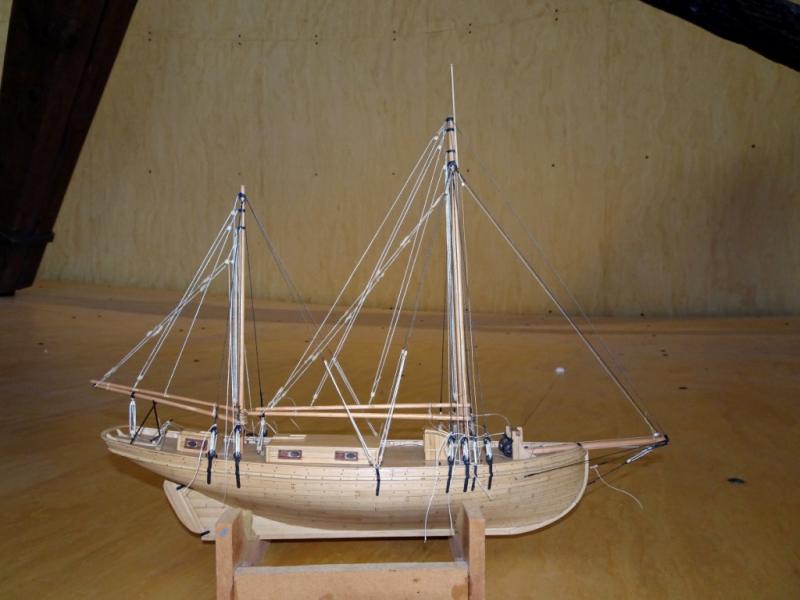
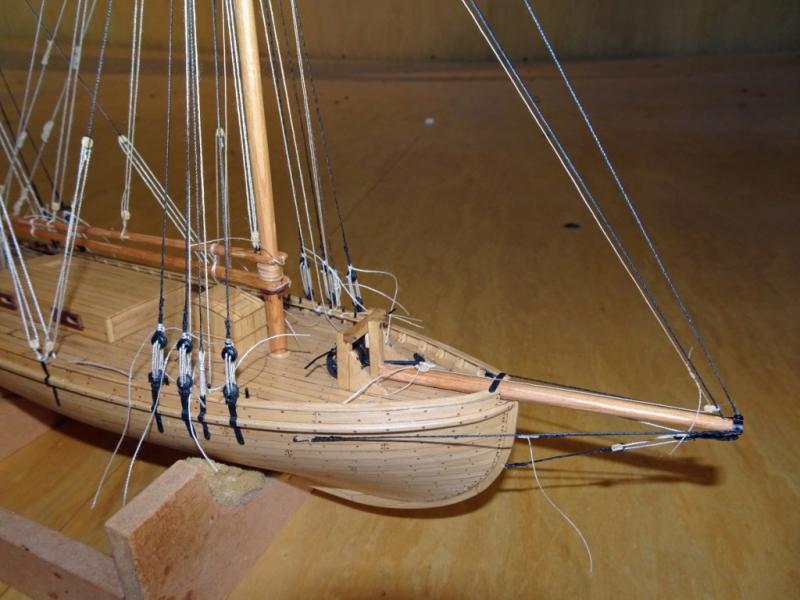
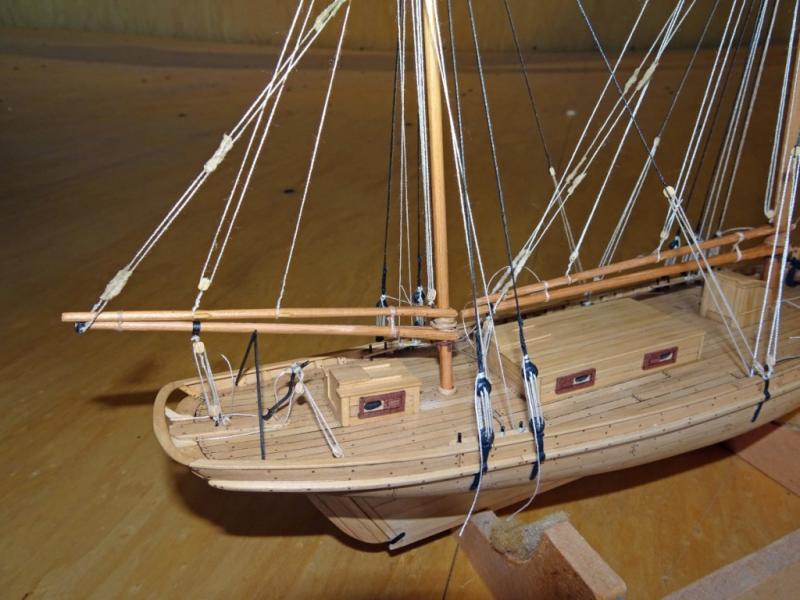
Not a good day at the museum yesterday; I had several splices pull in the main rigging as I put tension on the halliards. I've never had that happen to me before so I think I must have been getting a bit lazy and complacent as I was doing the original splices. All fixed now all the rigging is on her, so I'm pleased that I at least got that far. Although she looks superficially finished, there's still a heck of a lot of detail work to be done on her so it'll be a little while yet before I can sit back and admire my work. For our overseas members who may not be familiar with the design of the T.I. pearl sheller; apart from the obvious modifications for her role as a mission ship such as the removal of the diving outriggers at the mizzen mast, the conversion of the hatch into a low accommodation deckhouse and the addition of a toilet (not present in these photos); she has some unusual rigging features. The topmast shrouds, running stays on both masts and the mainmast flag staff are all features not found on your common or garden pearl sheller. Why the 'Pritt' had the is anybody's guess, but they show clearly in all the photos. John
- 745 replies
-
- 18
-
-
- francis pritt
- mission ship
- (and 1 more)
-
A very ineresting looking model, Mike. John
-
Denis, sorry, but I don't have any photos of my mast hoop process, but I'll try and explain what I do. Some time a go I noticed that a very nice piece of pine I was planing for a job around the house was producing very nice, even, shavings, so I saved the shavings (as we model makers do) and have used them for mast hoops ever since. The shavings are quite thin (having come off a wood plane) and about 3/4 of an inch wide. To make the hoops, I find a dowell or anything else round, for that matter, that has a diameter slightly greater than that part of the mast just above the deck where the hoops will rest on the model to use as a 'former'. I then wrap some paper or plastic kitchen film - much wider than the wood shaving - tightly around the 'former' and hold it in place at each end with elastic bands. Once that's on the 'former', I simply paint a length of shaving with white wood glue and wrap it carefully around the 'former' between the two elastic bands. This process needs to be done fairly gently to avoid splitting or cracking the shaving. Simply wrap the glued shaving around the 'former' until you have a reasonable thickness of wood (I do this by eye), and then hold the shaving in place with another elastic band while the glue dries. Once the glue has hardened, take off all the elastic bands and slide your wooden shaving tube off the 'former'. this 'tube' can now be carefully sliced into narrow sections to use as hoops. If your 'former' is of scrap wood, then you can use it as a cutting block to avoid crushing the tube of shaving while you cut it. It is far easier to clean the paper of kitchen film off the inside of the individual hoops than to try to clean up the entire shaving tube in one go. I hope this makes my process clear to you - if not, then just give me a yell and I'll try and clarify it. It looks clear to me because I can see the process happening in my mind as I type this, but in might not be quite as clear to anyone trying to figure it out! John
-
Congratulations on the completion of a fine model, Russ. You should be proud of her. John