HOLIDAY DONATION DRIVE - SUPPORT MSW - DO YOUR PART TO KEEP THIS GREAT FORUM GOING! (Only 20 donations so far - C'mon guys!)
×


popeye the sailor
-
Posts
16,007 -
Joined
-
Last visited
Content Type
Profiles
Forums
Gallery
Events
Everything posted by popeye the sailor
-

Cutty Sark by NenadM
popeye the sailor replied to NenadM's topic in - Build logs for subjects built 1851 - 1900
making some good progress Nenad.........keep going!- 4,152 replies
-
- 1
-

-
- cutty sark
- tehnodidakta
- (and 1 more)
-
a little at a time can be a milestone.....nicely done
-
after the completion of the M&M boat......I knew where I stood. you hit the nail on the head Sjors......just do it. it will build your creativity and bolster your abilities. then the next time you run into a problem like this.......you will laugh!
-
you'll see a lot of differences between kits. one manufacturer may add a bit of detail that another would not...that's what makes it so tough to choose which to buy I don't know of too many ships that don't have supports for the bulwarks. the contour of the hull is curved, and the posts help to create it, so I don't want to remove them. it might even make sense to add a few more, due to the shape of the wall going aft......I'll have to experiment a little thanks Popjack....glad you enjoy reading my logs........even happier that your following along thanks Marc......yes, these blunt nosed bows are a hoot! it's just like the Gothenborg thatI'm doing. I don't use fillers...can't tell you why, I guess it's the extra wood thing. I have the tops of the bow walls sanded now.....they have a noticeable slope to them. glad you following as well......enjoy!
-
thanks to everyone for your kind comments........work sure has a way of slowing one down. now I have a bad case of 'catch up' you must mean the bulwark posts Sjors. these will not be cut out.....in fact, more should be added.....something I might not do. they are quite instrummetal in gluing the top rail in place. I haven't had to use balsa fillers in any of my builds so far Mark. if the planks are bent well, the rest of the hull planking should go OK. I am trying to limit the amount of glue...hopefully there won't be too many glue blotches. since I got this build slip Brian.......I haven't had to make one. it does make it easier. I have the rail part from another one.....one of these days, I can make a base for it.
-
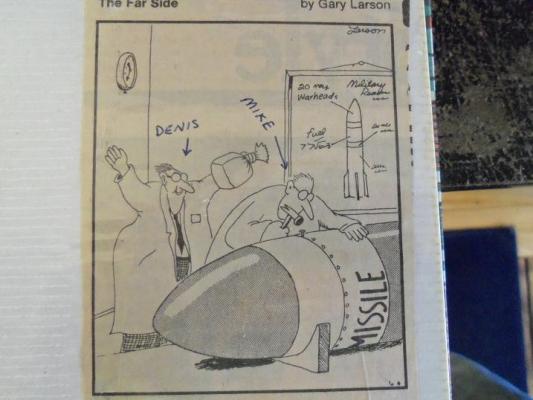
then you might have this one andy. my best friend mike and I, have been friends since childhood. in 1969, they moved away to Florida, to be with thier grand parents {mother's side}. we continued to write, becoming pen pals....so to speak. some time in the early 70's, he saw this in their local newspaper, and sent it to me.......I keep it in my personal photo album. in 1974, I moved down there, after graduating from high school........the whole family came up to N.H. and he got to attend.......even the cool party afterwards I'd tell you more......but it's not fit for the open feed
- 1,668 replies
-
- 5
-
-
- syren
- model shipways
- (and 1 more)
-
my admiral calls them favors....it usually starts out as: hun,, I have a really big favor to ask you......then I know I'm in the slammer!
-
yes.....I know about those Daniel....LOL! I mean, would that be a possiblity, of ball racks between the guns? what is the quickest reload of a ship's cannon?
-
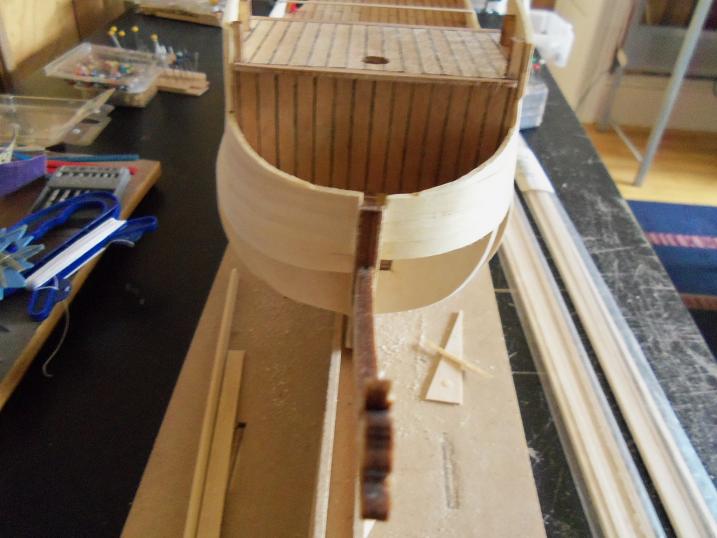
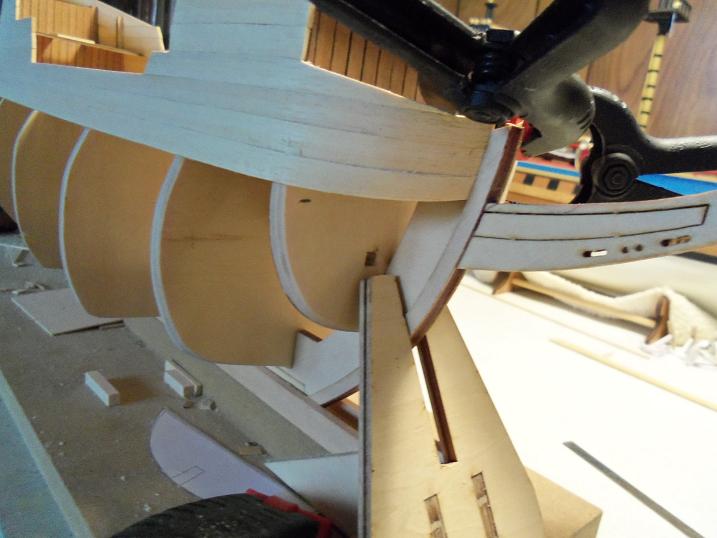
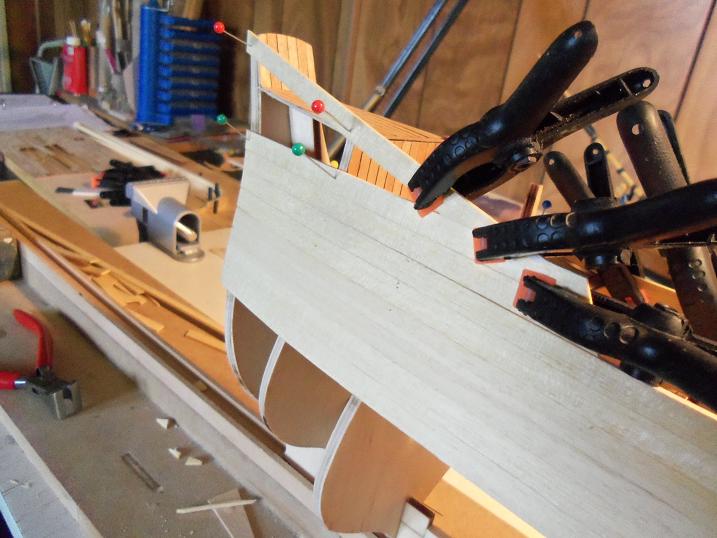
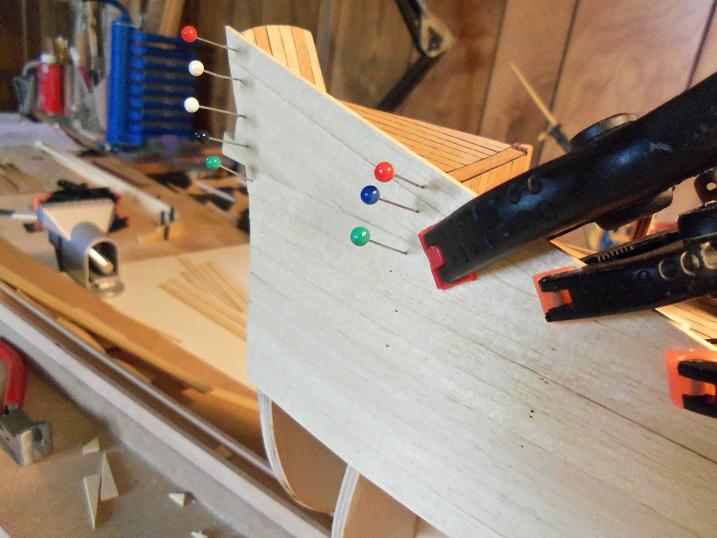
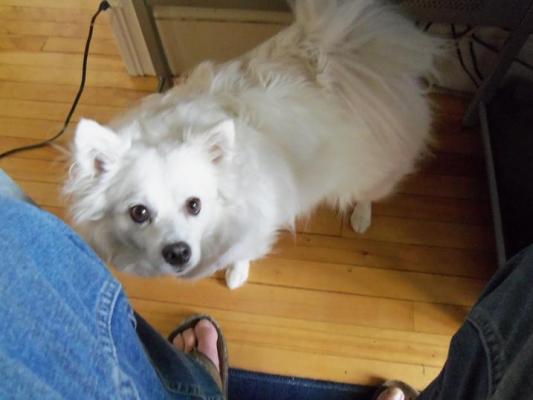
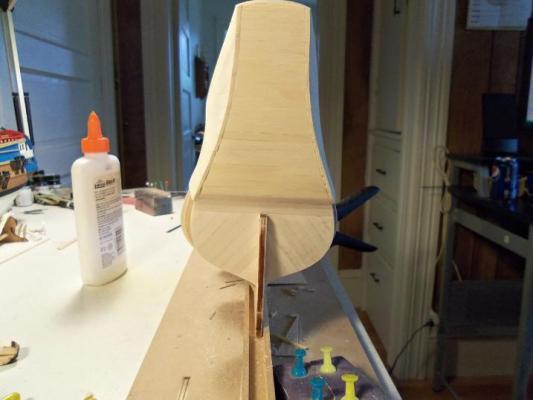
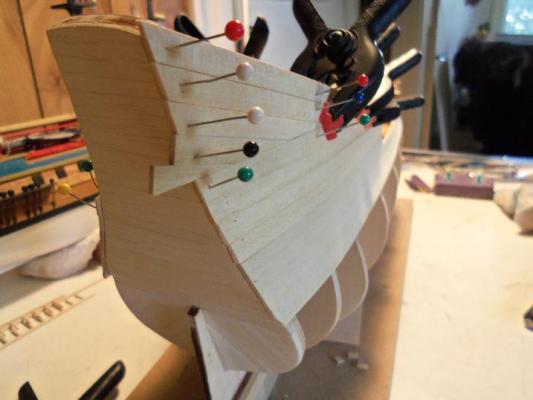
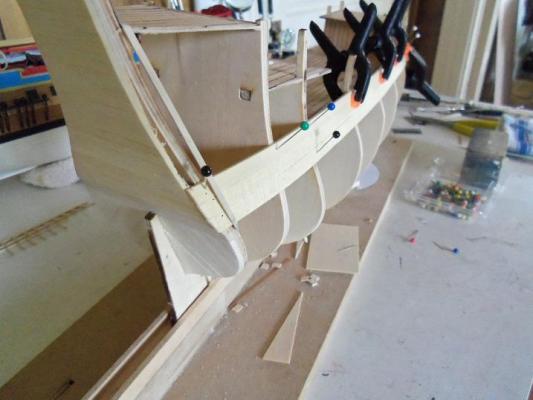
thank you Anja and Andy yea, those diagonal cuts are gradual.......just as a head start, since more has to be removed to create the curve for the top rails {at both ends}. then there is the other curves for the upper poop deck. I hope to keep a lot of the plank lines....really don't have a need to hide them the repair of that bulwark post turned out to be easier than I thought. the planks were broken free of the post, 120 grit was threaded in between facing the post, and pulled in both directions using the planks as a pressure point. it wasn't going fast enough though, so I used the x-actor to cut the curve out faster. then the planks were glued back into place. the bow is now back in order....so here is a shot. the slope will mate at the stem when it's completely sanded. as I was sizing up these pictures, I got a nudge at the knees........seems Gibbs wants to go outside a nice sunny day........after the majority of the week being unsettled.

-
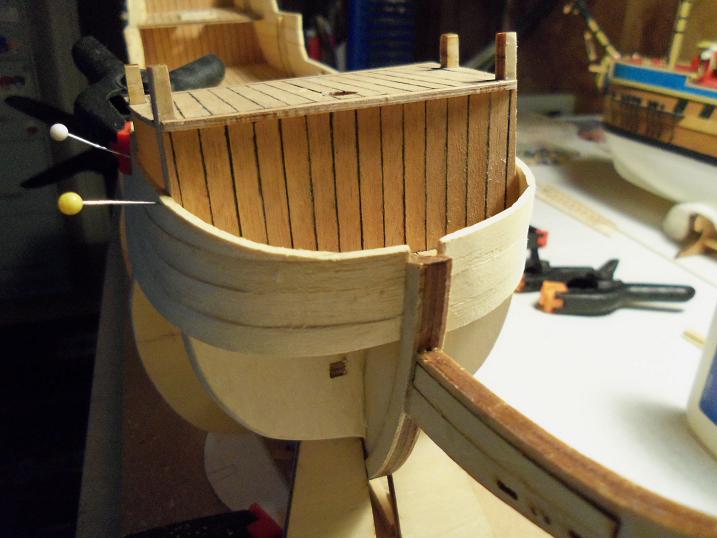
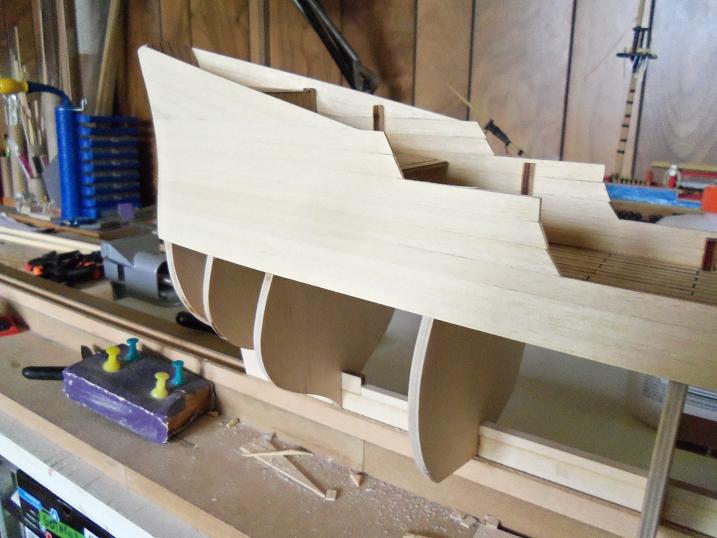
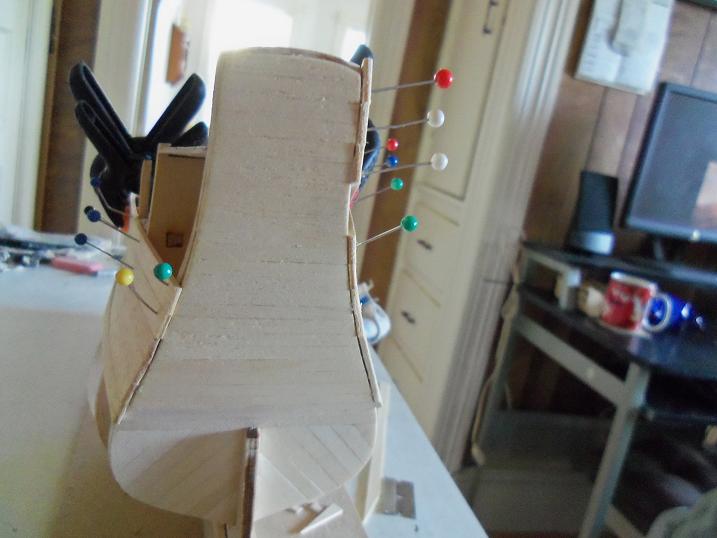
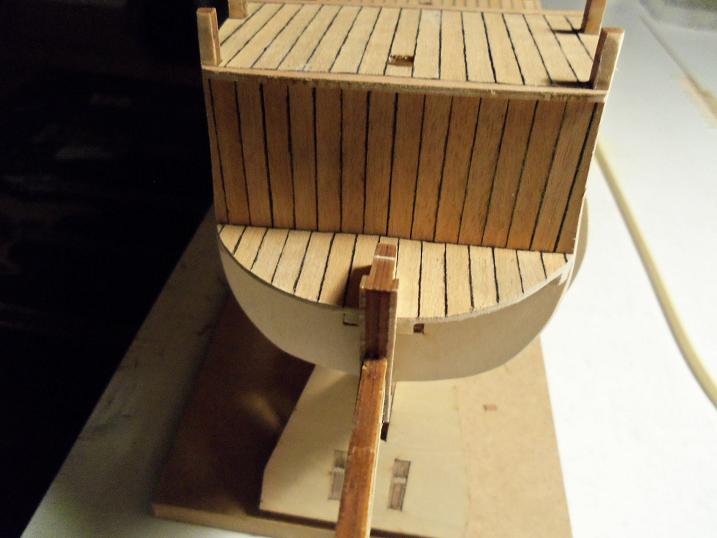
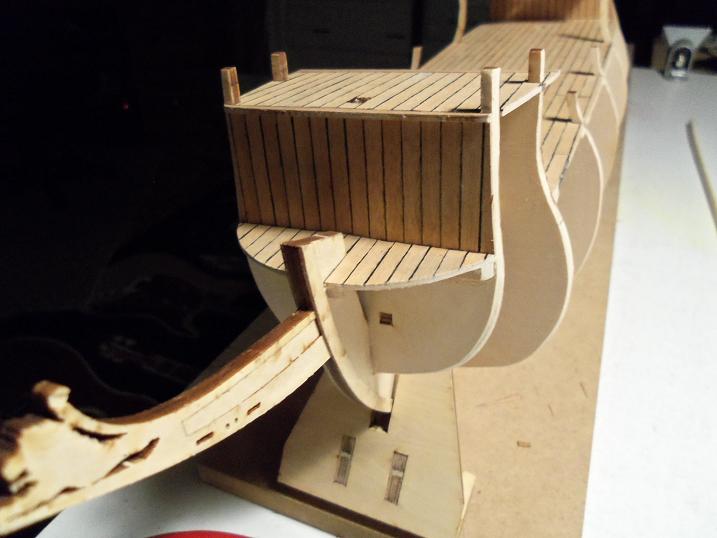
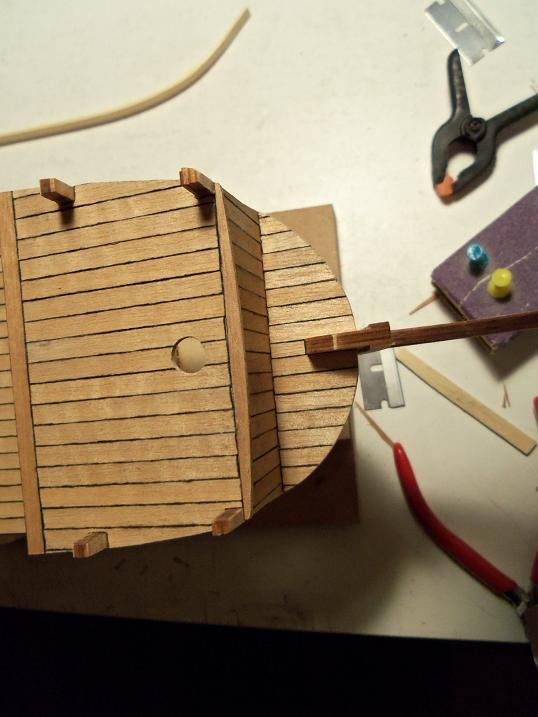
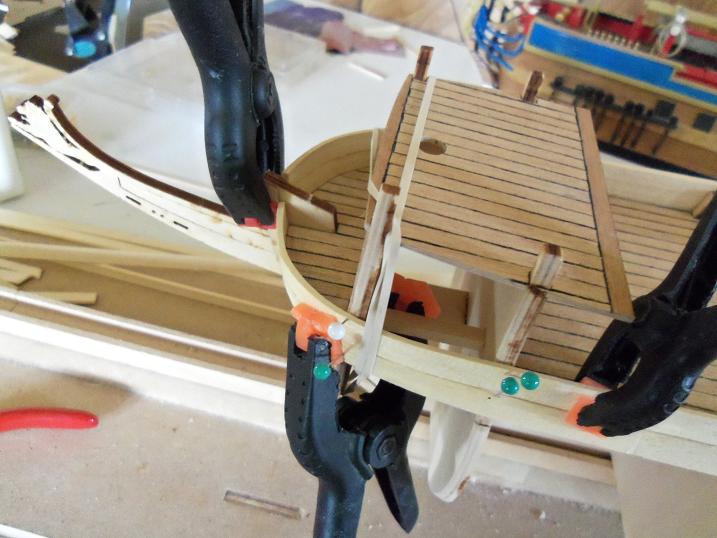
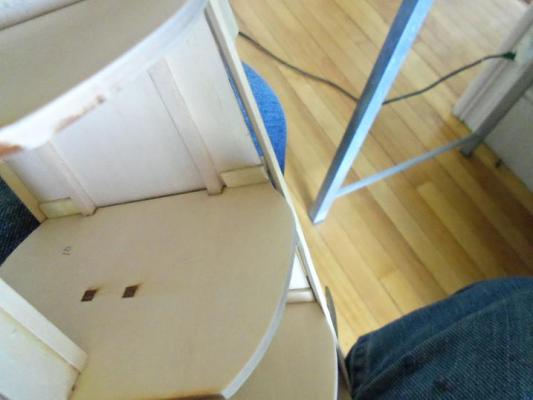
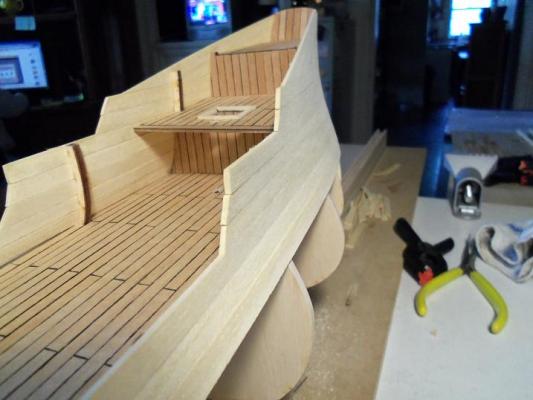
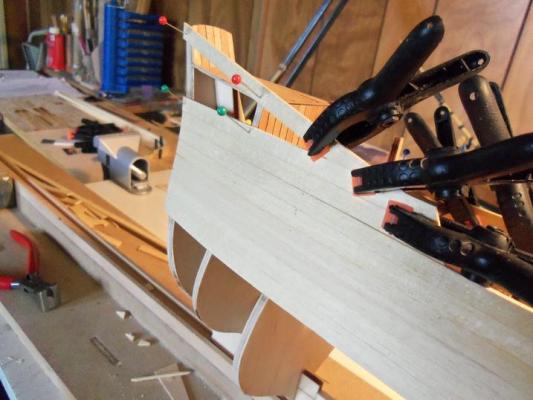
in the last picture of the deck, you get a glimpse of the problem......the post before the broken one is out too far and creates a gap between the bulwark wall and the deck. at first, I thought that the top rail would cover it. but, the more I looked at it, the more it irritated me. time to think of a remedy. the bow is going to take some love to whip it into shape. the first planks to be laid in place on the fore walls, has a beveled leading edge that needs to wrap around the bow walls towards the bow stem. it will stop short, since the plank under it needs to be sanded to continue the bevel, mating to the stem. the starboard side is done here.......so you can see what I mean.......now the bevel will continue the rest of the way to the stem. after a little sanding......the stern has a nice feel. here is a good shot of the problem I need to deal with. .....and then there are these. I thought I had the fore deck walls finished, but the port side had other ideas........the wrap around part of it decided to break away and stick out. I had to add more glue to cement it back into place.

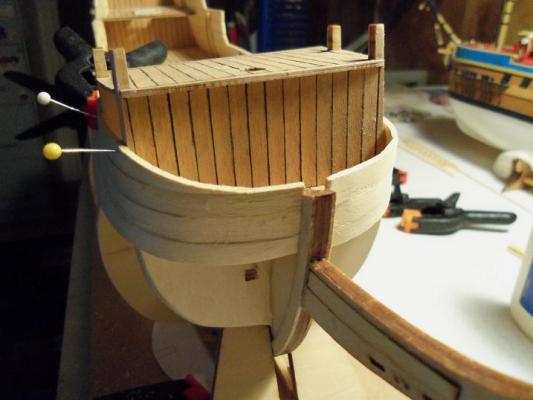


-
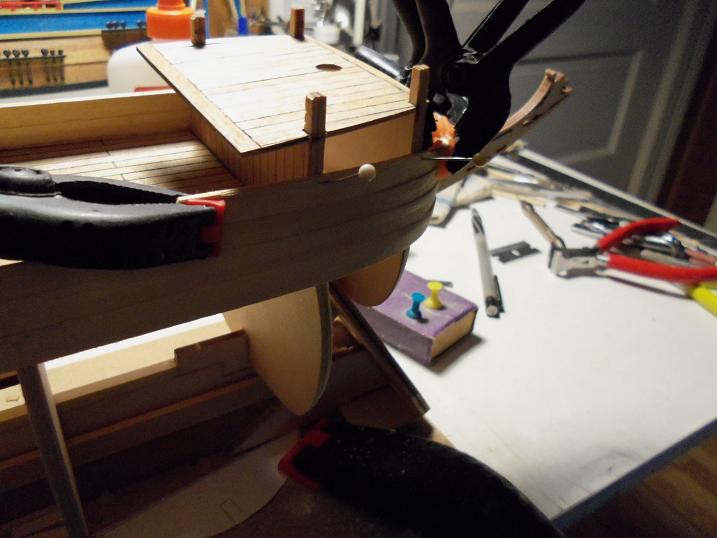
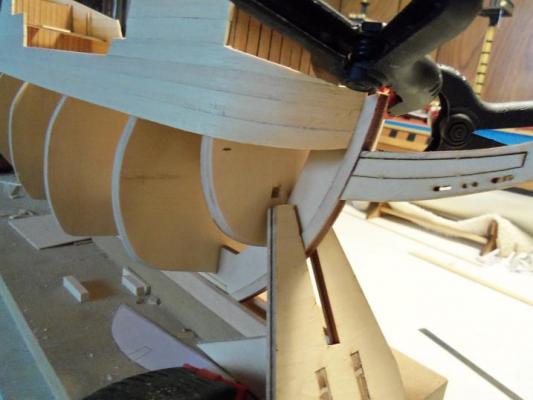
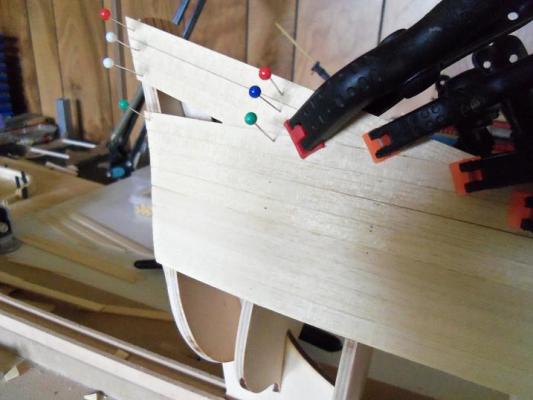
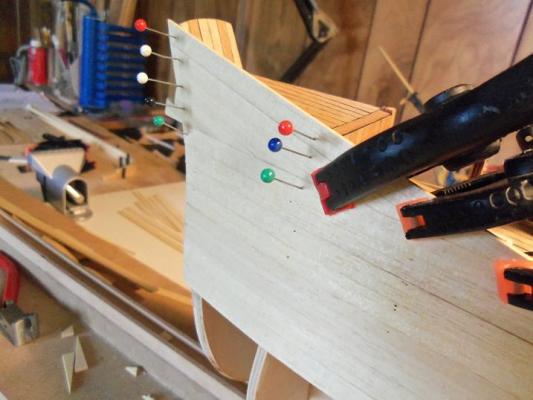
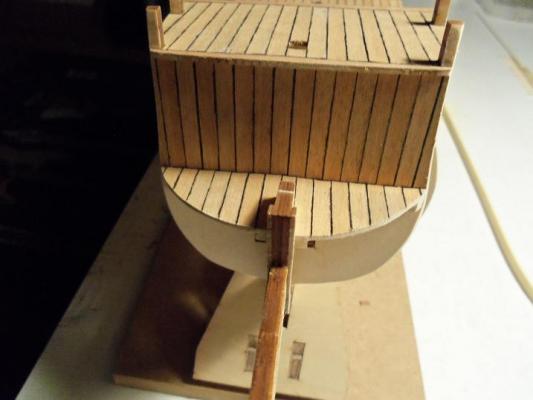
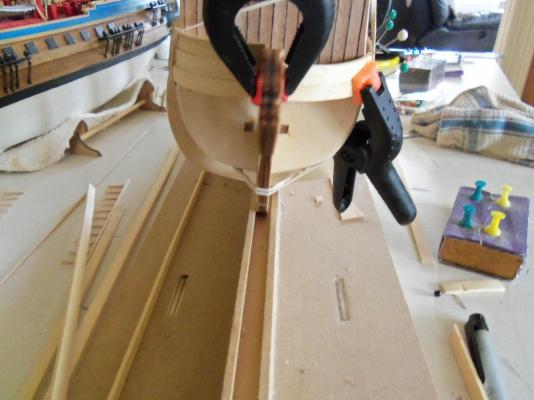
the angle of the bulwark cuts and the way they are shaped, I will need to curve these planks to accept the top rail / pin rail {these two aspects are combined}. these parts are going to be a tough go......they are made of plywood and very stiff. note where the slots are.....rope stanchions are to be located in these slots.....too close to the ends to do an adequate bend. I have an idea for this, but I need these parts for refference. note also, that on the parts sheet, that is all I have for the crow's nests. rather than make the missing parts and have it look odd, I'm going to scratch make all of the parts.......in this way, they will all be the same. this also will come in play later on. the starboard side stern wall is built up. I had made the same parts for the port side wall.


-
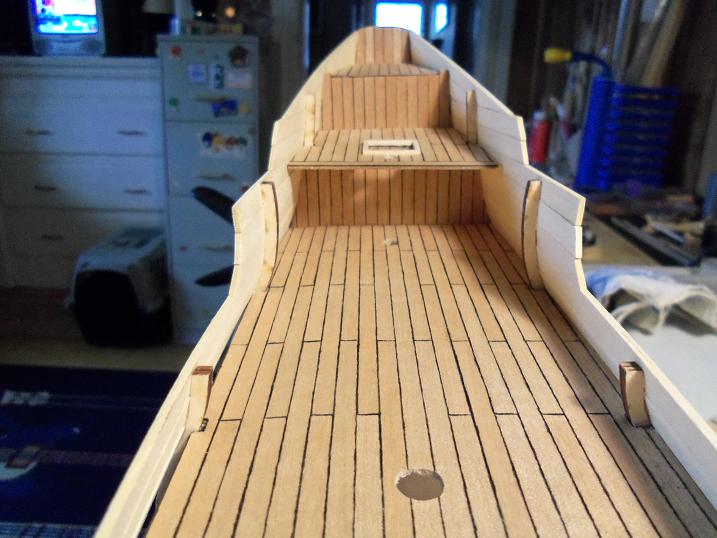
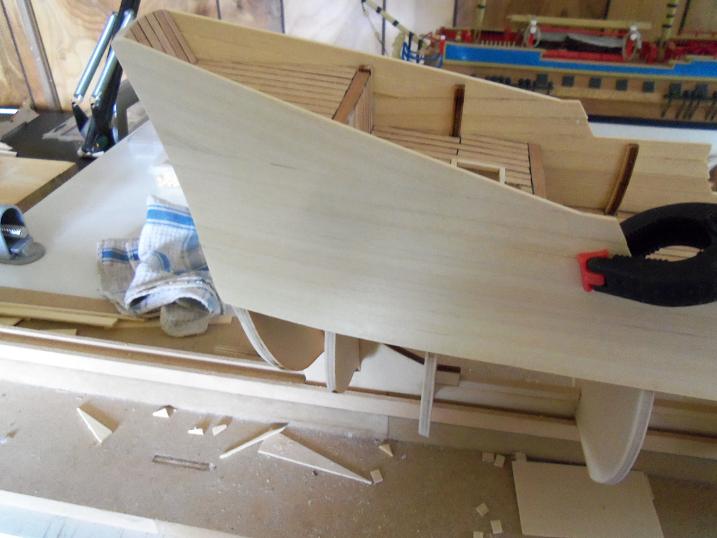
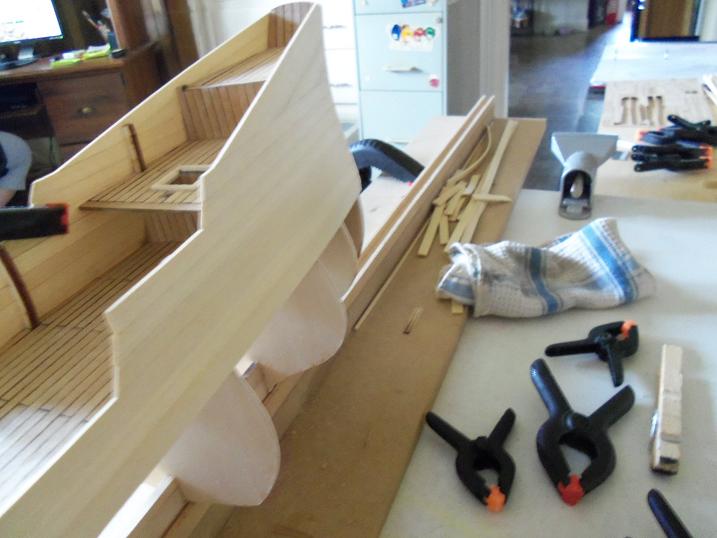
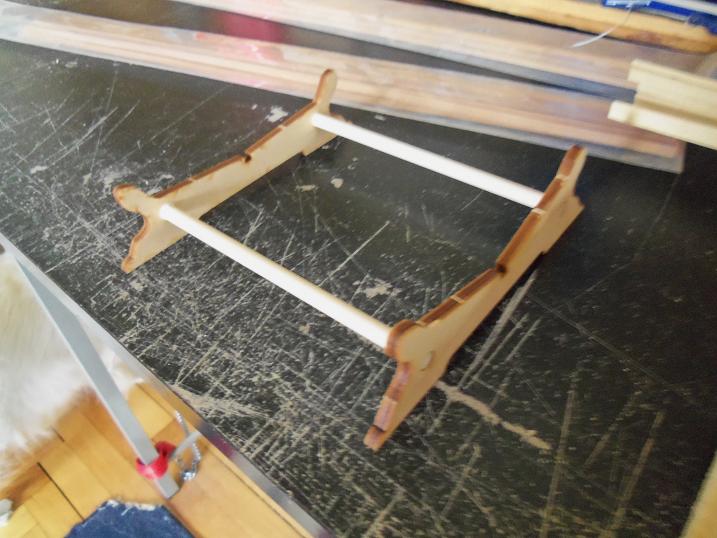
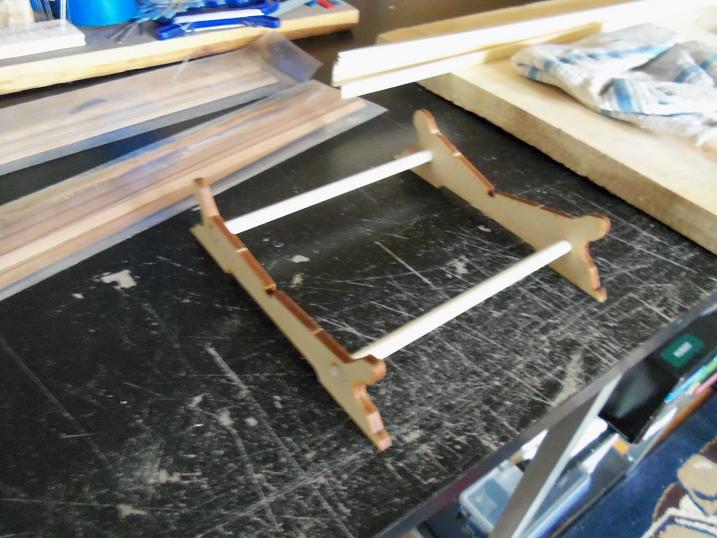
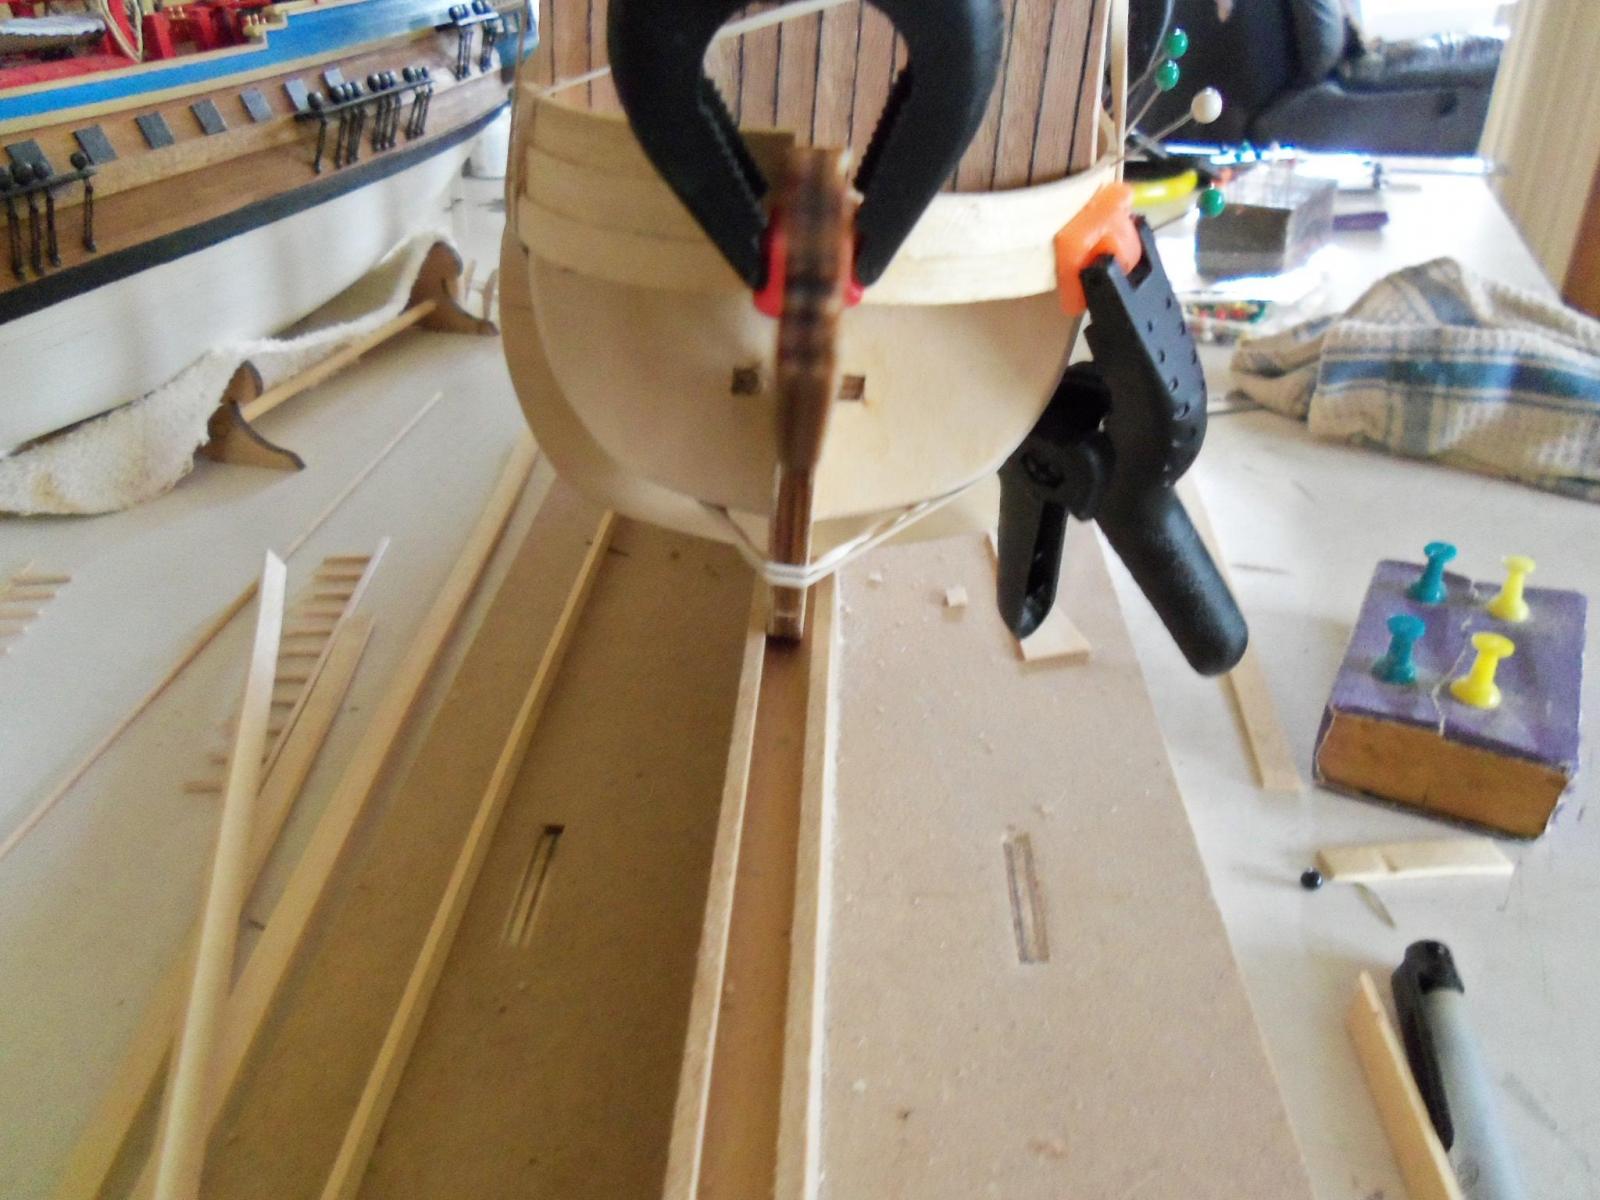
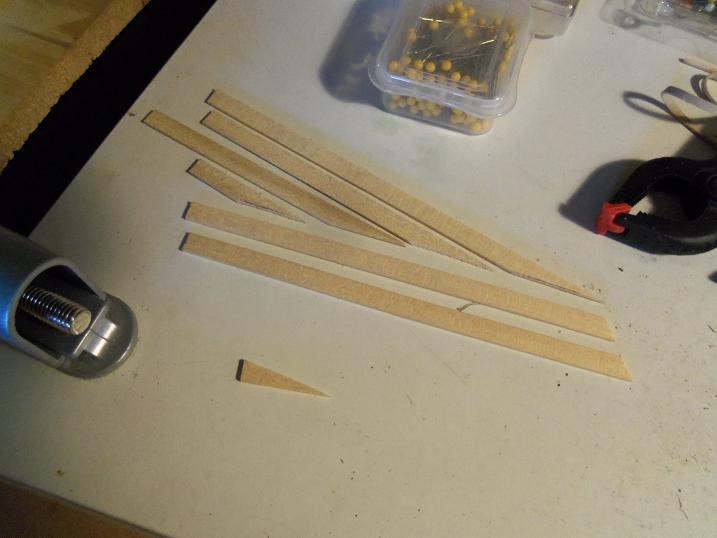
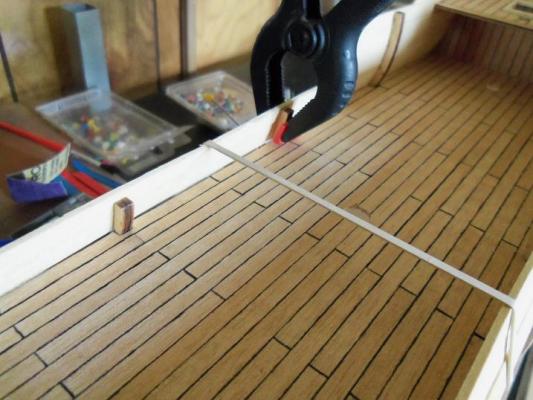
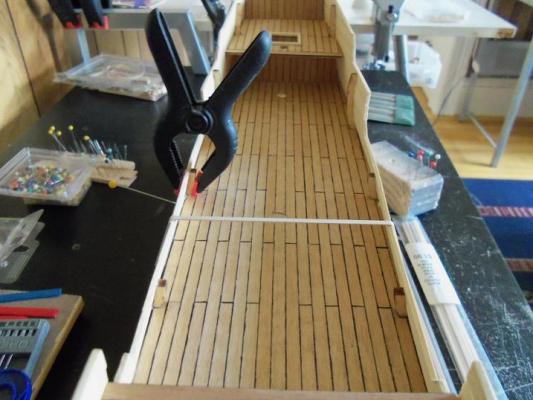
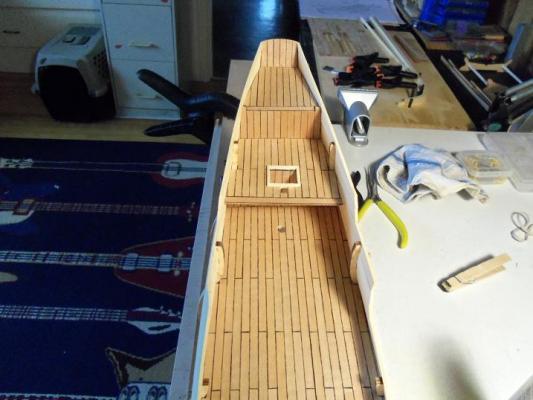
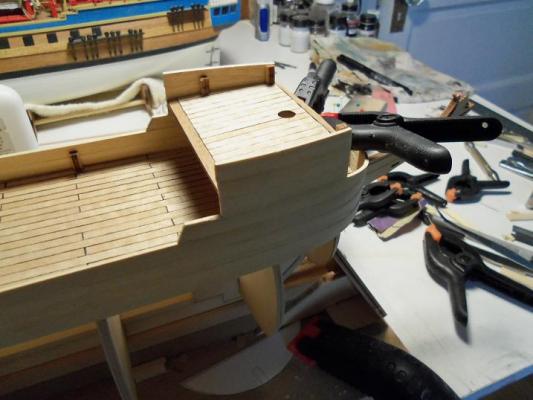
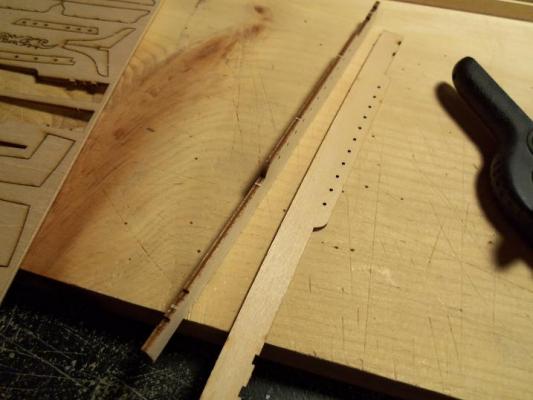
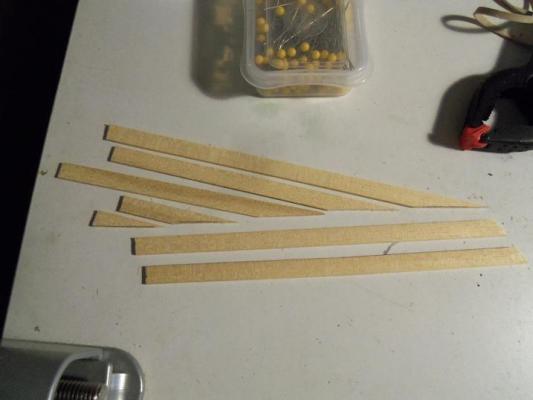
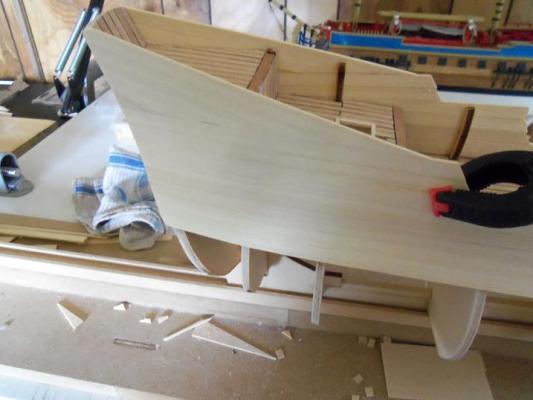
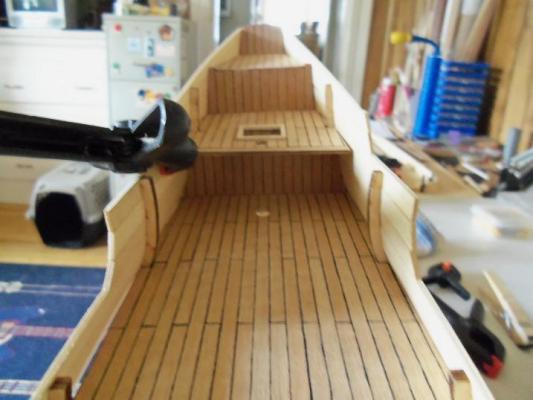
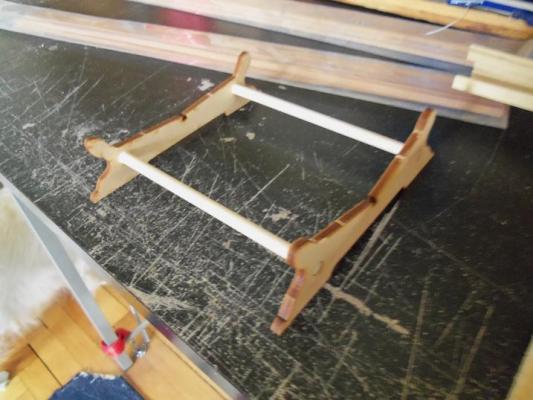
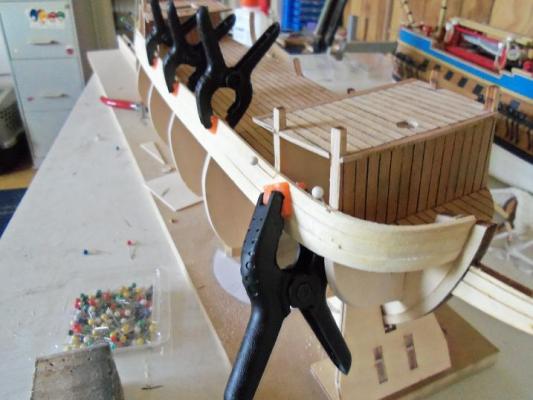
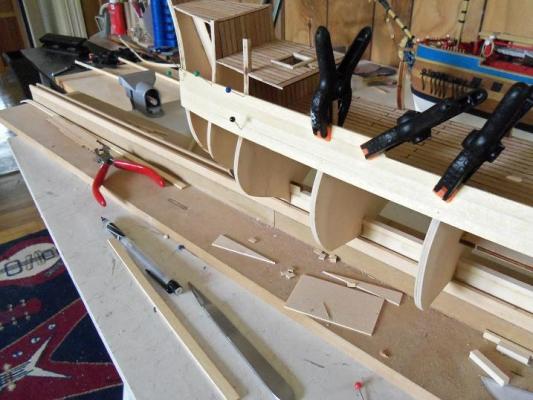
I know I have been quiet these last couple of days, but I think I have enough now to let you folks in on the state of the build. since going through the misfortune of breaking one of the aft bulwark posts, I have been hard at work getting the planking on the bulwarks, to protect the post in question. I wish I had a picture of the wood strips I'm using......it has a cool wood grain.......if memory serves me right, it's the same grain that I used for the Gothenborg. even with my primative bending jig, I still ended up having to wet the wood again and bend it more by hand, before cementing it in place. in preparation for the day when it will no longer need the slip, I assembled the stand. I thought earlier that I might be able to doi the bow planking at a later time, but I had found that there is a bulwark wall around this small portion of deck, so, I planked it . the wrap around at the bow is pretty tight, you can see a spur there.....hopefully I can rub that out, or something will cover it {it looks like a good contact point for the trail boards and head stock}. the third clamp aft is the broken post. to trim the excess planking at the transom, I used a flat headed pair of snips.......cuts it really close with just enough to sand flush. to insure that there will be no glue boo boo's when it comes time to stain, I'm trying to be extra lean with the glue between the planks. the bow though, is going to be a tough go.......it's a real pain in the transom. I'm just putting some in the most critical of places. for the upper section of the stern, I precut these boards. this will give the shape of the upper decks I have been doing a little sanding here and there. it will make it easier when I go to do the major sanding......I can just smooth out the rest of the contour. there is one minor imperfection.....don't know how I could have missed it. I thought to leave it.......but you'll get to see it get worse as I go along


-
I see cannonball racks in our future........
-
I have a few myself.....snipped them from our local newspaper
- 1,668 replies
-
- 1
-
-
- syren
- model shipways
- (and 1 more)
-
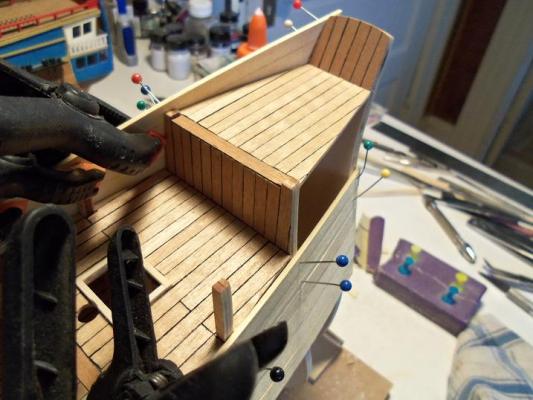
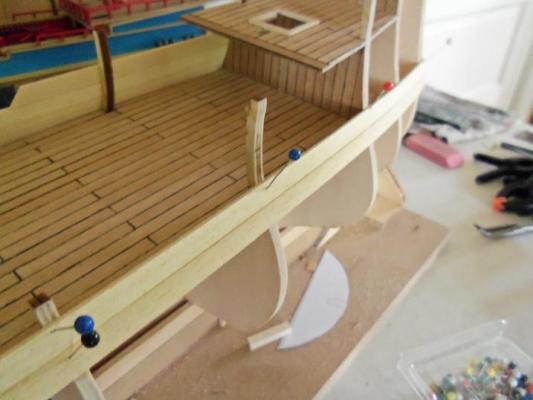
good to see you back in the shop.....even a little is a lot I like the way the paint turned out.......I don't use my airbrush on everything either.......masking every time you turn around is a pain. the bulwarks will look real good when the deck is planked.
-
Cutty Sark by NenadM
popeye the sailor replied to NenadM's topic in - Build logs for subjects built 1851 - 1900
looks like your having fun....... this hobby is meant to be done slowly.......just do what you can, when you can. I've done a few old kits in my day.......my first one was 20 - 30 years old, when I got it. the wood was like sawing concrete...but I used it anyway. good to have you aboard.......check out some of the tutorials they have here, I believe you will find them useful. I'll be keen to follow along! -
good to hear Sjors..........your ticker is'a tocking.......your legs keep'a walking doing a scratch on that part sounds like a good idea...I'll look forward in seeing your refit!
-
awesome job there....Mobbsie! you've done it like a pro!
- 1,279 replies
-
- 1
-
-
- agamemnon
- caldercraft
- (and 1 more)
-
simply amazing Daniel......you sir, have quite an imagination, to compliment your talent. I enjoy watching how you juggle the two
-
tin foil Sjors...........tin foil!.......or, you may have to go on the roof and reorient the antenna! LOL! I read the posts earlier, and decided to stay out of it. I love to talk as much as anyone.......what else is there to do between pictures. I too enjoy the company here. when MSW went down.......I was truly lost........not being able to sit down and visit with you all, was a real bummer. this is the #1 site that I belong to........you folks and your builds are the greatest. even stranger than that Daniel...........a clown doing a French ship........you would think that a mime would be doing one......but that would be a boring build log.......only pictures
- 1,668 replies
-
- 4
-
-
- syren
- model shipways
- (and 1 more)
-
awesome looking build Adrieke I want to do lighting on a future build......pretty sweet the way your doing it.