glbarlow
-
Posts
4,129 -
Joined
-
Last visited
Content Type
Profiles
Forums
Gallery
Events
Everything posted by glbarlow
-
 Excellent work, it’s a great looking model and a Speedy well done. Great work!
- 91 replies
-
- 4
-

-
- Speedy
- Vanguard Models
- (and 1 more)
-
I agree, it doesn’t make much sense, they’d climb either side for the stability. It would be a unique look, but I’d leave the center gap clear. So two opposing Glenn votes😏
- 345 replies
-
- 2
-

-
-
- Duchess Of Kingston
- Vanguard Models
- (and 1 more)
-
I space them 10 then 5 then 2. Not only for keeping them lined up but it also makes it easier to tie, and even better at least for me, somehow it makes me physiologically feel like am making more progress in less time.
- 476 replies
-
- 4
-
-
- sphinx
- vanguard models
- (and 1 more)
-
Looking great. I dread ratlines but once I get started I go into a trance😳
- 201 replies
-
- 1
-
-
- Duchess of Kingston
- Vanguard Models
- (and 1 more)
-
Everyone raise your hand if you have a tool that measures thread to .04 diameter 😜
-
You should definitely do that, you’re not finished until you’re finished. I showed my method in my Cheerful long, along the way I discovered clear acrylic being a better option for me than diluted PVA. Definitely not CA for these.
- 362 replies
-
- 2
-
-
- Amati
- Lady Nelson
- (and 2 more)
-
I’m by own worst critic, there does come a point where I know I’m over-optimizing. I usually figure that out after I’m well past it.
- 840 replies
-
- 6
-
-
- winchelsea
- Syren Ship Model Company
- (and 1 more)
-
I’ve built with both and that is the correct answer. Cedar is softer, easy to work with, and has the unmistakable golden glow, plus it ages well. Boxwood is beautiful, but it’s harder to come by (and harder wood) quality stuff and it’s very expensive when you do find it. Bottom line they are both great, along with cherry and pear the best modeling woods.
-
Thank you for saying so. You’re doing a great job with your log as well.
-
You discovered tweezers during rigging the ratlines 😊. You can get those clove hitches at the top, but it is tight. You did a very nice job with them.
- 362 replies
-
- 1
-
-
- Amati
- Lady Nelson
- (and 2 more)
-
Thank you all for the kind words. It’s all going to be worth it when I finally turn it right side up. Though I’ve seen about enough of those lovely ¼ cedar planks, don’t tell anybody but I kinda like planking. I’ll probably have withdrawal pains not working on her for a couple of weeks. I hope to finish the planking by the end of July.
- 840 replies
-
- 2
-
-
- winchelsea
- Syren Ship Model Company
- (and 1 more)
-
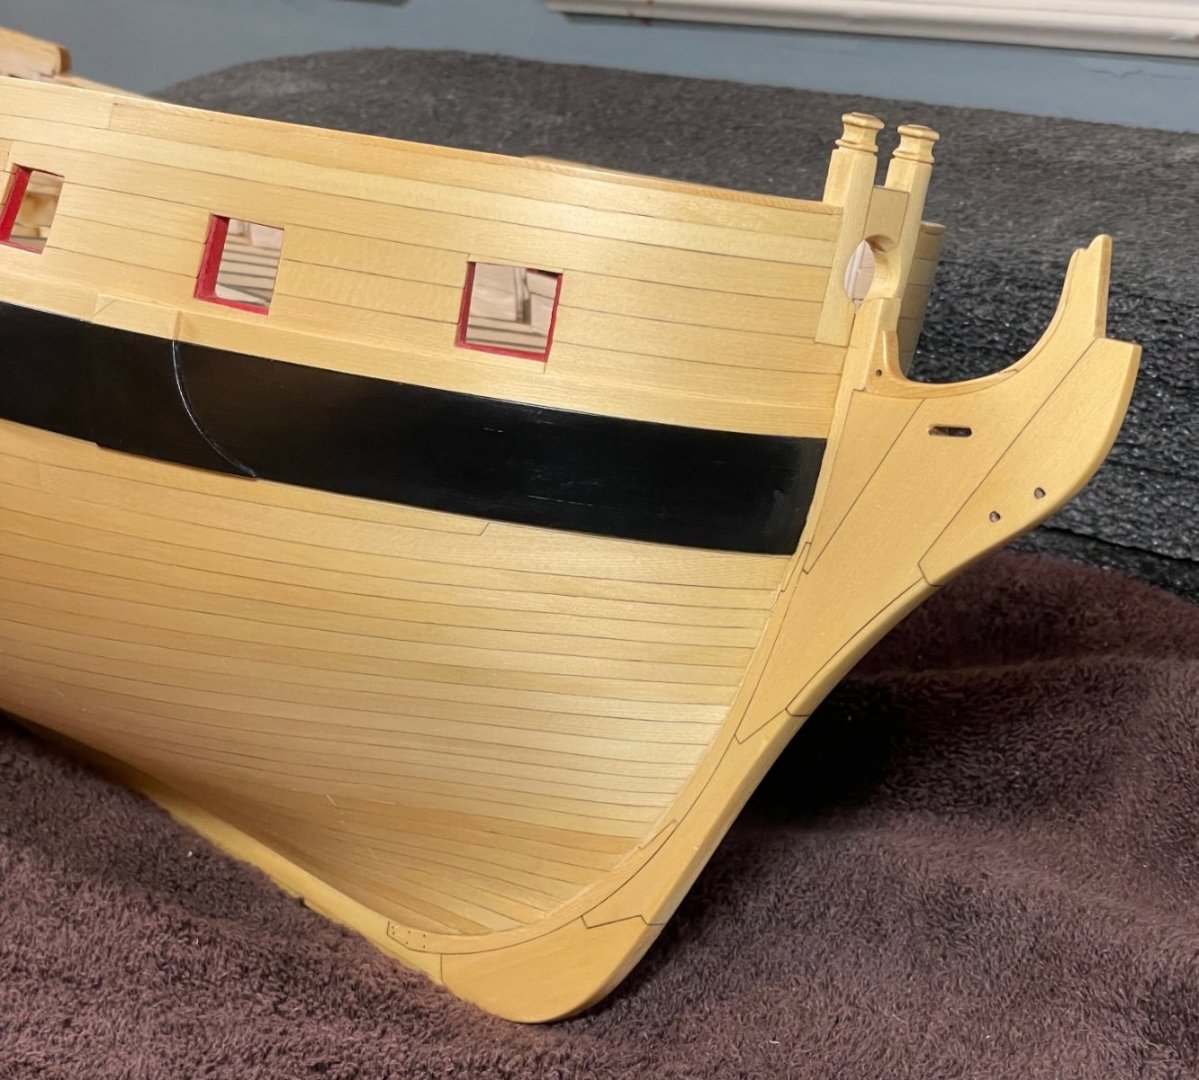
A milestone reached…..sorta. 1/3rd of one side of the hull complete….sorta. The first light coat of WOP and these macro photos reveal additional touch up and additional sanding needed. The top half has more WOP coats. I’ll sand it all down with 800 grit at the end of my planking marathon. Still nice to complete something. Lots of other June activities, she will have to be waiting for me for a while.
- 840 replies
-
- 27
-
-

-
- winchelsea
- Syren Ship Model Company
- (and 1 more)
-
Your attention to detail, faith to historical accuracy, and ability to convert complexity and elegance into something us mortals can follow into building a beautiful model never ceases to amaze. I can’t wait to get past planking and on to building all these wonderful elements. Well done Chuck!
- 1,784 replies
-
- 3
-
-
- winchelsea
- Syren Ship Model Company
- (and 1 more)
-
You’ve done an amazing job with the details and customizations you’ve done. A fine looking model.
- 857 replies
-
- 3
-
-
-
- Sphinx
- Vanguard Models
- (and 1 more)
-
Good job with the stern, I really struggled there.
-
Mine’s not all that neat at the moment, bits of planking everywhere. Plus I have the advantage of cabinets with doors, who knows what’s behind them all. Same thing with my office and all the camera gear I’ve accumulated. Meanwhile, I’m off to do more planking, and more planking….
- 345 replies
-
- 2
-
-
- Duchess Of Kingston
- Vanguard Models
- (and 1 more)
-
Great work area, you are a true dedicated hobbyist. I’m ver impressed, and jealous.
- 345 replies
-
- 2
-
-
-
- Duchess Of Kingston
- Vanguard Models
- (and 1 more)
-
Very crisp work, nice and clean paint work. Well done!
-
Way too many cool tools, I’ll never catch up😜
- 345 replies
-
- 2
-
-
-
- Duchess Of Kingston
- Vanguard Models
- (and 1 more)
-
About 1/10th of what it will take the rest of us
- 488 replies
-
- 7
-
-

-
- Indefatigable
- Vanguard Models
- (and 1 more)
-
We know that every plank is a project. Often for me one plank is many projects. If they’re close but not right, I break them to avoid the temptation of “it’s good enough.” With summer, travel, and grandkids my rapid pace of 1-3 successful planks a day may slow. Hopefully by July my hull will be planked. sigh…..

- 840 replies
-
- 3
-
-
- winchelsea
- Syren Ship Model Company
- (and 1 more)
-
So there is such a place, a world of completed planking…🤣😂
- 840 replies
-
- 3
-
-
- winchelsea
- Syren Ship Model Company
- (and 1 more)