glbarlow
-
Posts
4,126 -
Joined
-
Last visited
Content Type
Profiles
Forums
Gallery
Events
Everything posted by glbarlow
-
 Same great precision and quality techniques as always. A joy to watch your work come to life.
- 345 replies
-
- 1
-

-
- Duchess Of Kingston
- Vanguard Models
- (and 1 more)
-
Thank you for saying so and for following. I understand the perfectionist and patience quotient. I’ve tossed about as many planks as I’ve made.
-
I can’t begin to comprehend the builder skill and talent this model represents. As I struggle to plank the stern of Winchelsea then see such a masterpiece I just shake my head in wonder. I’m likely to buy the books just so I know there are masters like you two out there serving as inspiration.
- 345 replies
-
- 10
-

-
Look at my Cheerful build rigging for the simple tools I use for rigging. You don’t have to remove the shrouds to master belaying with the right tools. See mine and other build logs (like Delf’s Speedy log),or Google, for how to belay and run lines. The coils are done with a separate piece of line after the rigging line is belayed and cut, not with the excess. You’ll either need to remake the pin rack or just stick with the fat ones you started with. Rigging is a different aspect of modeling that takes patience and time to learn. The LN rigging is basic and a great way to learn it. I really enjoy and look forward to rigging my models. My first model was the AVS, I would have been lost without the Bob Hunt practicum, but that was long before MSW and the many excellent build logs to learn from. You post a lot of questions around the forum which is fine, but maybe take a step back and make the time to look through build logs to see how things are done. Nothing you need to do to rig hasn’t been done many times before and explained in many build logs, do the research, don’t just rely on often confusing or contradictory comments to your log.
- 362 replies
-
- 2
-
-
- Amati
- Lady Nelson
- (and 2 more)
-
Sorry to hear that, I was looking forward to following your progress.
-
Any progress Bob?
-
I stuck a dowel with fake shrouds tied off at the same height as they would be on the mast, stuck the dowel in the mast’s hole on the deck, then taped them to their spot on the channel. With that I could then mark in pencil where the nail for the chain plate needed to go for the proper angle. Too late for that now a you’ve tapped the holes already, so just a thought for others and the future.
- 476 replies
-
- 8
-
-
-
- sphinx
- vanguard models
- (and 1 more)
-
Thank you, I enjoy following yours as well. I wish.. but thanks Bob.
- 840 replies
-
- 3
-
-
- winchelsea
- Syren Ship Model Company
- (and 1 more)
-
Although it may be more of a mental advantage it helps me make sure I’m keeping tight rows and that I’m keeping the plank shift pattern as I go up (or down). Mostly though it’s so I can focus on the bow and the stern for a while to keep them consistent since both are different challenges. And it’s a really big model😳
- 840 replies
-
- 6
-
-
- winchelsea
- Syren Ship Model Company
- (and 1 more)
-
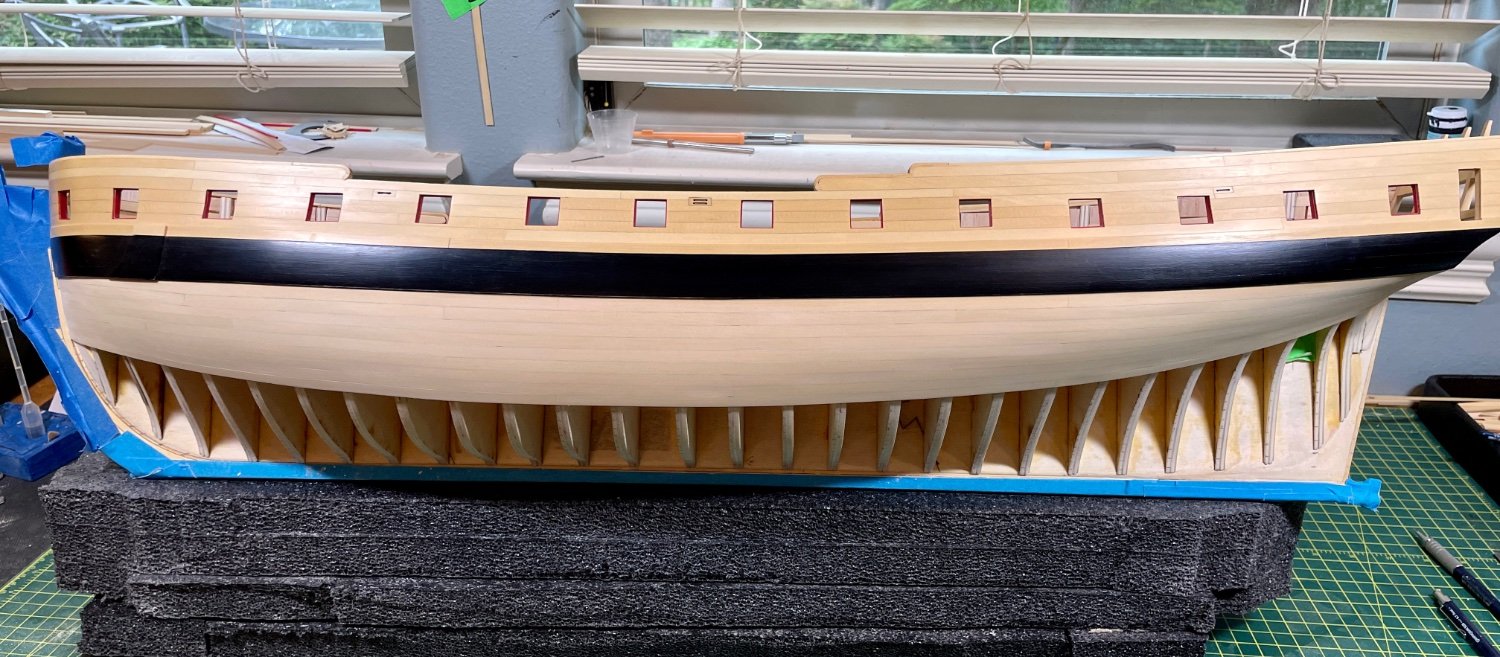
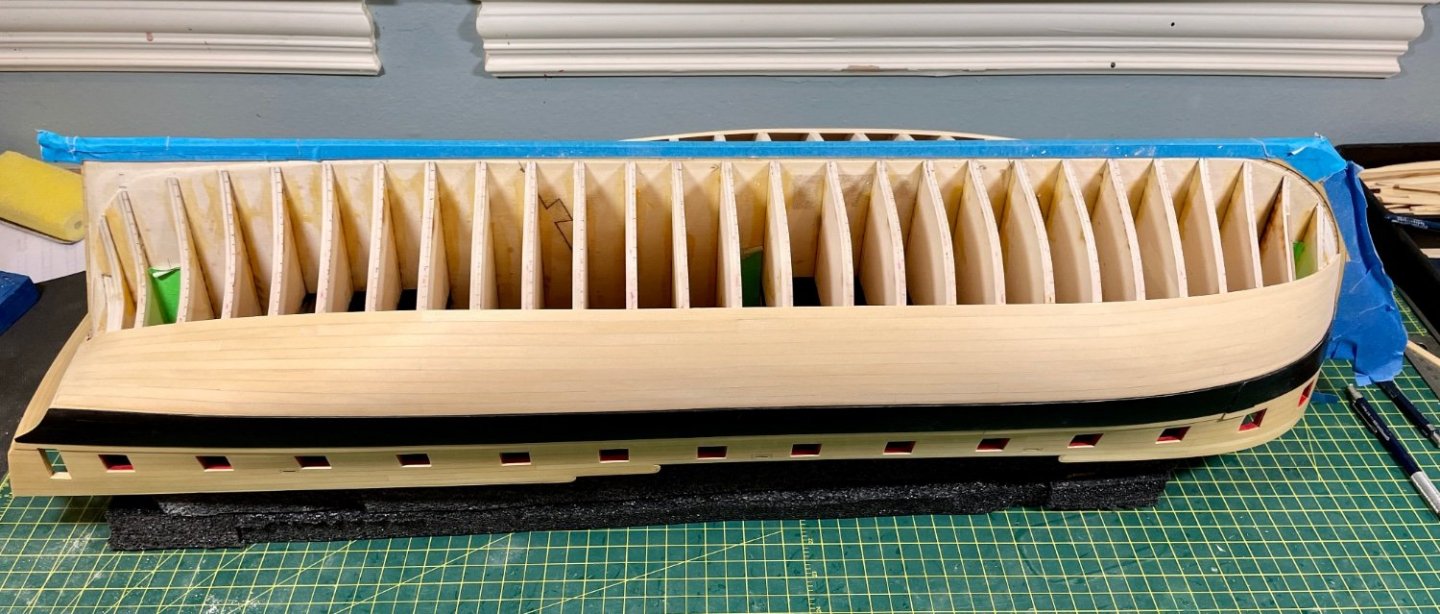
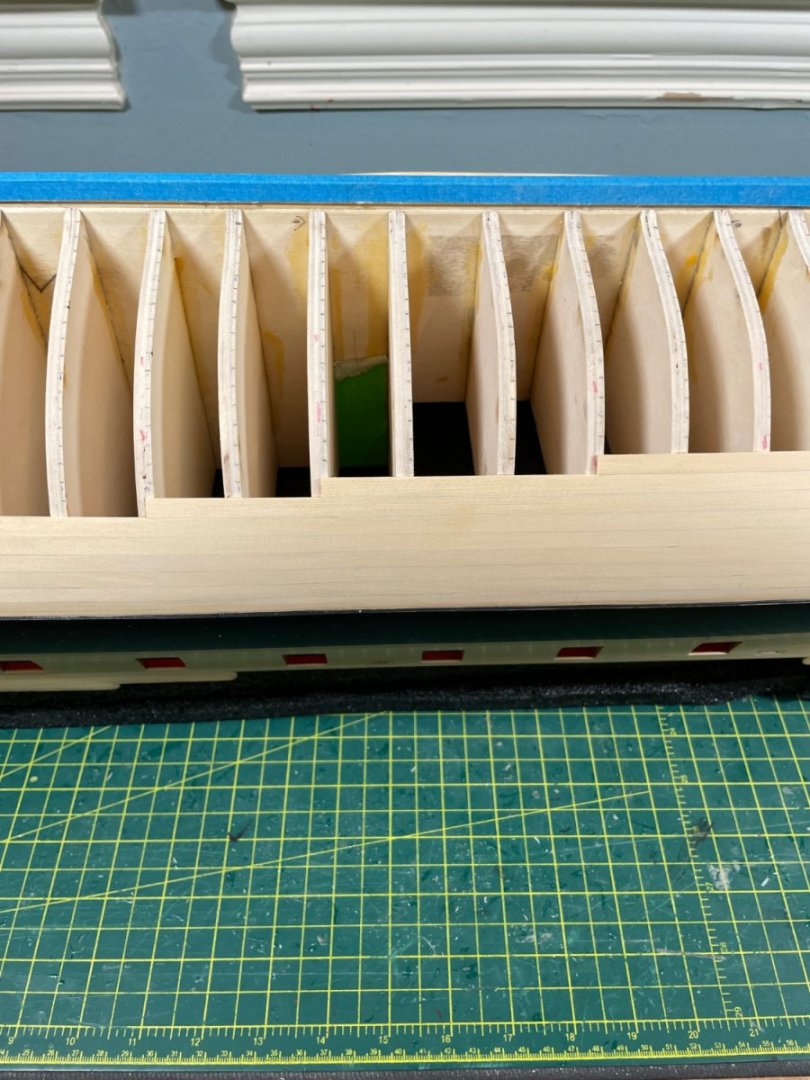
The slow work of planking continues, now with the first port side belt completed to go with 16 starboard rows. Just a couple of progress photos. No WOP at this point and only preliminary sanding. I’ll do the next port side belt then work from the keel up after that. Here a plank here, there a plank there, everywhere a plank plank. Thanks as always for your comments and likes


- 840 replies
-
- 15
-
-

-
- winchelsea
- Syren Ship Model Company
- (and 1 more)
-
Thank you. What I know I learned from others and improved by doing. I too have a lot to improve, especially with the stern.
- 840 replies
-
- 2
-
-
- winchelsea
- Syren Ship Model Company
- (and 1 more)
-
I use WOP on the deck and often cover painted areas with it as well.
- 562 replies
-
- 3
-
-
- vanguard models
- alert
- (and 2 more)
-
USF Confederacy by Rustyj - FINISHED
glbarlow replied to Rustyj's topic in - Build logs for subjects built 1751 - 1800
Congratulations Rusty! The Confederacy was an early introduction for me on what a great model was supposed to look like.- 149 replies
-
- 3
-
-
- confederacy
- frigate
- (and 1 more)
-
Very nice looking deck, excellent planking.
- 399 replies
-
- 1
-
-
- winchelsea
- Syren Ship Model Company
- (and 1 more)
-
Agree with others, it isn’t a race. Planking a deck around hatches with a tight fit at bulwarks takes time. The best way to do it right is a plank at a time. I see more potential for problems than for a good outcome trying your suggested approach.
-
The OPs question was answered long ago………
-
Bad customer experience and shoddy product. I got a very tarnished and scratched up brass pedestal that had been obviously repackaged. After long delays in responses they finally shipped a replacement that was in worse condition than the first. Didn’t get a response back at all after that. I admittedly gave up after that. So many other places to buy from.
-
That’s a good diagram. The two loops are the closed with a separate lashing .
- 362 replies
-
- 2
-
-
- Amati
- Lady Nelson
- (and 2 more)
-
The best tool for rigging are cuticle cutters and embroidery scissors - your snips won't help a lot with thin line. I wrote a bit about them in my Cheerful log somewhere.
- 362 replies
-
- 2
-
-
-
- Amati
- Lady Nelson
- (and 2 more)
-
Here's an example of one of those clumsy efforts done 12 years ago on my Pegasus (and long before I knew of Syren rope) along with the now no longer made Warner blocks.

- 542 replies
-
- 2
-
-
- Sphinx
- Vanguard Models
- (and 3 more)
-
Thank you for saying so, I appreciate it. Thank you, if only my work shop was remotely clean now 😄 Thanks. I definitely struggled, now if I can only remotely match it on the port side.
- 840 replies
-
- 3
-
-
- winchelsea
- Syren Ship Model Company
- (and 1 more)
-
Thank you Derek, I say that a lot with your work. A side note, I use (and keep sharp) my Veritas chisels so much now, so thanks for both the lead on tools and the Kell sharpening wheel. I’d be lost without them.
- 840 replies
-
- 3
-
-
-
- winchelsea
- Syren Ship Model Company
- (and 1 more)
-
Thank you BE, I feel that way a lot when I see the work of some others, including yours. Side note, when my mini-chisels are too big I turn to the Swann Morton surgical chisel blades I picked up after seeing your use of them. They do come in handy.
- 840 replies
-
- 3
-
-
- winchelsea
- Syren Ship Model Company
- (and 1 more)