Supplies of the Ship Modeler's Handbook are running out. Get your copy NOW before they are gone! Click on photo to order.
×


druxey
-
Posts
13,133 -
Joined
-
Last visited
Content Type
Profiles
Forums
Gallery
Events
Everything posted by druxey
-
 I believe the Swiss one is a dapping block: could be a very useful forming tool! That was a very kind friend.
- 649 replies
-
- 6
-

-
- dunbrody
- famine ship
- (and 2 more)
-
It is intriguing to think that the weather decks were covered with heavy canvas druggets, but this is unlikely, as J S Frank suggests. Weathered wood, even if scrubbed would turn a greyish color after a while. While it is tempting to think that the planking was painted 'sad colour', this can also be discounted as it would be difficult to maintain. How accurate, in your opinion, Mark, is the painting in other details?
-
Nice progress, Frank. Those are really classy weights that you use! I merely use offcut chunks of brass....
- 649 replies
-
- 7
-
-
- dunbrody
- famine ship
- (and 2 more)
-
Good that you noticed cumulative error before it bit back, Maurys. With this type of construction one needs to check measure EVERYTHING!
- 525 replies
-
- 2
-
-
- anchor hoy
- hoy
- (and 1 more)
-
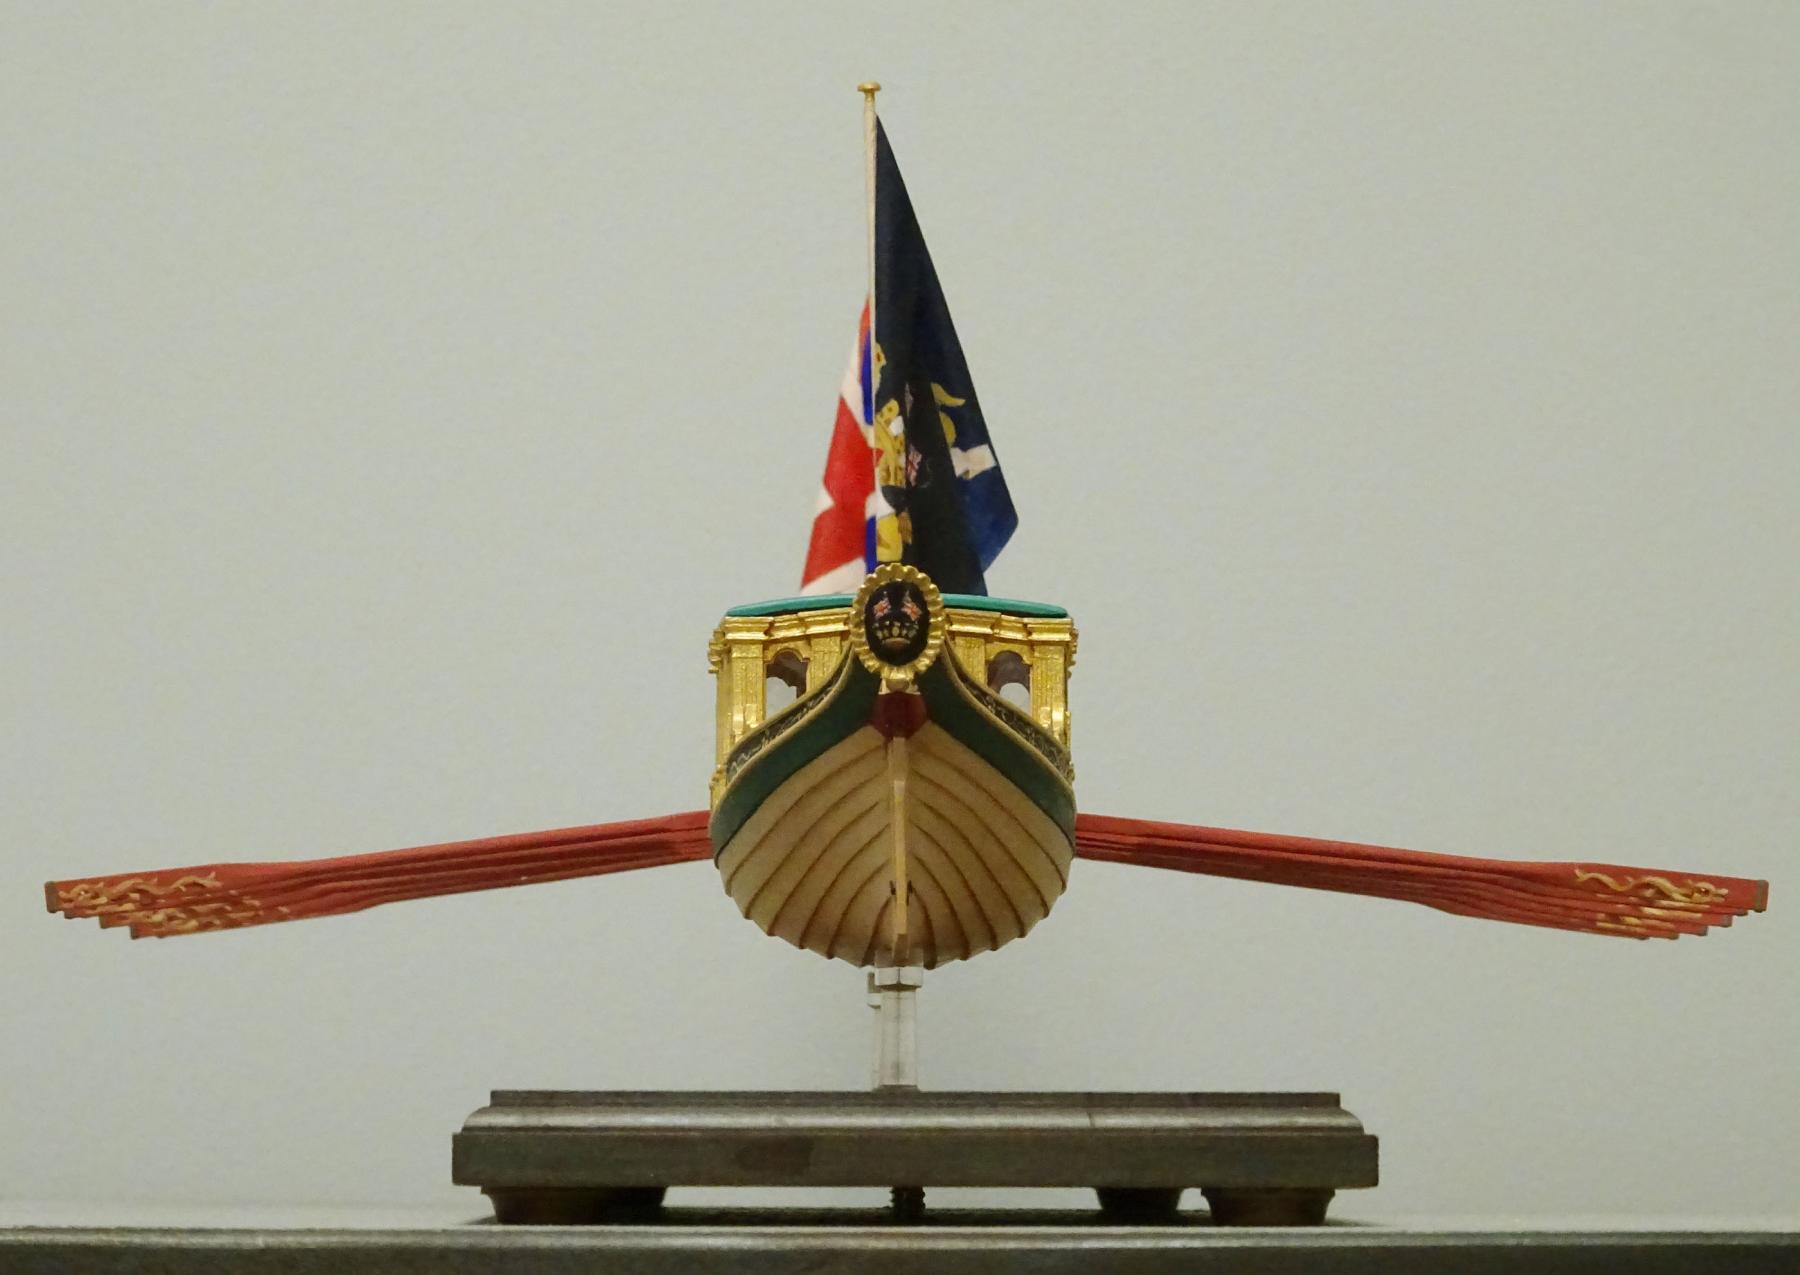
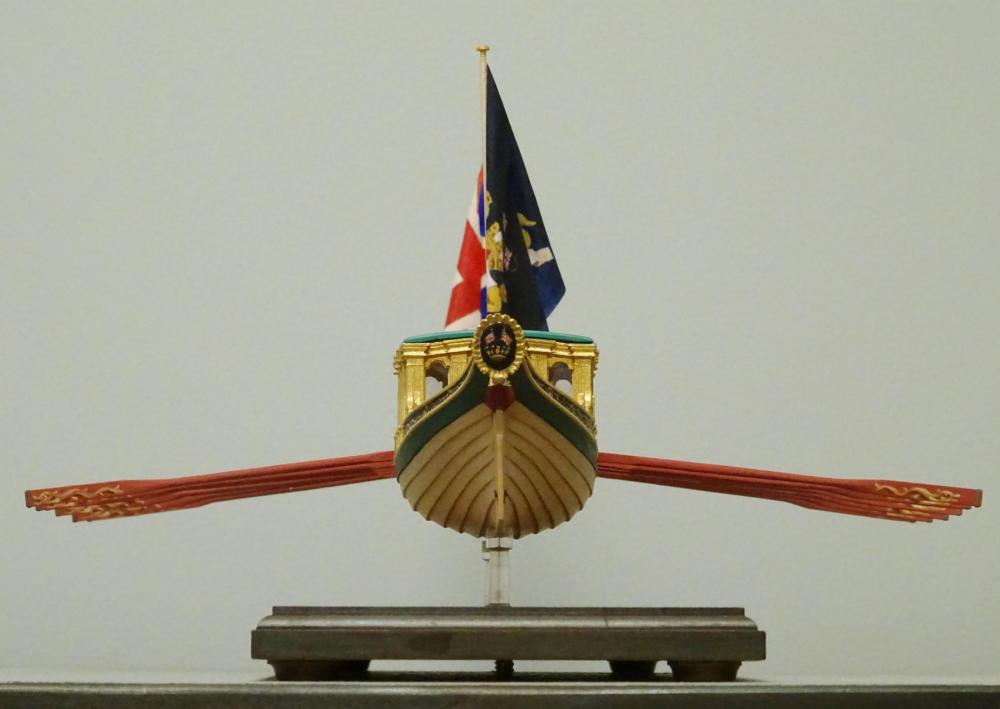
Like an ageing theater actor, this is the model's last farewell tour and final appearance on this log. Thanks for dropping by! See you again after publication date....
- 641 replies
-
- 41
-
-
- greenwich hospital
- barge
- (and 1 more)
-
Lovely idea and sentiment, Mark. Now, all you have to do is complete the model this year!
-
This gets more interesting! Thanks for the replies on the fore ports.
- 1,051 replies
-
- 2
-
-
- cheerful
- Syren Ship Model Company
- (and 1 more)
-
I'd say your right leg would be a good source, Pompey, if you are desperate!
-
Not an entirely satisfying answer, Chuck, but thanks for trying! If the windlass and bitts were moved 2' 0" aft, I could see that it might just be possible on the starboard side. The bowsprit would still intrude on the port side, though....
- 1,051 replies
-
- 2
-
-
- cheerful
- Syren Ship Model Company
- (and 1 more)
-
Often 're-makes' give fewer headaches down the road than 'fix-ups'. Those station lines are good reference points for other structures, but if you shift some of the frames and not others, you'll end up confusing yourself. If I may advise, the re-make route is the better one.
- 525 replies
-
- 3
-
-
- anchor hoy
- hoy
- (and 1 more)
-
Looking great, Chuck. One thing that's puzzled me for years is why there were large ports placed right up in the bows. There's no space to move, much less work, a cannon or carronade of any sort. Do you have any idea of the purpose of those ports?
- 1,051 replies
-
- 5
-
-
- cheerful
- Syren Ship Model Company
- (and 1 more)
-
Real progress visually now, Frank. That is looking great!
- 649 replies
-
- 6
-
-
- dunbrody
- famine ship
- (and 2 more)
-
Try seeing how 6' 0" above deck looks for a starting point.
- 649 replies
-
- 3
-
-
- dunbrody
- famine ship
- (and 2 more)
-
Nice simple method for ensuring the partners are on the centreline, Frank.
- 649 replies
-
- 7
-
-
- dunbrody
- famine ship
- (and 2 more)
-
One can never have too much line! I think you will be happy with Syren's cordage.
- 24 replies
-
- 1
-
-
- three sisters
- schooner
- (and 1 more)
-
Your choice, of course; but in the lower picture the boat hull looks a bit naked without its garboard strake!
- 269 replies
-
- 4
-
-
- Queen Anne Barge
- Syren Ship Model Company
- (and 1 more)
-
If you are working with rigging thread, you might wish to consider the line that the Syren Ship Model Company produces. (Scroll down and click the link on the right side of the cover page of this site for the Syren web site) It is produced in many diameters and is probably the best commercial line available. And you are right: patience is the word for any model work!
- 24 replies
-
- 1
-
-
- three sisters
- schooner
- (and 1 more)