druxey
-
Posts
13,393 -
Joined
-
Last visited
Content Type
Profiles
Forums
Gallery
Events
Everything posted by druxey
-
 Alan G: The original timber used was probably larch. A Royal barge draught of 1823 (ZAZ7154) has the notation "To be built of Larch, or other light and durable wood." And yes, I've used trompe l'oeil techniques before, both on baseboards as well as theatrical and film furniture and sets.
- 641 replies
-
- 4
-

-
- greenwich hospital
- barge
- (and 1 more)
-
I wasn't challenging you or your calculations, Jud, just suggesting an empirical experiment! Sorry if what I wrote sounded more aggressive than I meant it to.
-
Louie: Gesso gives a nice, smooth white surface that takes pencil or ink well when marking out planking runs and butts.
- 641 replies
-
- 4
-
-
- greenwich hospital
- barge
- (and 1 more)
-
Harland made the point that at intermediate angles, the slackness/tightening varies in a very non-linear fashion. Did you take this into account on your calculation?
-
It's not so much the brand of chisel, but how well it's sharpened that matters. I use a Lee Valley (Veritas) sharpening system with their jig and stone pond. I have water stones of 1000 and 4000 grit and add a micro-bevel on the edge. The back of the chisel is also polished to a mirror finish. Cutting with a well-sharpened edge produces the sound of a fresh apple being cut and beautiful shavings.
- 23 replies
-
- 17
-
-
Well, I imagine of the real ship sometimes the bit wandered a little. Unless it's really bad, it will be all but invisible on the finished model. If this really bothers you, I suggest boring the holes from both sides of the keel, rather than through from one side.
-
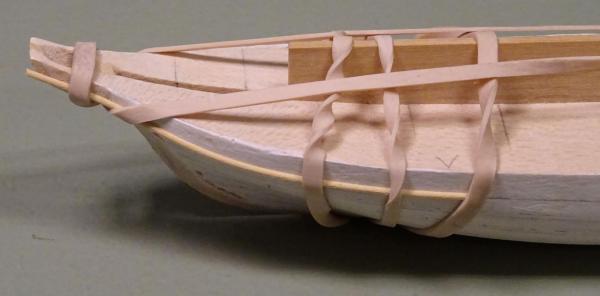
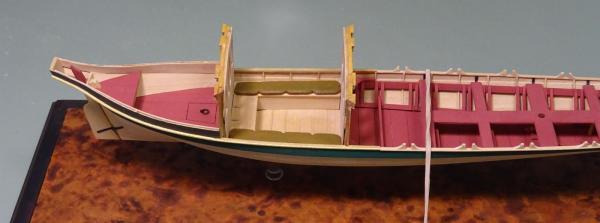
Thanks again for all of you who are dropping in on this log. Further progress sees the completion of the gunwale and its extension aft as a moulding. The aft section of gunwale is 1½" thick, rather than ¾". You can see the step up forward of the cabin area. The moulding section was wet-formed on the plug (lowest photo), then painted and applied to the model. It has a C-curve in one plane and an S-curve in the other. It was necessary to complete the gunwale before proceeding with the coach sides. I'm now cutting and fitting card pattern pieces for the coach sides.
- 641 replies
-
- 45
-
-
- greenwich hospital
- barge
- (and 1 more)
-
That looks much more plausible, but it might even be better if the floors and first futtocks were shortened a bit.
- 525 replies
-
- 2
-
-
- anchor hoy
- hoy
- (and 1 more)
-
Thank you for your latest update, Glenn. Before I read the other comments, I too was thinking "She looks about ready to turn over!" That is beautiful work.
-
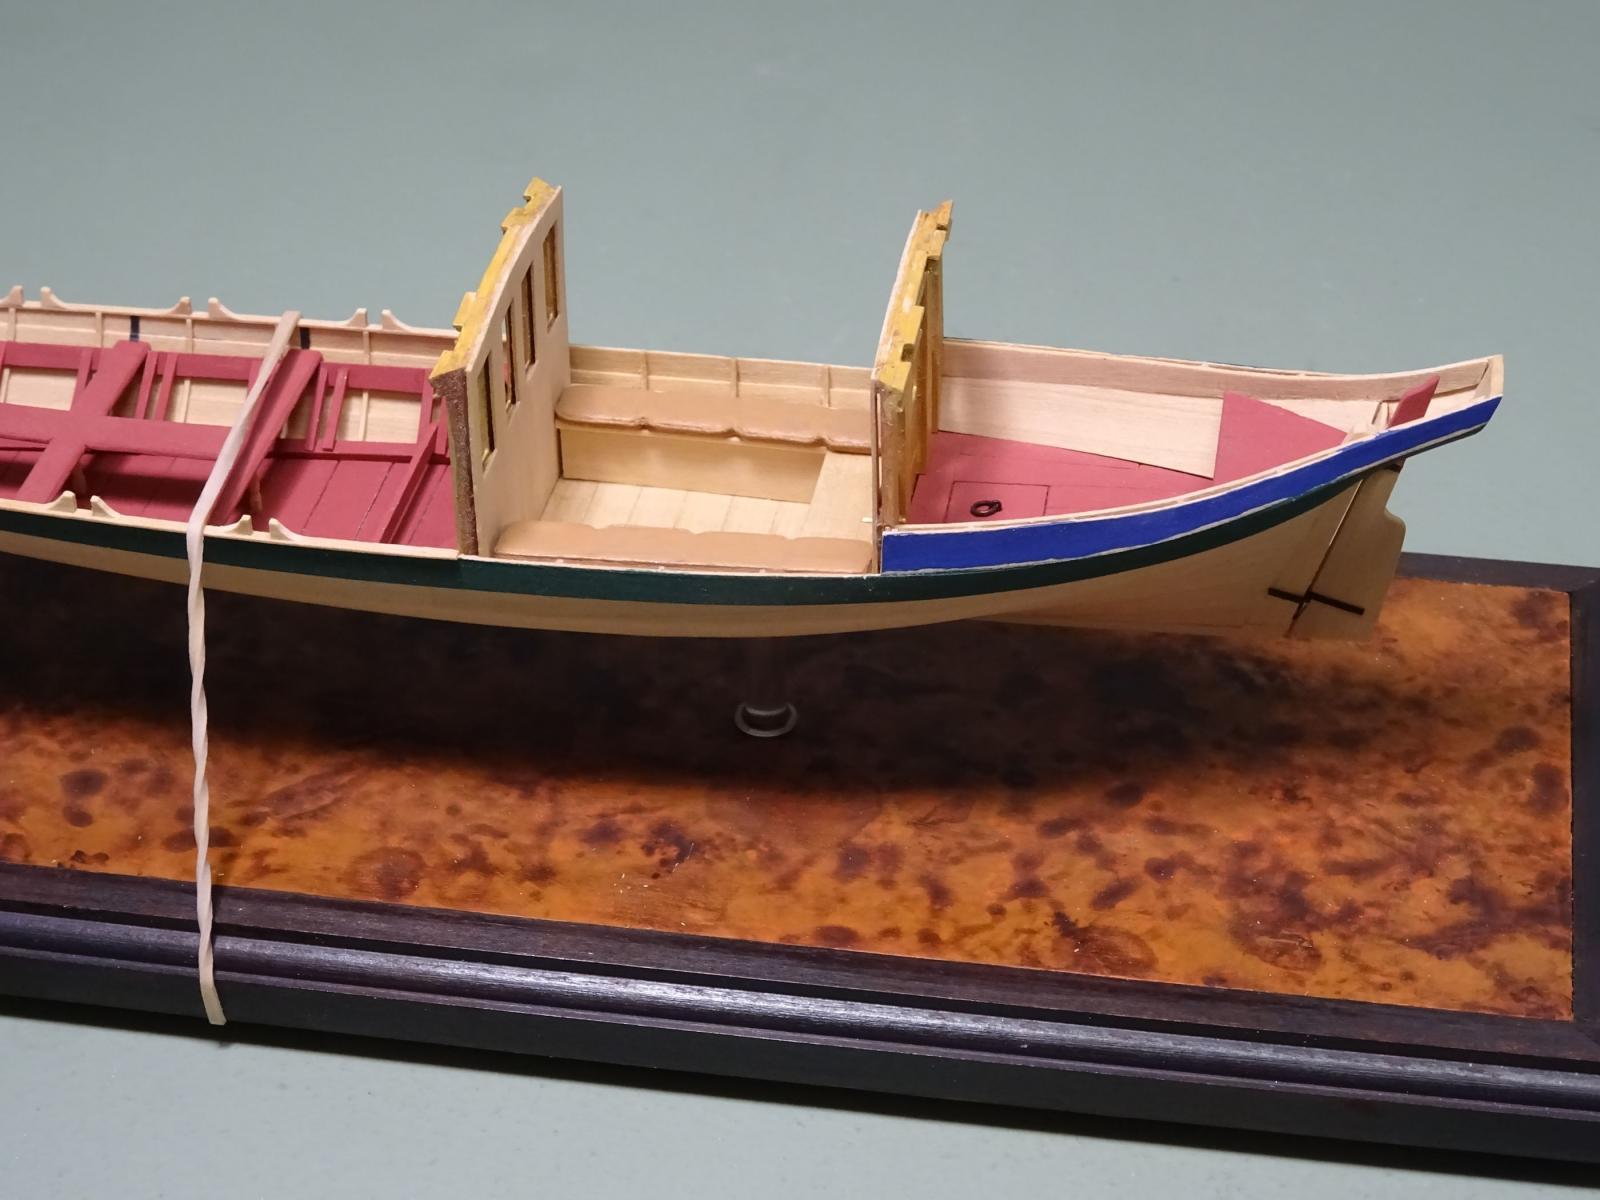
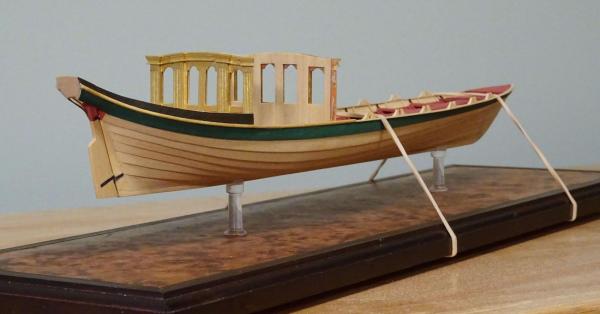
Horsehair filled...or straw. Finally have solved the gilding issue. After some experimentation I am using Golden artist color brand acrylic tube paint. It is called Iridescent Gold (fine). The particles are much finer than in other brands I've tried. Photographing this is difficult, but the photos give some idea of the result. Keen eyes will notice I've repainted the blue strake a dark green-black, referred to as merde d'oie. (If you don't know French, look this up!)

- 641 replies
-
- 36
-
-
- greenwich hospital
- barge
- (and 1 more)
-
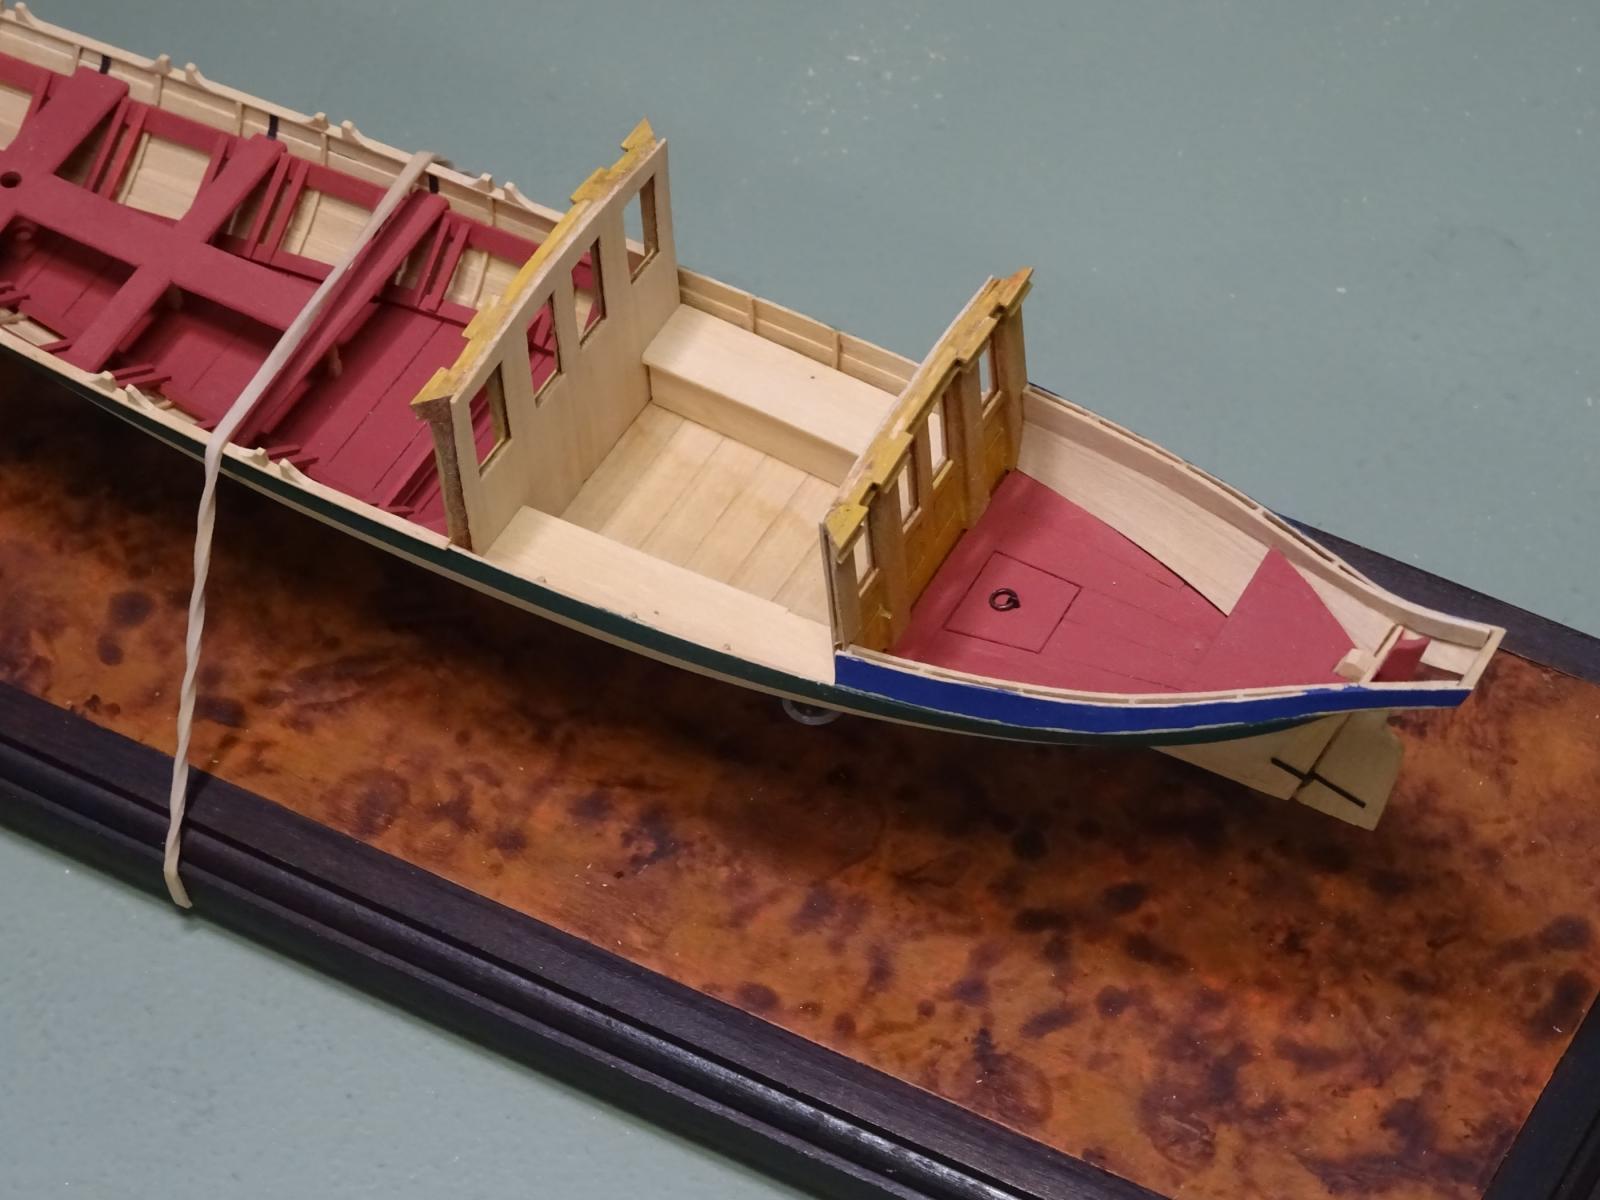
And here are the seat cushions. They were carved from some pear stock 3" thick. The piping along the edges was some fine line left over from another model. It was applied using acrylic matt medium. Had I used white glue, it would have dissolved when I painted the cushions with acrylic paint. I may deepen their color. Experiments with 'gold' are beginning to yield promising results. More soon.

- 641 replies
-
- 33
-
-
- greenwich hospital
- barge
- (and 1 more)
-
Interesting progress, Maury. This futtocks and top timbers seem awfully short to me. I think there would be only one futtock and toptimber per frame pair. See ZAZ4972 in the NMM collection of a hoy, undated.
- 525 replies
-
- 3
-
-
- anchor hoy
- hoy
- (and 1 more)
-
Nicely done scarphs, Frank. However, I believe keel scarphs were always made in the vertical plane.
- 649 replies
-
- 4
-
-
- dunbrody
- famine ship
- (and 2 more)
-
Interesting modification on your Unimat: how is the brass stop secured on the cross-slide rail?
- 3,618 replies
-
- 7
-
-
- young america
- clipper
- (and 1 more)
-
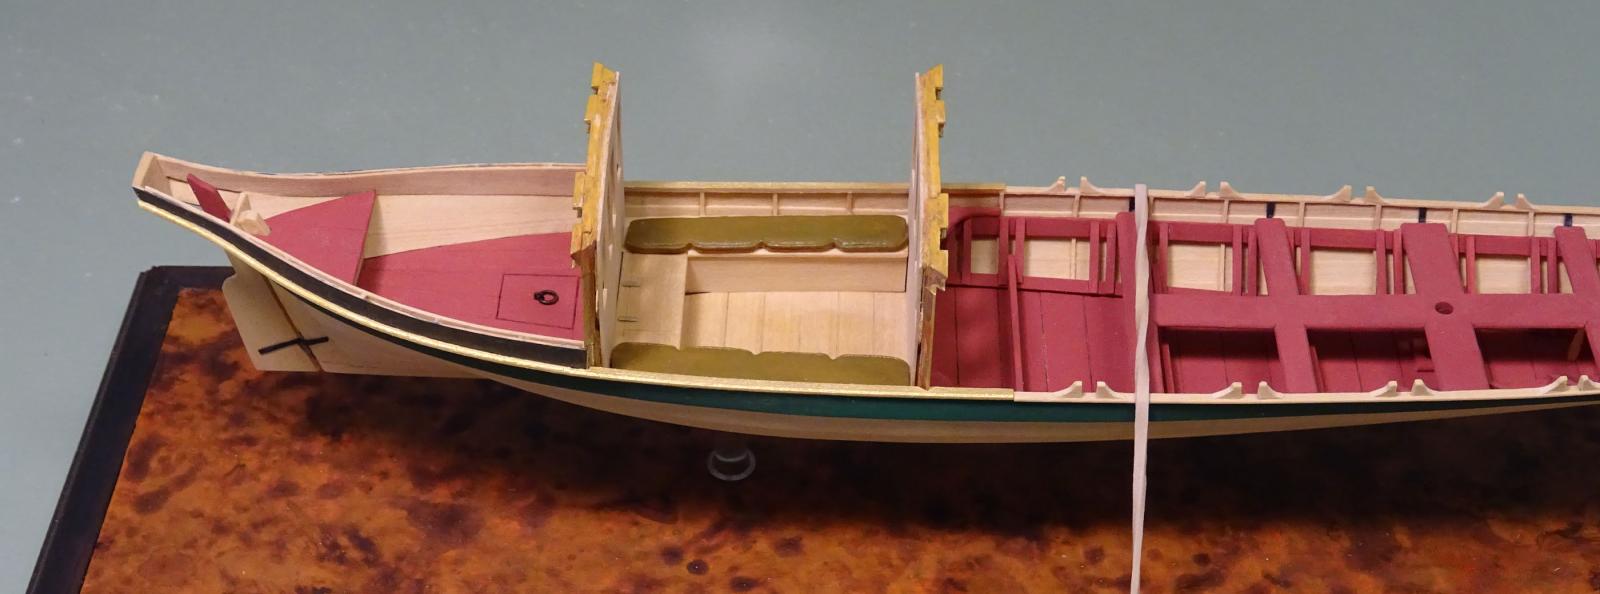
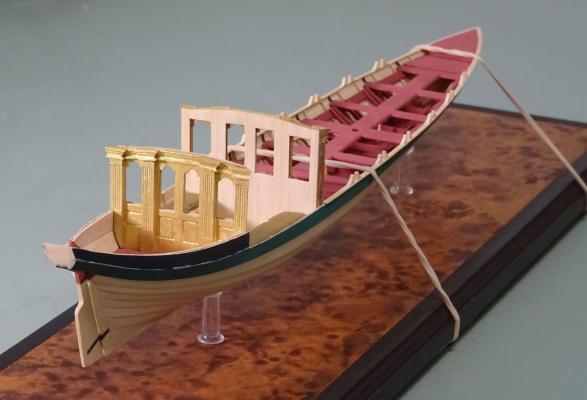
Some progress while I wait for various 'gilding' materials to arrive. The coach benches are made and installed. For the moment the forward and aft coach bulkheads are temporarily slotted into position and still removable. The plan of the coach indicates a locker lid aft. The benches were cushioned for the benefit of the Lord Commissioners' backsides, so these are next. I'll model them based on the ones seen in Prince Frederick's barge

- 641 replies
-
- 39
-
-
- greenwich hospital
- barge
- (and 1 more)
-
Jud: your illustrations appear to show the aft tiller line crossing over the chimney area and so would get cooked.
-
Pat: I used a paintbrush to remove the finish after flooding and softening the paint.
- 641 replies
-
- 5
-
-
- greenwich hospital
- barge
- (and 1 more)
-
Love the tooling and jigs, Gerald! How did you cut out the floor blanks?
- 281 replies
-
- 2
-
-
- falls of clyde
- tanker
- (and 2 more)
-
Nice progress. Is that an iron spike lying there? You really shouldn't use ferrous metal on your model!