druxey
-
Posts
13,390 -
Joined
-
Last visited
Content Type
Profiles
Forums
Gallery
Events
Everything posted by druxey
-
 Nice to see progress, Clare. One way of avoiding soggy paper or card is to spray with grey primer first. Then you can use acrylic paint over it, as it renders the card waterproof. I've done this for years with models of stage sets I've designed.
 -
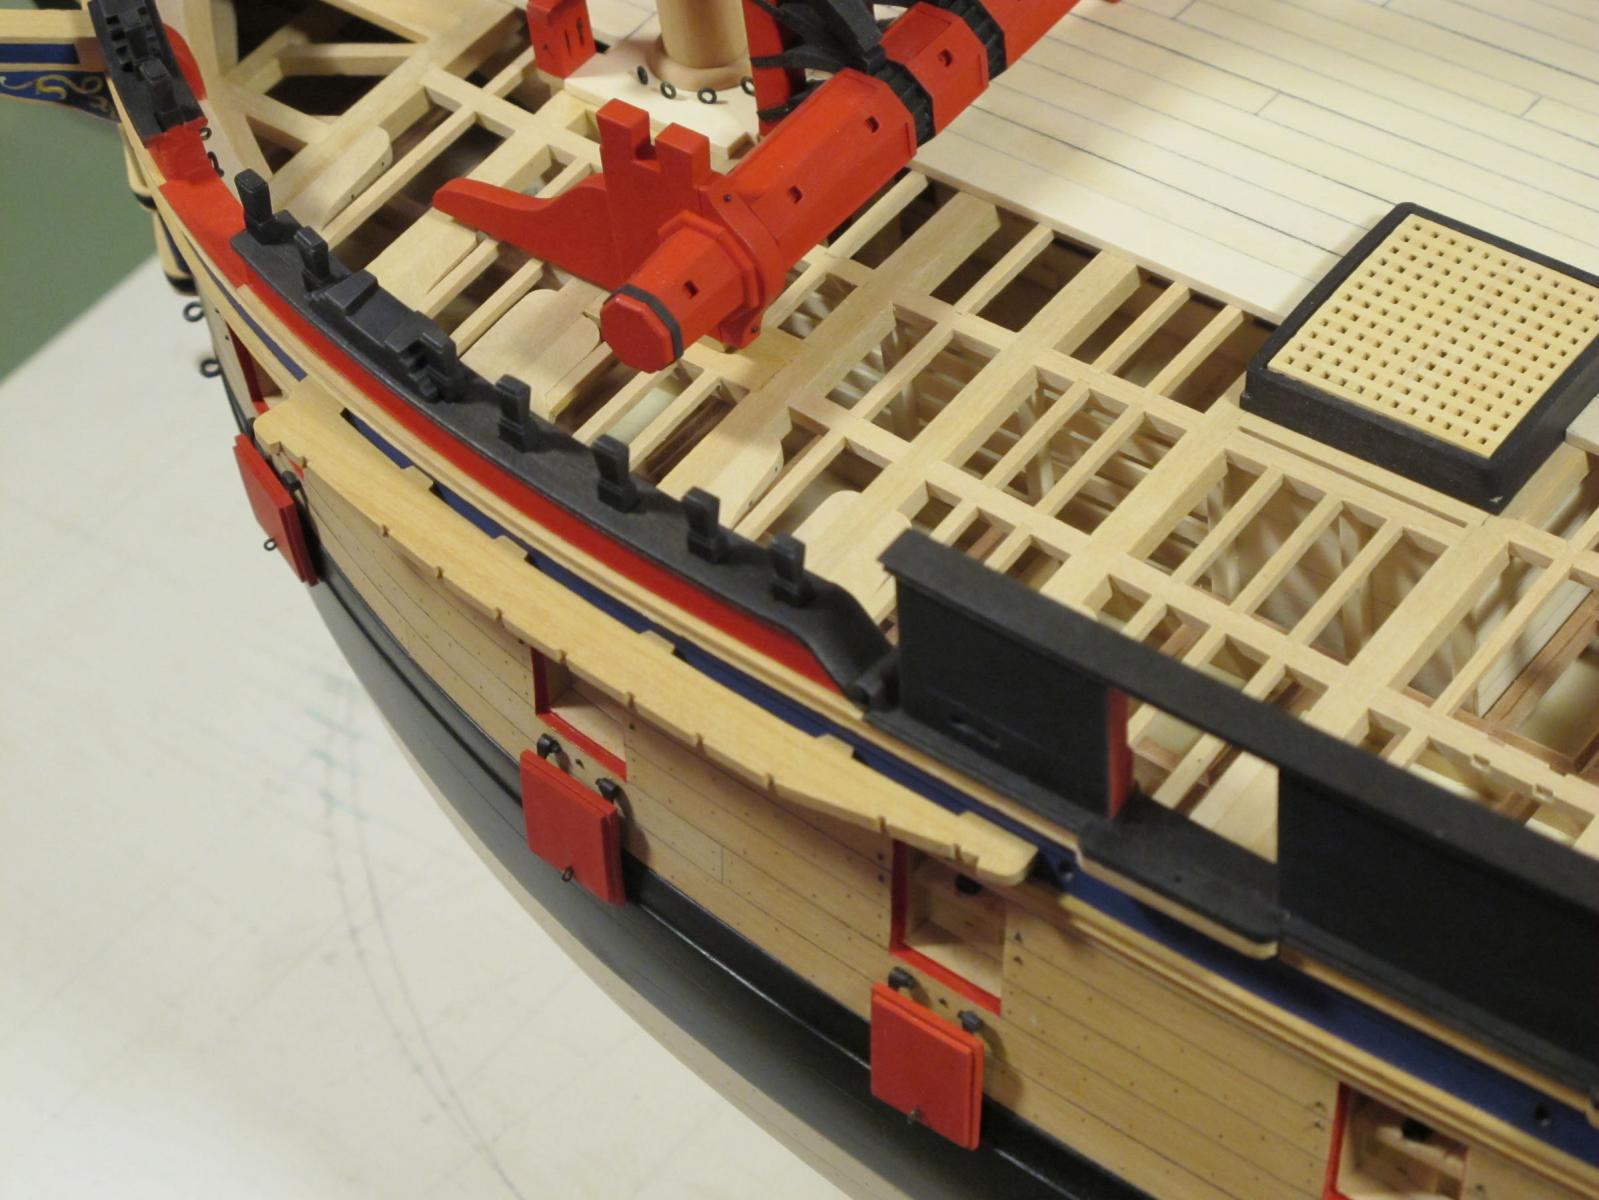
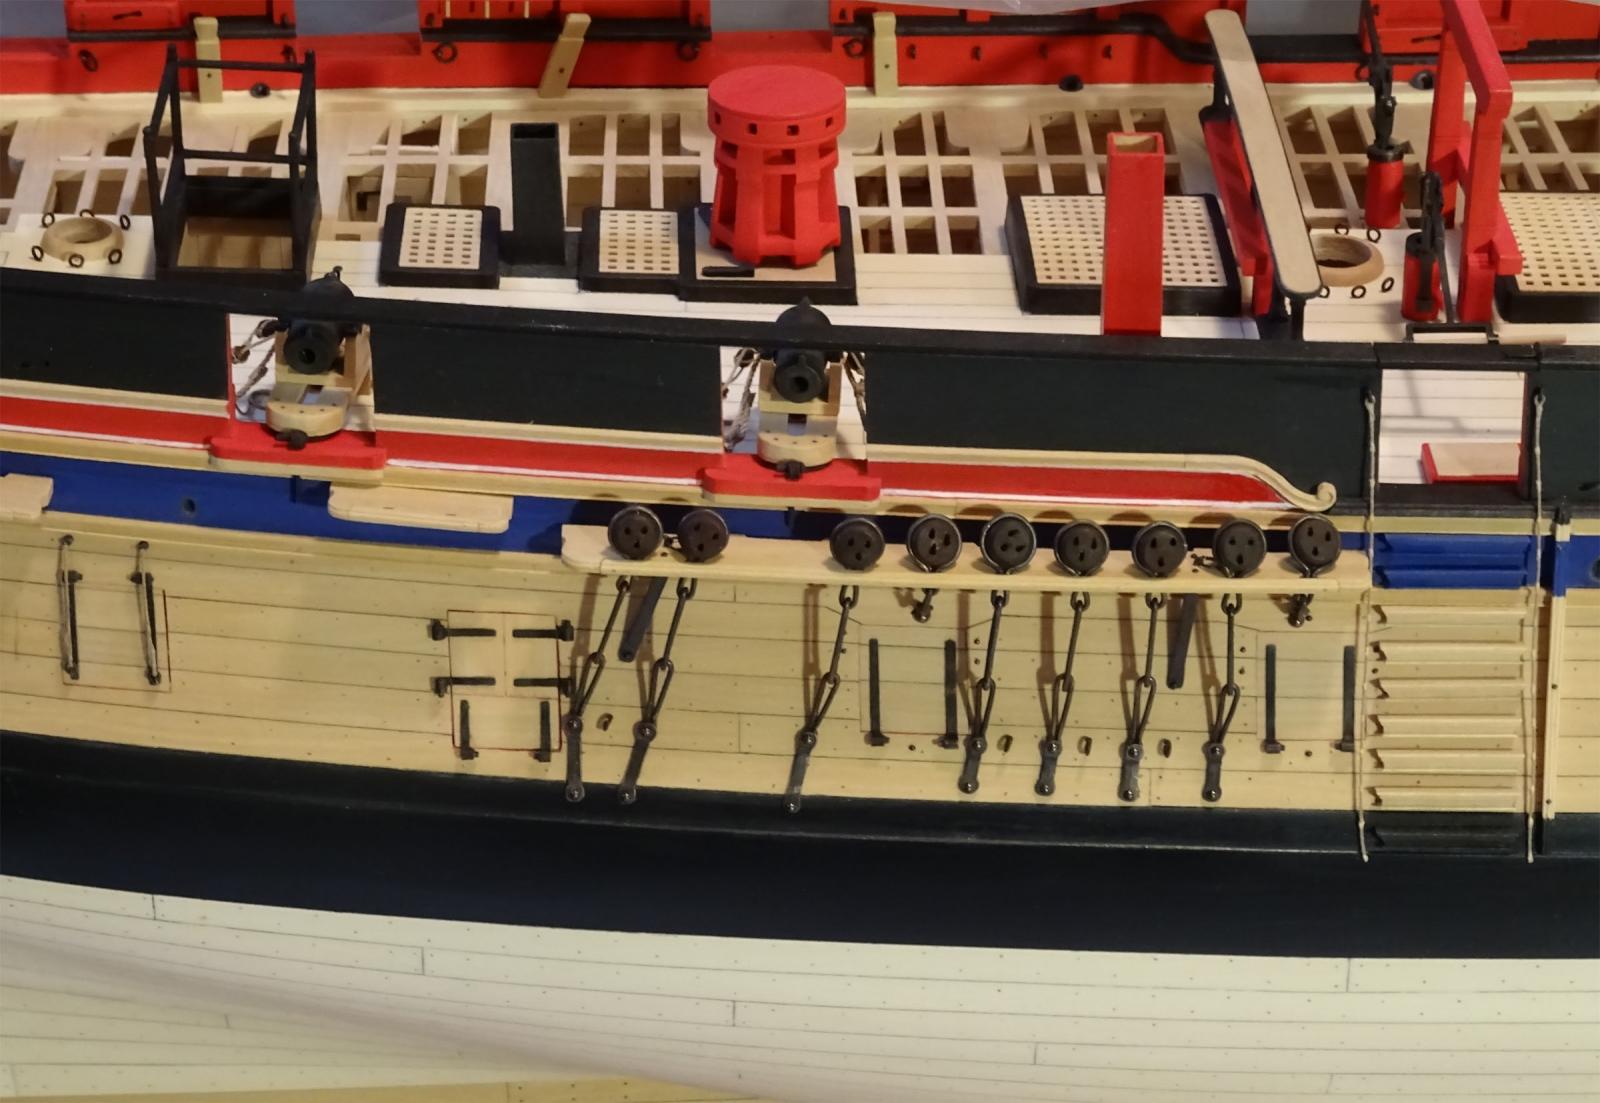
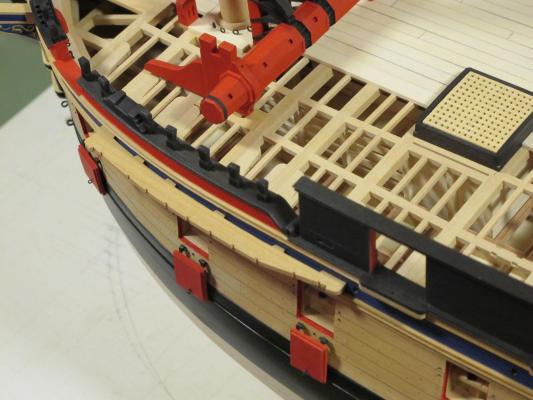
The slots could also be filed out.
-
Unfortunately kits can be frustratingly misleading at times. The way it was done (both in models and the real ships) was as you describe: slots in the edge of the channel and a covering strip put on afterwards. If you can shave the edge of the channel off down to the holes, then glue a strip on after, that would be the best solution. The 'before and after' on a scratch-built model show this method.

-
Silver soldering - Copper vs Brass
druxey replied to rtropp's topic in Metal Work, Soldering and Metal Fittings
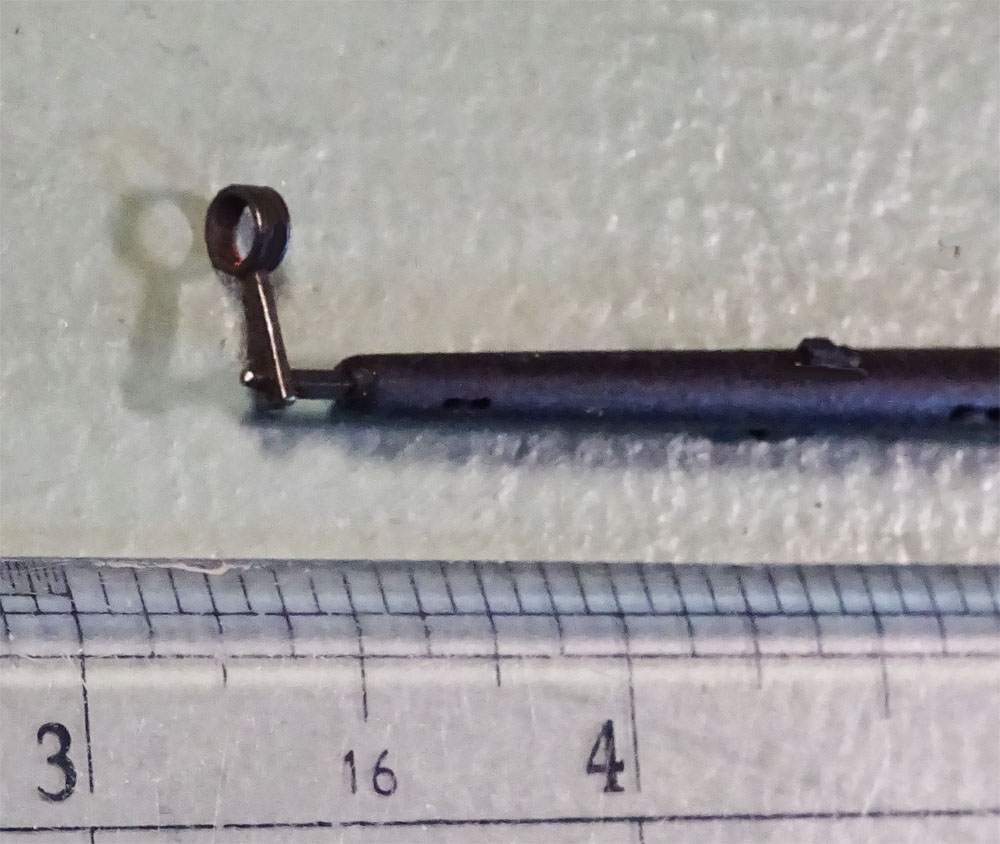
I've just been silver soldering quite small parts: rings of ⅛" o.d. copper to brass strip for topsail yard stunsail booms at 1:48 scale. I had no difficulty with the joints, directing more heat on the brass which then conducted to the copper. I was using 'medium' silver solder (from sheet) and a butane micro-torch (similar to Hornet's posted photo). An example of these irons is shown here.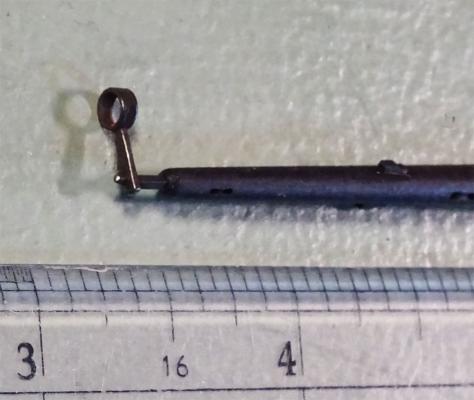
-
Luvverly, Mark!
-
Knice knurls!
-
Perhaps this analysis is overkill. Wood expands and contracts with humidity levels. So, were you to 'mike' the samples on another day, your readings will probably differ. You can't compare wood to, say, metal.
-
HMS Alert 1777 by Jaekon Lee - 1/64
druxey replied to Jaekon Lee's topic in - Build logs for subjects built 1751 - 1800
Seems a pity to cover all those carlings and ledges.... Beautiful work, Lee. -
Just catching up on your progress, John. Nice work; she's looking really good.
- 745 replies
-
- 1
-

-
- francis pritt
- mission ship
- (and 1 more)
-
A slightly belated happy anniversary and many more, Michael and Judy! Manifold and carb are looking great.
-
Thanks for the comprehensive reply, E&T. I was thinking only of underwater streamlining. It's nice to know that, in this case, all you need do is 'wait and see'!
- 346 replies
-
- 2
-
-
- terror
- polar exploration
- (and 2 more)
-
Terrific update, E & T. Question: would not the reinforcing straps have been inset flush to the surface of the wooden elements?
- 346 replies
-
- 2
-
-
- terror
- polar exploration
- (and 2 more)
-
Seeking information on determining load waterline
druxey replied to trippwj's topic in Nautical/Naval History
Perhaps another source for earlier design (to add to your list, Wayne) is from the so-called "Newton Manuscript': a transcription by Sir Isaac Newton of a treatise c.1600. This gives instructions for designing ships, both naval and merchant. It is given in its entirety in an article in Mariners' Mirror, 1994, Volume 80, No.1. The 67 'Propositions' given describe how to design a ship. -
Neat story so far. Gute gesundheit, Wefalck! Get well soon.
-
Congratulations for arriving at this point in the build, Ed. She looks terrific.
- 3,618 replies
-
- 1
-
-
- young america
- clipper
- (and 1 more)
-
Yes, I checked that Lee melting pot out on line. As it will achieve a temperature that melts lead-free pewter, that's a great solution if one is doing a quantity of casting work which, for a 74, is certainly the case! Of course, you will now be deluged with requests from others to cast cannon for them....
-
Well done, Mark. That melting set-up you have looks interesting. Much more sophisticated than mine: I use rubber bands rather than clamps, and just an iron ladle!
-
HM Mermaid Rigging questions (edited by admin)
druxey replied to Rick01's topic in Masting, rigging and sails
Usual measurement quoted was 3' 0" - whatever that converts to in metric! -
Those are the Rolls Royce of ducks, Michael! No plain cast lead for you.
- 62 replies
-
- 3
-
-
- harwich bawley
- fishing boat
- (and 2 more)
-
I seem to recall that there was a book on British fishing boats and coastal craft with plans and photos. Is that a source of information for you?
- 62 replies
-
- 1
-
-
- harwich bawley
- fishing boat
- (and 2 more)
-
F.H. Chapman, The First Naval Architect and his Work, by Daniel G. Harris Conway Maritime Press, 1989, ISBN0-87021-052-1 This book, published some years ago, is an appreciation of the life and work of the famed designer Frederick Chapman. Most well-known for his book Architectura Navalis Mercatoria, published in facsimile (various editions), what is not so well-known is his other many achievements over a very long and productive life. Although British, he spent most of his professional career in Sweden and designed many successful vessels for the Swedish Navy. He was one of the first naval architects to use scientific methods to produce his designs, rather than the older empirical or trial-and-error methods. Some of these designs, such as Vasa, were disastrous. He calculated metacenters and centers of gravity, as well as conducted water tank experiments with different shaped bodies. His decorative work designs show that he was not only of a scientific but also artistic turn of mind. His was also a very inquiring mind. The book is profusely illustrated with draughts designed by Chapman. It covers the years 1760 to 1808 in detail and shows Chapman’s hand not only in design but shipyard management, dockyard building design and dealing with the politics and personalities of the day. There are numerous appendices, one of which may be of particular interest to 18th century British ship model-makers. It is a facsimile copy of Chapman’s extensive notes and diagrams on the building and launching of a British 50-gun ship. Most, if not all of the scantlings are given. Although undated, it was probably written in around 1760. All in all, a very readable account of a remarkable and very capable man. Highly recommended.
-
- 5
-
-
Brilliant idea: old hex keys for hex stock! The manifold looks great, Michael.
-
Nice model: those are beautifully made blocks. It must have been kept in poor conditions if those sails are only 30 years old. Have fun working on her.
- 62 replies
-
- 2
-
-
- harwich bawley
- fishing boat
- (and 2 more)
-
Re-scaling plans always involves risk of distortion. If you plan on a 1:48 model, you are better off getting the larger plan set. Besides, there will be the additional cost of scanning and printing at the new size. What scale are you considering, anyway?