JesseLee
-
Posts
1,694 -
Joined
-
Last visited
Content Type
Profiles
Forums
Gallery
Events
Everything posted by JesseLee
-
 It's just paper painted gun metal black with wires snipped off in them to simulate metal rivets. Jesse
- 1,306 replies
-
- 9
-

-
- syren
- model shipways
- (and 1 more)
-
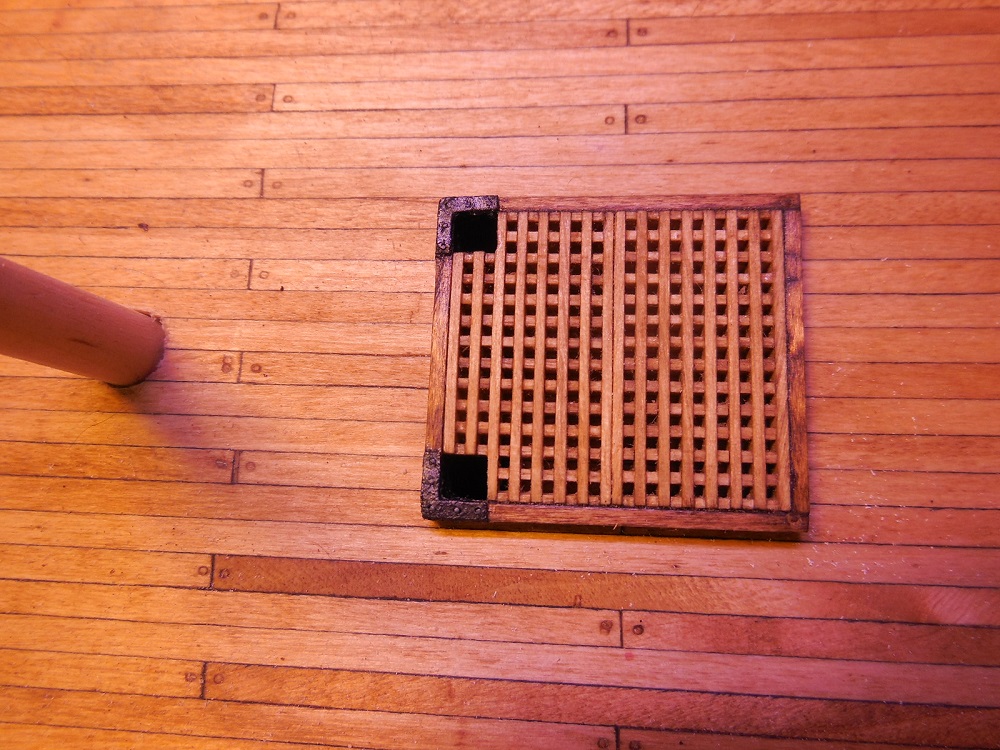
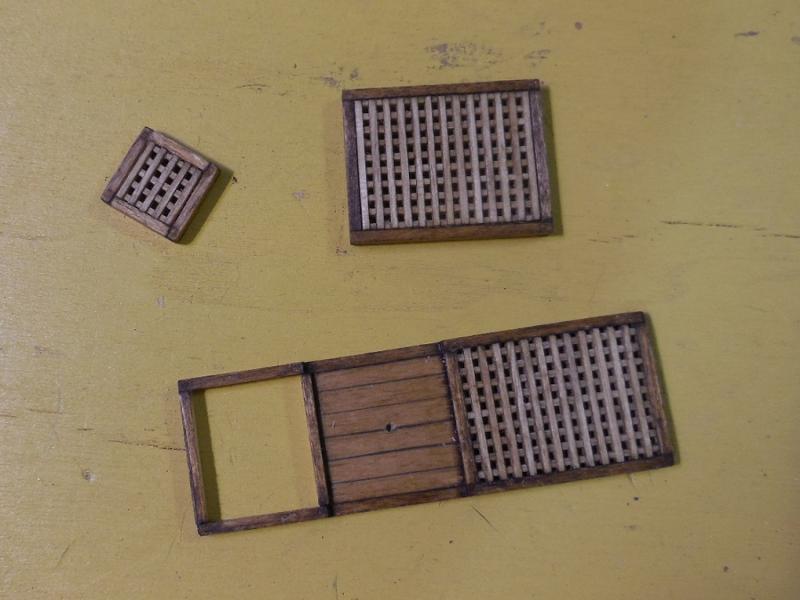
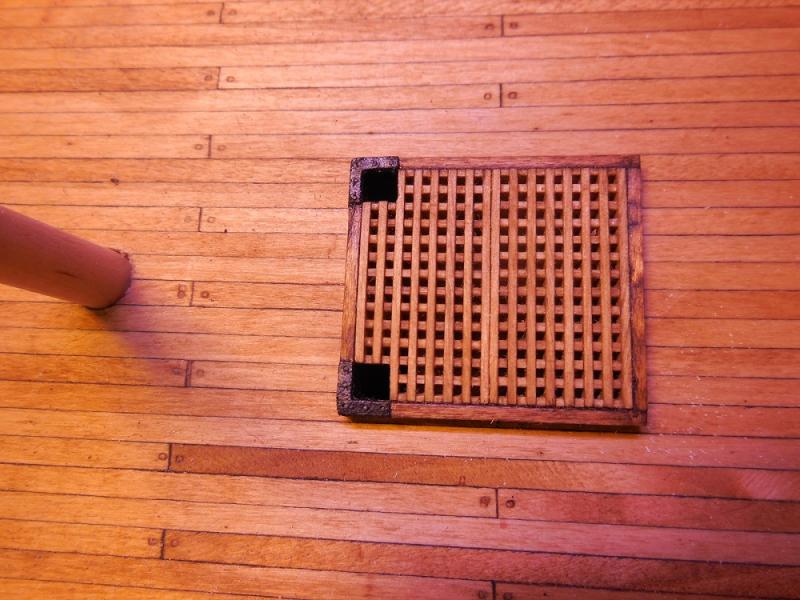
Started working on the coamings and gratings. The wood provided with the kit splits and cracks too easily and doesn't sand very smoothly. I see the benefit of using better wood like I've seen others do in their builds. These are just dry fitted for now. Jesse
- 1,306 replies
-
- 24
-
-
- syren
- model shipways
- (and 1 more)
-
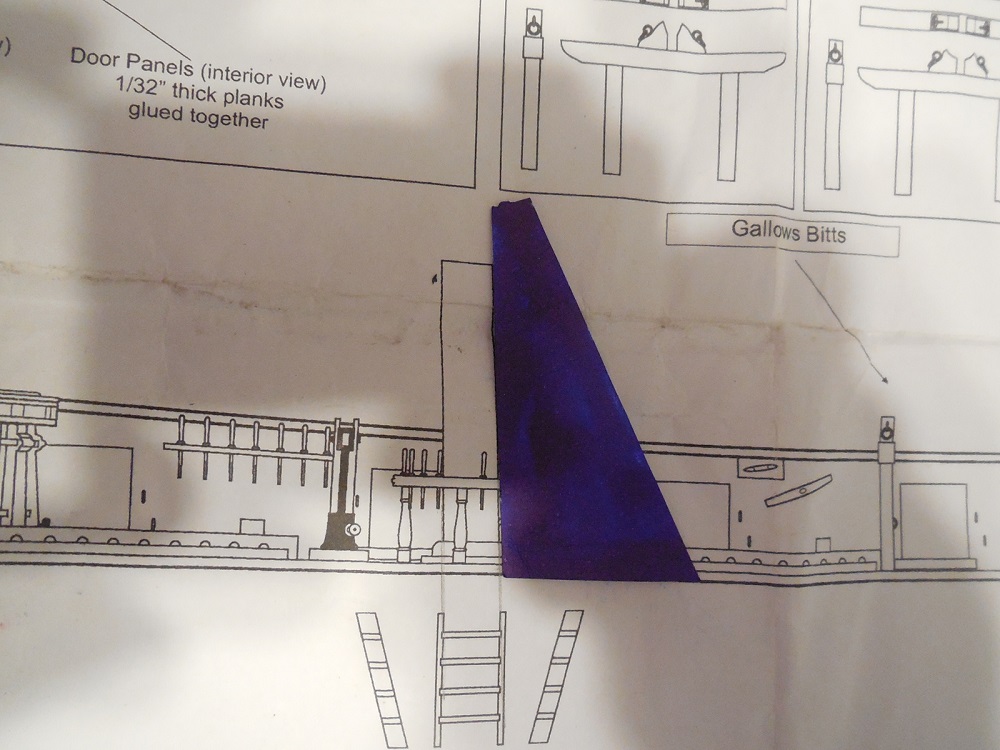
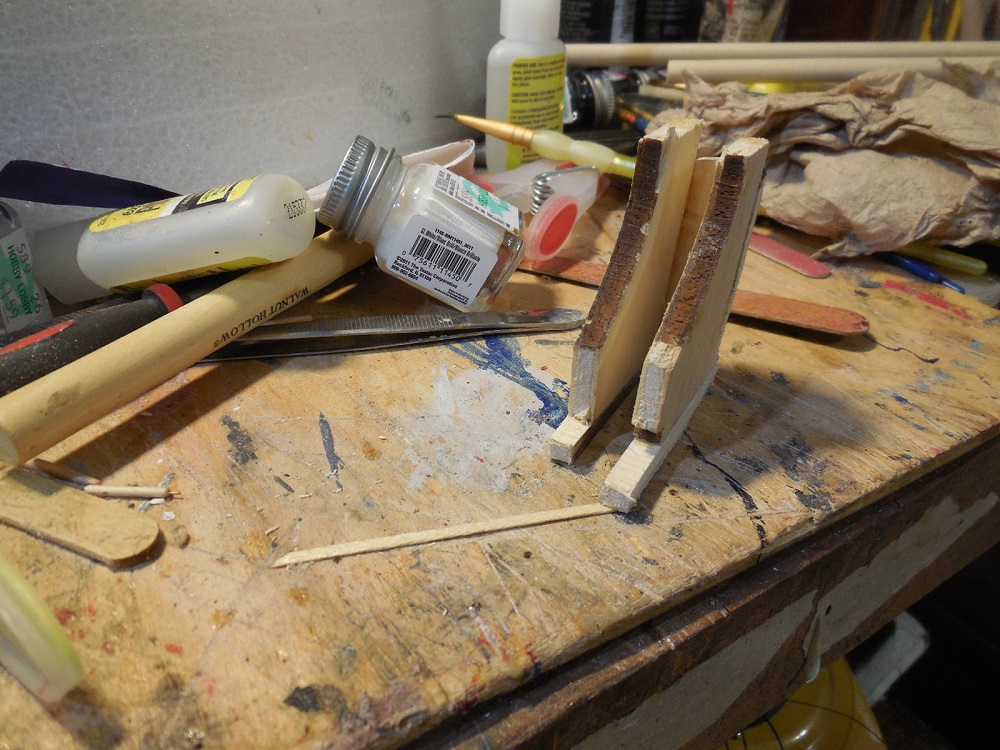
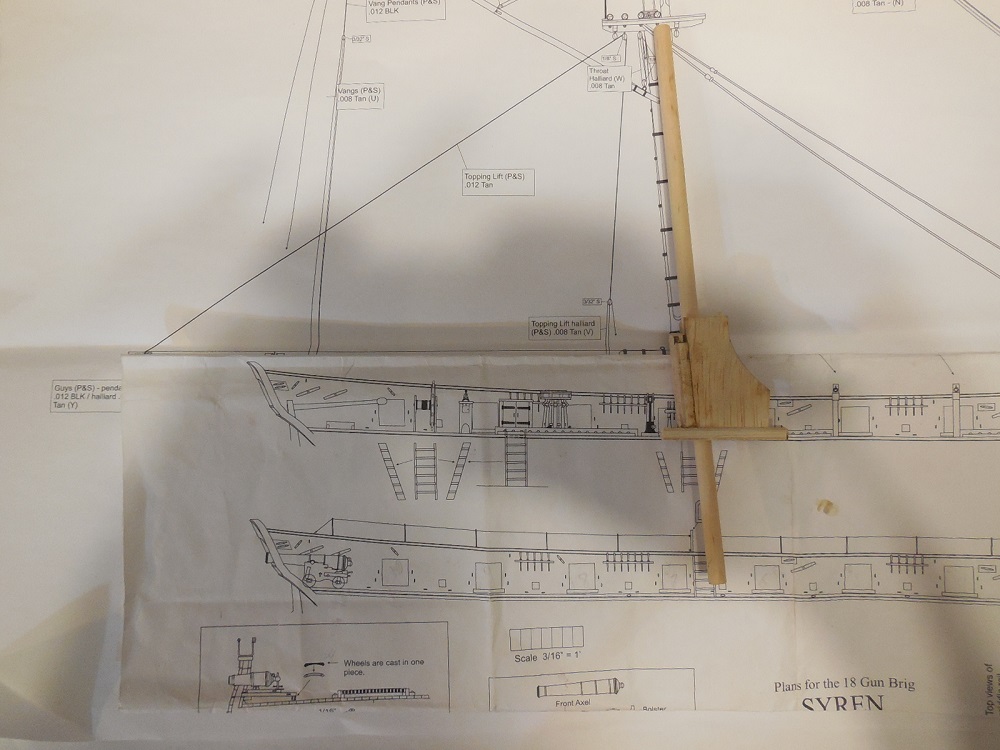
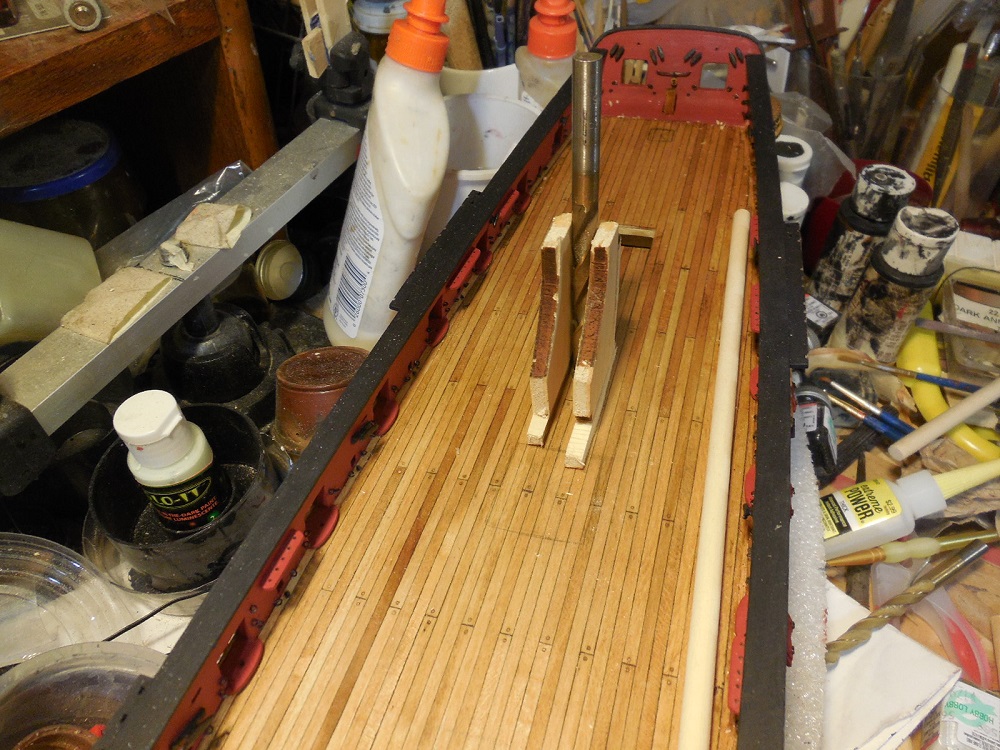
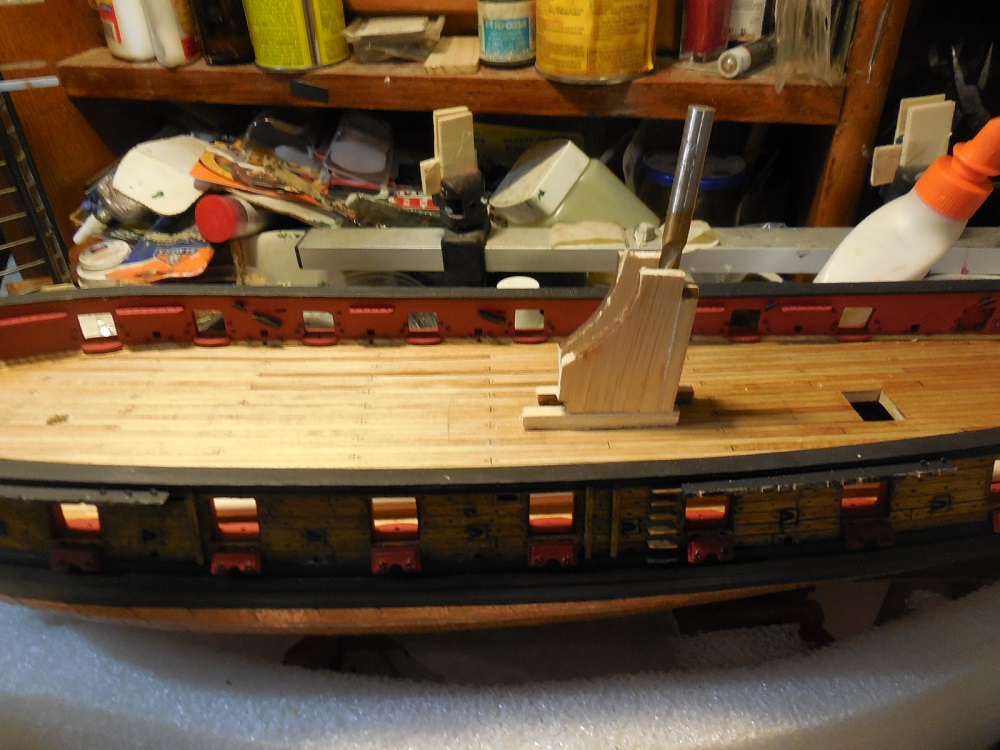
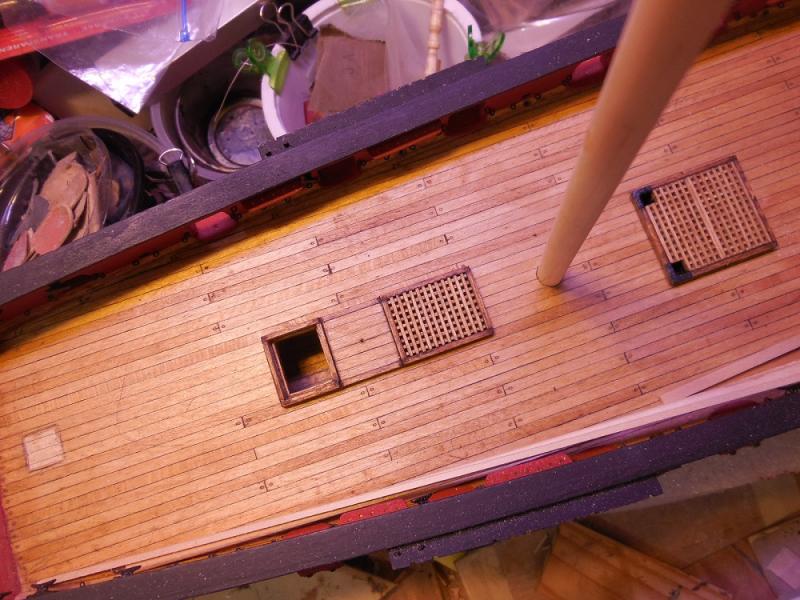
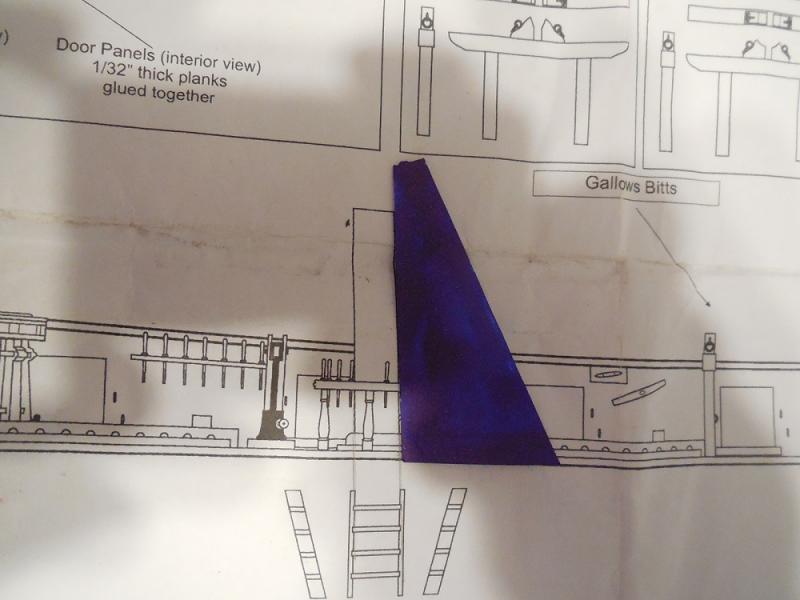
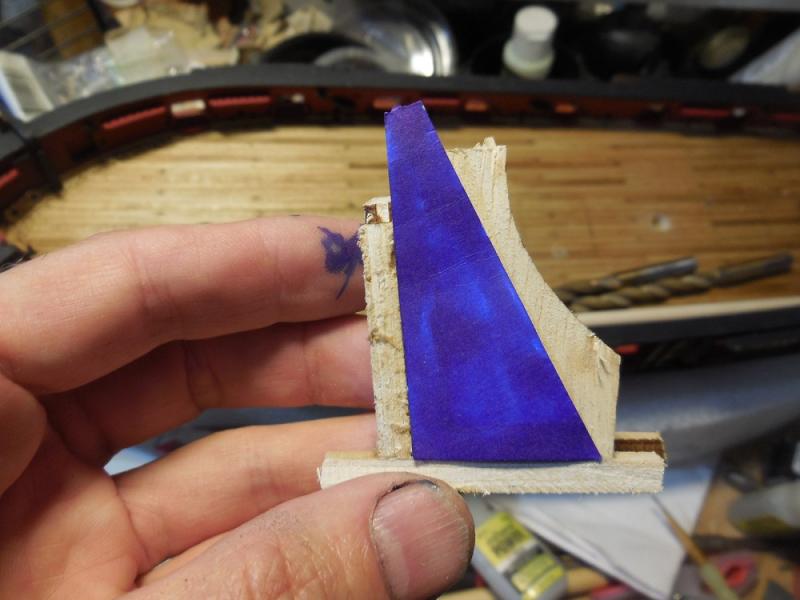
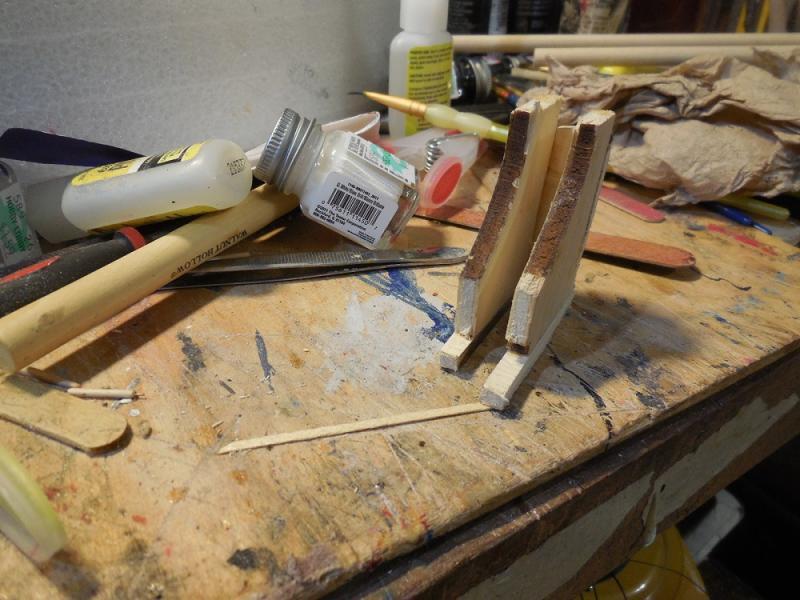
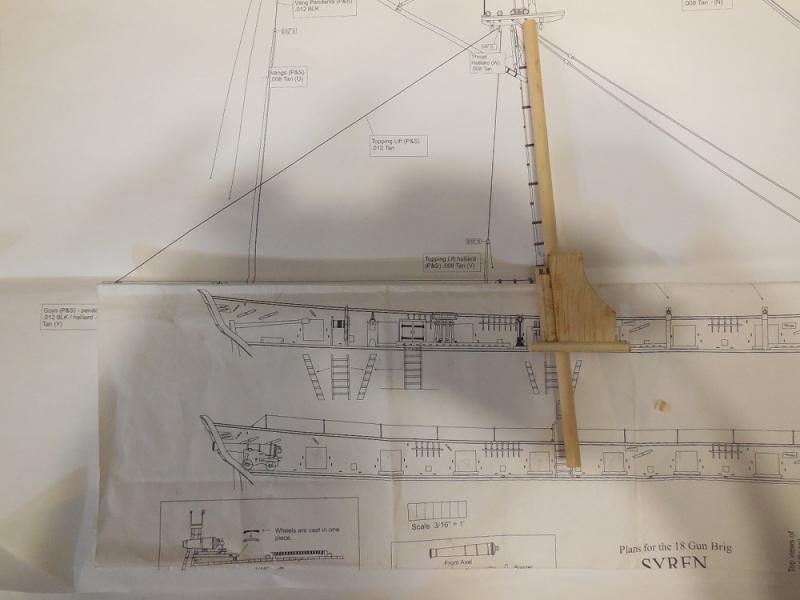
I got to thinking that before adding and rigging the carronades in place I would rather pre-do a lot of the deck work while they are out of the way. I can just picture damaging some of them trying to work on other stuff all over the deck. I figured I'd make everything, get holes drilled, etc. but not glue anything down until after the carronades are in place. First thing is the mast holes. Made a paper template to get the right angle from the plans. Used that to make a crude wooden drill guide. Dilled the mast holes very slowly first by digging out a smaller hole with cutting tools then using drills working up in size and checking the angles frequently as I go. This will get it very close but also give me a little wiggle room later on when the masts are installed. Each mast hole had a separate guide built but I only took shots of one to show the process. Now I will move on to the gratings, and other deck fittings. I know, how can I work around such clutter?!?! Don't know how I do it myself. Every time I clean it all up it ends up right back like this again. It just works for me. Part of my problem is a severe lack of space but I think it would still be like this no matter how much space I had. Jesse


- 1,306 replies
-
- 27
-
-
- syren
- model shipways
- (and 1 more)
-
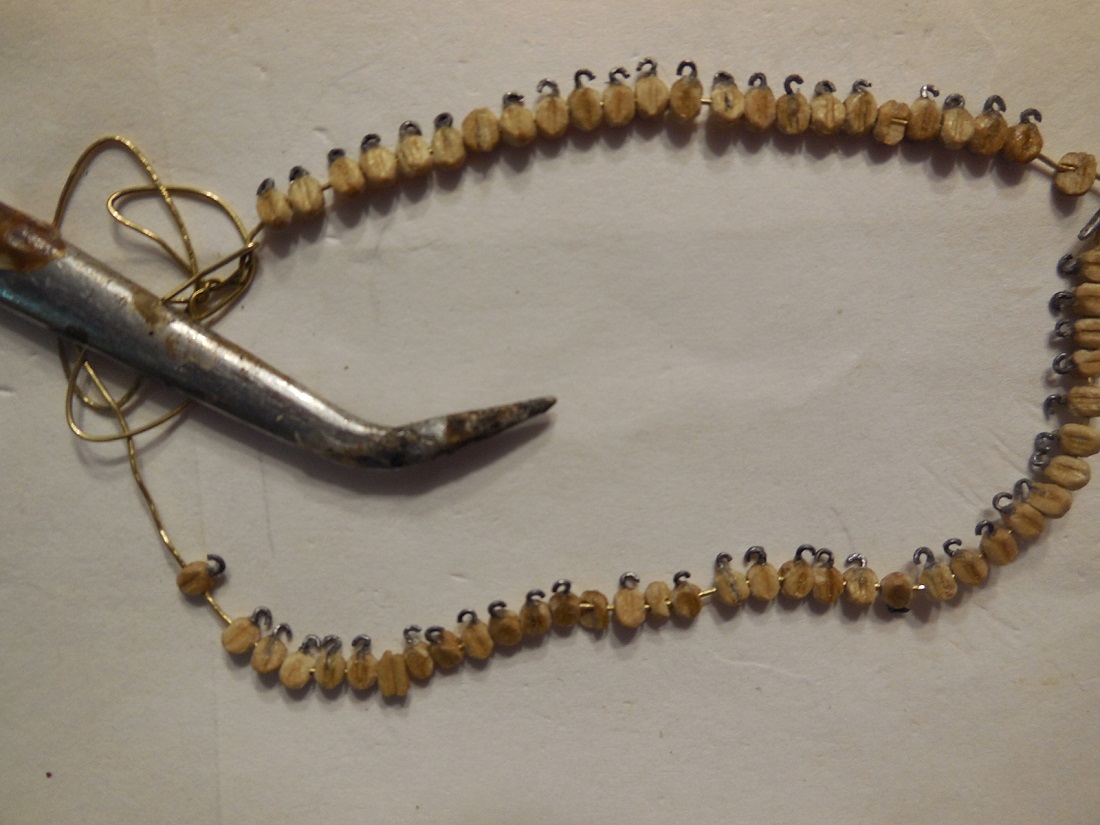
Thanks for all the feedback & the likes everyone. Denis, the blocks are about 3mm long & about 4mm with the hook. I looked in my few books I have to see these blocks. Because the hooks were rigged to the blocks I am now adding some line to the blocks to simulate this a little better. Jesse
- 1,306 replies
-
- 19
-
-
- syren
- model shipways
- (and 1 more)
-
The drawing looks great! Tell your friend that she has people out here praying for her. Jesse
-
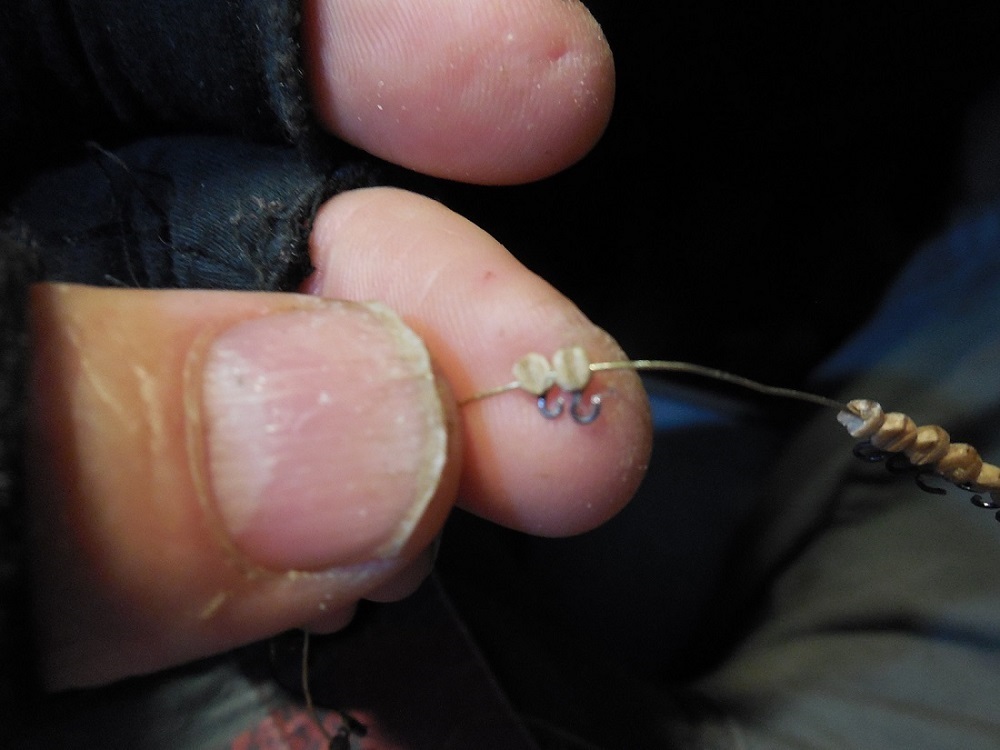
Have been making the hooked blocks for the carronade rigging. After making a whole string of them I read about others running into the problem of not enough space between blocks to do the rigging. So I made them all a little smaller both blocks & hooks. This has taken a very long time. Jesse


- 1,306 replies
-
- 25
-
-
- syren
- model shipways
- (and 1 more)
-
I'm not sure how it works with this type of soldering but when I was a bench jeweler I always applied flux to the joint before soldering. That was a whole different kind of soldering so I don't know if it works the same here. Jesse
-
That looks really good! I just looked at my kit supplied wheel the other day and just about got sick to my stomach. I guess I'll have to get the wheel kit too. Jesse
-
Thanks everybody! Michael, I am mostly doing it freehand with a pin vice. I do use a Dremel some but for the very close & small drilling I can control it better by hand. I tend to make a mess with the Dremel if it is very small and/or very close. As a matter of fact much of my cutting, sanding, shaping, drilling, etc. is done the old fashioned way- by hand rather than the Dremel. It slows me down a lot but I like the control I have & the "feel" that I cant get with electric power. I just seem to work with it better that way. It probably comes from most of my life not having any kind of power tools and having to do things the old way- totally by hand. I have a two storied pipe rack I built for myself when I was in my 20's that I only used a hand saw, sandpaper, glue and a few nails to build it with. Jesse
- 1,306 replies
-
- 11
-
-
- syren
- model shipways
- (and 1 more)
-
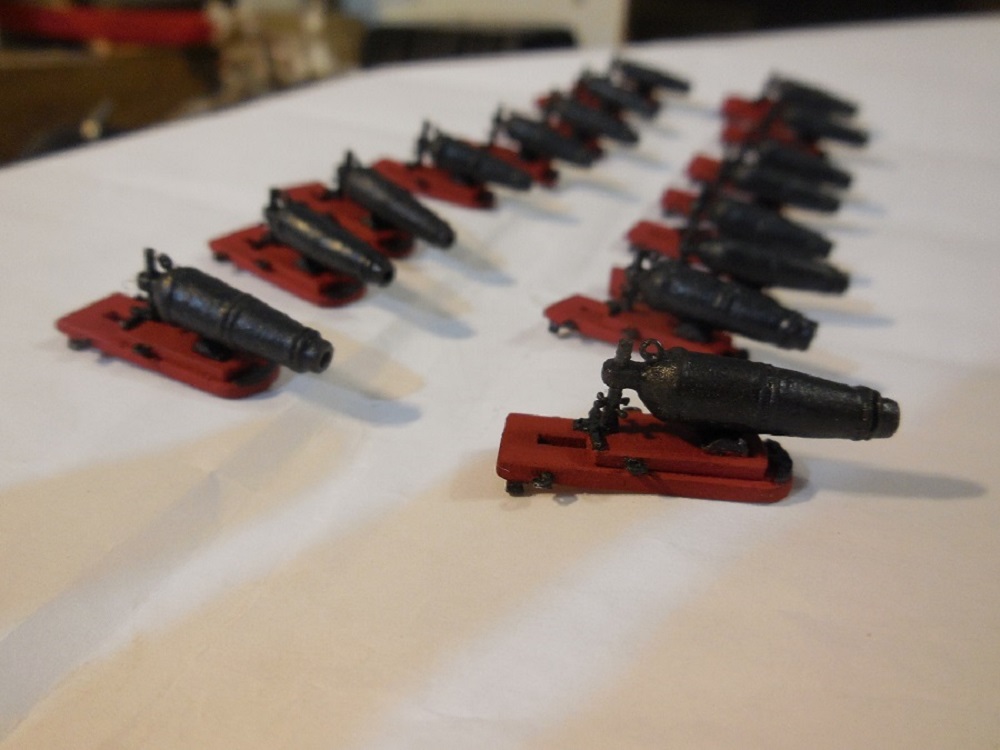
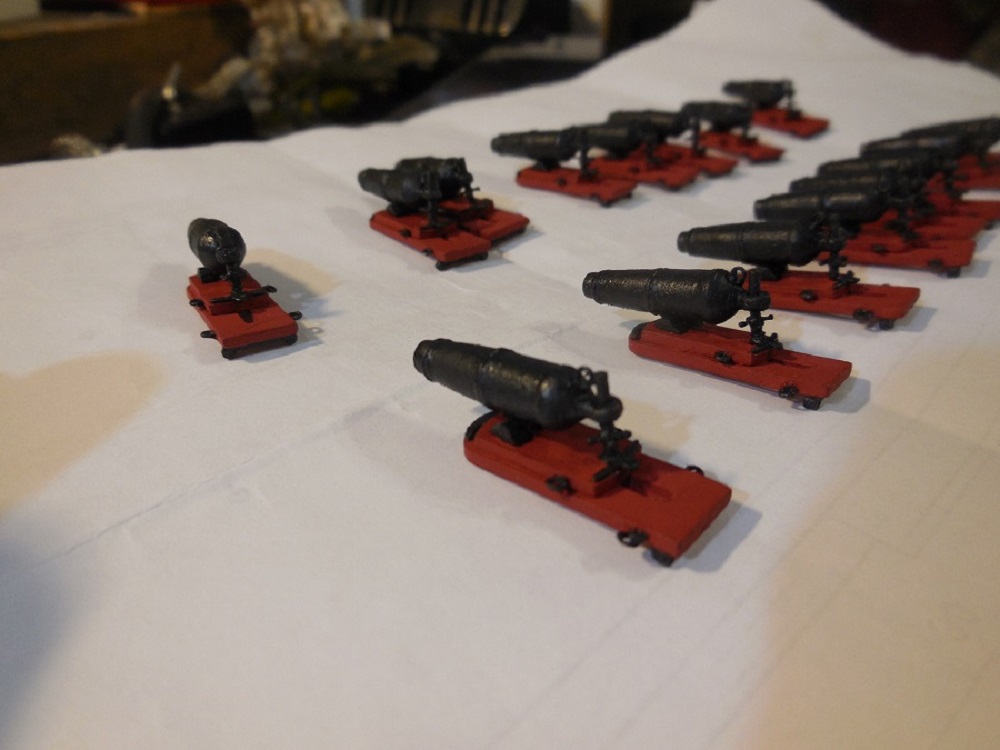
Thanks Dirk, Carl, Piet, Denis, Jeff, Stubby, and thanks for your interest Janet, welcome aboard! I got all the brackets on. I decided to change them from red to black. I made the elevation screws. Managed to get 2 pieces of wire through the screws to make 4 screw handles instead of 2. I tried to get threads on them so they would look like screws but failed terribly and had to give up that effort. Years ago when I worked as a bench jeweler I could have used silver ear ring posts. Wish I had some of them now- they would have looked really good. Anyway, all the carronades are on the sleds & ready to put in place & rigging. I am satisfied with where they sit in the gun ports. Not perfectly centered but close enough for what I have to work with. Jesse
- 1,306 replies
-
- 25
-
-
- syren
- model shipways
- (and 1 more)
-
Wow! Outstanding!!!!!!!!!!!!!!! Jesse
-
Thanks Jeff, I just checked out your build log. looks very good! Well, I haven't posted anything but I have been working on putting the tiny hooks in the blocks that will be on the carronades. There are so many of them it takes a while, not much to show yet. Still pretty sick but going with the admiral to take our daughter to college & get her moved in. It will be very hard on me physically & I'll probably cry like a baby when we leave her. Hope to post some pictures of the progress when we get back this weekend. Jesse
- 1,306 replies
-
- 9
-
-
- syren
- model shipways
- (and 1 more)
-
I like the last one! Jesse
-
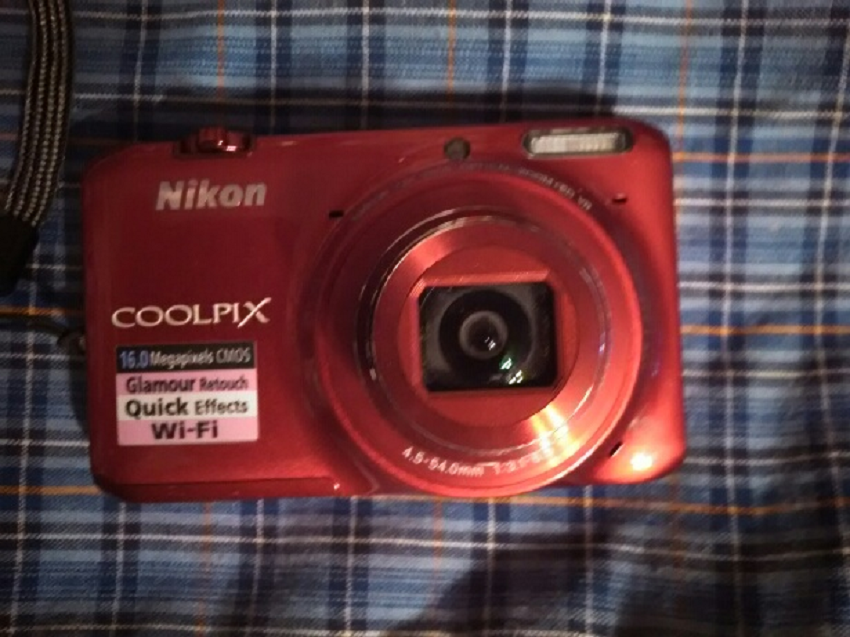
Thanks Michael, Jeff, Piet, Ken and Carl ! Michael, this is the camera I'm using. I don't know a thing about cameras. My wife gave it to me for Christmas last year just so I could do pictures of my build logs. It does pretty good but does not get really close up like I've seen others be able to do. One problem I have is I dropped it last year in the parking lot at a pier when we went to the beach. Now the screen showing what you are seeing is messed up from the drop & I can only see the edge on one side. I can't see if my pics are centered or in focus so I have to guess then take the smart card thing out , put it in the computer & see if it is ok. If not I have to go back & try it again. Jesse
- 1,306 replies
-
- 8
-
-
- syren
- model shipways
- (and 1 more)
-
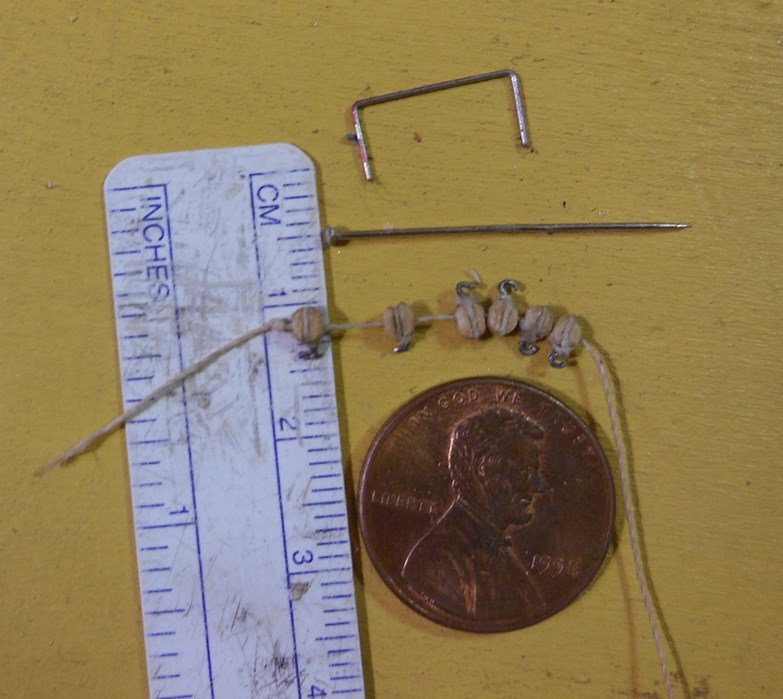
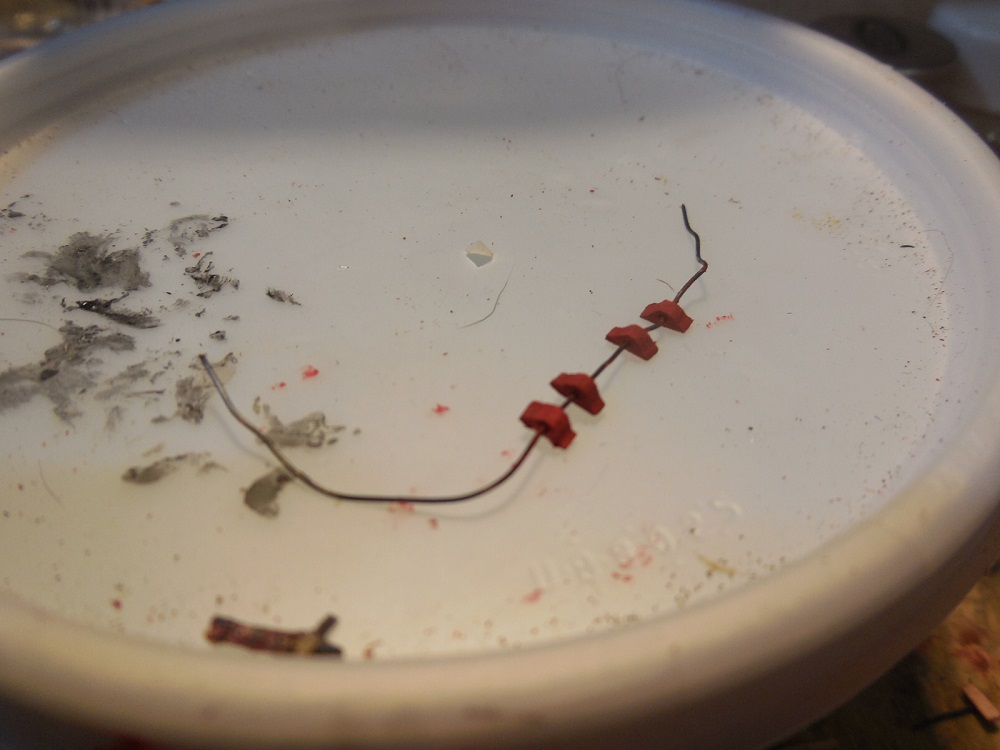
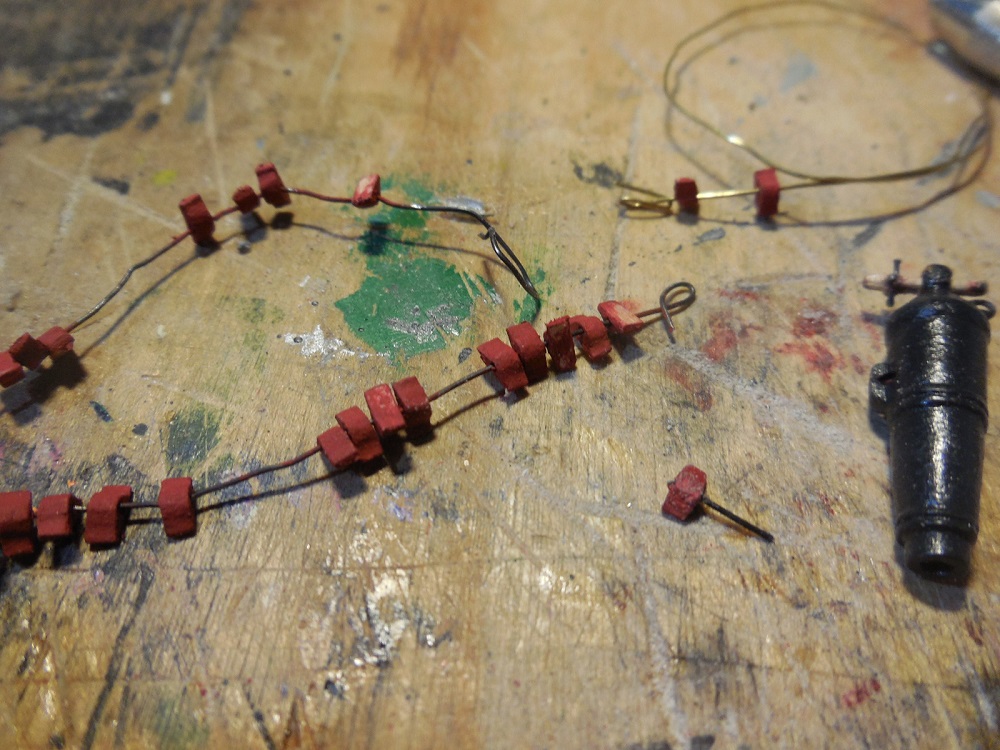
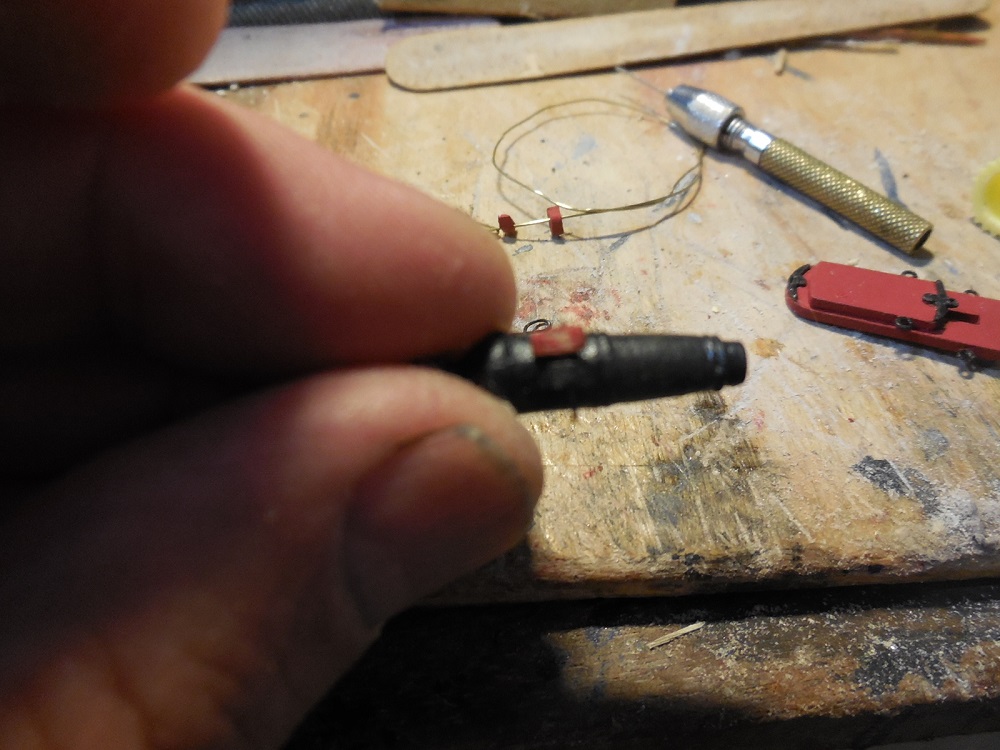
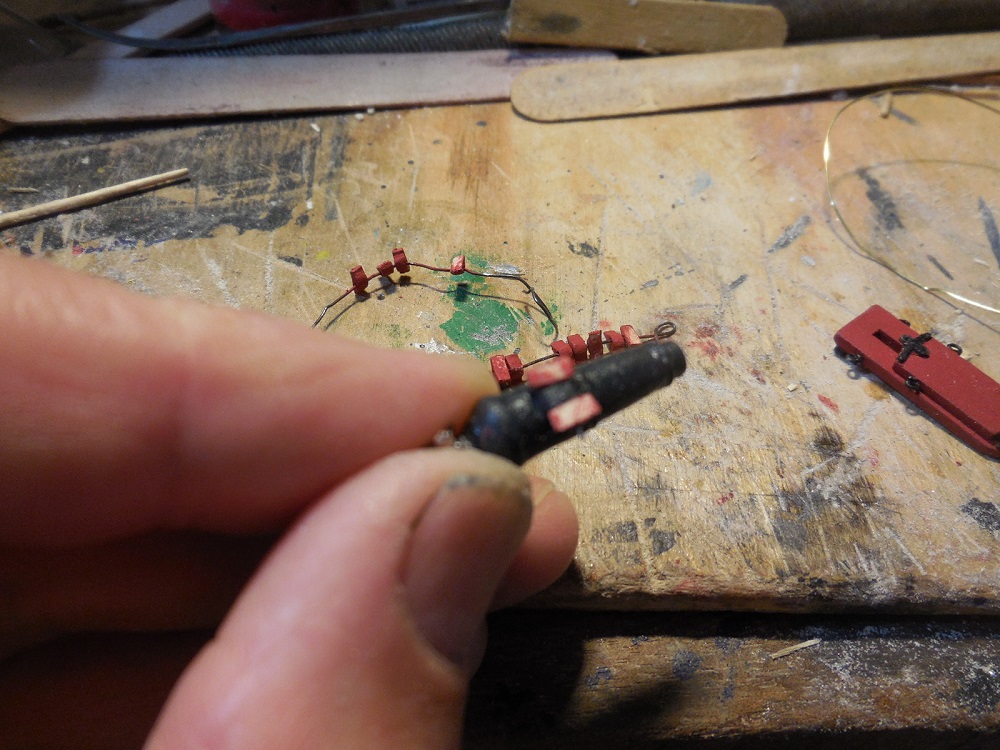
Thanks for the comments, encouragement & the "Likes". I added a small lip or foot to the brackets. This was very small detail & a lot of extra time but I thought they looked a little better this way. Kept losing the darned little things so I strung them all on a wire loop - lost none after that. Pinned them through the lugs with wire & managed to keep them all movable somehow. (sorry some of the pictures didn't come out focused very well)

- 1,306 replies
-
- 23
-
-
- syren
- model shipways
- (and 1 more)
-
I have been slowly working on it while I've been sick. Decided to thin the sleds. Had to pop the metal piece off thinned both wooden components and thinned the wheels down a lot too. While all this was being worked on I looked over my ship & saw a lot of battle damage. Replaced a broken bumpkin, glued down a lot of copper plate corners, and glued some gun port lids back on. I also filed the gun port openings slightly, not much but every little bit will help with lowering the carronades. This also gave me a chance to even them up better than I had them before.
- 1,306 replies
-
- 18
-
-
- syren
- model shipways
- (and 1 more)
-
Good to see an update Robb, she's looking beautiful! Jesse
- 389 replies
-
- 3
-
-
- scottish maid
- artesania latina
- (and 1 more)
-
Good to have you back Dave. Wish I could get to the Lafayette Scale Modelers meetings. Tell the guys I said hi. Jesse
- 962 replies
-
- 6
-
-
- sovereign of the seas
- ship of the line
- (and 1 more)
-
Thanks everyone for all the input, encouragement & advice. By the time everyone began telling me to leave them like they are I had already started thinning down about 5 of the sleds so I'm continuing with that. Picture updates will be coming soon. Michael, I had a lot of trouble with that too. I don't know if it is my cutting tools or the wood. I got much better results from the mini files. They will give you the finest edges & lines. I used a flat square & a square, & a triangle file to get the shapes I needed. I also used a hobby razor edge to cut the thin line between the 2 raised lips. Hope that helps. Jesse
- 1,306 replies
-
- 7
-
-
- syren
- model shipways
- (and 1 more)
-
So am I Jesse
-
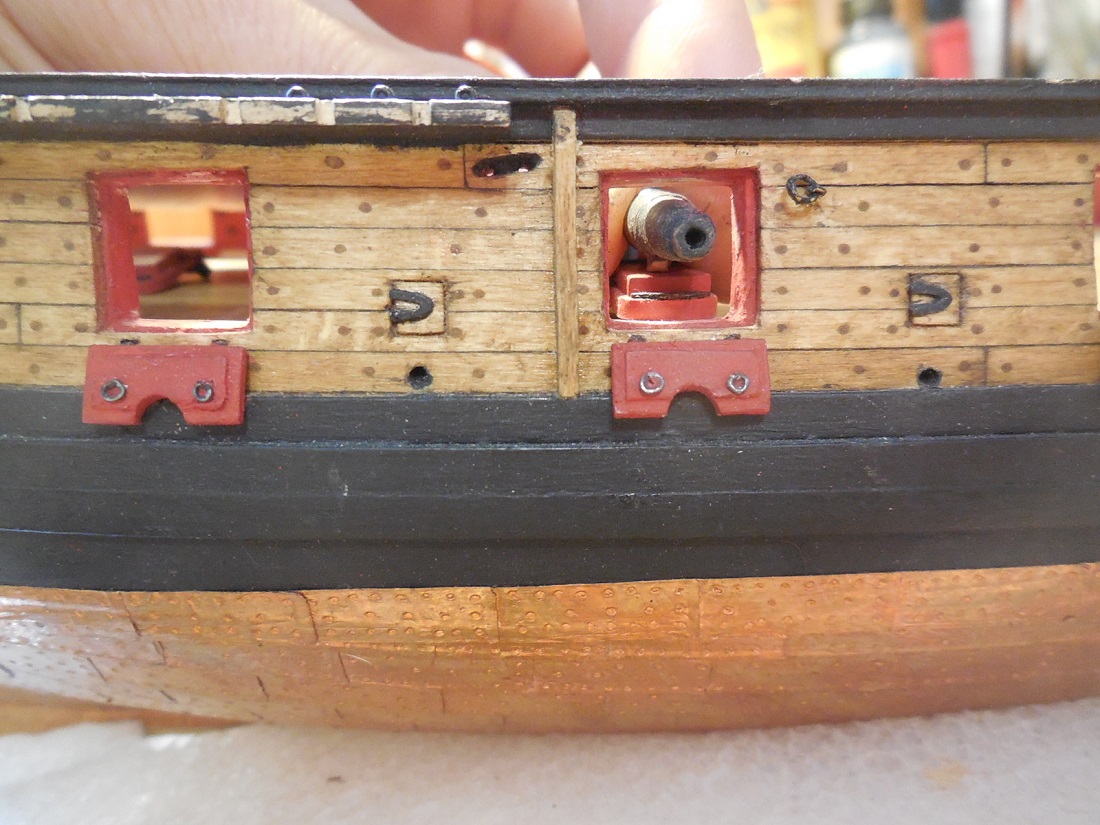
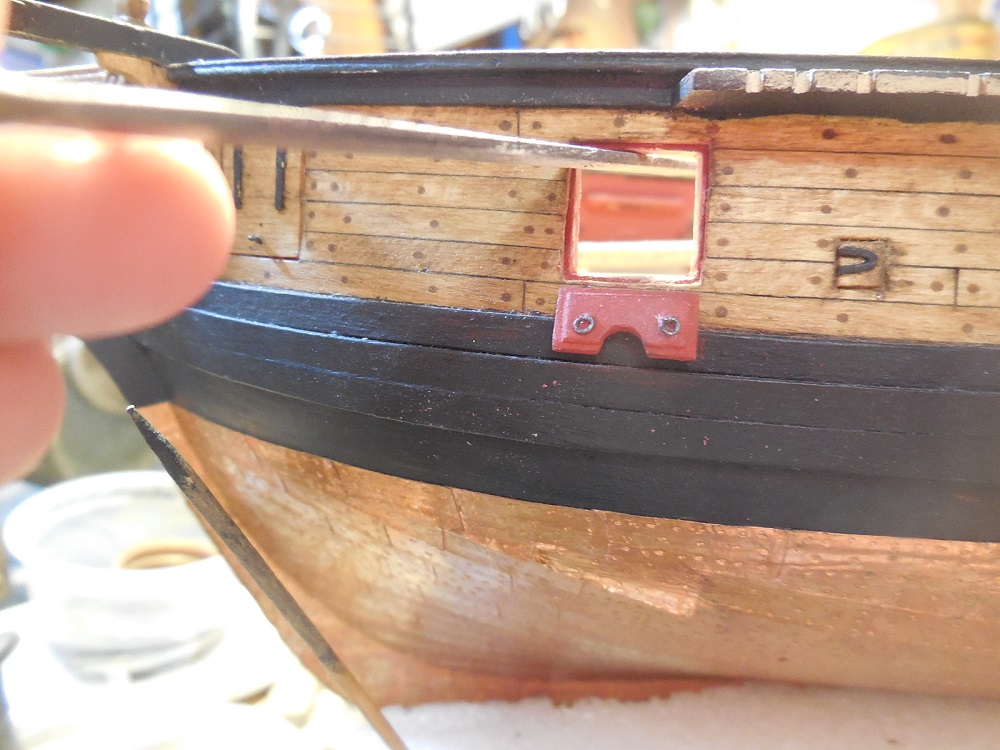
Thanks as always for all the input & support! The fine steel wool is working pretty good. I'm still having one problem with the paint. Even though I'm using thinned enamel (Testors), When I handle them it still gets grungy & picks up super fine dust & stuff & turns really dull looking somewhat losing the metal appearance. Were cannons dull looking? Would a clear coat make them look too shiny? I also just found another potential problem. The instructions say the barrels should be about center or very near center of the gun ports. Test fitting the carronades & sleds mine look like the sit too high. It seems to show more by eye that the picture shows. I have experimented with thinning down one sled & lowering the plug. This lowers it some but it is still not centered. Is this acceptable? How would you raise the gun ports at this point without almost complete deconstruction of the sides? Kinda freaking out here. Jesse

- 1,306 replies
-
- 18
-
-
- syren
- model shipways
- (and 1 more)
-
I really don't have much inventory of choice woods so I just used whatever wooden dowels I had laying around. I have no idea what kind of wood they are but like you many unacceptable ones are laying around. For the rings I just stuck an exacto blade up to them while they were on the lathe. Touched up with a mini tringle file that has a very thin sharp edge. Jesse