md1400cs
-
Posts
2,868 -
Joined
-
Last visited
Content Type
Profiles
Forums
Gallery
Events
Everything posted by md1400cs
-
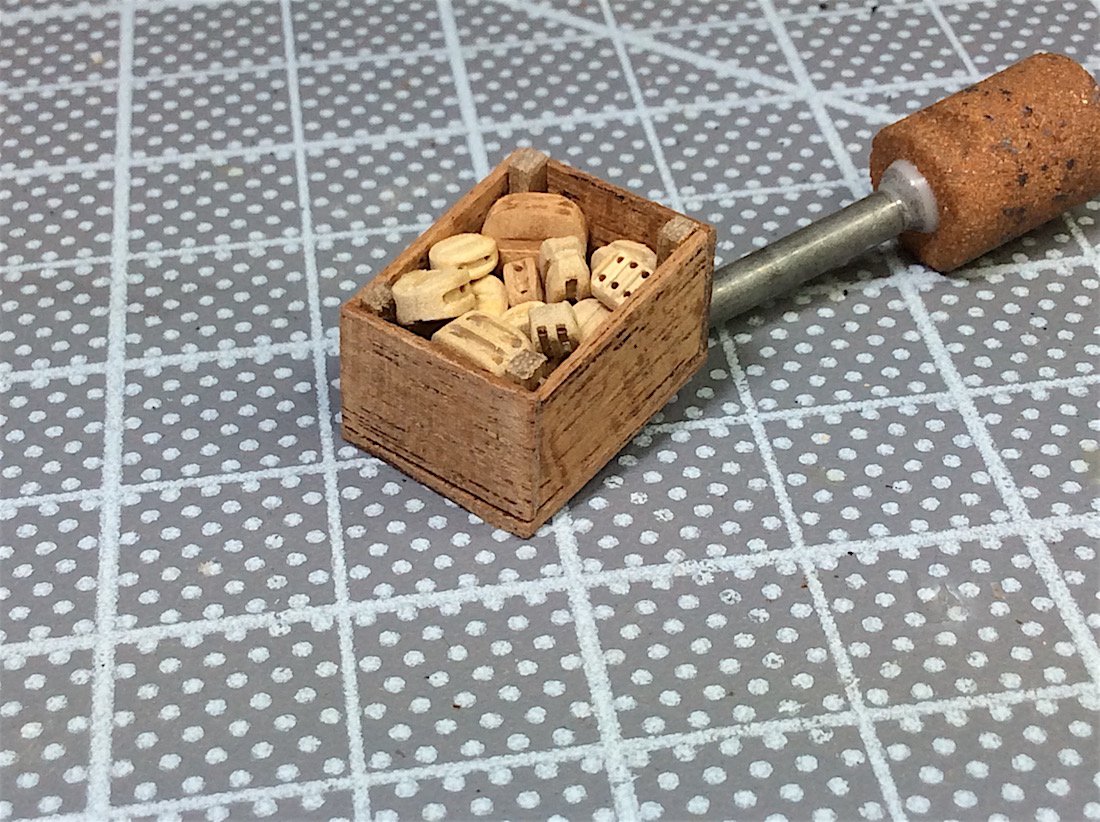
 E.J. Nice detail work - What is the name of that tool that you are using. I feel the need to get one as well
 -
Denis, thanks, and yes I am looking at admiralty build for ideas, thanks for the advice. Some great builds there for sure. Mates thanks for all the likes as well - much appreciated as always. Cheers,
-
Excellent continuing work - especially given the amount of tiny details this replica needs. Regards,
-
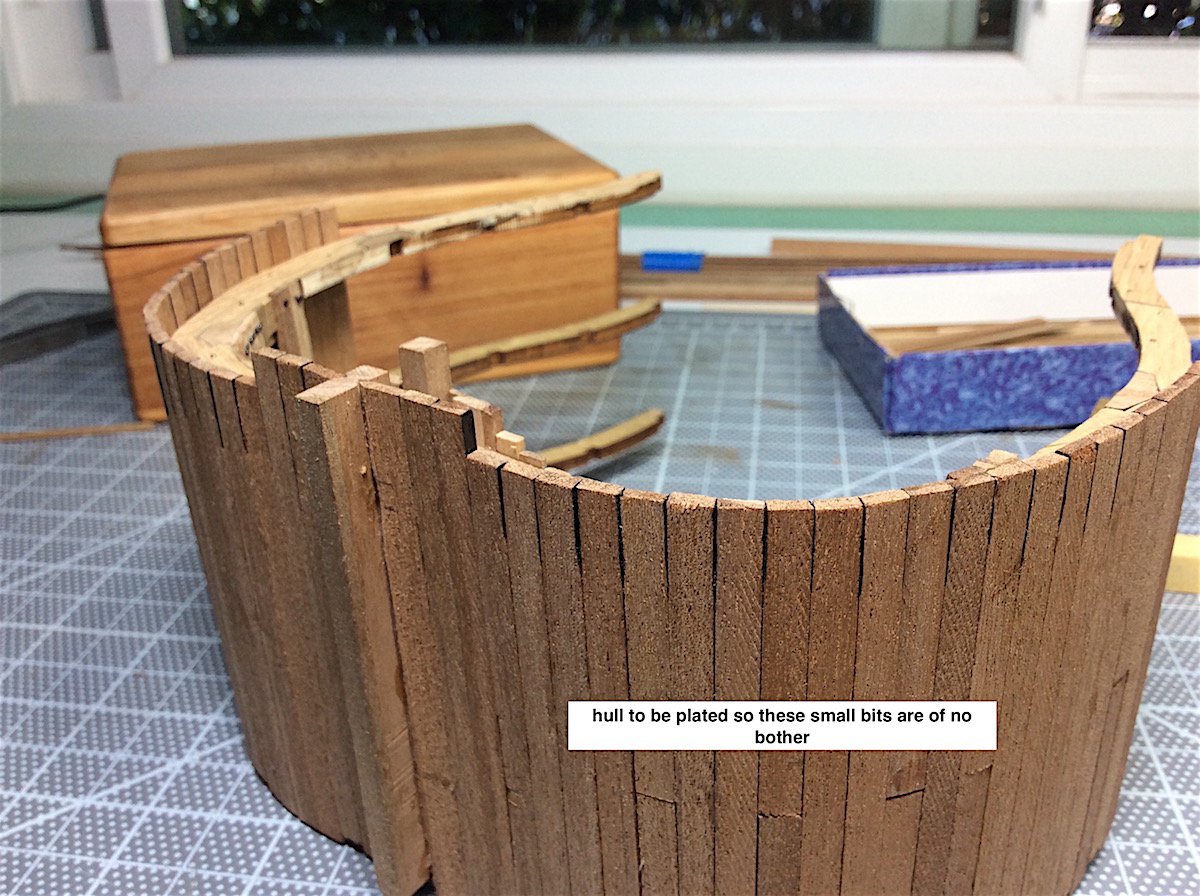
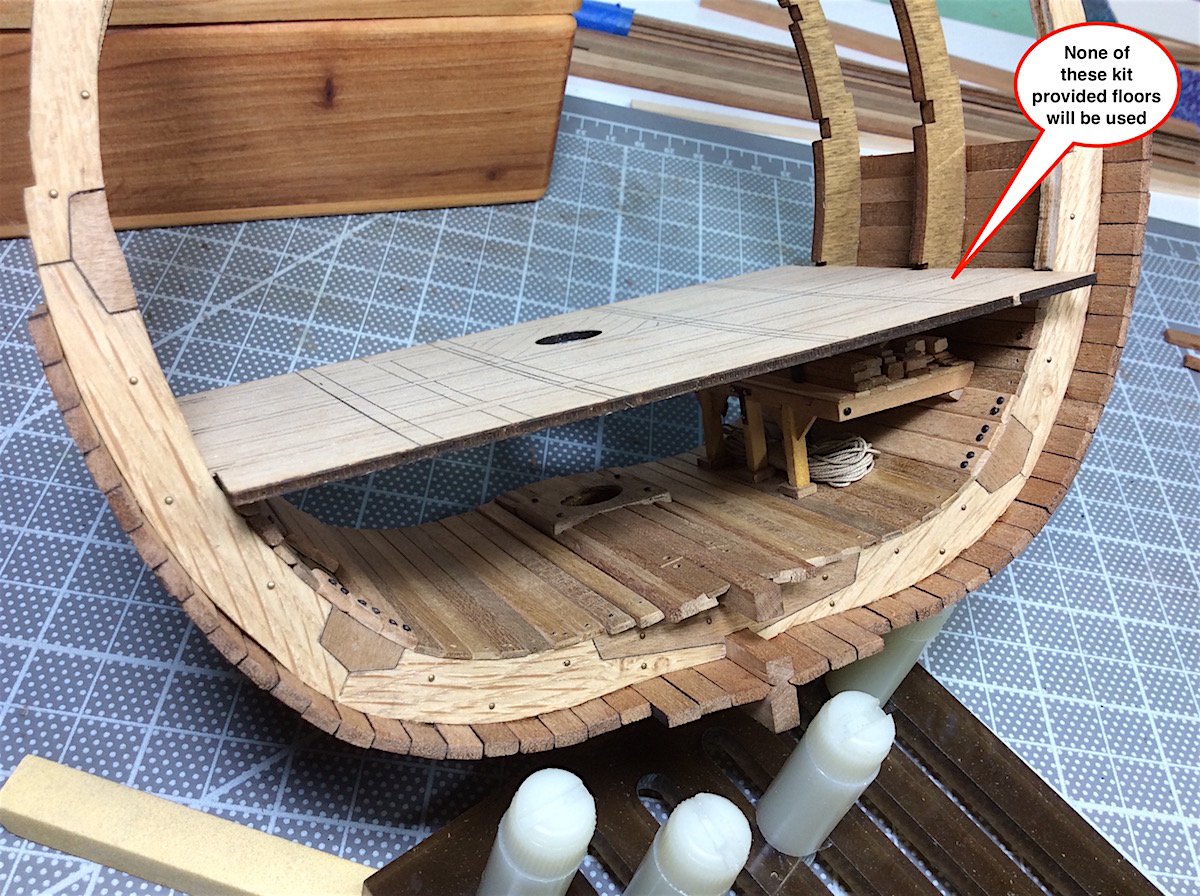
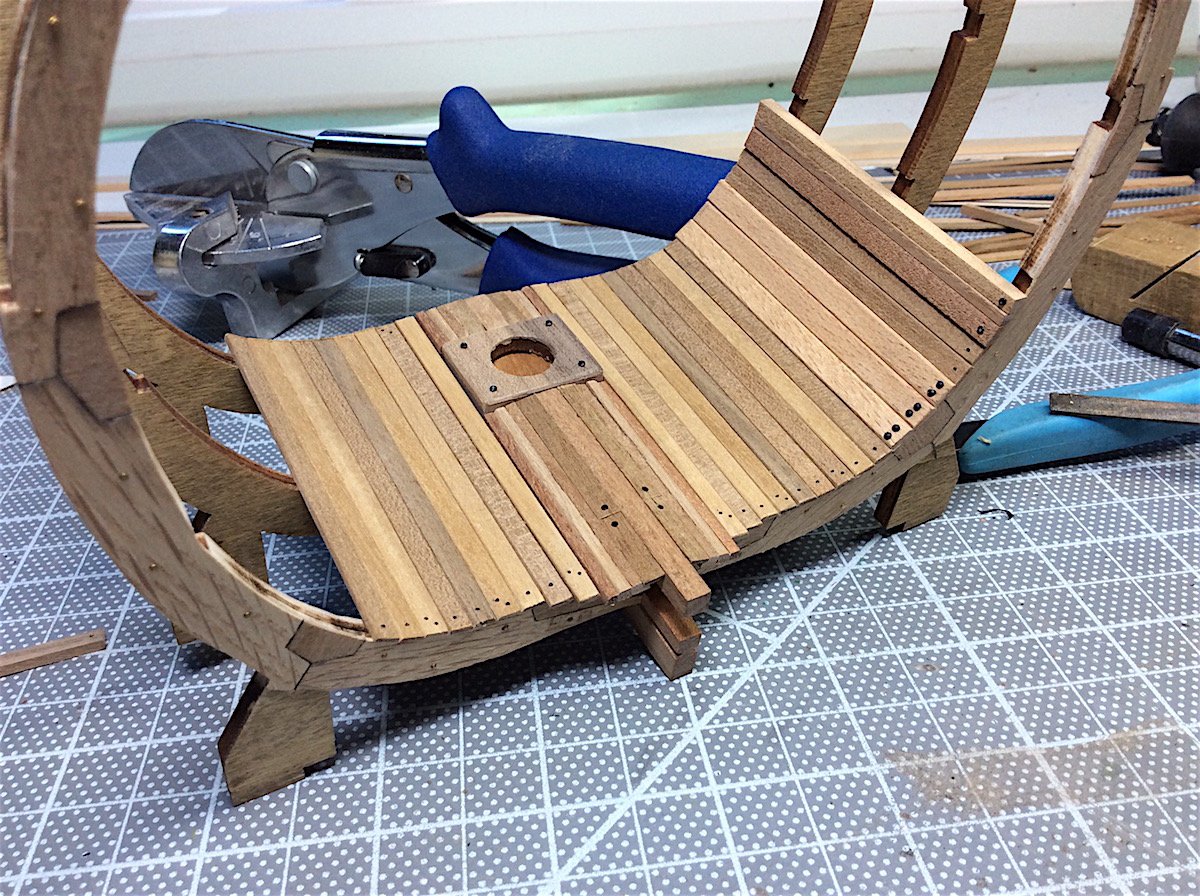
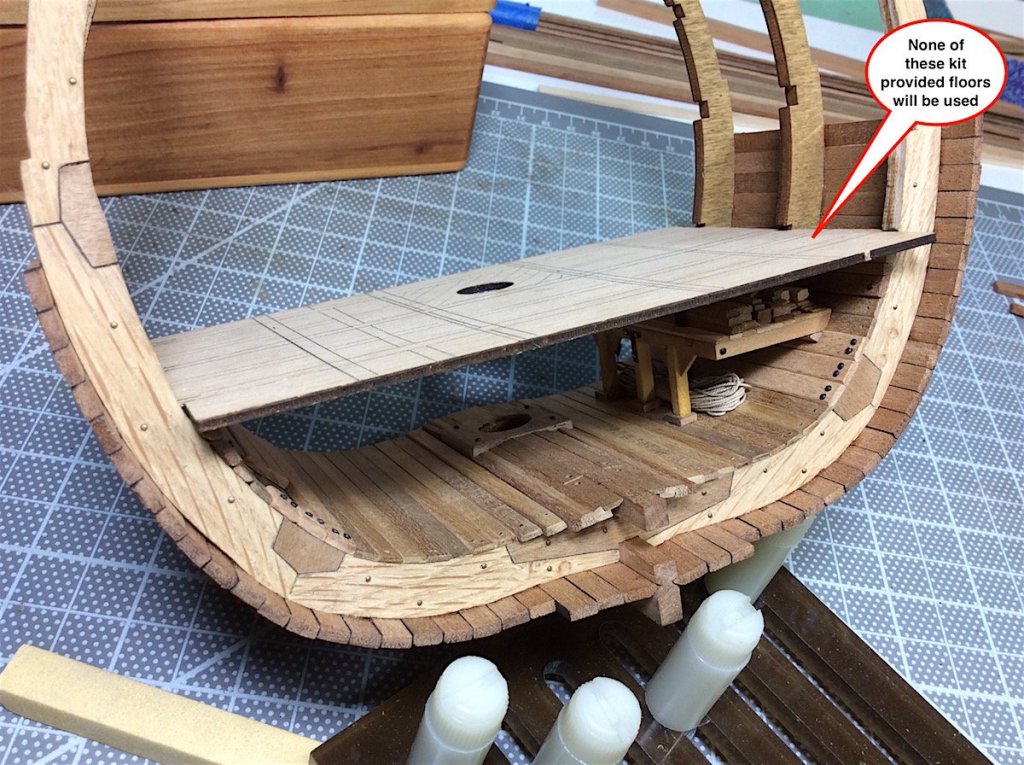
Hi mates, federicoaa welcome aboard. Happy that you want to borrow some of my ideas, thanks indeed. Have been away from the shipyard - returned a few days ago. Started the lower outer hull planking. Denis, that pen (from your log) is perfect for the caulking lines!! Here are a few pics. Waiting for some ordered bits including barrels. I would like to actually make some realistic looking ones, but beyond my skill set. Started thinking about how to fabricate the floor just above the hold (sure that it has a specific name haha). Here are a few updated shots. Cheers,


- 371 replies
-
- 15
-

-
Denis, Yes - those stairs of yours are really excellent. Well done!
-
E.J Regarding the gold paint. Have of thought of instead using gold foil? This is available at Blick's Art supplies.
-
Denis, Just catching up - been away - Looking great Your spiral stairs are excellent As Chris and OC just said I agree
-
Denis: thanks you are always so kind. Nigel: Noted and will try that as well. I did use Black Brass, but did not take too well, so then used flat black paint. Could be an expired bottle or I did not clean the brass bits of finger oils. At least for this build there will be little "black" bits needed. Notwithstanding your solution is a good one - thanks ==================== PS: I follow some plastic aircraft modelers on youTube Oh !! Tamiya have SOOO many products that I have never heard of. Some of these builds are so amazing Off topic but this builder goes through all of the Tamiya products that he uses. https://www.youtube.com/watch?v=Lr9dy9UAwZI
-
Martyn, Nice update. Agreed furled lower sails are also my preference. Especially on ships that have so much visual detail to be added on to weather decks All looks quite right indeed.
-
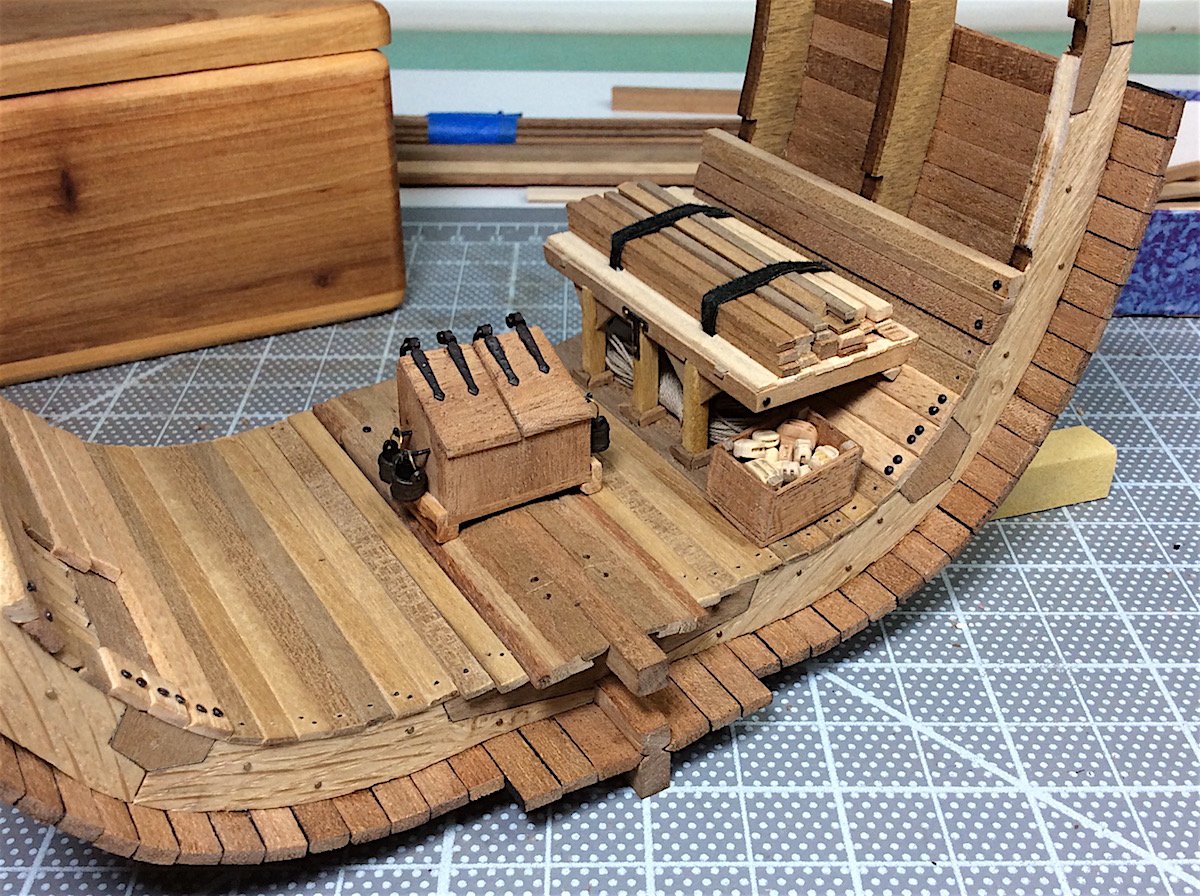
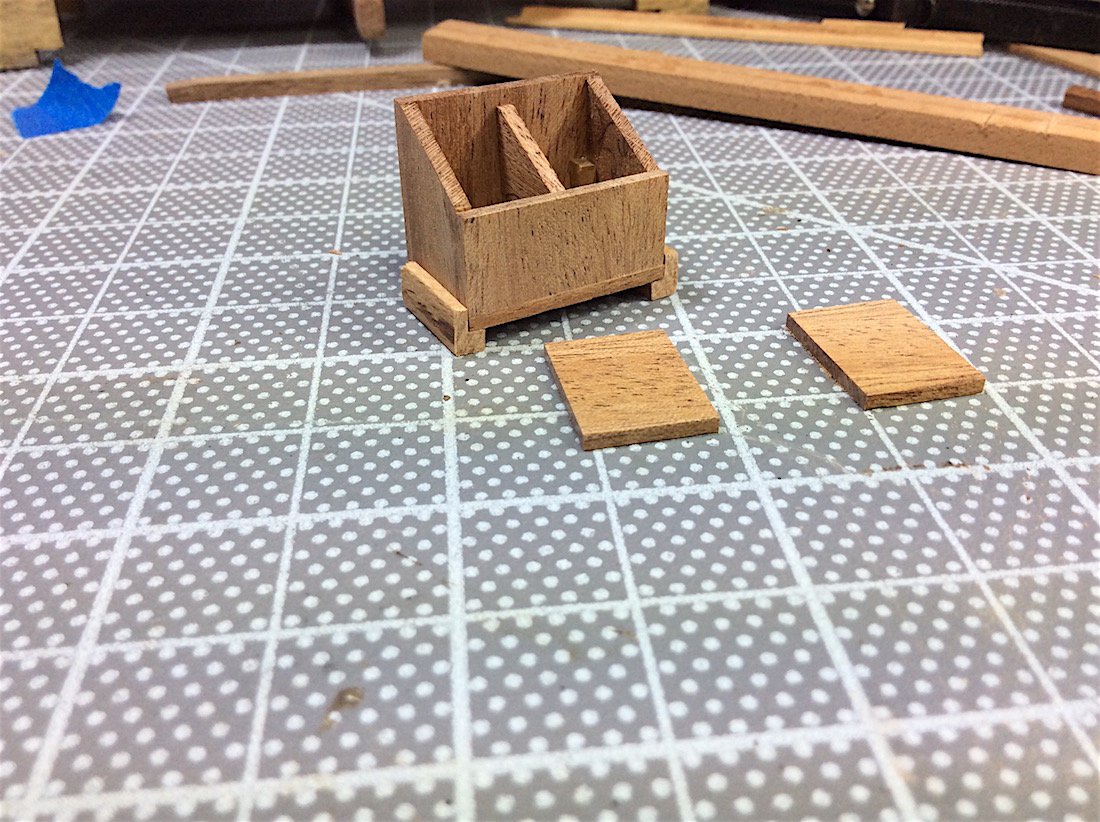
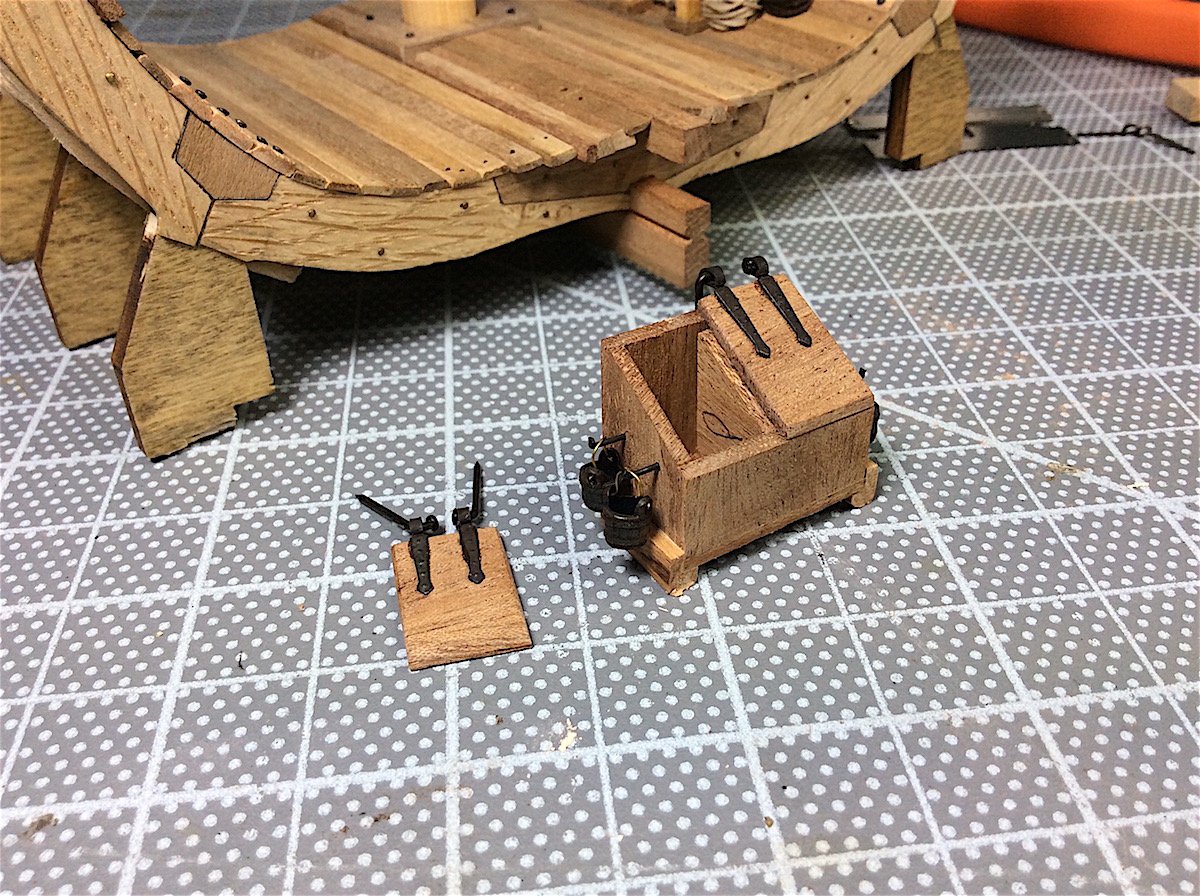
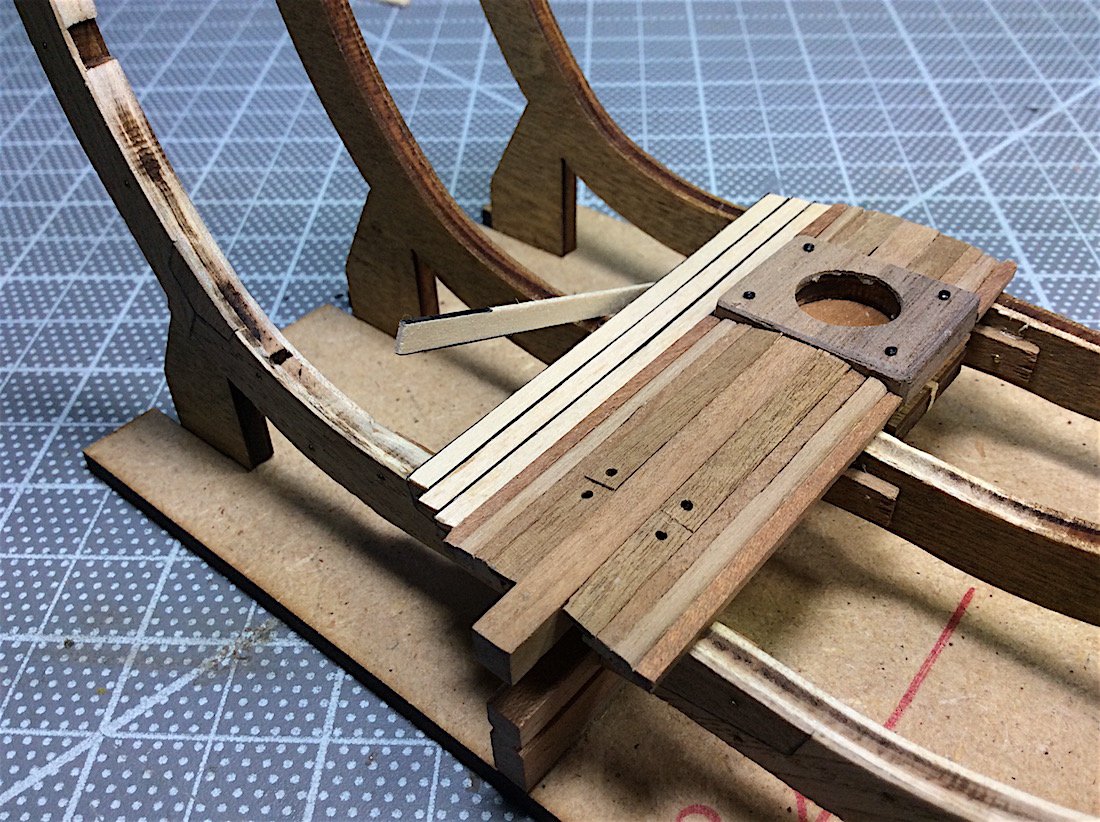
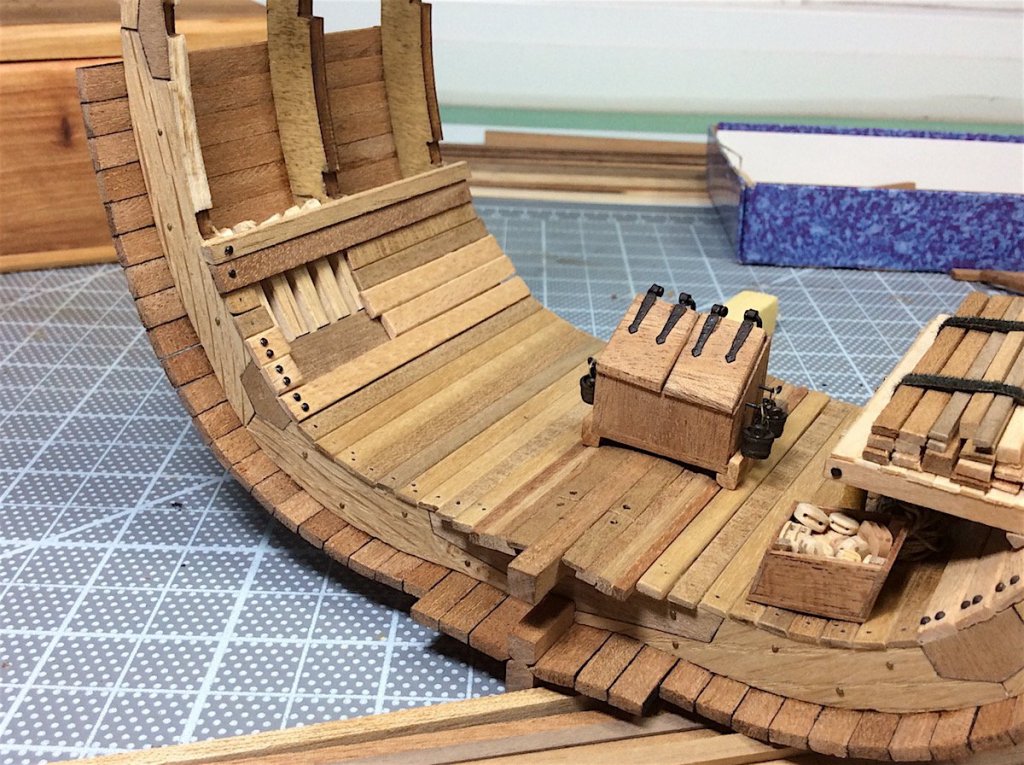
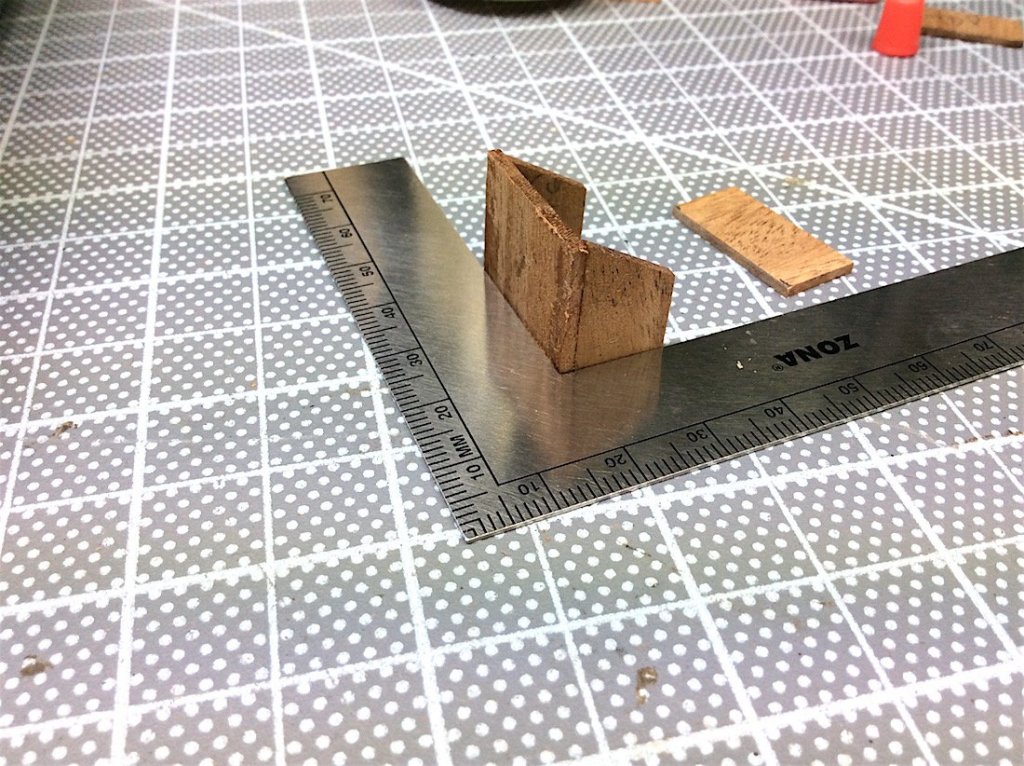
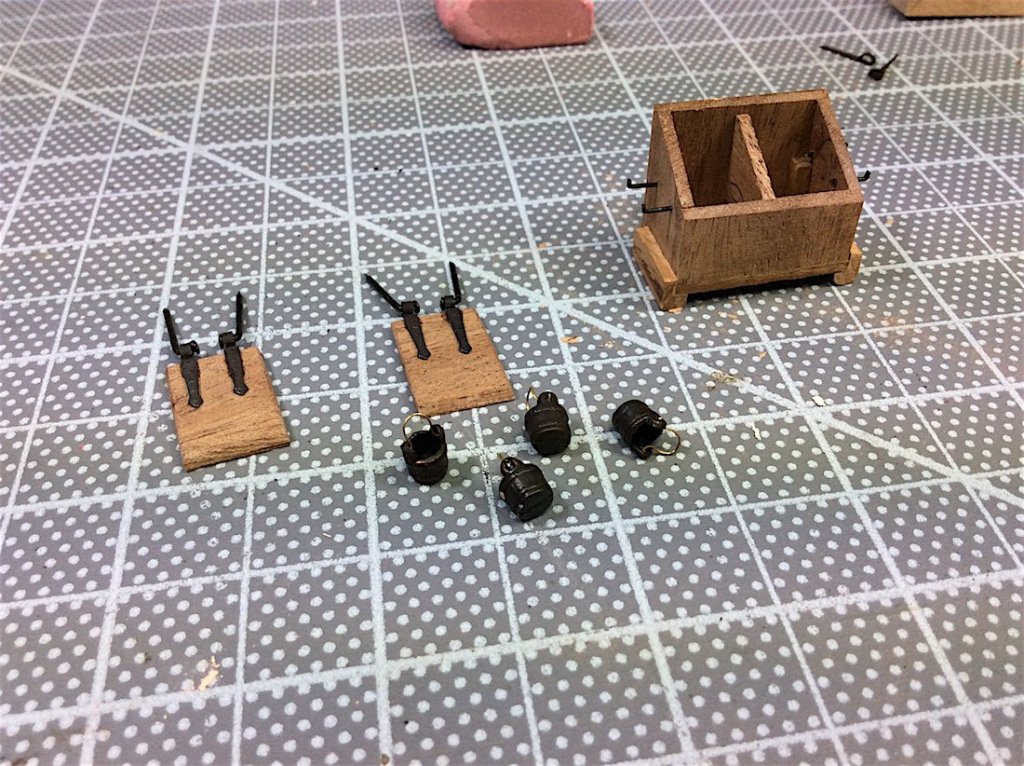
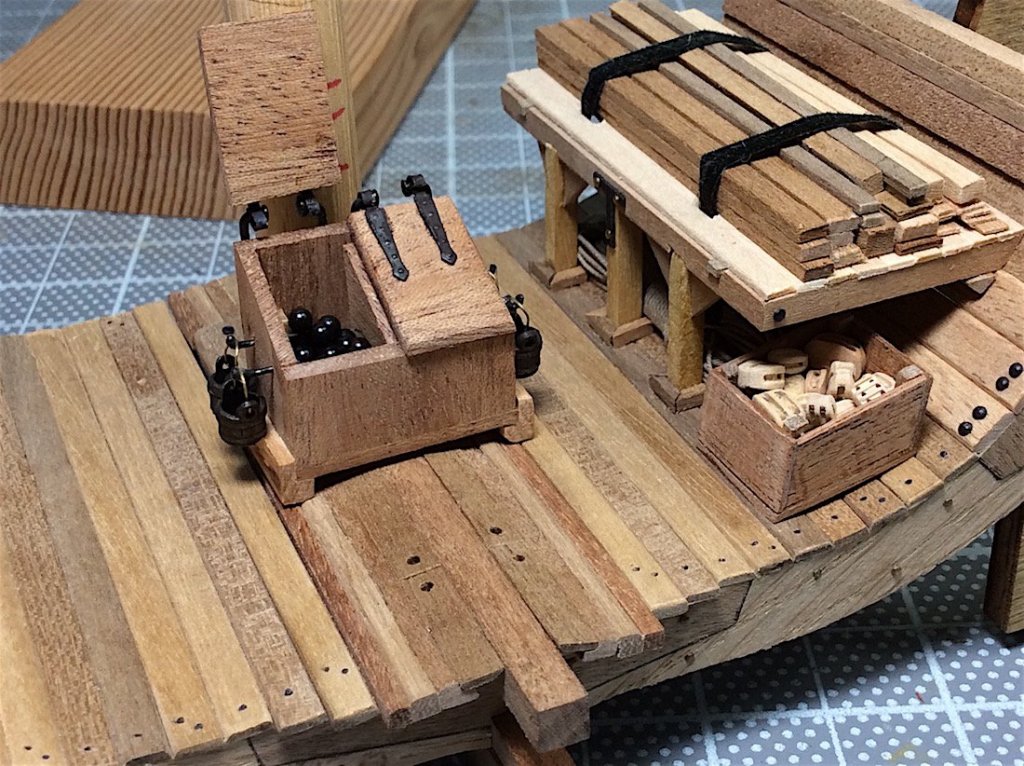
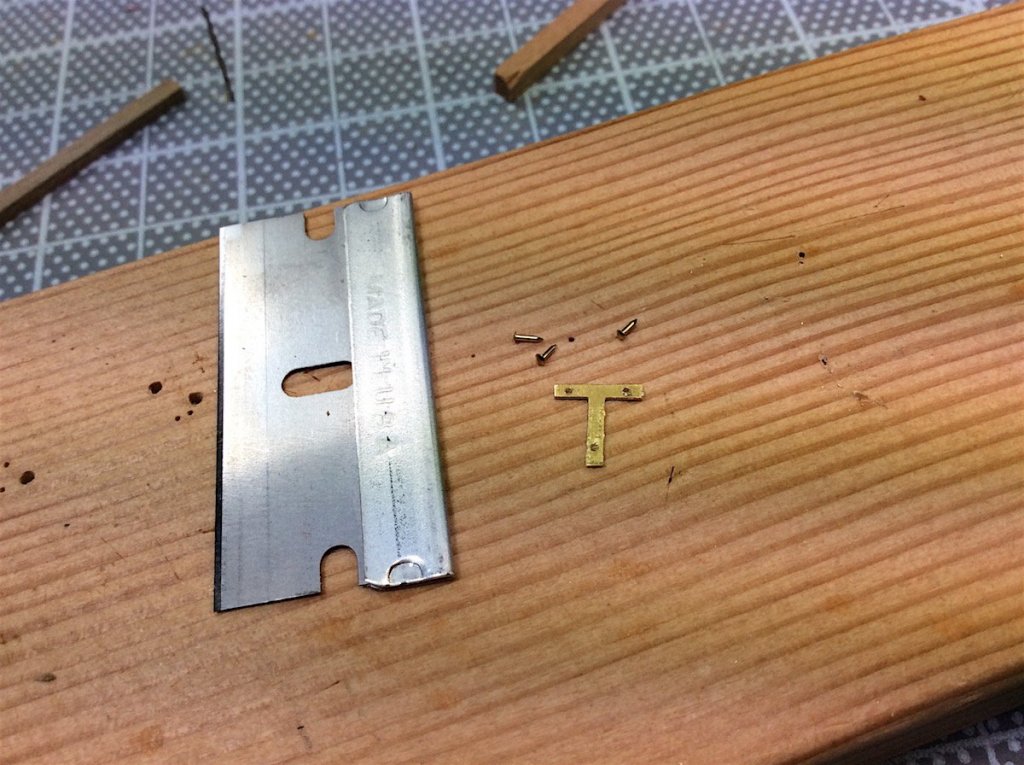
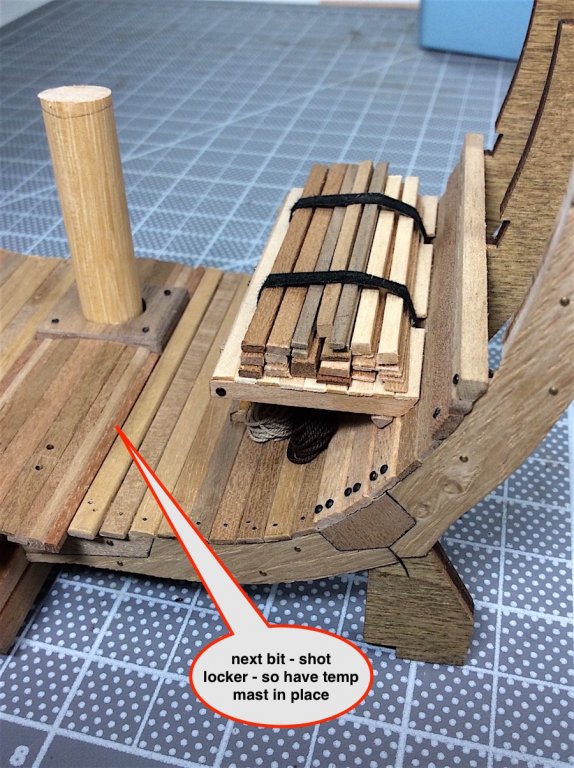
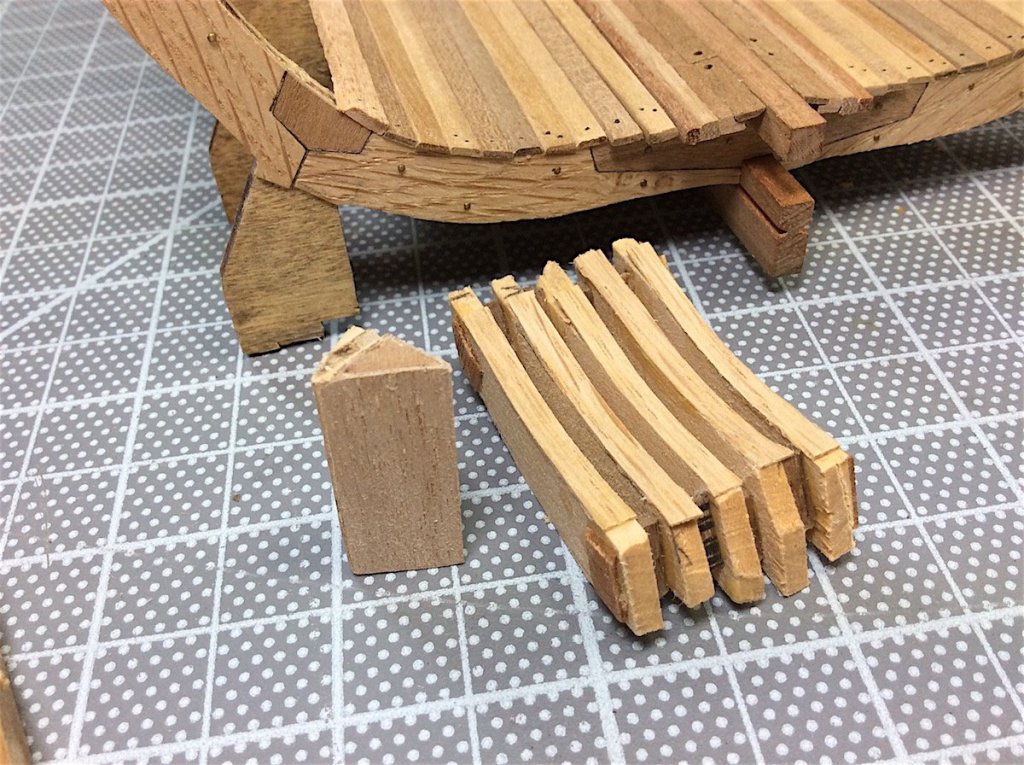
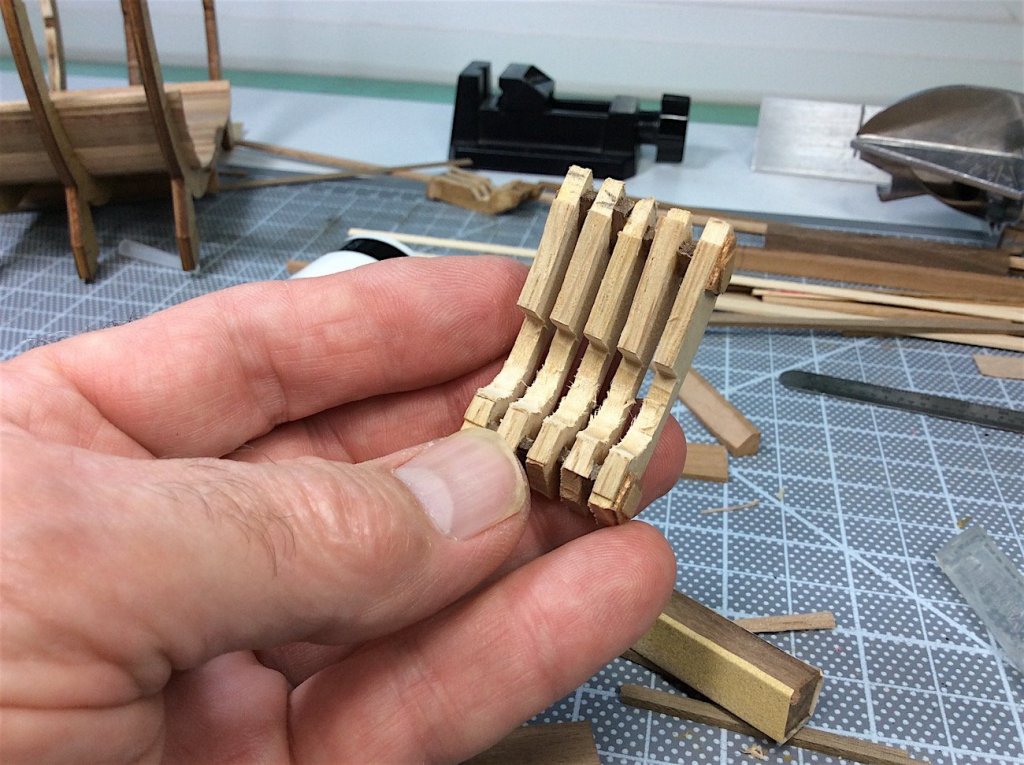
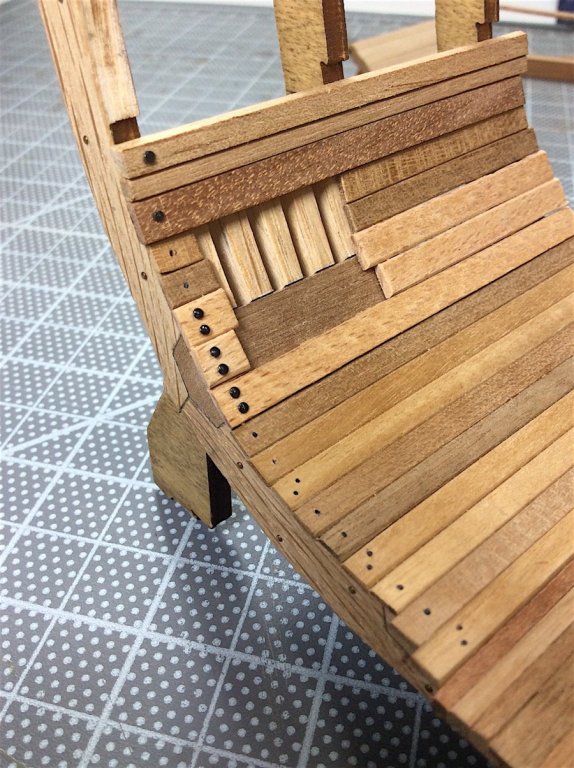
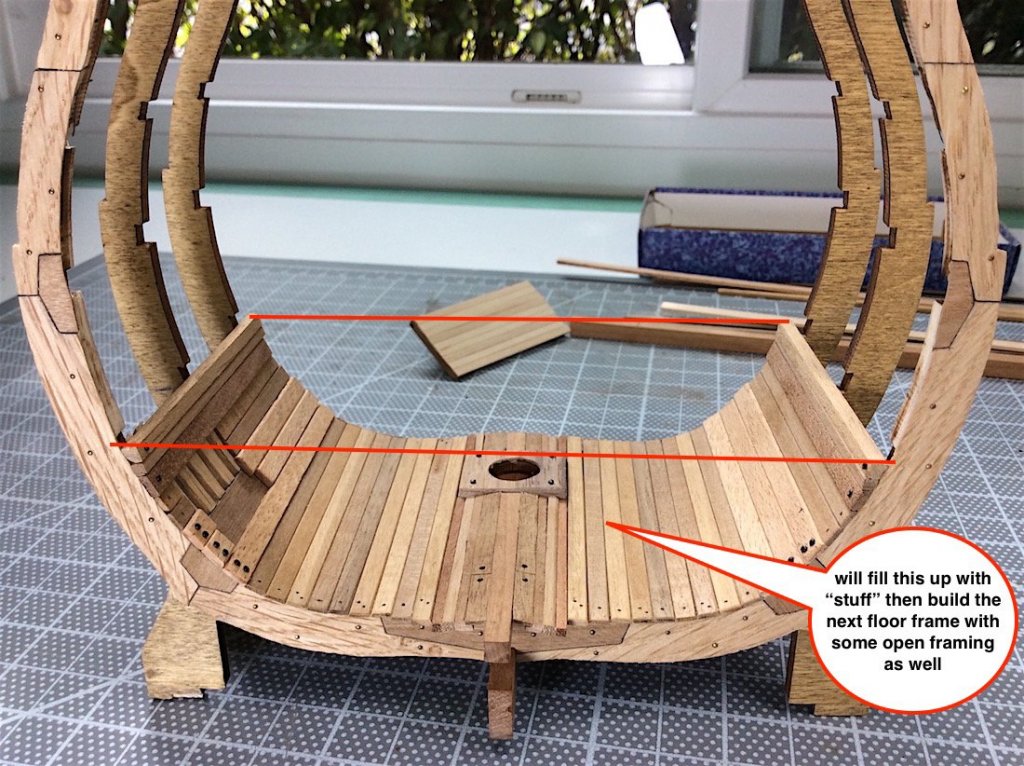
Hi mates, Couple of minor updates =============================== Made a shot locker, as well as a box for blocks. Some thoughts; •Shot locker is intended as an example of where they were probably placed. It should be taller and extend through and above the lower floor (if I understand this correctly) • Block box was just to fill a space. • Will fill the other side with barrels. • need to add many treenails and pins where floor and walls are visible • will also add a lot of ballast rocks Neither the shot locker or the block box have yet been glued to the floor work in progress....


- 371 replies
-
- 15
-
-
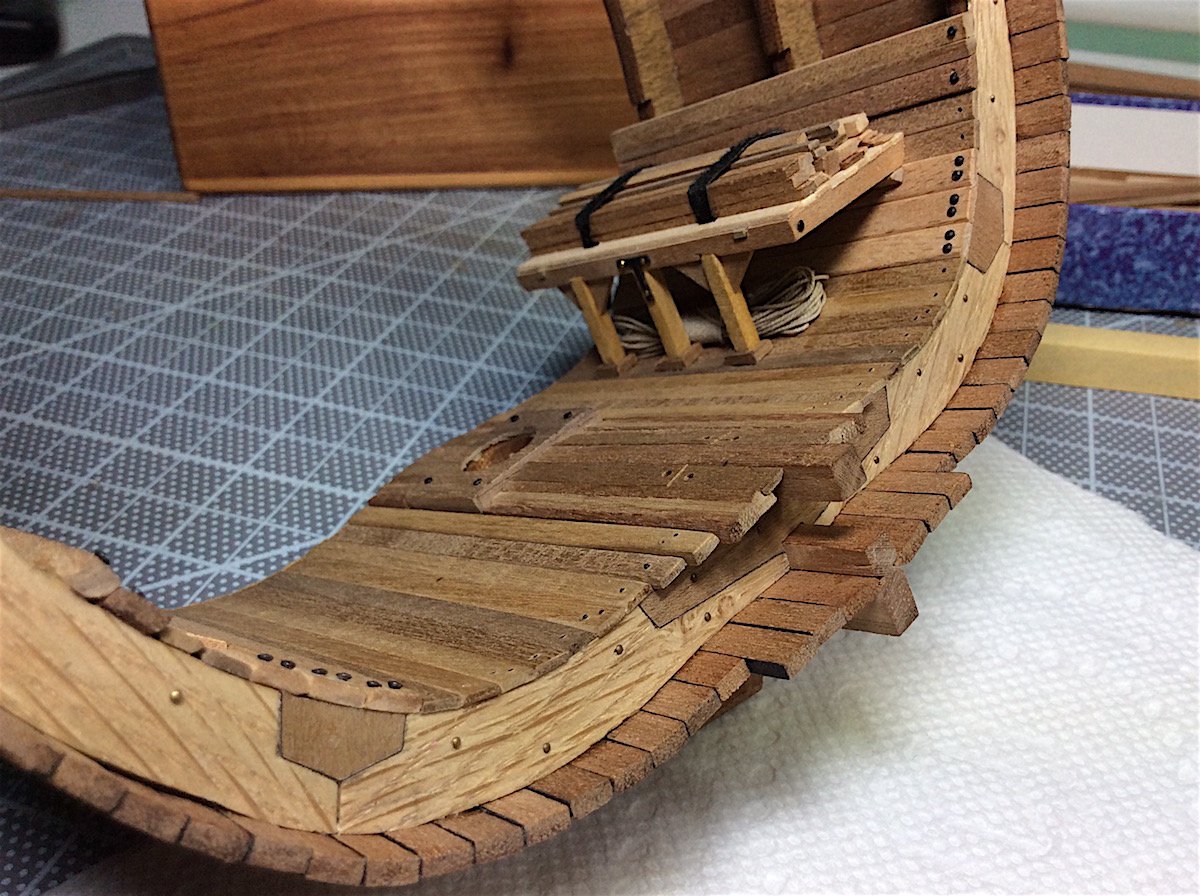
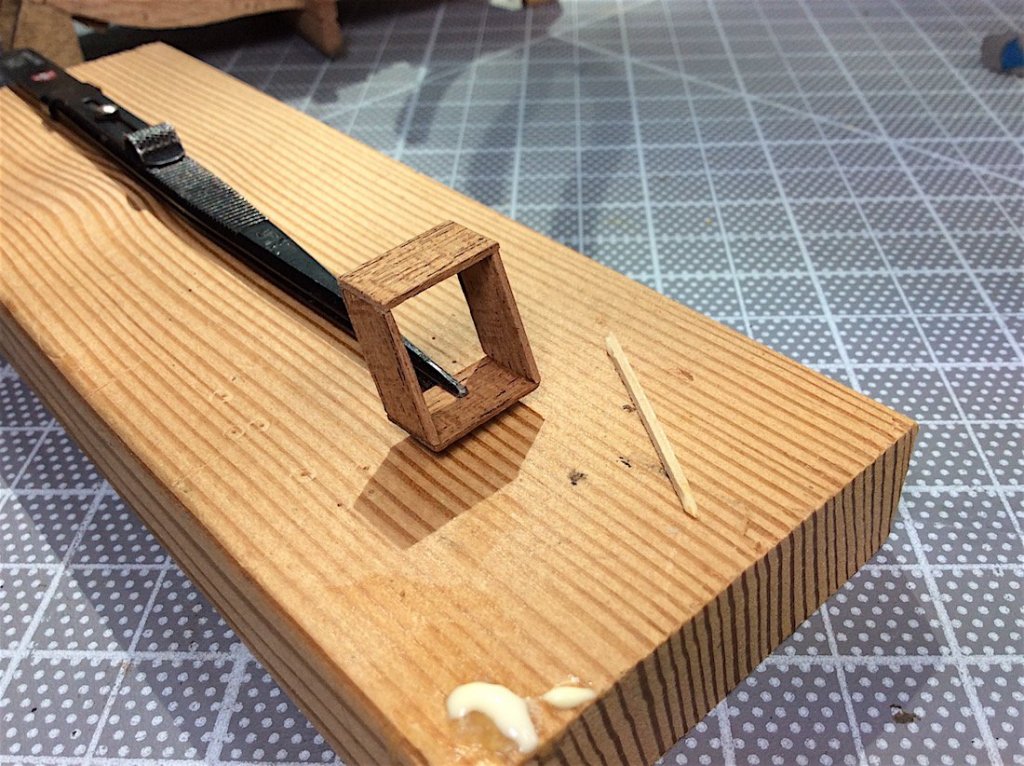
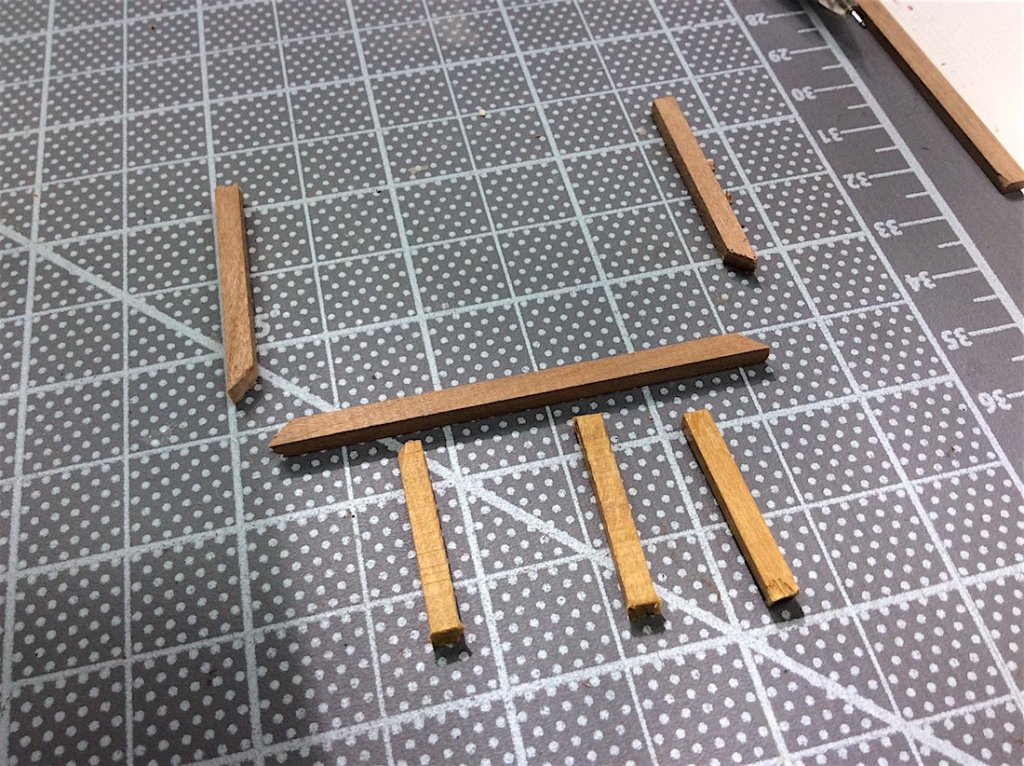
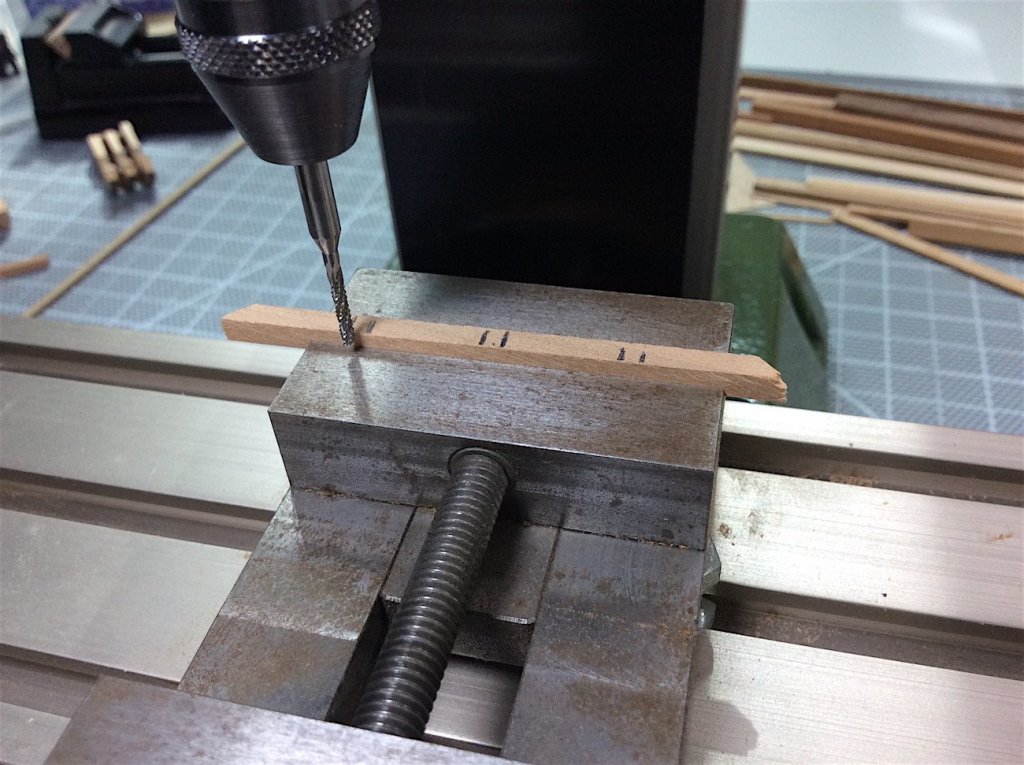
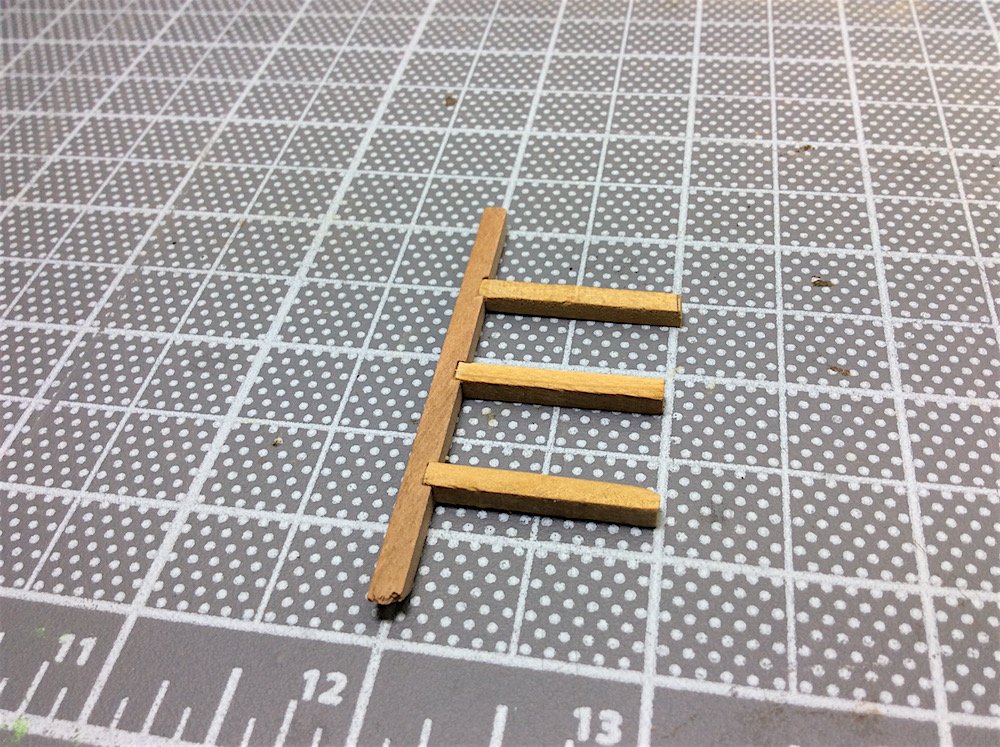
Hi Mates, Vivian Thanks - its not difficult - especially if you only add the verticals without that horizontal piece that was needed in this case. PS: The Admiral is in Florianópolis visiting her family - SO lot's of time in the shipyard and tool noise bother's nobody =================== Update - Took this idea from Anthony's Victory - shelf for lumber. Next up shot locker very close to mainmast. As always thank for looking in and.... Cheers,


- 371 replies
-
- 15
-
-
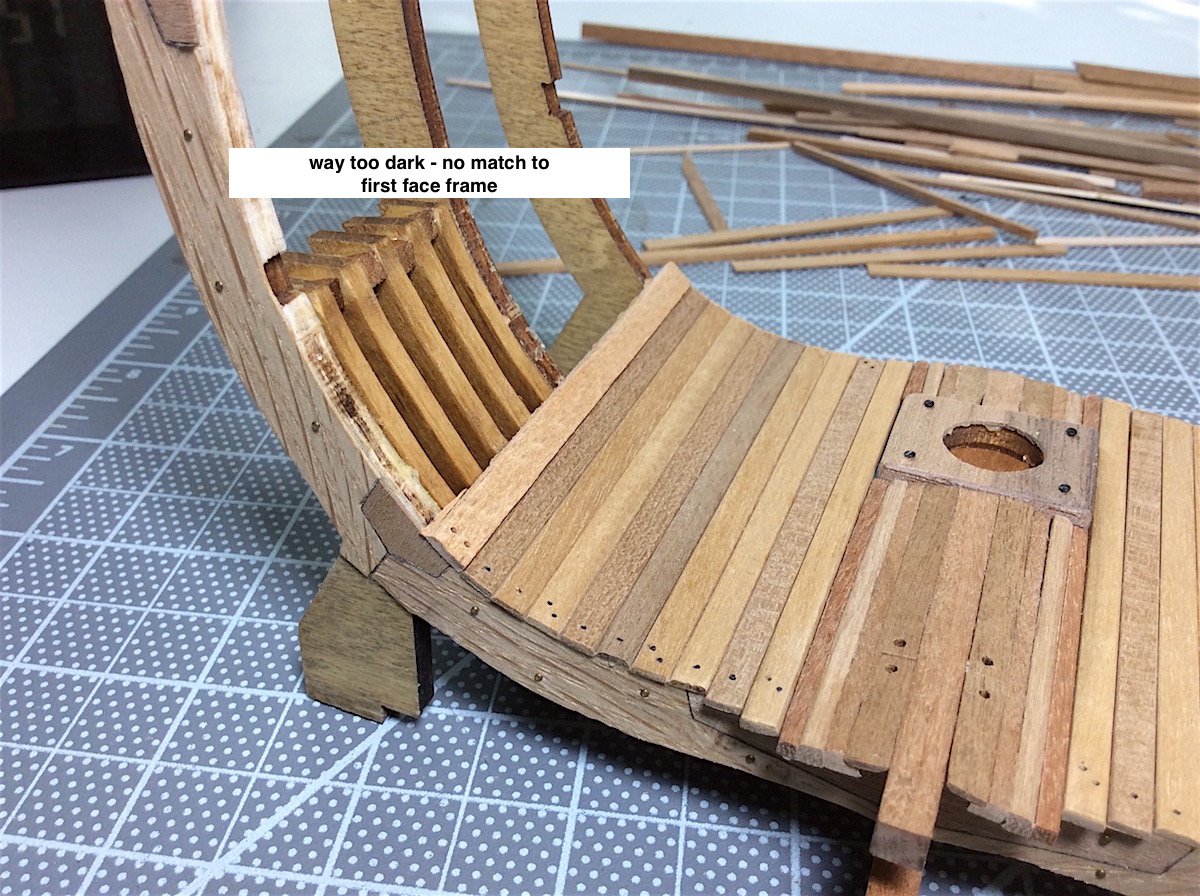
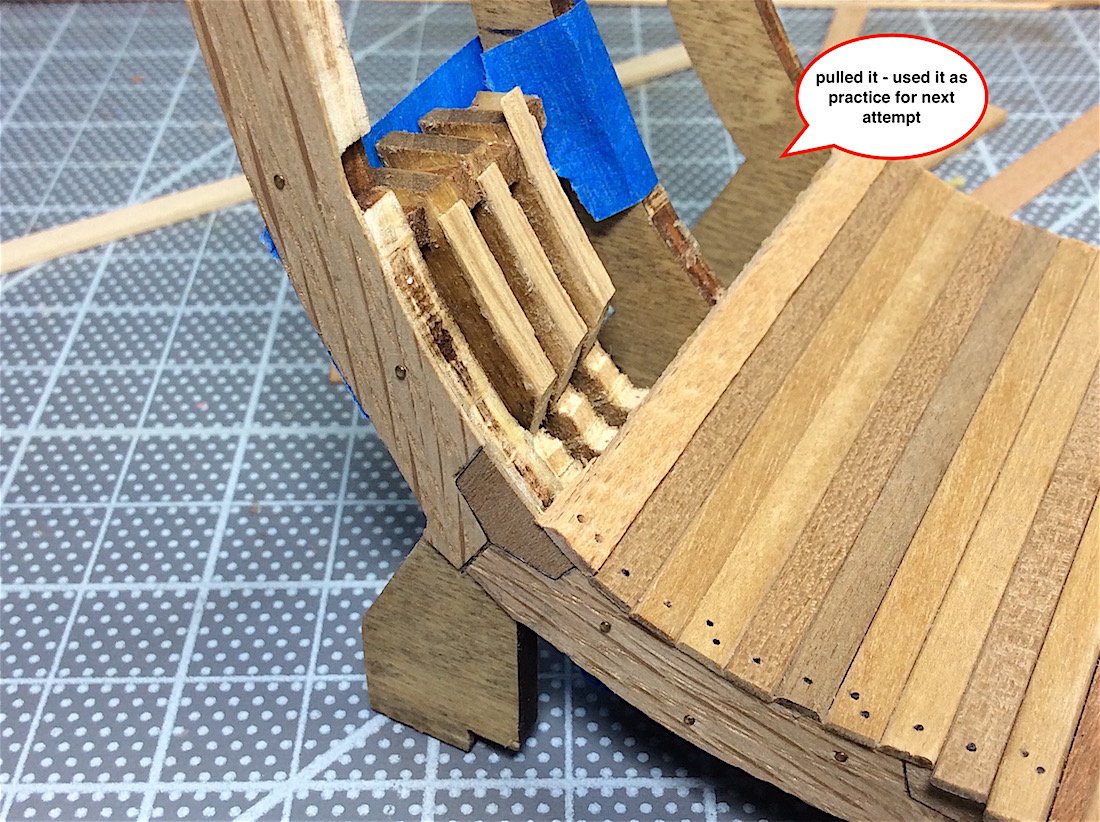
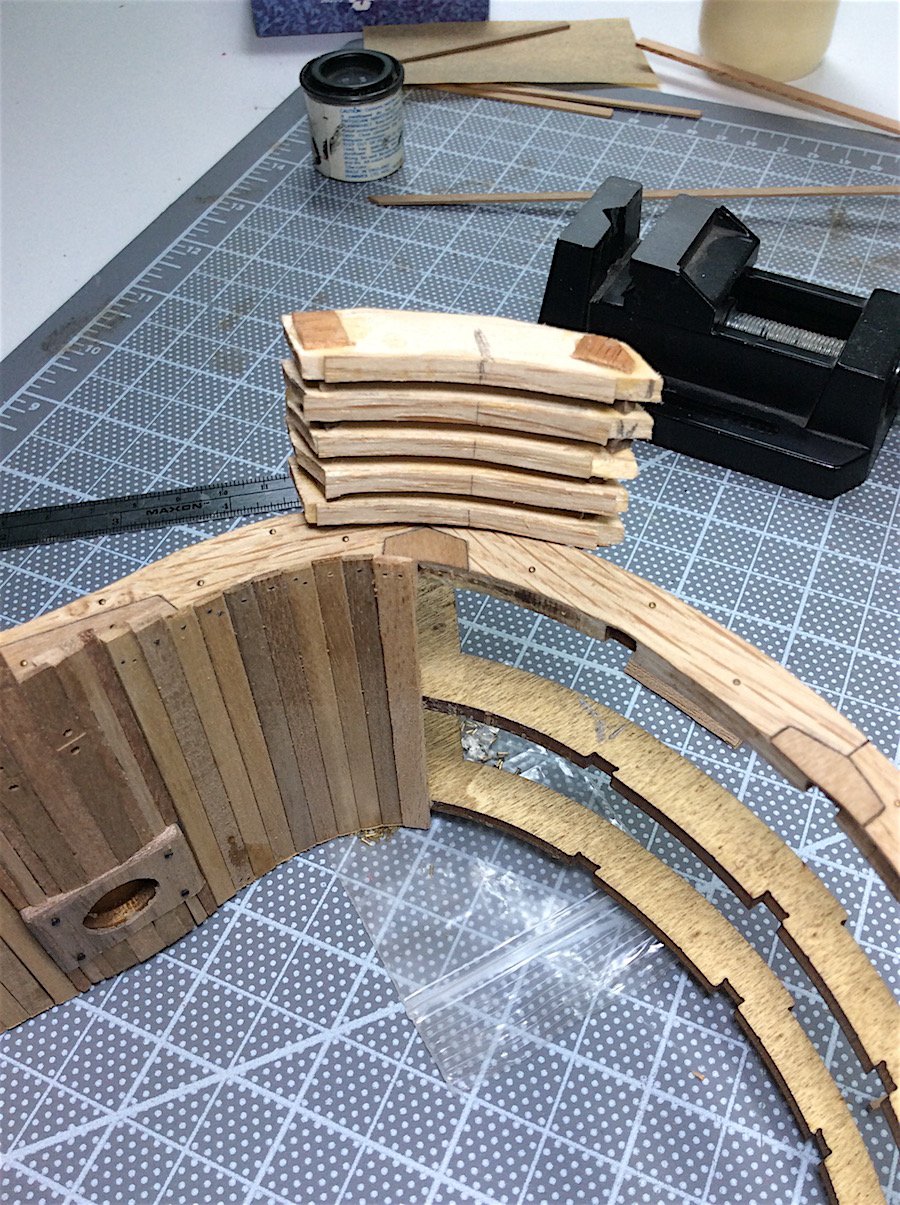
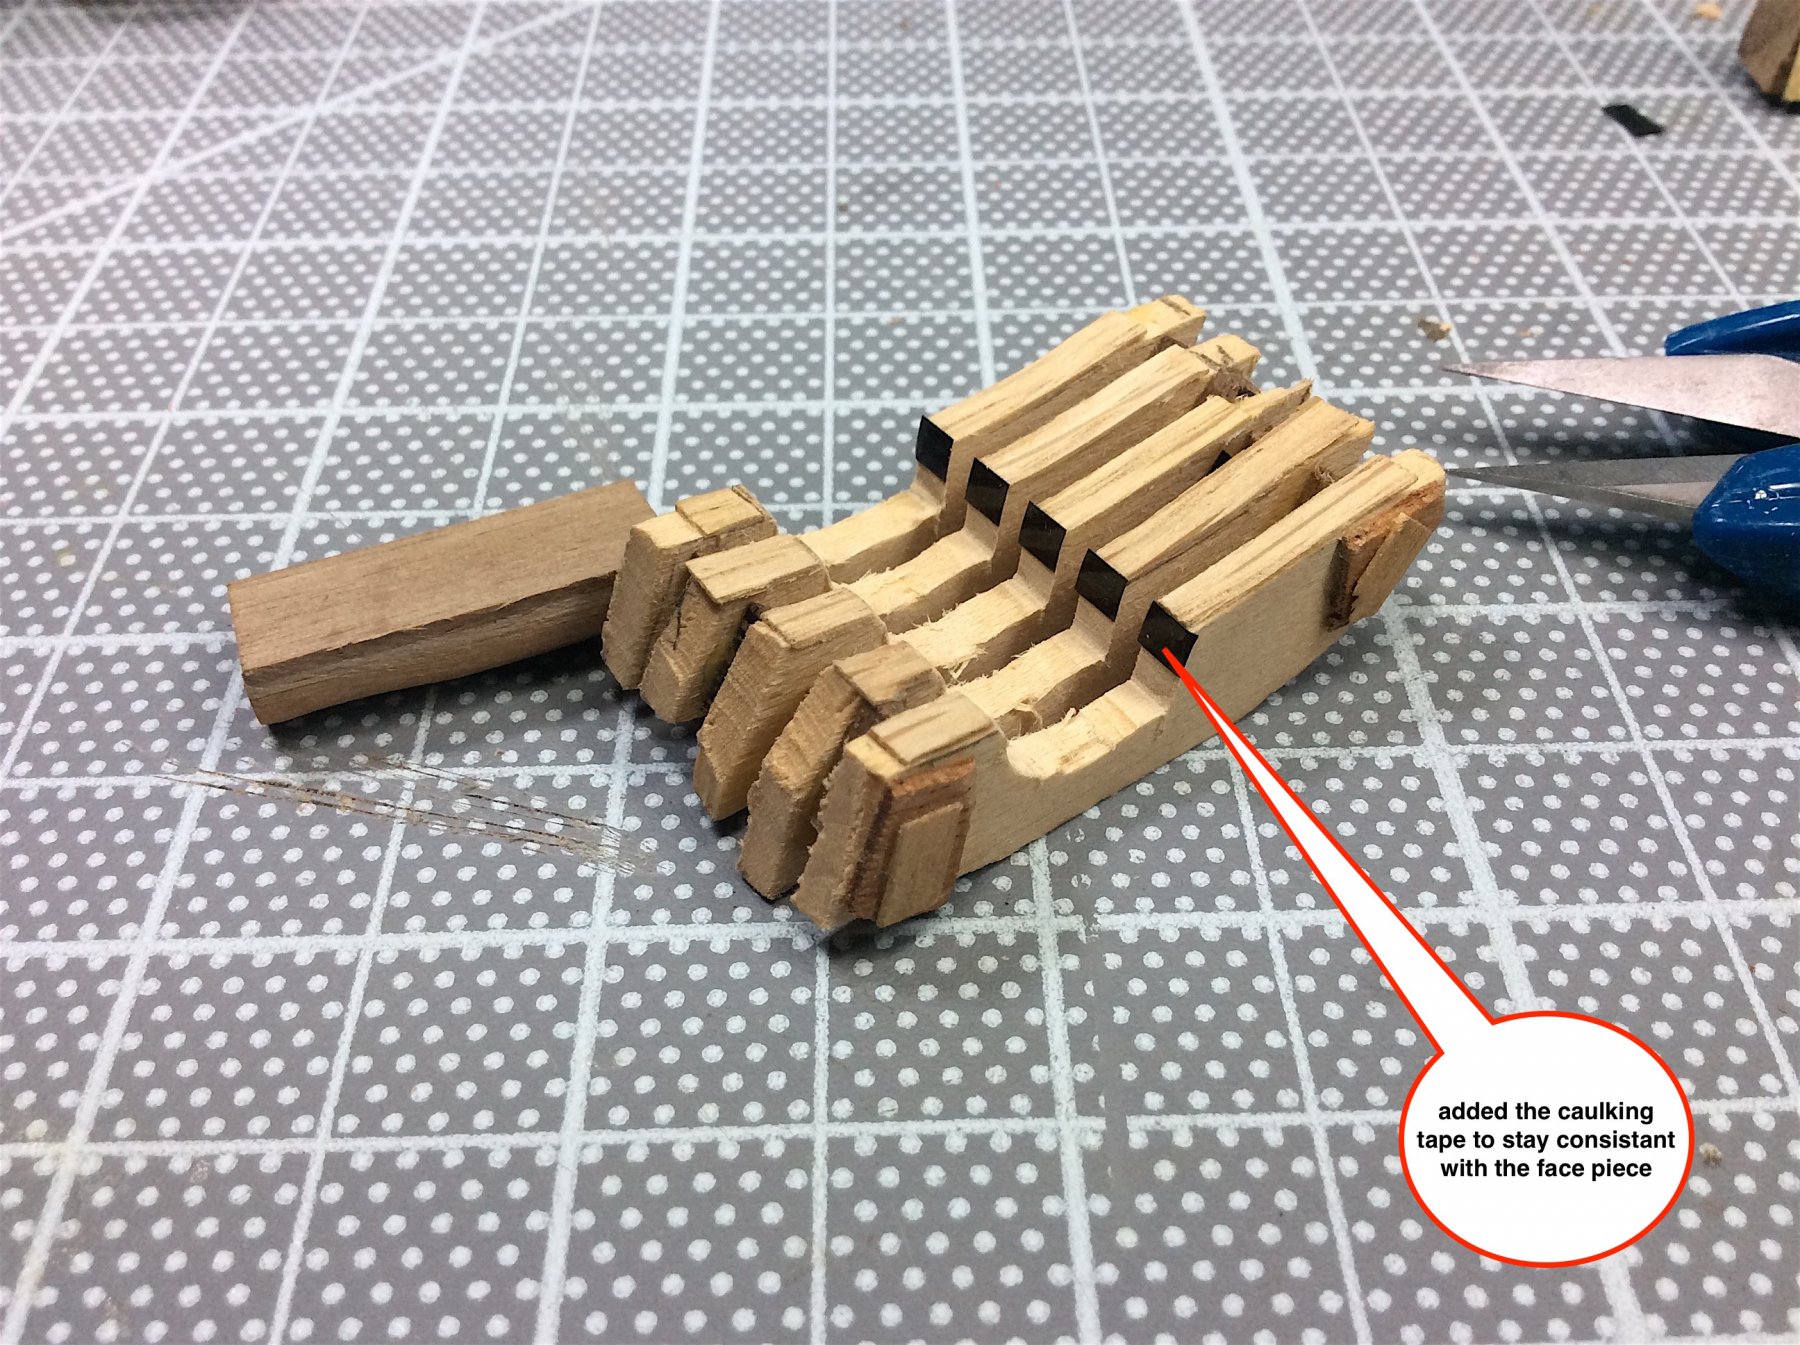
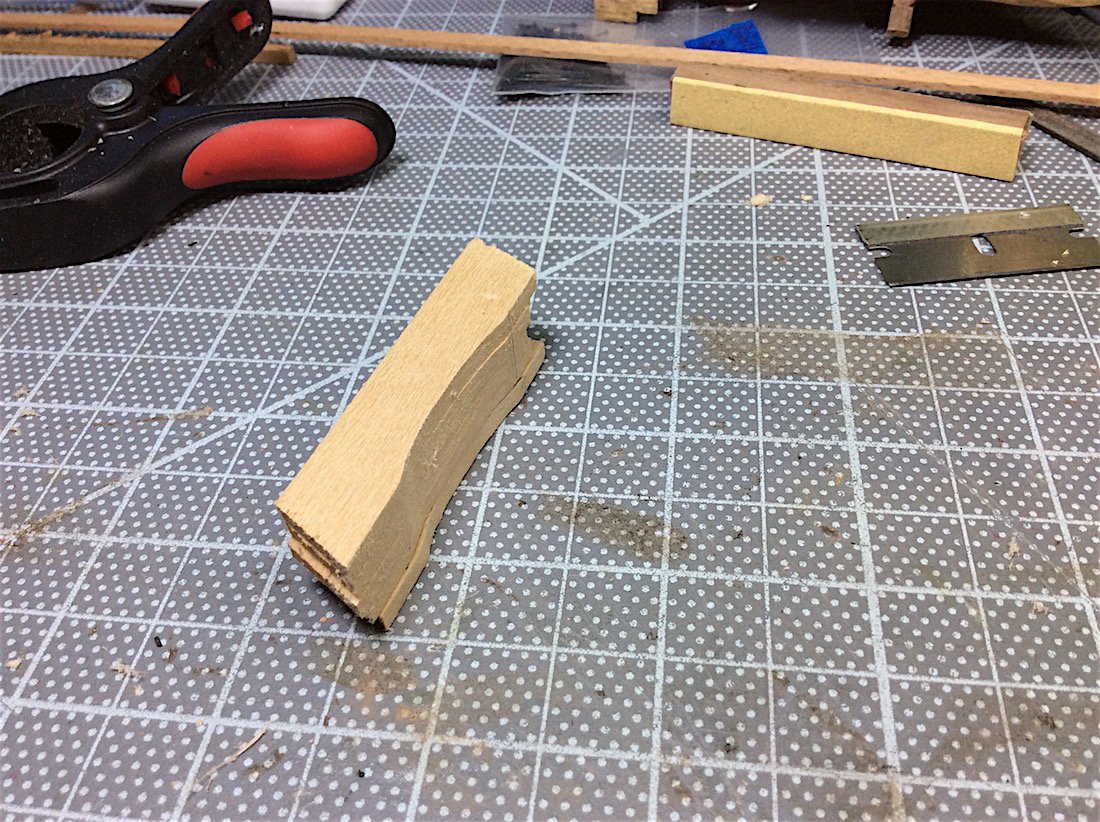
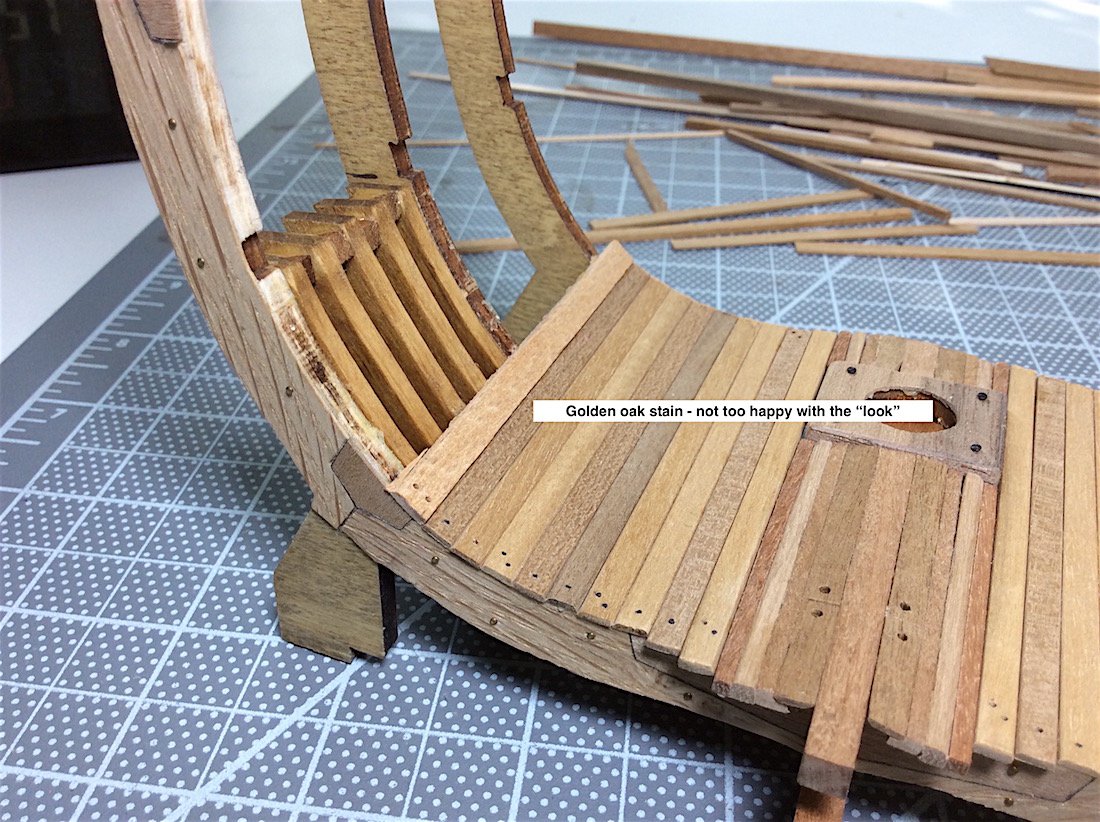
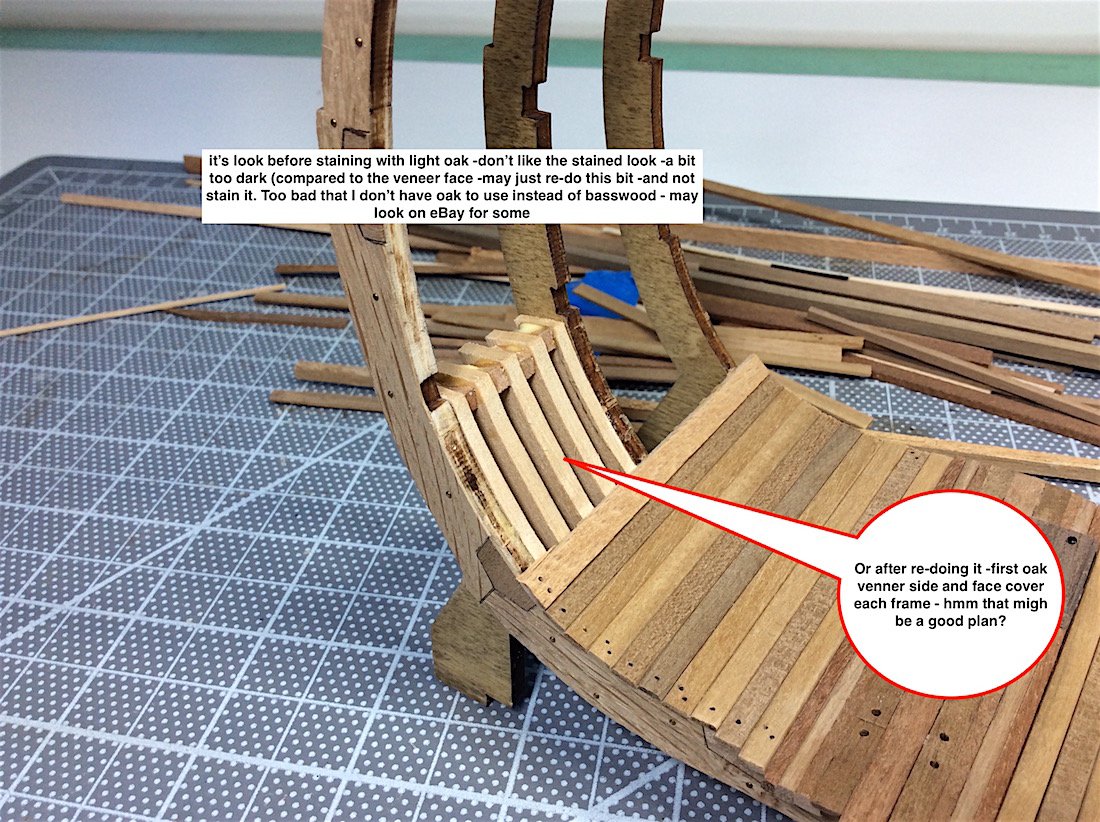
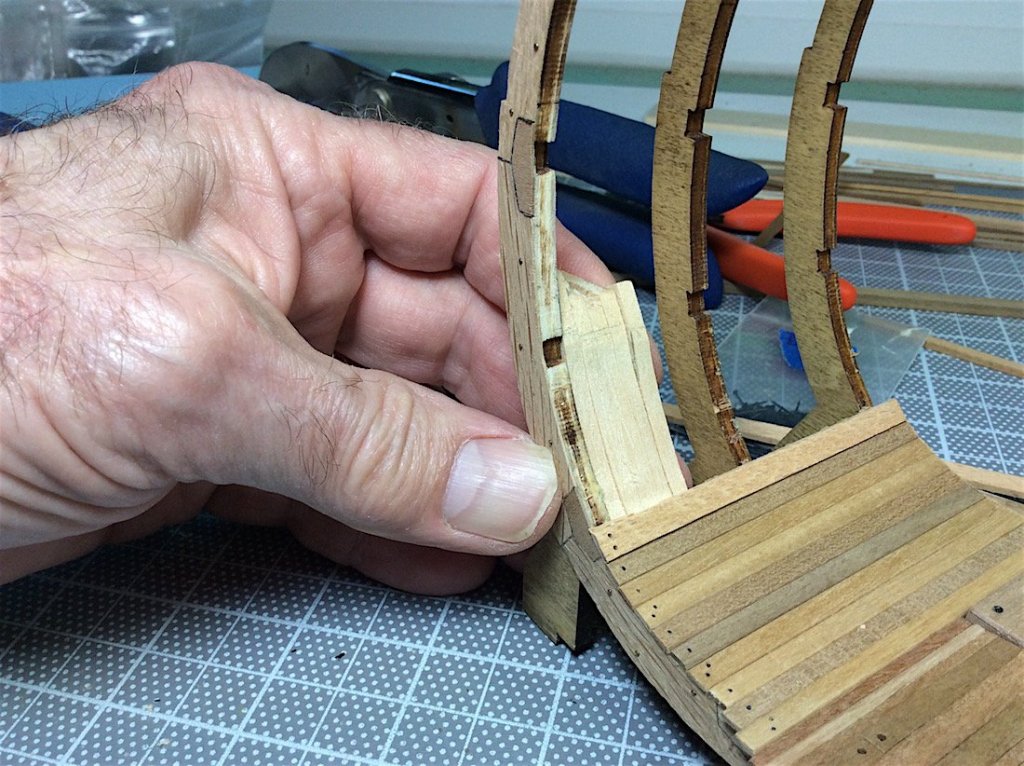
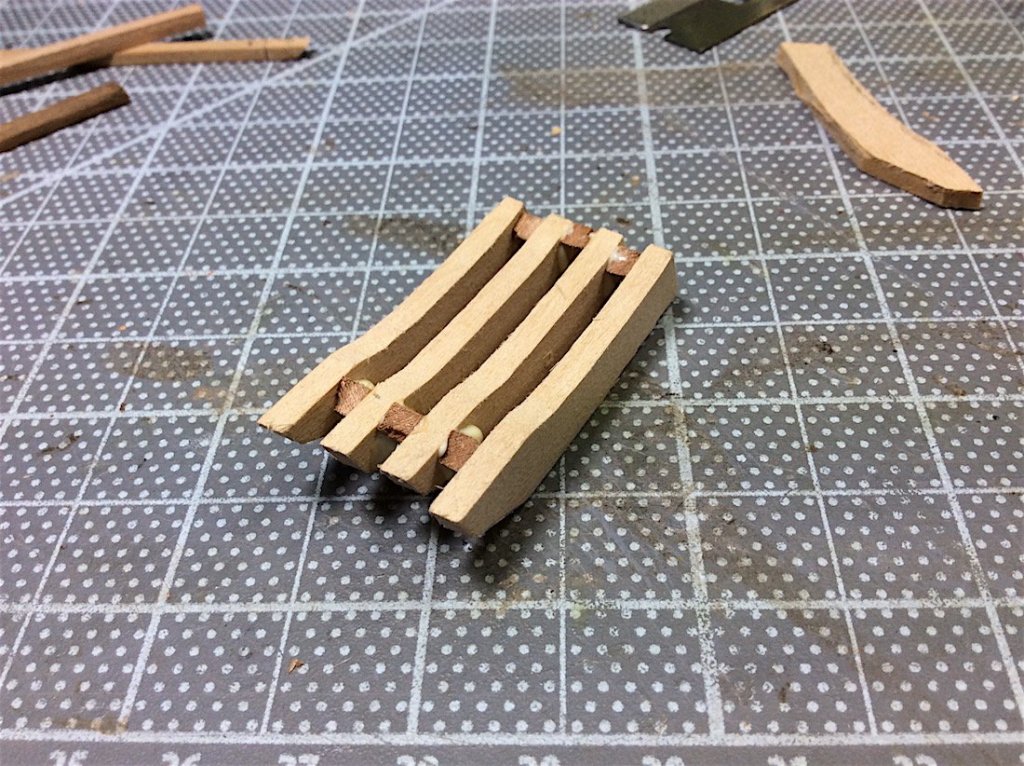
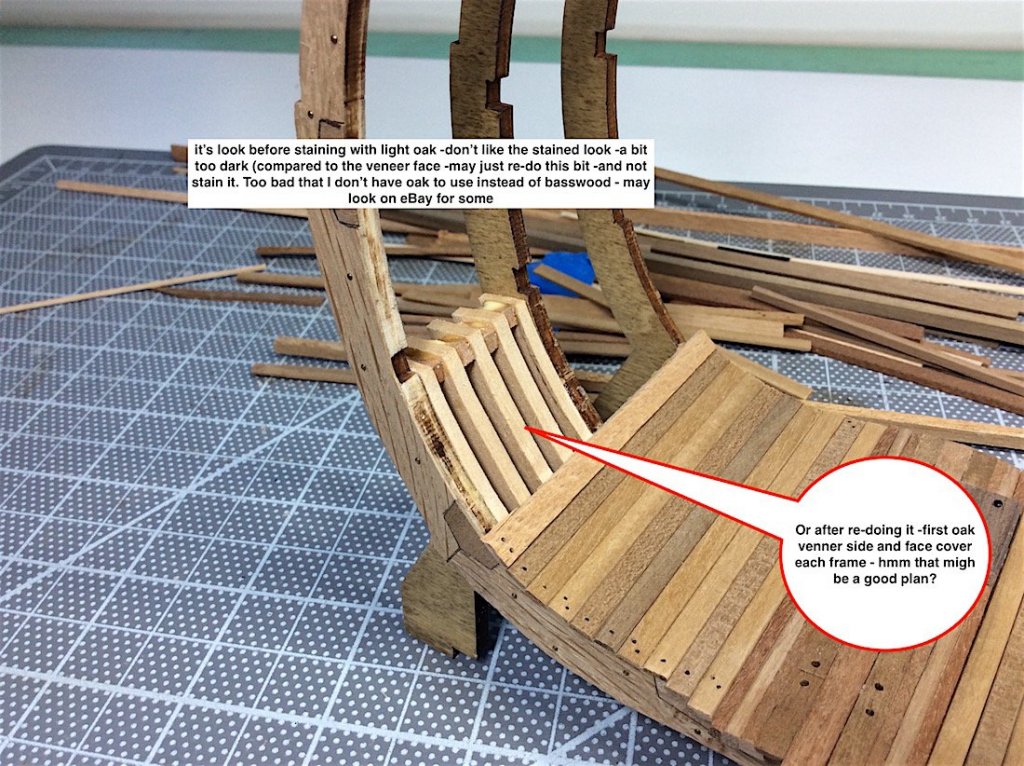
Hi Mates, Anthony: thanks for your comments and suggestions. BTW – your 1/36th Victory cross-section is amazing. Will be borrowing some of your details from that one – well try to anyway! ===================== Plan B update. Those framing inserts that I had made, and then added oak stain to the basswood– were too dark. And the basswood in-and-of itself was too plain, nor did it look like the first frame that is in profile. Rebuilt them. Again using basswood, but added oak veneer to the frame faces. And did not stain the basswood – which almost disappears visually with the addition of the oak veneer faces. Much better – I’m good here – moving forward. Photos go through the process. As alway mates thanks for dropping by, likes and comments.


- 371 replies
-
- 15
-
-
E.J, Looking excellent, even though you are building your skills at this point. You are improving with each build - very apparent indeed. LRS is NOT an easy build. Arguably along with the SOS and the Victory - may be the most complicated builds given the huge amount of needed details. I won't even mention the rigging or sails as you are intending to also explore....I salute you sir All of your comments regarding woods - noted - thanks for the future advice. Yes this part of the hobby I need experiment with - along with soldering -metal bits now that would be a real reach for me haha. Very much enjoying following along your RS Oh - it's 7:00 pm time for Dodger baseball so long (needed to add that haha....) Cheers,
-
Denis, So sorry to read this. But as Piet says yup keep on plugging---
-
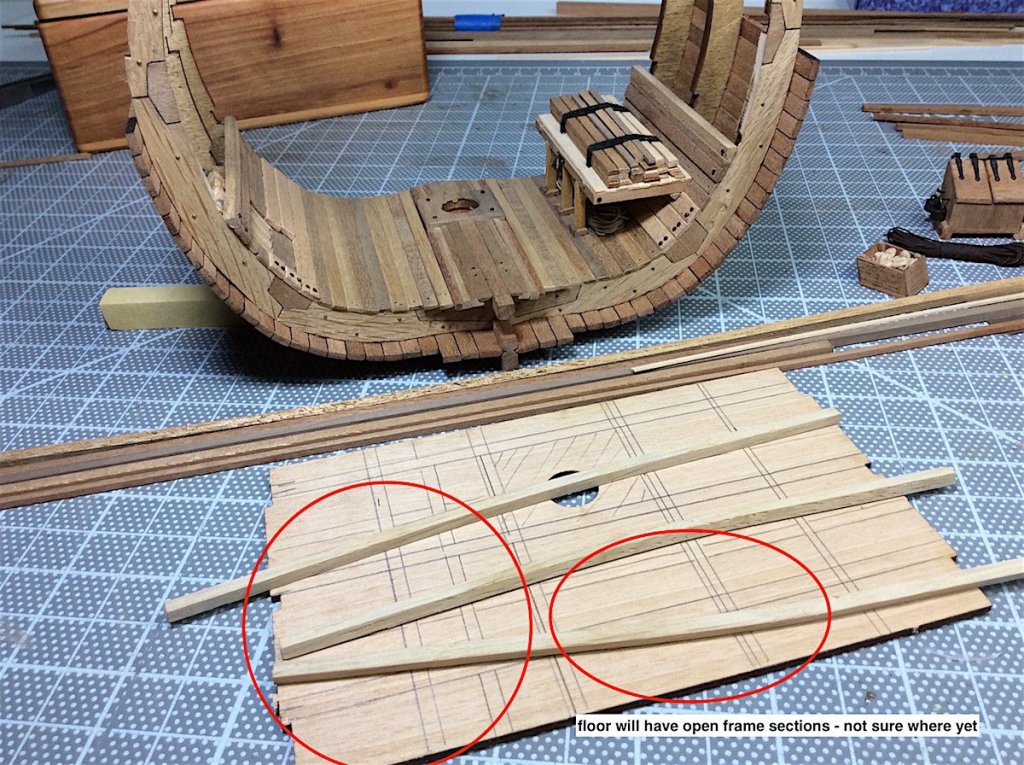
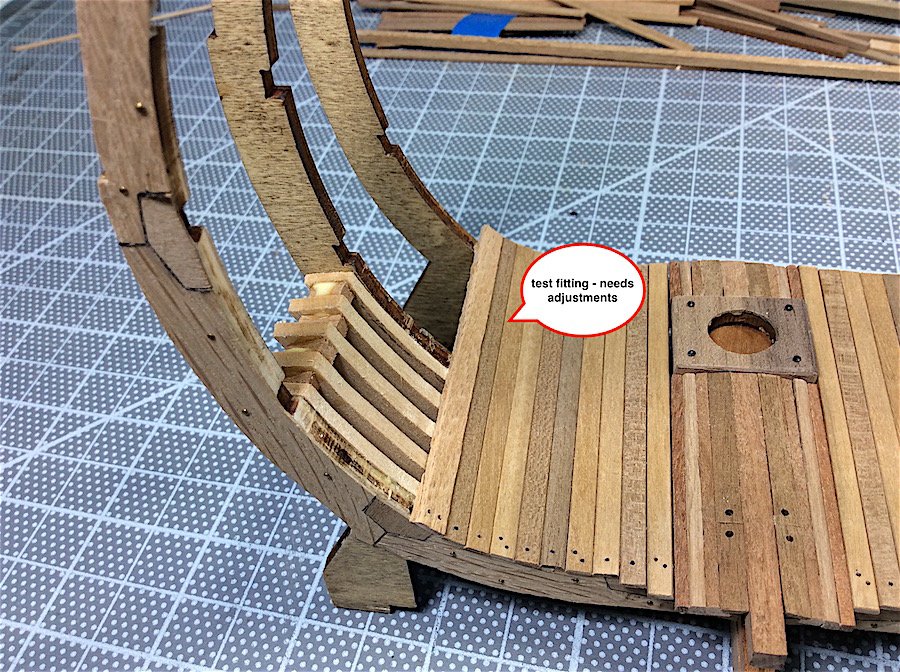
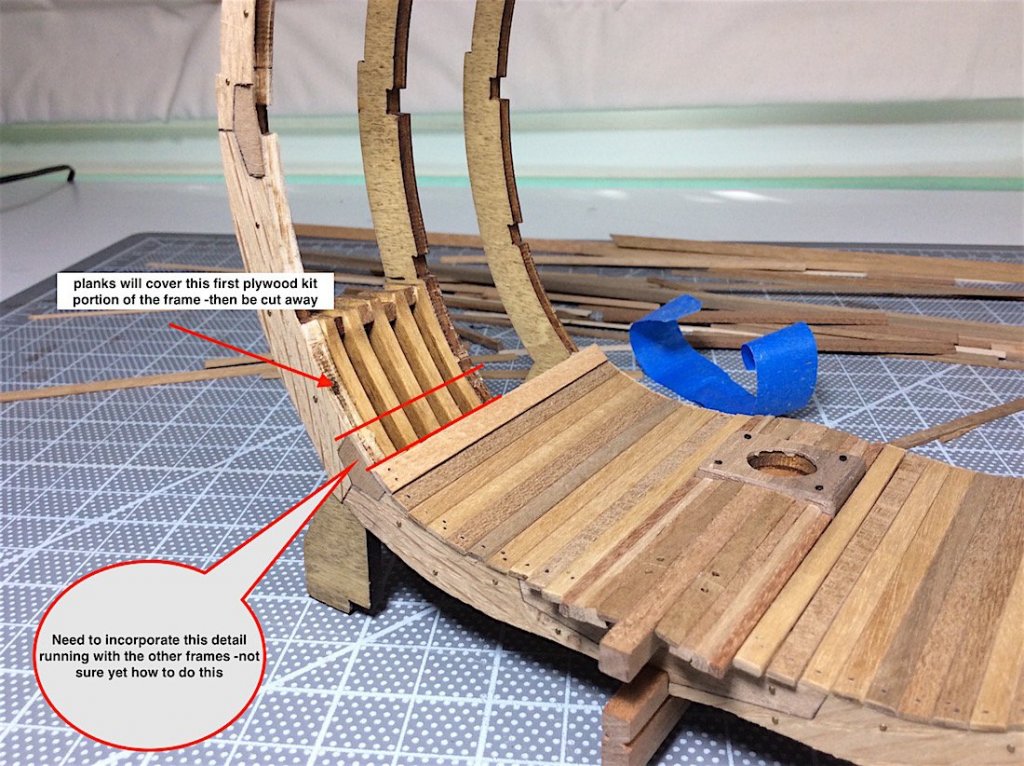
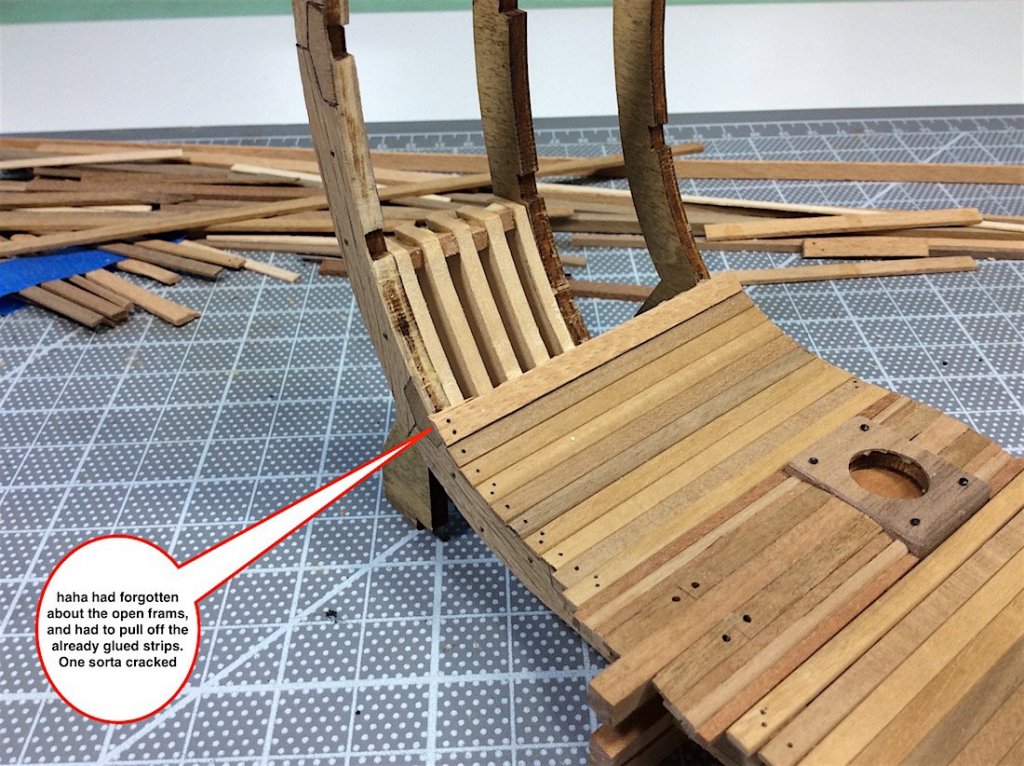
Back to back minor updates - working on that open frames section I intend on incorporating. Photos speak for themselves


- 371 replies
-
- 12
-
-
Liberto, So glad that you are again posting updates. Your work is on the level of the best art that this hobby is capable of creating. Such a pleasure to follow, learn, and enjoy the beauty. Sincerely,
-
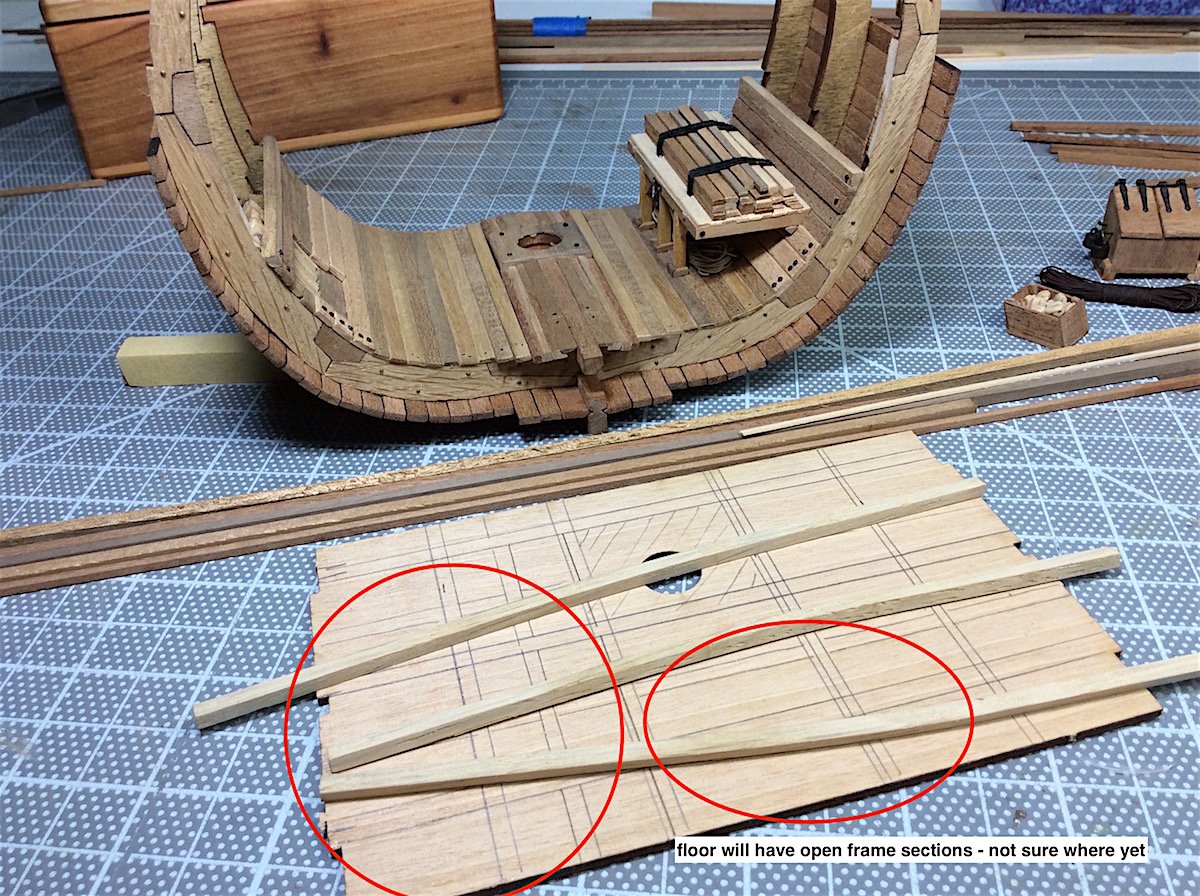
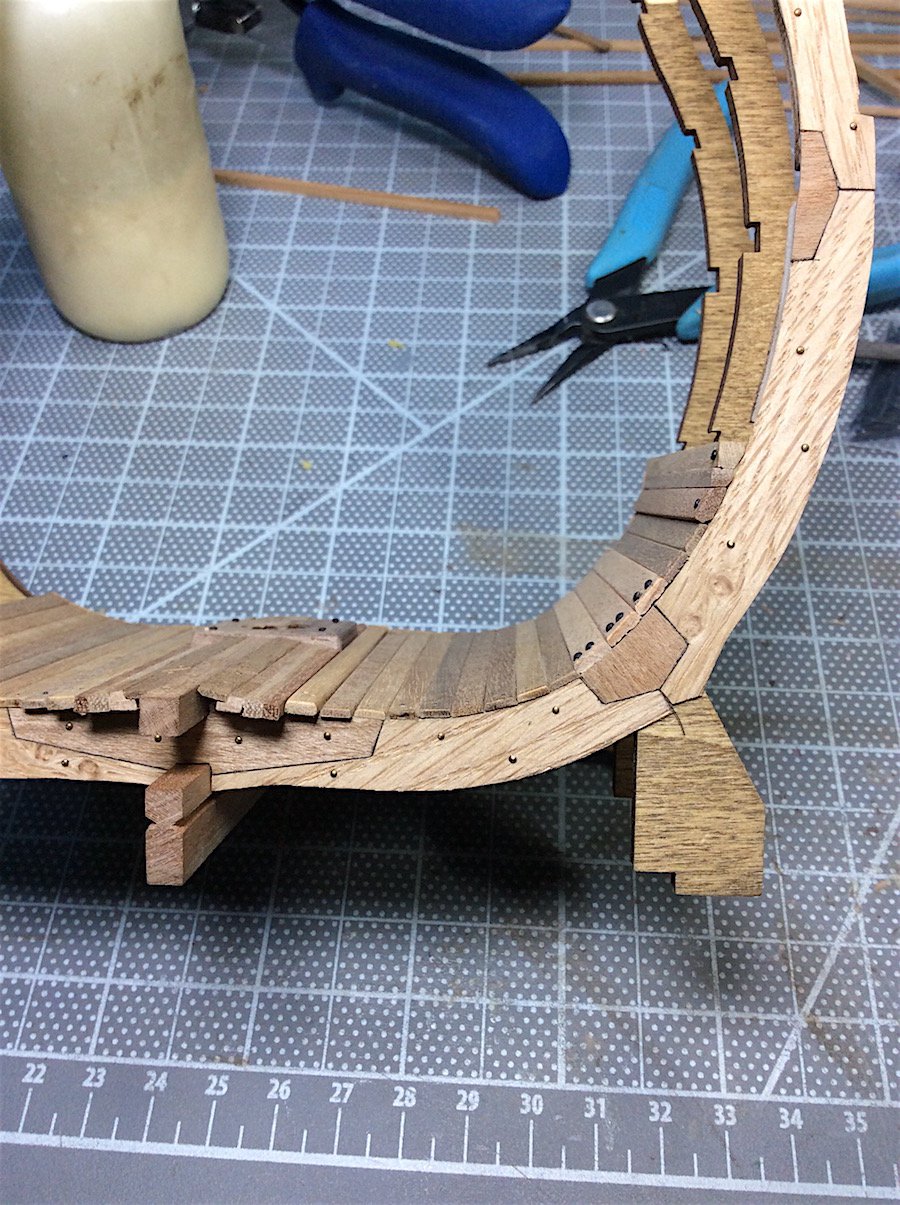
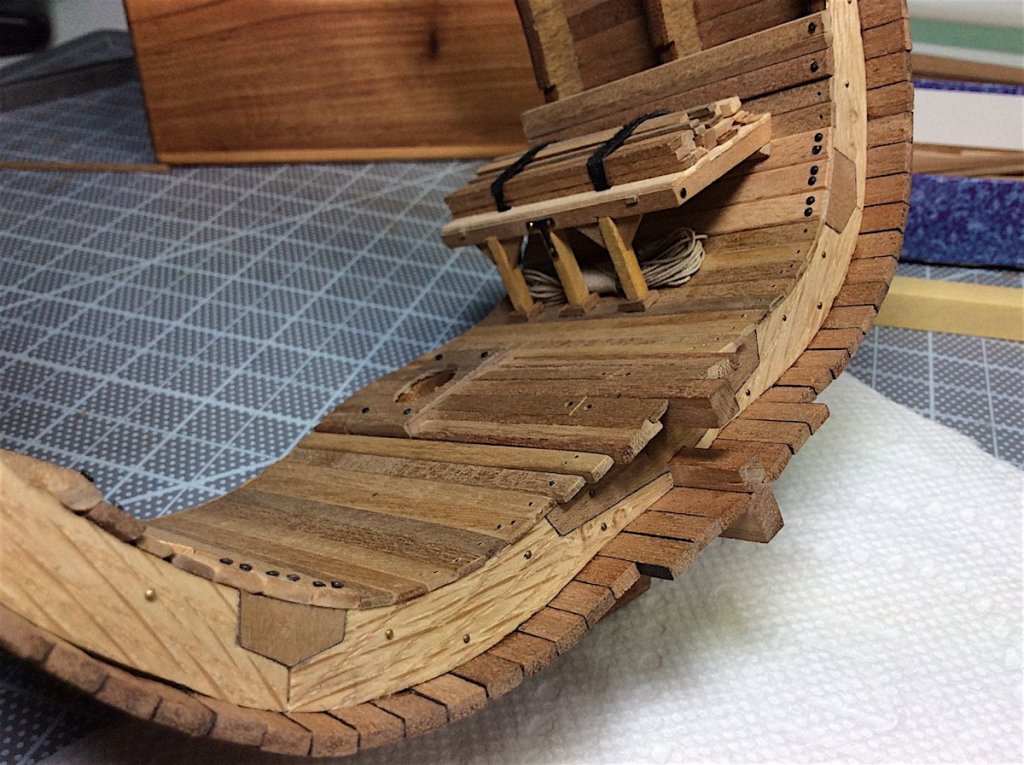
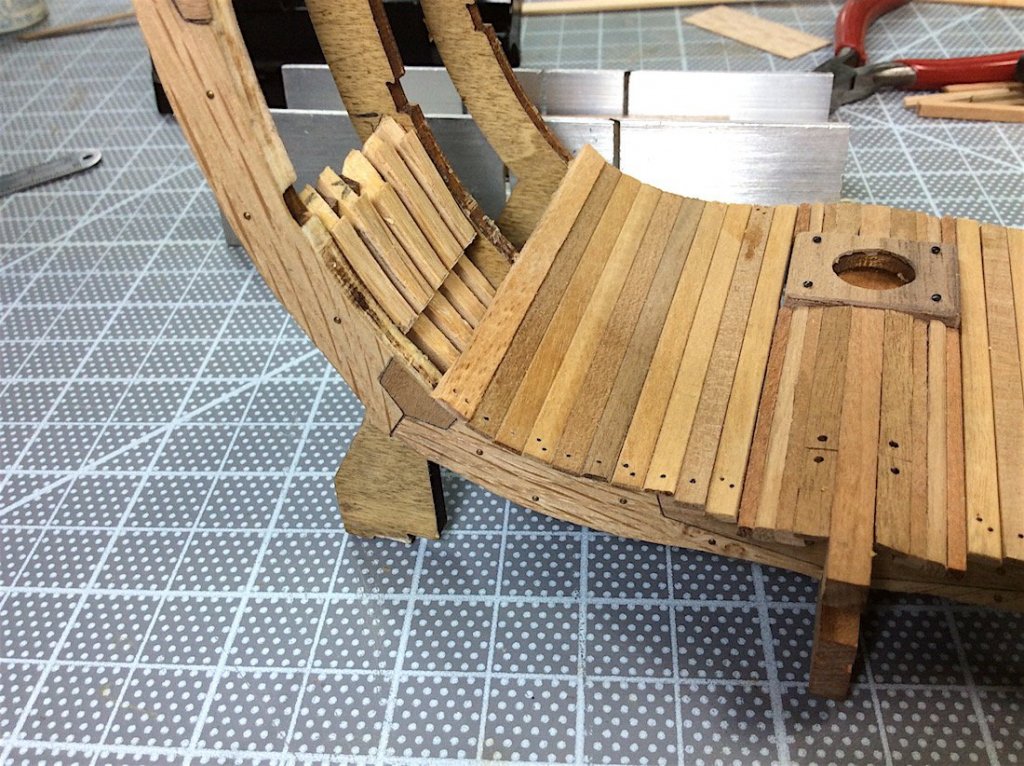
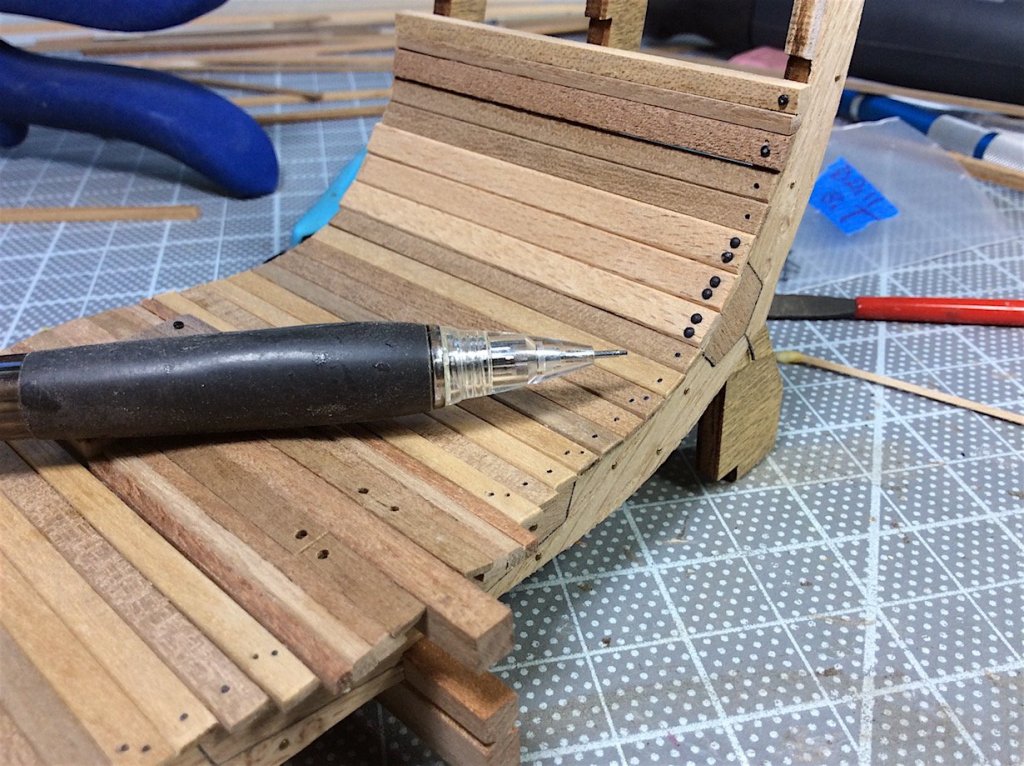
Hi Mates, Needed to start this section over – just not “working”. As I had noted in previous update. Patrick: thanks, yes that would make sense that caulking would not be really needed in a closed section of the ship. I have seen cross section builders have mixed builds in this regard. So I did not know either-way. But your thoughts made the do-over much easier. Thanks for your illustrations as well. Paul: thanks for you nice comment. And thanks all for dropping by as well. A couple of thoughts – Have not yet determined how many more treenails and or pins to add to the installed lumber. Once I get the other side installed I will determine how much of the sides will be visible once the rocks, barrels and a side shelf with lumber and ropes are added. Then will add tree….and pins as needed. The floor part will be all covered up with rocks. PS: for the treenails, so far I have found this to be a good substitute. Granted its not a bit darker wood, but it visually works. I drilled .5mm holes slid in a pencil lead and just snapped it off – leaving the lead to fill the hole. Made for very clean and precise holes. The weather and gun decks may not serve too well with this look - (to be determined) And these mixed up lumbers are certainly period incorrect, but they look better IMO than those anemic basswood planks. Cheers,


- 371 replies
-
- 14
-
-
Patrick, Yes noted - thanks - I was primarily going to pinch some of your work ideas with treenails and pins. Yes 18th cent.
- 756 replies
-
- 2
-
-
- galleon
- golden hind
- (and 2 more)
-
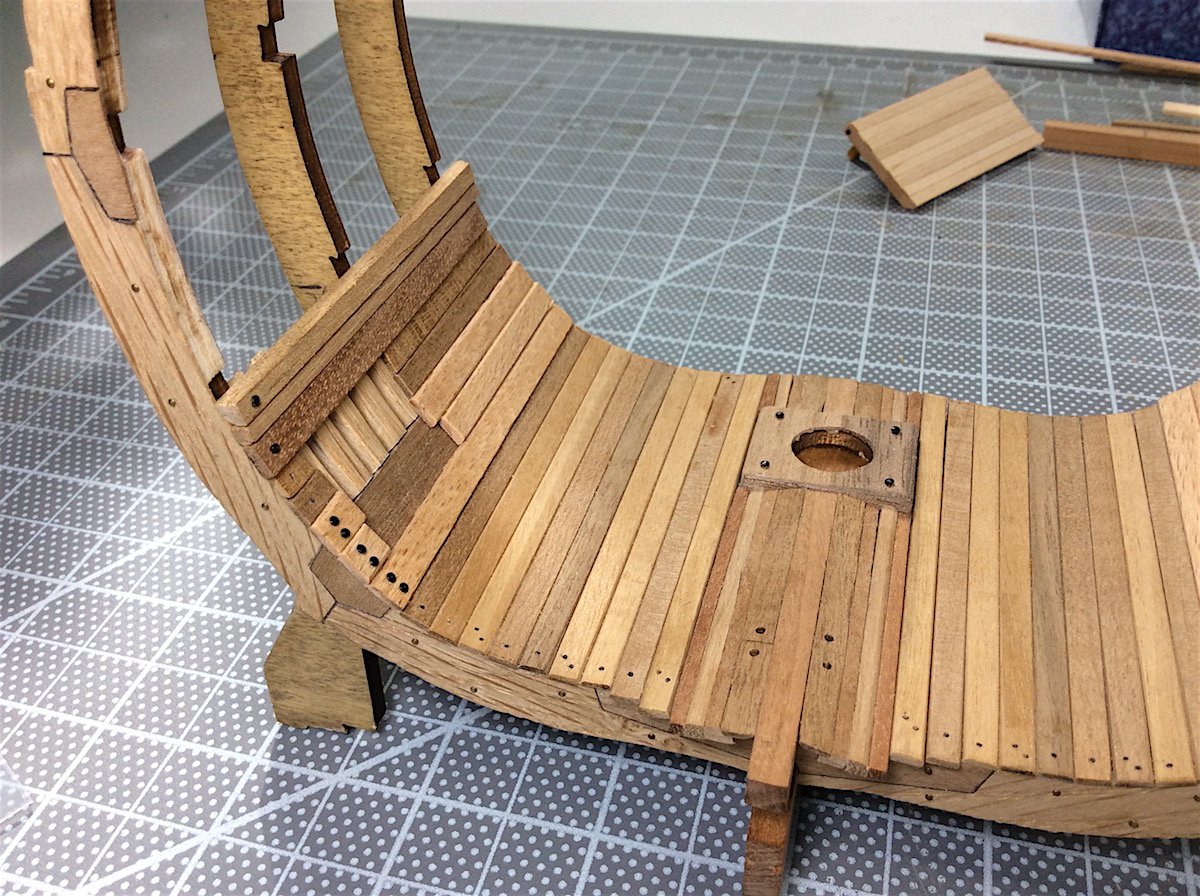
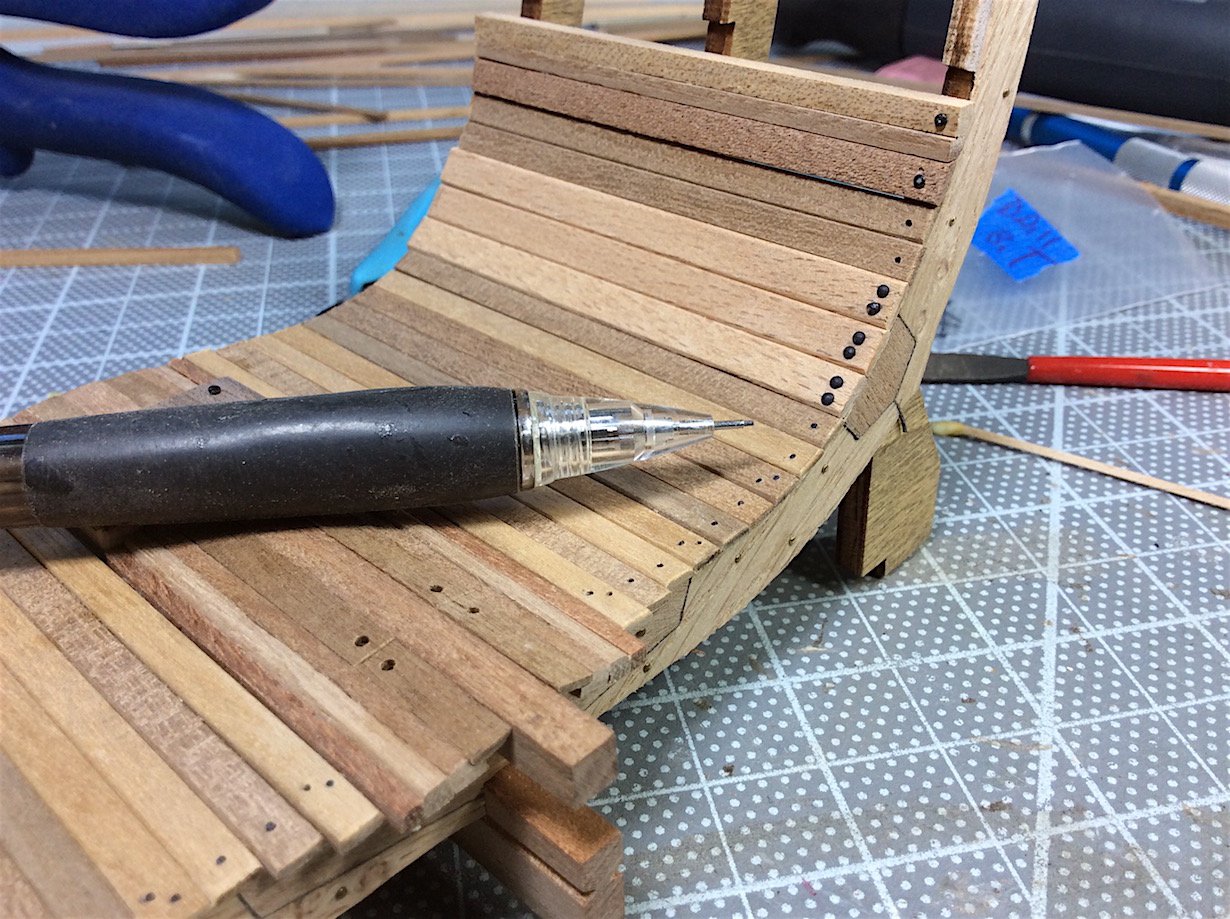
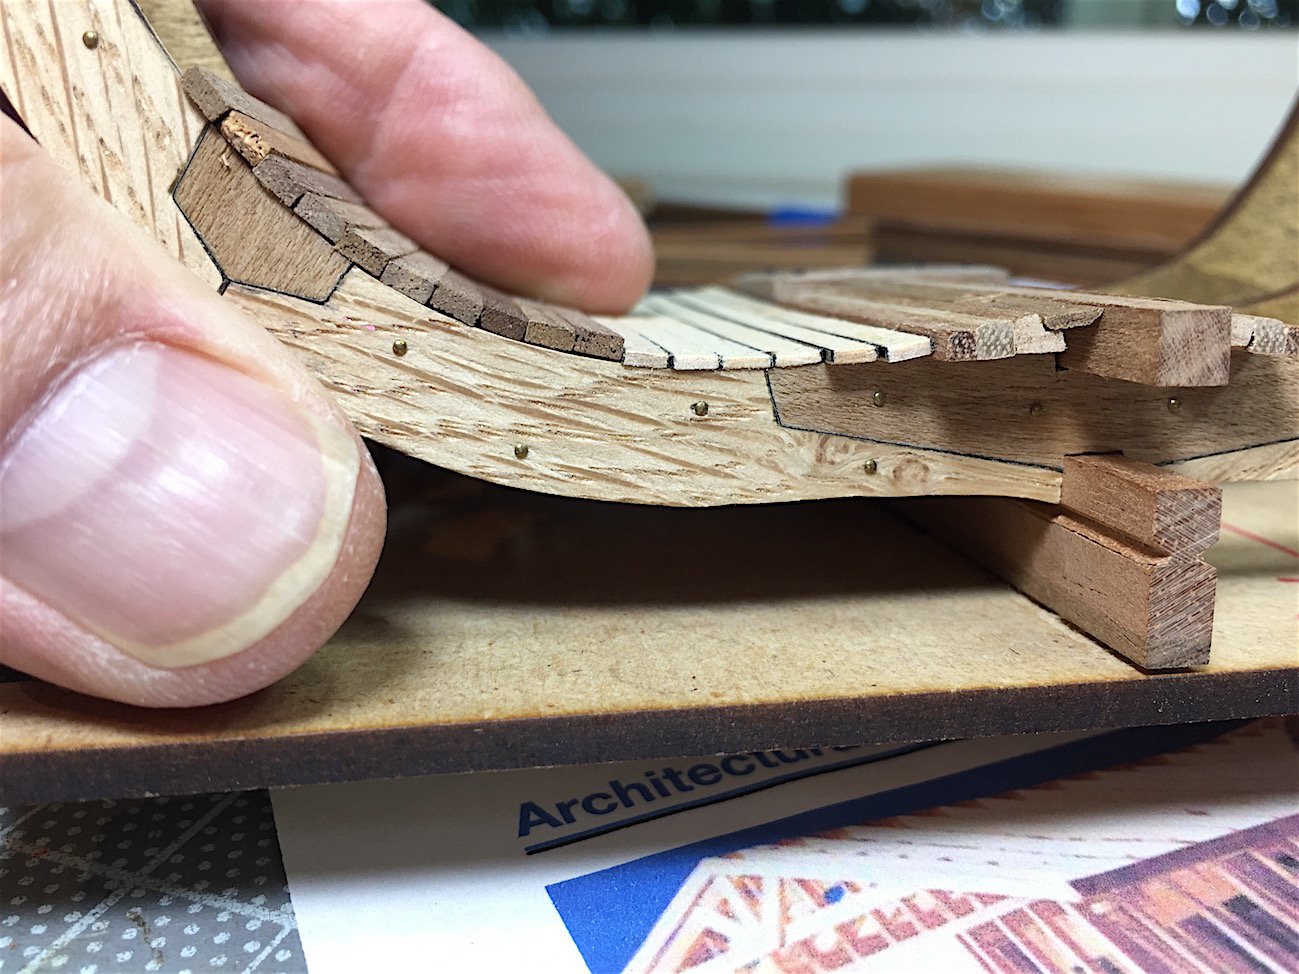
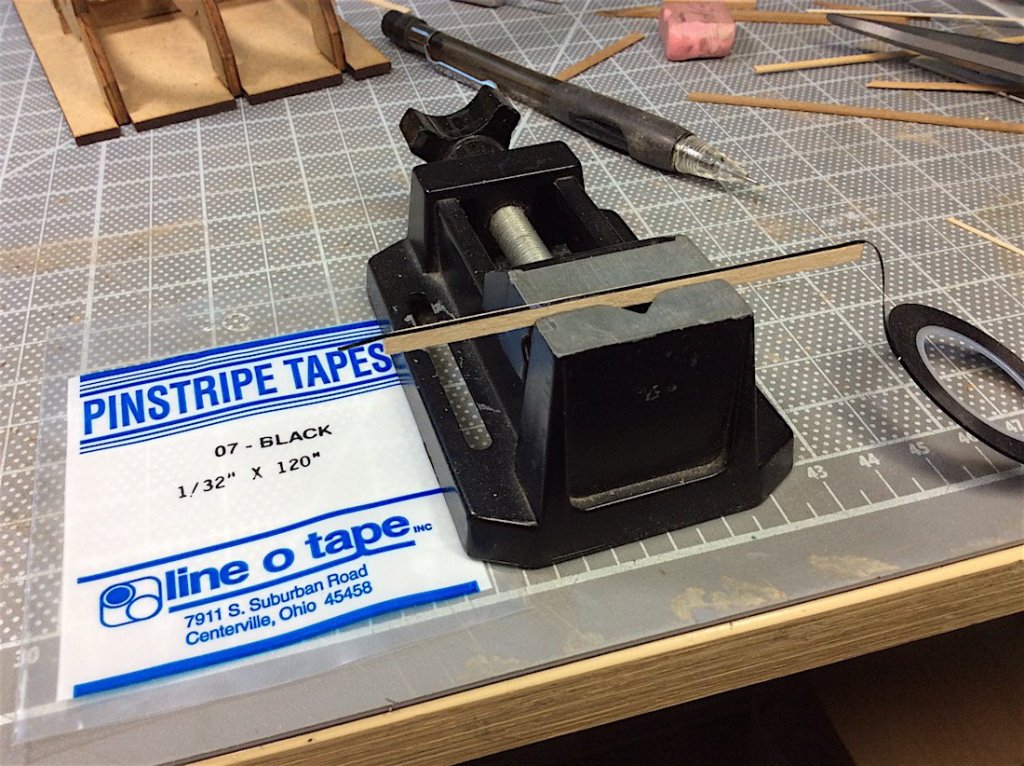
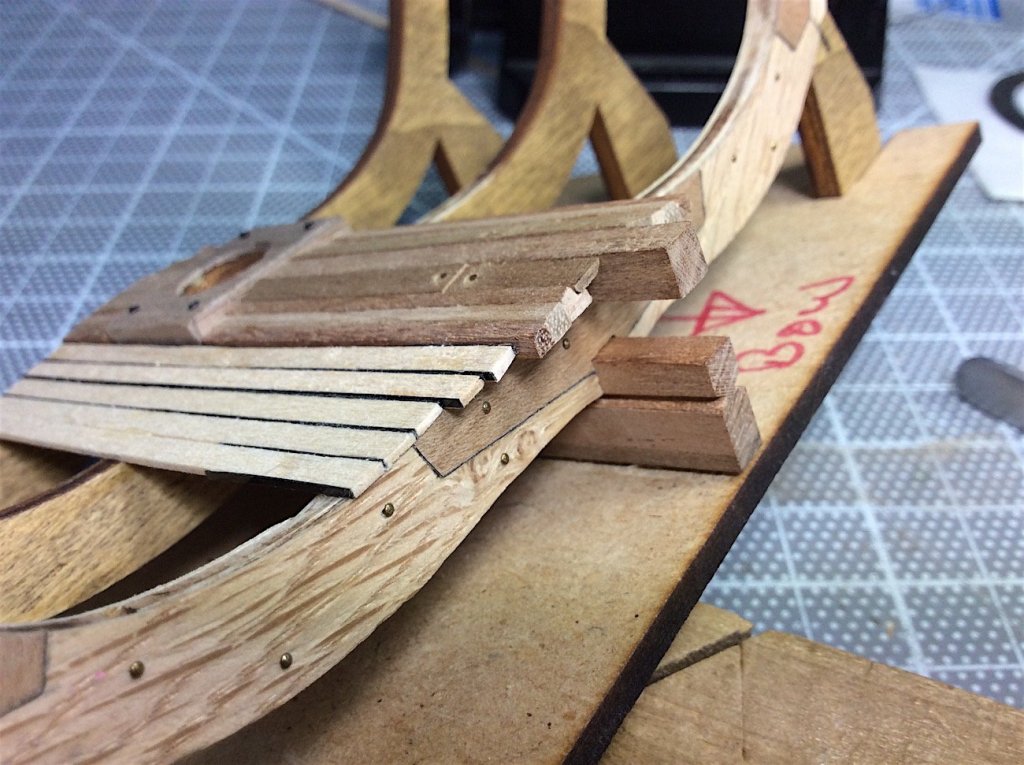
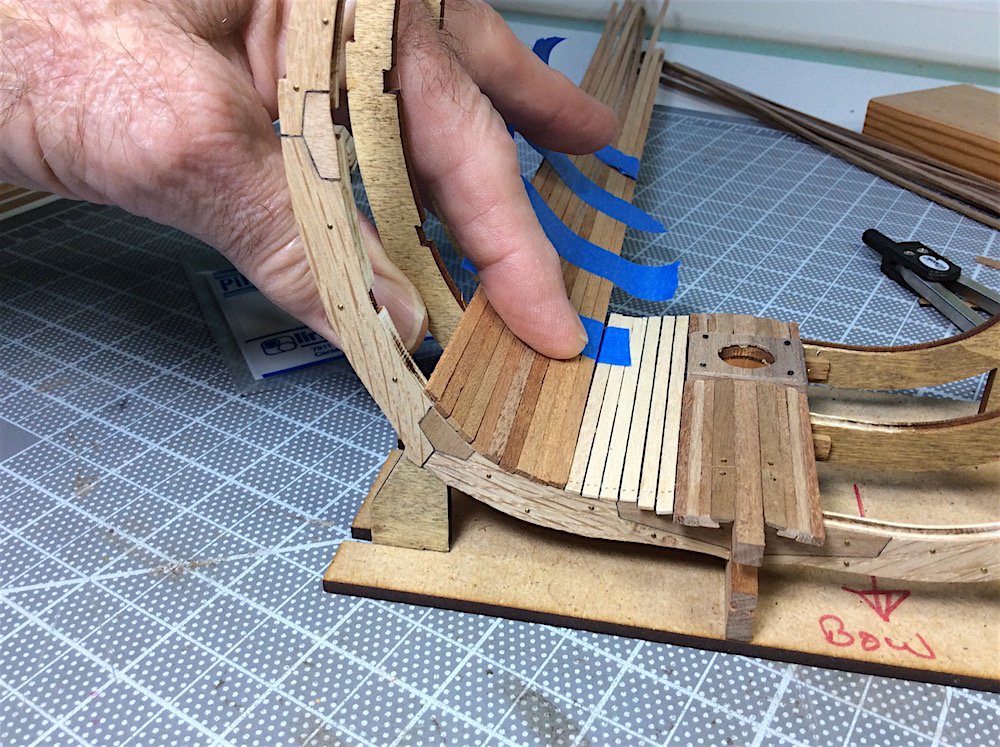
Minor update that includes some frustrations, using the kit supplied planks; I thought that I would try also using Pinstripe tape to simulate the caulking. Initially I liked it. Labor intensive, because each strip needs to be located exactly at the upper edge of plank on both sides. Then after a few of those realized that running tape all the way aft was a waste. This area will be filled with rocks, barrels, and poss. adding a shelf on the side to add spare timber and ropes. Ok: then after installing a few basswood planks – did not like the look of the much too white wood. Yes I could stain it… Then looking at the profile grrr –these kit supplied planks look way too thin – and out of scale?, especially with the weight of the ballast rocks that these planks need to support. SO, looked through my wood supply, will pull these basswood planks off, and replace them with some hardwoods. I do believe, however that oak was probably the correct planks that should be installed – not these darker woods, hmmm And I just drilled small holes for the treenail look – not happy with that either. I have looked at other logs that do an excellent job with real treenails –need to improve my skills in this area – and for this area it only requires the first row to be done. Lastly that pinstripe tape looks much too “perfect”. Went to Blicks today and per Denis’ recommendation for his riverboat will use a Faber Castell artist pen. Tried it, looks much more "unevenly realistic". (Had used a Sharpie but too wet..) Will update when this area is resolved. As always thanks for your support, suggestions, help, likes and just dropping by.


- 371 replies
-
- 17
-
-
EJ, As you add more carvings the fine work that you are doing is really "taking off" super nice work. Carving is on my list of things to learn - one of these days. Great that you took the plunge!
-
Thanks Denis went Blicks to day and got these pens. Tried a sample - improvement over the Sharpie THANKS again
-
Patrick, Superb update - again ! I have bookmarked some of your current ideas for use in my current project. As always thanks for sharing such well explained "how to" details. Beautiful work on this prroject Regards,
- 756 replies
-
- 1
-
-
- galleon
- golden hind
- (and 2 more)
-
Anthony, Thanks for visiting my build - Allowed me to discover your Amazing Victory -you are indeed a master builder - stunning work!! Regards
-
Nigel, Thanks, welcome aboard indeed. You have also, as you know, been one of my sage teachers This type of build is very new to me (interiors deck by deck) but having learned much from my last effort I feel that learning will be much easier on this project. So taken by Martyn's SR - Im sooo tempted to put one of those under my table for later. As you noted in his excellent build log she certainly is one of those "special' ones... Cheers