md1400cs
-
Posts
2,868 -
Joined
-
Last visited
Content Type
Profiles
Forums
Gallery
Events
Everything posted by md1400cs
-
 Impressive work indeed. Well done !!
 -
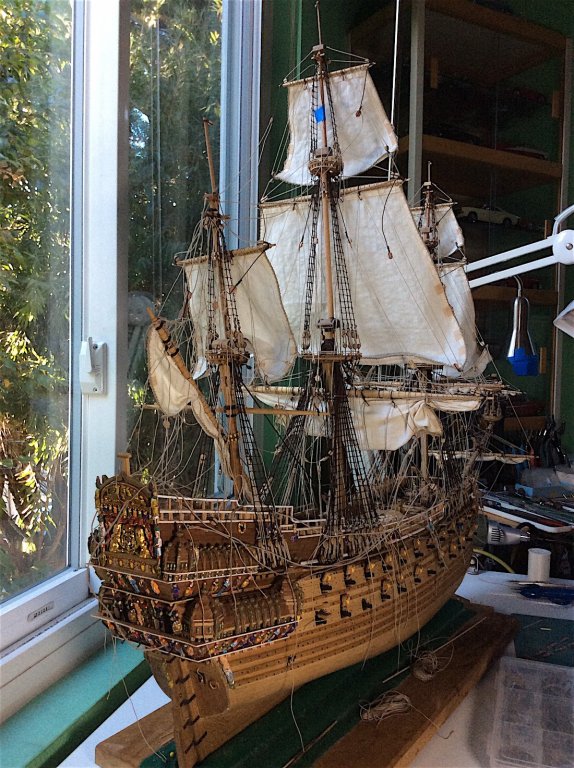
Well, at least pictures don't need to be translated! Excellent planking job!! BTW Mates in case you did not know---- or into any other language for that matter for which Google has available Cheers,
- 146 replies
-
- 2
-

-
- deagostini
- vasa
- (and 1 more)
-
Ah yes noted. In the mid 1995 I visited Barcelona and do remember seeing her at the Maritime Museum, now that I remove the cobwebs from parts of my brain (very impressive museum as well). Good that there are many photos available. So helpful indeed - as it also is for my current project.
-
Nice EJ, carving really separates the novices (me) from the pros - Good start indeed!!
-
Ferit, Yes, too bad. As Christian said -We've all been there. It could have been much worse later in your rigging work. Still I feel your frustration
-
Hi, This amazing ship has always been so intimidating for me You are doing a great job. Your detail work is great. I will follow along. I found this - you may already know, but in case you don't http://www.modelships.de/Museums_and_replicas/Musee_de_la_Marine_Paris/Photos_Reale_de_France.htm PS: If you double click on the model photos it brings up super detailed close-ups Cheers,
-
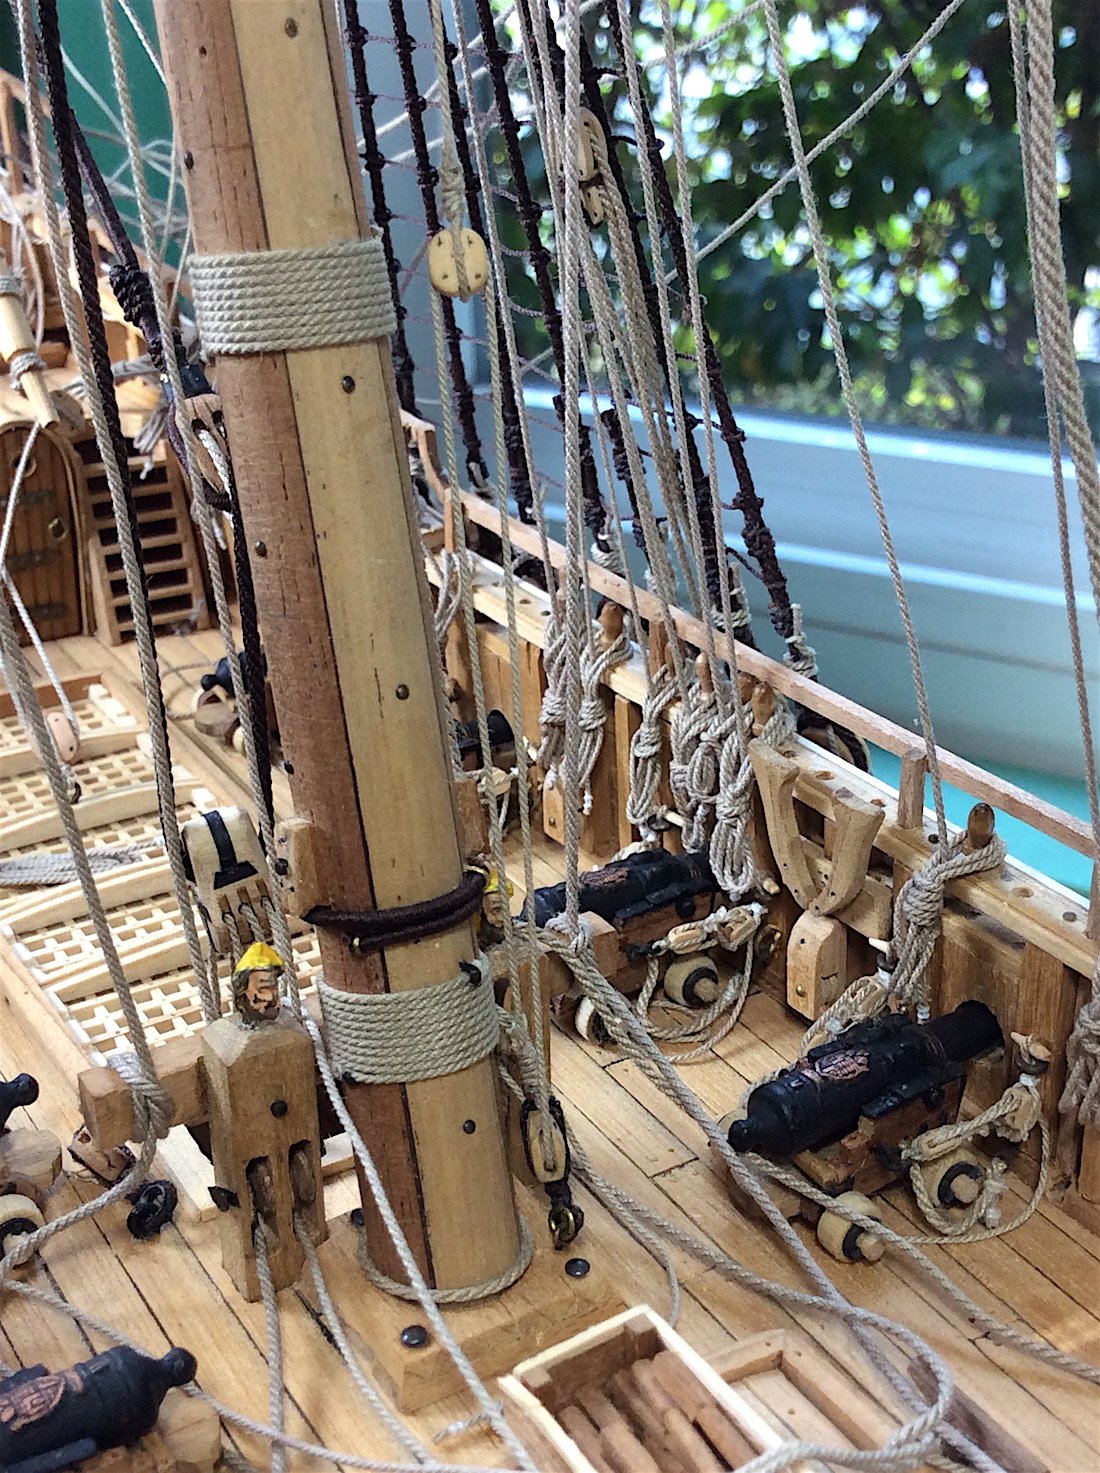
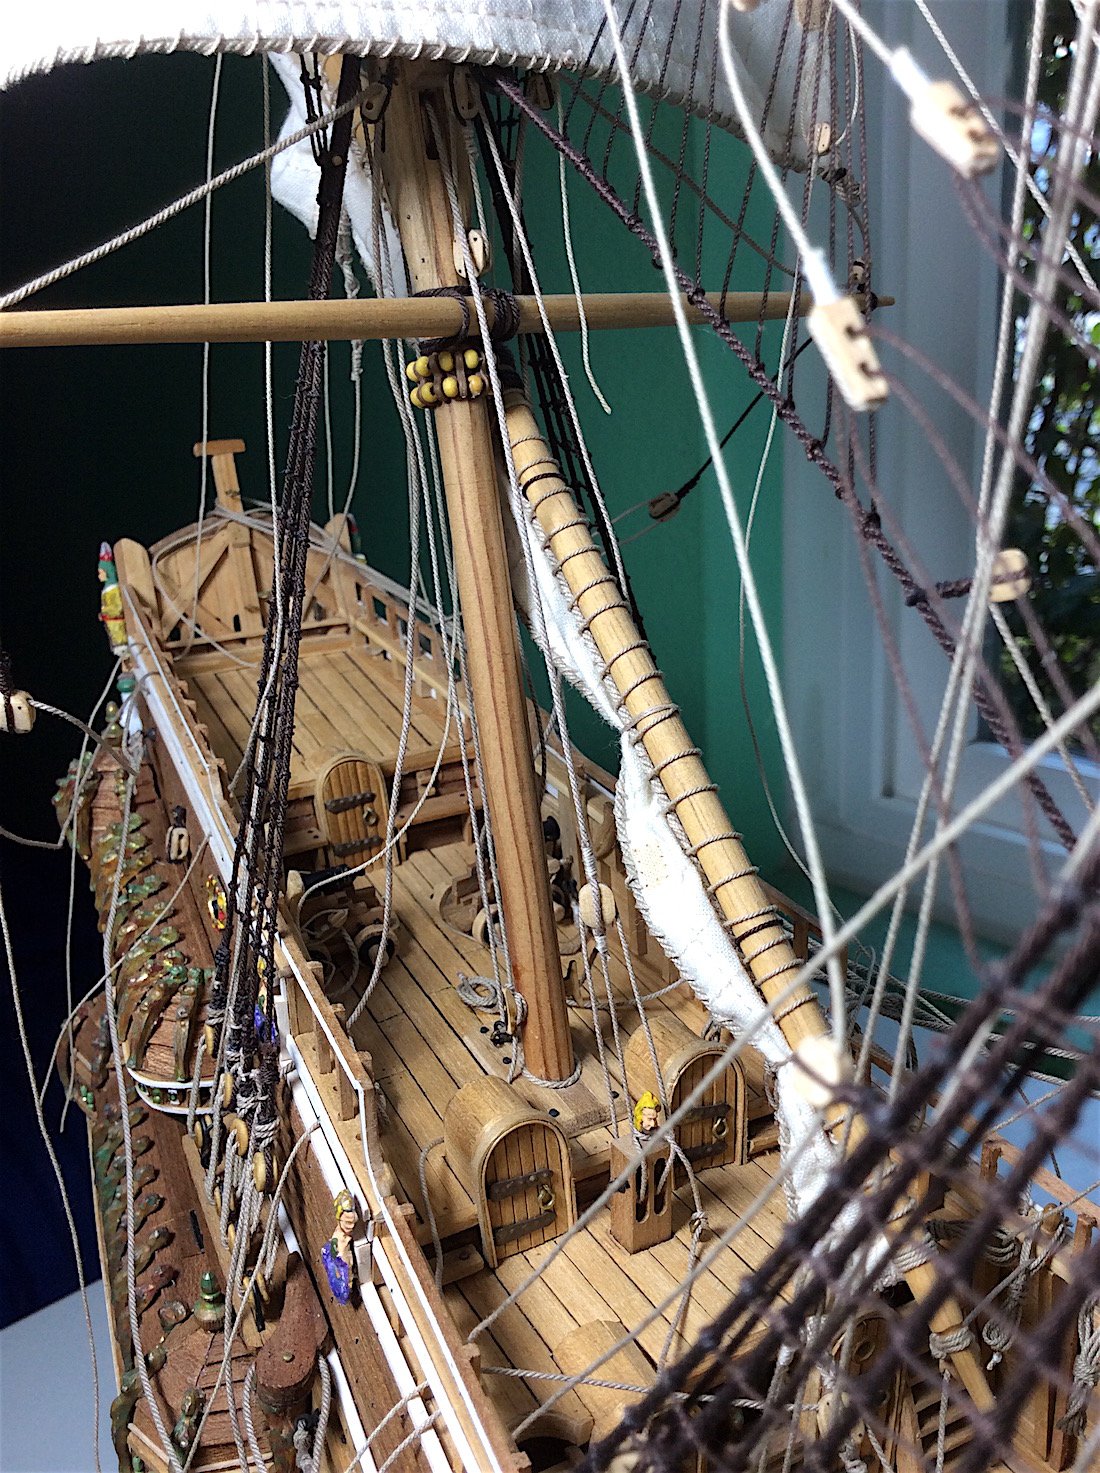
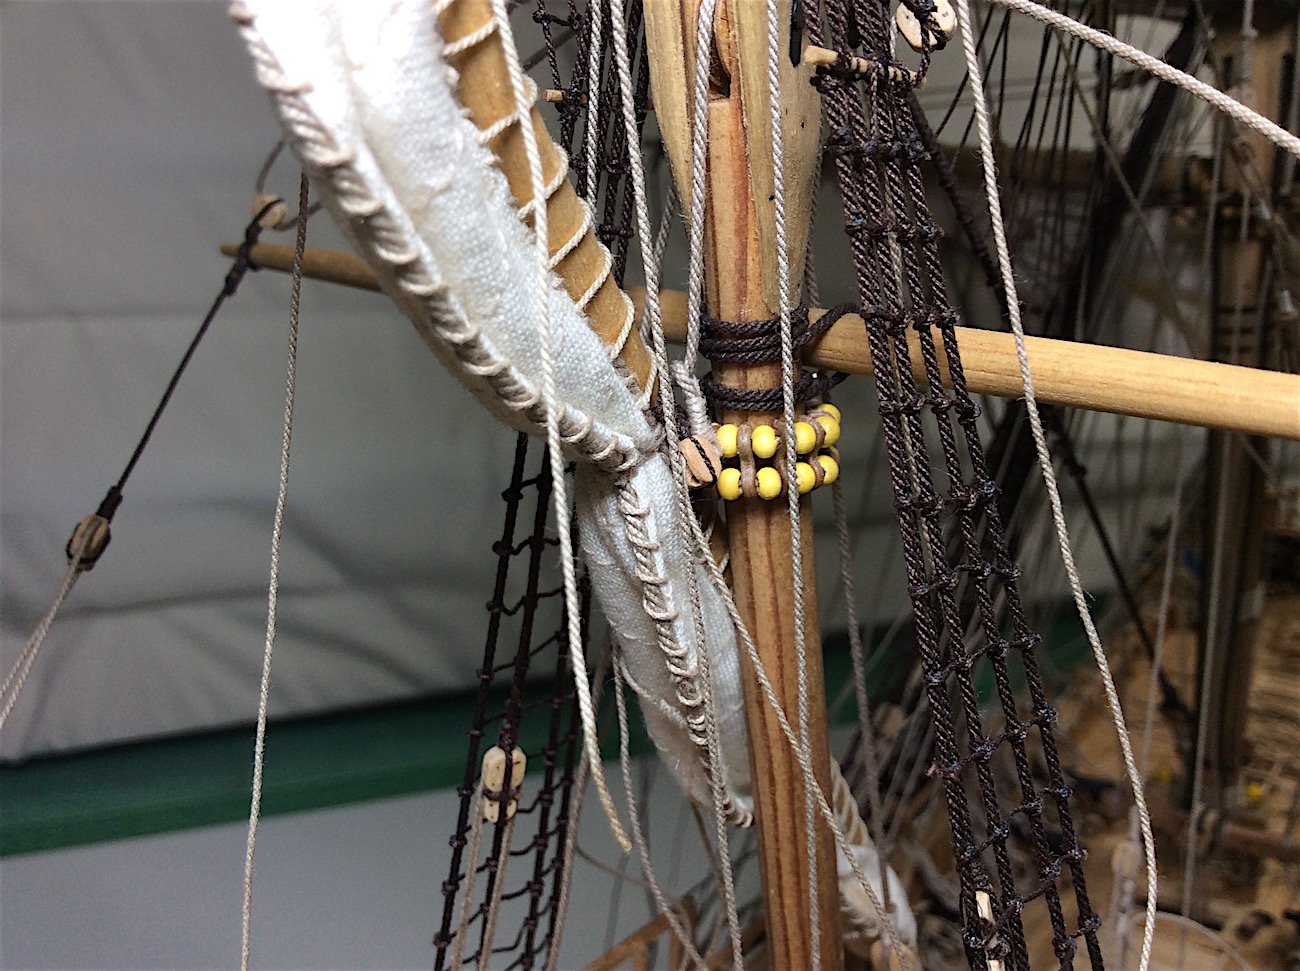
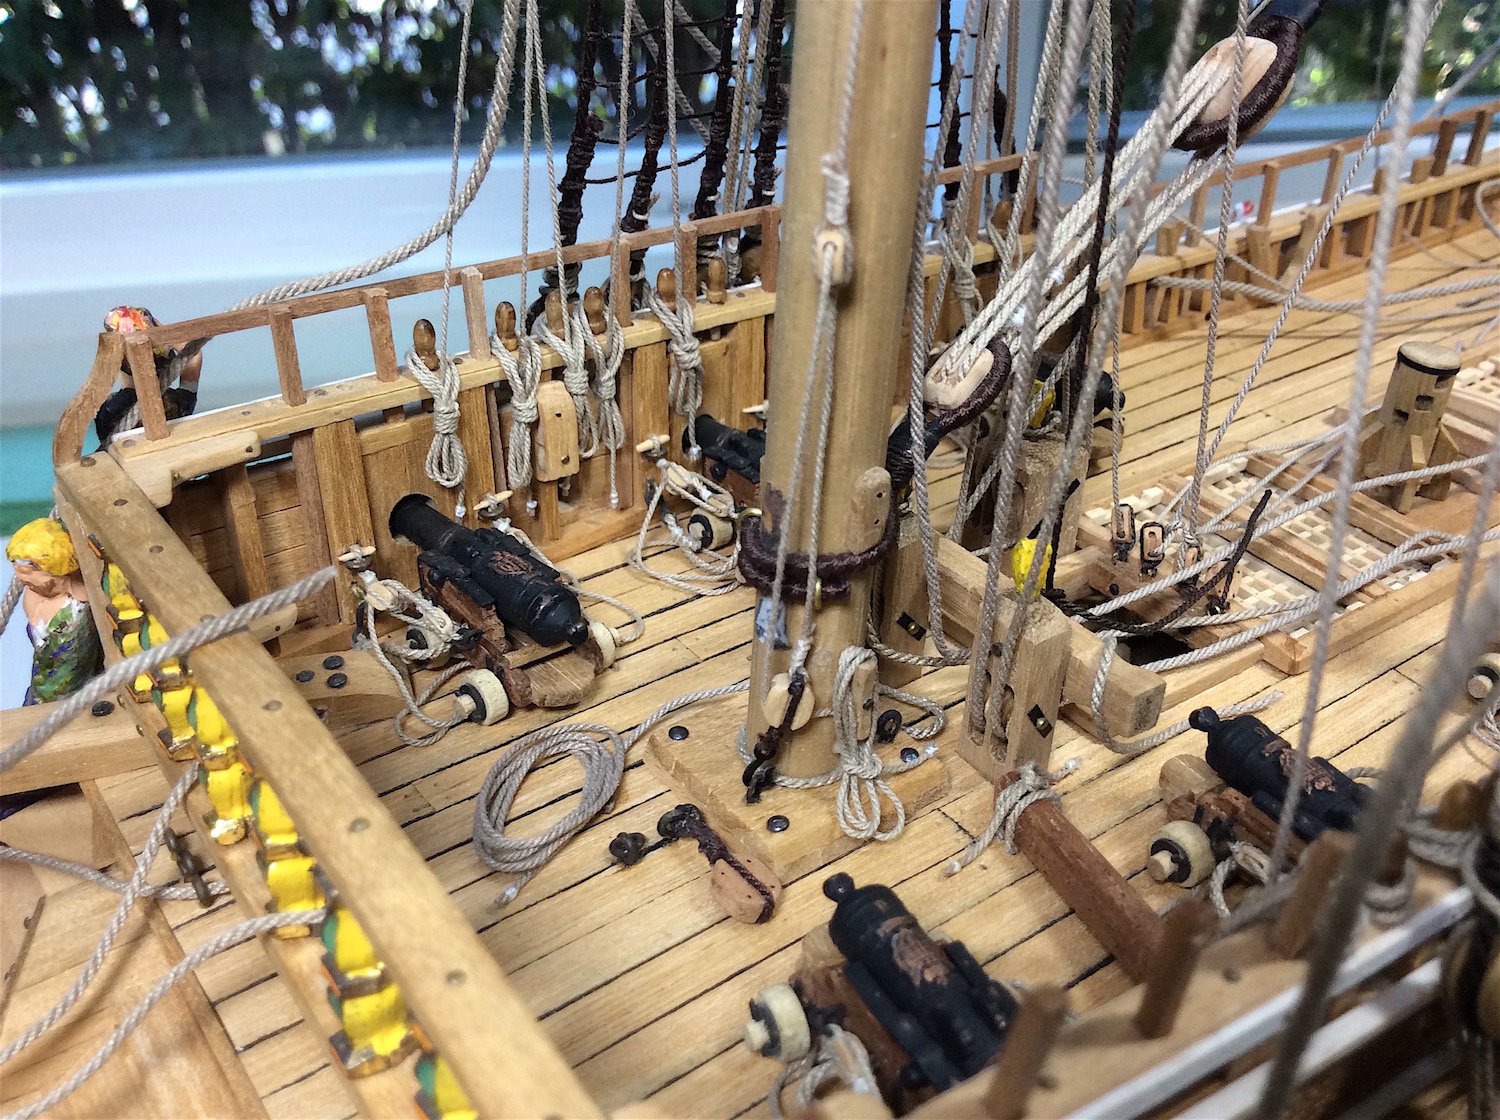
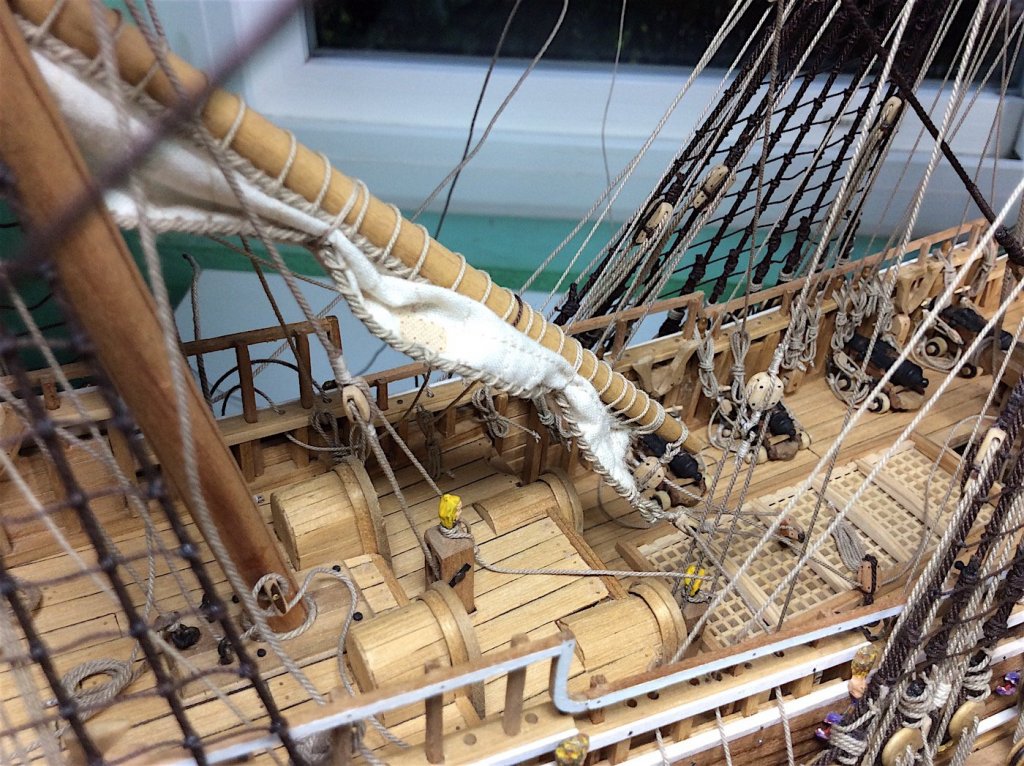
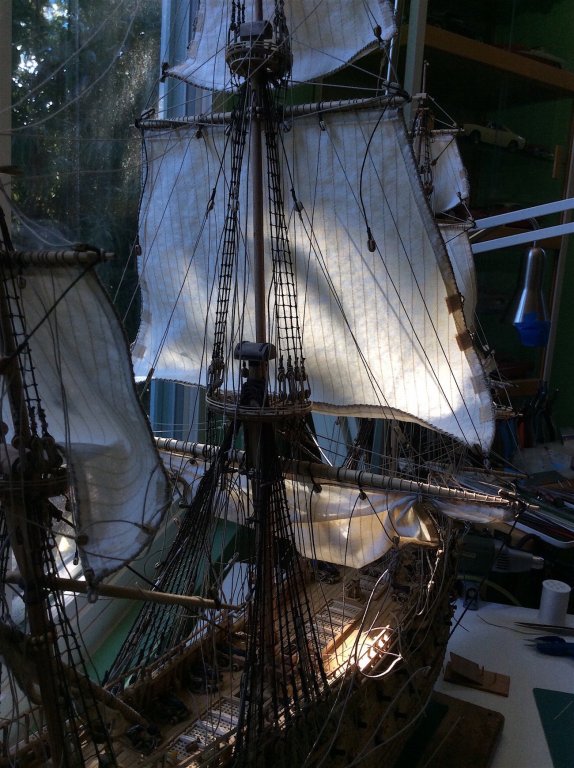
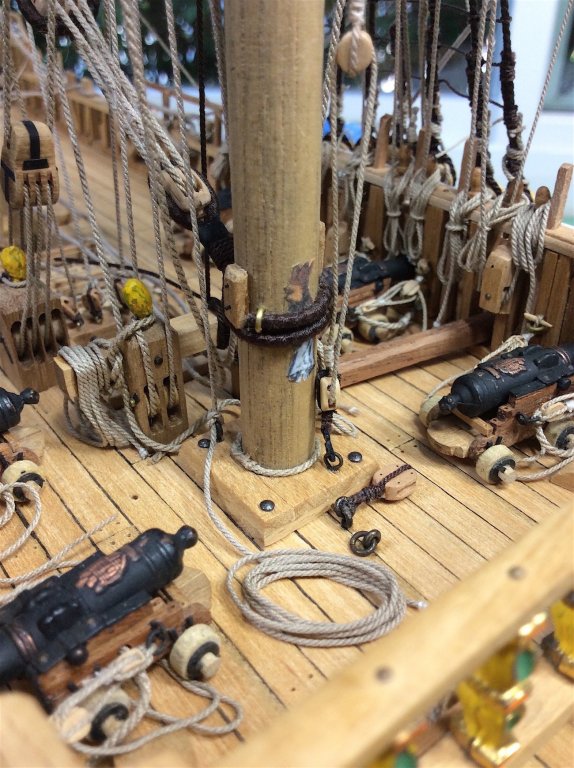
Hi Mates, Work in progress update. Have mostly attached all the mainmast area lines, some work still needs to be done along with adjustments here and there. I won't go into details, but my lack of pre-knowledge caused some issues - drilling pin holes above canon openings and behind kevels. Those spaces need to be pin and rope free (now I know). I re-located and re-drilled some pin holes as best I could, but a few lines could not be moved. There are left-over empty pin holes scares but so be it (learned this for next time) Here are a few updated pics of the mizzen area rigging- still a work area - most lines have not been tensioned or secured. Regards,


-
Patrick, As always a pleasure going through your updates. Superbly detailed work indeed. Regards,
- 756 replies
-
- 2
-
-
- galleon
- golden hind
- (and 2 more)
-
Yes beautifully detailed work with your sail - Well done!
- 122 replies
-
- 1
-
-
- greek bireme
- scale-1/35
- (and 2 more)
-
Ferit, Nice New Years treat to see that you will be active again - Your Berlin is so excellent as well. Welcome back!! Cheers,
-
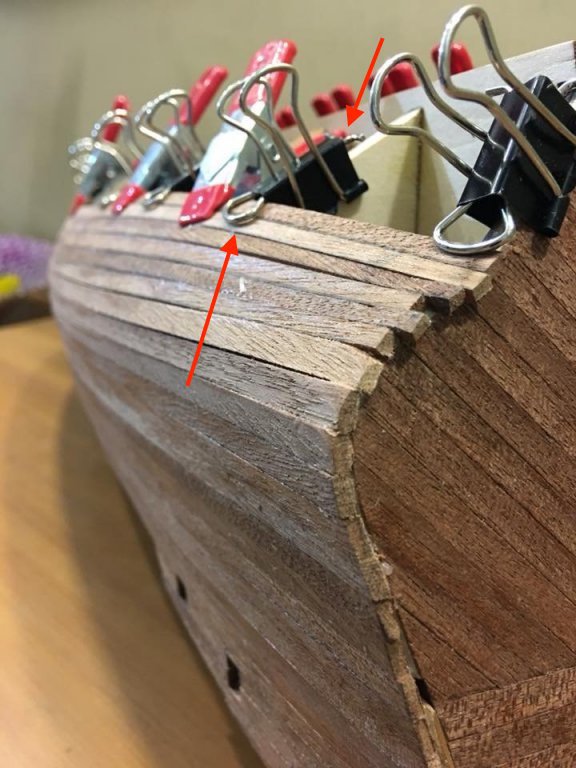
Oh, I think I know how you did this. --- You used the arm from another clip inserting it inside the black part??? Very clever "out of the box" thinking.
- 59 replies
-
- 1
-
-
- artesania latina
- san francisco ii
- (and 1 more)
-
mtbediz, Very nice planking work. Good start. I have a question about those spring clamps. Very interesting - I have not seen this useful design before. Is this something you added with wire? If not what are there called? I may want to get a few. Regards,
- 59 replies
-
- 1
-
-
- artesania latina
- san francisco ii
- (and 1 more)
-
Mark, It's been a pleasure following this one from you sir. Brilliant work - congrats indeed. Regards,
- 652 replies
-
- 3
-
-
- royal william
- euromodel
- (and 1 more)
-
Sweet indeed - that close-up of the anchor and all of the surrounding details is such also excellent work!! regards,
- 652 replies
-
- 2
-
-
- royal william
- euromodel
- (and 1 more)
-
Dan, Indeed beautifully detailed, and well executed work in such a small scale - very impressive. She will look awesome when completed. Regards,
- 287 replies
-
- 2
-
-
- michelangelo
- ocean liner
- (and 1 more)
-
E.J... yea as many have said those windows are indeed superb - that will make for an awesome start for detaining this complicated stern. PS: Sure like that Micro Shapers tool. need to get one of those (;-) PS:2 found one on eBay!!
-
Thanks mates - yup I was ok... Last photo promise! - when the Admiral has had enough of me she says, "Why don't you just take your black girlfriend out for a drive." She's an 05 with just shy of 50k on her odometer. Regards, as always.....
-
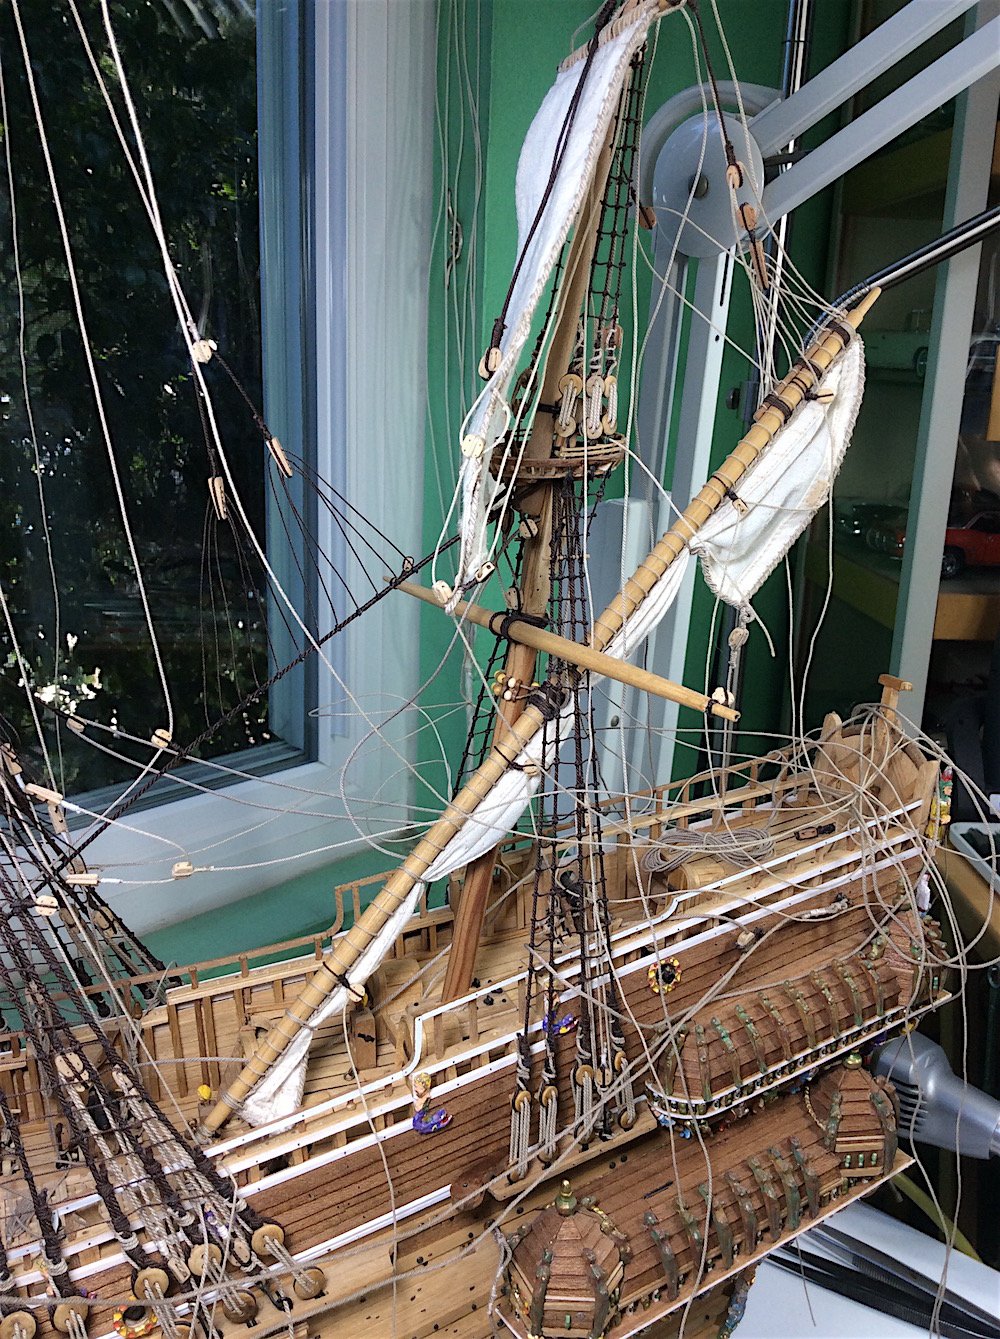
Hi Mates, Shipyard has been very much part-time for the last couple of weeks – busy with year-end details, AND a so absolutely pathetic driver ran into my sweet car changing a lane without even first looking– so dealing with that as well. Her insurance accepted 100% liability. Frank: glad that this technique is helpful for you as well OC: yes hindsight is always 20:20 thanks for your visit. Martyn: thanks so much Denis: thanks as always for your kind thoughts Ferit: Looked at some but don’t think they will help In the meantime I have, however located all of the main mast lines into their proper pin-hole locations. And pre-coiled all of the needs ropes at one time. I was doing them one at a time before. This should help with the multiple installs. ========================= Sharing my sad car situation. after and again after -- Been to the body shop several times, checking in - the repairs were excellent . PS: The Admiral thinks that I love this car more than her --- Hmmmmm Pleasant holidays to all of you here at MSW Cheers,


-
"forgive me father its been 700 days since I've looked at the instructions or used a kit part" Yes indeed nice update.
-
Graham, Superb plating work !!! Congrats on the needed patience, skills, accuracy. Looks perfect. Regards,
-
Mark, Lower main yard under the platform = brilliant work! PS: are you using whom I think for blocks and ropes? Don't remember if you mentioned your source.
- 652 replies
-
- 3
-
-
- royal william
- euromodel
- (and 1 more)
-
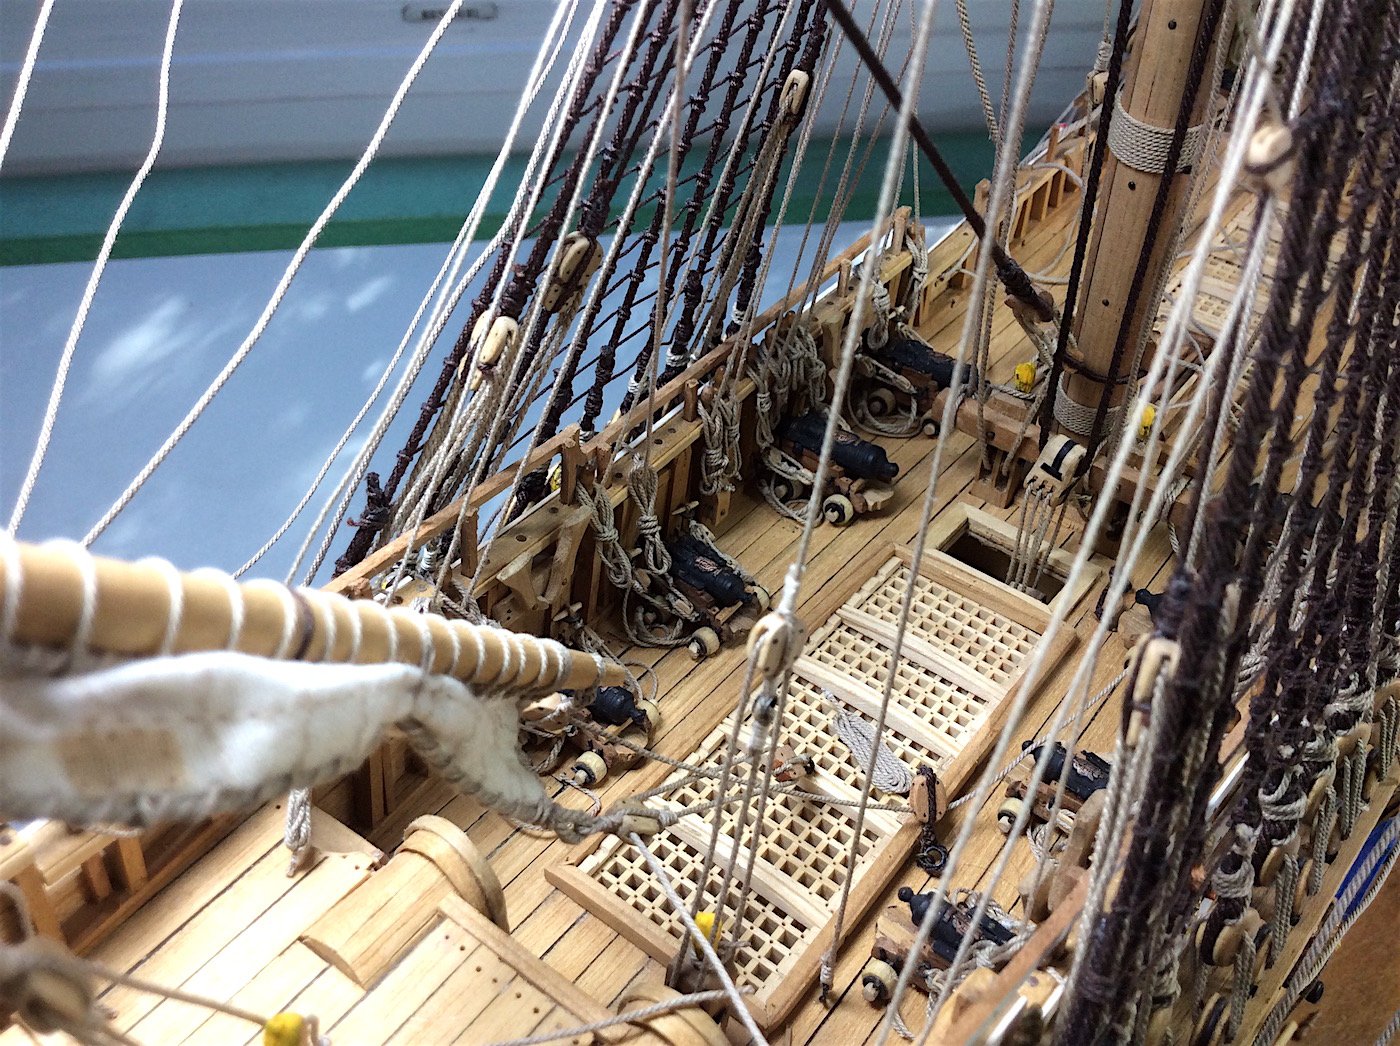
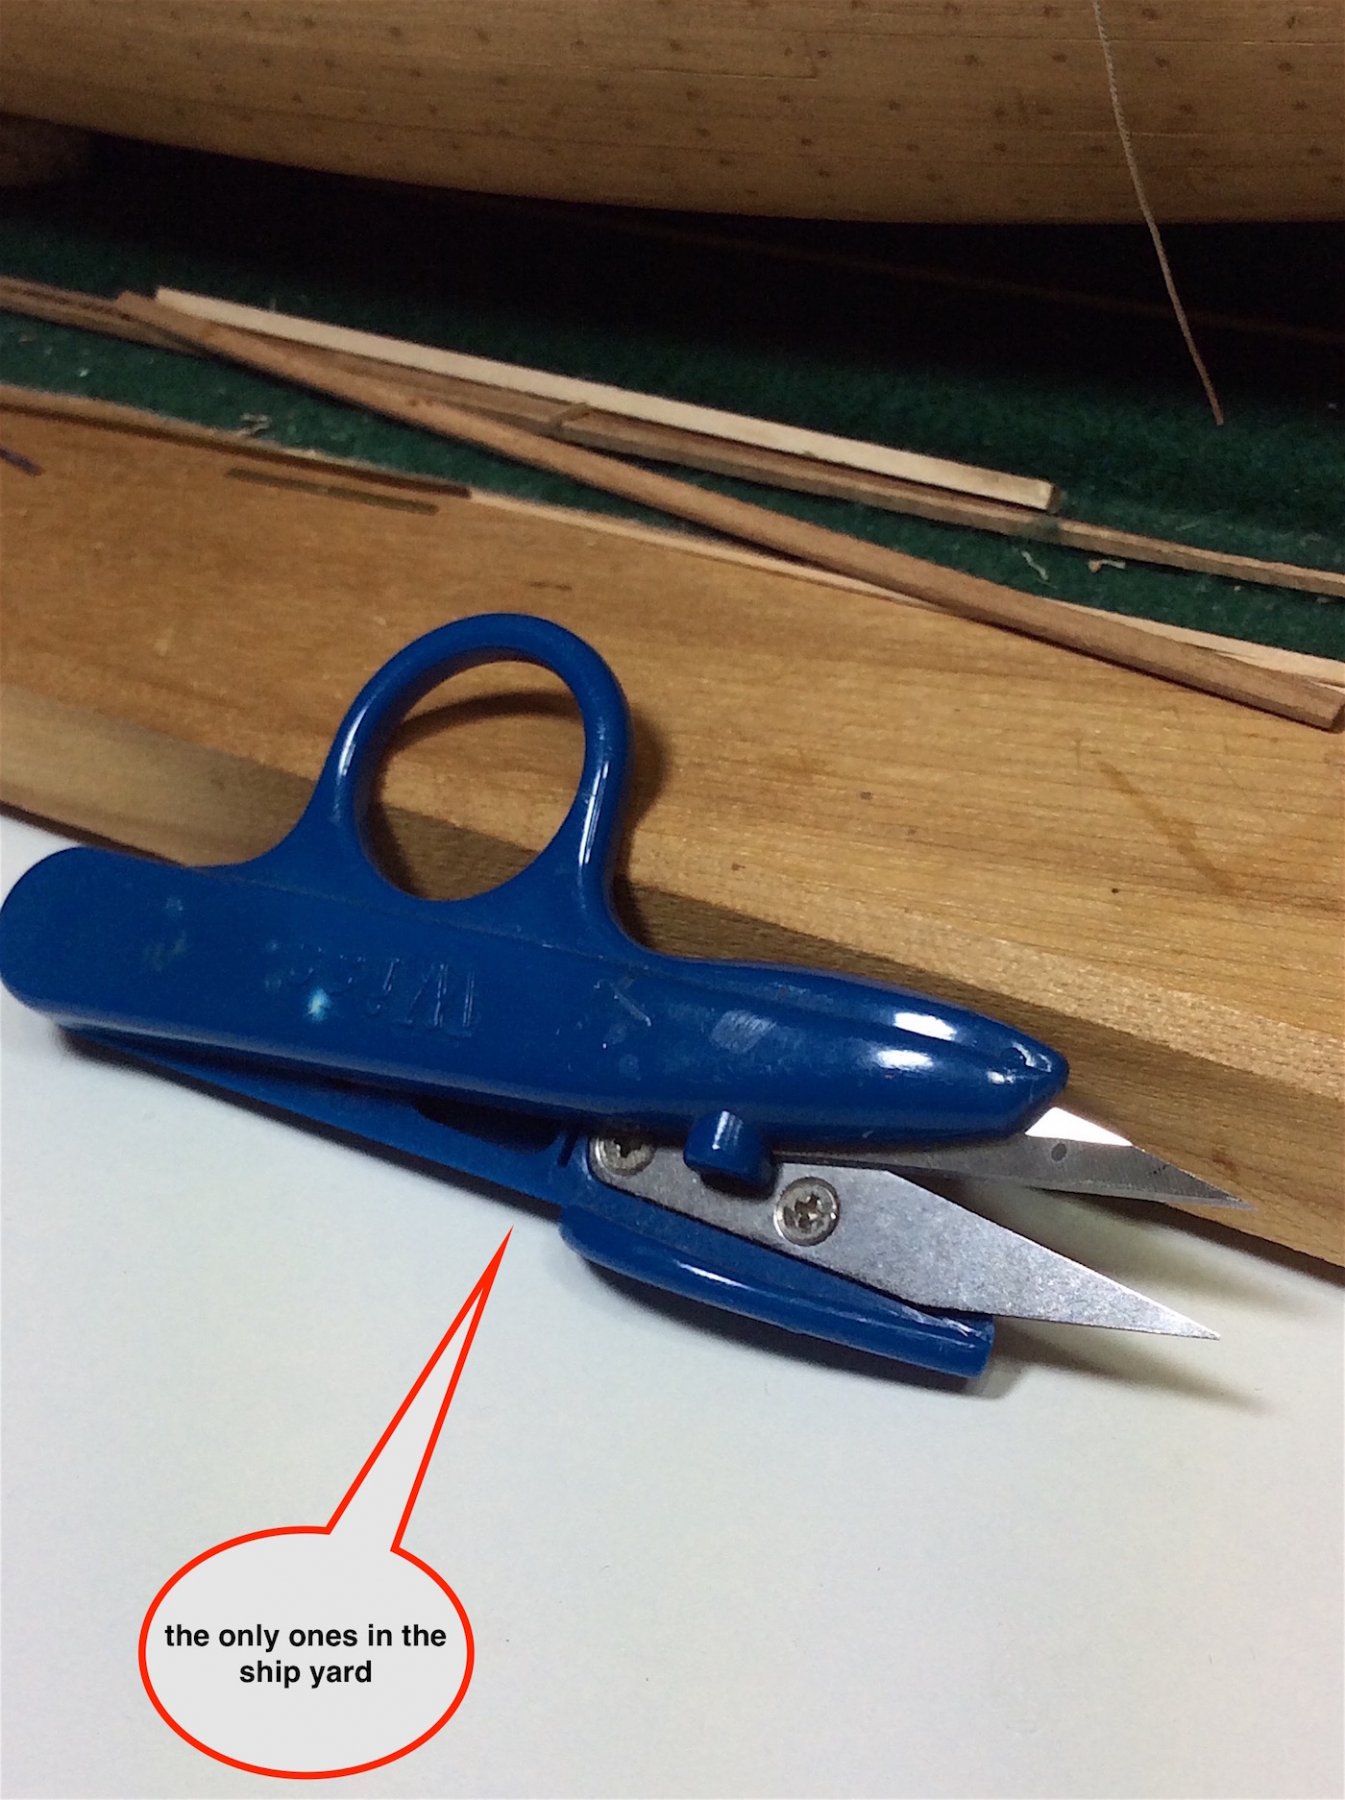
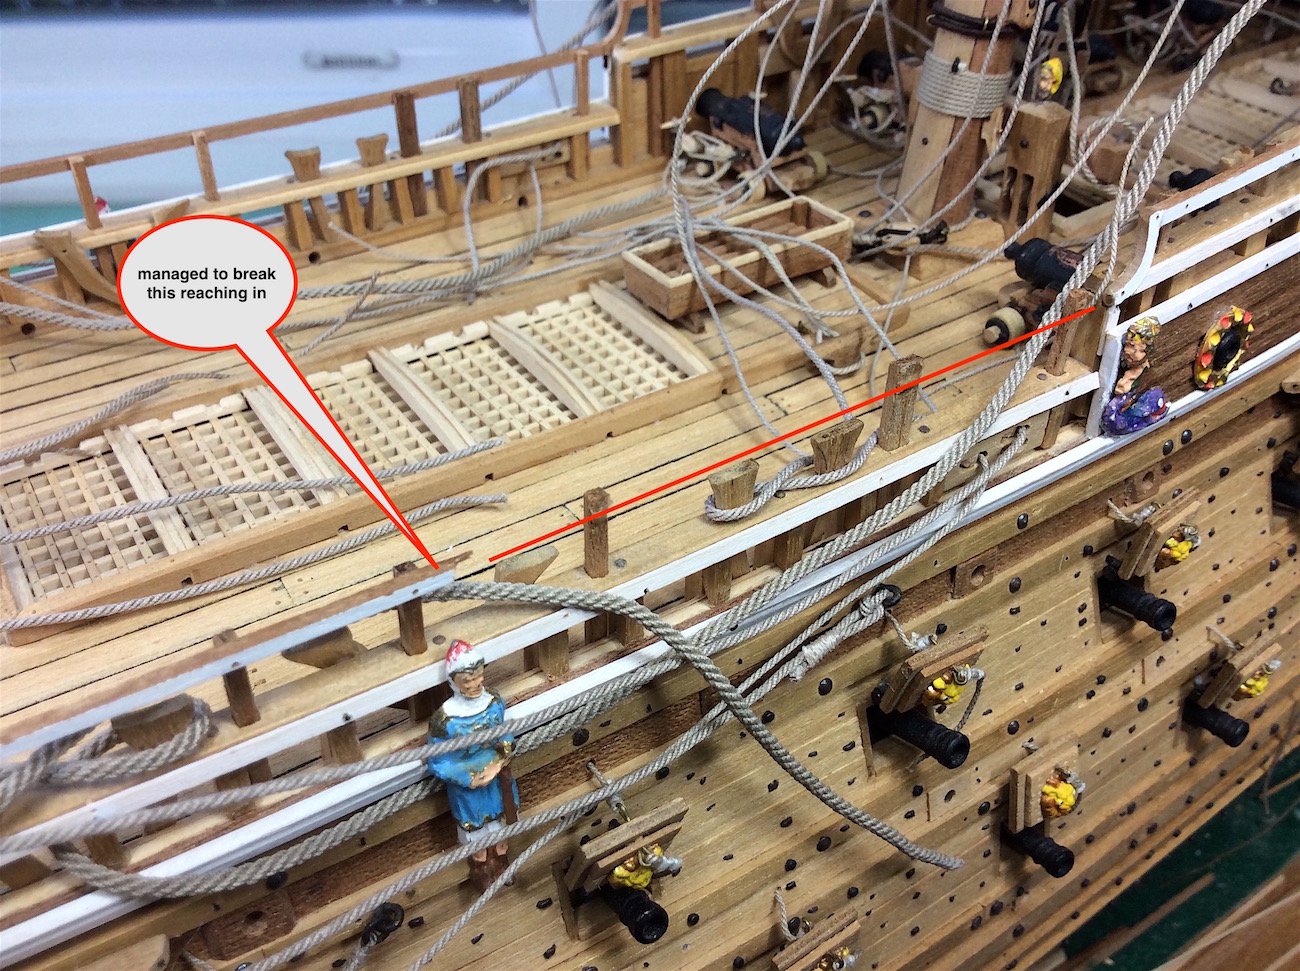
So I’m stuck need to cut these ropes and can’t reach them. Went to Google University and “searched for “long needle nose hobby scissors” --- Nope! Learned that they are called Embroidery Scissors haha .. Most of you certainly already knew this. OK they’ll get here in a couple of days. May start the mainmast organization at this point. Oops starting to break stuff -OK – Now its time for The Vikings Season 5. Regards,


-
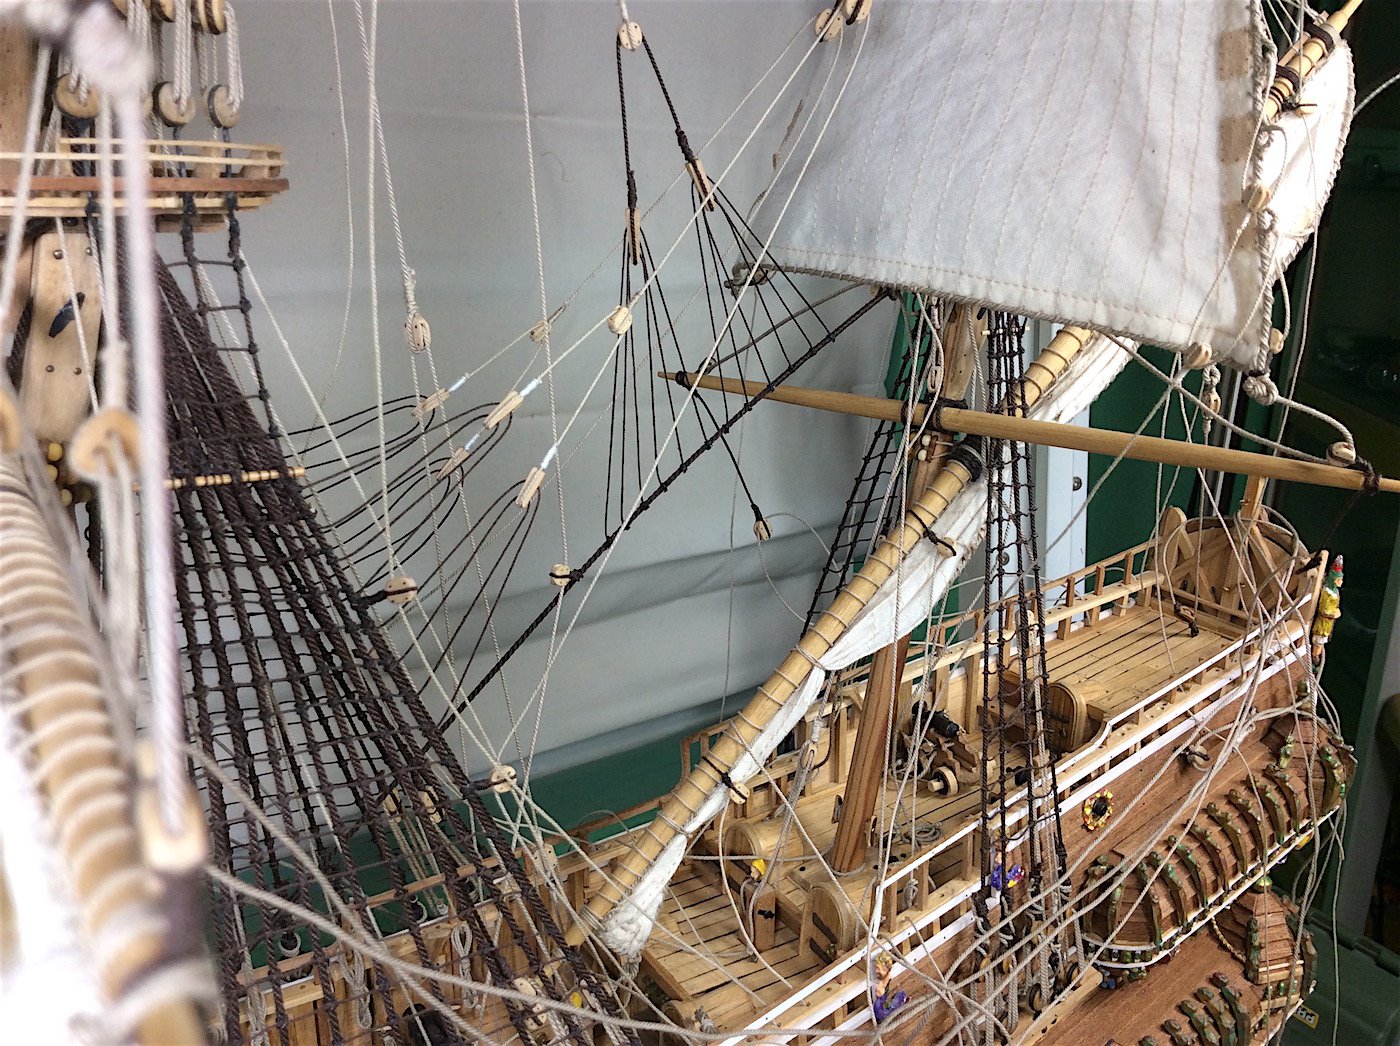
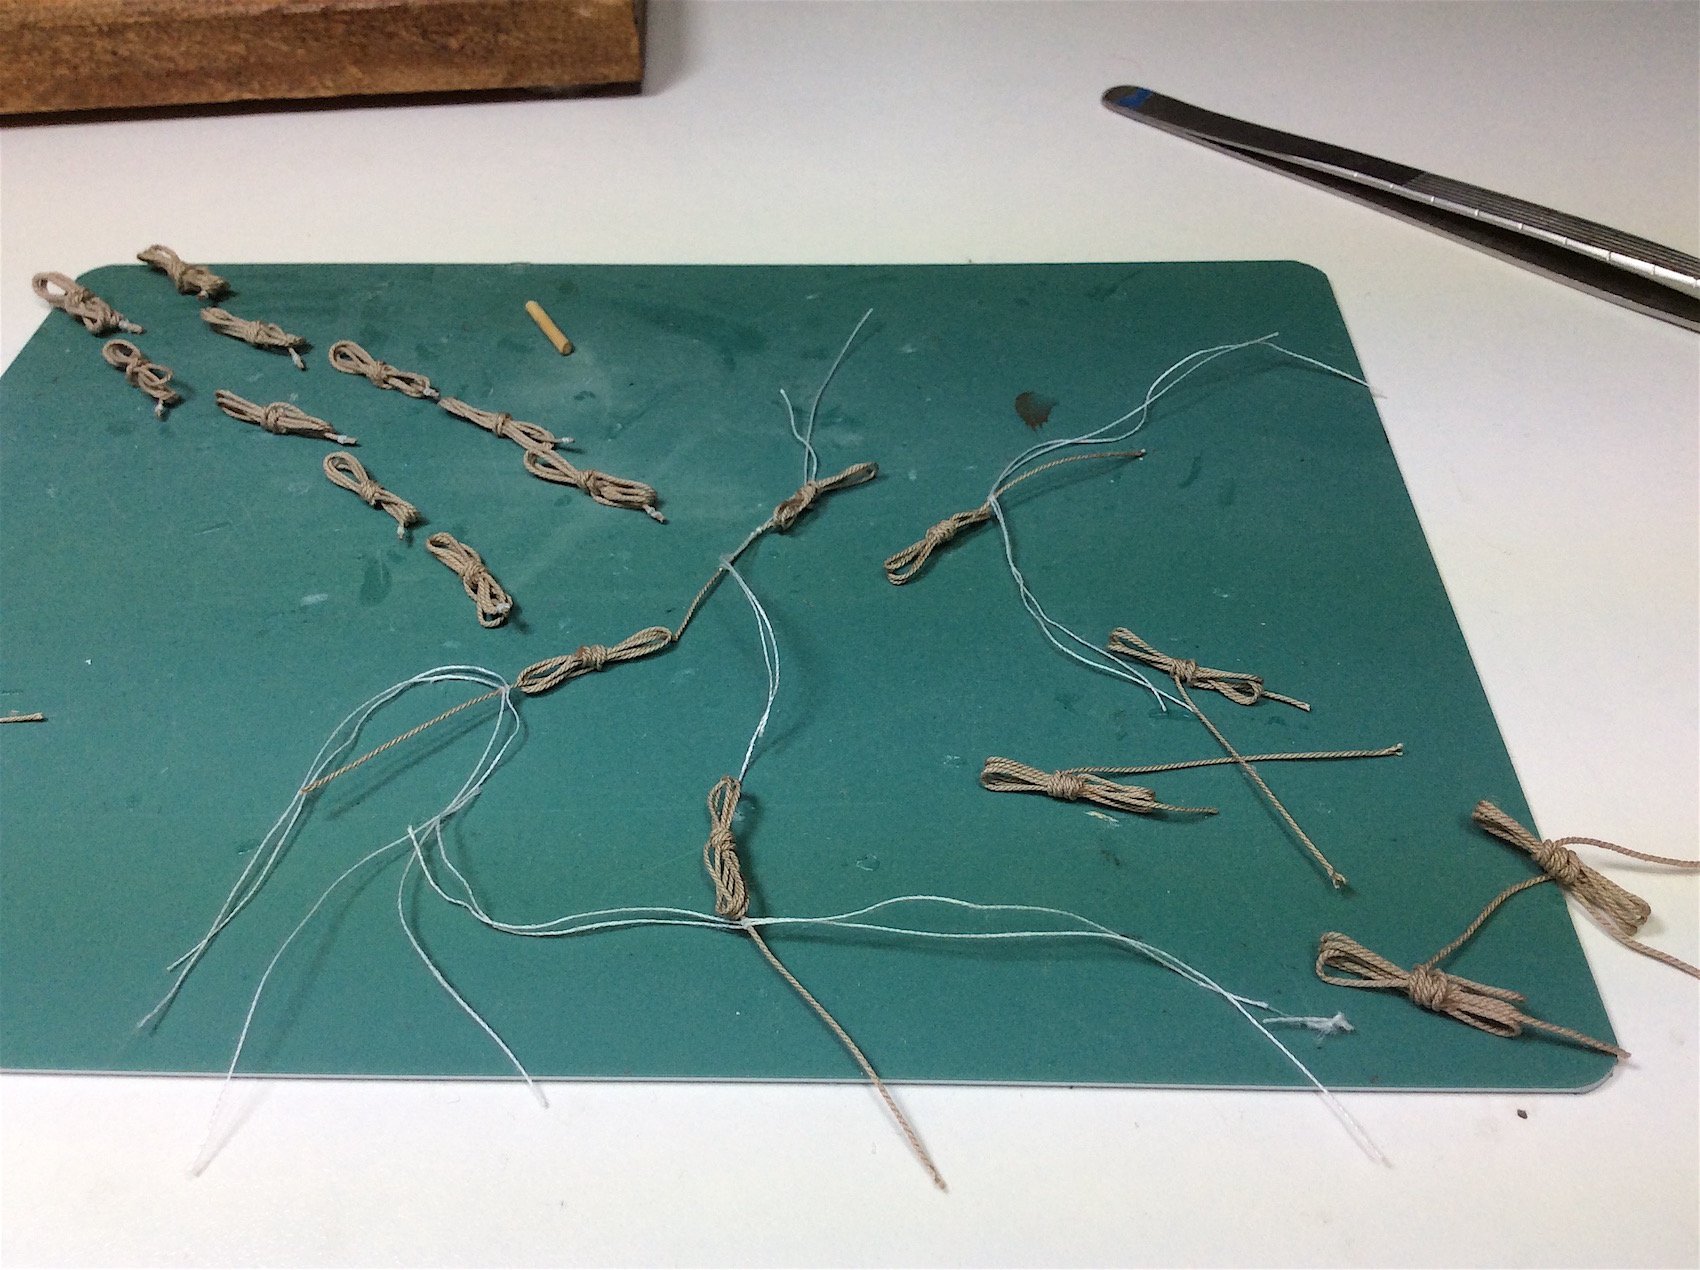
Hi mates, A couple of shots -working on the details for the other rope coils that are needed up front. Thanks for the likes and comments -

-
Robert, YES that planking work is indeed superb. Regards,
- 527 replies
-
- 3
-
-
- caldercraft
- victory
- (and 1 more)