HOLIDAY DONATION DRIVE - SUPPORT MSW - DO YOUR PART TO KEEP THIS GREAT FORUM GOING! (Only 51 donations so far out of 49,000 members - C'mon guys!)
×


mtaylor
-
Posts
26,273 -
Joined
-
Last visited
Content Type
Profiles
Forums
Gallery
Events
Everything posted by mtaylor
-
I still have some of those blades. When I get a chance, I'll dig them out and post some photos. Here's a topic that was posted on saw blades and the Byrnes saw. The Thurston's worked very well with our hobby saws.
-
Cap San Diego by mikegr - 1/160
mtaylor replied to mikegr's topic in - Build logs for subjects built 1901 - Present Day
As much as I hate to see models abandoned, I totally understand why. You've learned a lot which is good and so the next will be even better. I would suggest to just add version 2 to this log for continuity not only on the build but on the learning process. -
Steve, For blades, use this reference.. while it's for the Byrnes, there's a section on blades for different thickness woods along with with some good info for those of us who use other mini-saws. https://modelshipworld.com/topic/23843-byrnes-saw-reference-also-good-for-other-desktop-hobby-saws/ Edit: If you'll read (I should have mentioned this) the topic, you'll see others popping up with suppliers of blades.
-
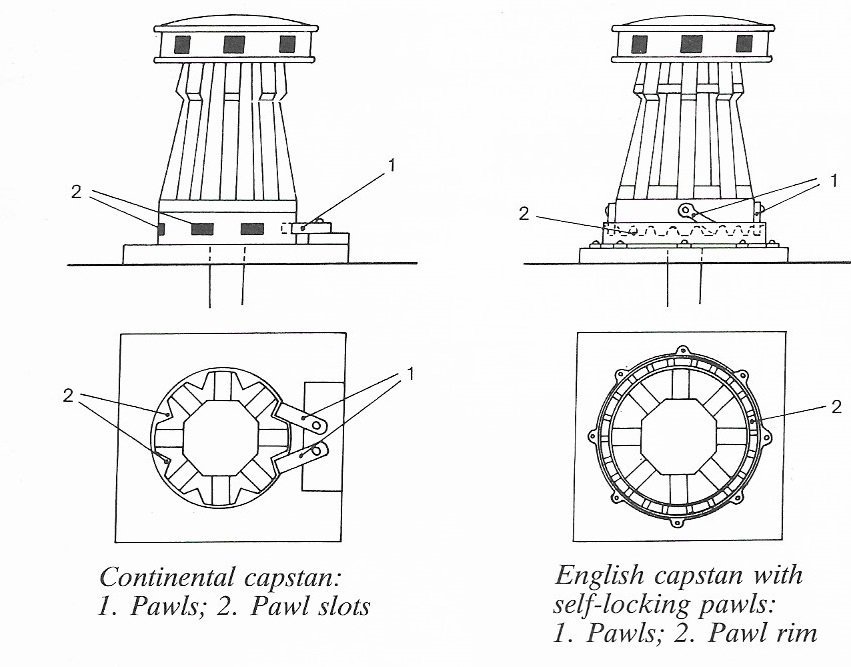
Add to the above... The Continental capstan used the paws like I described. The Engish supposedly used "self locking" pawls that hung down from capstan. Here's quick scan....
-
Been thinking a bit...dangerous thing, I know. The grove around it... if the hawse were taken around the capstain, then that might be useful for collecting and draining from the wet cable. But you would want the drainage to run off the side towards the scuppers. We're missing something here and I can't put my finger on it. They did everything for a reason.... we just know what that reason is at this point. Do we have any photos of the Vic's capstans?
-
Very nicely done on the wales, Bug. Paint and filler will hide a lot of sins but I think many of us use it.
- 419 replies
-
- 2
-

-
- Victory Models
- Pegasus
- (and 2 more)
-
Welcome to MSW. Semper Fi.
-
Excellent "fix", Eric. I echo Keith's comments.
-
Might that step also have had the "ratchet arm" that supposedly prevented the capstan from kicking back?
-
Fort Stevens in northern Oregon was operational during much of WWII. It's now a state park and was the only US continental site fired on by the Japanese in June 21, 1942. They still have a lot of the batteries and many have some guns... big things but not sure if they were battlewagon guns....
-
I would say "yes" as that is what the project is intended. There's several build logs of this model here on MSW which might be worth a read.
-
Nothing like new toys.... err.... tools. The results look good from here. I don't blame you for wanting to move as much as you can in-house. Contract costs for piece-work is heading out of this world. And you then become your own quality control also.
-
It's appropriate do post those issues I feel. They'll help others who follow your log. Try a new nozzle first if you have one. It's possible yours is clogged or something else happened to it. The new extruder can be installed after the nozzle. The old rule of thumb I was taught was "change only one thing at a time otherwise you'll never know what the problem was.".
- 460 replies
-
- 8
-
-

-
- Finished
- Flower-class
- (and 1 more)
-
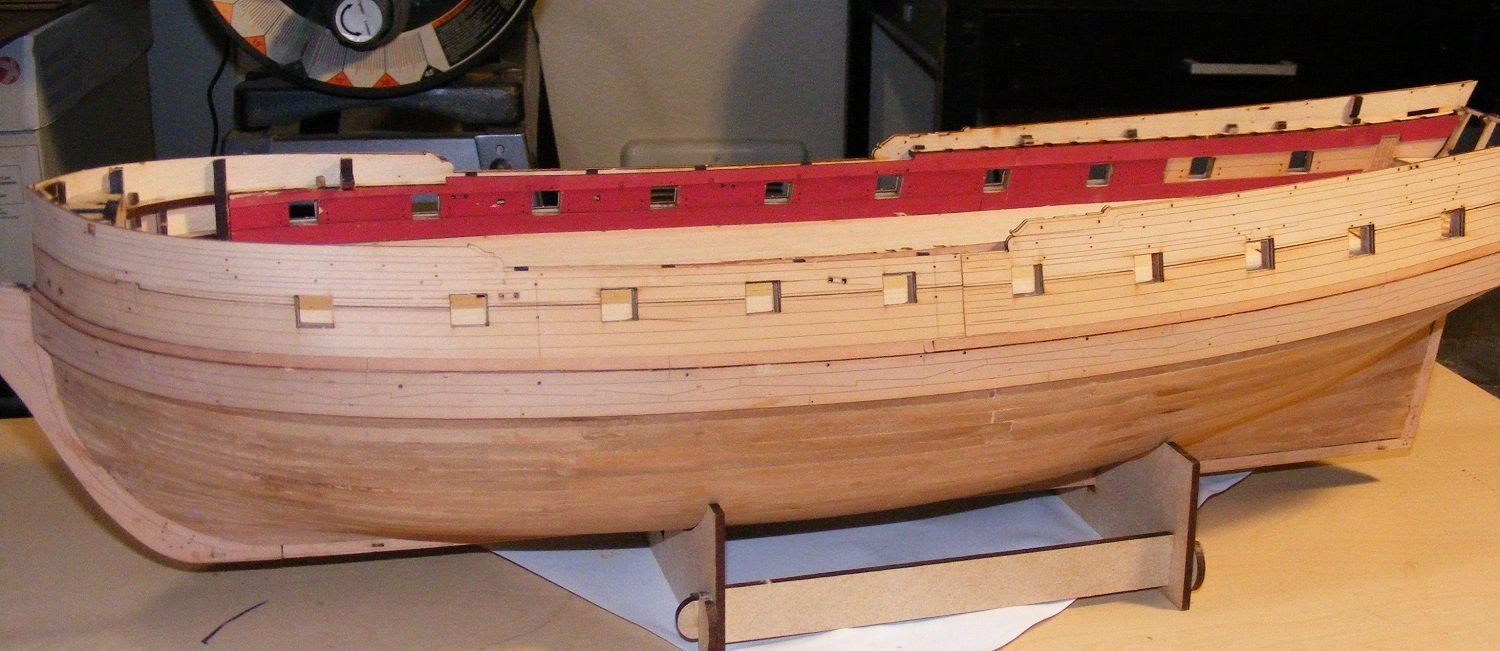
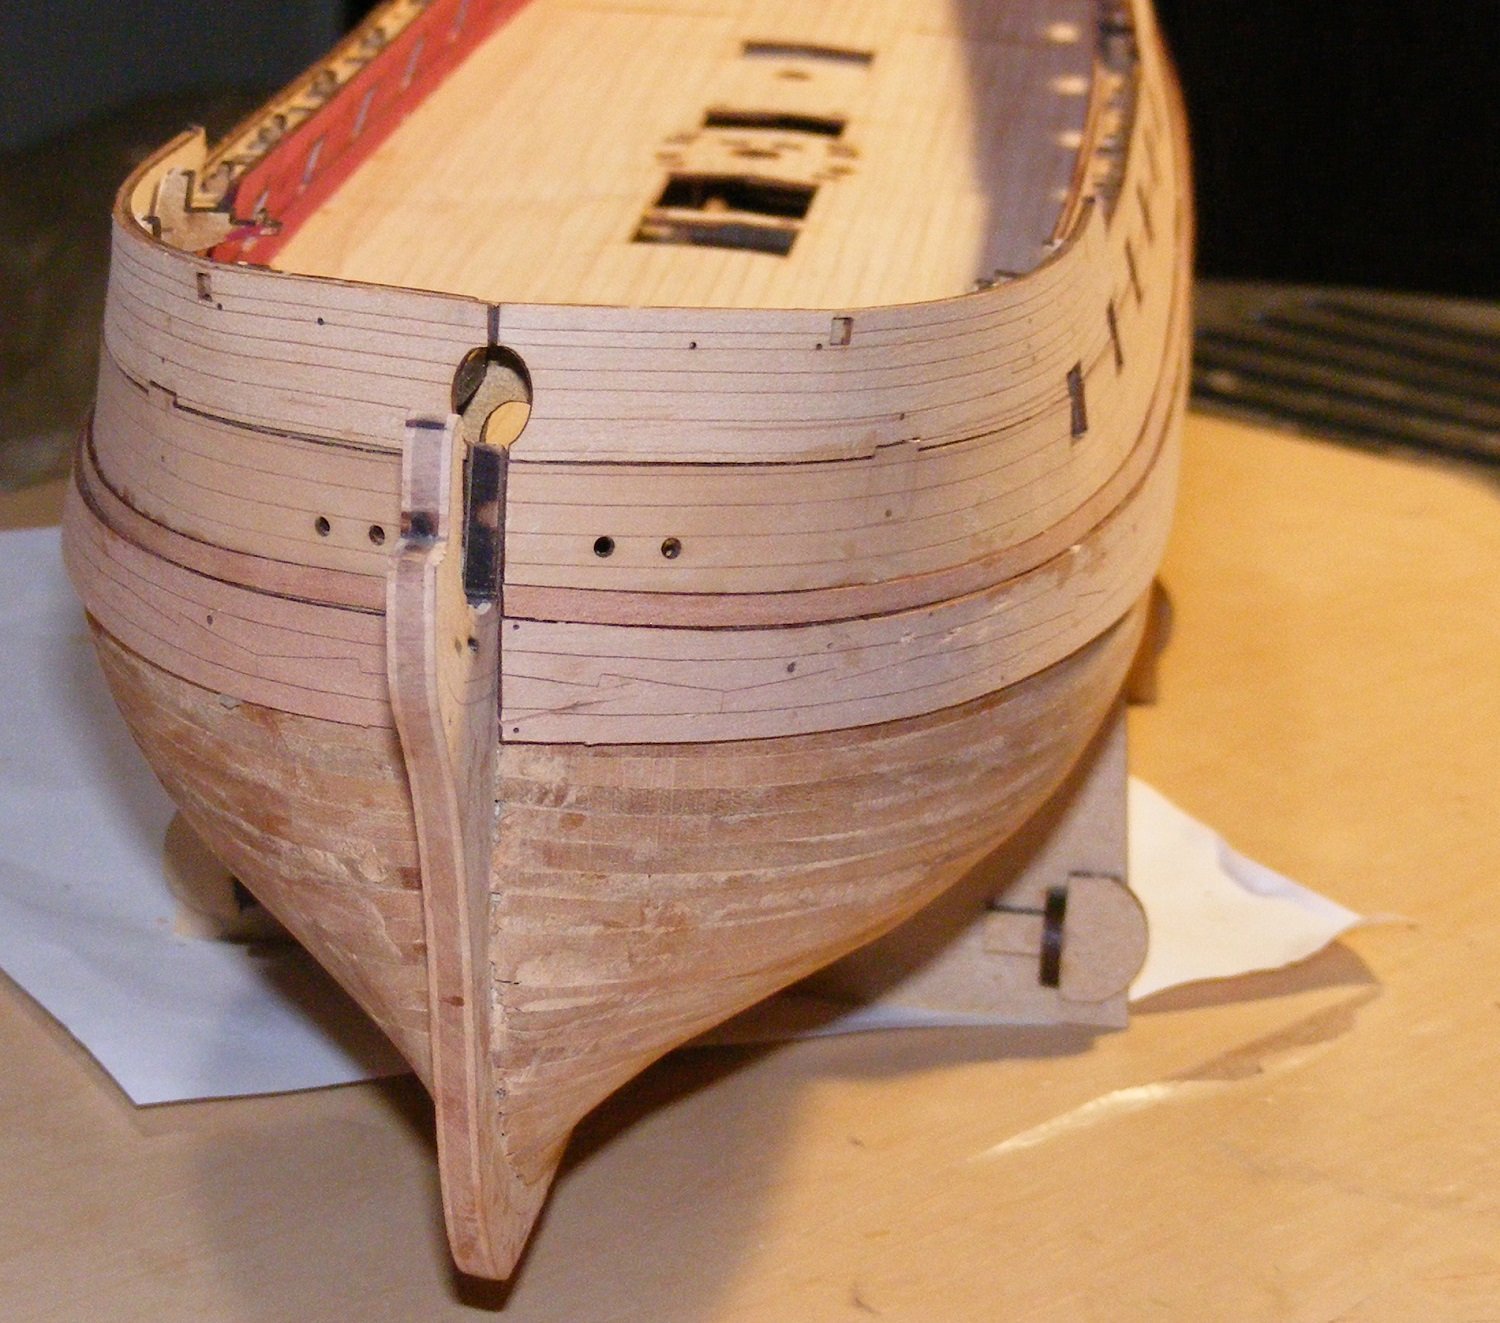
]Thanks again for the comments and likes. Update time... wales are installed as well as the black strake. I'm not what I did wrong but the black strake was "short" about 3mm after installing starting at the front for that part and then the stern half so I added a bit of fill between them. Not a problem, just a puzzlement. Looks like work on the stern is next. Here's pics.


- 505 replies
-
- 26
-
-

-
- vanguard models
- Sphinx
- (and 1 more)
-
Since it seems like "fix it" is what you're after... do it slowly and take measurements, etc. continually. To be honest, I'm not seeing the messed up part but this is wood and sandpaper and filler can cover a lot of mistakes.
-
I am deeply saddened by this news, Mark. I'm at a total loss for words.
-
Sorry to hear that OC. But I do understand as I've done that myself.
-
So that explains that small piece of wood that flew into my shop and then out again. It must be making the rounds of all of us.
-
OC, if this will help, here's some CH-53 photos from 'Nam. They usually were quite faded and the markings chipped and faded. Only museum birds look clean and shiny and the ones the Generals flew on. As for a 'hanger queen"... engines would have been pulled, windows, doors, access panels.... anything a mech could get to without a cutting torch to get the parts they needed.


-
D9R by Kevin - Meng - 1/35 - PLASTIC - started 2015
mtaylor replied to Kevin's topic in Non-ship/categorised builds
The track sand looks good, Kevin. I would think that a bit more sand should be put in the vehicle's flat surfaces (plow in the rear) and on top of all the flat surfaces. That stuff goes everywhere. The local farmers basically have to wash down their whole tractors after spring plowing. -
Thanks, for comments, likes and well-wishes. No pics yet, but the wales are on. Had a bit of a problem with one that decided to warp and curve along the grain. Not sure why but I think I've got it fixed. Right now, I'm doing the black strakes and will follow up with pics then.
- 505 replies
-
- 5
-
-
- vanguard models
- Sphinx
- (and 1 more)
-
Have you tried a Ouija board? Sounds like that might work as well the manufacturers instructions/list. I'll keep my fingers crossed it's just the filament but considering all the problems you had early, I'm beginning to wonder.....
- 460 replies
-
- 3
-
-
- Finished
- Flower-class
- (and 1 more)