HOLIDAY DONATION DRIVE - SUPPORT MSW - DO YOUR PART TO KEEP THIS GREAT FORUM GOING!
×


Old Collingwood
-
Posts
12,097 -
Joined
-
Last visited
Content Type
Profiles
Forums
Gallery
Events
Everything posted by Old Collingwood
-
 By the time I have spent some hours in bathroom - I'm to tired to do anything on my build. "I Will be Back" OC.
 -
Hi all, sorry for my lack of updates - real life events have taken me away from playing on my Hood - in the shape of decorating our bathroom, I have been re painting from the old tired sand colour to a fresher apple Green colour, that has required several coats over the top (but I have picked up a useful technique - dry each coat with a hairdryer) this way I can tell if the layers have dried smooth or patchy and gauge how many coats are needed (about Three is doing it). I am nearly finished but its kept me away from my build. OC.
-
Based on your ability and the inherent difficulties with card kits - this could be one of your very best builds - take it steady Kevin. OC.
-
Hope your able to recover from this Kevin - I know I would have been gutted and boy would the air have been Blue. OC.
- 79 replies
-
- 5
-

-
- SD 14
- Marcle Models
- (and 1 more)
-
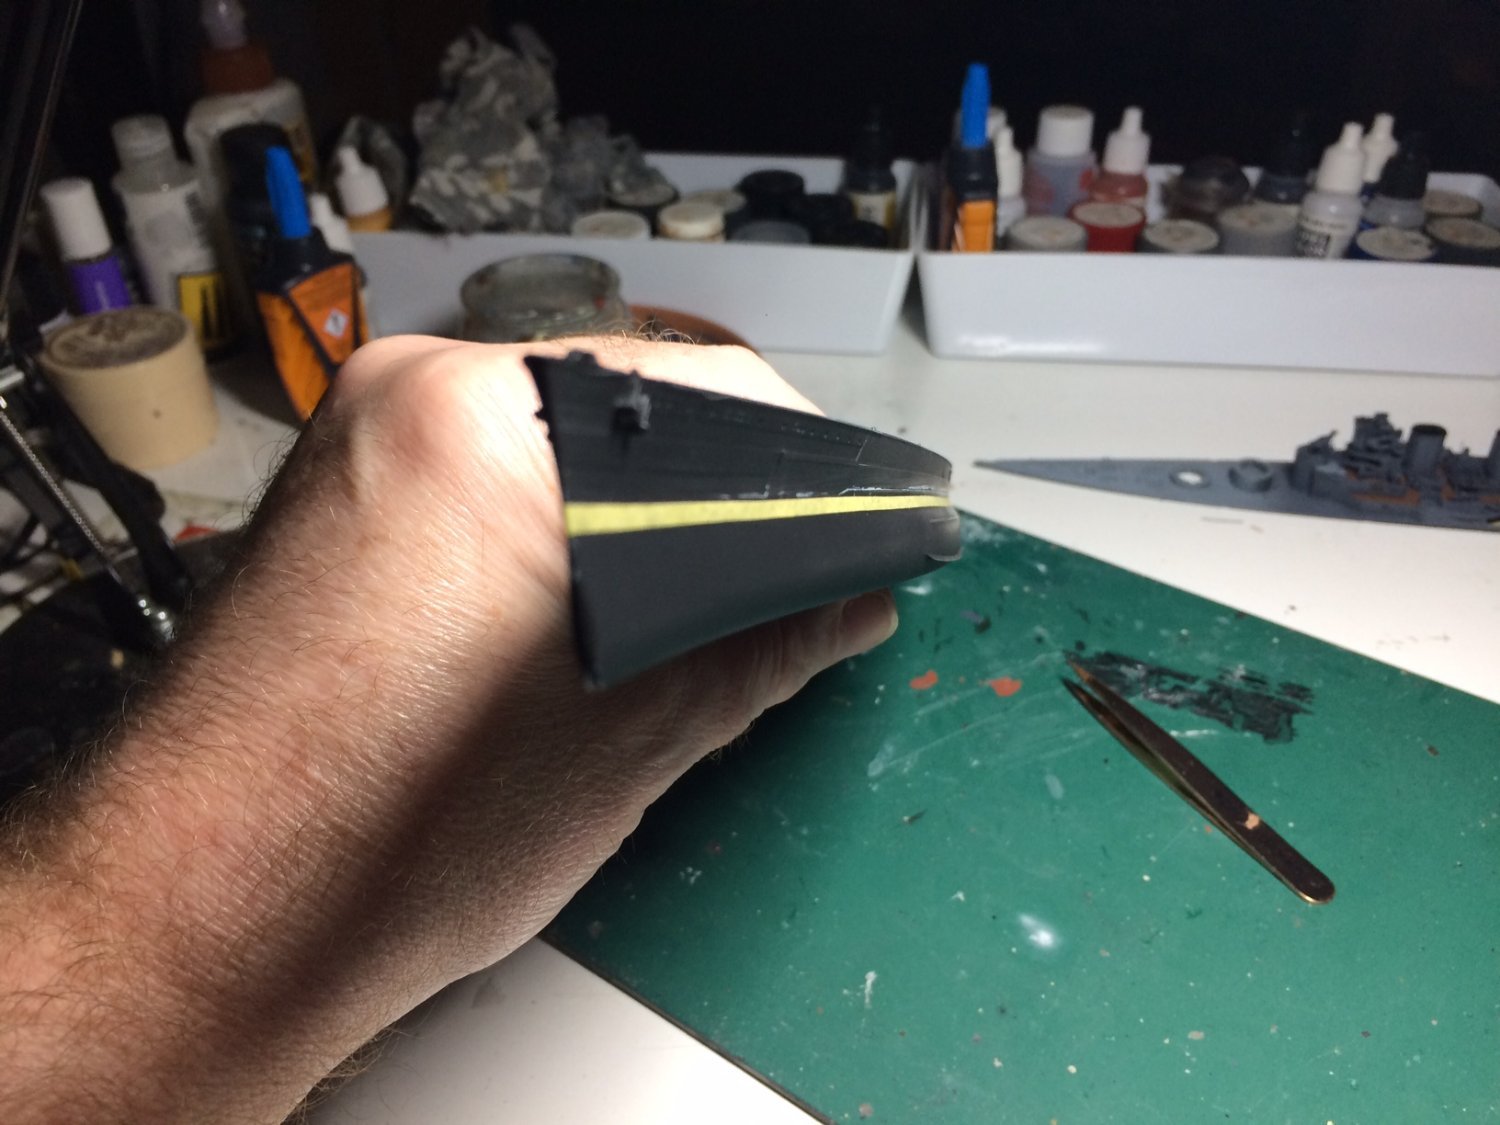
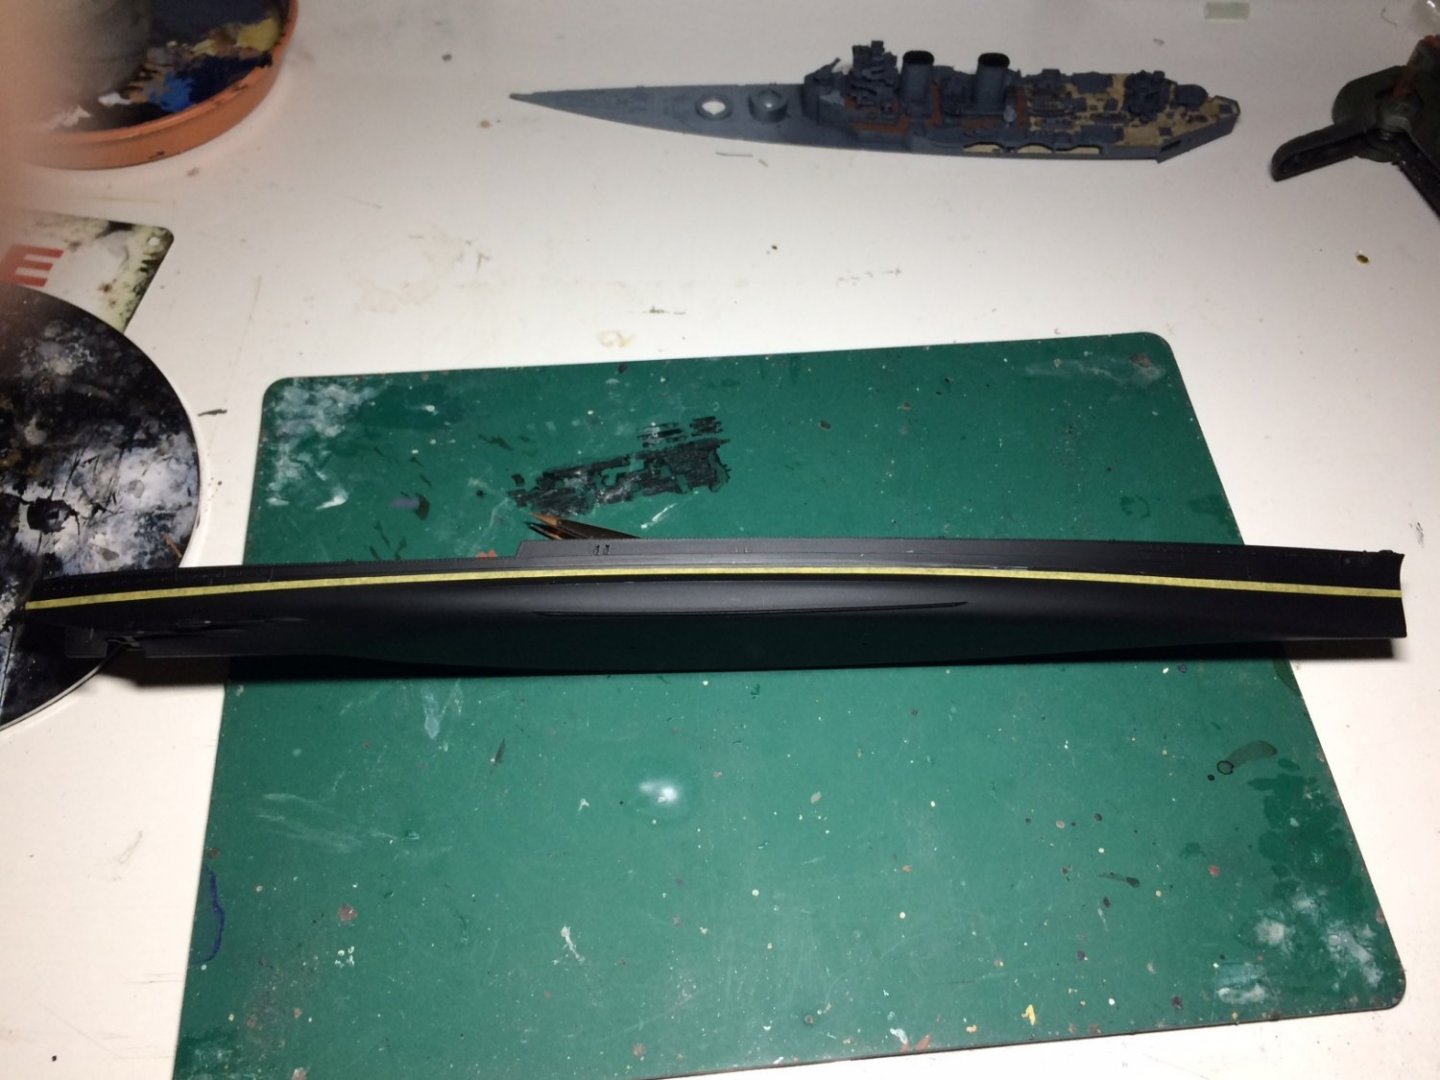
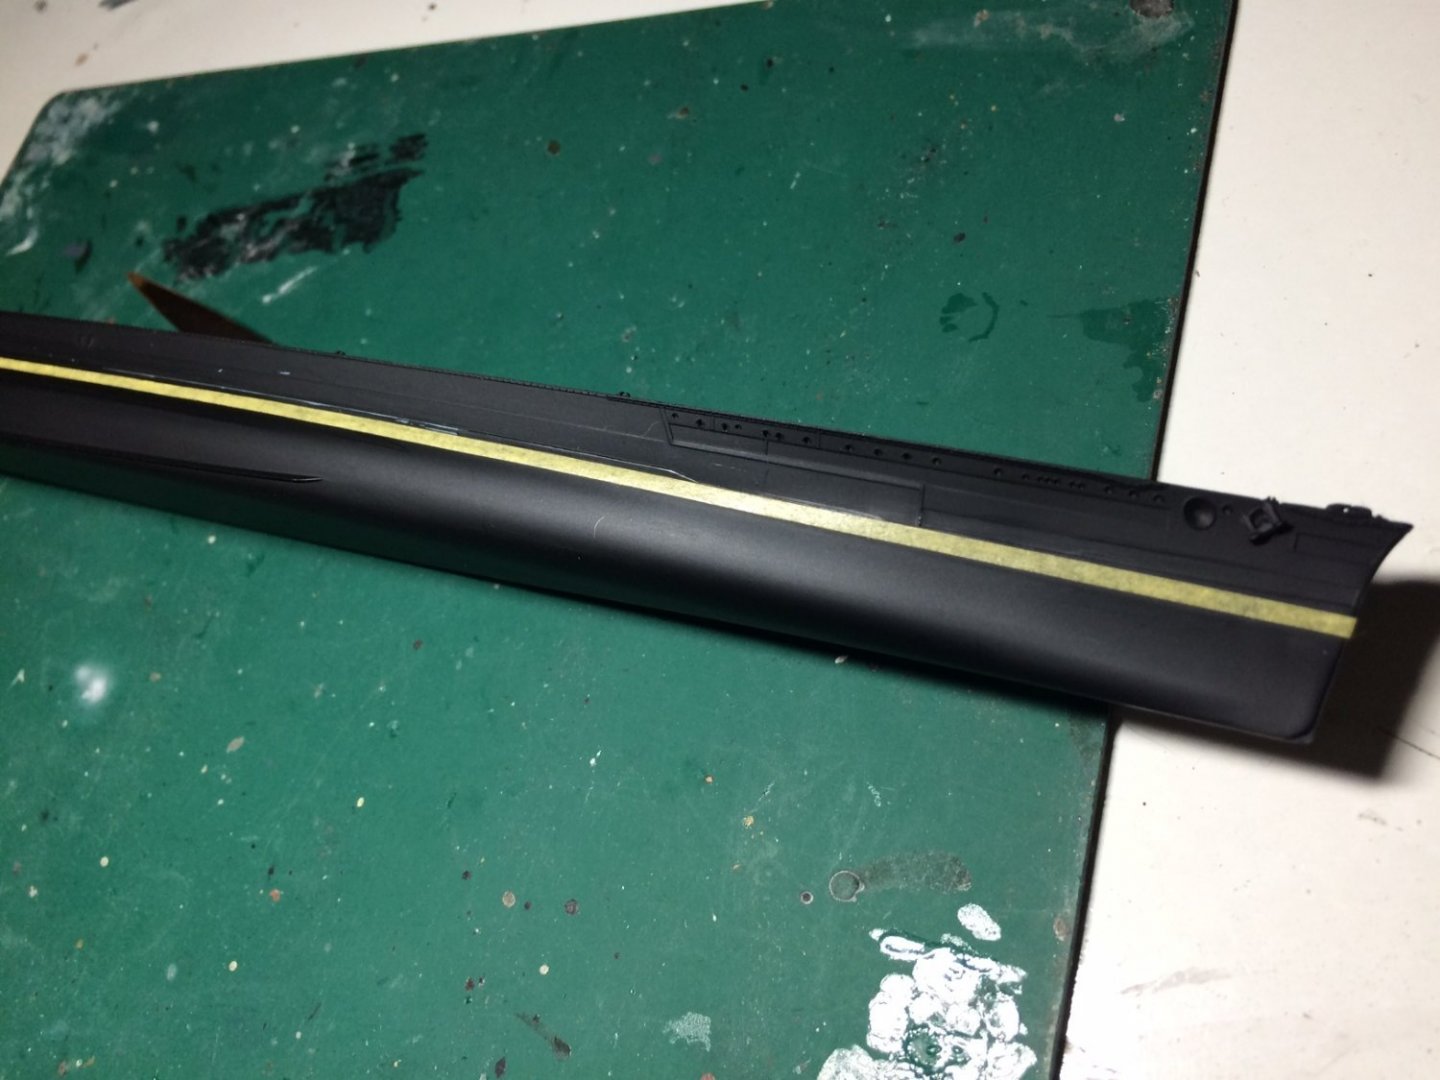
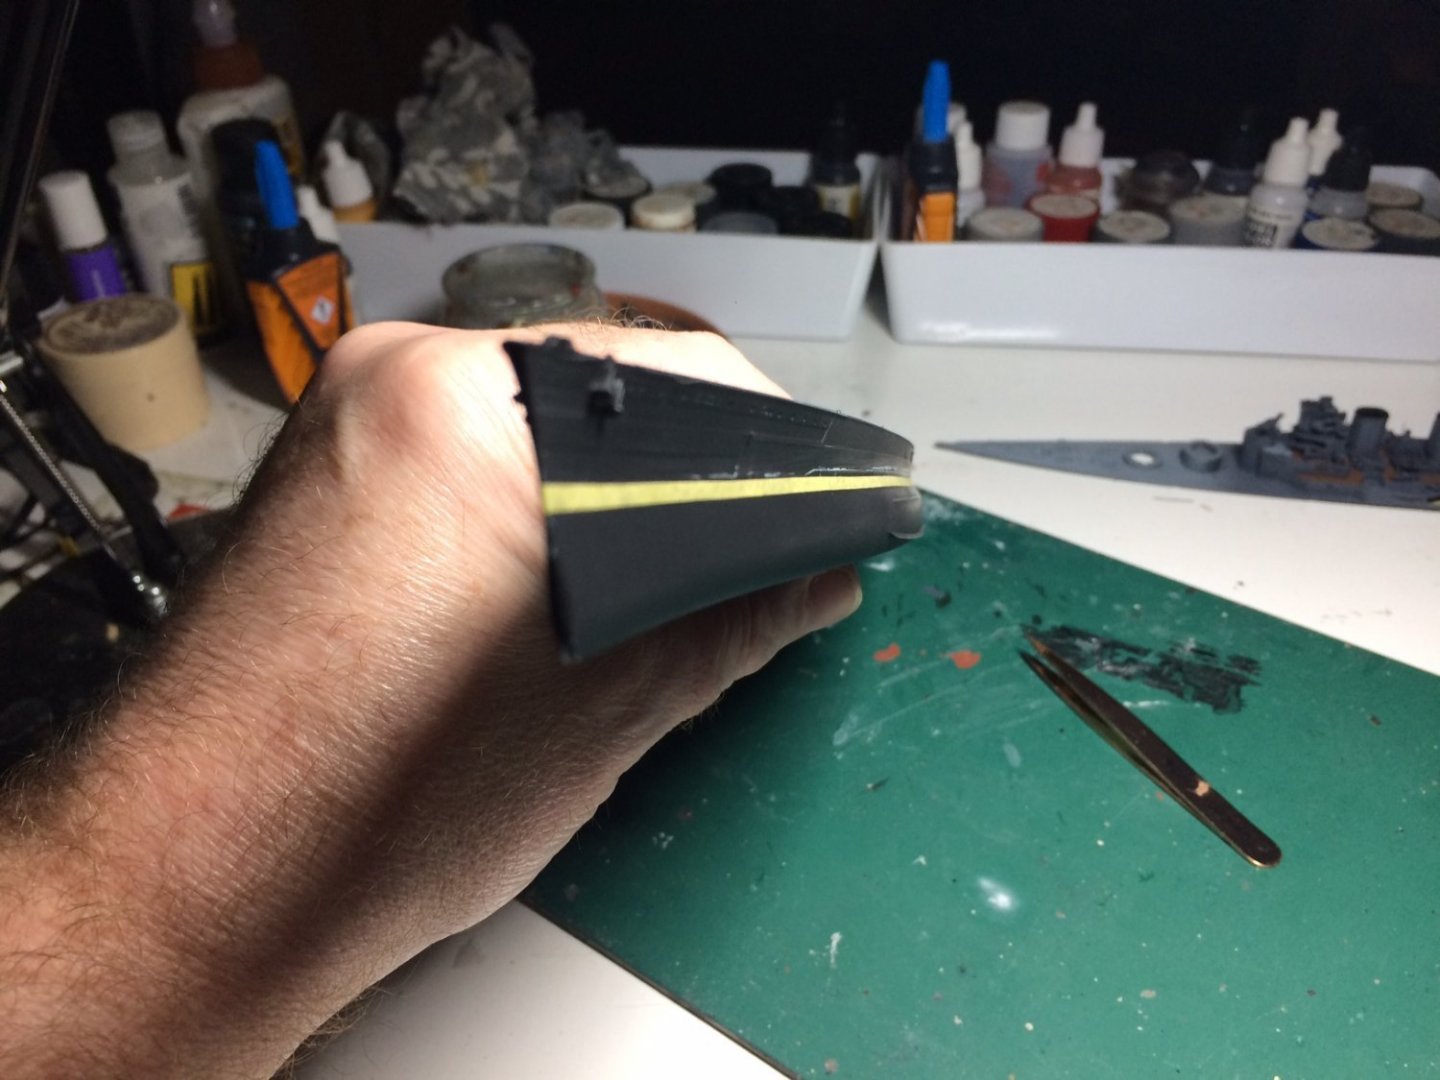
Evening all, a wee bit of progress today, I have left the Vallejo primer for over Three days so I thought it would be ok to mask up the boot line ready for airbrushing, I measured Two strips about 1.8mm wide - roughly 8 feet eqv, a bit akward to cut as they needed to be longer than my ruler - so I had to slide it along carefully keeping it in place, then I placed them and burnished them down using a cloth, it has taken a bit of the primer away (more a rubbing smooth than flaking) so top coats should go over the top ok. OC.
-
Hi brother, So good to hear you took on the challenger - put on your armour and won over the "cough and colds thingy that has now become a no name thingy as its thankfully a lot less severe" - told you us model makers are tough talented creatures. OC.
-
She is looking really nice Alan - tell you a little trick I did on my railings on my Warspite build painted the wire rails in-between the stanchions Black as I understand there were that colour and still are on UK ships to date, it would also make them less obvious. OC.
-
Thank you kindly Mike, I am leaving the Primer for a good 3-4 days to fully harden but will also try that trick with my tamiya tape. OC.
-
Thanks Mike, I think what good about the Vallejo Primer is the way it shrinks down onto the surface, I have been spraying it with vallejo flow improver (just a few drops into the cup) what I will do is give it a good few days before I mask up the hull for my other paints. OC.
-
We are seriously limited in space here just the one room down stairs and a tiny narrow kitchen, and a 5 feet by 10 feet back patio, not even a front garden, its like a dolls house lol. OC.
-
That is looking Superb Greg - that weathering is Spot on. OC.
- 126 replies
-
- 5
-
-
- Thetis Bay
- Finished
- (and 4 more)
-
But I respected and appreciated your viewpoint and how you do your painting - some times wish I had a "Man Cave/shed" type thing. OC.
-
My musical background is keyboards and recently VST Digital Recording Equipment - OC. https://de-stijlsynthbass.bandcamp.com/
-
Greg I work in a small lounge with the admiral about Ten feet away from me - she has weakened lungs - so anything unless it has no vapour or smell is a Serious No No, I was spraying last night into my make shift cardboard box pray booth - and I had to have the back door open despite it being below freezing out side - I could see the vapours comong off my airbrush and rising towards my light above my table - even though they are Acrylic I could smell and tast the vapours. OC.
-
Neet work with the masking Greg - you going to spray them in or brush? OC.
- 126 replies
-
- 4
-
-
- Thetis Bay
- Finished
- (and 4 more)
-
Evening all, only a small update - I have primed the Hull, but firstly I had to strip and clean my airbrush "Yep it was blocked again" I used my airbrush cleaner and a tooth brush and really got in the nozzle and gave it a right clean out - suprising how small fragments of paint (mainly vallejo Primer) can clog it. Anyway its gone on quite well no visible runs and a smooth coverage. I could not take any pics as my phone was dead. OC.