


Old Collingwood
-
Posts
11,545 -
Joined
-
Last visited
Content Type
Profiles
Forums
Gallery
Events
Posts posted by Old Collingwood
-
-
Really nice work there - you did fab my friend.
OC.
- Edwardkenway and VTHokiEE
-
 2
2
-
-
57 minutes ago, drjeckl said:
Thanks Jack; did not know about the Follow button, will make use of that.
John
Also an easy way to show interest just by a way of saying "Hi" without using words - is to look down the current activity down the Right hand side list and click on any subjects that you like / have some interest in / or subject you know about, even if you dont leave a comment you can just click "the like button".
Our site is without doubt the lovliest most friendly site I have ever used in all my life.
Just keep chatting/liking as like the Kevin Costner film "Bulid it - they will come - Chat and you will make friends / find answers to your questions"
Hope that helps?
And by the way - a belated Welcome to the family

OC.
-
Excellent work - really really nice - hope you have somwere special for it to go.
OC.
- Keith Black and mtaylor
-
2
-
-
-
2 minutes ago, mtaylor said:
Incredible detail work, OC. Pity that most of it will disappear.
Thank you kindly Mark - I really appreciate that, I am quite pleased with the decs so far.
OC.
- mtaylor, Egilman, Edwardkenway and 2 others
-
5
-
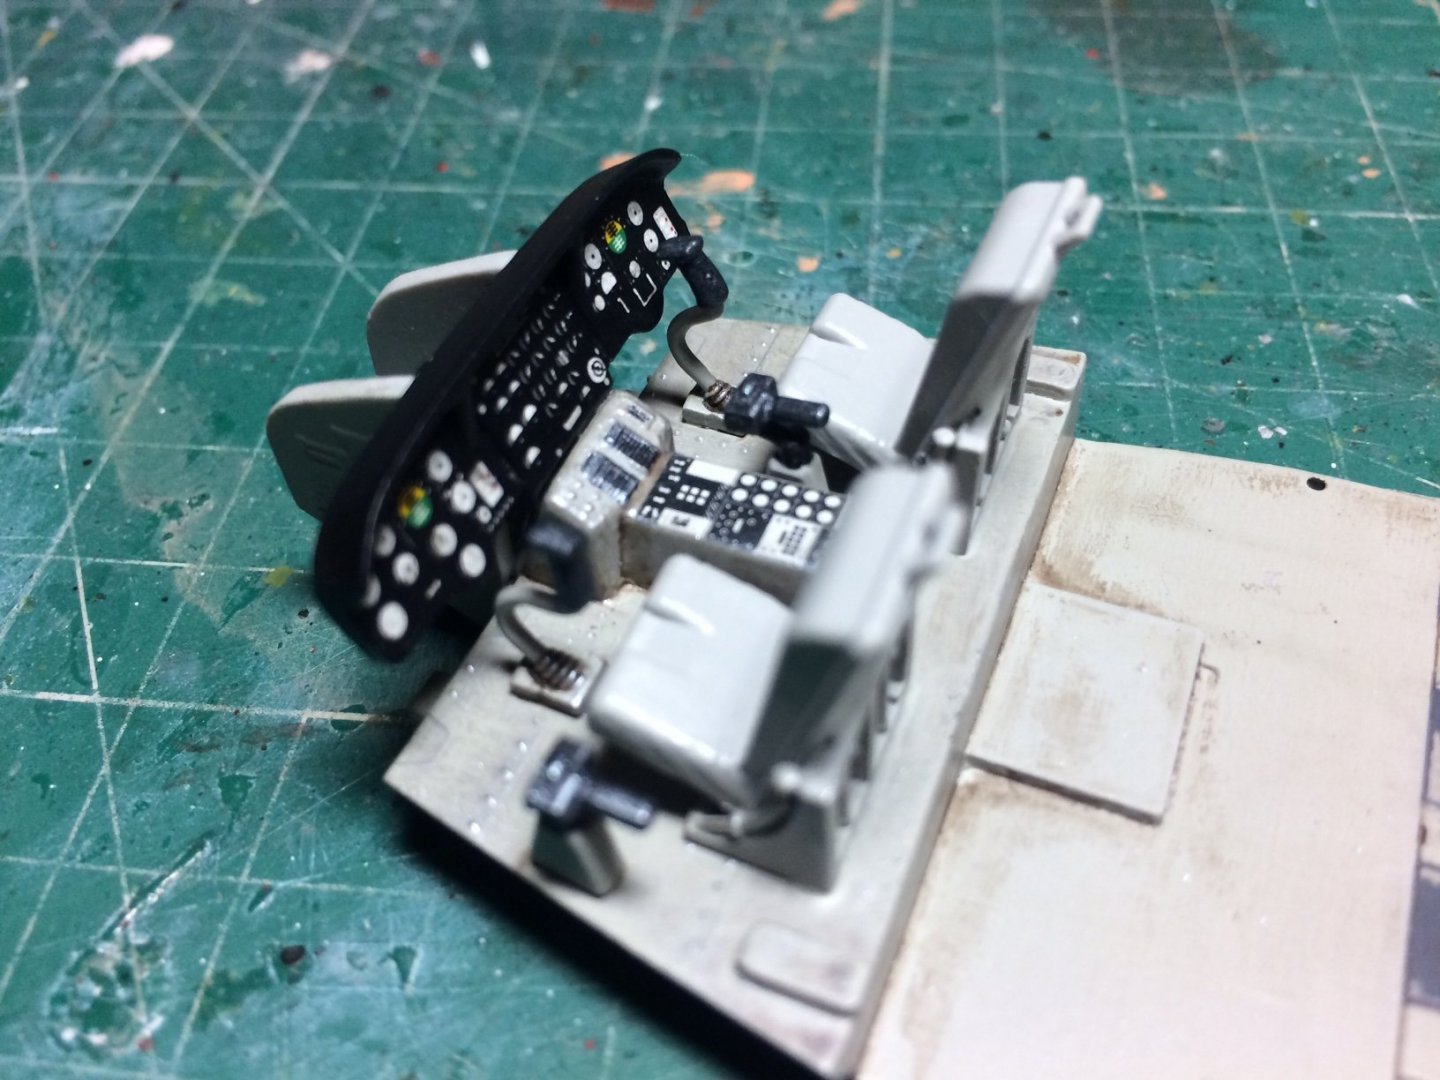
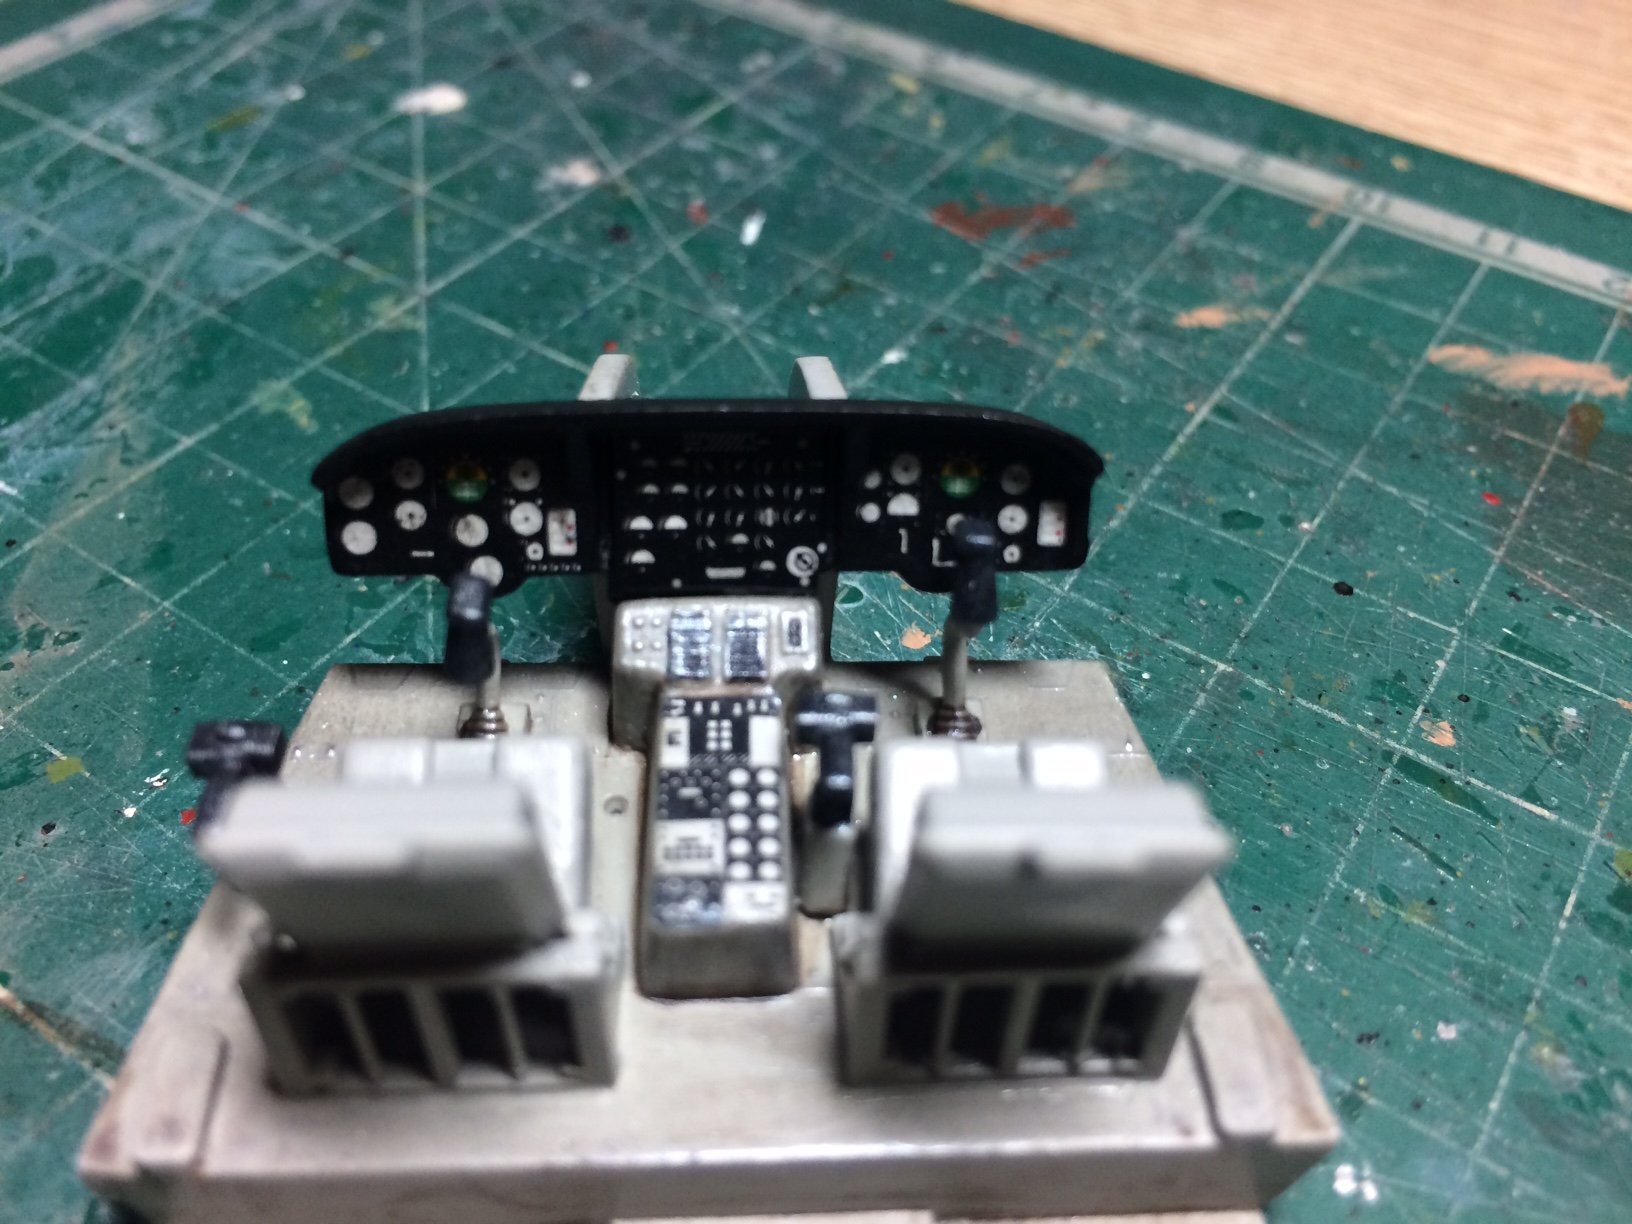
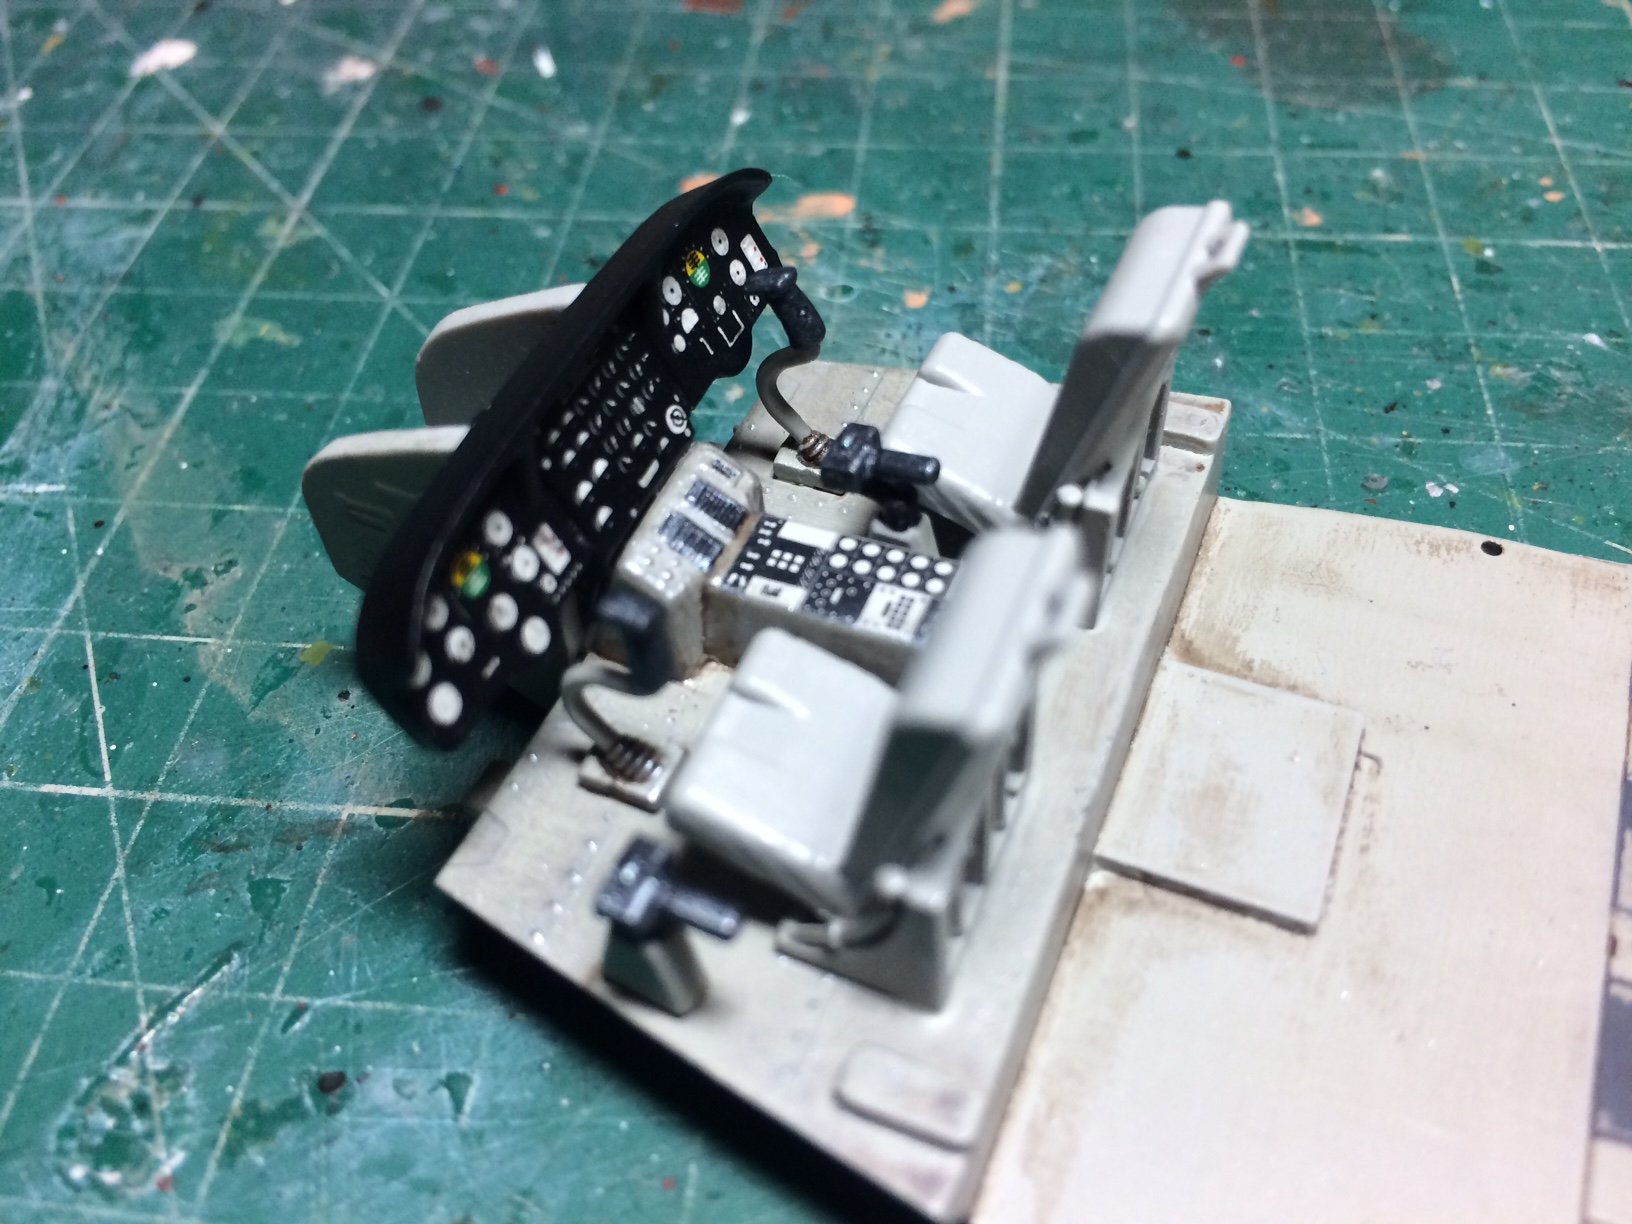
Evening all, more progress - firstly I glued down the Two seats then gave thier frames a few coats of Grey (still need the cushions painting) then I worked on the Two consol supports these have sone subtle wiring that after fitting I picked these out with Silver dry brushing, then it was the turn of the Instrument consol, this was given a few coats of Black then when dry it was decal time - these are Three seperate pieces for the instruments - they went down without fuss, then when set I brushed over a few coats of flat top coat.
I then glued it in place and nest will be to paint the seat cushions.
Bulkhead still just dry fitted.
OC.


-
-
-
Thats a good start - and that frame looks like it will make a lot of difference in taking the worry out of any miss-aligned frames.
OC.
-
Thats a really tidy well executed job of your first planking - very nice progress.
OC.
- Danstream, rkwz and Ryland Craze
-
2
-
 1
1
-
Very nice tidy work on the tree nail work.
OC.
-
I always wanted a full size replica Mortory Sword but the admiral wasn't too impressed by the idea.
OC.
-
Thats a really good save.
OC.
-
25 minutes ago, Roger Pellett said:
It’s coming along nicely.
Thank you Roger.
OC.
-
26 minutes ago, mtaylor said:
Beautiful and impressive work. Way out of my paygrade that's for sure.
Same as me.
OC.
- Egilman, Edwardkenway, mtaylor and 3 others
-
6
-
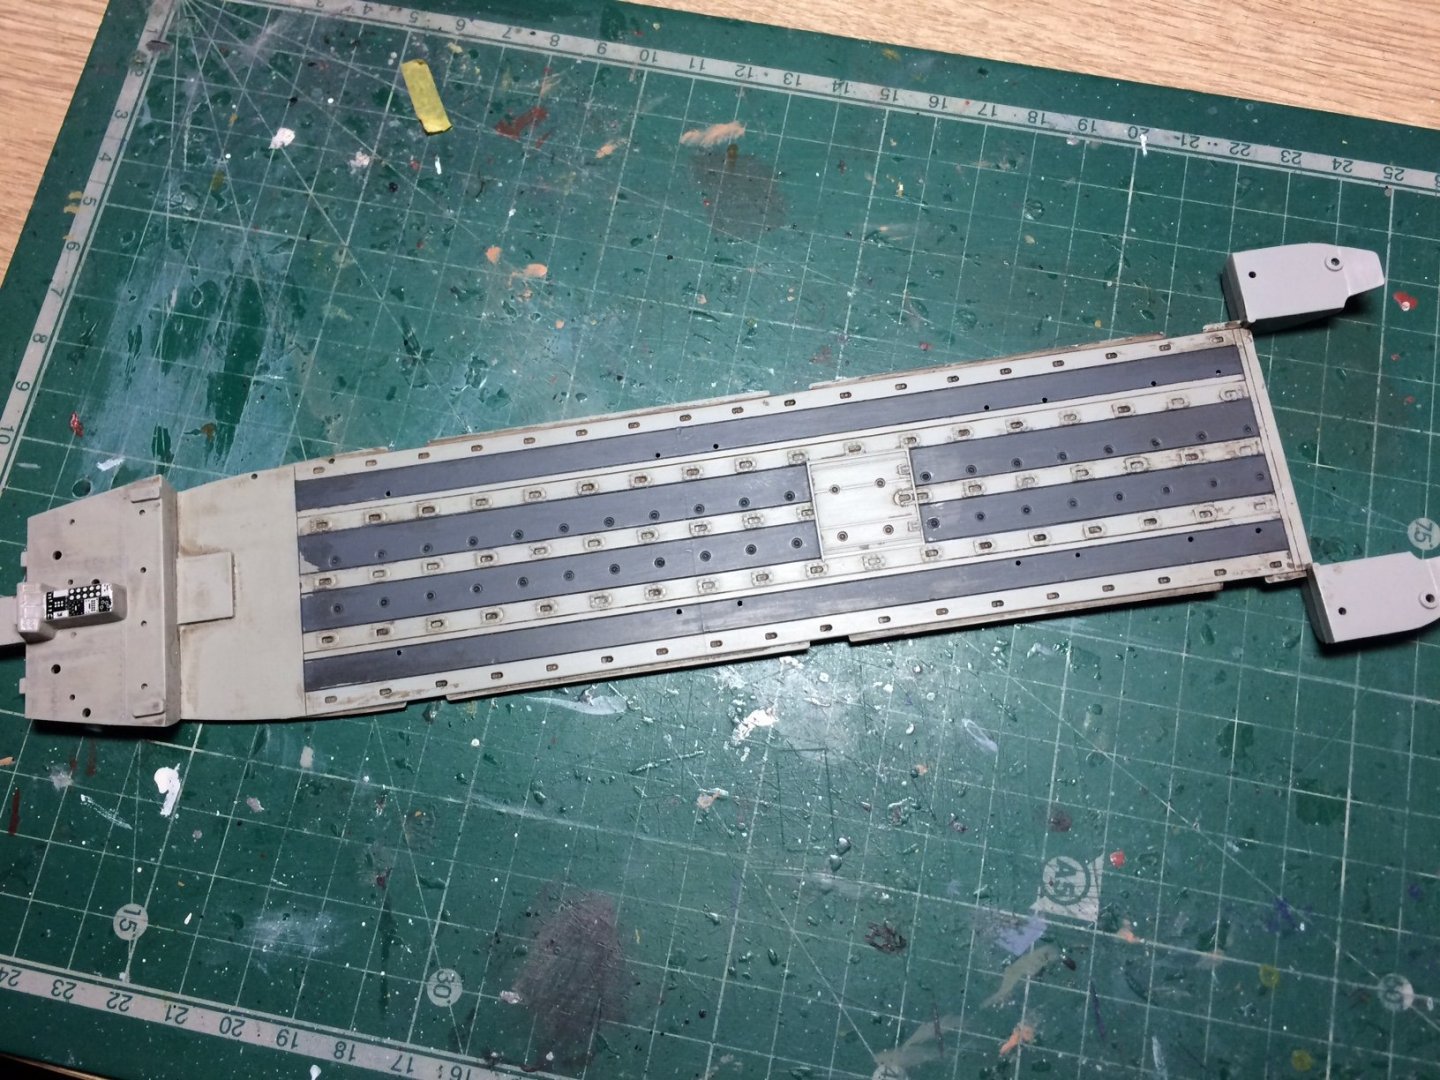
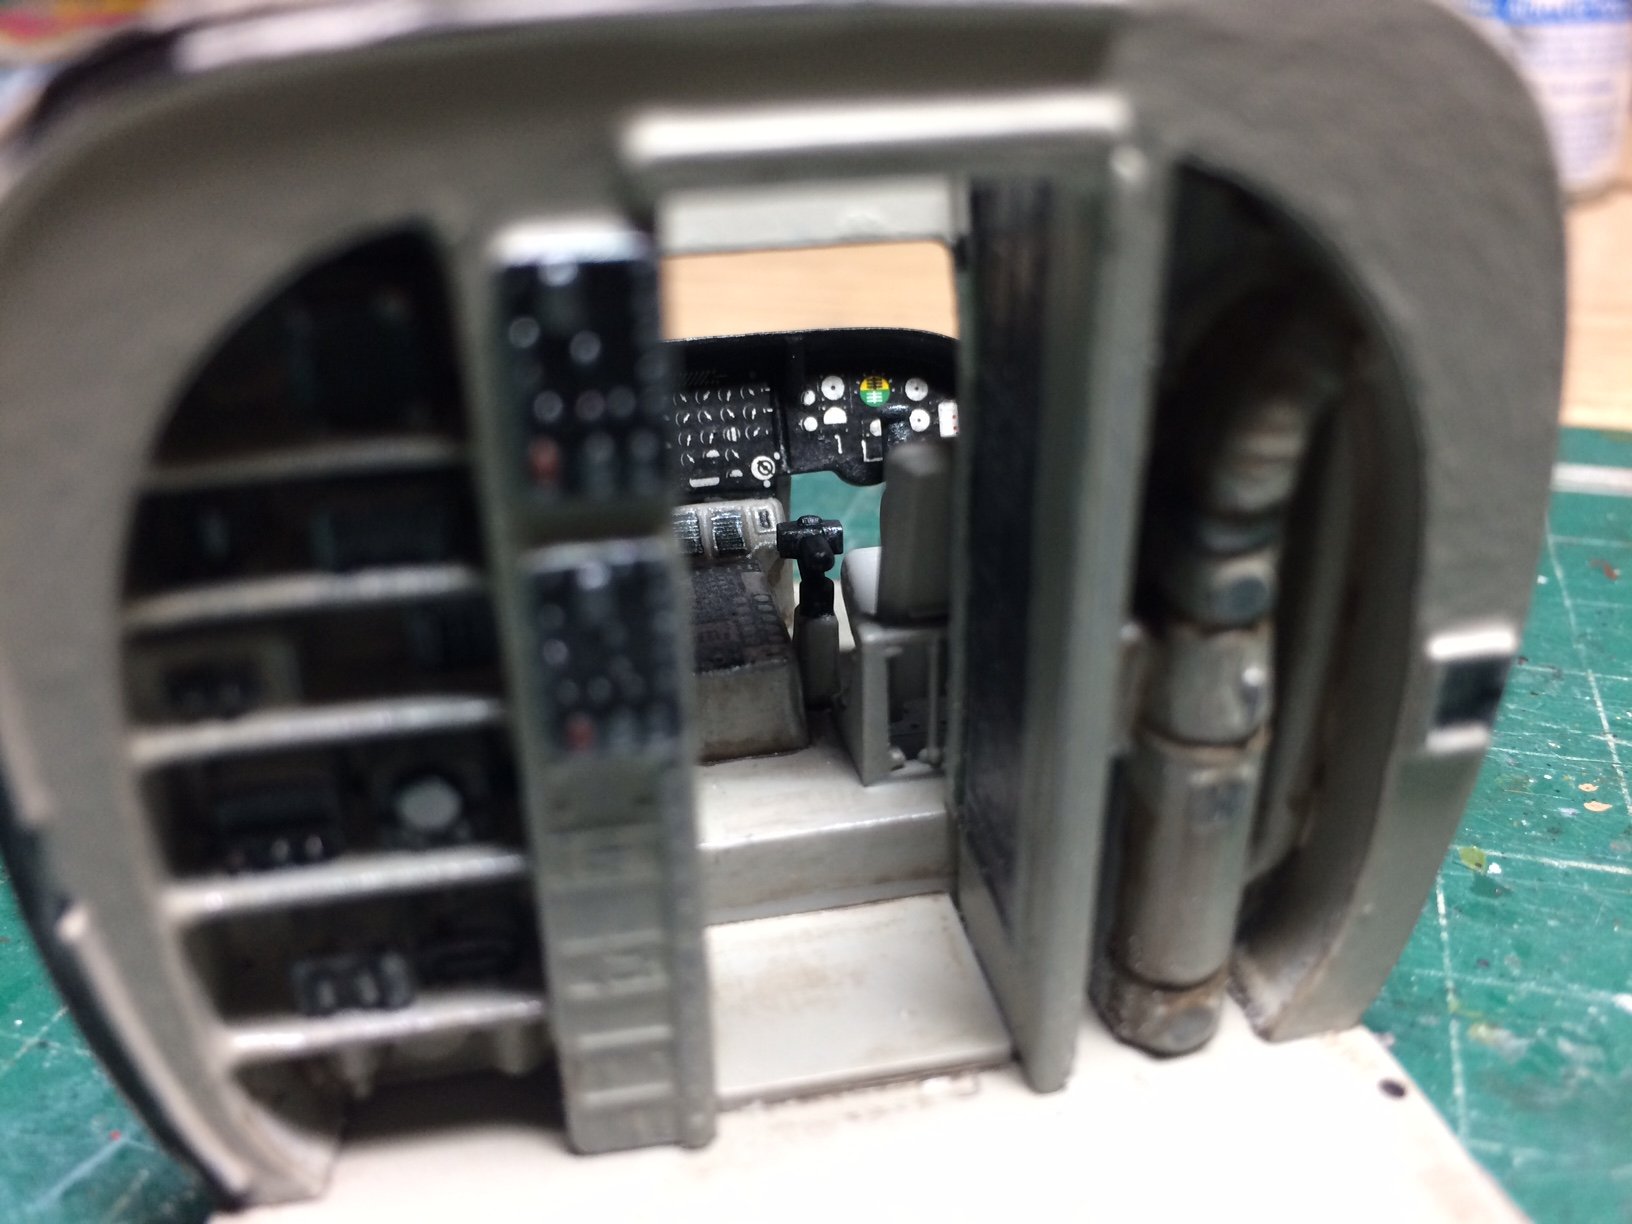
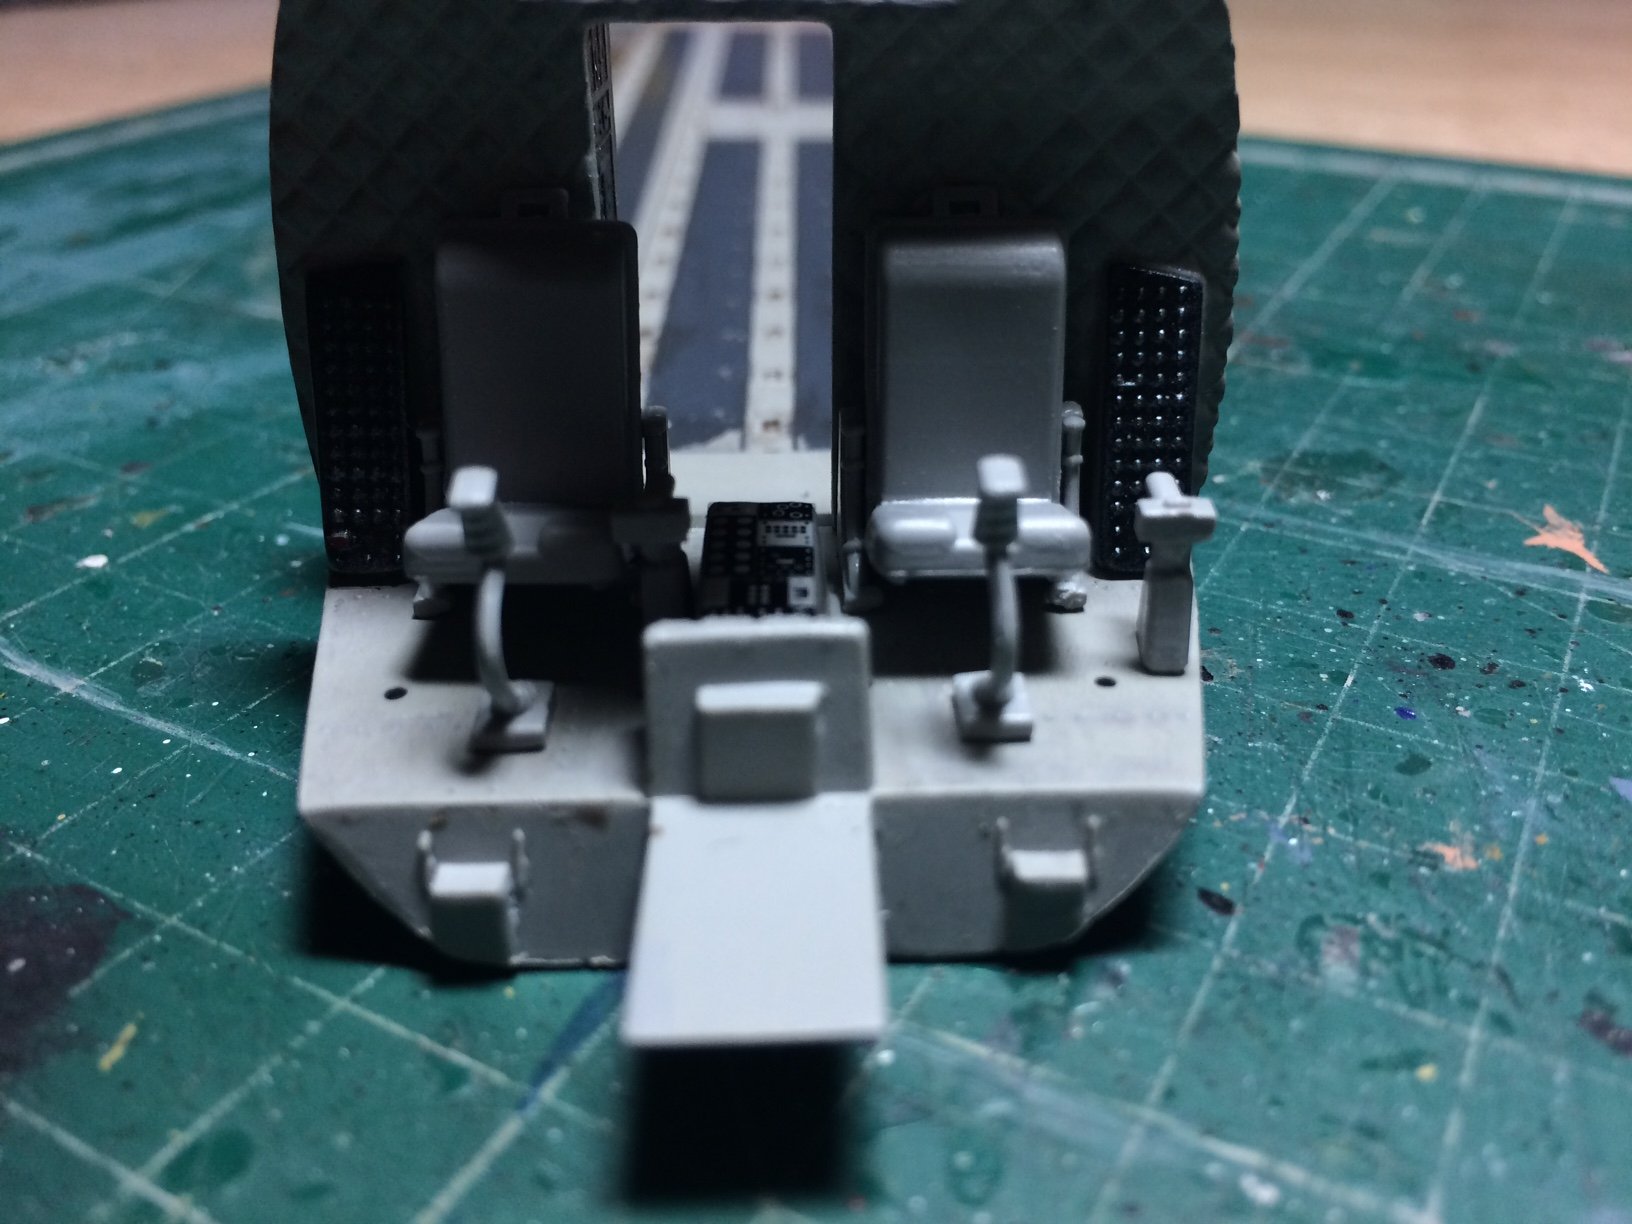
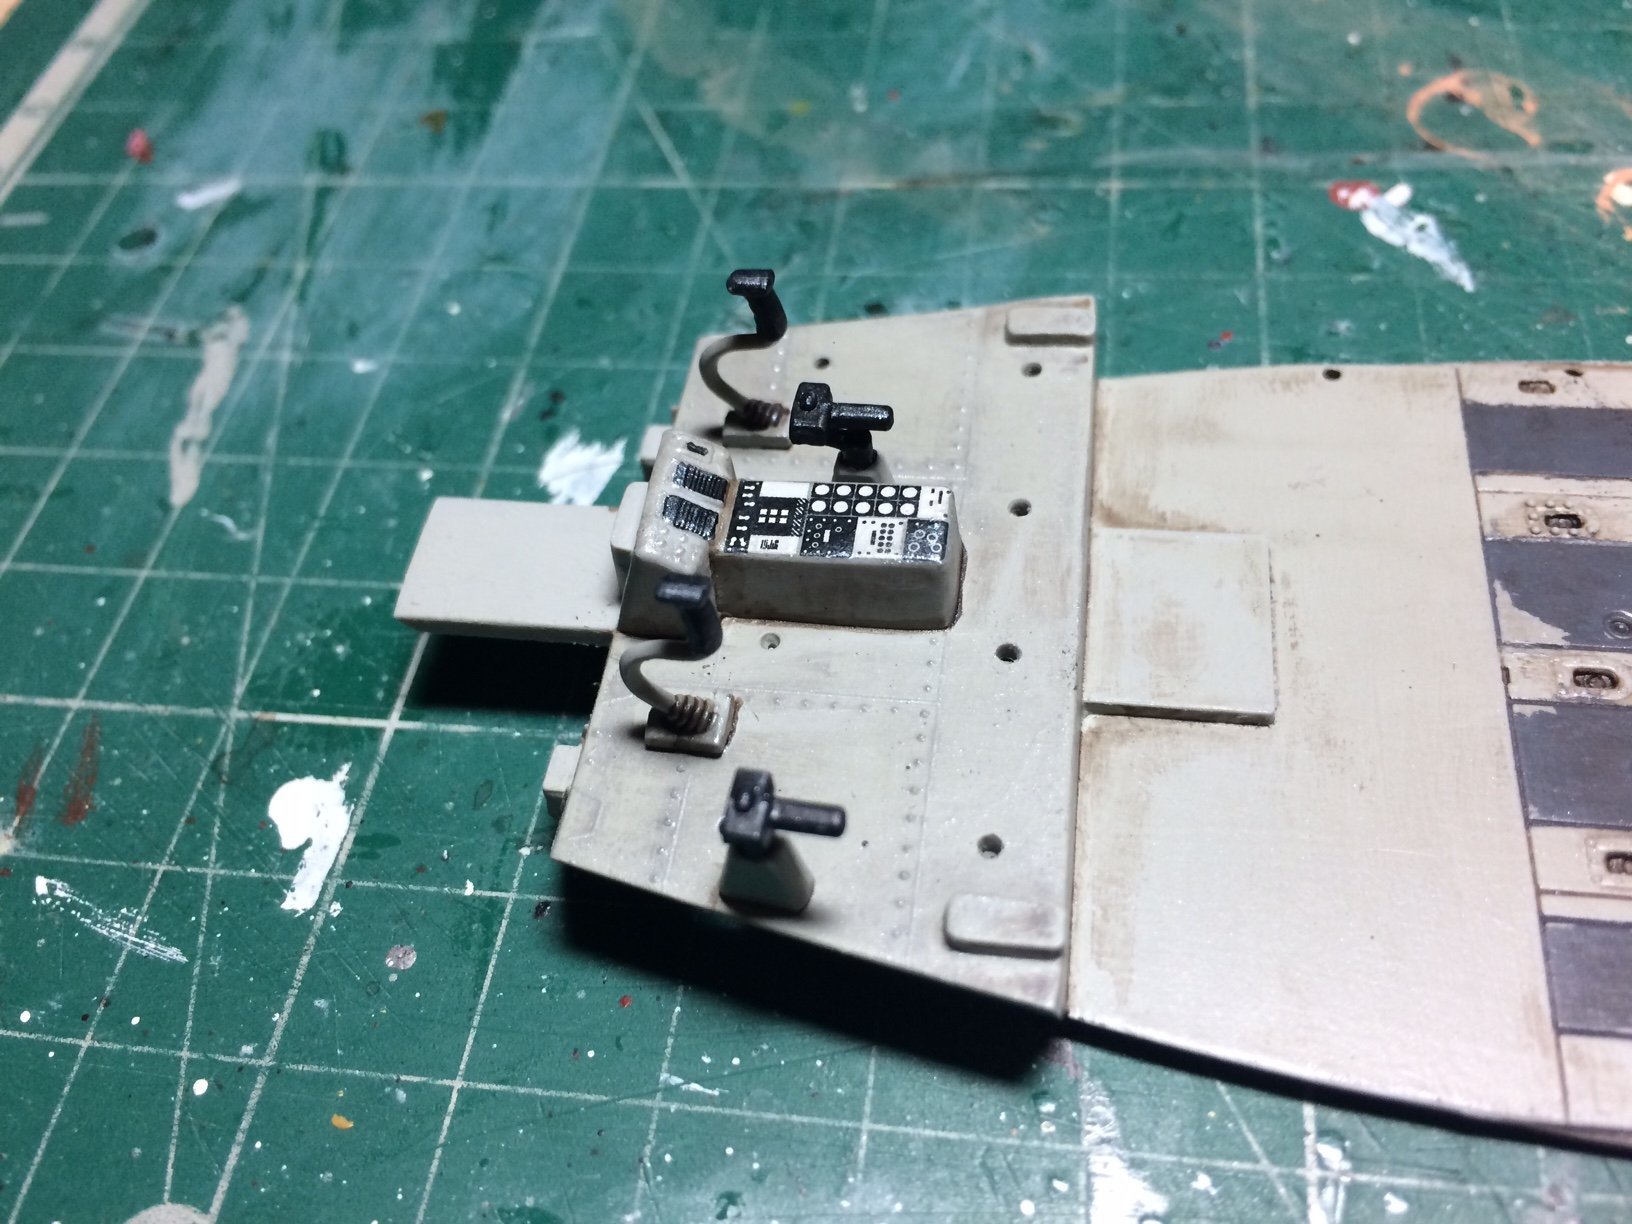
Evening all, I got some good progress on this today, remember I had masked up? well I applied a few coats of a mid Grey then dried them - this allowed me to remove the tape fairly quickly, it turned out ok with just a tiny amount of seepage - just a quick touch up fixed this, then I decided to weather the floor a bit as it would have seen a lot of movement - basic Earth wash all over then using a wet brush I removed most of it - then finished off with a rag the dried - doesn't look too bad.
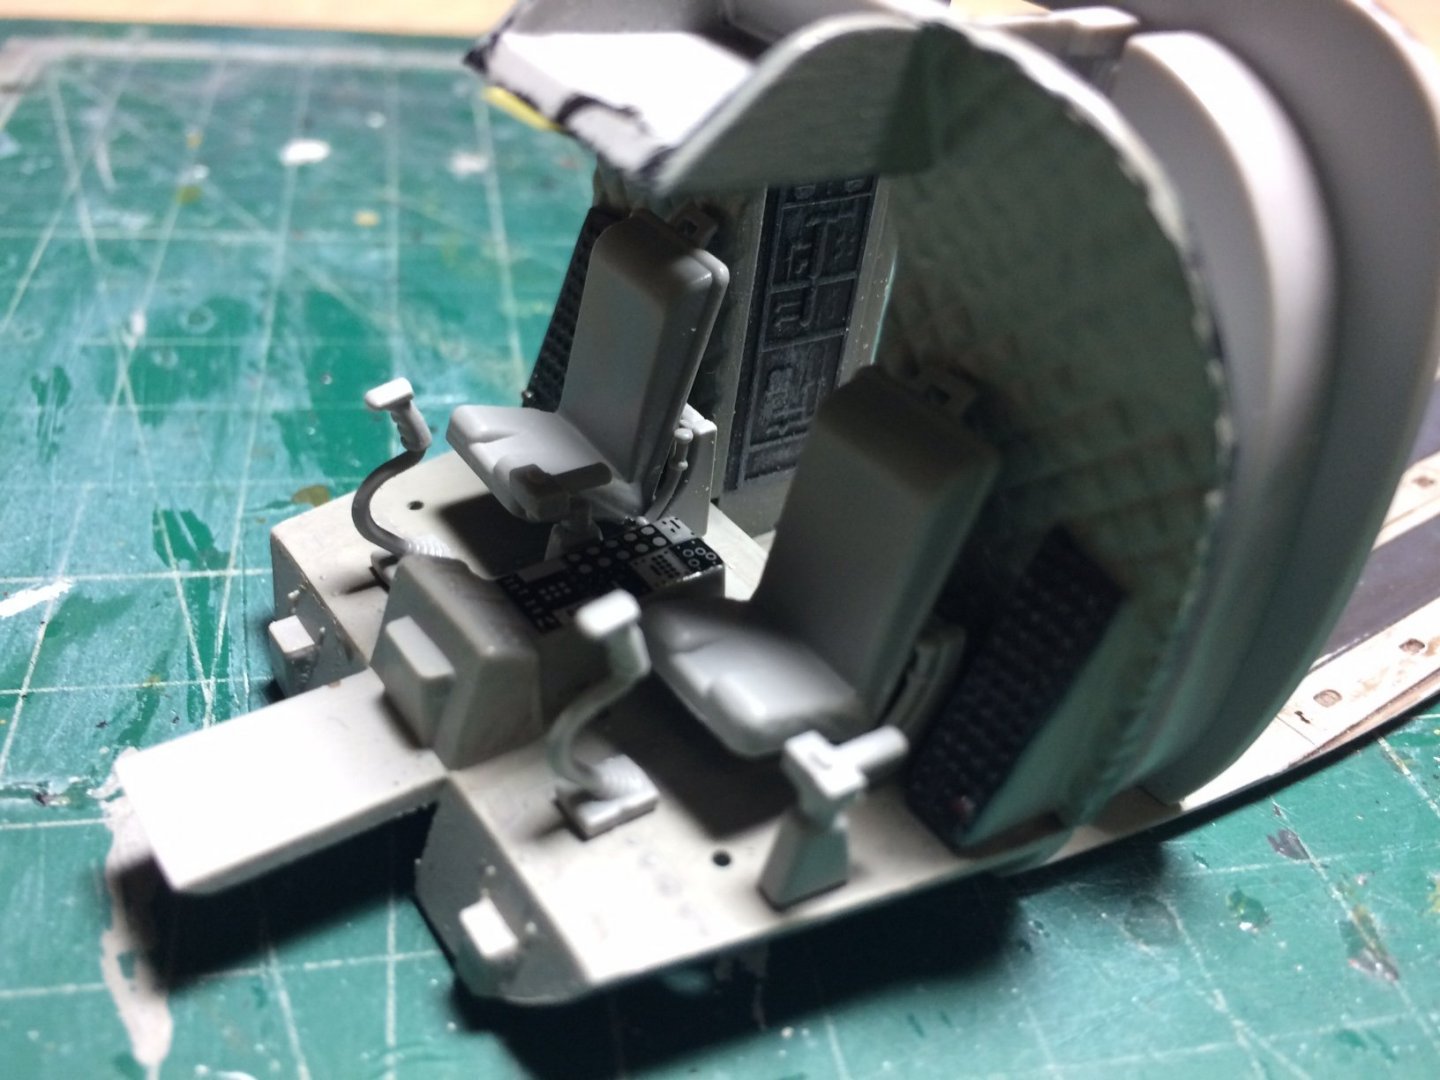
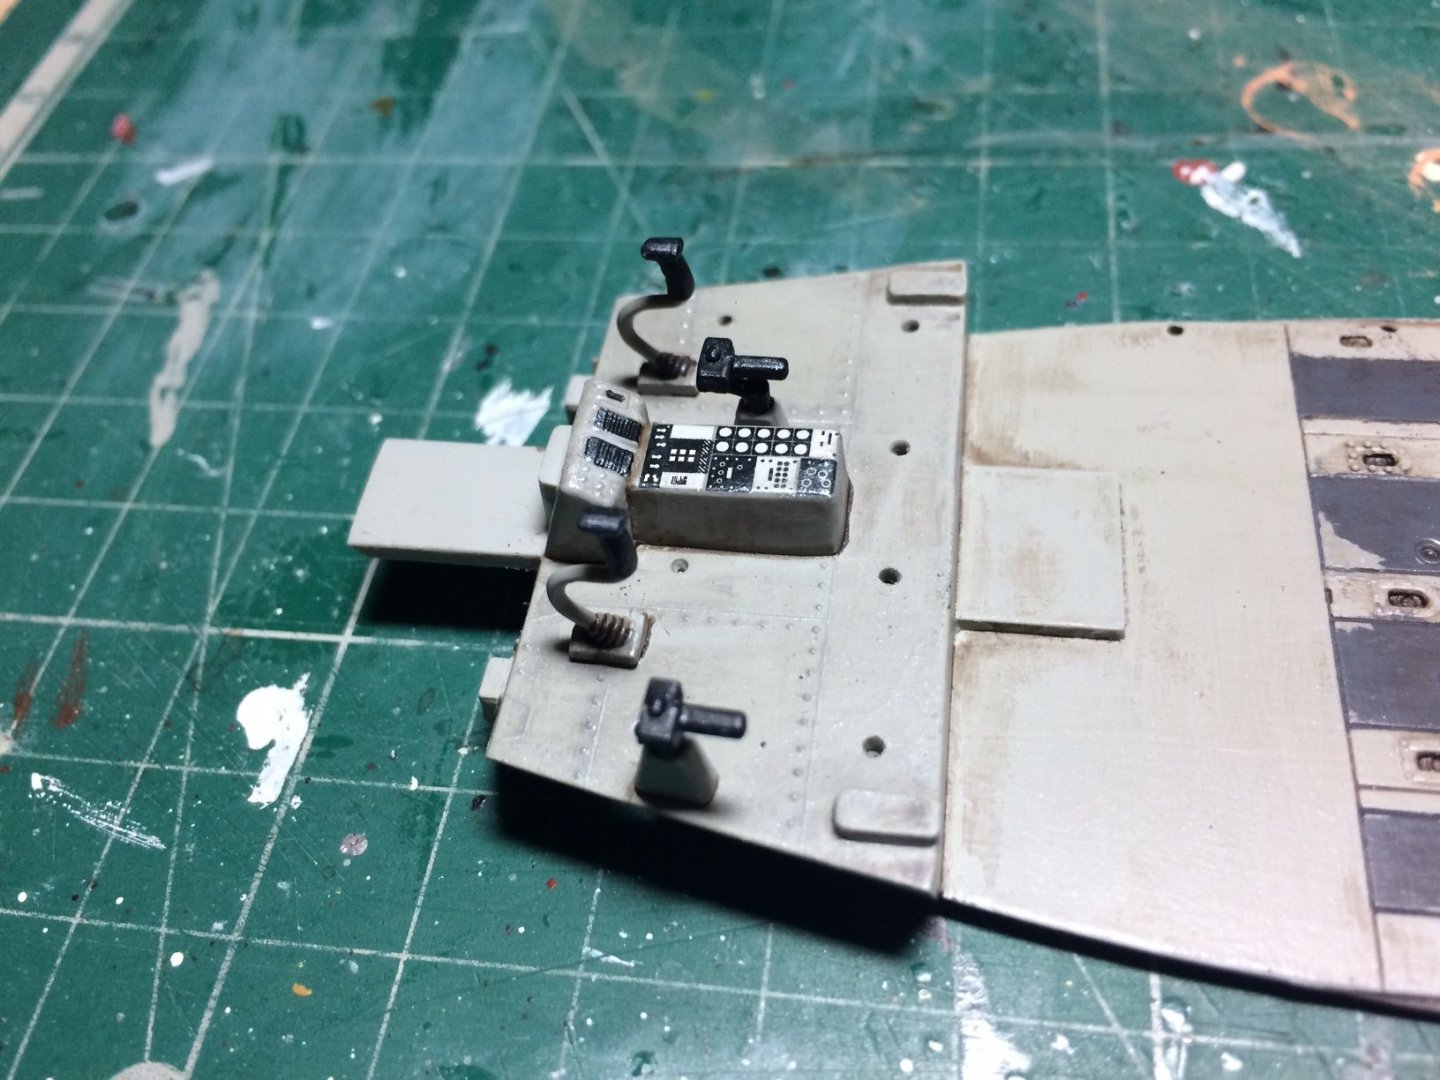
Next was to work on the cockpit parts - simple process cut them off clean them up - glue in then down, then they were painted Grey/Black and dried, next I painted a few details and did a wash and a bit of dry brushing.
The pic with the cockpit bulkhead is just dry fitted as it will go in when the seats are painted and fitted.
OC.

- Egilman, Edwardkenway, Canute and 6 others
-
9
-
Yep at Chris said - just drag and drop them here in the box below your writing from your picture album.
OC.
- Ryland Craze and mtaylor
-
2
-
Looking like a good start.
OC.
- mtaylor, Canute, Keith Black and 5 others
-
8
-
That is looking so busy and excellent with the crew - really looking the part.
OC.
- Jeff T, Louie da fly and mtaylor
-
3
-
16 minutes ago, Louie da fly said:
It pretty much is, for many people. I remember a re-enactor's surprise when I told him we were not going to get married in mediaeval costume. I said re-enactment was my hobby, not my life. He found that hard to accept, too.
Yep, I know some who would spend months even taking thier family on skirmishes they would turn into long holidays, you would see them all dressed fittingly.
OC.
-
Yep, echoing what Denis said - hope all is Ok with you and your family?
OC.
Spoiler- mtaylor, shipman, Keith Black and 3 others
-
6
-
15 hours ago, shipman said:
Old Collingwood, I have something very similar; it's called an Olfa 'P-cutter'. Like any other sharp tool, if you don't give it your full attention it takes off with a mind of its own.
I agree with the visible detail assessment of the 1:98 kit. I was meaning the smaller ship scales as I mentioned earlier.
Also good for smoothing round masts using the inside curve.
OC.


Sassafras 12 by ccoyle - Chesapeake Light Craft - FINISHED - 1:1 scale canoe - you read that right
in Non-ship/categorised builds
Posted
I would imagine that extra strengthening will add strength to the join, I remember my late farther building an R/C boat for me - he basicaly over engineered the hull - strengthening the hull and applying coat after coat of dope to the inside and outside hull followed by about 100 layers of paint.
OC.