-
Posts
12,106 -
Joined
-
Last visited
Content Type
Profiles
Forums
Gallery
Events
Everything posted by Old Collingwood
-
Looking Splendid greg all that detail just give me eye ache and Im not doing her I have a few bits of pontos but not the whole lot including no masts or beams, i will have to try to make mine out of thin wooden dowel from my old wood build i was on. Loving your work my friend OC
- 342 replies
-
- dreadnought
- zvezda
-
(and 2 more)
Tagged with:
-
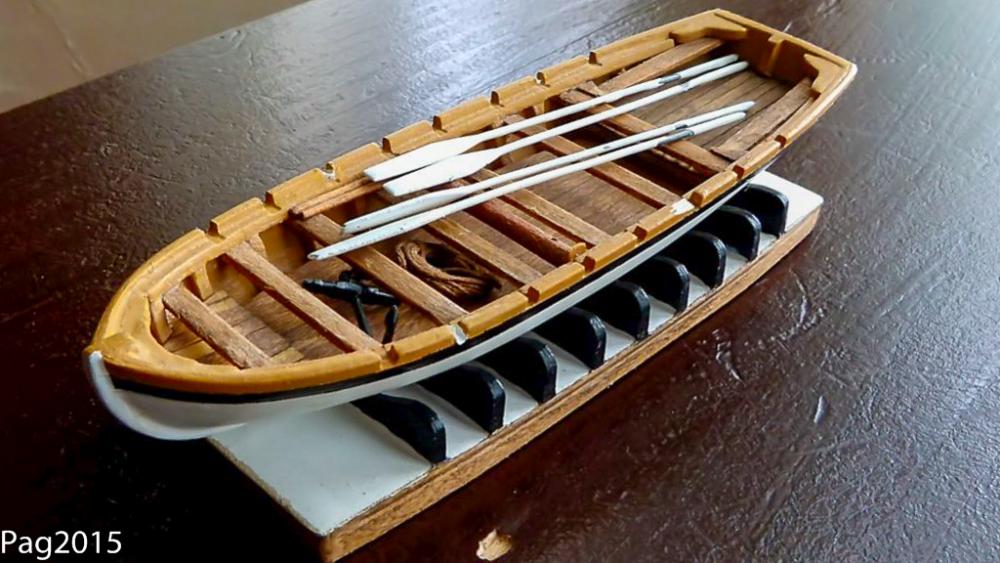
I was able to get back on the build this afternoon - just briefly as all the decorating has been finished to the house, i started on the boat deck as shown in the pics above, the plan was to drill out the boat stands to give them some detail, however this was a little more difficult than i expected due to other obstructions getting in the way, i managed to do a few at the fron nearest the funnel, I then turned my attention to removing the plastic fitted steps as i will fit the brass ones instead later. Not a lot of work but great to be back on it, no pics though but i think the explanantion is enough. OC.
-
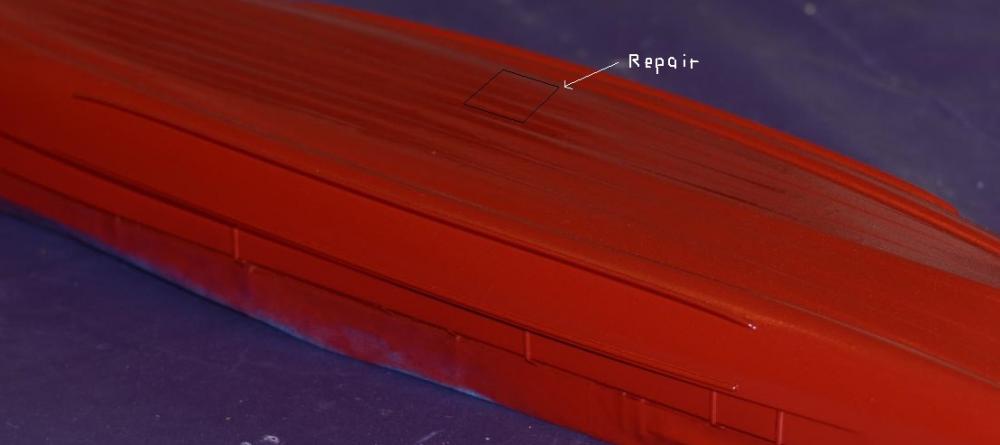
I have decided to construct her showing the bomb damage she received in 1943 at Salerno from a Fritz X guided bomb, she was struck by one and a near miss by two others, the one that struck came through on her boat deck near her funnel infont of her engine room vent, leaving a 2-3 ft hole, the bomb carried on downwards through several decks and exploded in one of her engine rooms causing severe damage, including a 20ft hole in her double skin bottom hull. One of the near misses opened up her torpedo bulge and the third one was off her starboard stern end causing no damage. When she got into safe port she had a patch put over her hole on the boat deck, and to her bottom hull and inside her engine room she received a concrete casement repair and a 30 ft patch on the outside bottom hull. I am going to attemp to replicate this with two scale patches in both areas described, with a paper plate then painted the same colour.
-
Nearly There folks possibly back on the build tomorrow Just another note on the post avove - I will also attempt to drill out some of the boat frames. OC.
-
Now that will be nice to see - cant wait to see you start it OC.
- 75 replies
-
- scharnhorst
- dragon
-
(and 2 more)
Tagged with:
-
Yep do it please, I for one would be very interested in following you , and I know the other good folk on here would do the same OC
- 75 replies
-
- scharnhorst
- dragon
-
(and 2 more)
Tagged with:
-
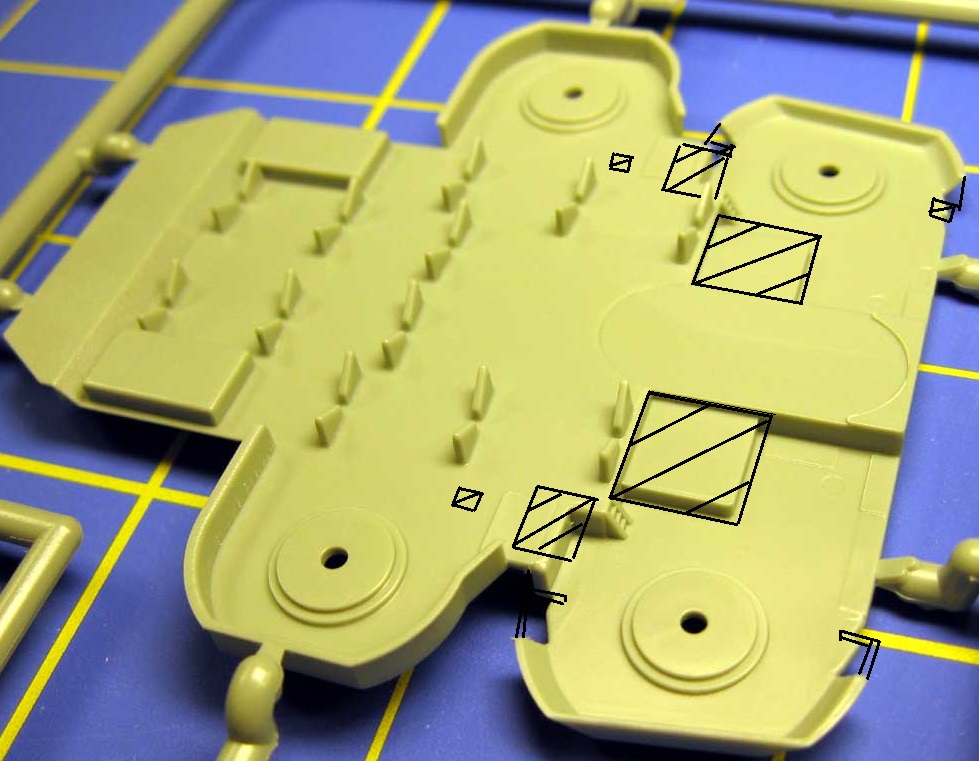
Just a quick update of what i will be tacling next when I can get past all this house painting, well I will be working on the boat deck, I had al;ready thined down the profile of the boat stands, and next will be some detail work on the fittings on the deck area where the boats sit - First off will be to construct roofs for the larger engine room vents-two of these, next will be two smaller vent roofs and details that will be made with some plastic/wood sheet, next I will move the two amo cuboards as they should be more shared between the thwo Pom poms on both sides, the small ladders will also be filed off, along with some extensions to the armour around the most forward Pom pom stations, including the ends being turned in 90deg. Here is a pic showing the un altered deck with shaded areas to show what i will be doing(the original boat stands on the pic do not show what I have done). OC.
-
Hi there - another plastic builder like myself and a few others here, Great Stuff OC
- 75 replies
-
- scharnhorst
- dragon
-
(and 2 more)
Tagged with:
-
Totally Superb greg, your eye for detail Blows me away :o I am sure I am not the only one who holds his breath with building at such scales, but when you achieve what you do - The sense of pride is Huge. OC.
- 342 replies
-
- dreadnought
- zvezda
-
(and 2 more)
Tagged with:
-
Only asked greg as on my warspite build the original plastic decks had raised planks - you could feel the detail with your fingers, thats why i decided to give the laminate planking a good flat keyed area to stick to. OC.
- 342 replies
-
- dreadnought
- zvezda
-
(and 2 more)
Tagged with:
-
Did you file off the original platic deck boards first before laying the wood laminate? OC.
- 342 replies
-
- dreadnought
- zvezda
-
(and 2 more)
Tagged with:
-
Looking Great mate - the detail really stands out, Im so missing doing mine as she is packed away upstairs while I'm decorating the house OC.
- 342 replies
-
- dreadnought
- zvezda
-
(and 2 more)
Tagged with:
-
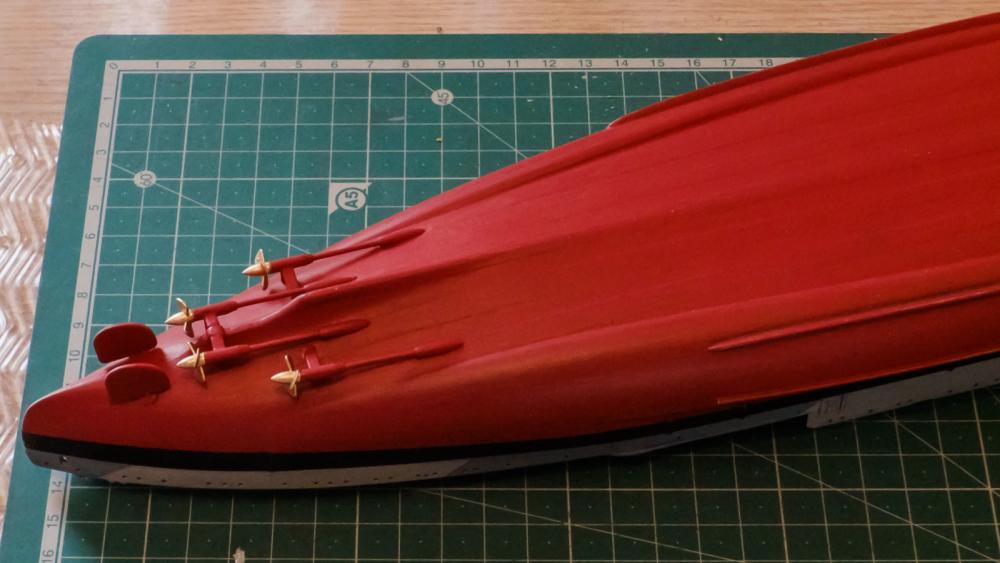
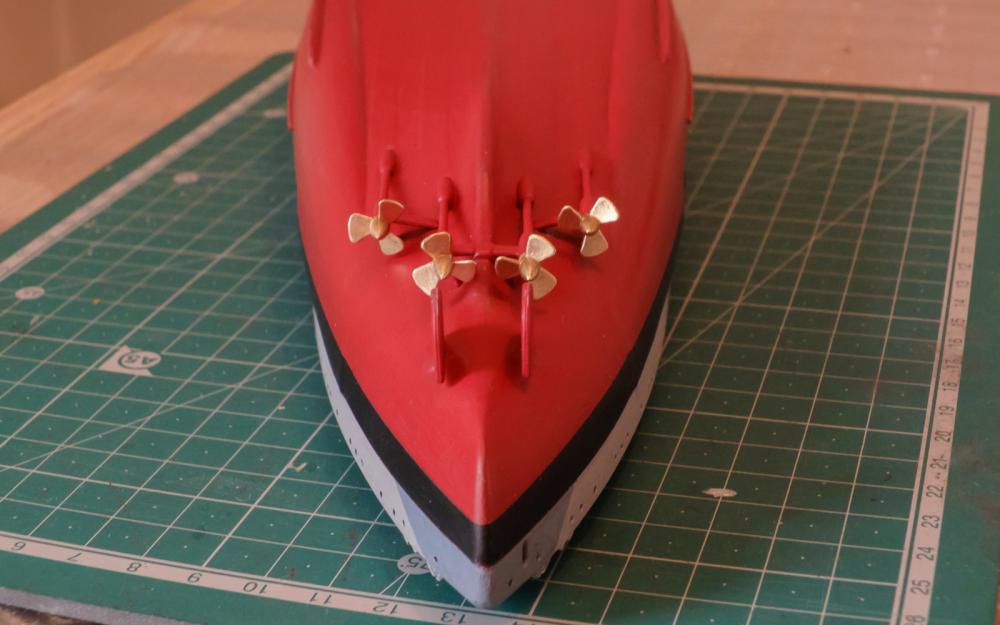
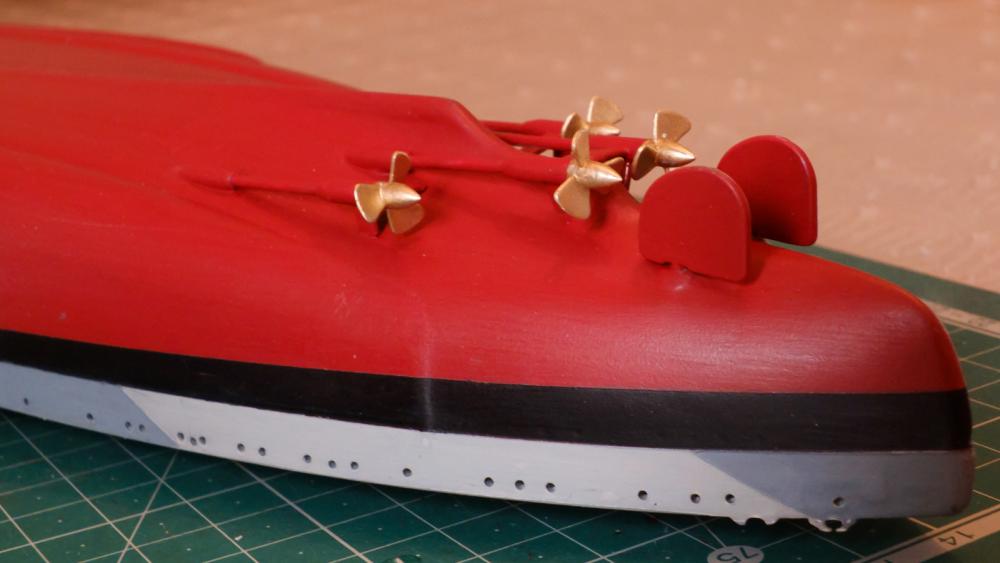
Finaly for today anf possibly a few days due to decorating, I decided to have a go at the screws, I have gone with the kit ones as they look quite good, I tydied them up a bit then gave them a coat of paint while off the shafts, then dried them with the normal hairdryer and glued them in place. OC.
-
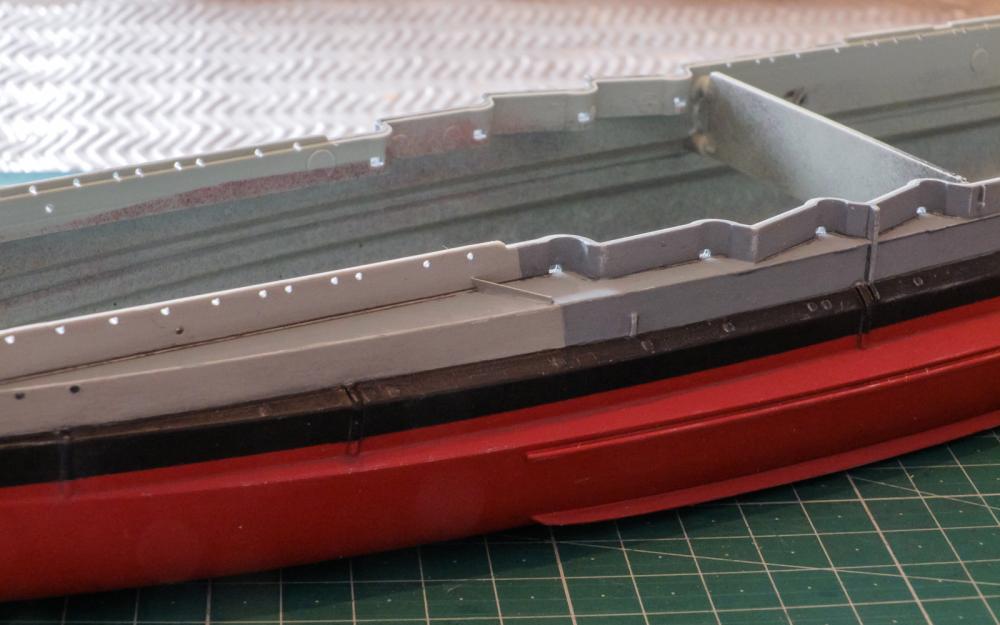
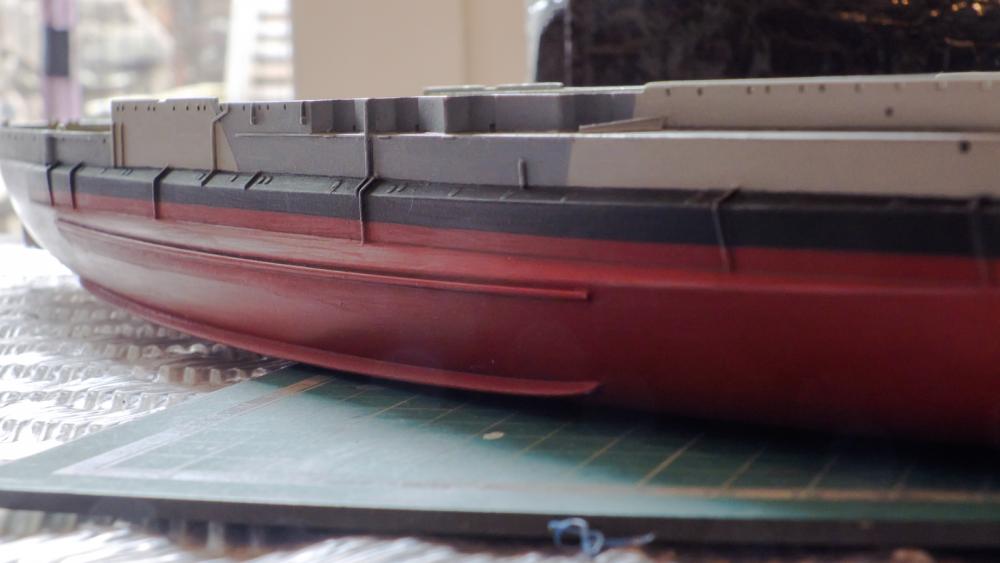
I also attached the breakwaters to the 6Inch mounting deck, this was done with a light application of PVA then painted. OC.
-
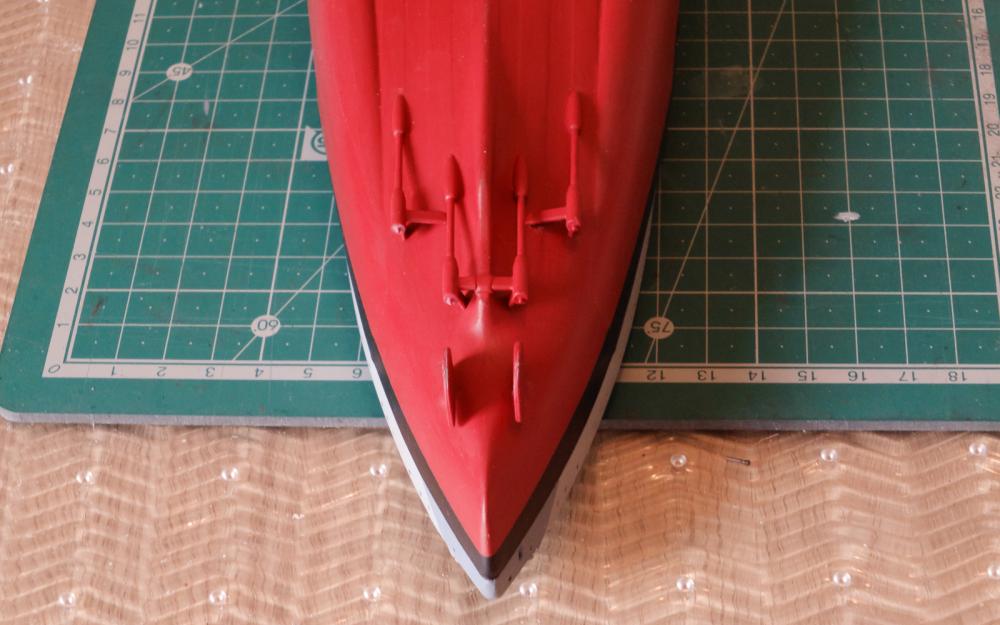
Right folks here are a few pics showing the prop shafts and the paravane mounting after I drilled out the holes for the linkages. OC.
-
I will take some tomorrow I promiss i will then have to pack her away for a few days possibly a week as the room needs decorating and I need to get it done before playing with my toys OC
-
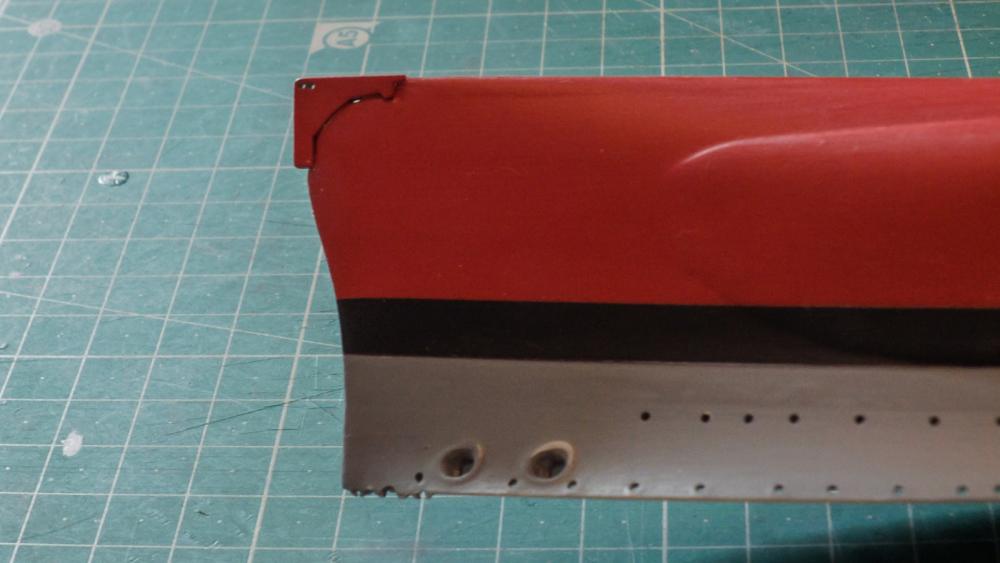
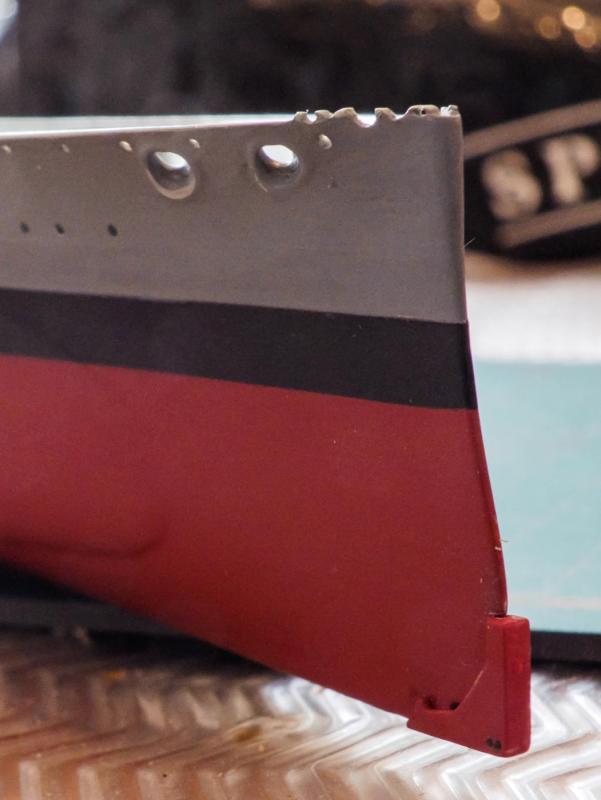
Just a quick update folks - I finnished off fitting all four prop shafts, then touched up the colour then added a couple of coats of top coat to blend it all in, then after finding out what the block on the bottom bow was for thanks to folks on here, I drilled out the two small holes taht would have had chains attached. I then returned to the 6 inch gun shelf and sorted out the port and starboard waterbreaks, these had to be cut from the etch sheet then the bottoms of these needed bending 90 deg's to act as a ledge, I then sat them a small amount of watered PVA then when dry painted them as they should be. Next will be two ladders leading down to the 6inch battery ledge from the Forecastle deck. OC.
-
Looking great greg, really tidy detail work and clean paintwork OC.
- 342 replies
-
- dreadnought
- zvezda
-
(and 2 more)
Tagged with:
-
Hiya, thanks so mutch for finding that out - I had wondered for the past year what it was for, I kind of stupidly thought it might have been somekind of counter weight or something. OC.
About us
Modelshipworld - Advancing Ship Modeling through Research
SSL Secured
Your security is important for us so this Website is SSL-Secured
NRG Mailing Address
Nautical Research Guild
237 South Lincoln Street
Westmont IL, 60559-1917
Model Ship World ® and the MSW logo are Registered Trademarks, and belong to the Nautical Research Guild (United States Patent and Trademark Office: No. 6,929,264 & No. 6,929,274, registered Dec. 20, 2022)
Helpful Links
About the NRG
If you enjoy building ship models that are historically accurate as well as beautiful, then The Nautical Research Guild (NRG) is just right for you.
The Guild is a non-profit educational organization whose mission is to “Advance Ship Modeling Through Research”. We provide support to our members in their efforts to raise the quality of their model ships.
The Nautical Research Guild has published our world-renowned quarterly magazine, The Nautical Research Journal, since 1955. The pages of the Journal are full of articles by accomplished ship modelers who show you how they create those exquisite details on their models, and by maritime historians who show you the correct details to build. The Journal is available in both print and digital editions. Go to the NRG web site (www.thenrg.org) to download a complimentary digital copy of the Journal. The NRG also publishes plan sets, books and compilations of back issues of the Journal and the former Ships in Scale and Model Ship Builder magazines.


