

Karleop
-
Posts
500 -
Joined
-
Last visited
Content Type
Profiles
Forums
Gallery
Events
Posts posted by Karleop
-
-
-
-
Hola:
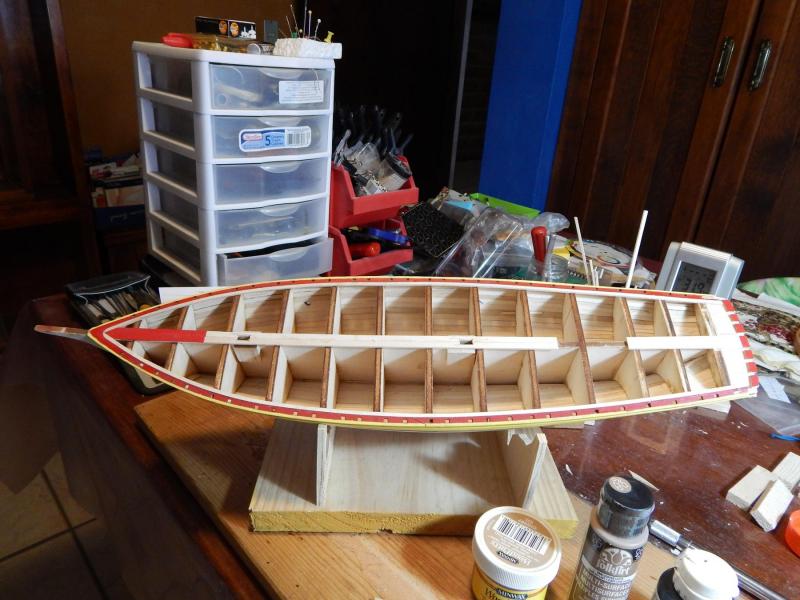
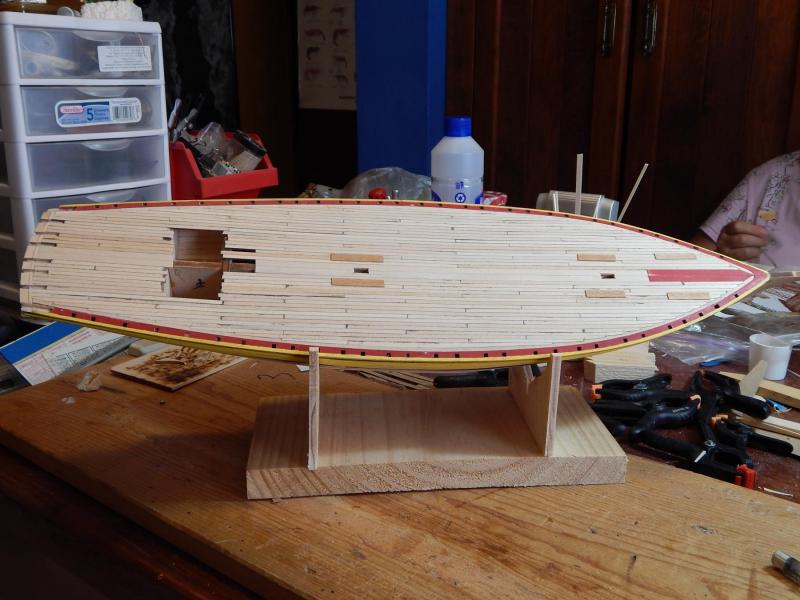
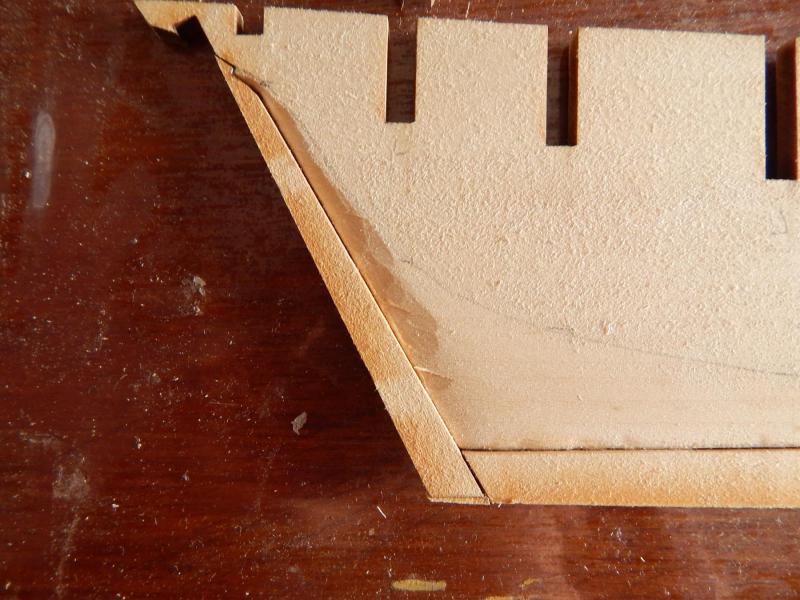
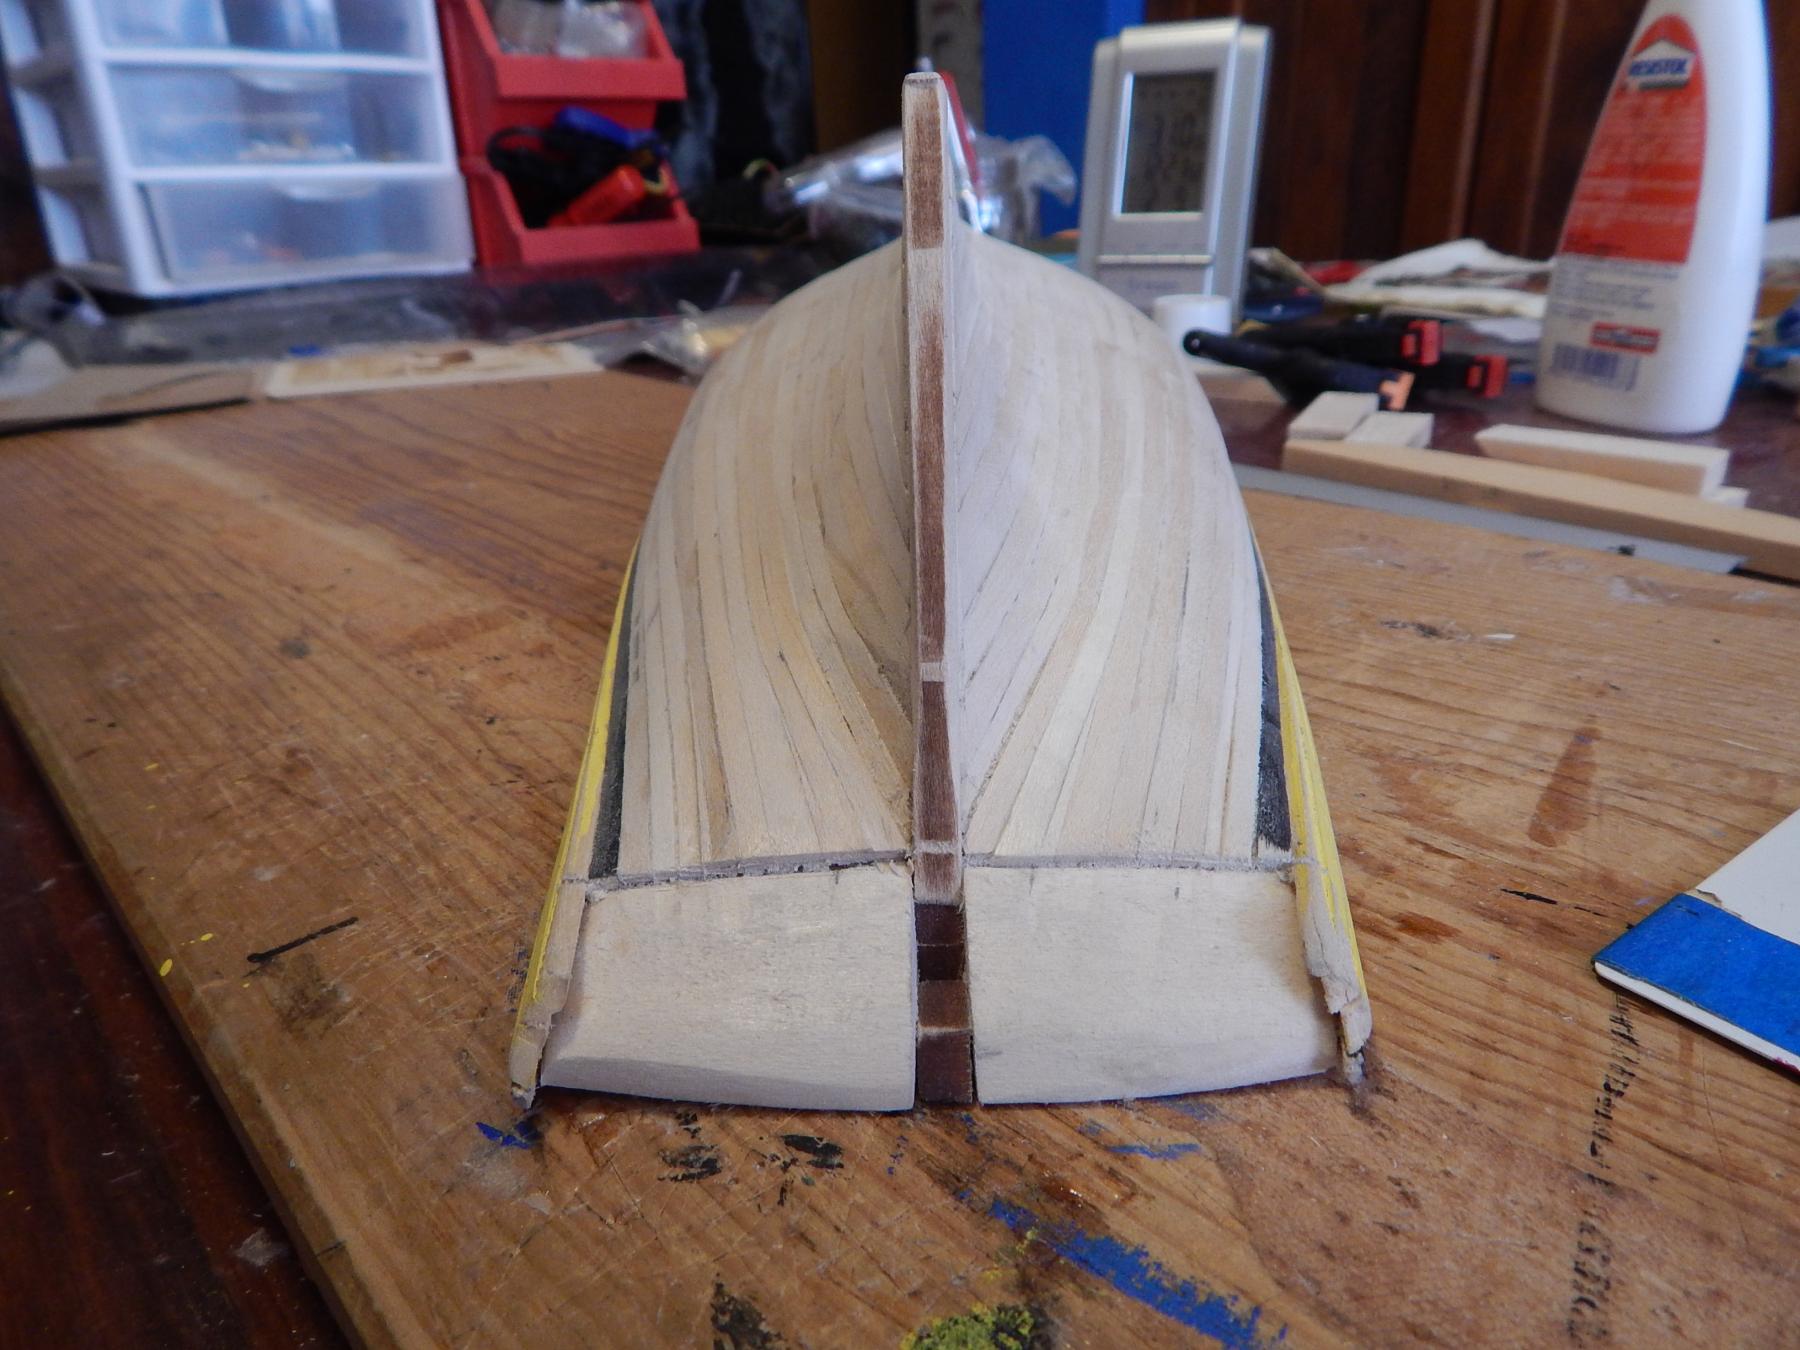
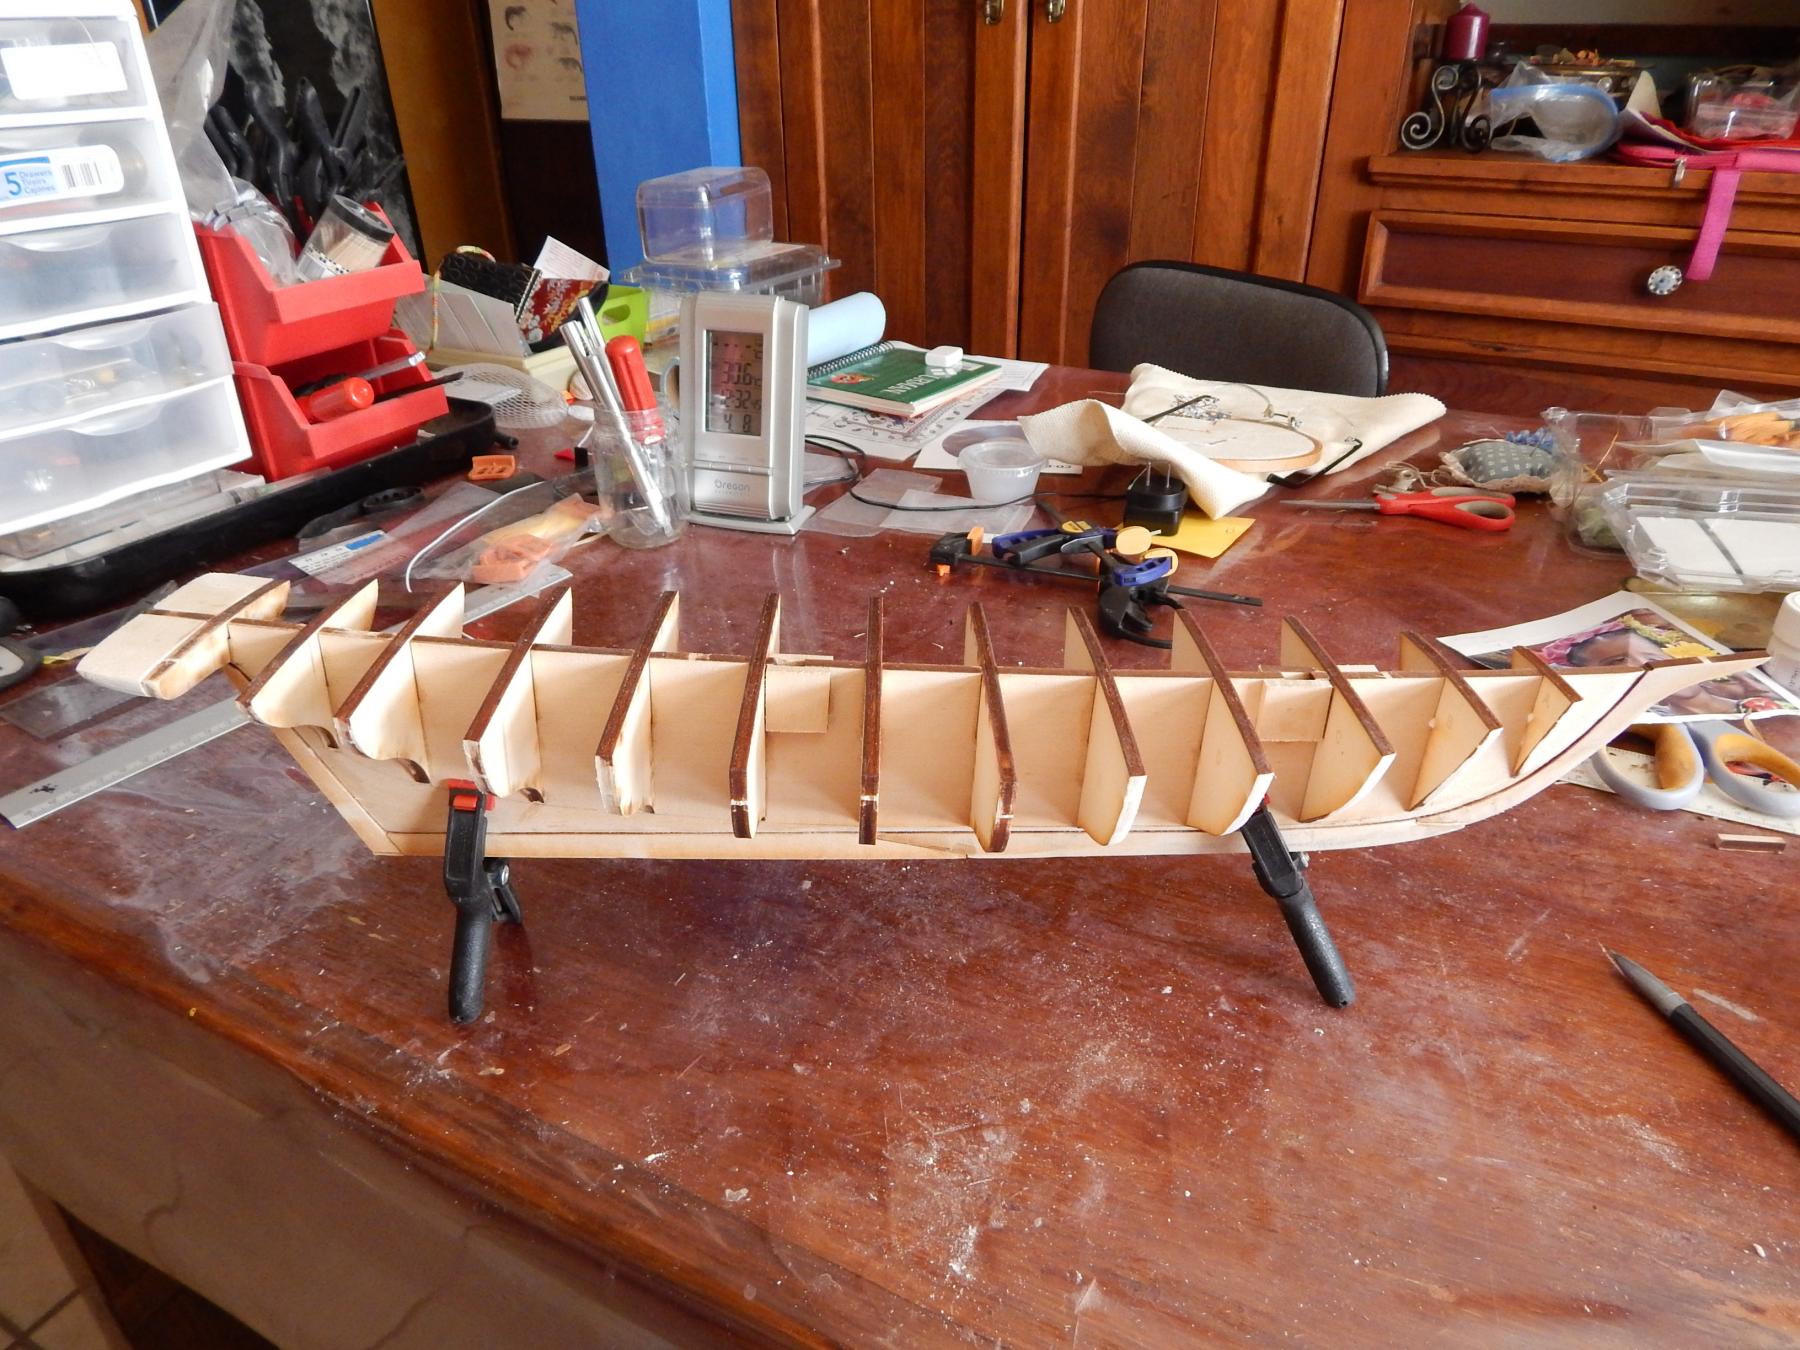
Now I follow doing the counter and part of the transom:

As you can see I made a base for the ship to work more comfortably
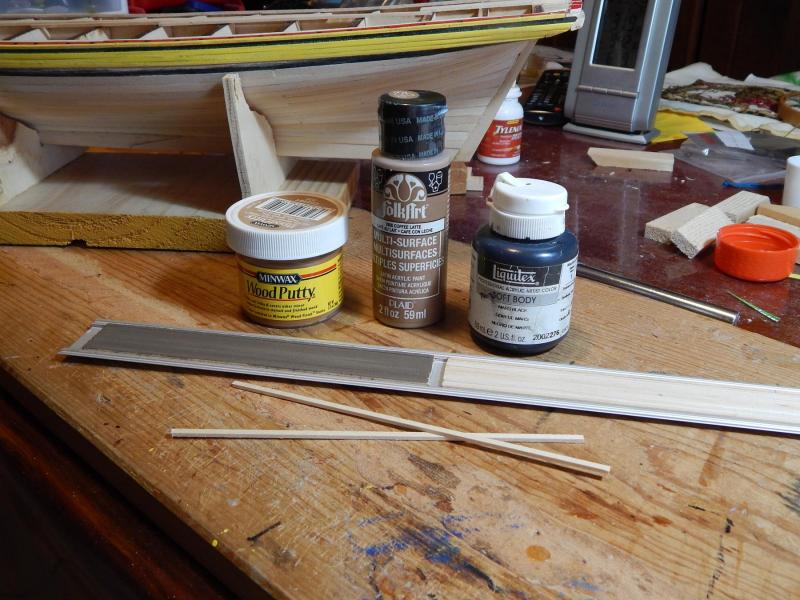
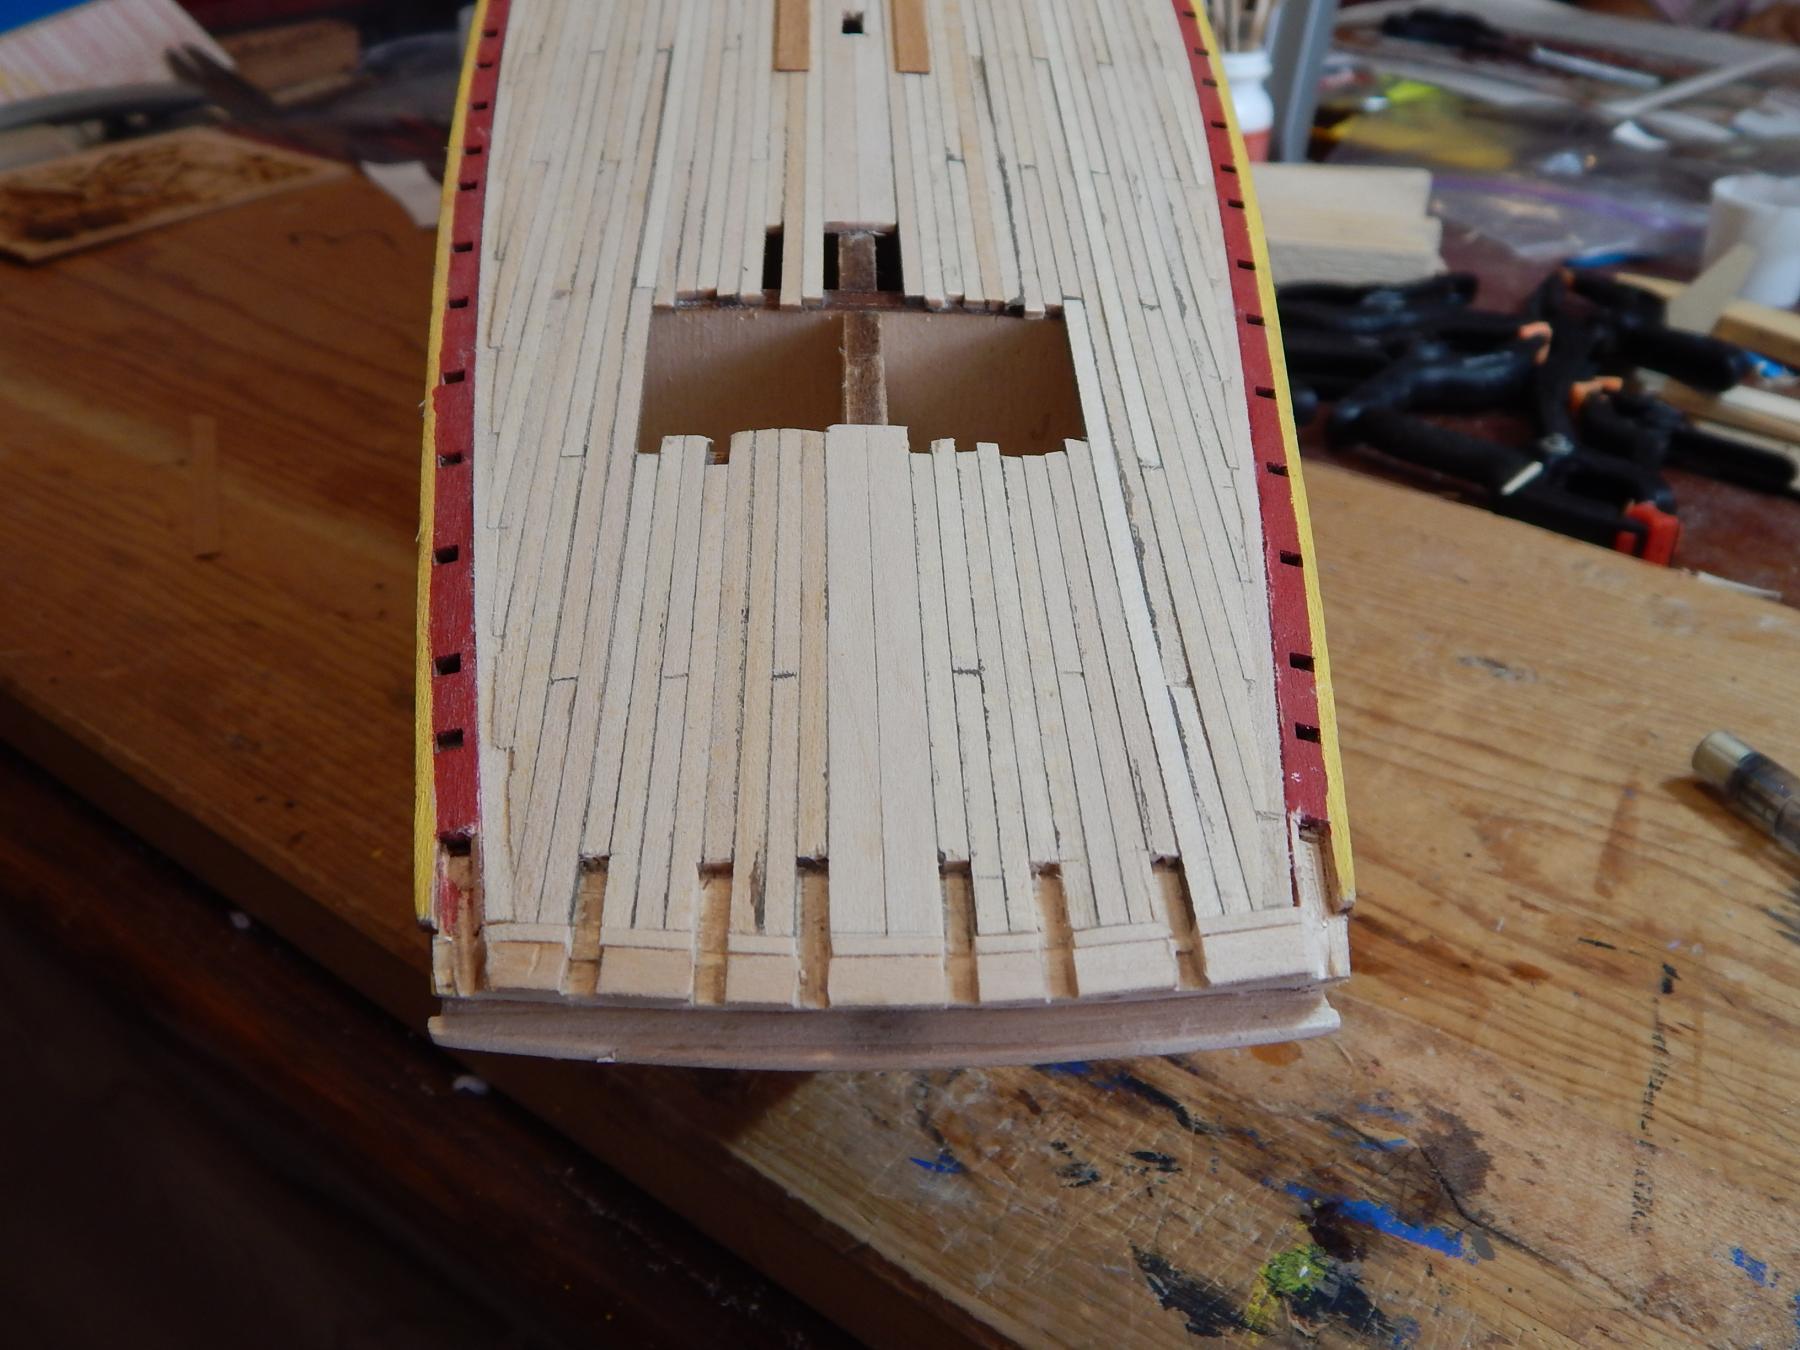
My first step to begin planking the deck was to paint one edge dark brown with a little wood caulk to simulate the caulking in the seams.
Finnaly the planking was finished


Saludos, Karl
- Bill Hime, Professor, marktiedens and 2 others
-
 5
5
-
Hola Ulises:
I don´t remember where I find this document by DAVID ANTSCHERL but is very useful to hull planking.
Saludos
-
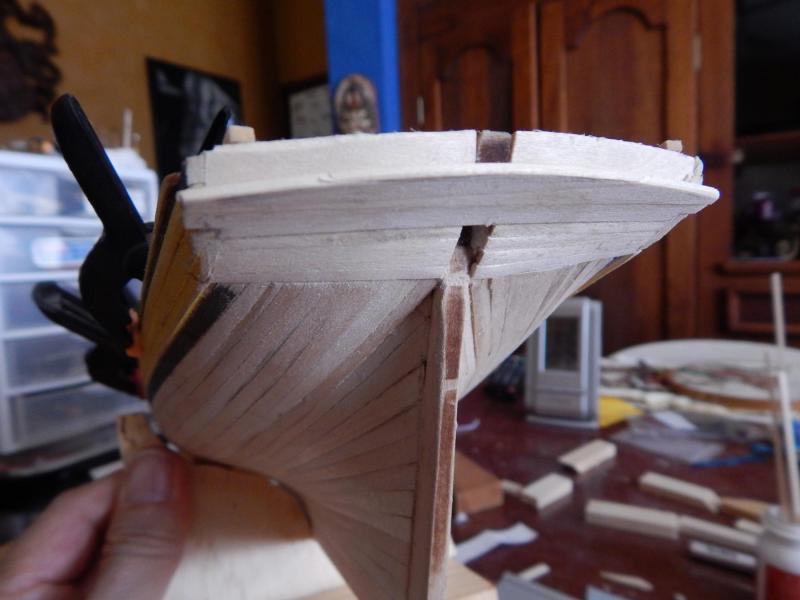
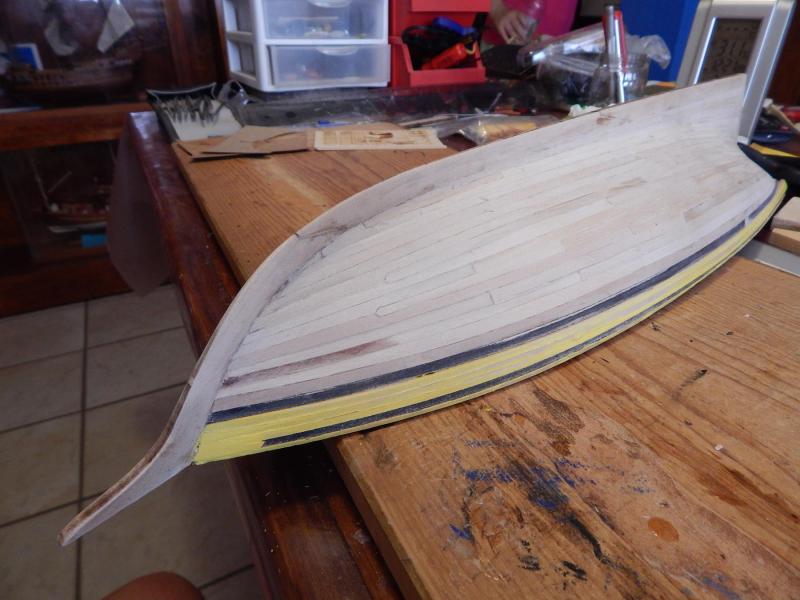
Hola:
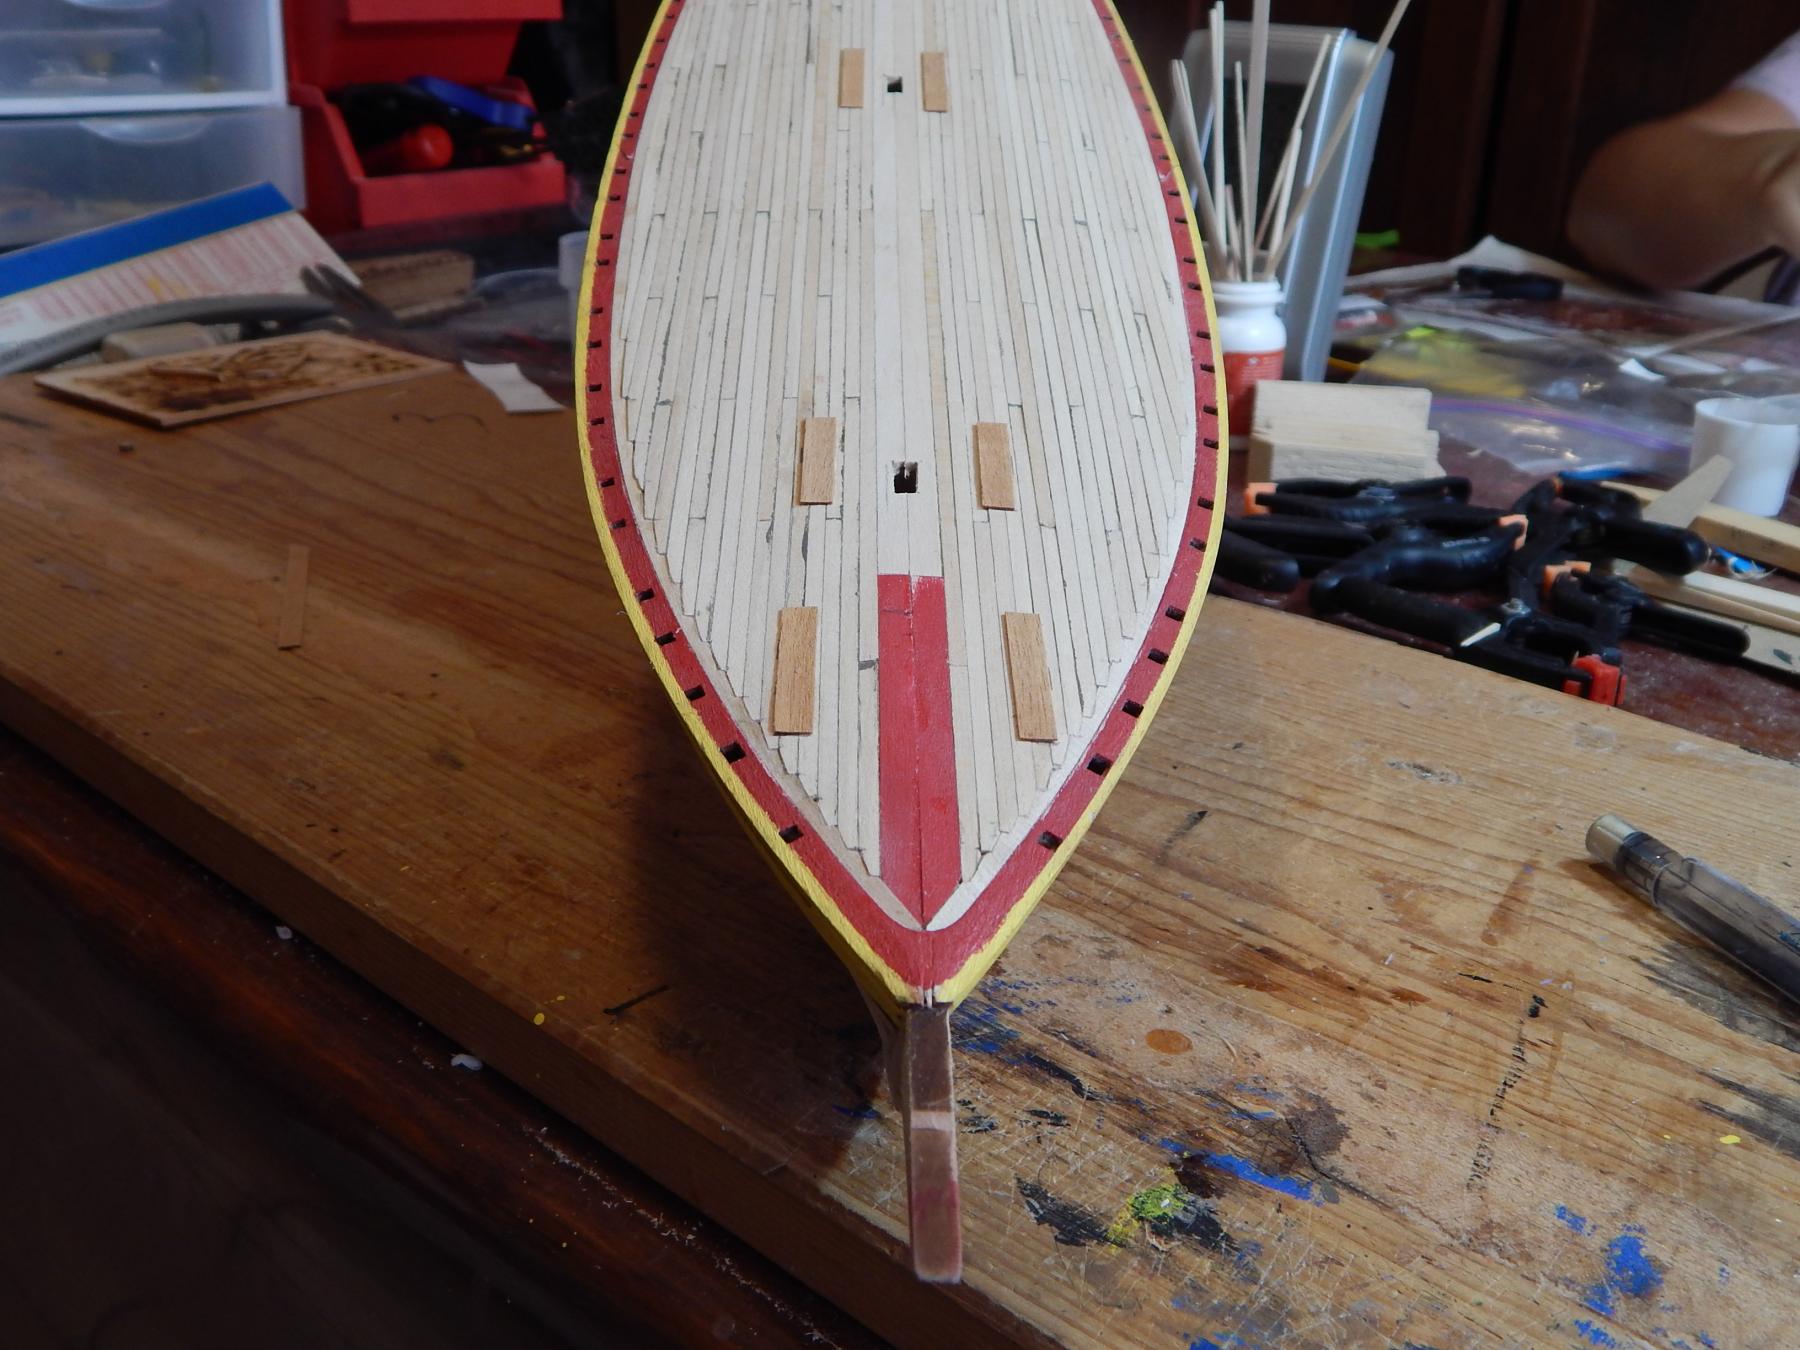
Following with the planking:
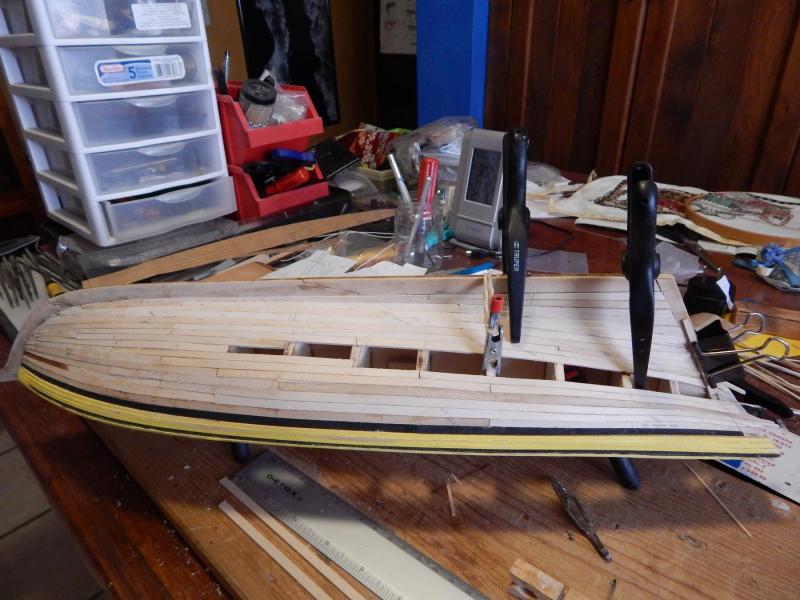
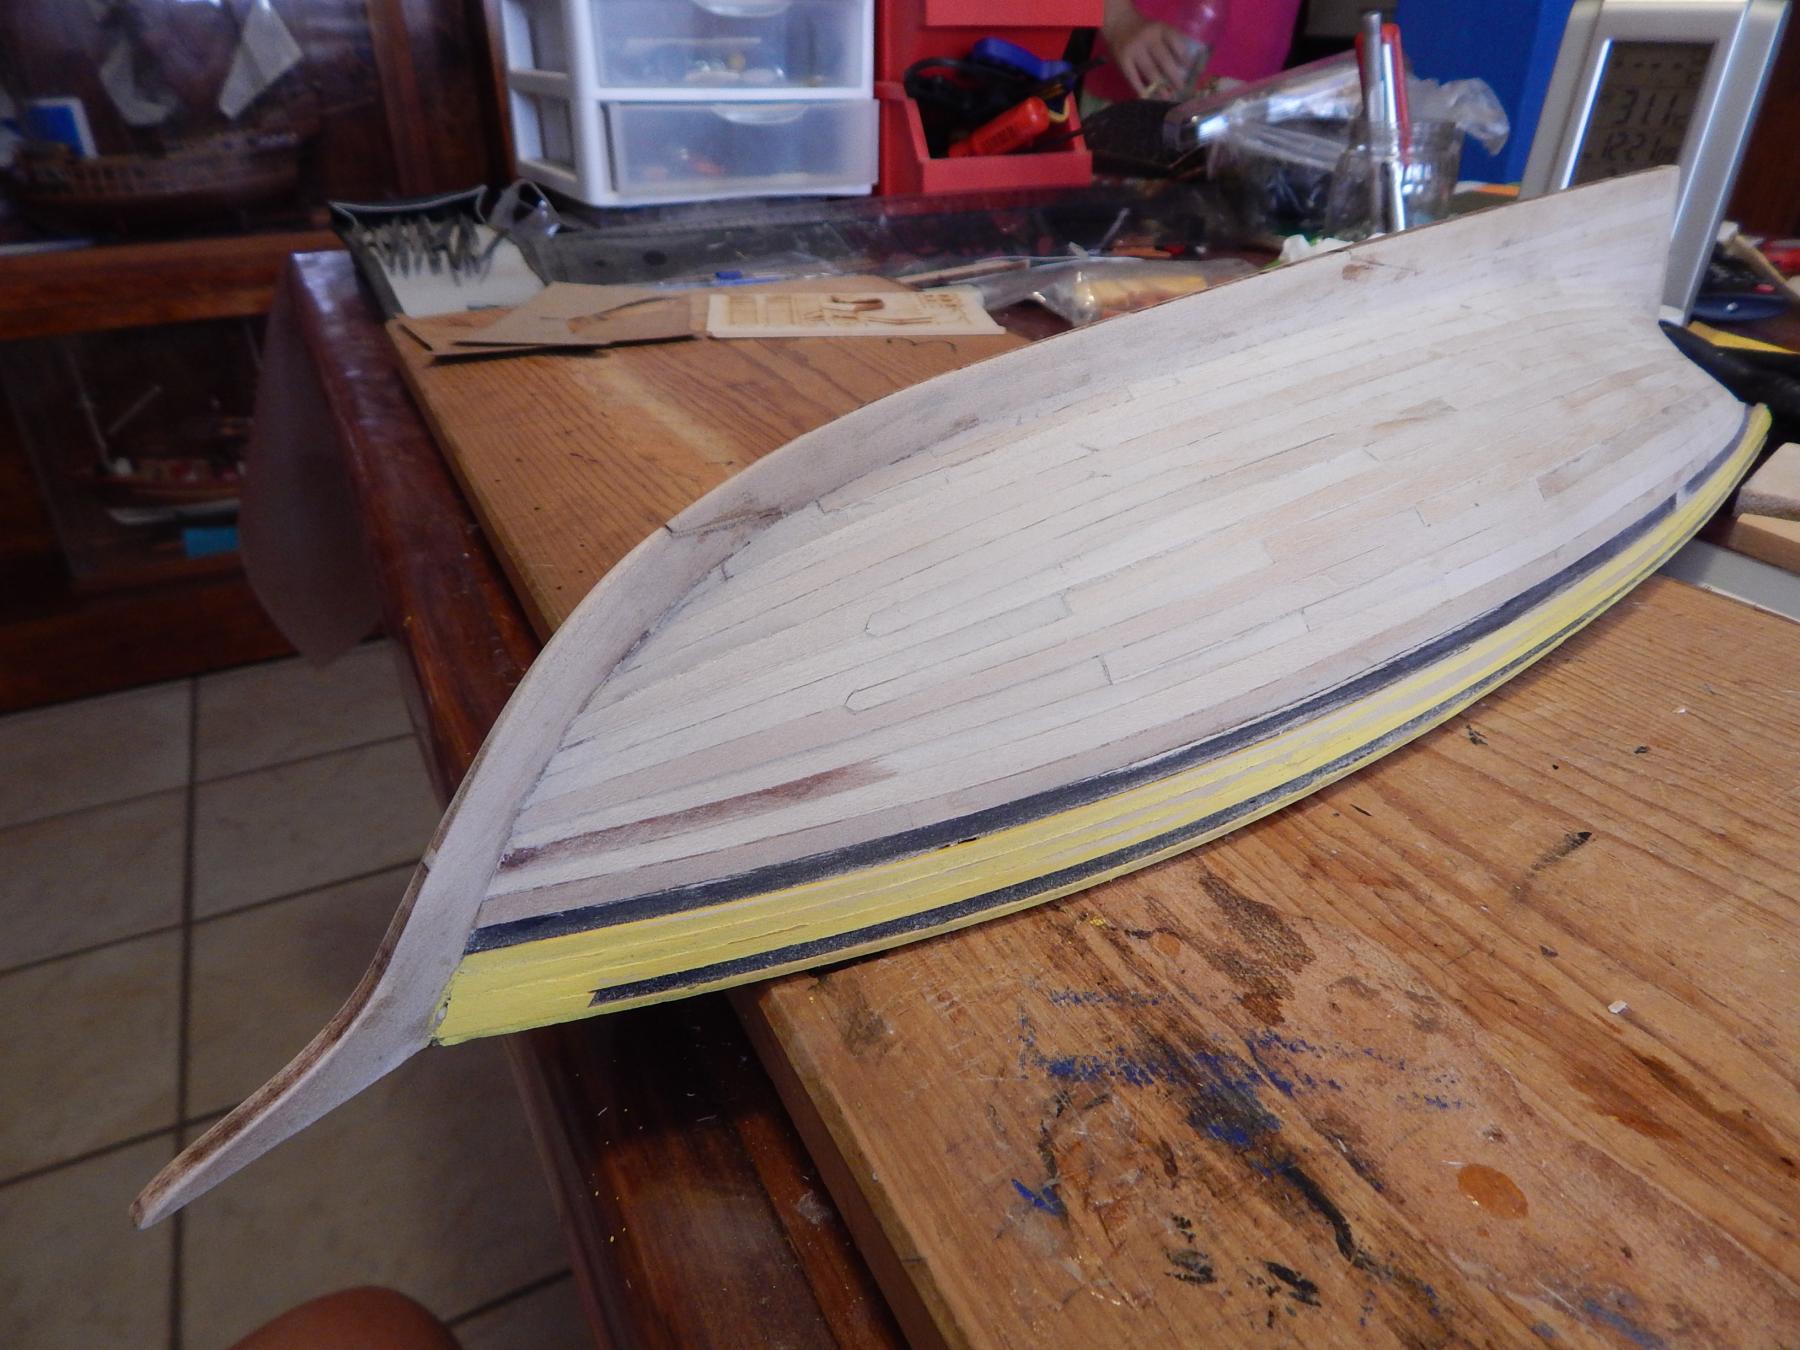
Here you can see that I added two drop strakes near the bow in order to maintain the plank wide to an acceptable size

And finally I sand all the ship´s hull
Saludos, Karl
-
Hola Ulises:
Long time since I visit your Forum and now I realize that your sister had an accident with his hip. I hope she will better promptly and restored to 100%. My best wishes to her.
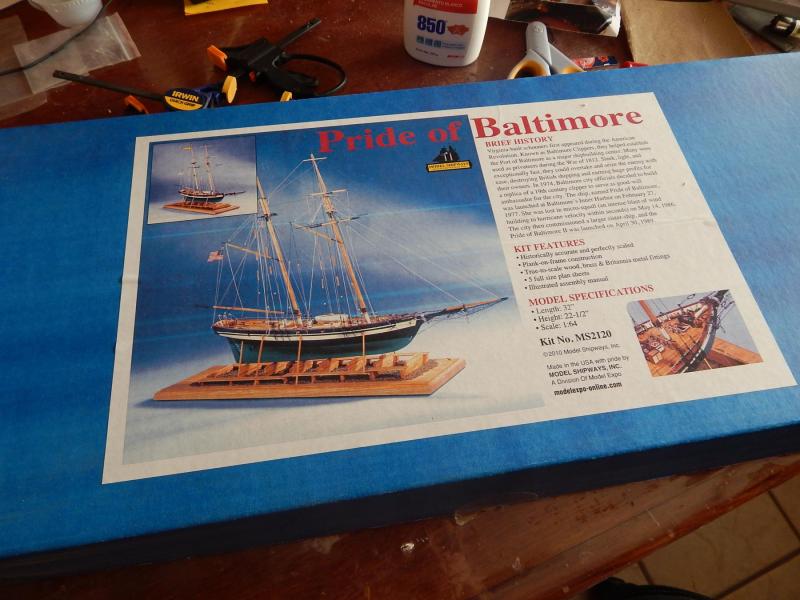
Shortly after returning from my trip to MTY, I started working on my new model, the Pride of Baltimore II. Unlike the Vasa this brings many more instructions and plans, however (and as usual with ALL the kits) giving me realize that also brings some errors, missing explanations and inconsistencies: in the planes will indicate certain material and it that does not come in the kit, fortunately with leftovers from other ships have been able to supply them.Muchos saludos, Karl- Elijah, mtaylor and Ulises Victoria
-
3
-
Hola GuntherMT:
Thanks for the Tip, I am going to correct my signature now.
Saludos, Karl

-
Hola jdbondy:
Hope you can find enough time to continue with the POB, but I know how much time need to be spending when you have kids at home. Actually I had to postpone my hobby for 50 years!!!!
Saludos, Karl
-
Dear Gunther MT:
You're right, maybe I have been a little ahead with the comment that few people see my topic, maybe what caused me the comment were 3 things:1) Age: at my age (70) the feeling of time becomes shorter, and is difficult to discern if something happens yesterday or a week ago, ha,ha,ha !!!2) The number of people who are doing the POB is now quite less than the other models I've built (actually in the Forum I do not see more than 5)3) In my previous topics for the first week I had at least 5 or 6 responses.Anyway I appreciate your comment and I must become more patient Saludos, Karl
 -
Hola:
Apparently nobody is watching my posts, probably because this is not a very popular ship whatever the reason. Anyway I will continue putting my advances on the Forum.
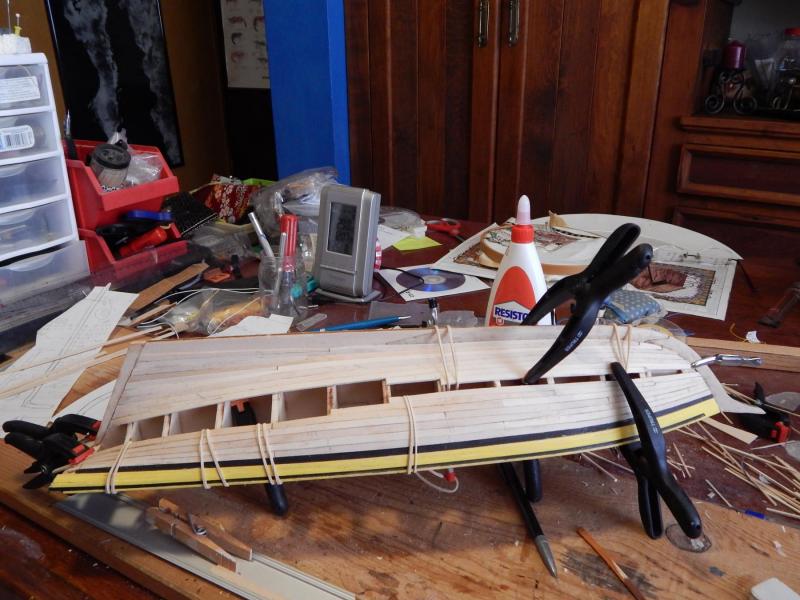
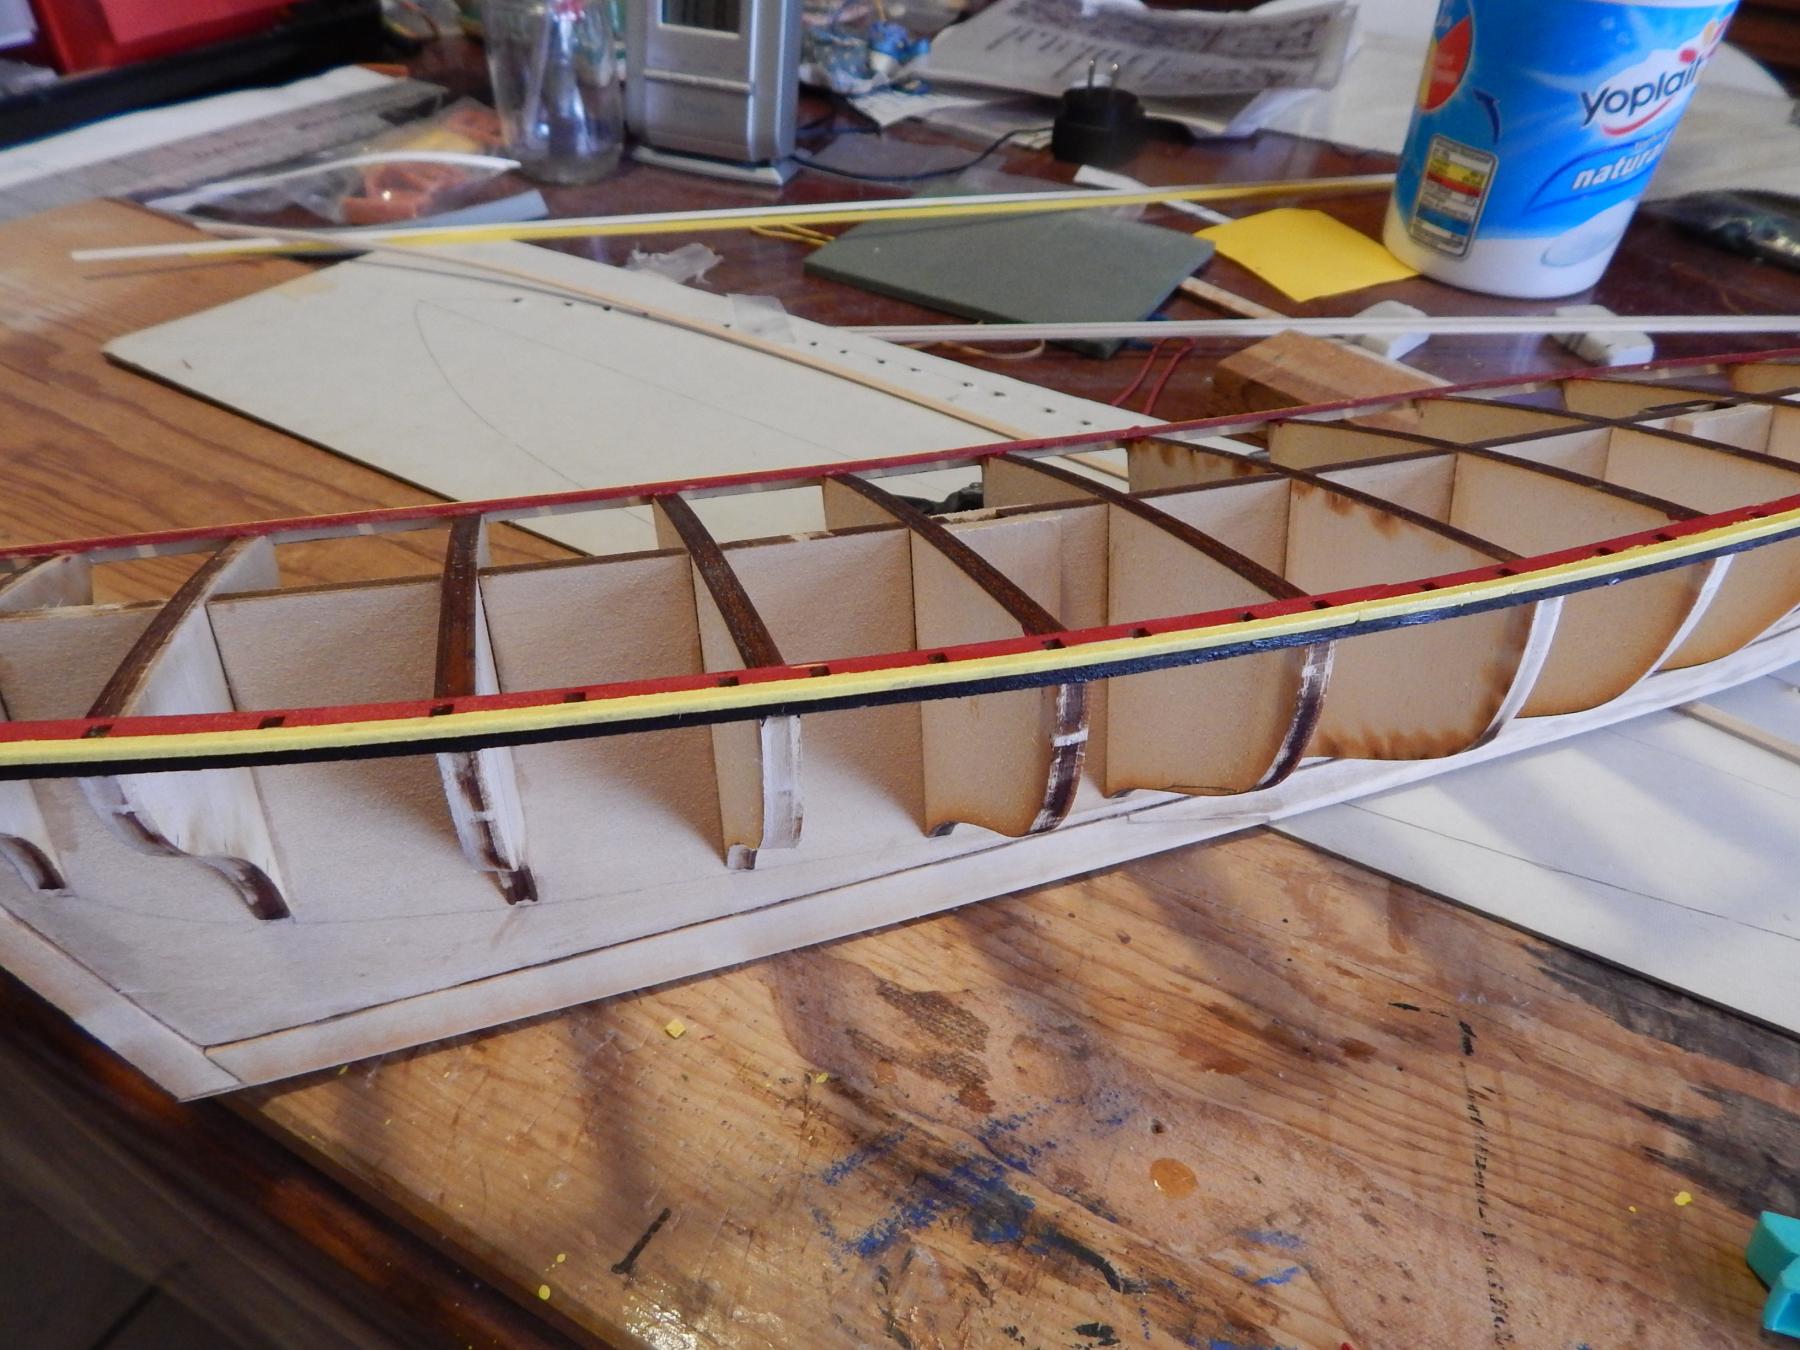
Here I show my next steps:
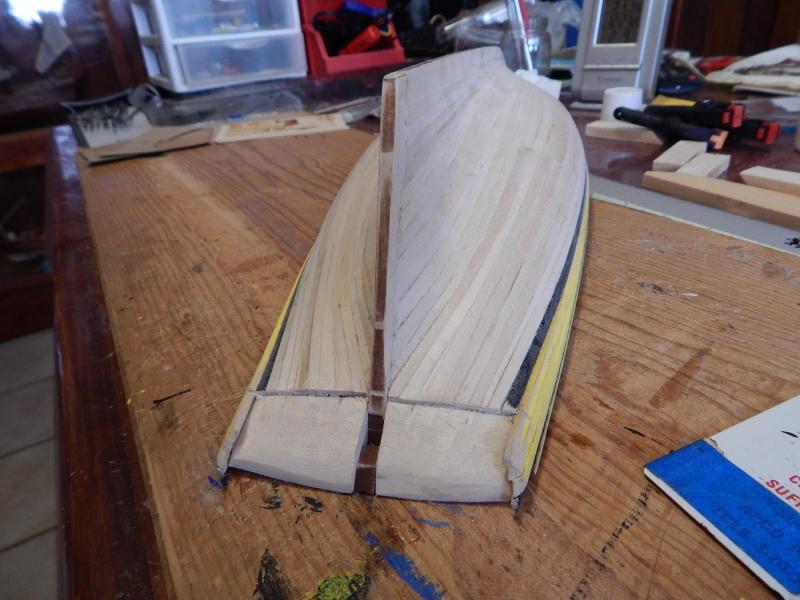
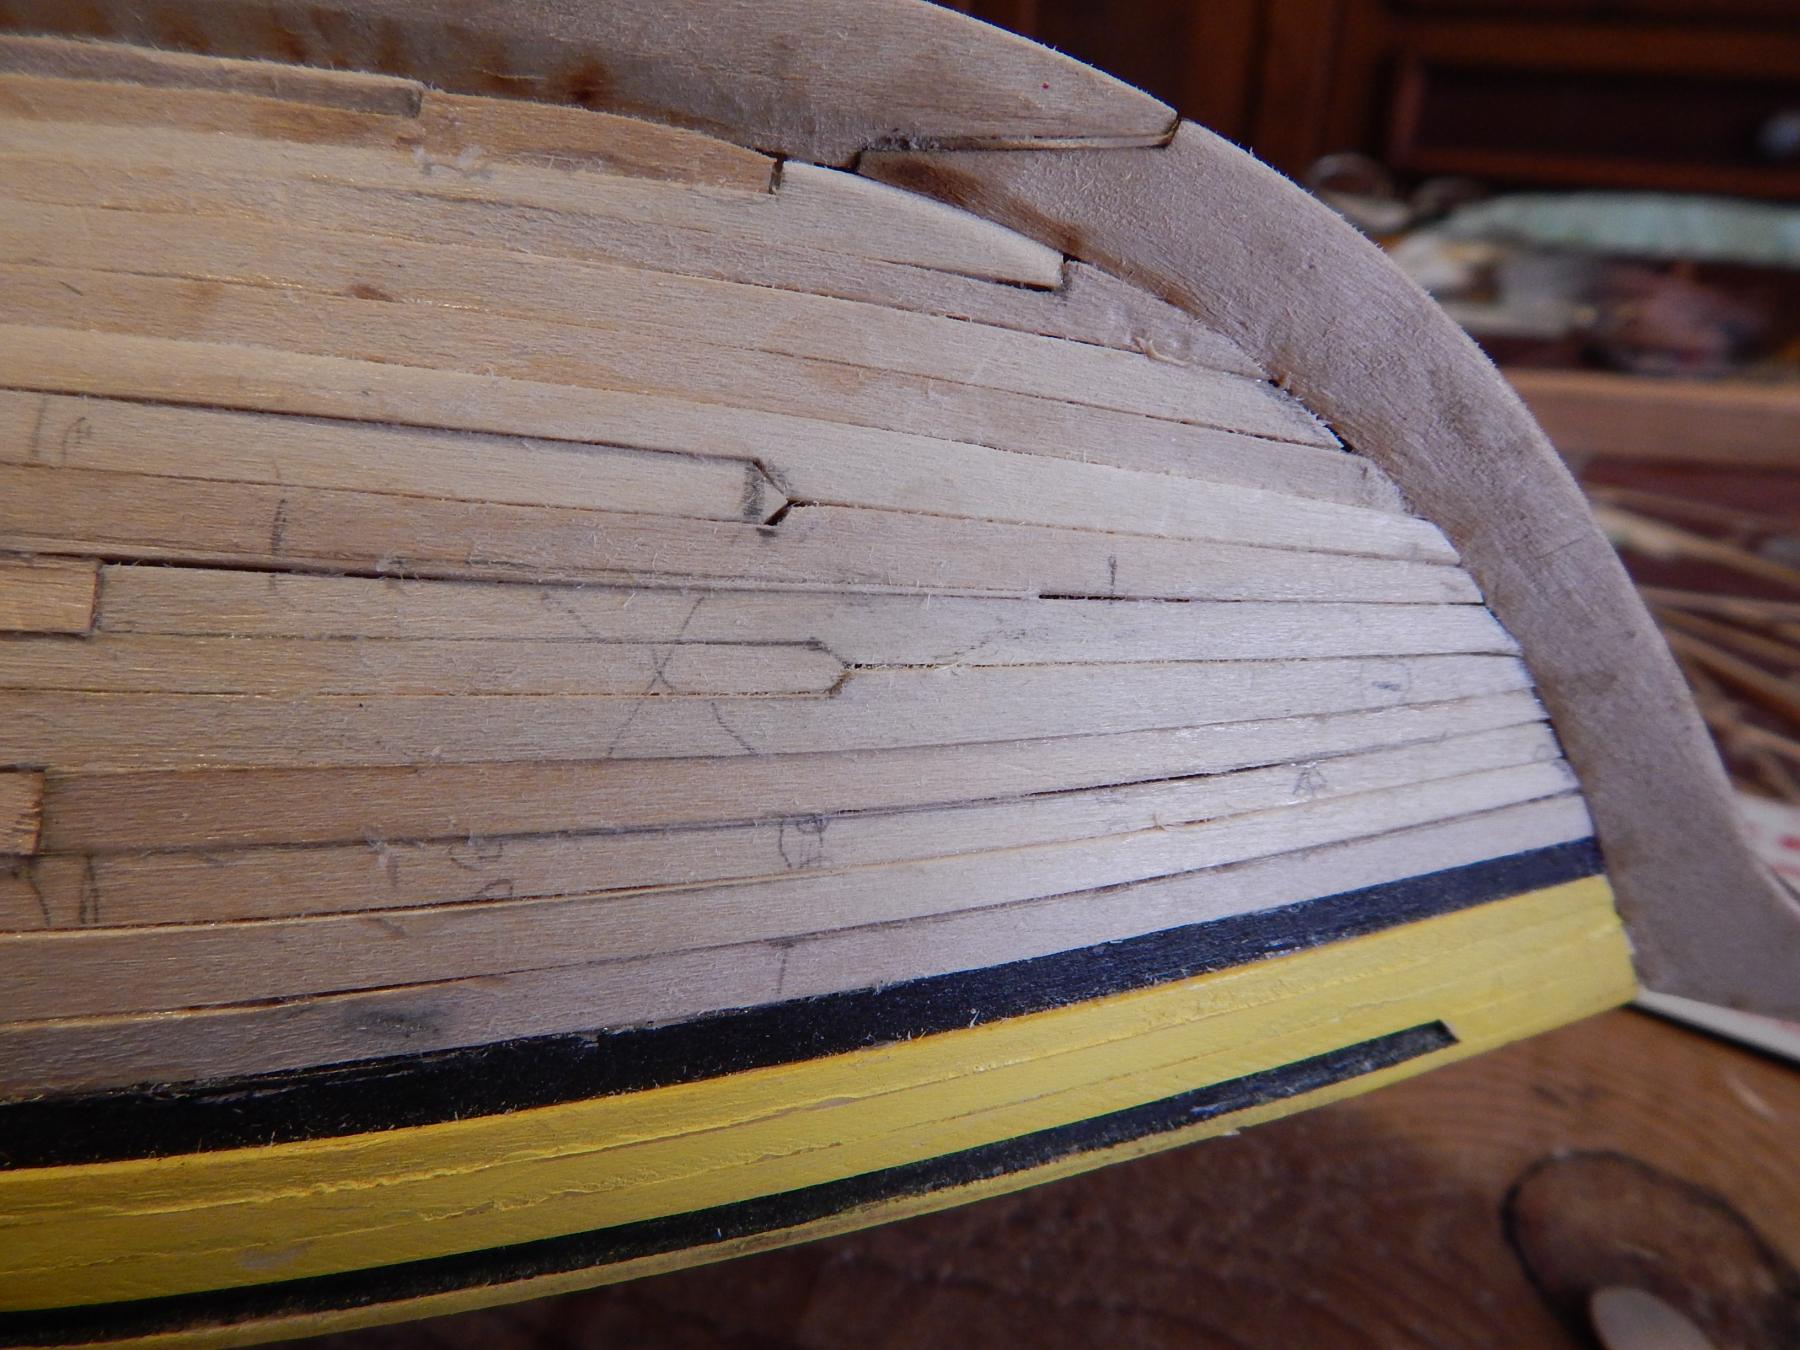
After painting I put the 3 wales below the planksheer and also begun planking the keel or lower portion, including the stealers as shown in the blueprints (Note the nib ends of these planks):
Below the wales I continue with the planking. By the way, the number of planks that are shown in the drawings are not the actual number according to the width of the planks provided (20 to 22 against 17).
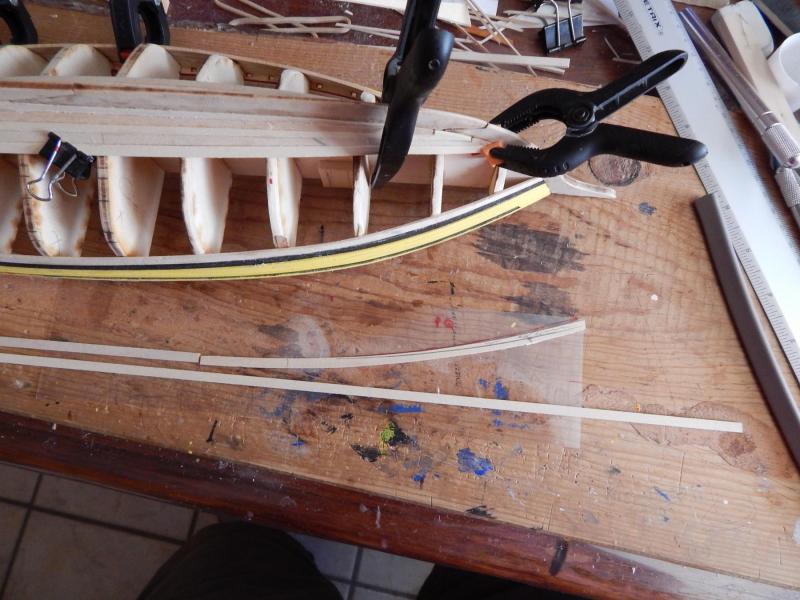
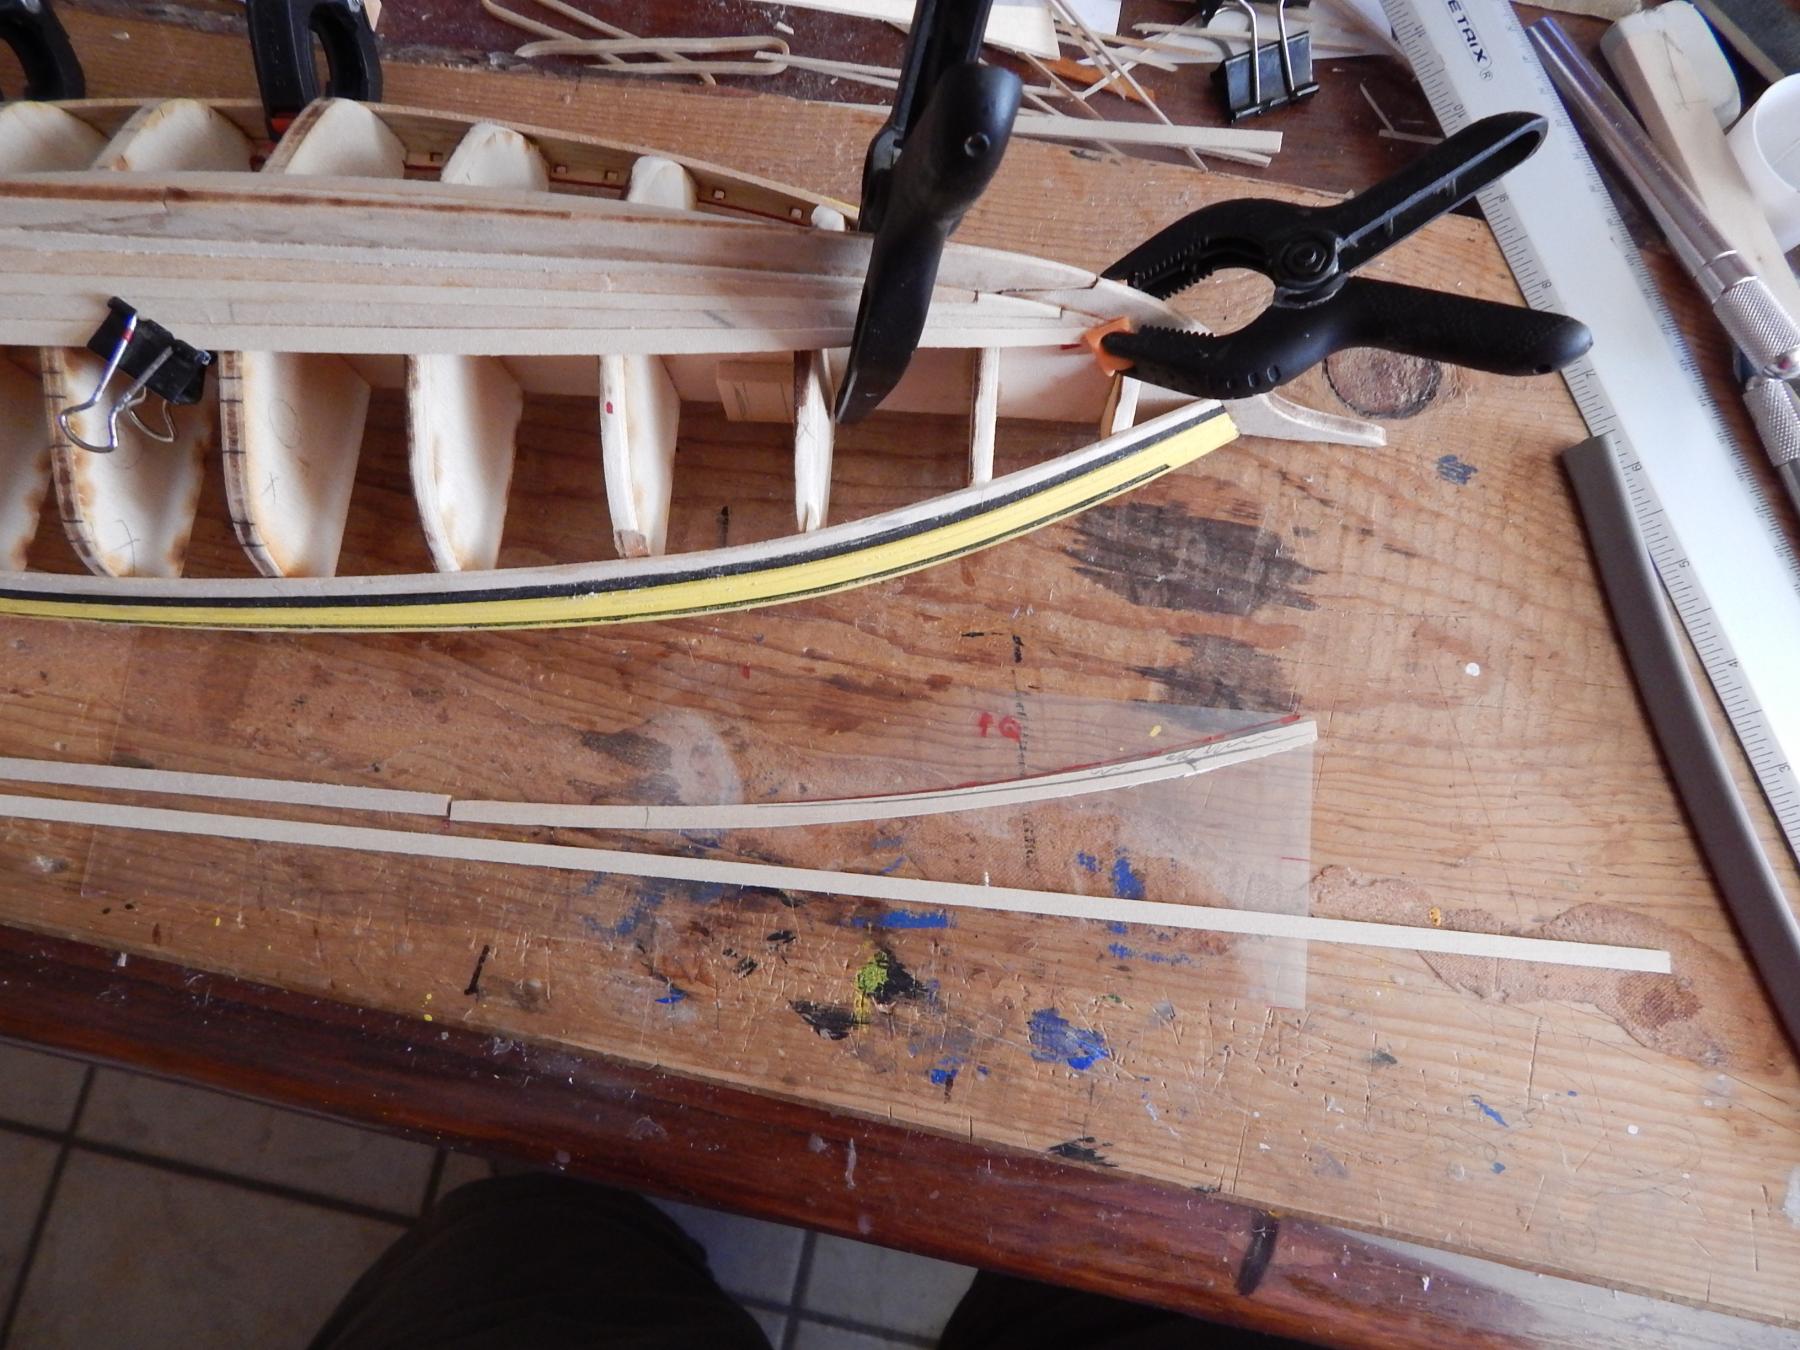
It is to notice that for the bow I prefer to make a curve plank than trying to bent the plank
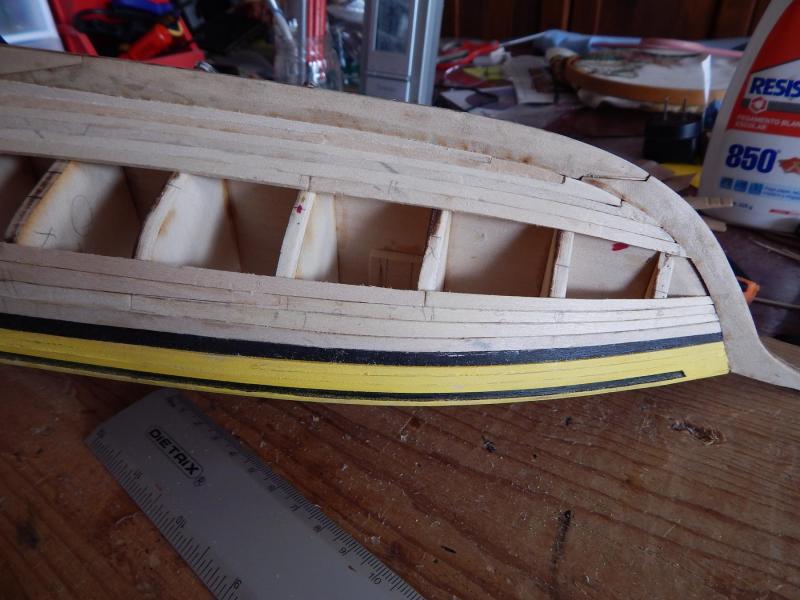
Saludos
-
Hola:
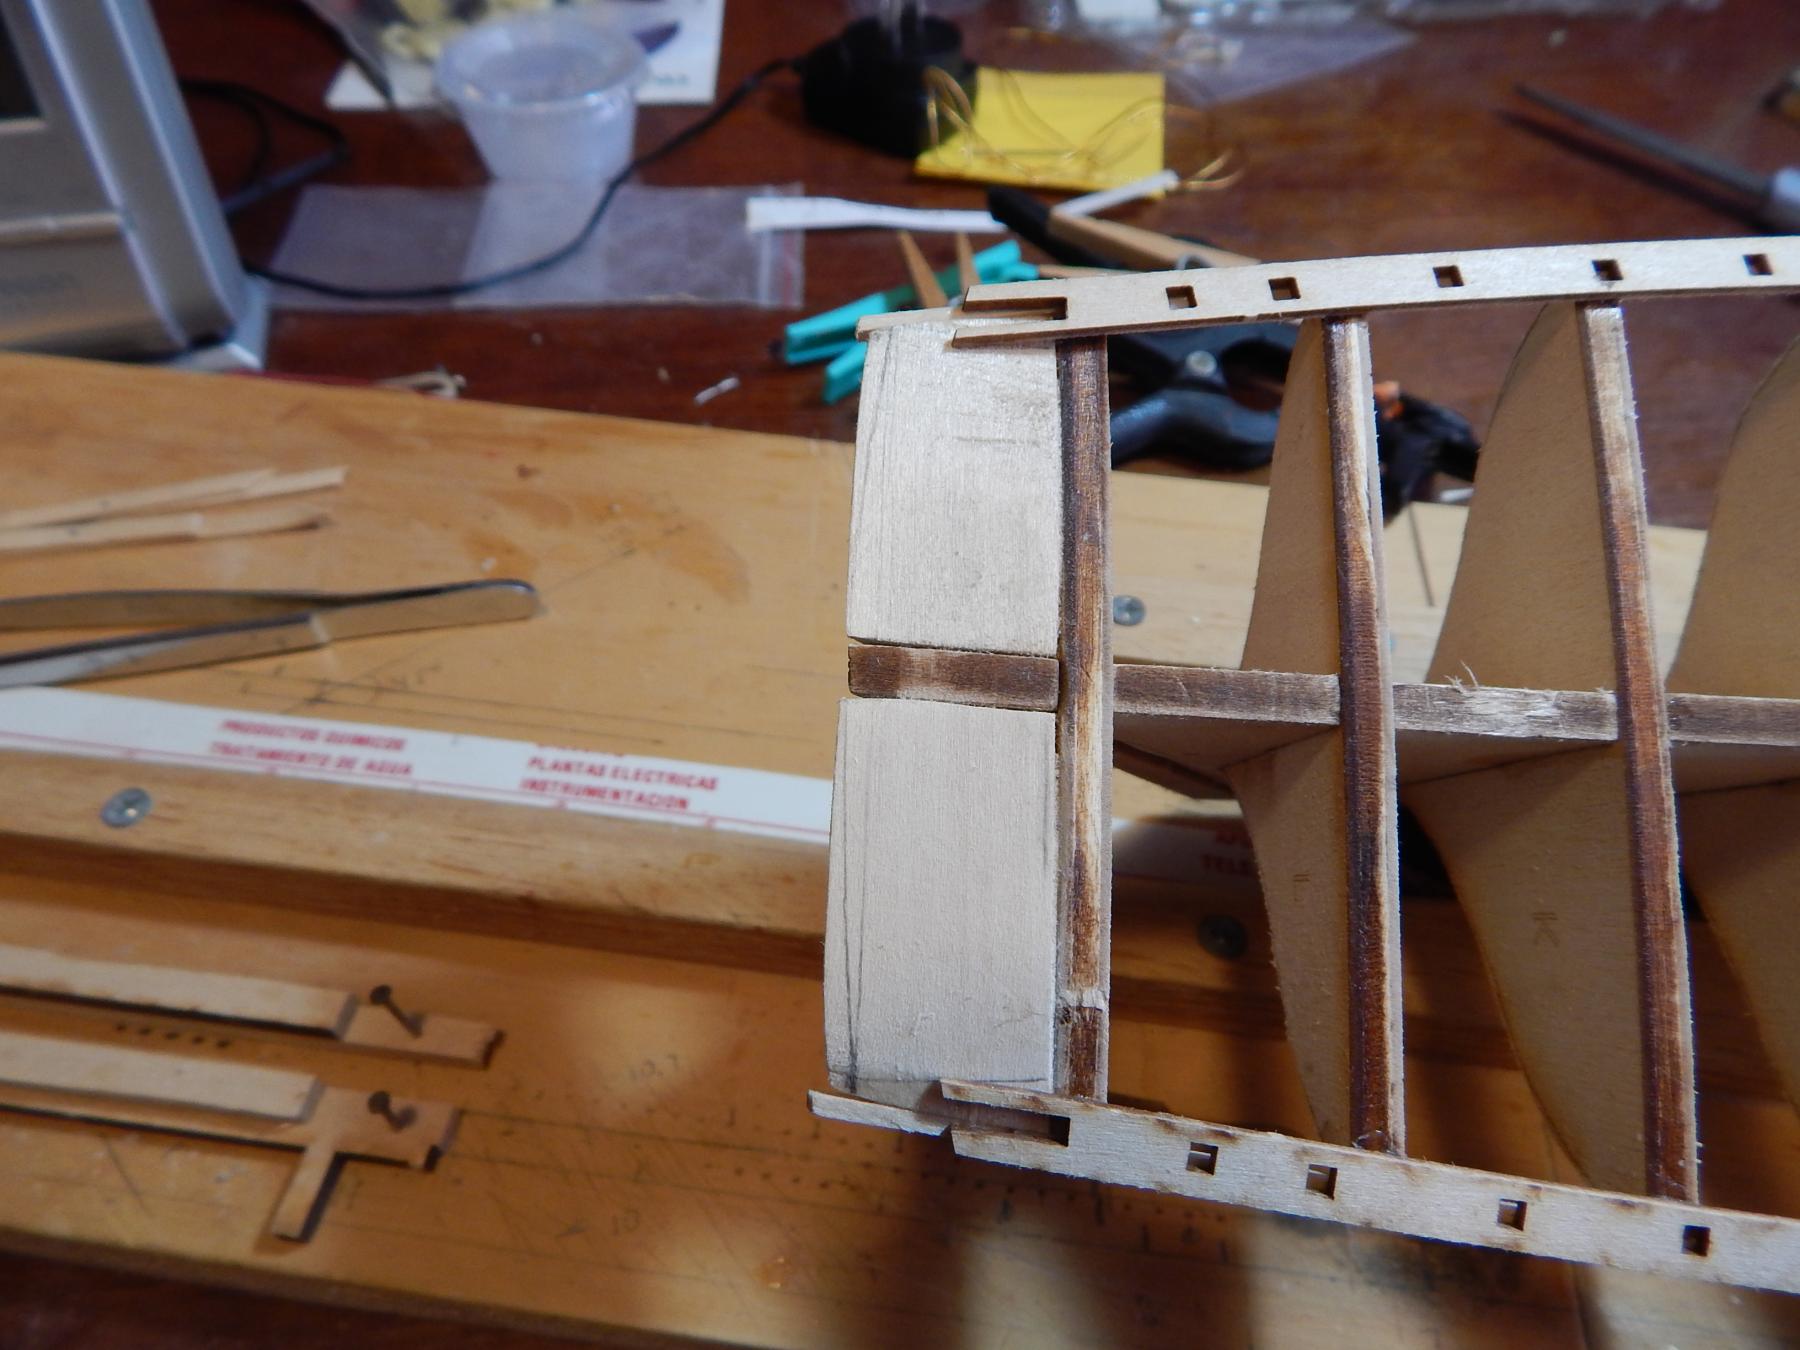
Continuing with the POB construction:
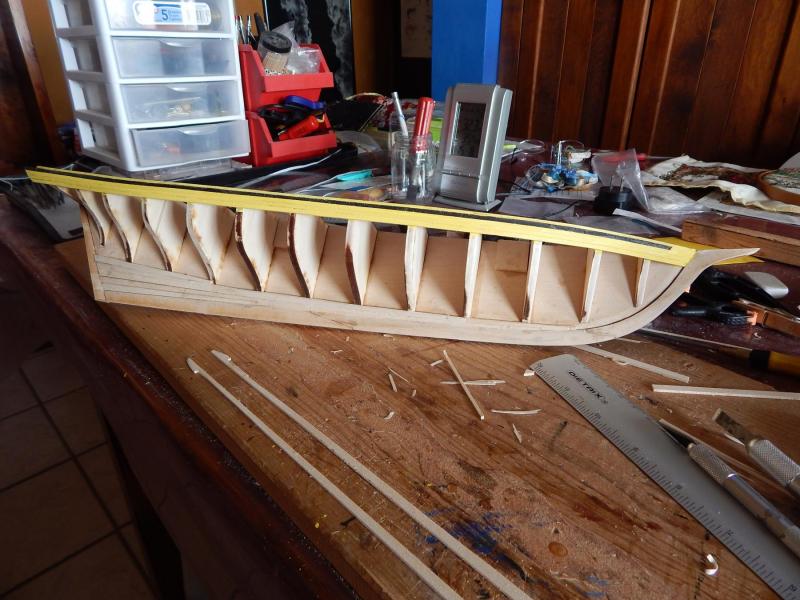
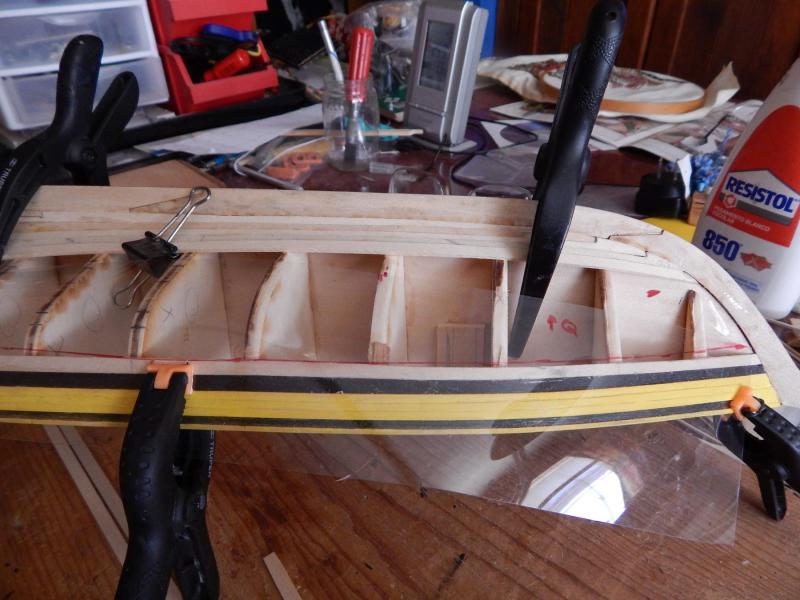
In the first two pictures you can see the installation of the Planksheer, and as some of you mention, it seems to be a little shorter at the stern but I left it so to see what happen later.


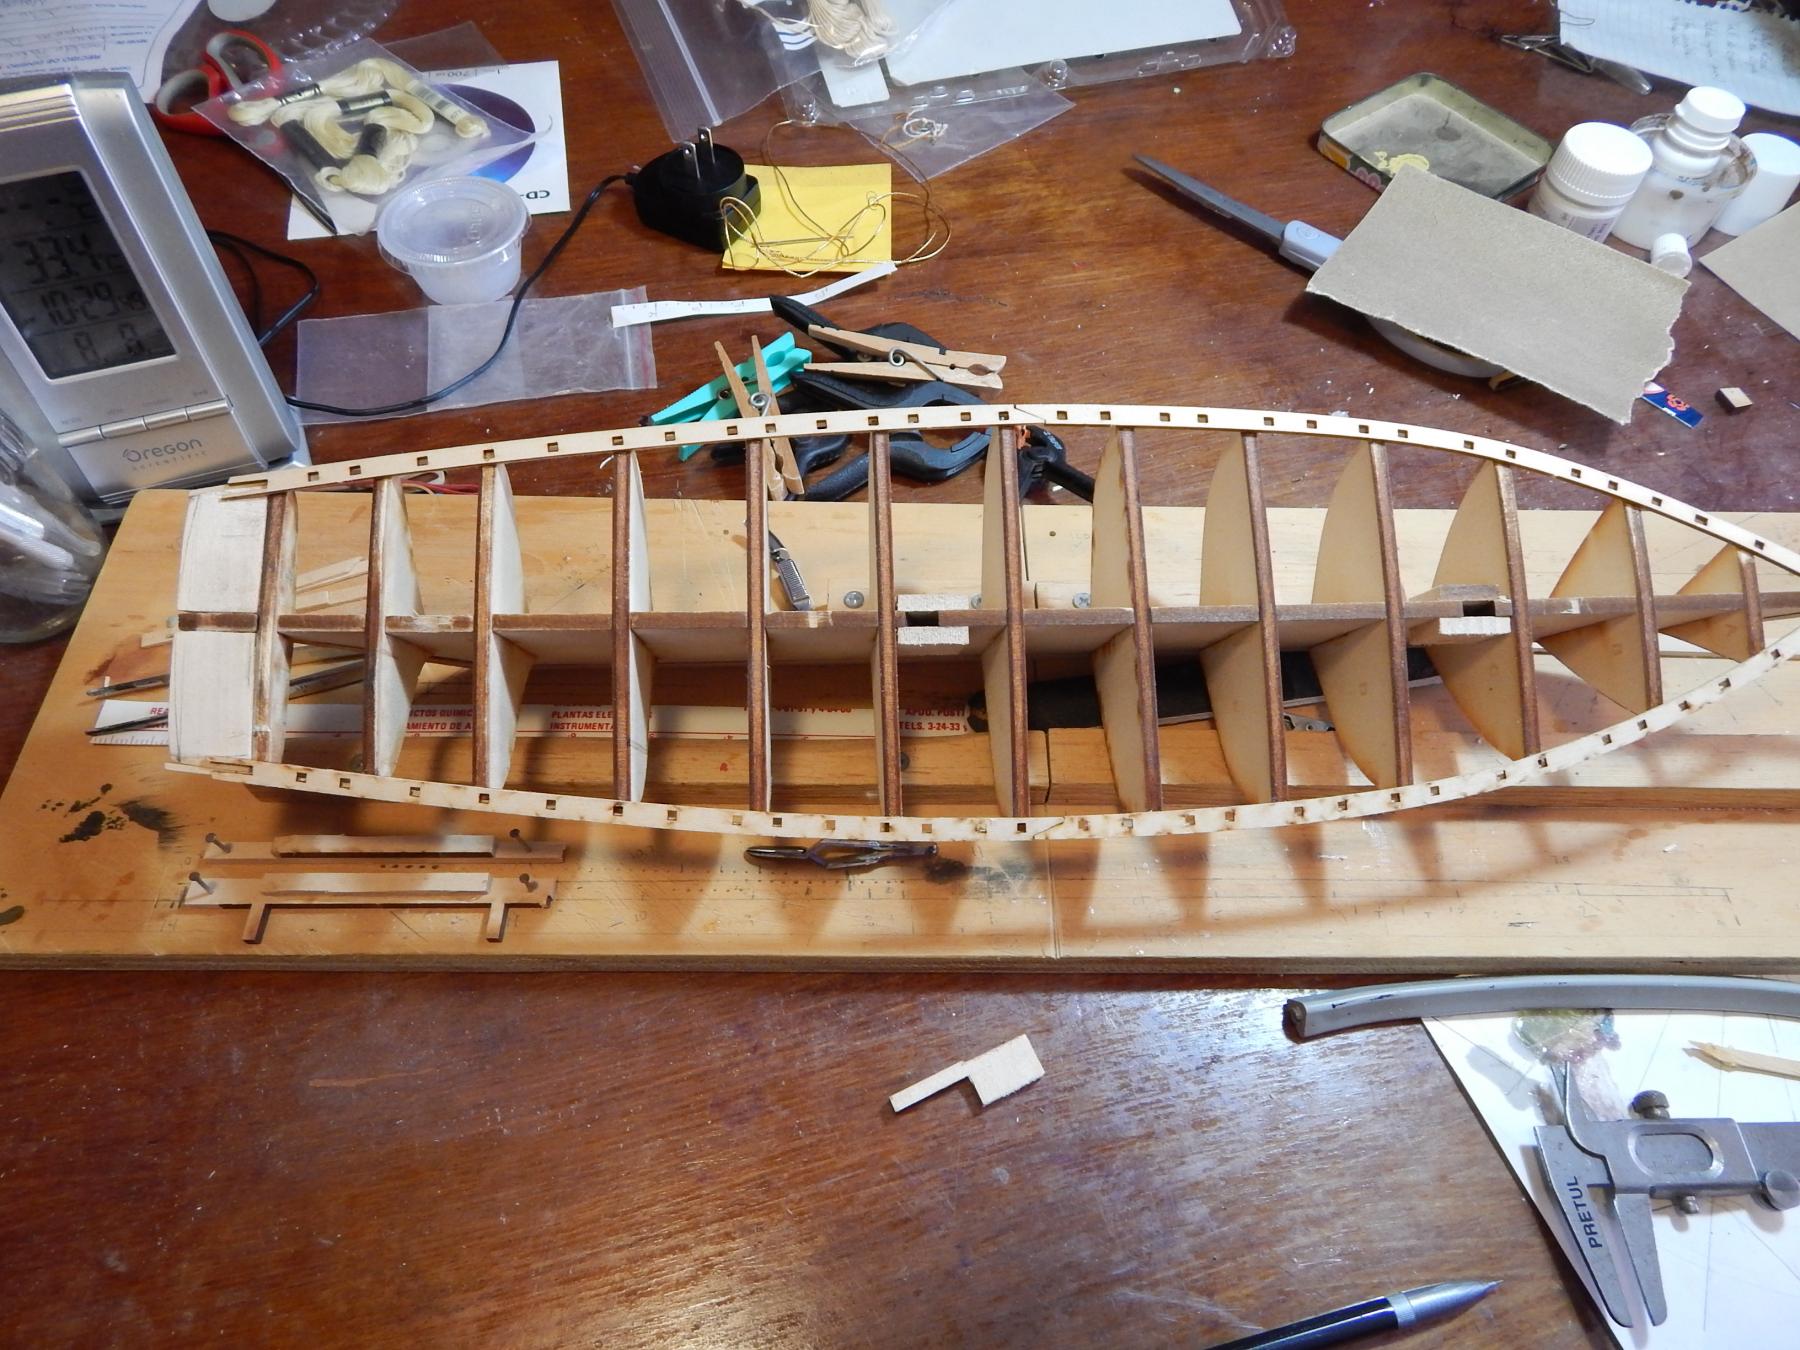
Here yo can see that I exceed in the beveling of some Bulkheads and it must to be corrected

Next, I decided to paint the Planksheer because it seems more easy to do it know than later
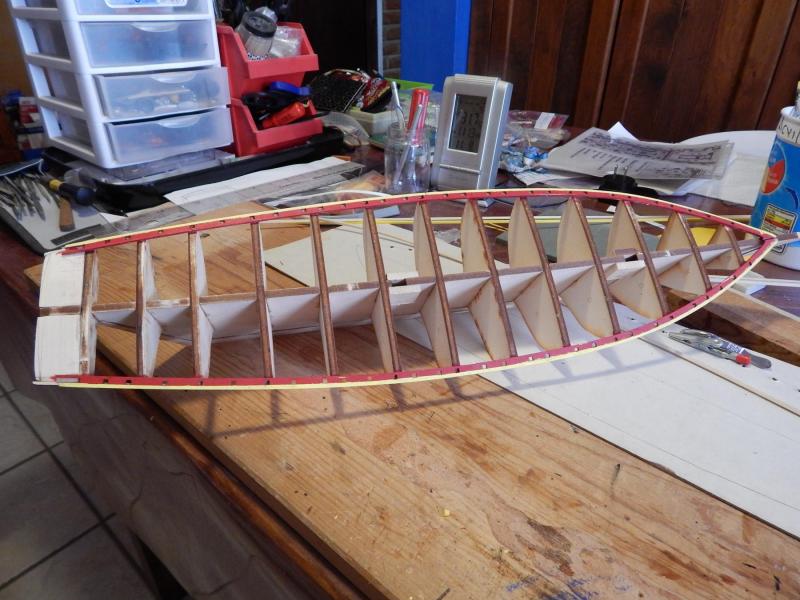

Saludos!!
- maddog33, Bill Hime, marktiedens and 4 others
-
7
-
Hola Andy:
Your POB is getting great, By the way I begun my own POB a month ago (and also creating my Topic in MSW) and seeing your information help me a lot.
Saludos, Karl
-
Hola amigos:
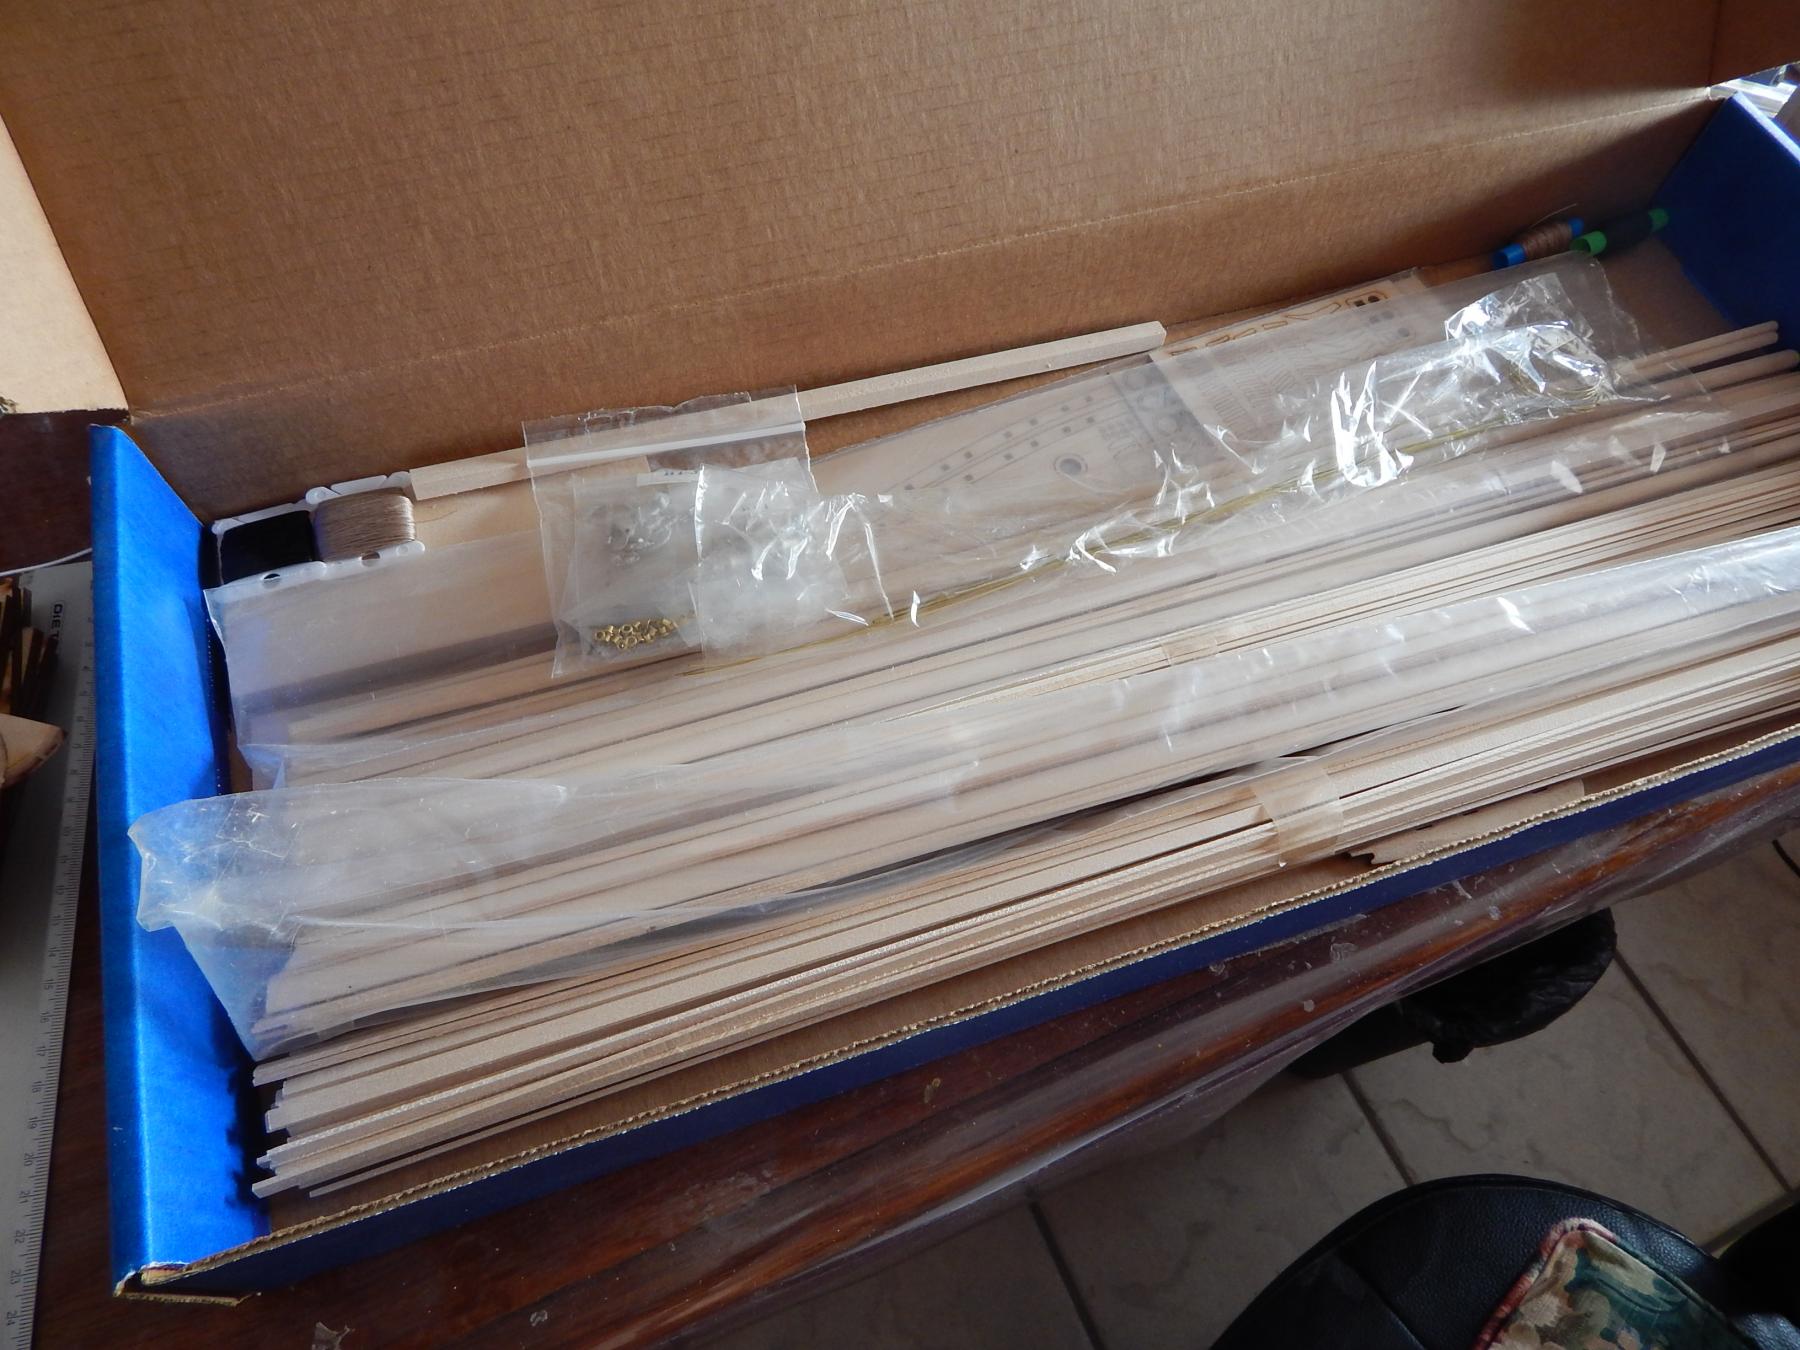
Little more than year and a half I finished model VASA (Billing Boats) and after spending time with my other hobby (oil painting, which I do during the temperate months) I started with the Pride of Baltimore II. It must be admitted that this delay is due in part to my wife always makes me the comment: And where are you going to put this new ship?
In principle, this model seems much simpler than the Vasa, especially because the Vasa came with practically no instructions at all and only a couple of blueprints while the POB seems to overdo indications and blueprints (6). However, like all the models that I have built so far, there are some missing or unclear indications and it is necessary to use your own judgment and imagination, a situation that makes it more interesting the construction of these kits.
Also it is important to mention the great help and tips obtained in Forums like MSW. For this particular case I follow with interest the topics of jcoby, Mark (Blue Pilot) and Andy (Andymech).
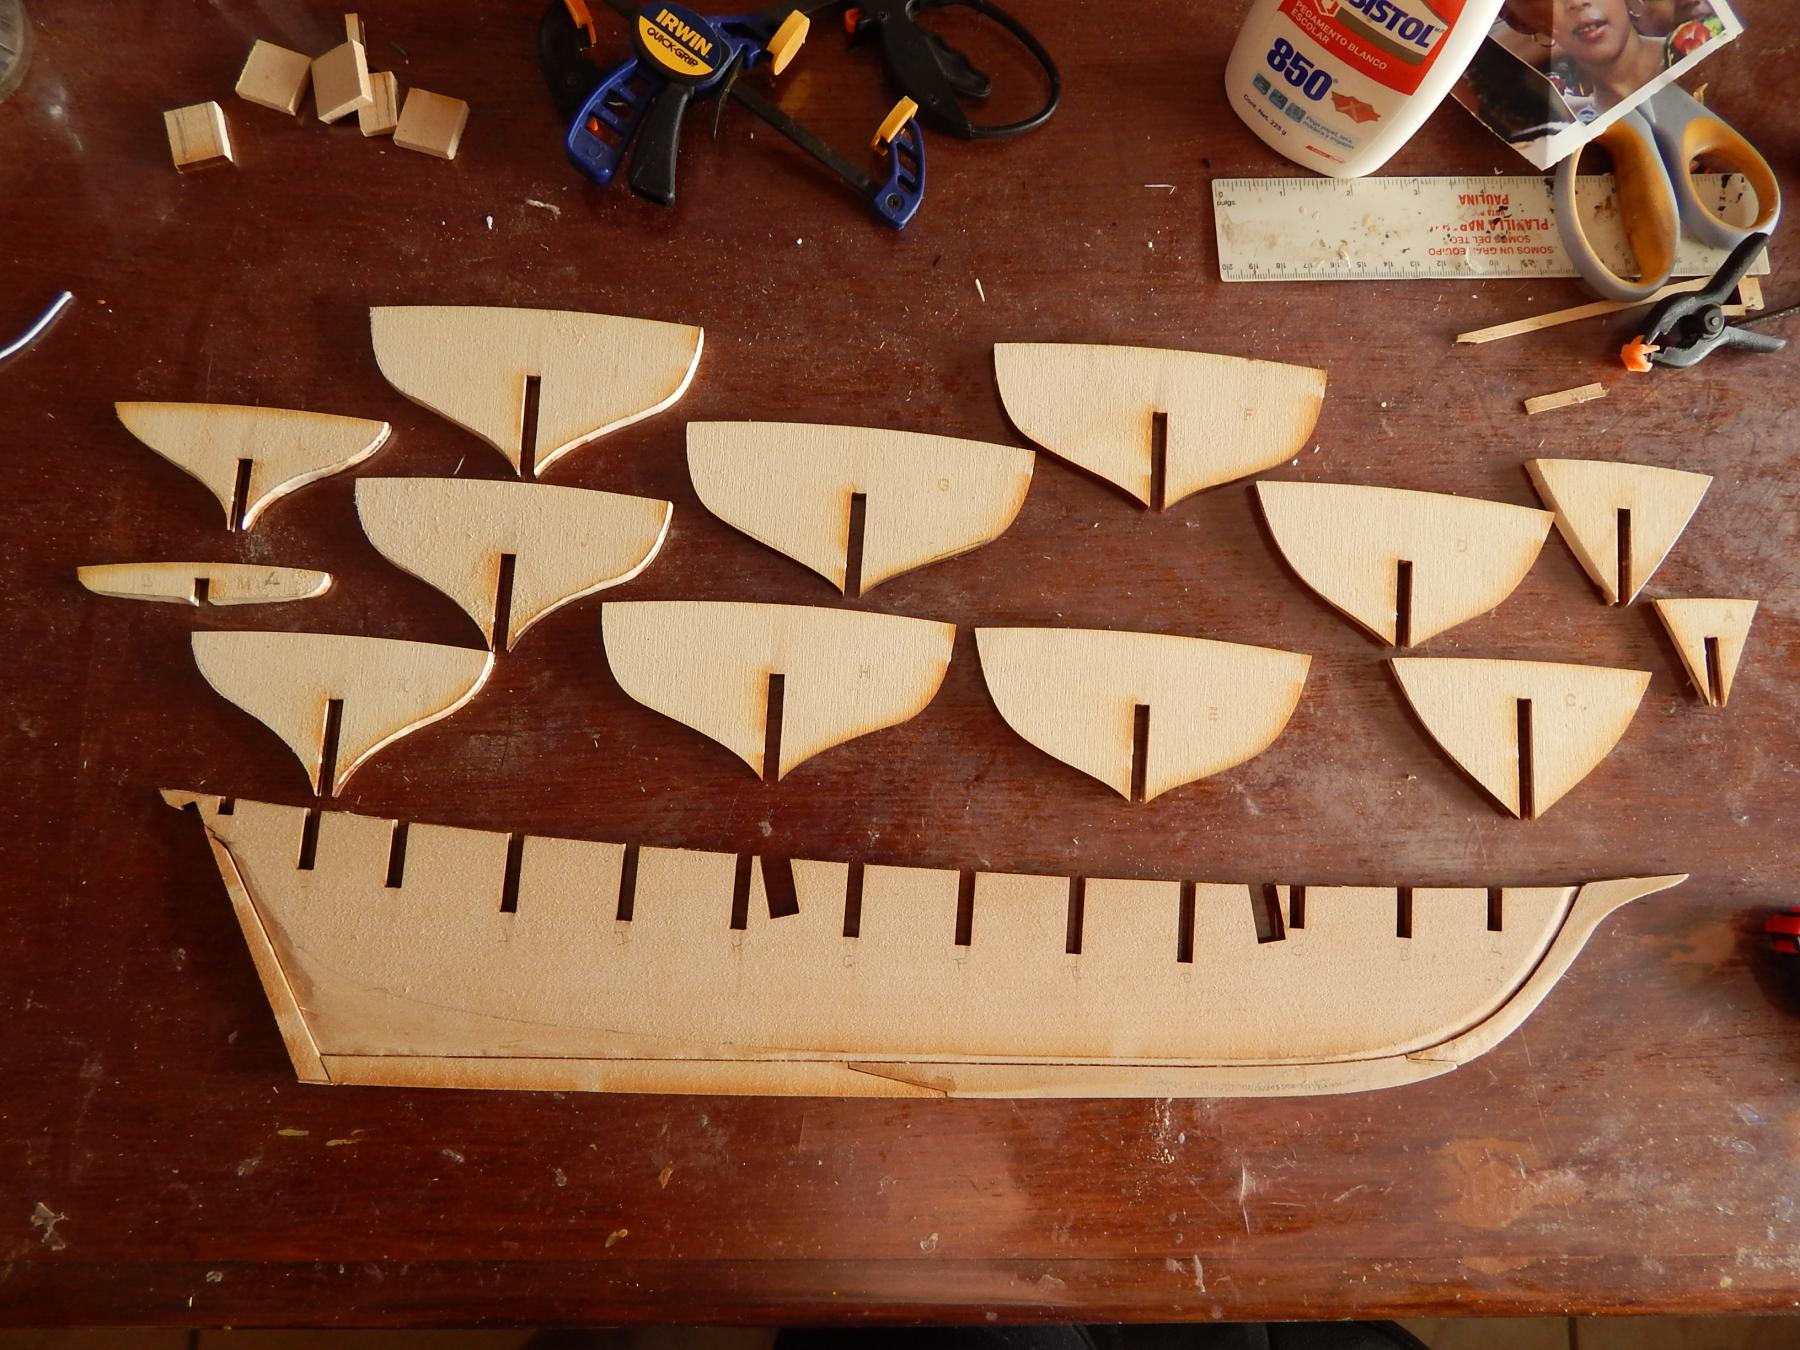
I begun the POB around a month ago and here can you find some advances:

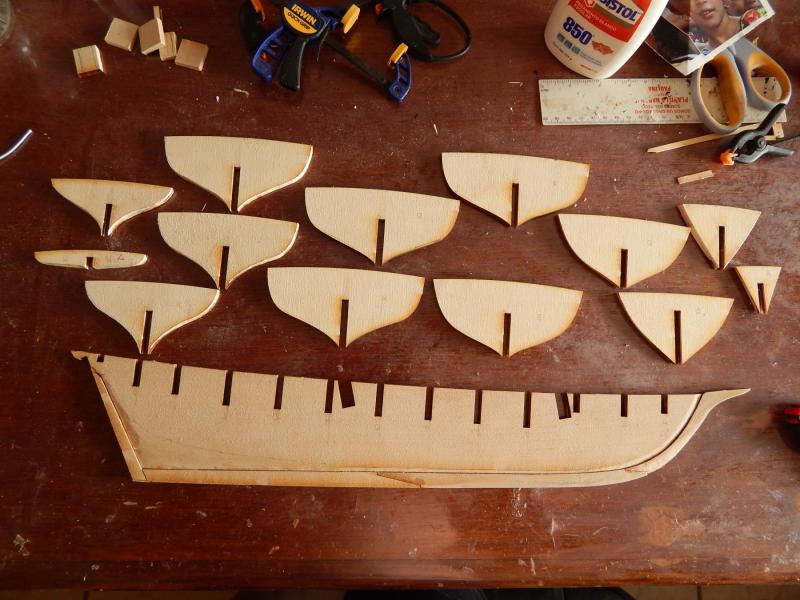
At this point it is important to mention that is better to make a light beveled and give the finished when placing the planks

Saludos, Karl
-
Hola Mark:
I started working with the POB over a month ago and I think the problem you mention is that the main rail at aft, is more rounded and much less wide than the planksheer (as I see from your pictures, you made it more squared), so the side knees carry much inclination inward. This makes the height thereof is decreased considerably.
I will begin a new Topic of the POB II these days.
Saludos, Karl
-
Hola Ulises:
In some cases I have had to make similar parts that you mention. What I do with with good results is to take the original part and pressed it in modeling clay (the one that is sold as play dough - plastilina) Once the mold is done, fill it with Devcon plast-steel, in Mexico "PlastiAcero" (comes in 2 similar to the epoxy resin tubes). When dry you can cut, sanded and painted without problem.
regards- Aussie048, CaptainSteve, dgbot and 2 others
-
5
-
-
-
-
-
-
Hola Frank:
Your Vasa is getting really nice, you must be very proud of it!!
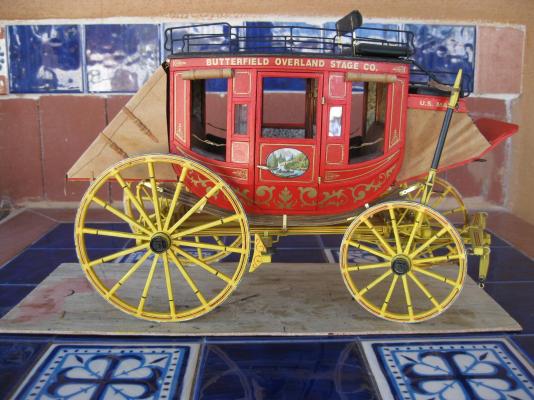
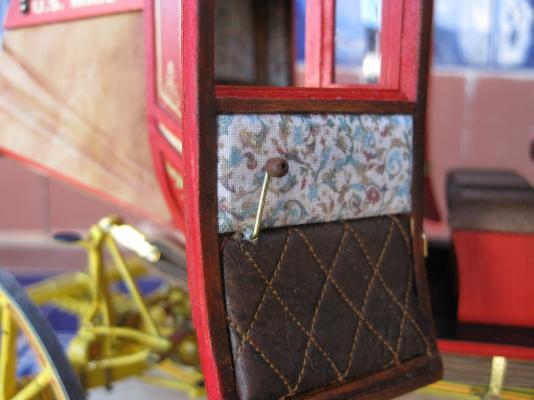
By the way, I also made the same StageCoach from ModelTrailways. It is a nice model and easy to make some improvements. In my case I added the landscape paintings on the doors,a fabric tapestry and interior lining with simulated leather. It looks nice.
Saludos, Karl
- marktiedens, fmodajr, reklein and 3 others
-
6
-
-
Hola Mark:
Very nice done, your Vasa looks superb. Congratulations,
Karl
-
Hola Mark:
Only to just make a small contribution: in BB planes there also shows 2 mast tackles on each side of the main mast and foremast and not 3.
Saludos, Karl


Pride of Baltimore II by Karleop - FINISHED - Model Shipways - 1:64
in - Kit build logs for subjects built from 1801 - 1850
Posted
Hola:
Following with the construction, I proceed to do the main rail according to the plans:
Now with the use of some blocks that were cut to the appropriate high I began installing the bulwark stanchions:
Here you can see that the hawse timbers were put in place, including the hawsing pipe , using for that purpose little pieces of aluminium tubing
Before to add the bulwark I decided to paint the stanchions:
Saludos, Karl