-
Posts
402 -
Joined
-
Last visited
Content Type
Profiles
Forums
Gallery
Events
Posts posted by alross2
-
-
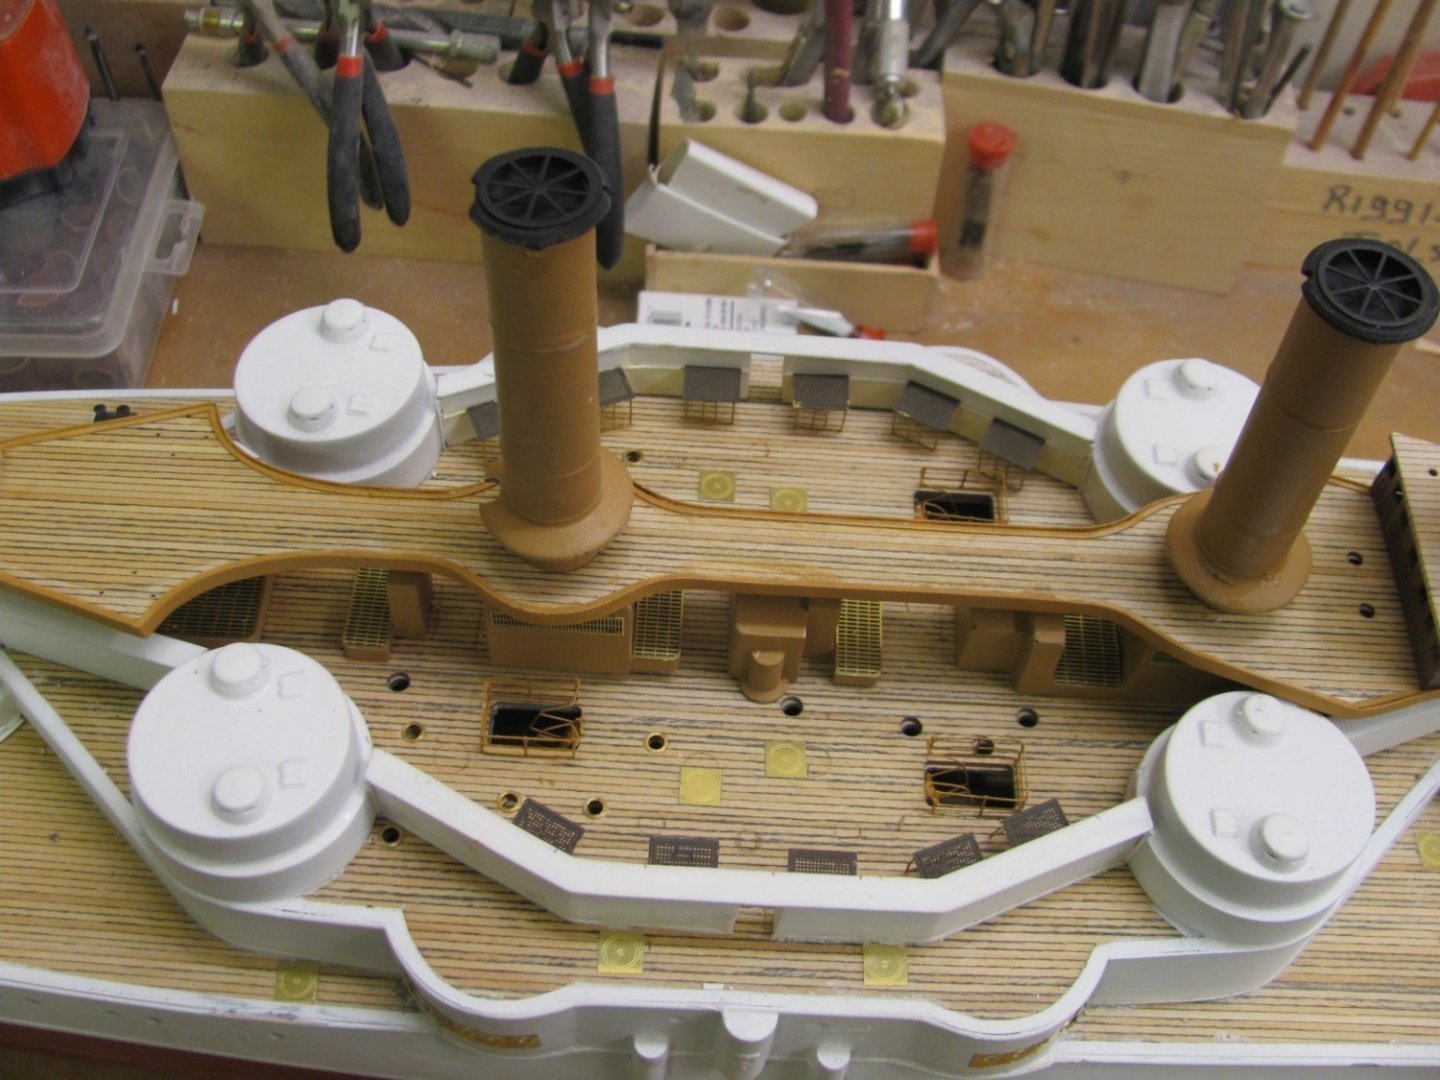
Test fitting the photoetched railings to the hurricane deck. There are four pieces per side and they are designed to fit in specific locations. This will require some careful bending and fitting to get them right. The end stanchions are a bit longer than the rest, so locating holes have to be drilled in the deck. An inclined ladder fits in the opening.
- reklein, Paul Le Wol, GrandpaPhil and 8 others
-
 9
9
-
 2
2
-
- Kevin, Paul Le Wol, Keith Black and 7 others
-
 10
10
-
- Paul Le Wol, BobG, GrandpaPhil and 9 others
-
 12
12
-
- Canute, Keith Black, mtaylor and 7 others
-
 10
10
-
- Paul Le Wol, John Ruy, thibaultron and 6 others
-
 9
9
-
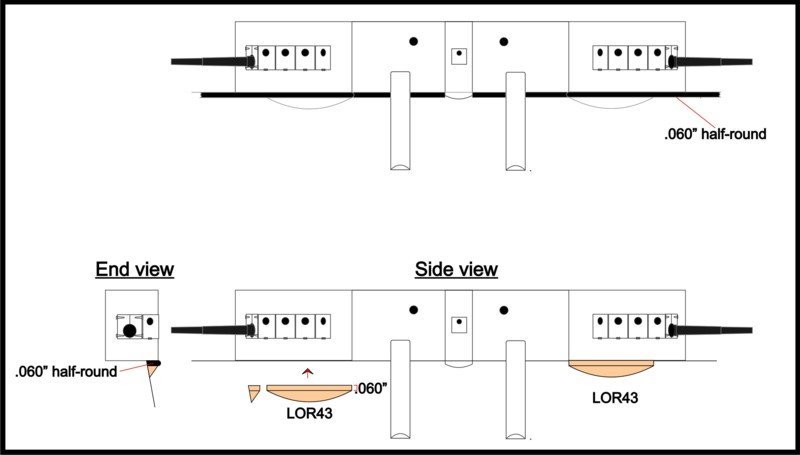
Once the holes for the main deck stanchions are drilled, the holes in the side of the hull for the awning stanchions are drilled. The blue tape ensures that they are all at the same level below the deck. Their locations are marked on the template. Both types of stanchion have a mechanical stop on their bottoms to ensure they are at the same height.
- GrandpaPhil, ccoyle, chris watton and 9 others
-
 12
12
-
-
-
4 hours ago, lmagna said:
. He also wrote the Richard Bolitho and Adam Bolitho series under the name of Alexander Kent writing 68 novels!
Strangely, I absolutely loved his Richard Bolitho novels but couldn't even get through one of his MTB ones! Since I focus on this type of vessel, you'd think it would be the opposite. Maybe I should try to read one of the MTB novels again.
-
-
-
On 6/6/2022 at 9:56 PM, rudybob said:
I'm not interested in doing it as 109. I want to label it 34, 35, 36 or 37 which were if I recall accurately the PT's that got MacArthur out of the Philippines
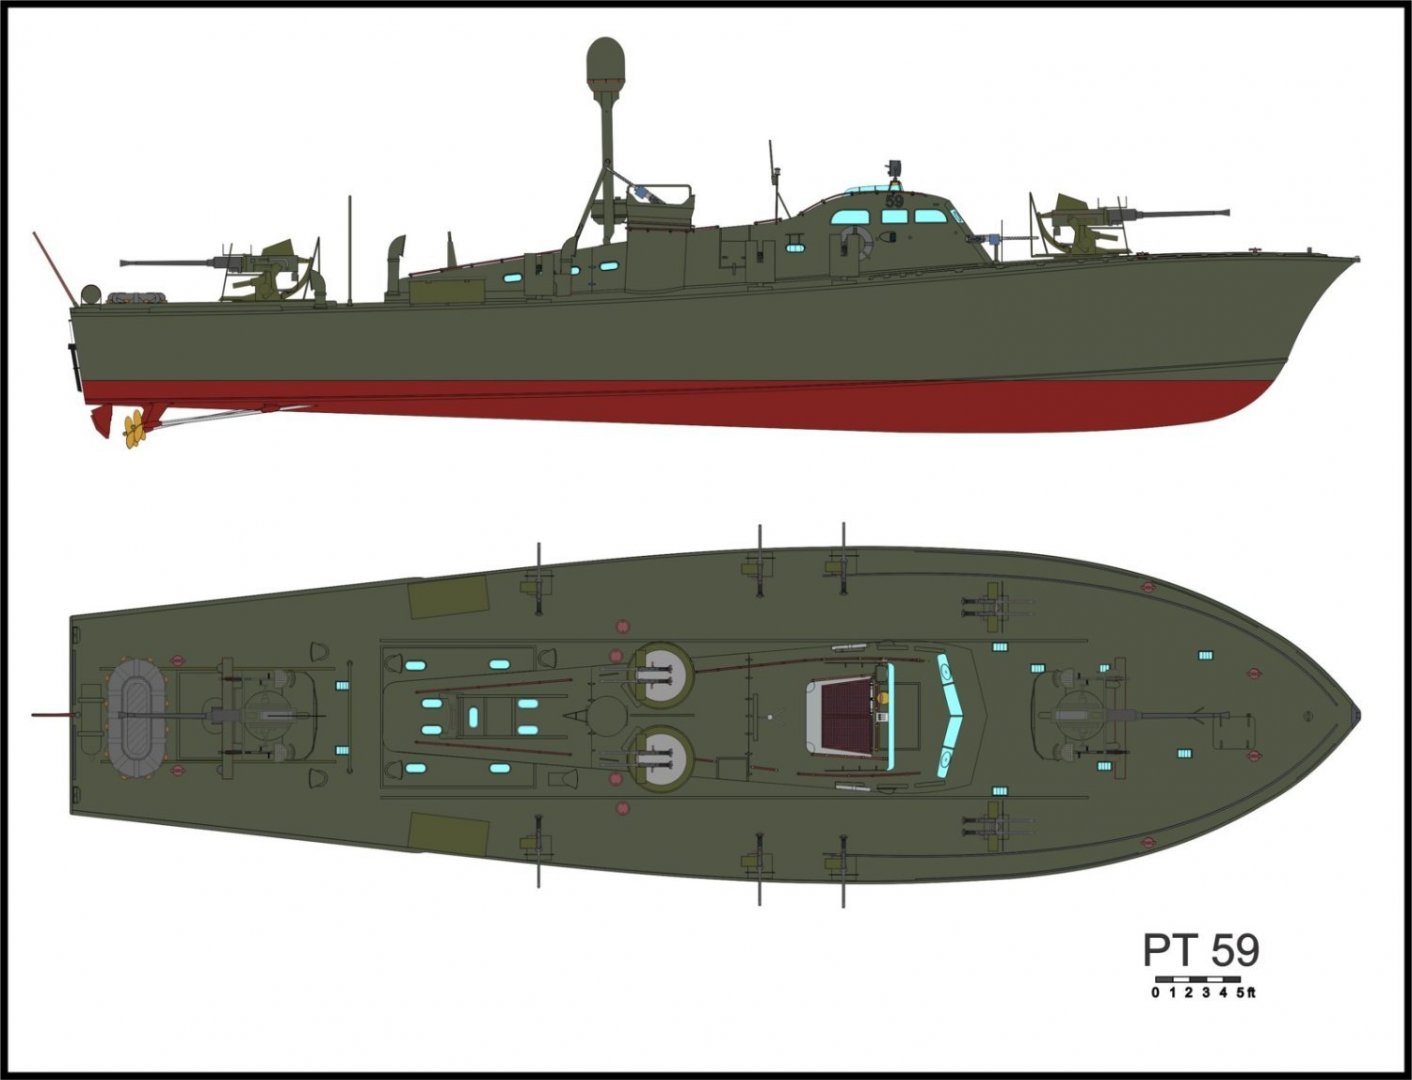
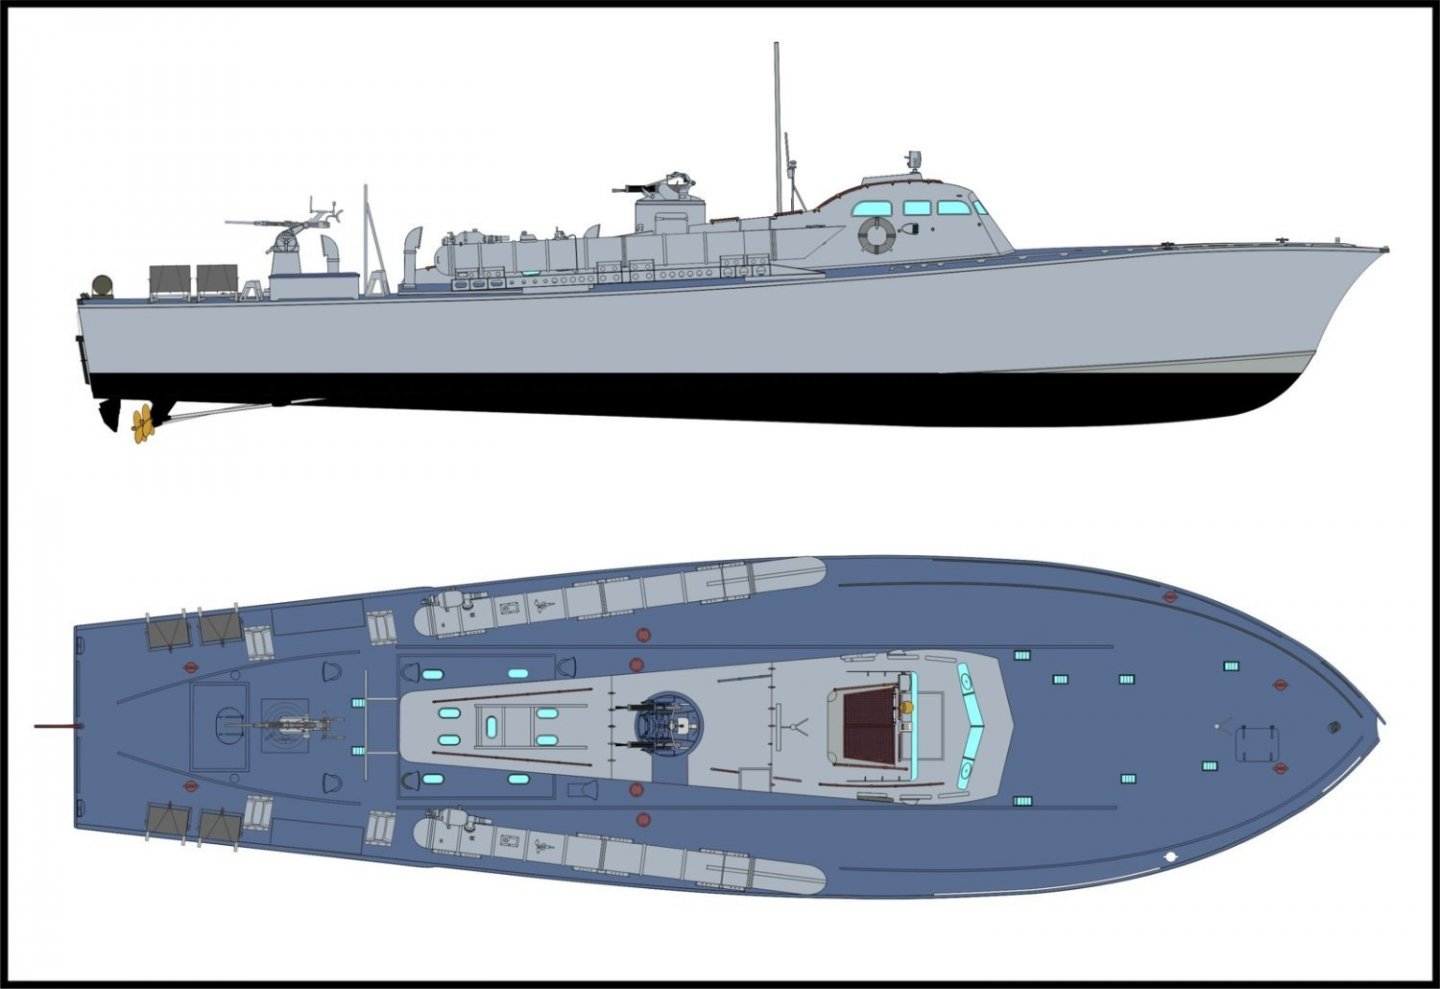
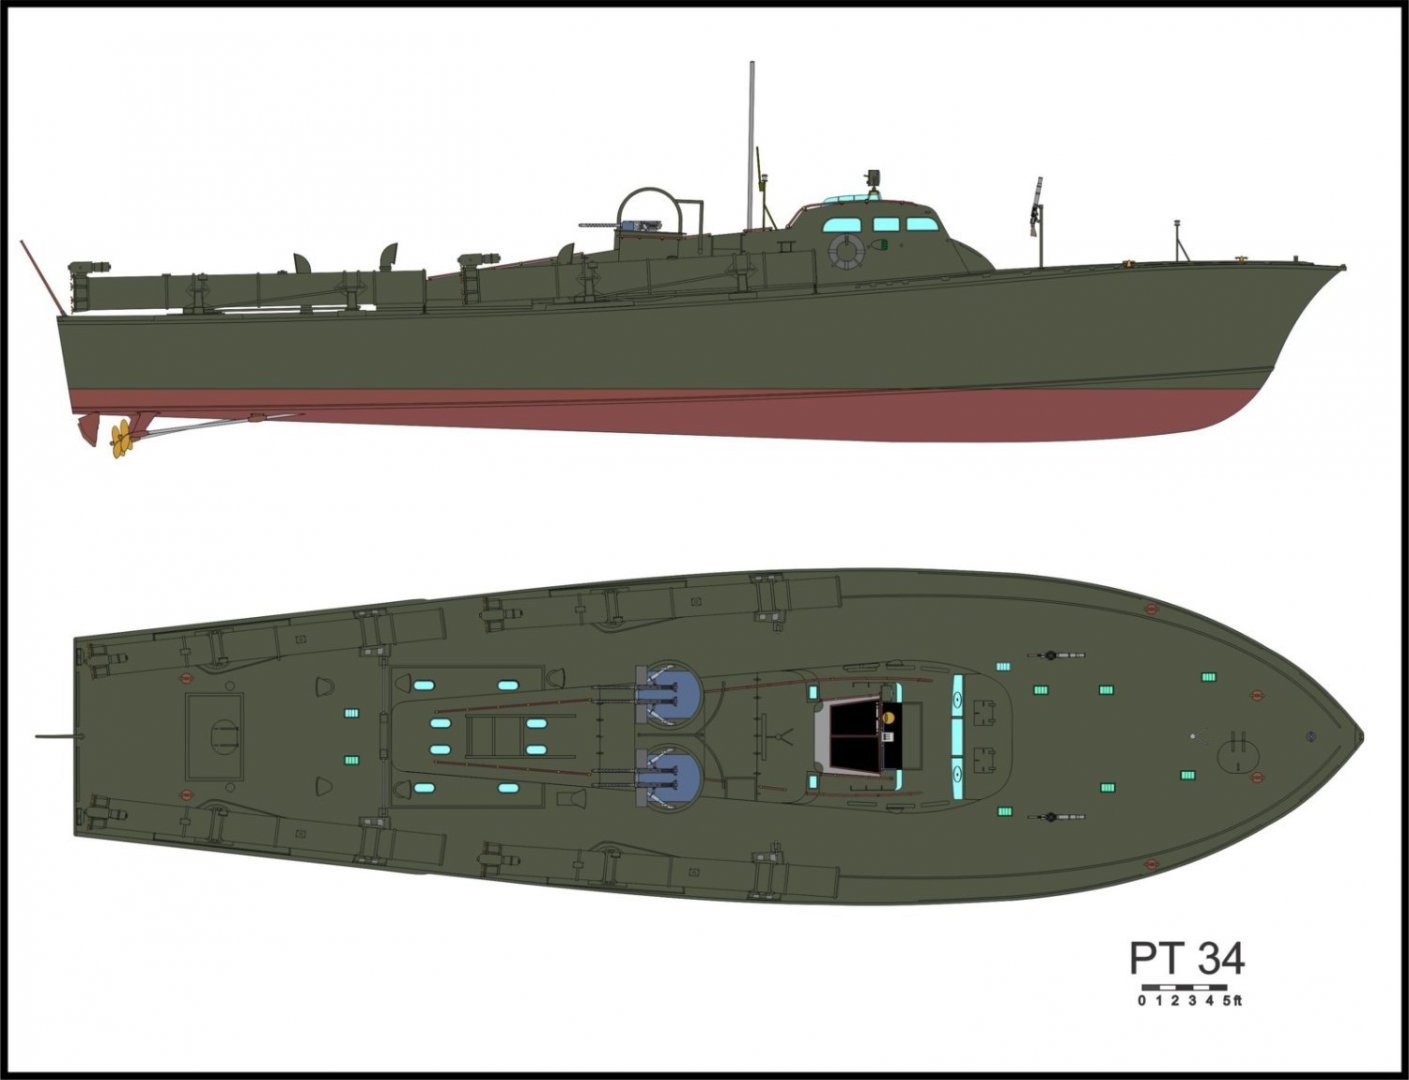
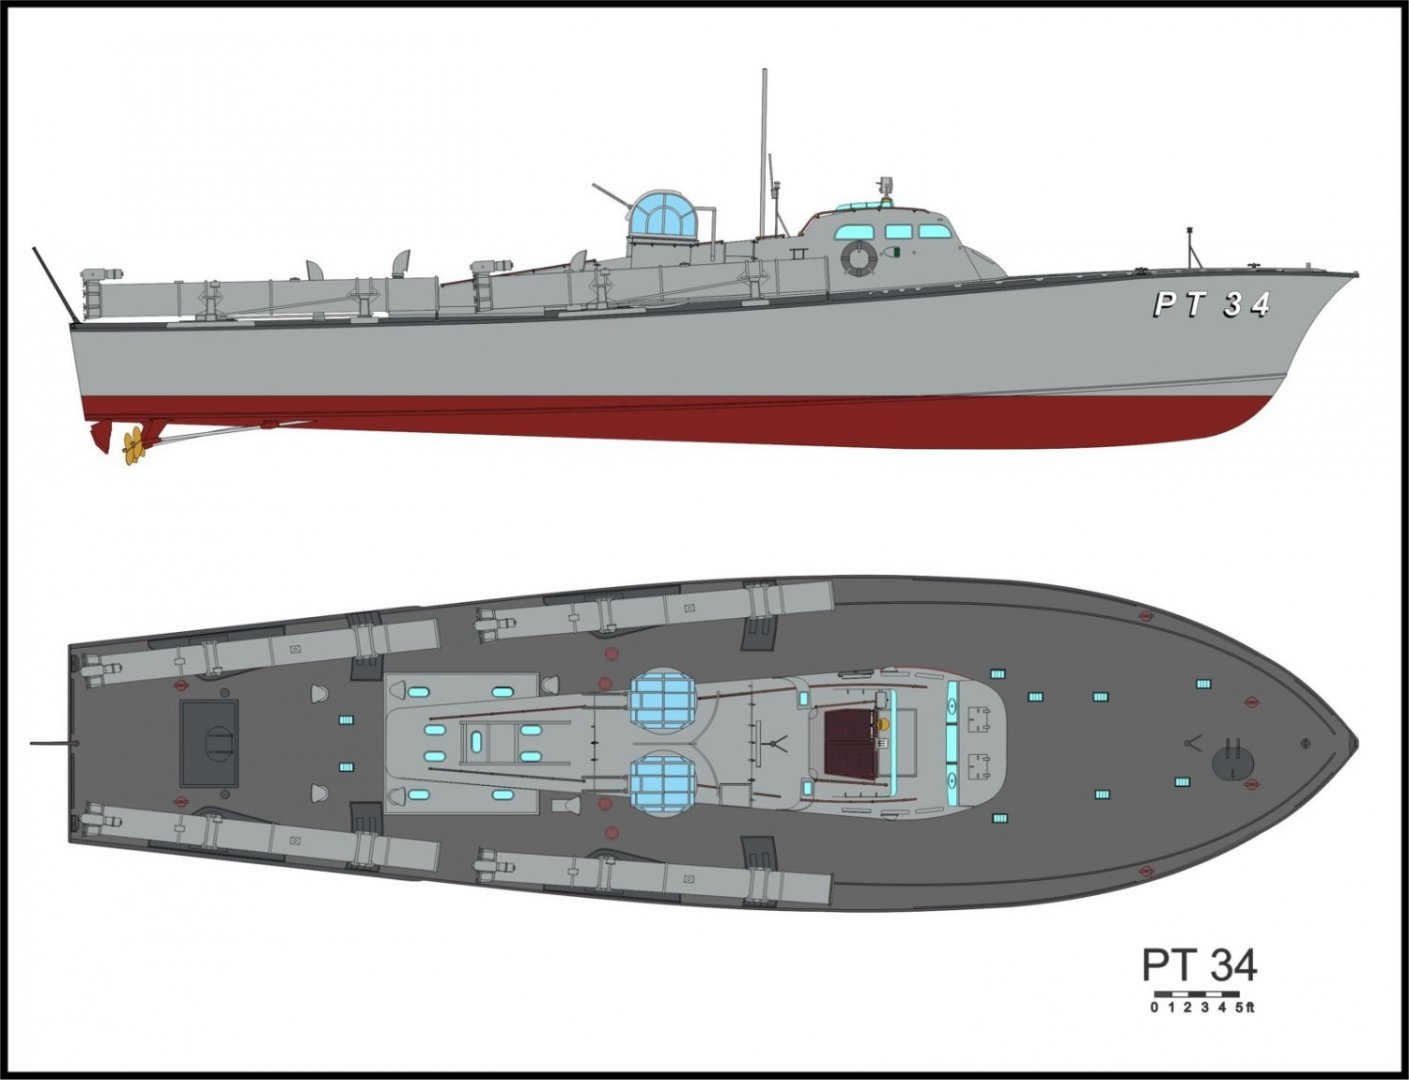
The RON3 boat were 77' ELCOs; this is an 80' ELCO. In the movie, they used two 80s and four Huckins boats, none of which looked like a 77'. Here are two renderings of what they would have looked like. The gray image is as they left the factory in Bayonne. Once the war began, they removed the domed covers on the turrets and painted the boats green. My Dad was the quartermaster on PT34 at the time. She was lost on 9APR42 and he was captured a few days later, spending the rest of the war as a Japanese POW.
-
-
-
-
-
- Canute, mtaylor, Keith Black and 8 others
-
 11
11
-
-
44 minutes ago, robdurant said:
Quite a shift from Wyoming, but equally fascinating. Thanks for sharing your development steps

And amazing to think that (if I'm right) Oregon was launched 10-20 years before Wyoming....
OREGON 1893, WYOMING 1909.
- Ryland Craze, thibaultron, mtaylor and 3 others
-
 6
6
-
-
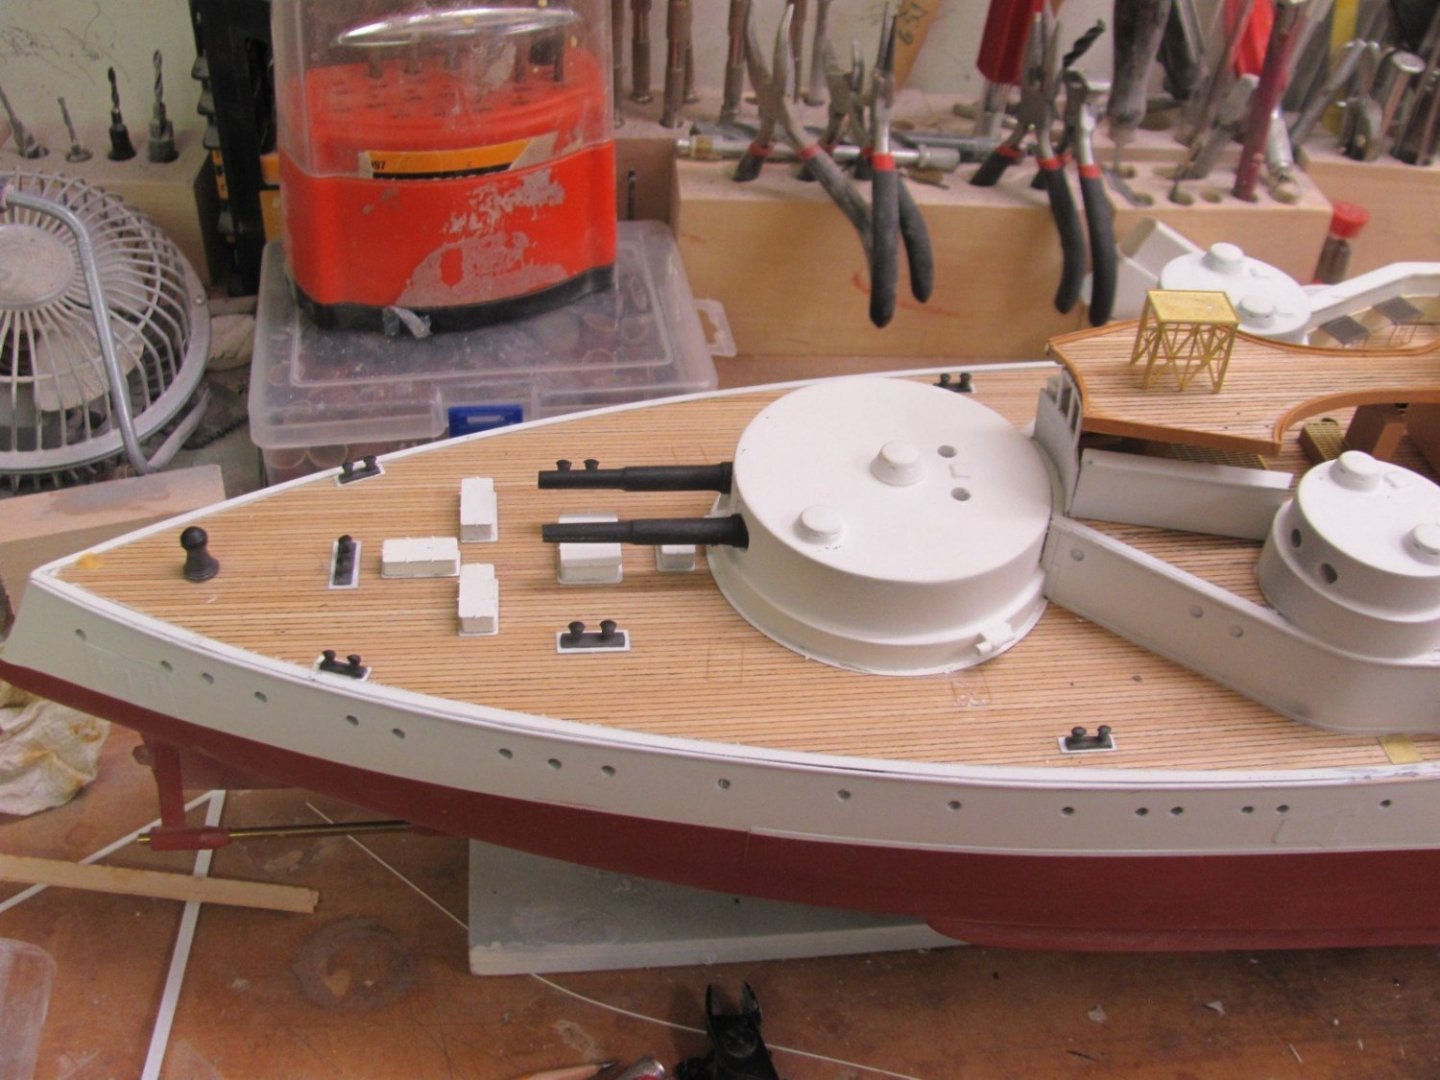
OK, WYOMING is going to Nic for rigging, so I'm back full-time on OREGON. Today was mostly printing out plans and parts lists and getting my head back into OREGON. Painted up a bunch of castings and started applying the photo-etched 6" casemate doors. There are five doors on each casemate, which is curved, so it takes a while to get them lined up.
- Canute, BobG, EricWilliamMarshall and 7 others
-
 10
10
-
-
- hollowneck, ccoyle, GrandpaPhil and 8 others
-
 8
8
-
 3
3
-
The spring stay bails require a little patience and care to build. They are laser-cut .020" laser board but are surprisingly strong and flexible. They are best built off the mast. Two eyes are glued together, a light coat of thin CA is applied to them, then they are bent over a dowl (front bail) and 1/4" square stick (aft bail). The mast is drilled with a .022" bit, the bail is slid down over the mast, and a pin goes through the holes. Once everything is aligned, CA is applied to the end of the pin and the end is snipped off.
- hollowneck, Nirvana, Keith Black and 8 others
-
 10
10
-
 1
1



Development blogs for new BlueJacket Kits
in Traders, Dealers, Buying or Selling anything? - Discuss New Products and Ship Model Goodies here as well!!
Posted
Photoetched Jacob's ladders and life ring cages attached. Everything is touched up at the end.